


I’m done teasing y’all, it’s finally time to share the studio! Blush & Brass Studios has been months in the making, and on my mind for even longer. Come catch a glimpse of the space where all the magic happens. The before photos are daunting, but full of potential, and the reveal photos show me just how far we’ve come since starting Blush & Brass Studios. Shout out to Homesense Canada for providing such lovely pieces that served as the foundation for our space.
I have a full source list at the bottom
* Homesense sponsored this post, but all thoughts are my own. Thank you for supporting the brands that make PMQ for two possible.

I share the space with Kassidy, another military spouse and local portrait photographer. You can check her out here // Kassidy Dawn Photography //. When we first connected last fall we were immediately on the same page about decor, size, location and budget. We needed a bright and airy space that could be divided to suit our needs, and allow us to work in the same space at the same time. Not too hard to find, right?
Our initial budget was 400$ each (all in – taxes, utilities, internet etc.) but we shortly found out that if we wanted to stick to that pricing we’d need to bring in a 3rd person, and that’s where things got tricky. After looking at spaces with an initial 3rd, we were resolved to stay just the two of us.

I was not prepared for how expensive a studio space near us would cost. We are in Oromocto, NB not Toronto, so I didn’t anticipate having such a hard time finding a studio space within our budget. We quickly discovered that most places around us had a storefront, and therefore wanted to charge way more because of that. We extended our search radius to the North side of Fredericton (about 30 mins away).
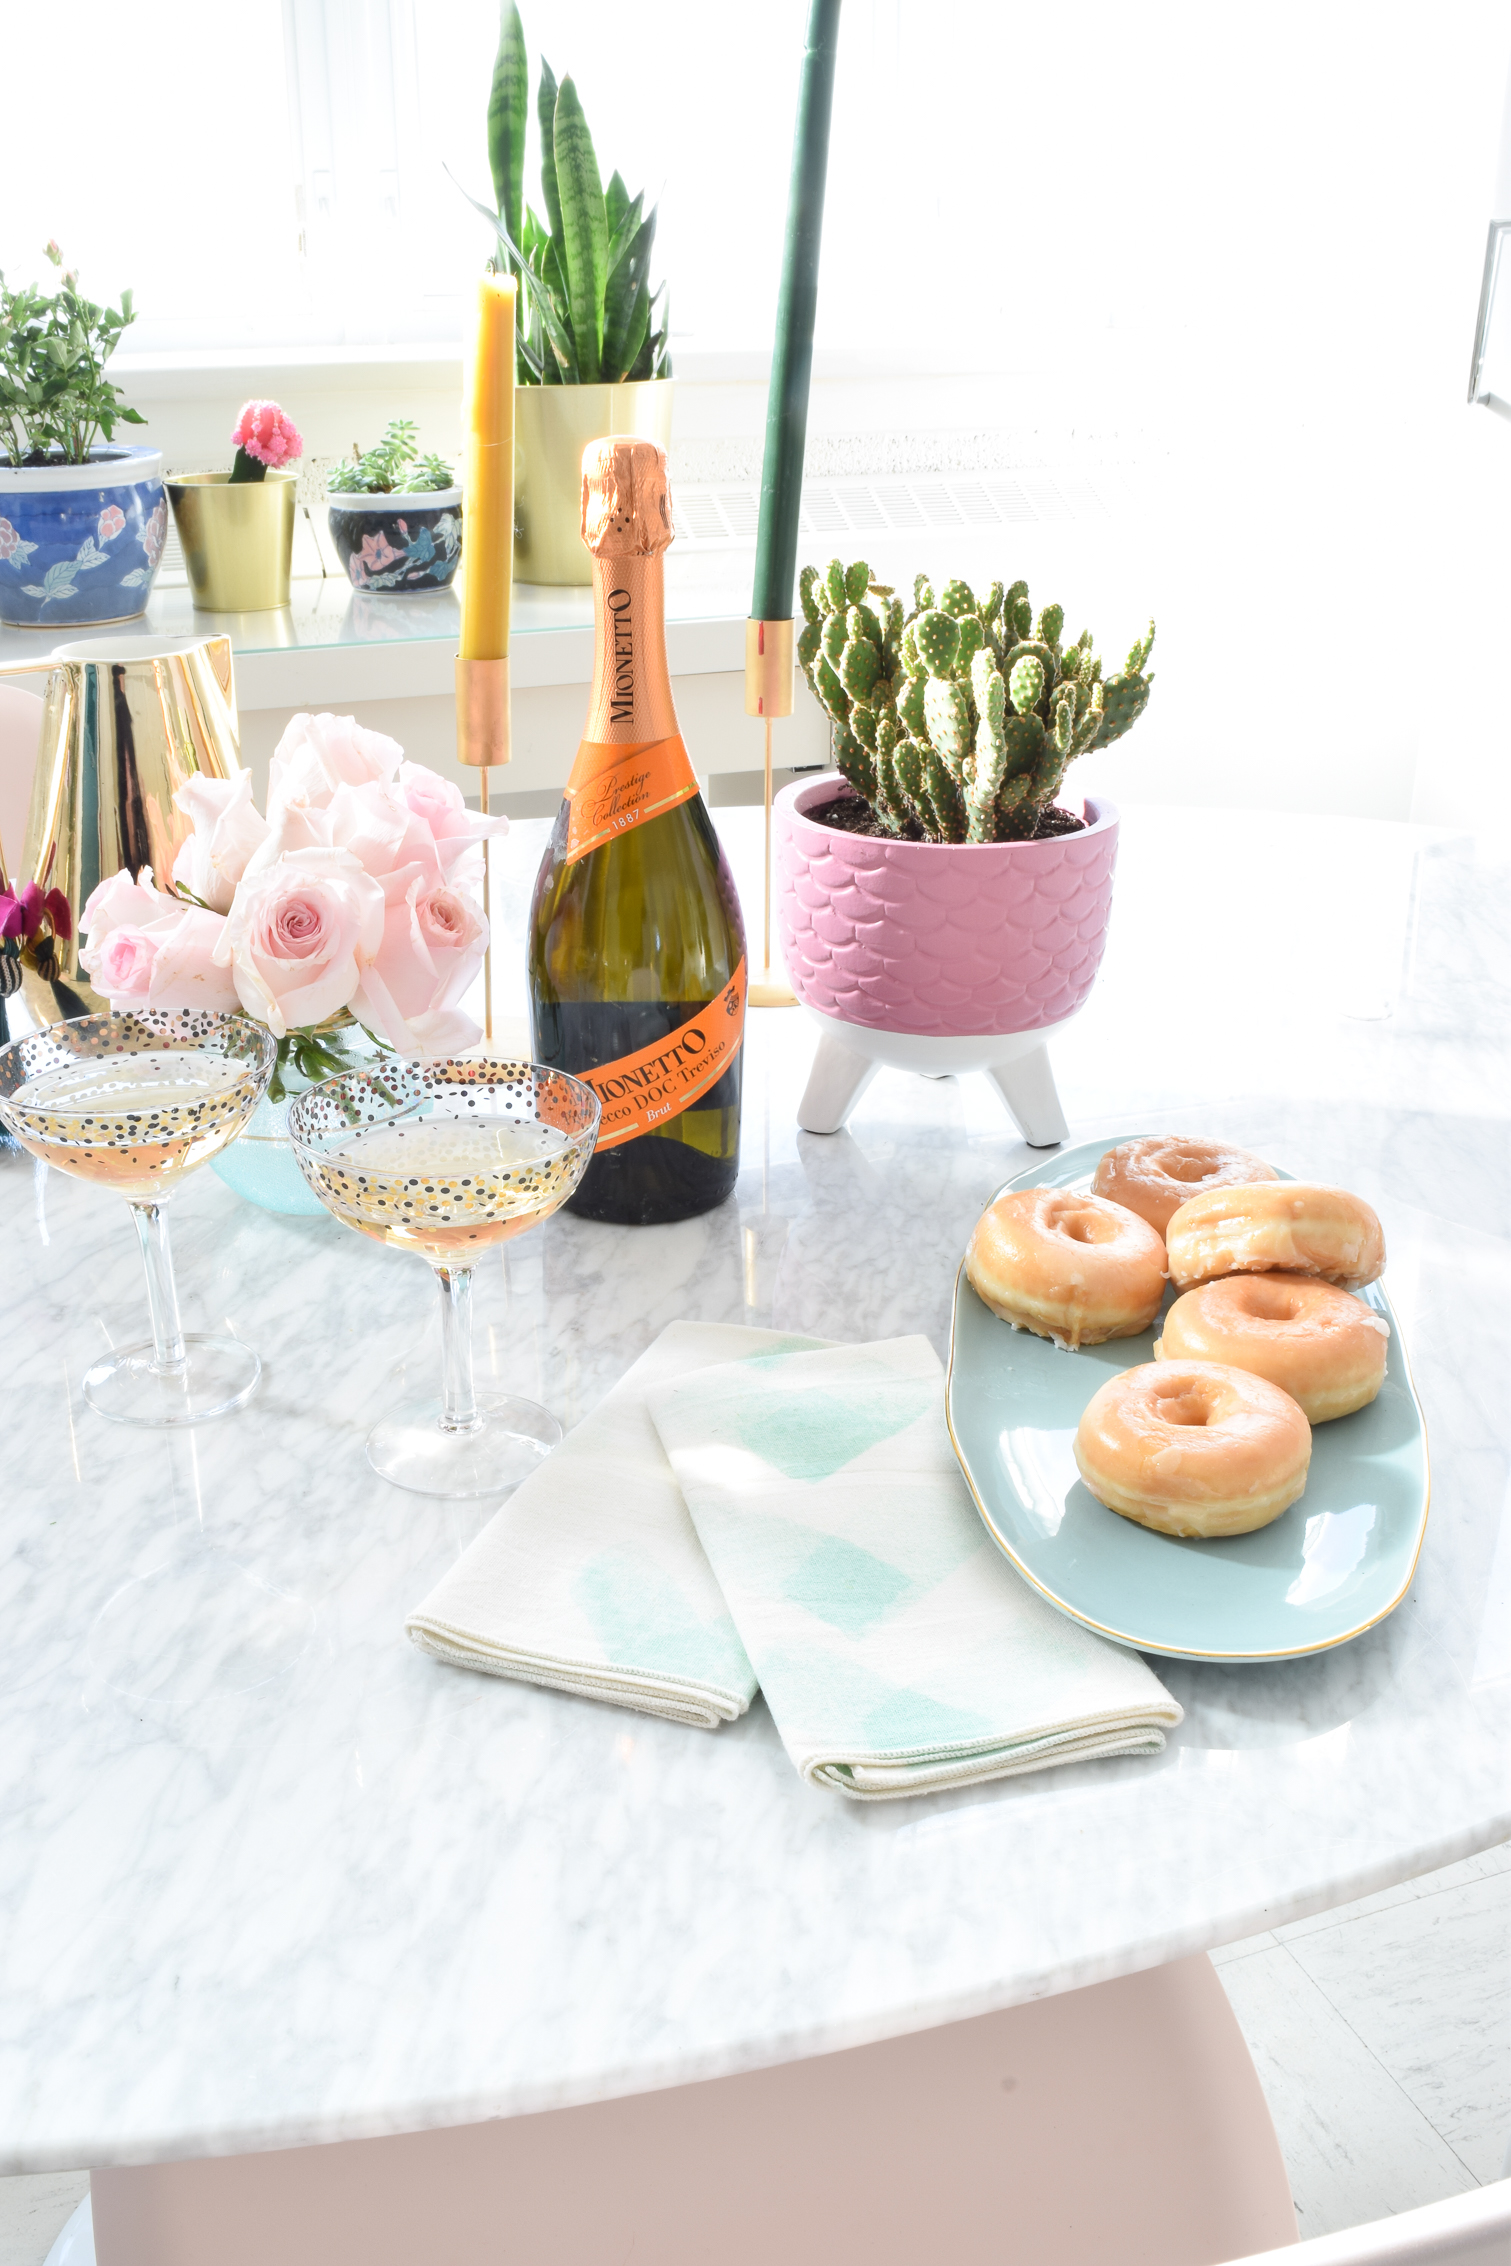
That’s when things got interesting! The Ville Cooperative is an old school that has been turned into a cooperative with affordable office space. I had actually rented a space in The Ville last spring for my Easter tablescape // here // and was already kind of familiar with how the building worked. We found a big ole’ classroom with lots of potential that met our sizing and budget restrictions, so we took the plunge and started the process of opening the studio in late November. While we weren’t able to stick to 400$ a month, we’re relatively close, so I’ll take that. We are getting 700 square feet of space after all.


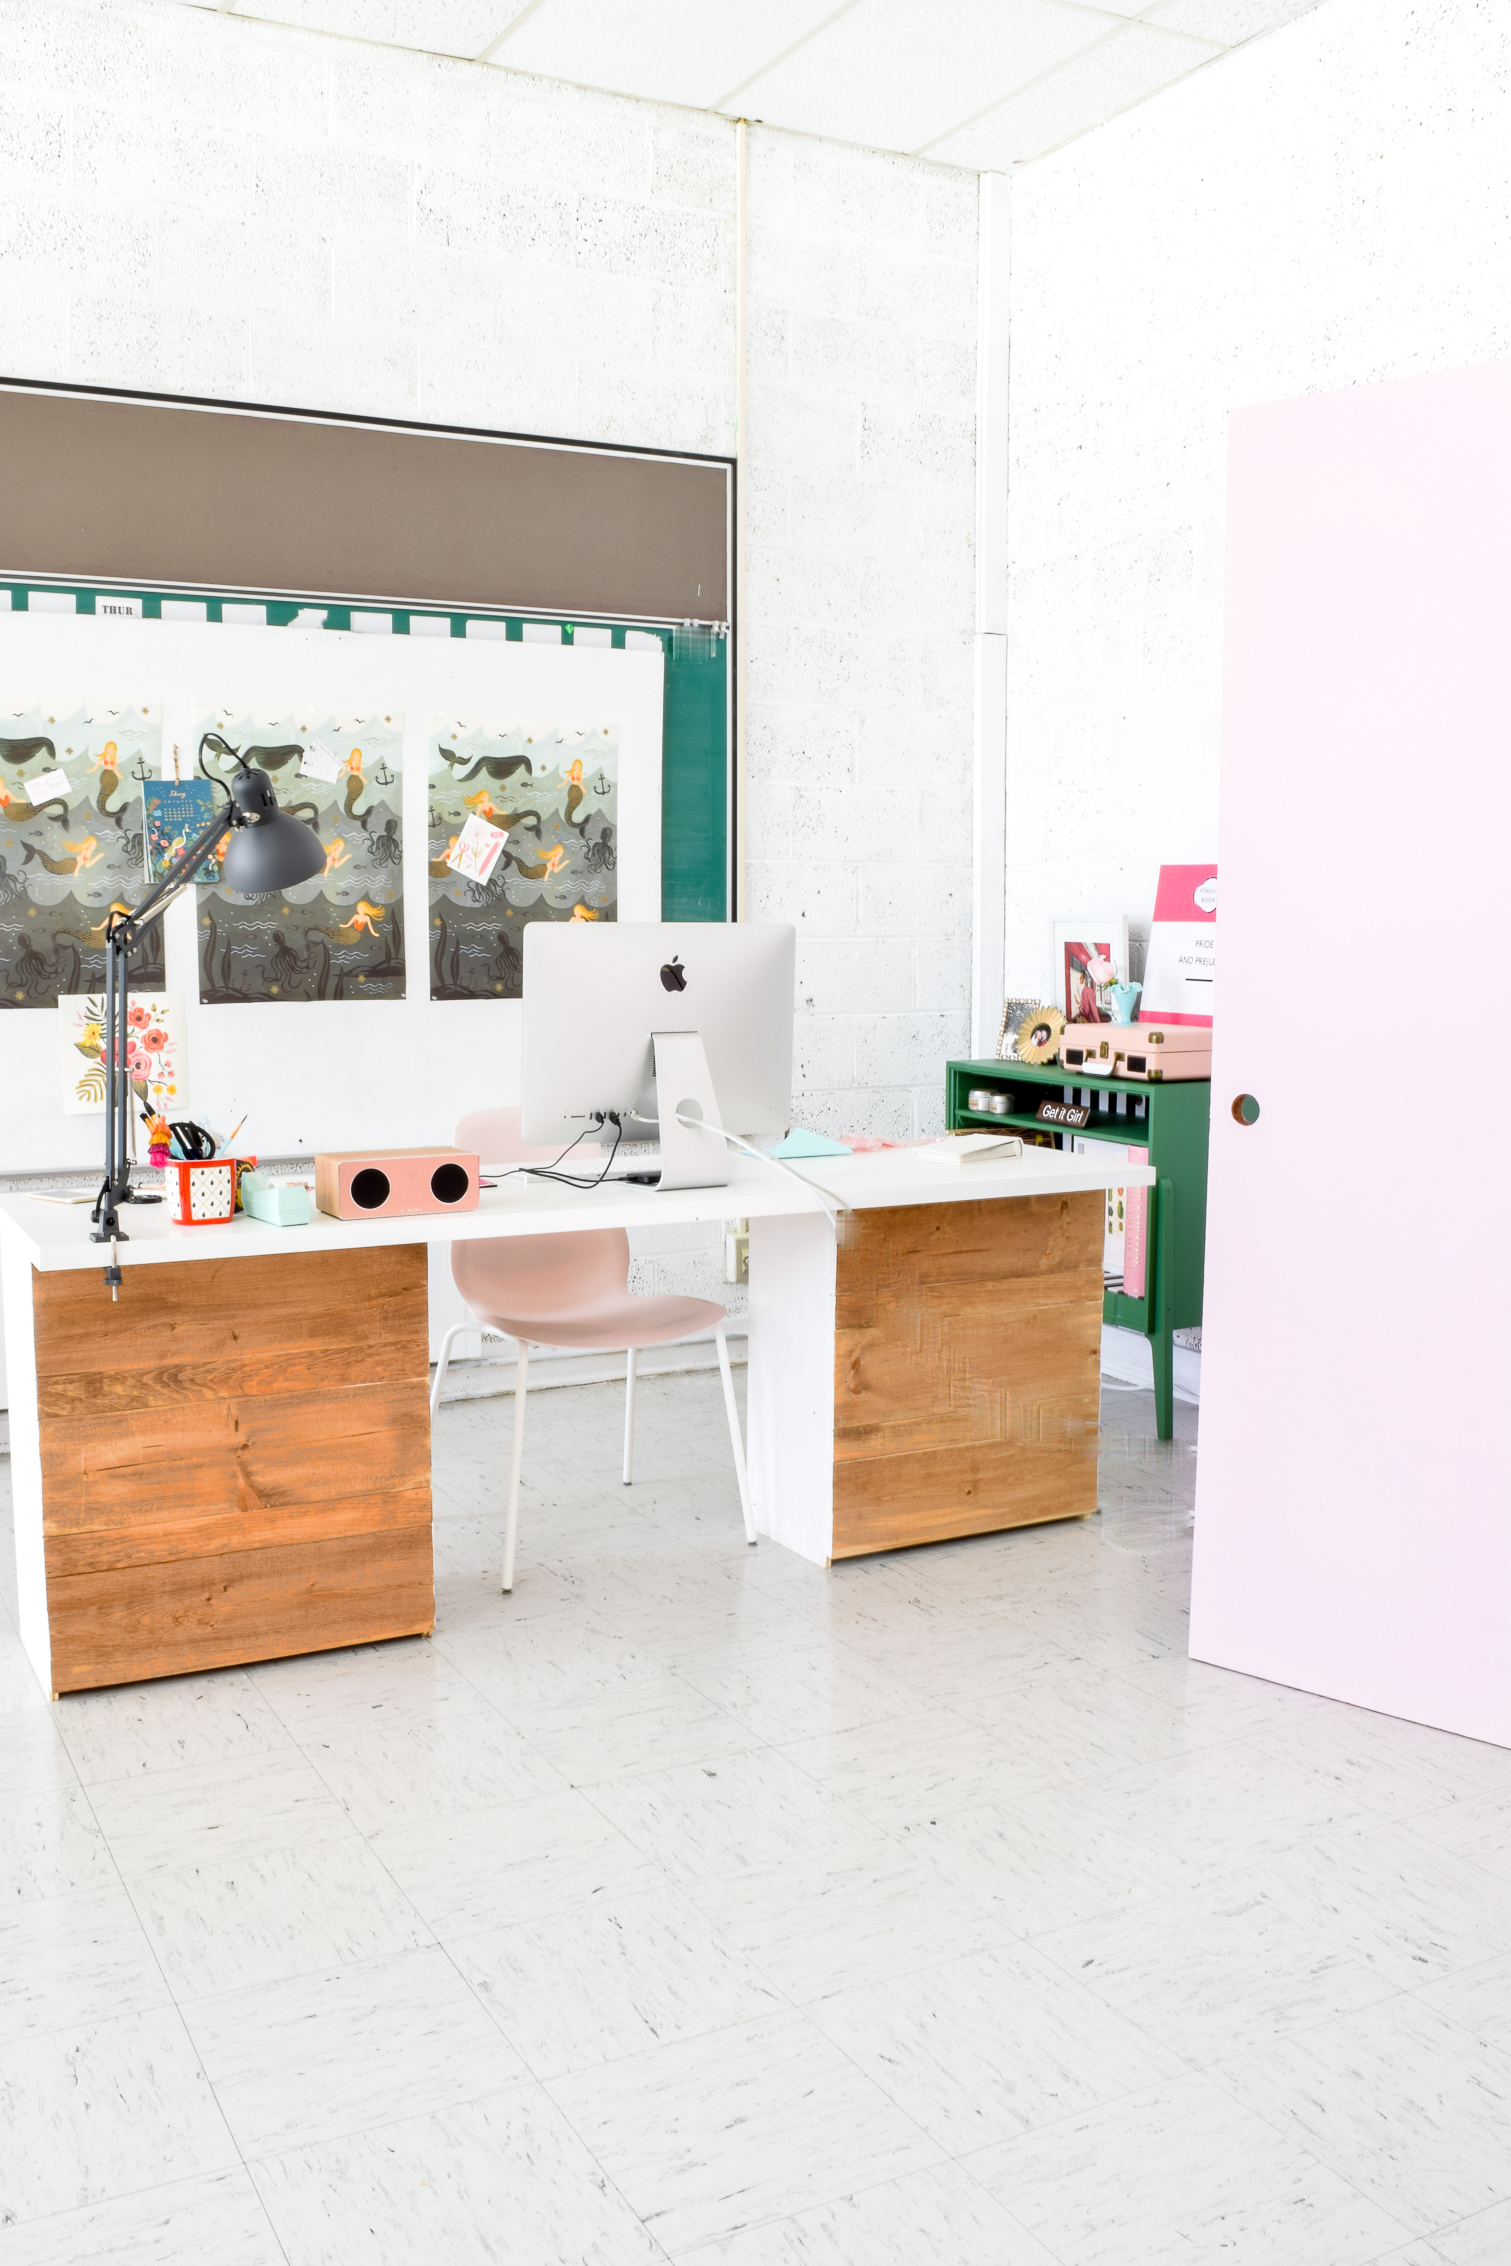
We were given access to the space as soon as we signed the lease — even though it didn’t technically start until January 1st — so we were able to start painting and prepping before we took off for Christmas. That was nice, but all the upstart costs like paint, furniture, and shelving have been heavy. Thankfully Homesense was kind enough to provide a few of the key pieces, and we were able to DIY the rest, like DIY IKEA Hack Desks // here //.
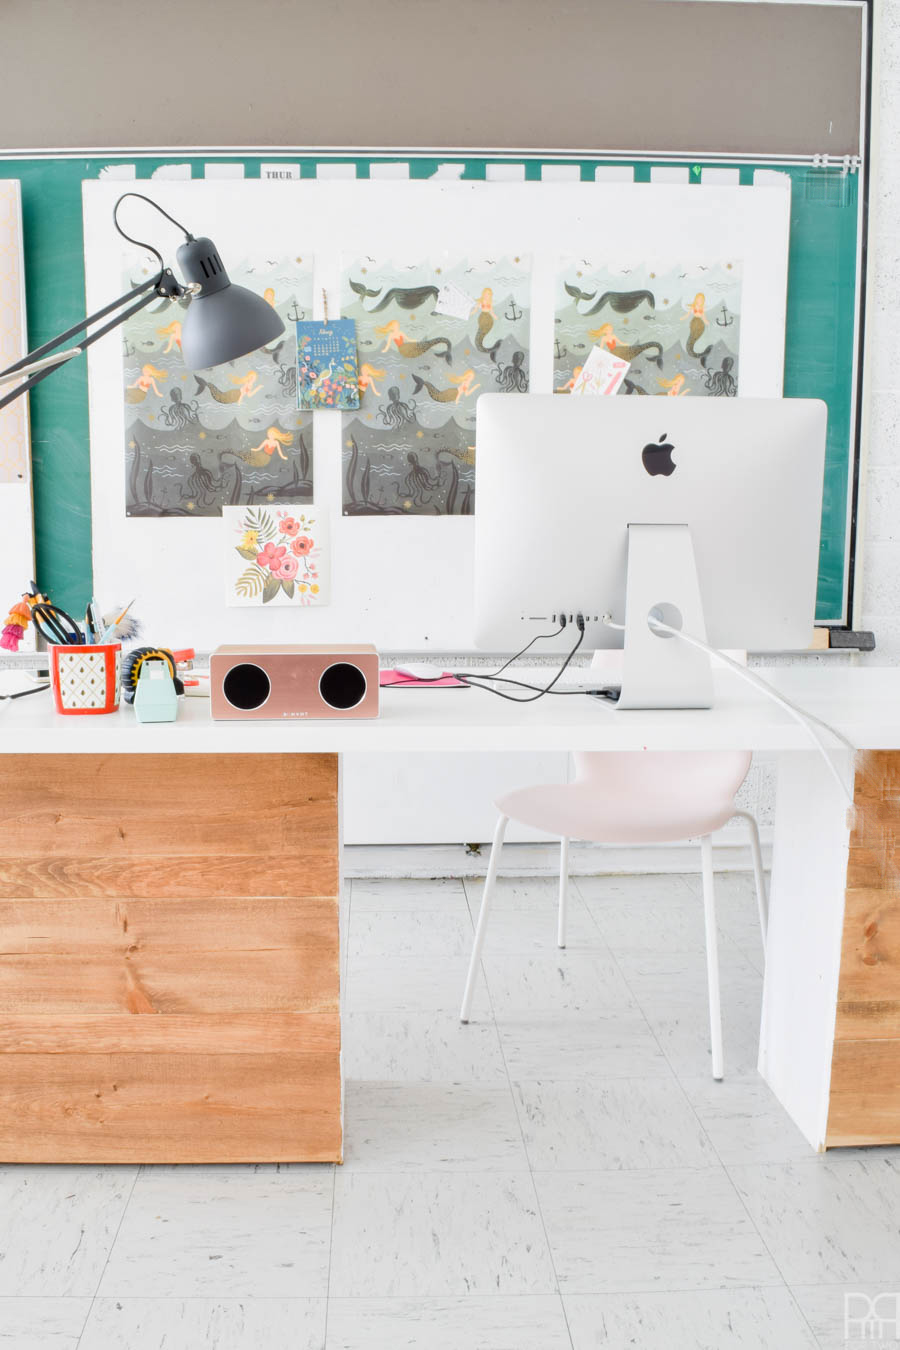
Kassidy’s side of the room is a little less developed than mine, but only because she doesn’t do all her work from the studio. I do though! As many IG stories can confirm, I am at the studio almost all day every day.
Since she does portraits, her set-ups are less complicated. By shooting against the windows she has beautiful back-light for almost everything she does, so the hanging wall of curtains and bed are permanent fixtures.


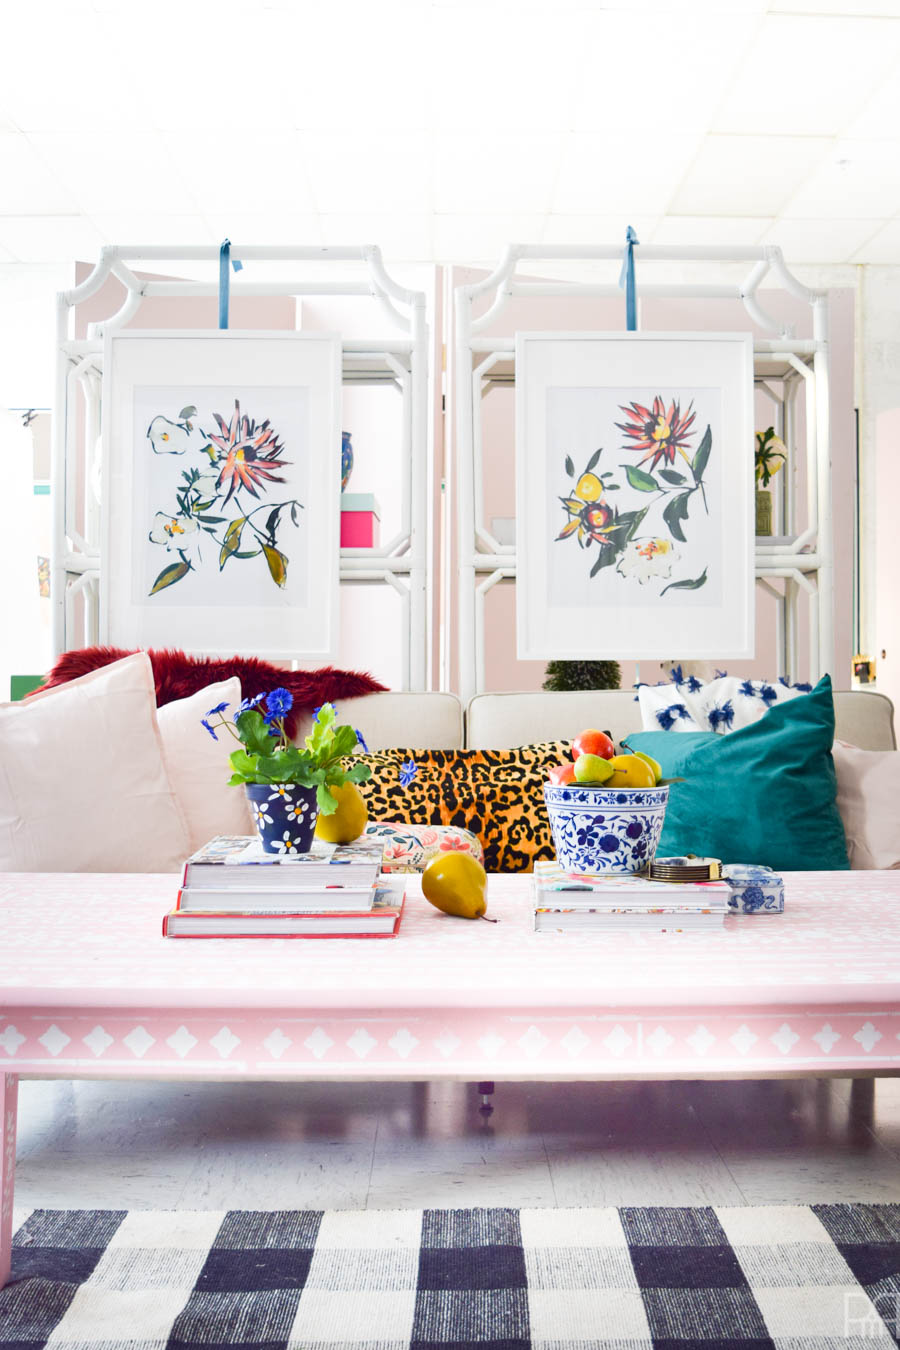
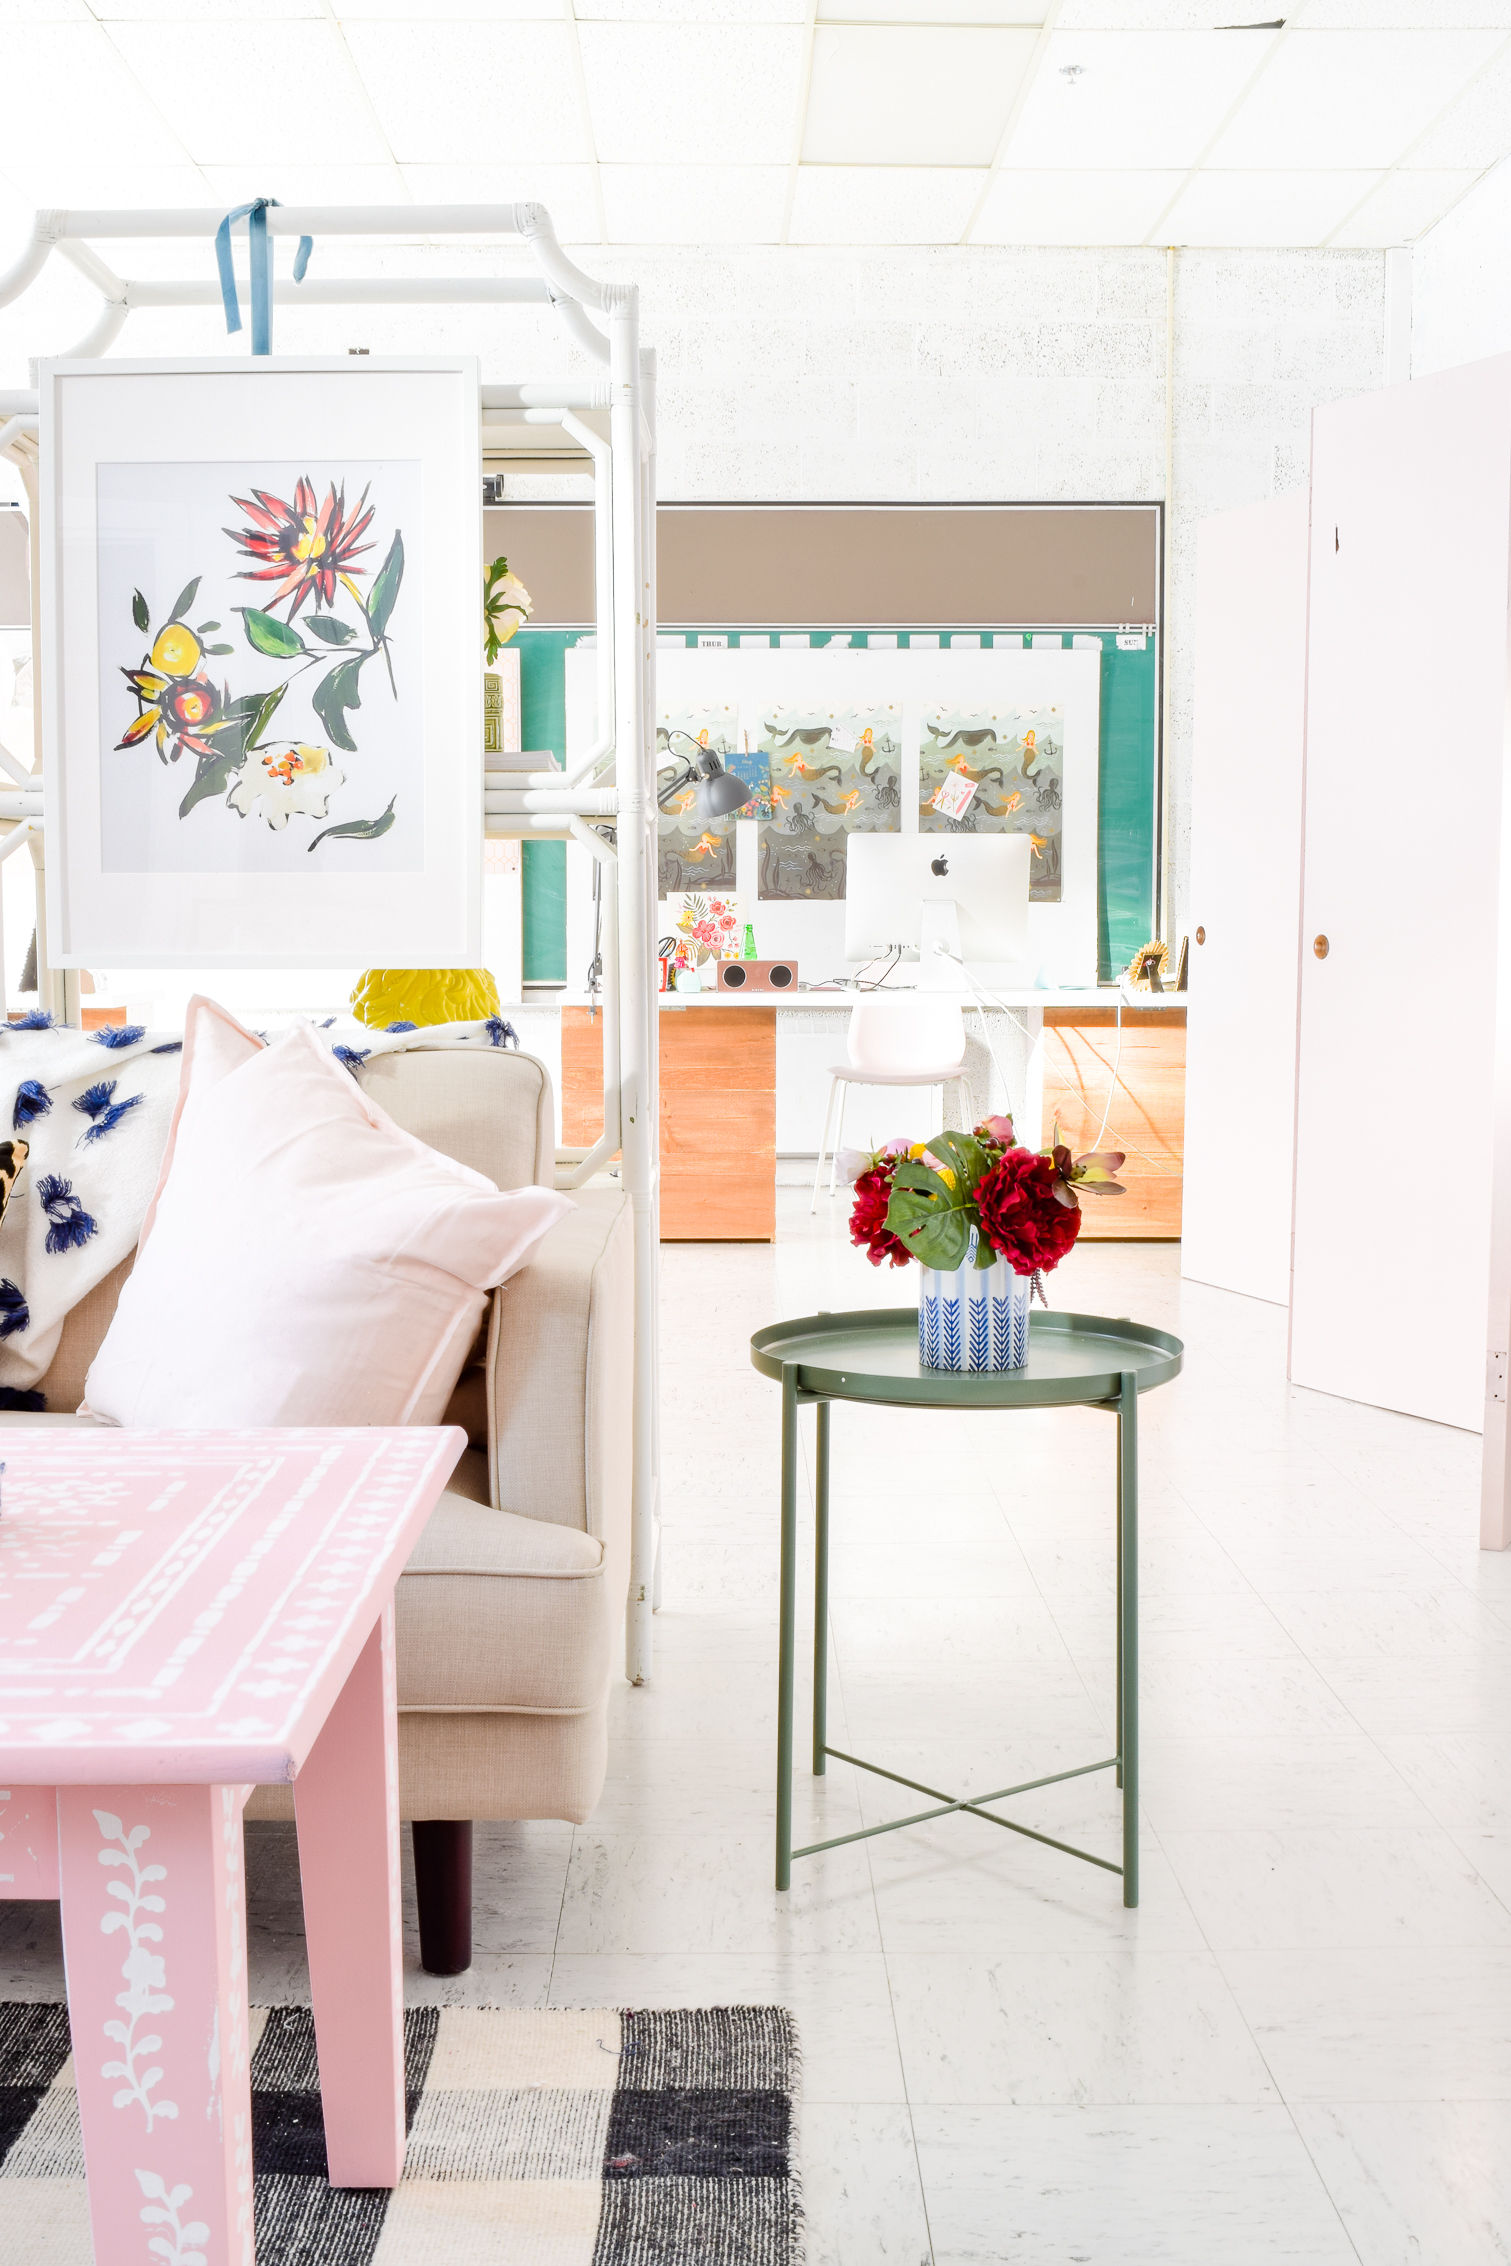
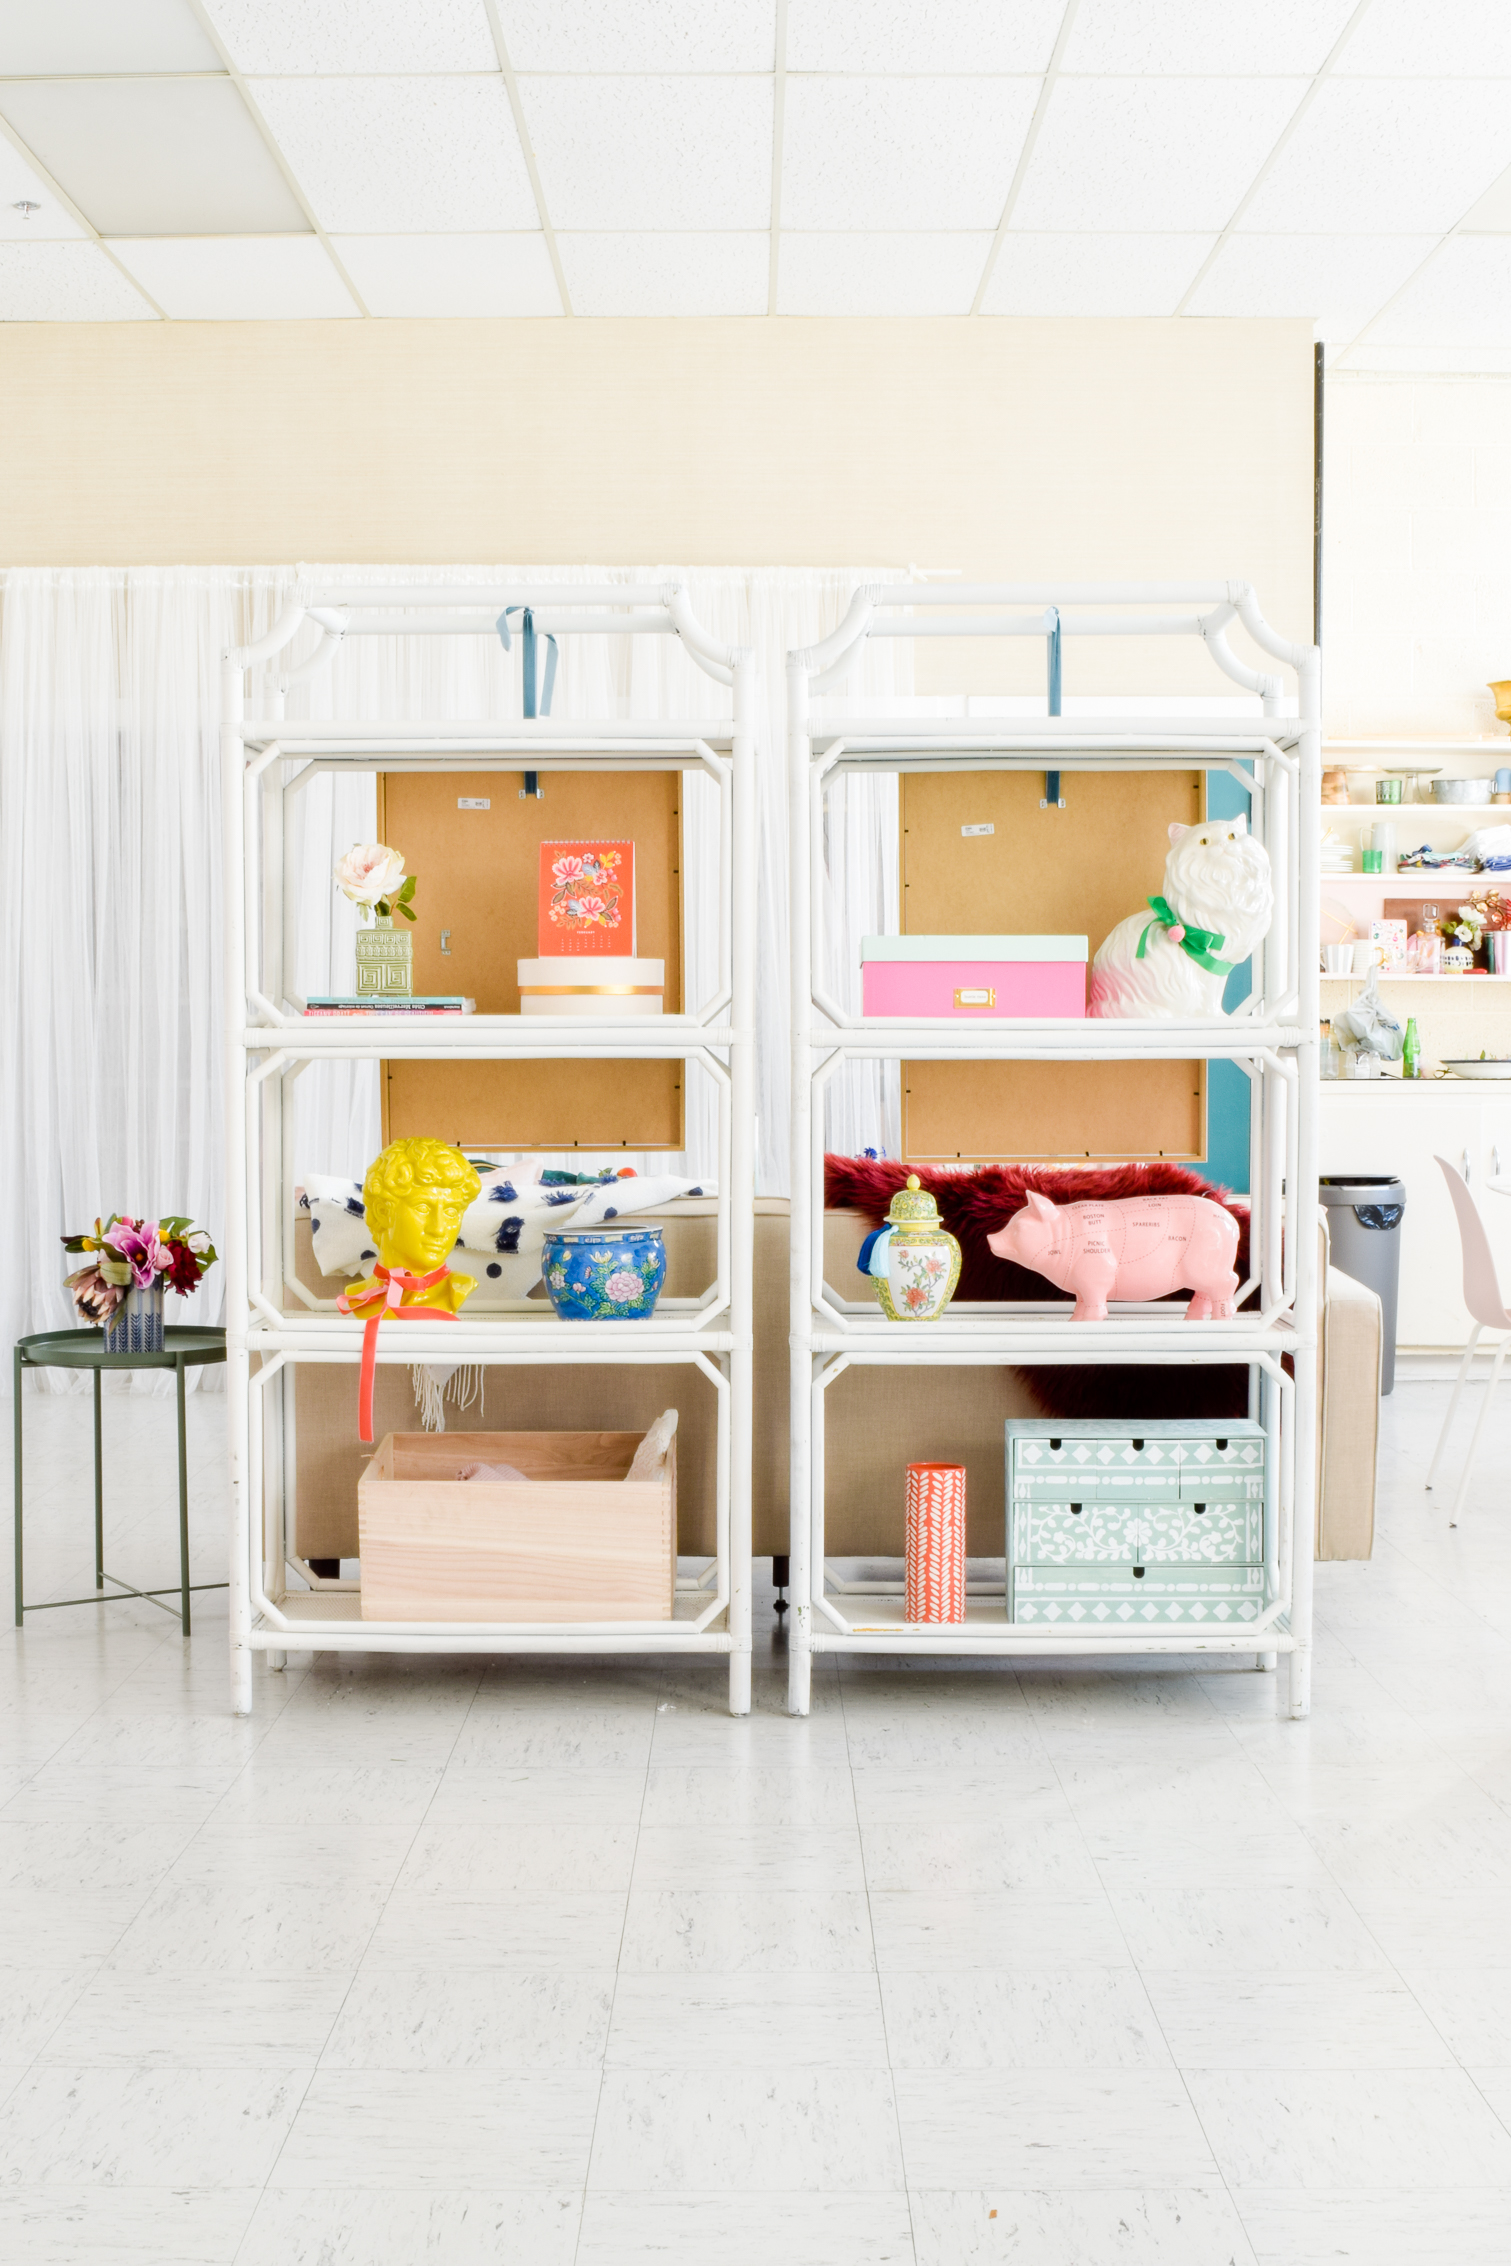
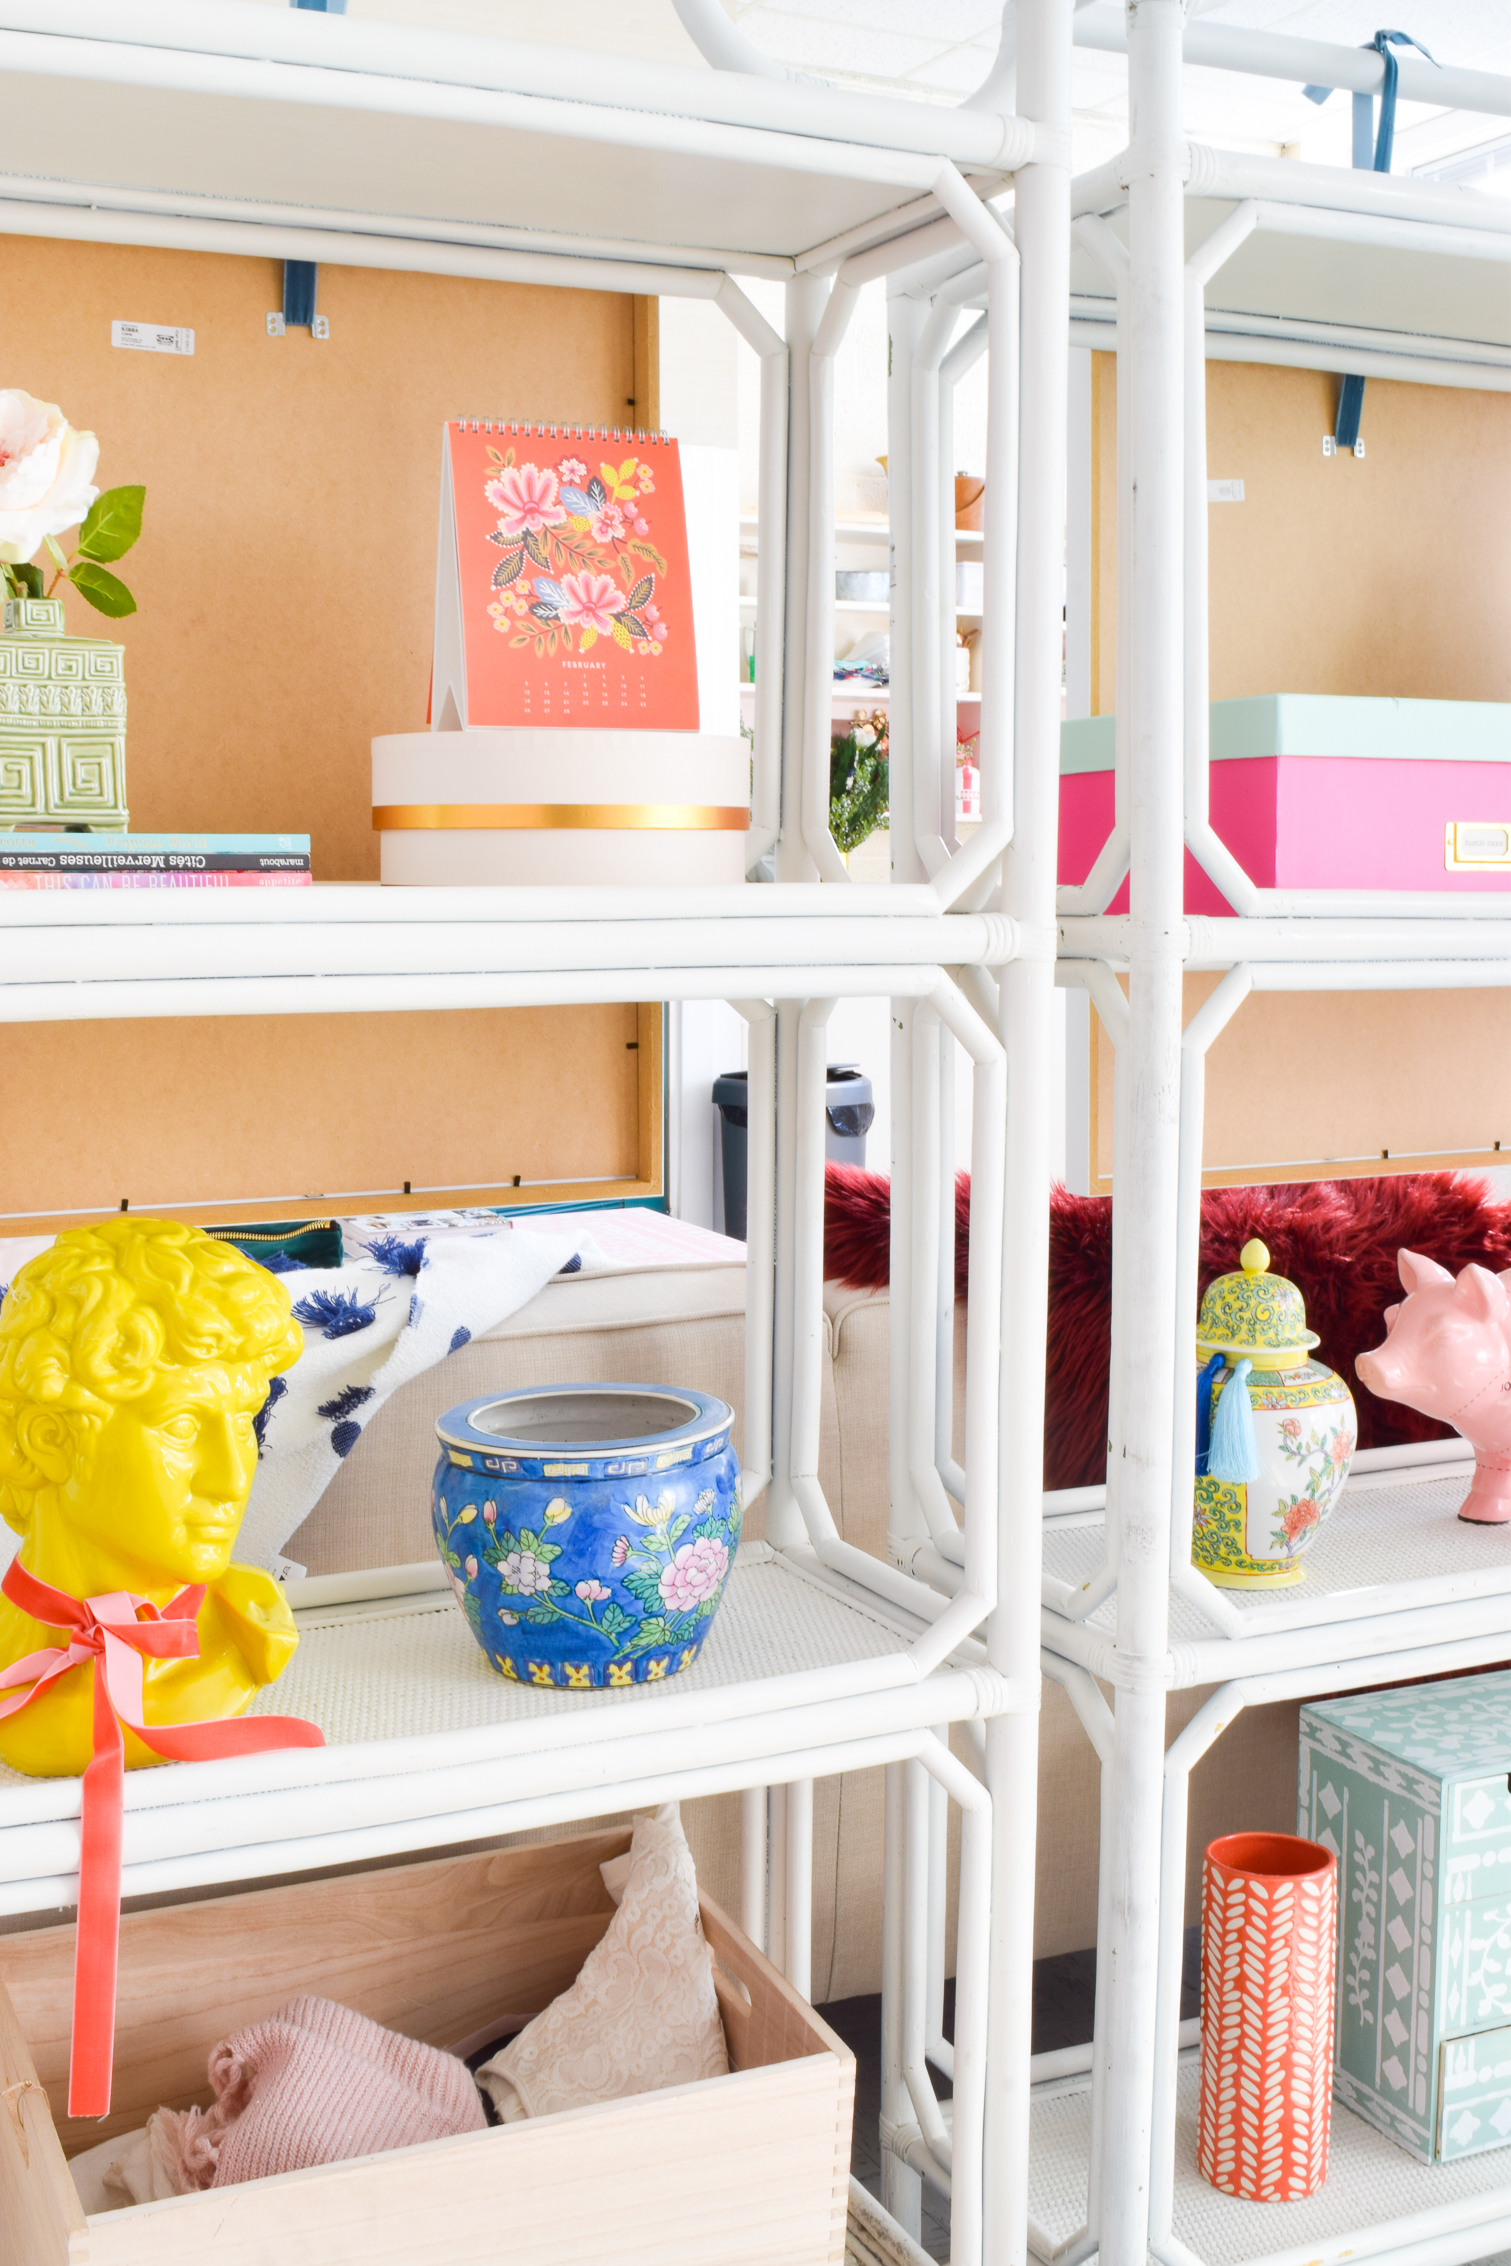
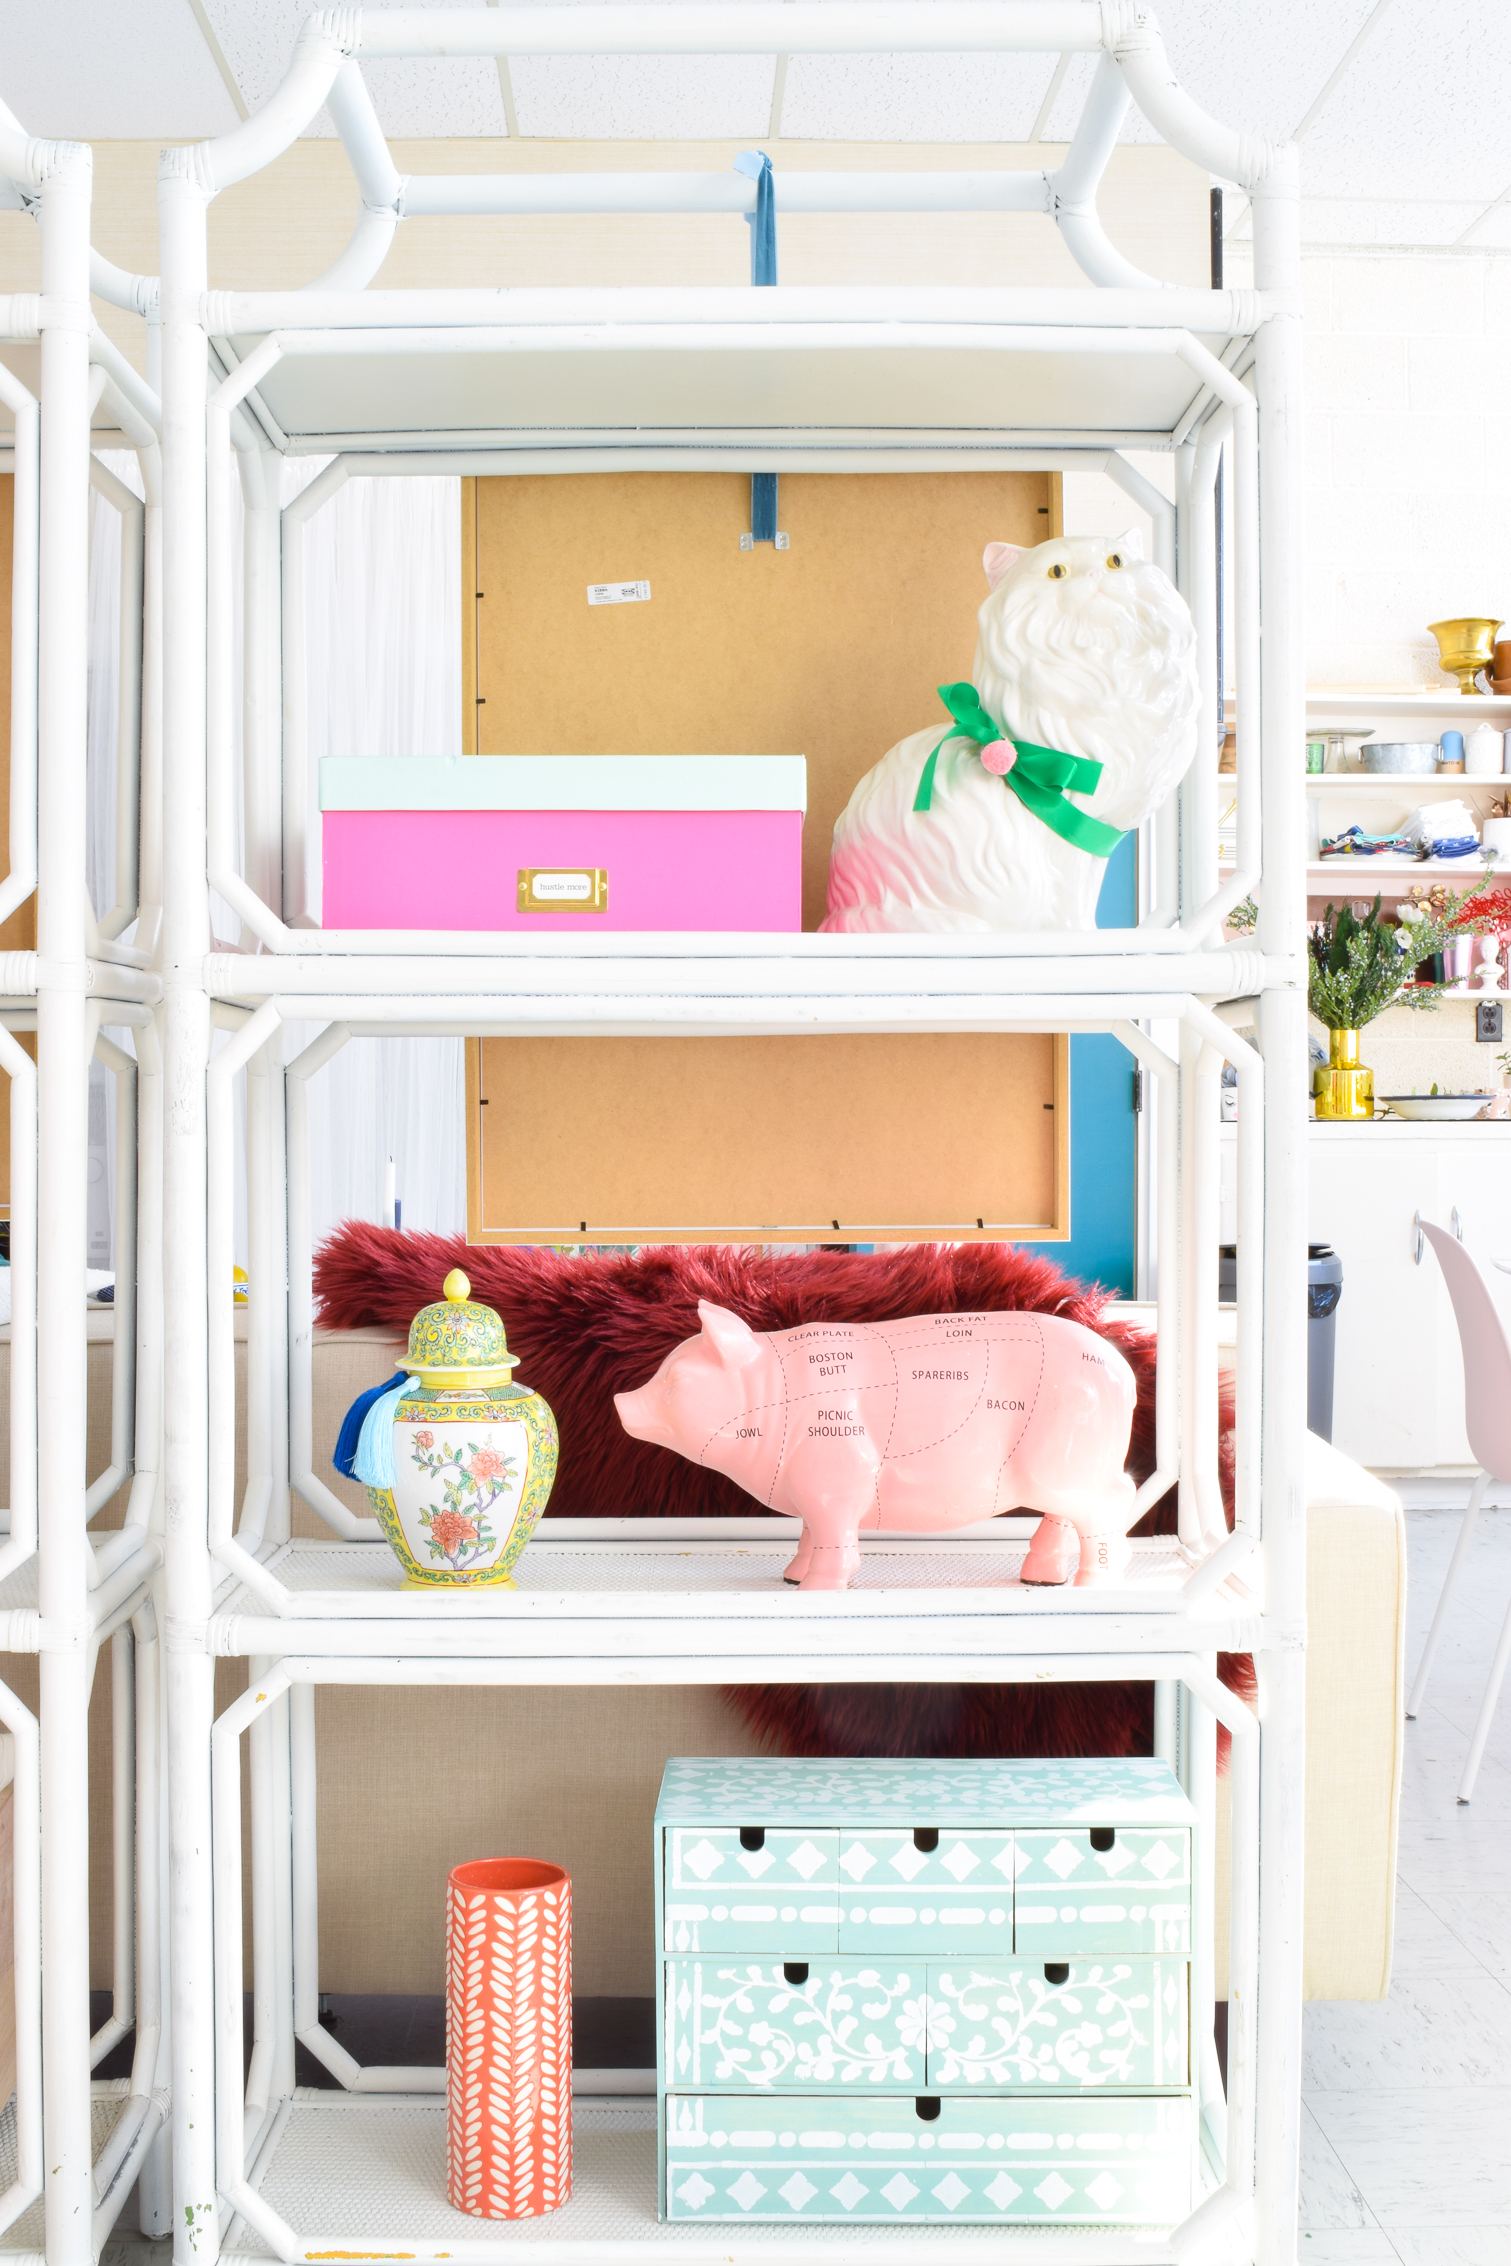
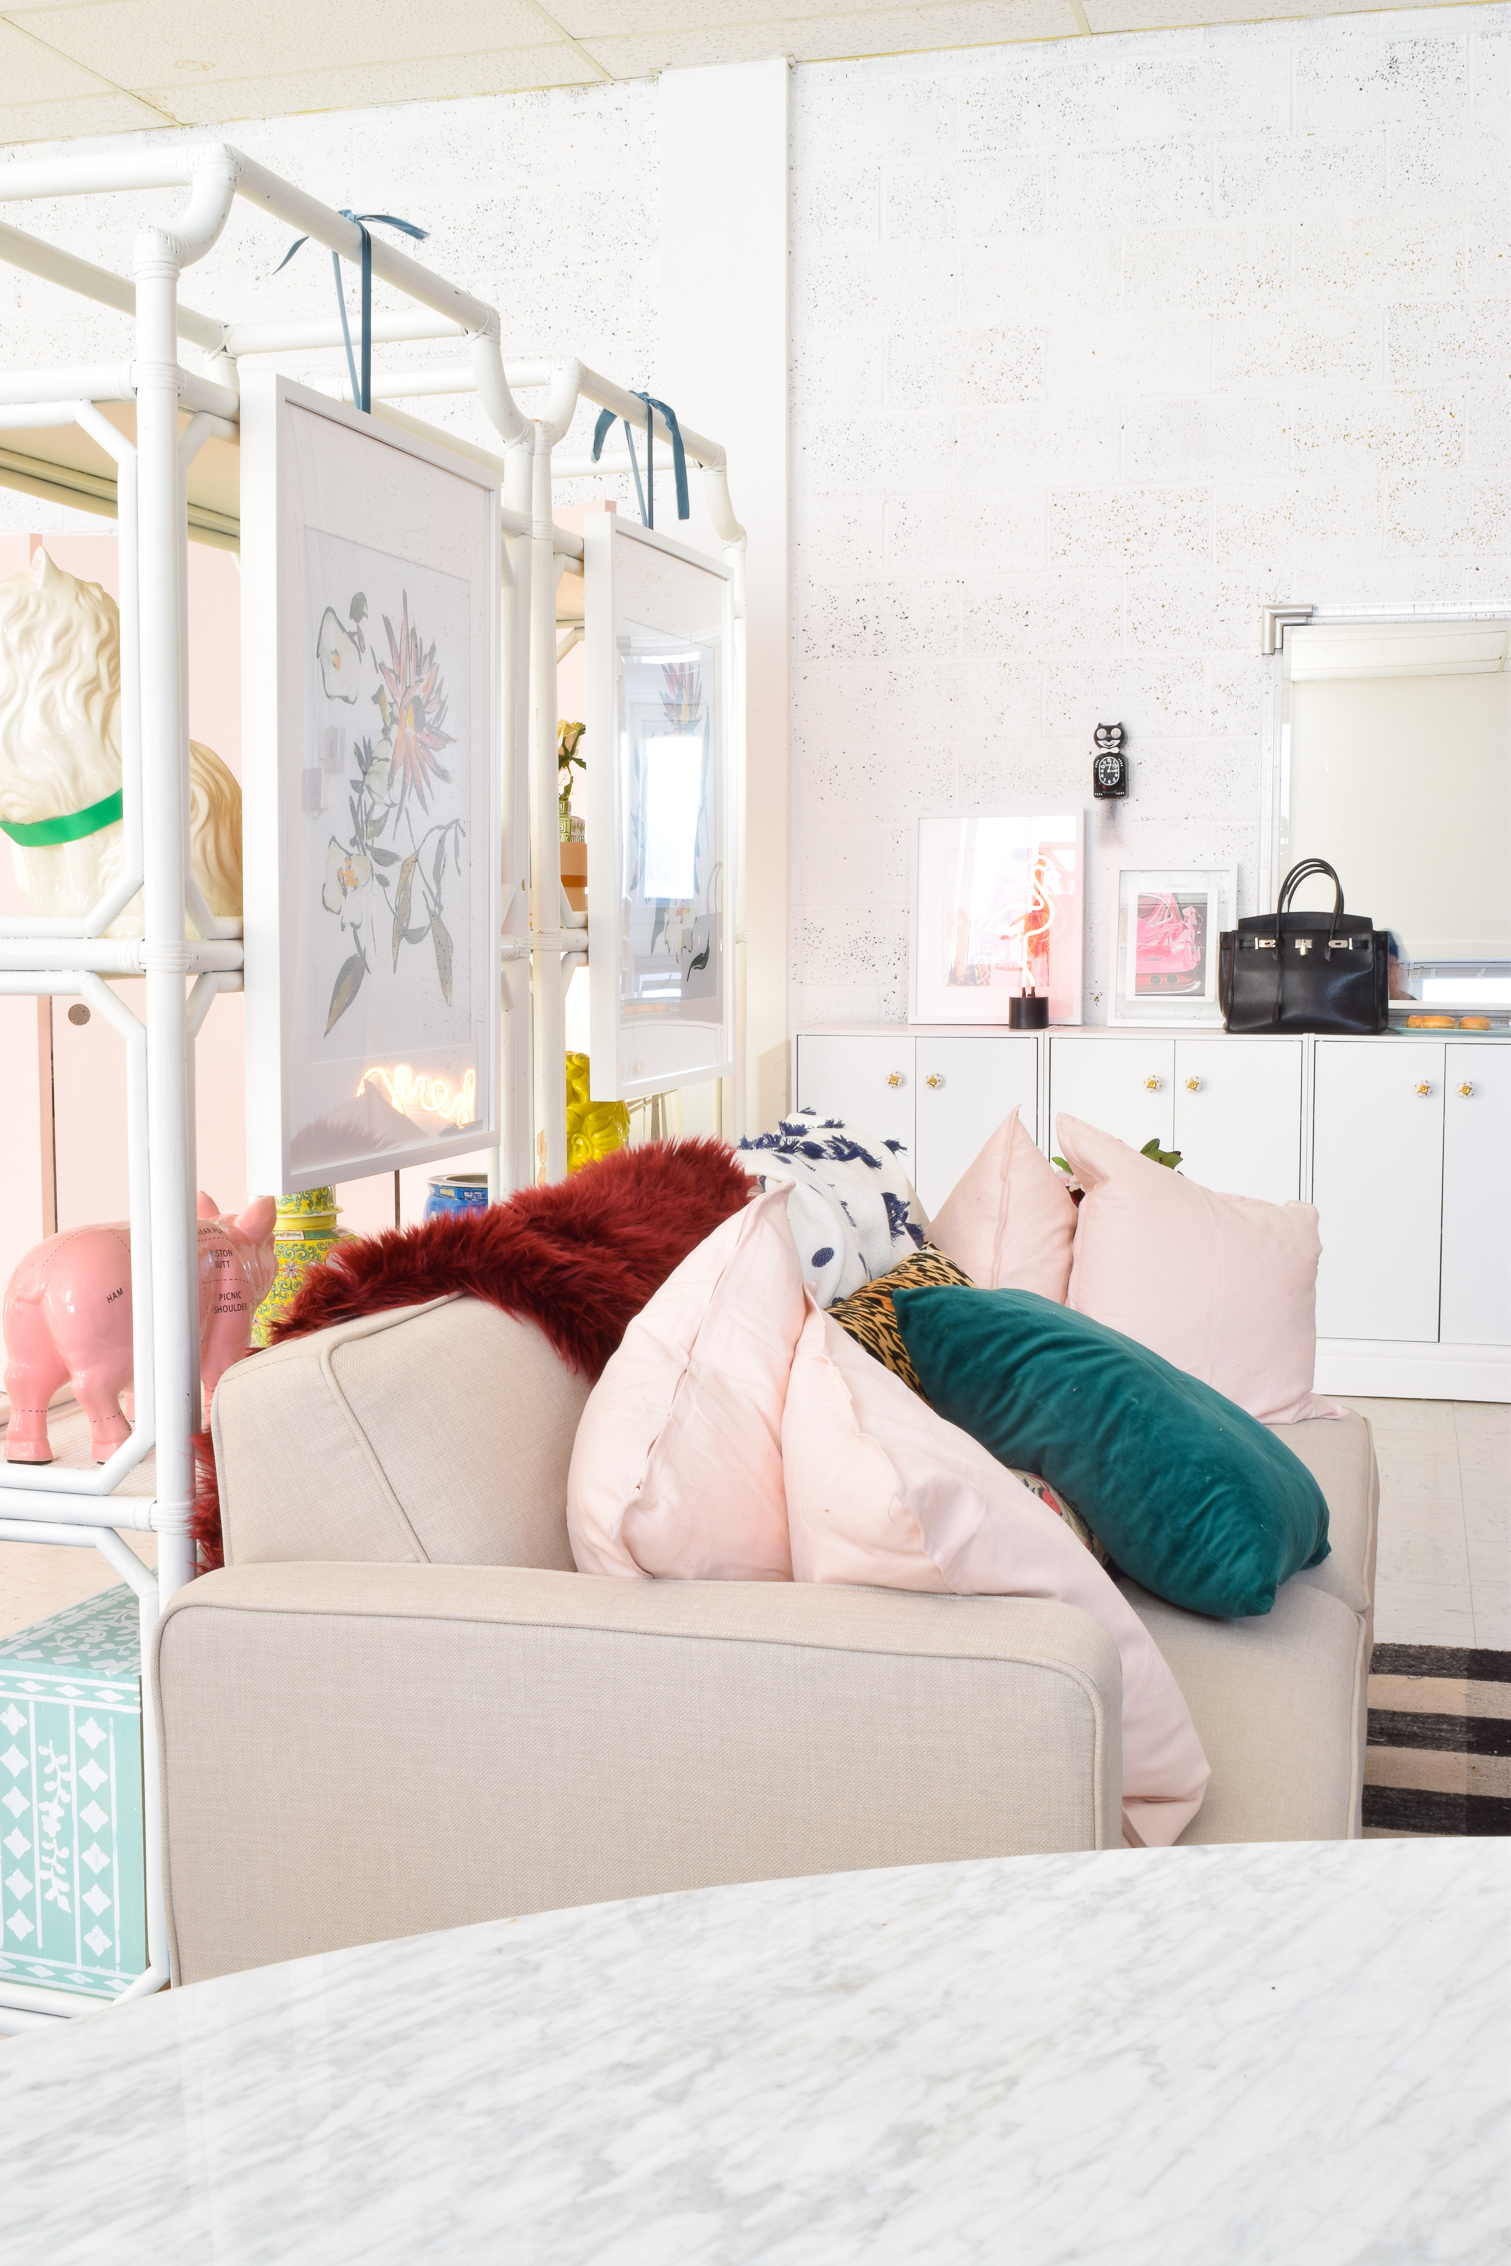
From my desk, looking back at the other wall I’ve got these beautiful bamboo pagoda style shelves. I styled them facing the desks, because on the other side, the hanging frames and couch hide everything else.
We snagged them from Homesense and love them just the way they are, although a good paint job one day isn’t out of the order.
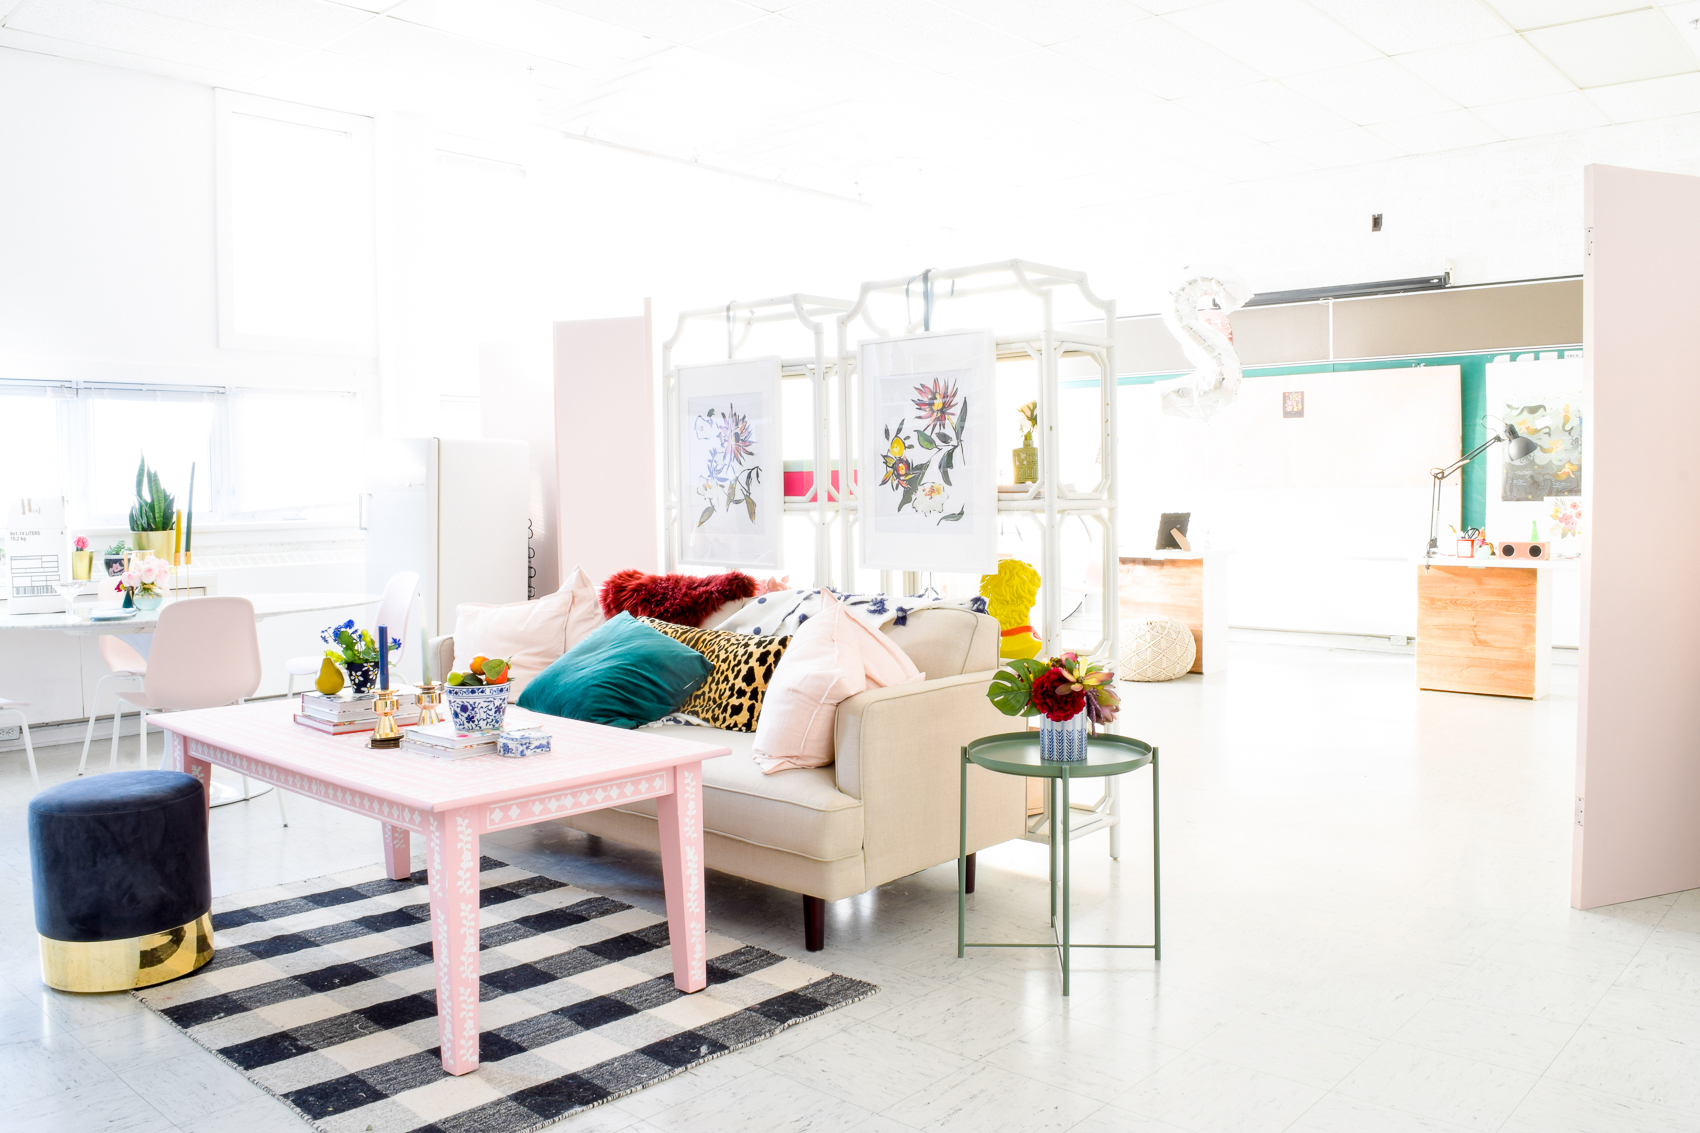
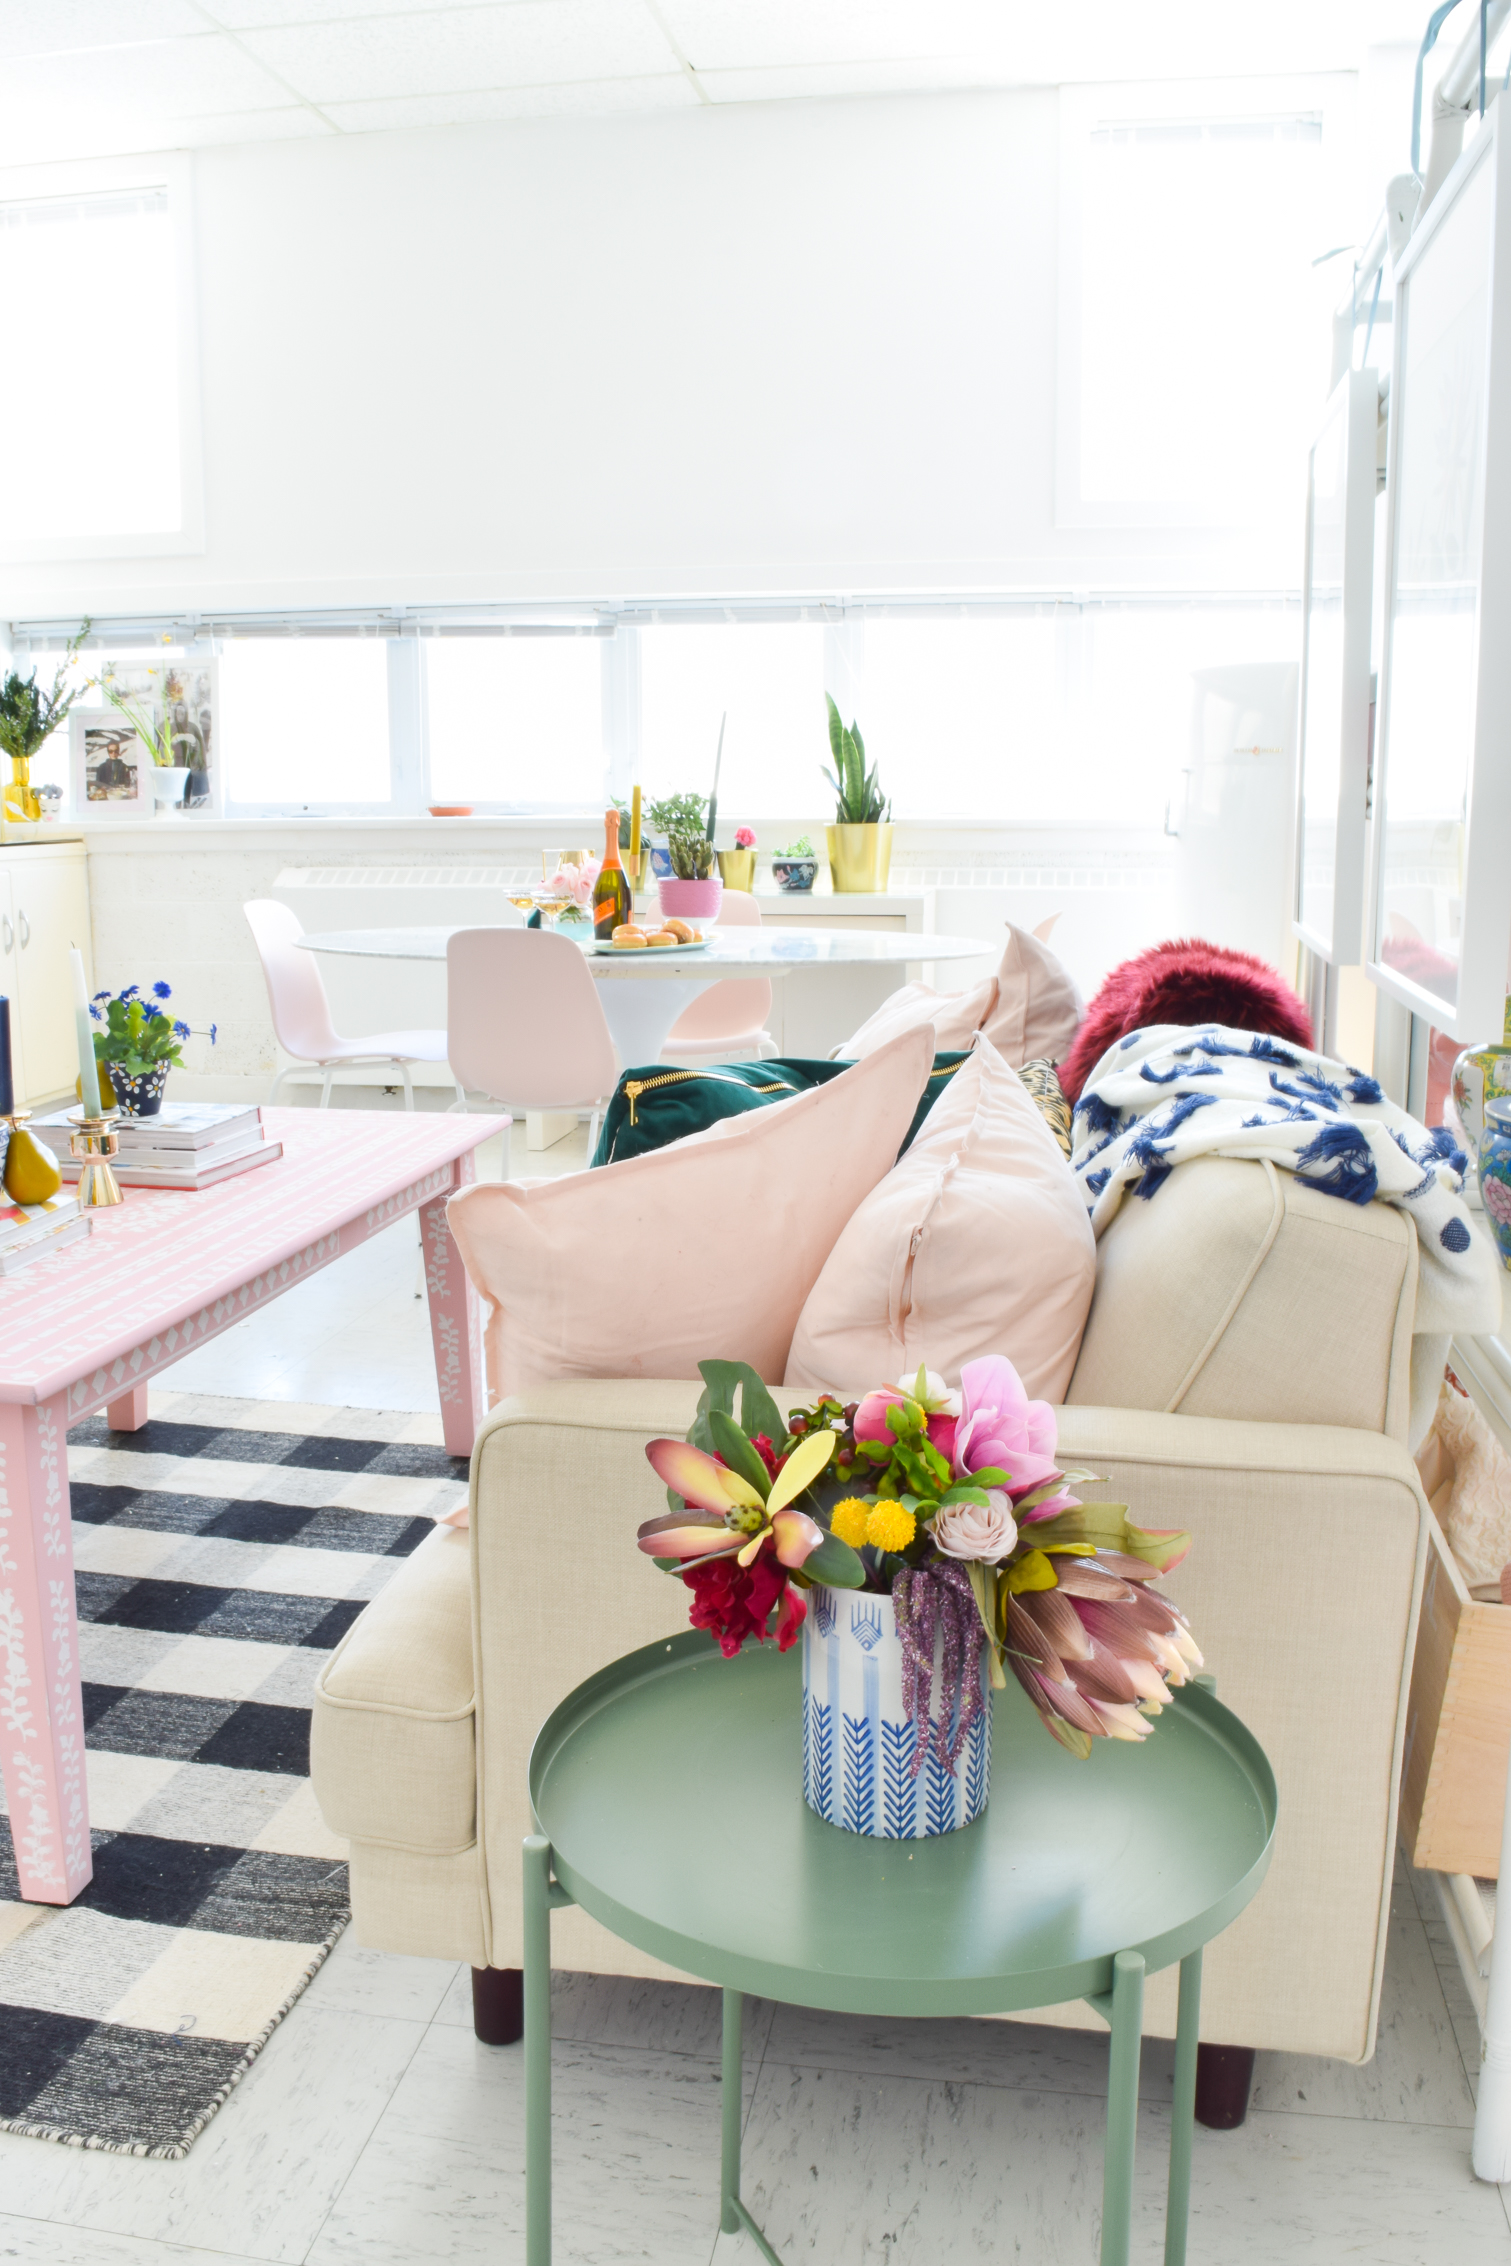
When you walk in, you’re immediately faced with the living area, but if you turn to the left there’s a bank of big tule curtains that are actually cleverly concealing my craft and prop storage.
We used utility shelving from Canadian Tire and a bit of fresh paint to brighten it up. Mostly though, it hides the mess that I had somehow crammed into my very tiny guest room/office at home.
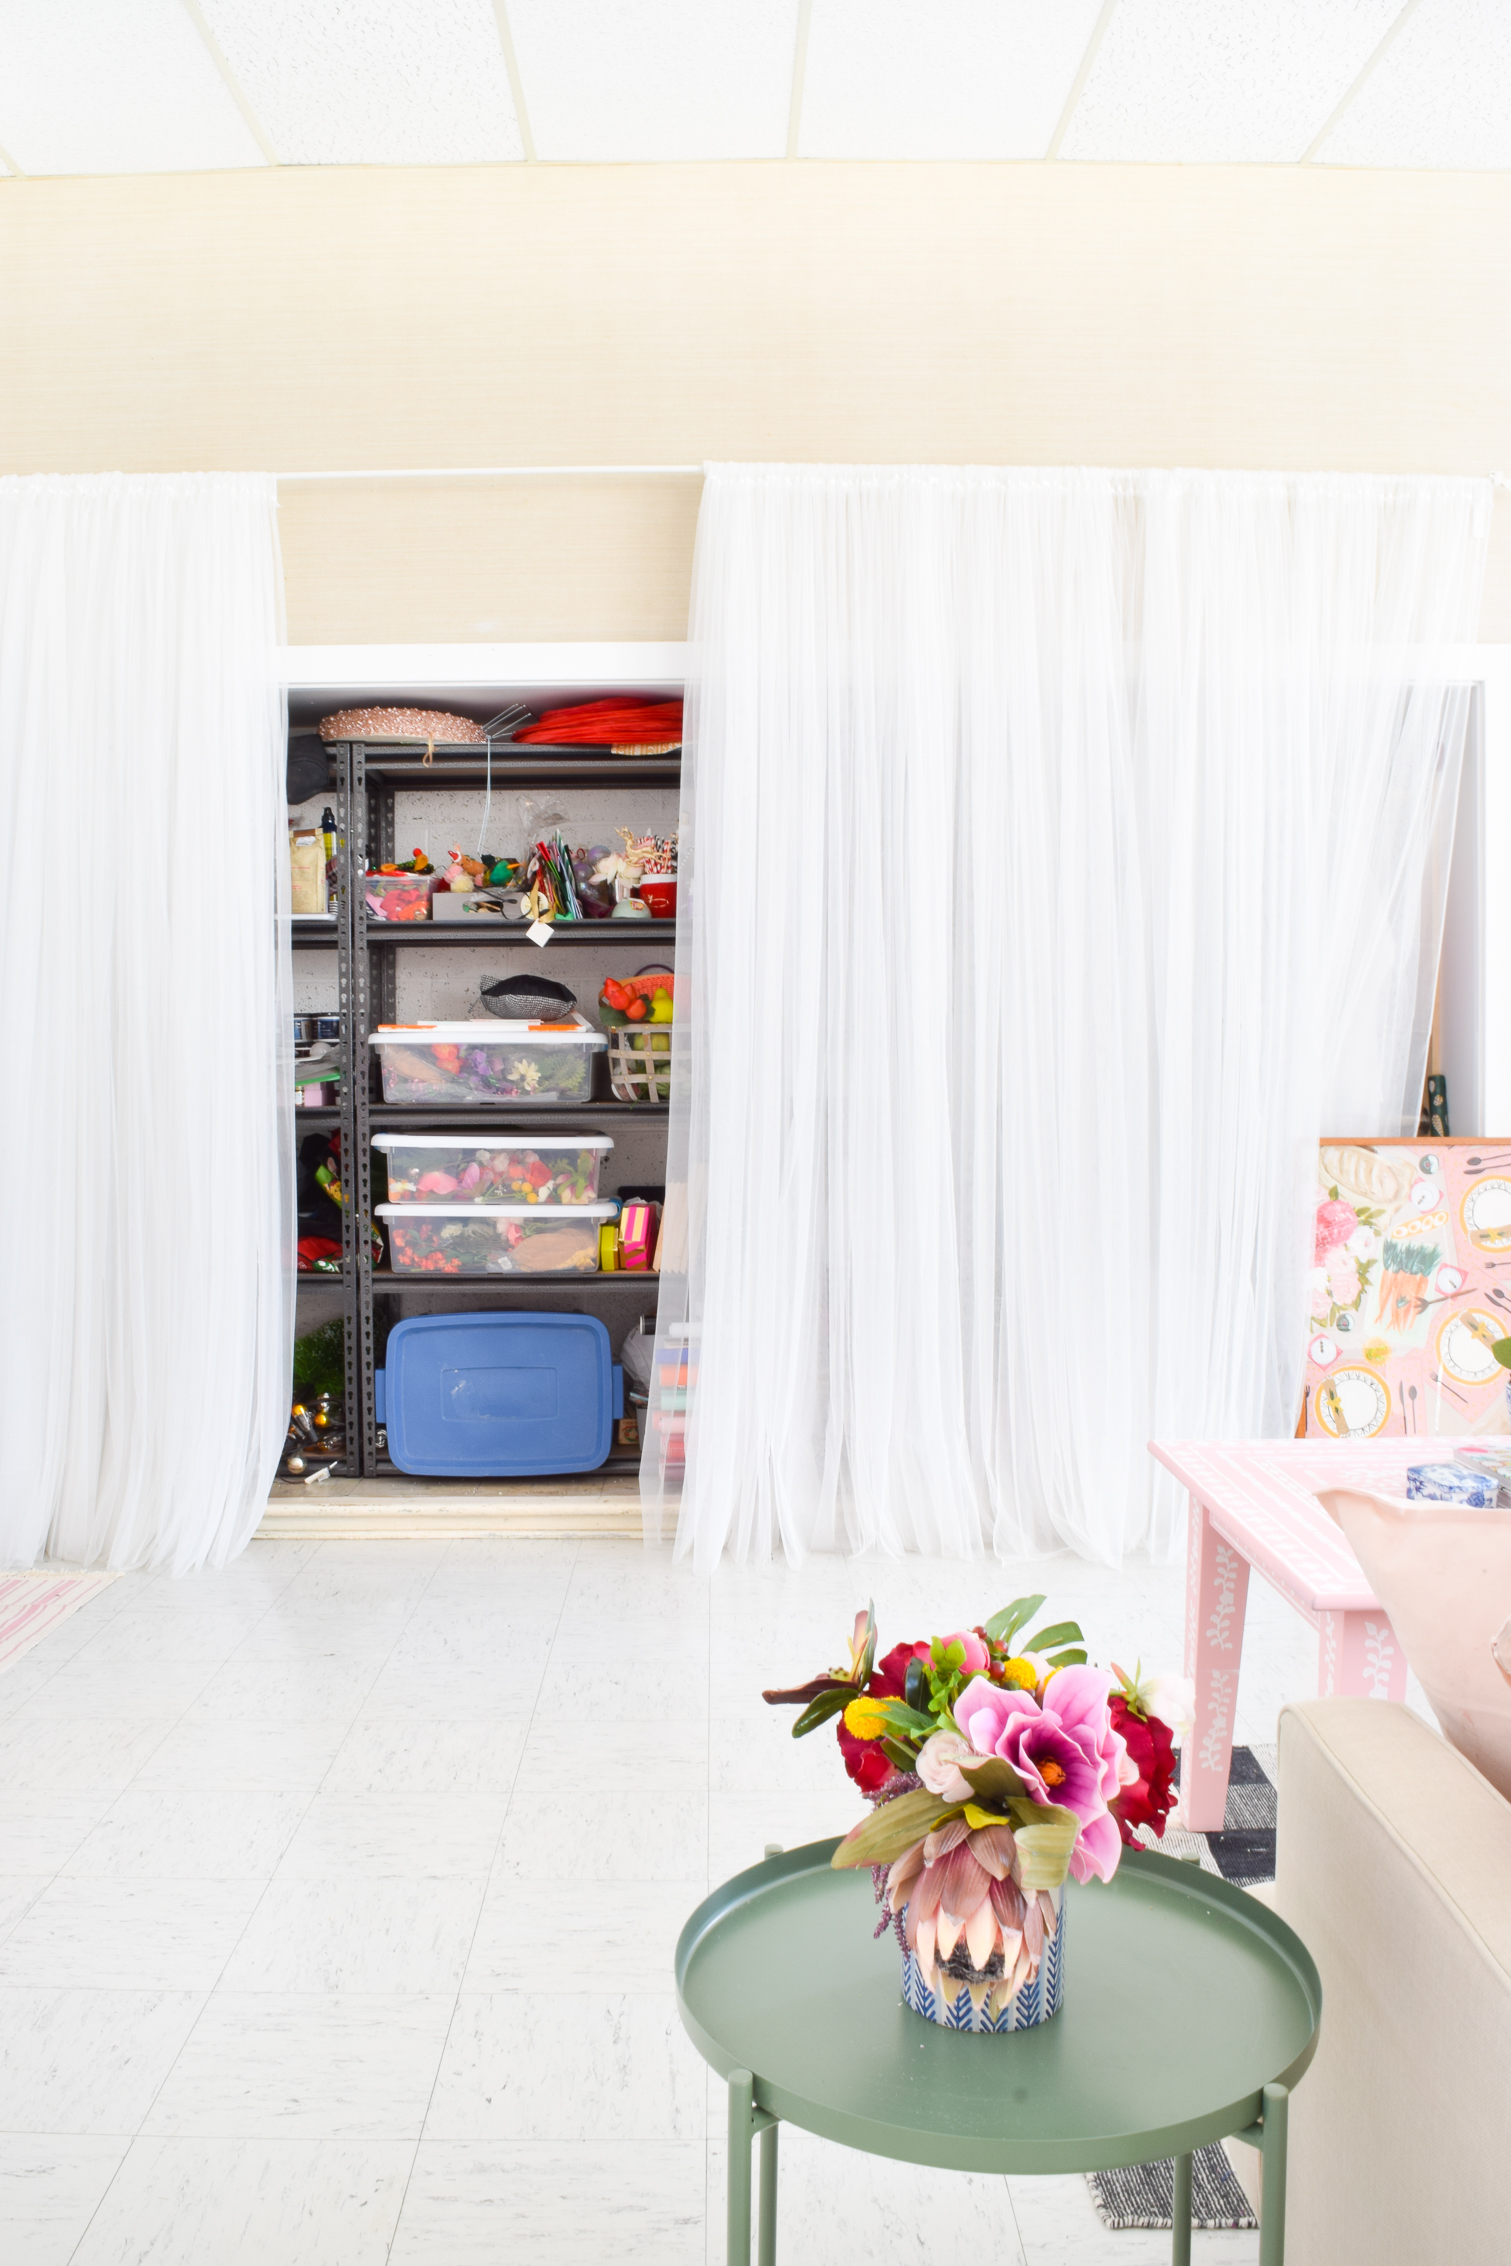
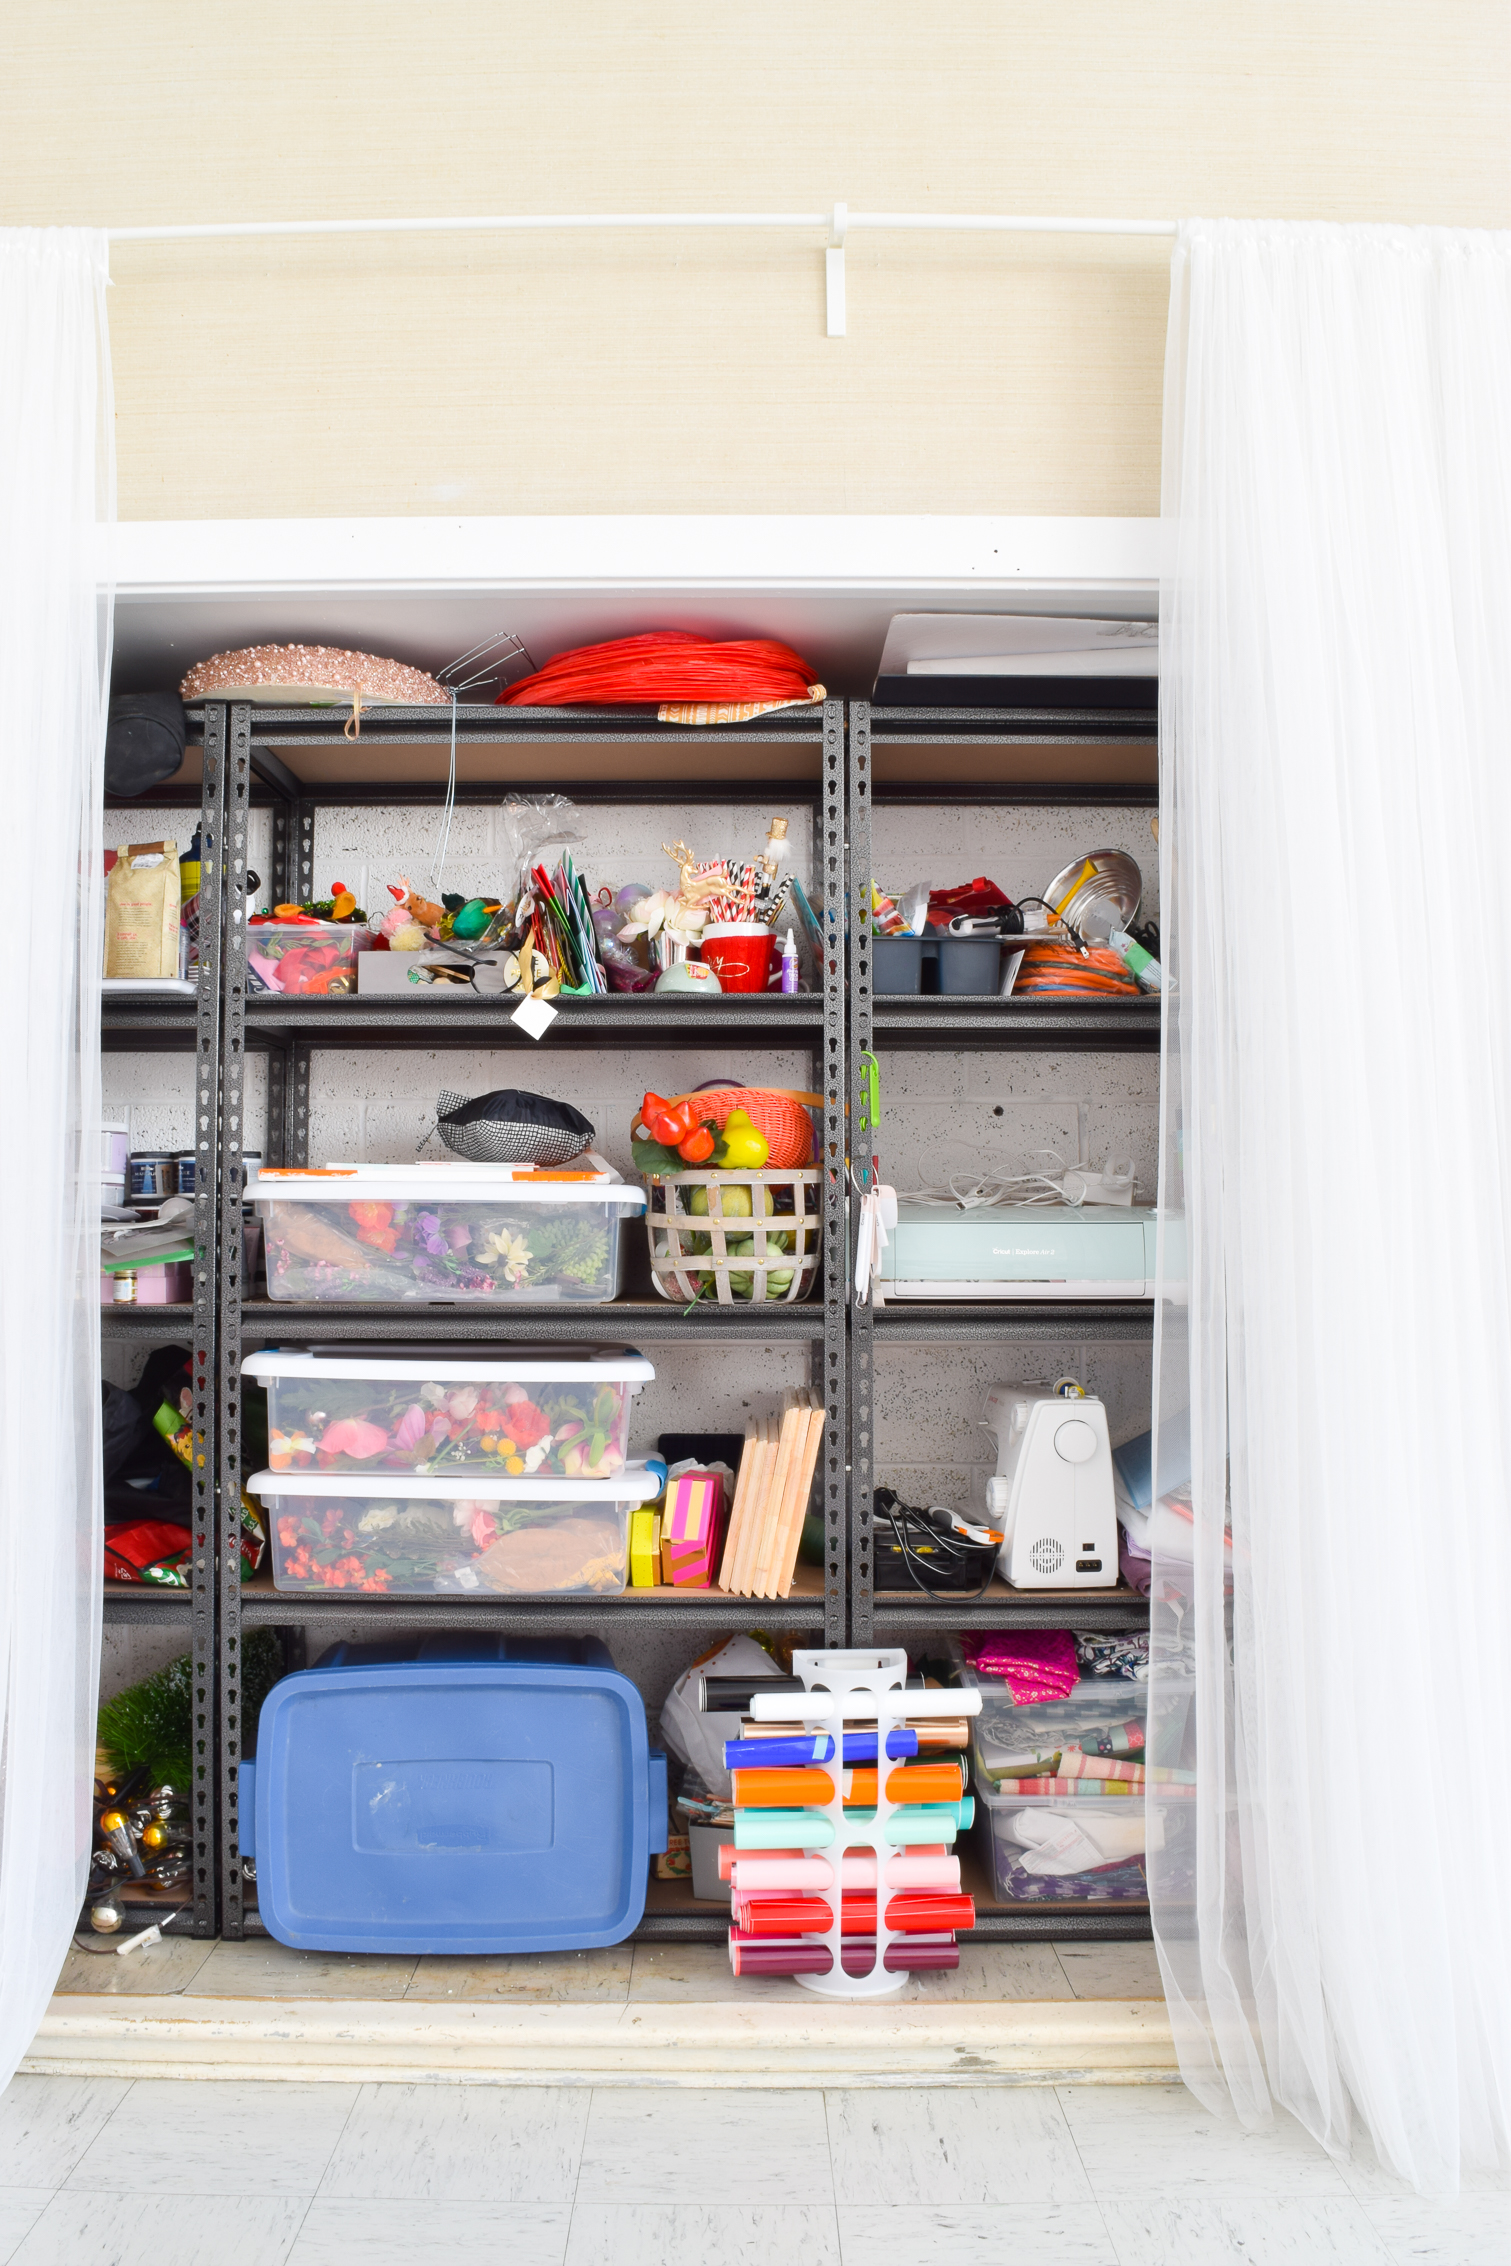
And that’s just one set of shelves. There are countless things hidden behind there like paints, fabric, vinyl, table linens, photo backdrop sheets etc. It’s a miracle I had managed to contain it at home, but as Dan so lovingly says “you’re like a liquid, you expand to fill a space.”
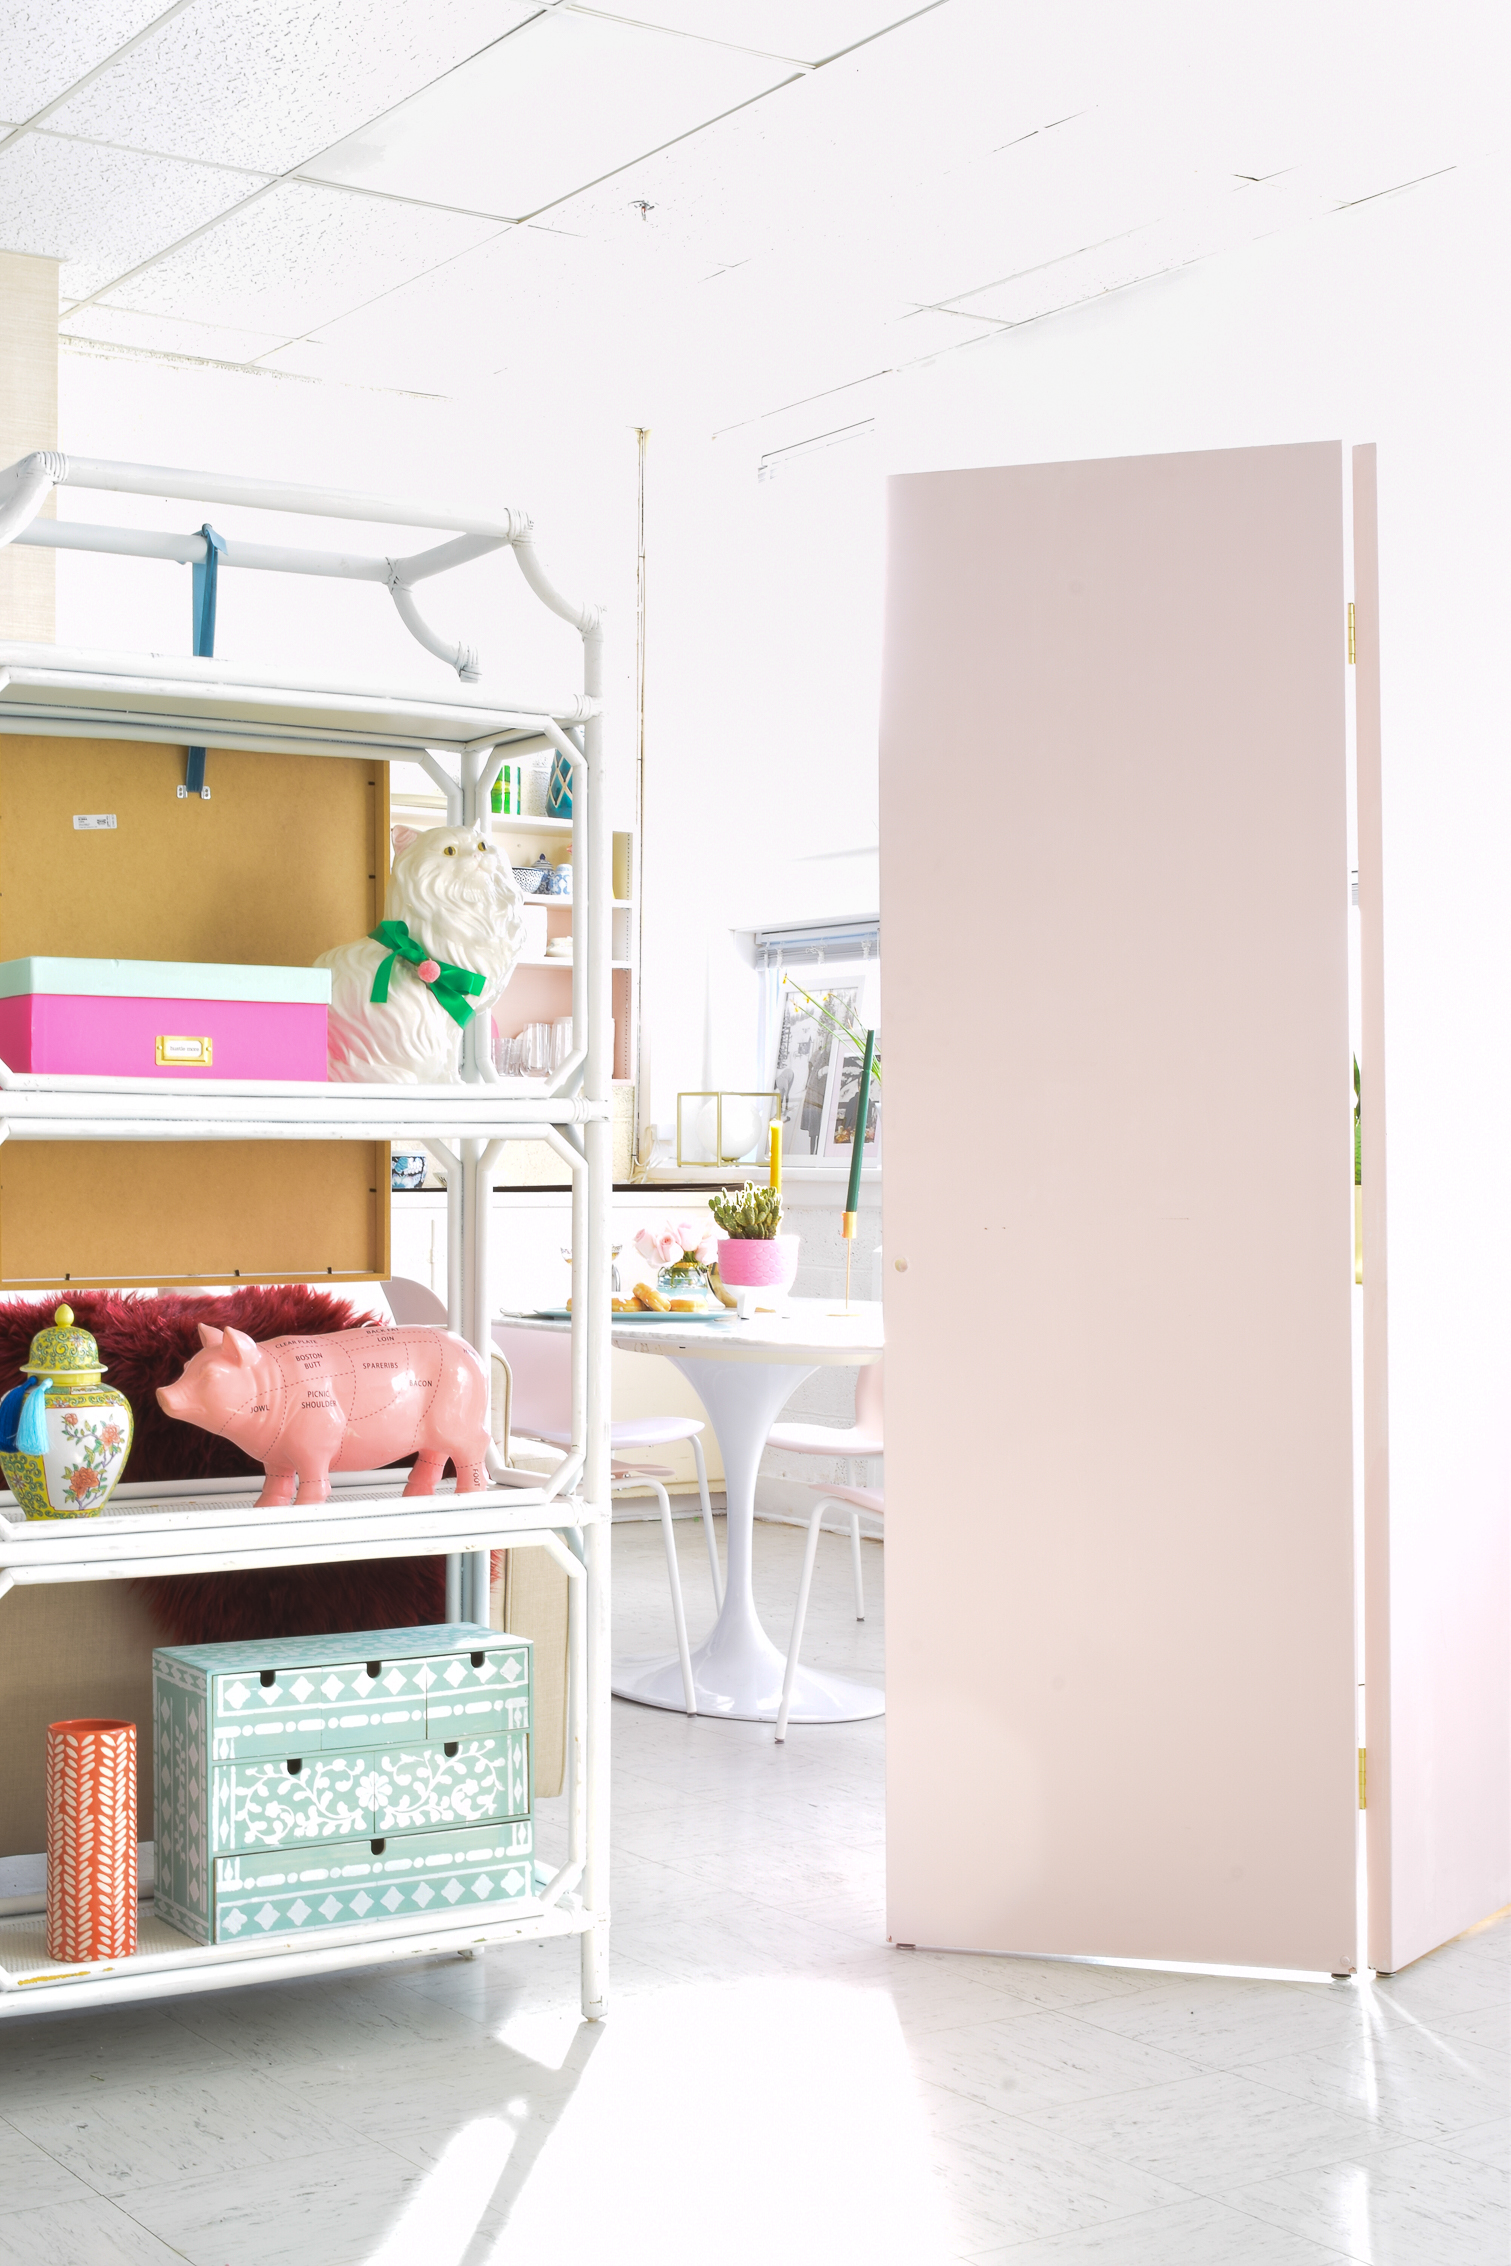
Back to the pagoda shelves though. We’re using them to help frame and delineate the space. The DIY room dividers are like movable walls, and help provide privacy for Kassidy’s clients when she’s shooting, so we’ve got one up between the “dining area” and where she shoots.
Shortly after starting PMQ for two (5 years ago!) I knew I wanted to eventually move into a space, if only because PMQs are so darn small. I’ve been stymied for years by the lack of natural light, awkward floor plans, and small rooms. My photography has flourished despite it, but the range and quality of what I can offer has always been limited by those factors. Since moving into the studio, the type of project I can create has dramatically changed for the better, and I feel creatively freed for the first time in a while.
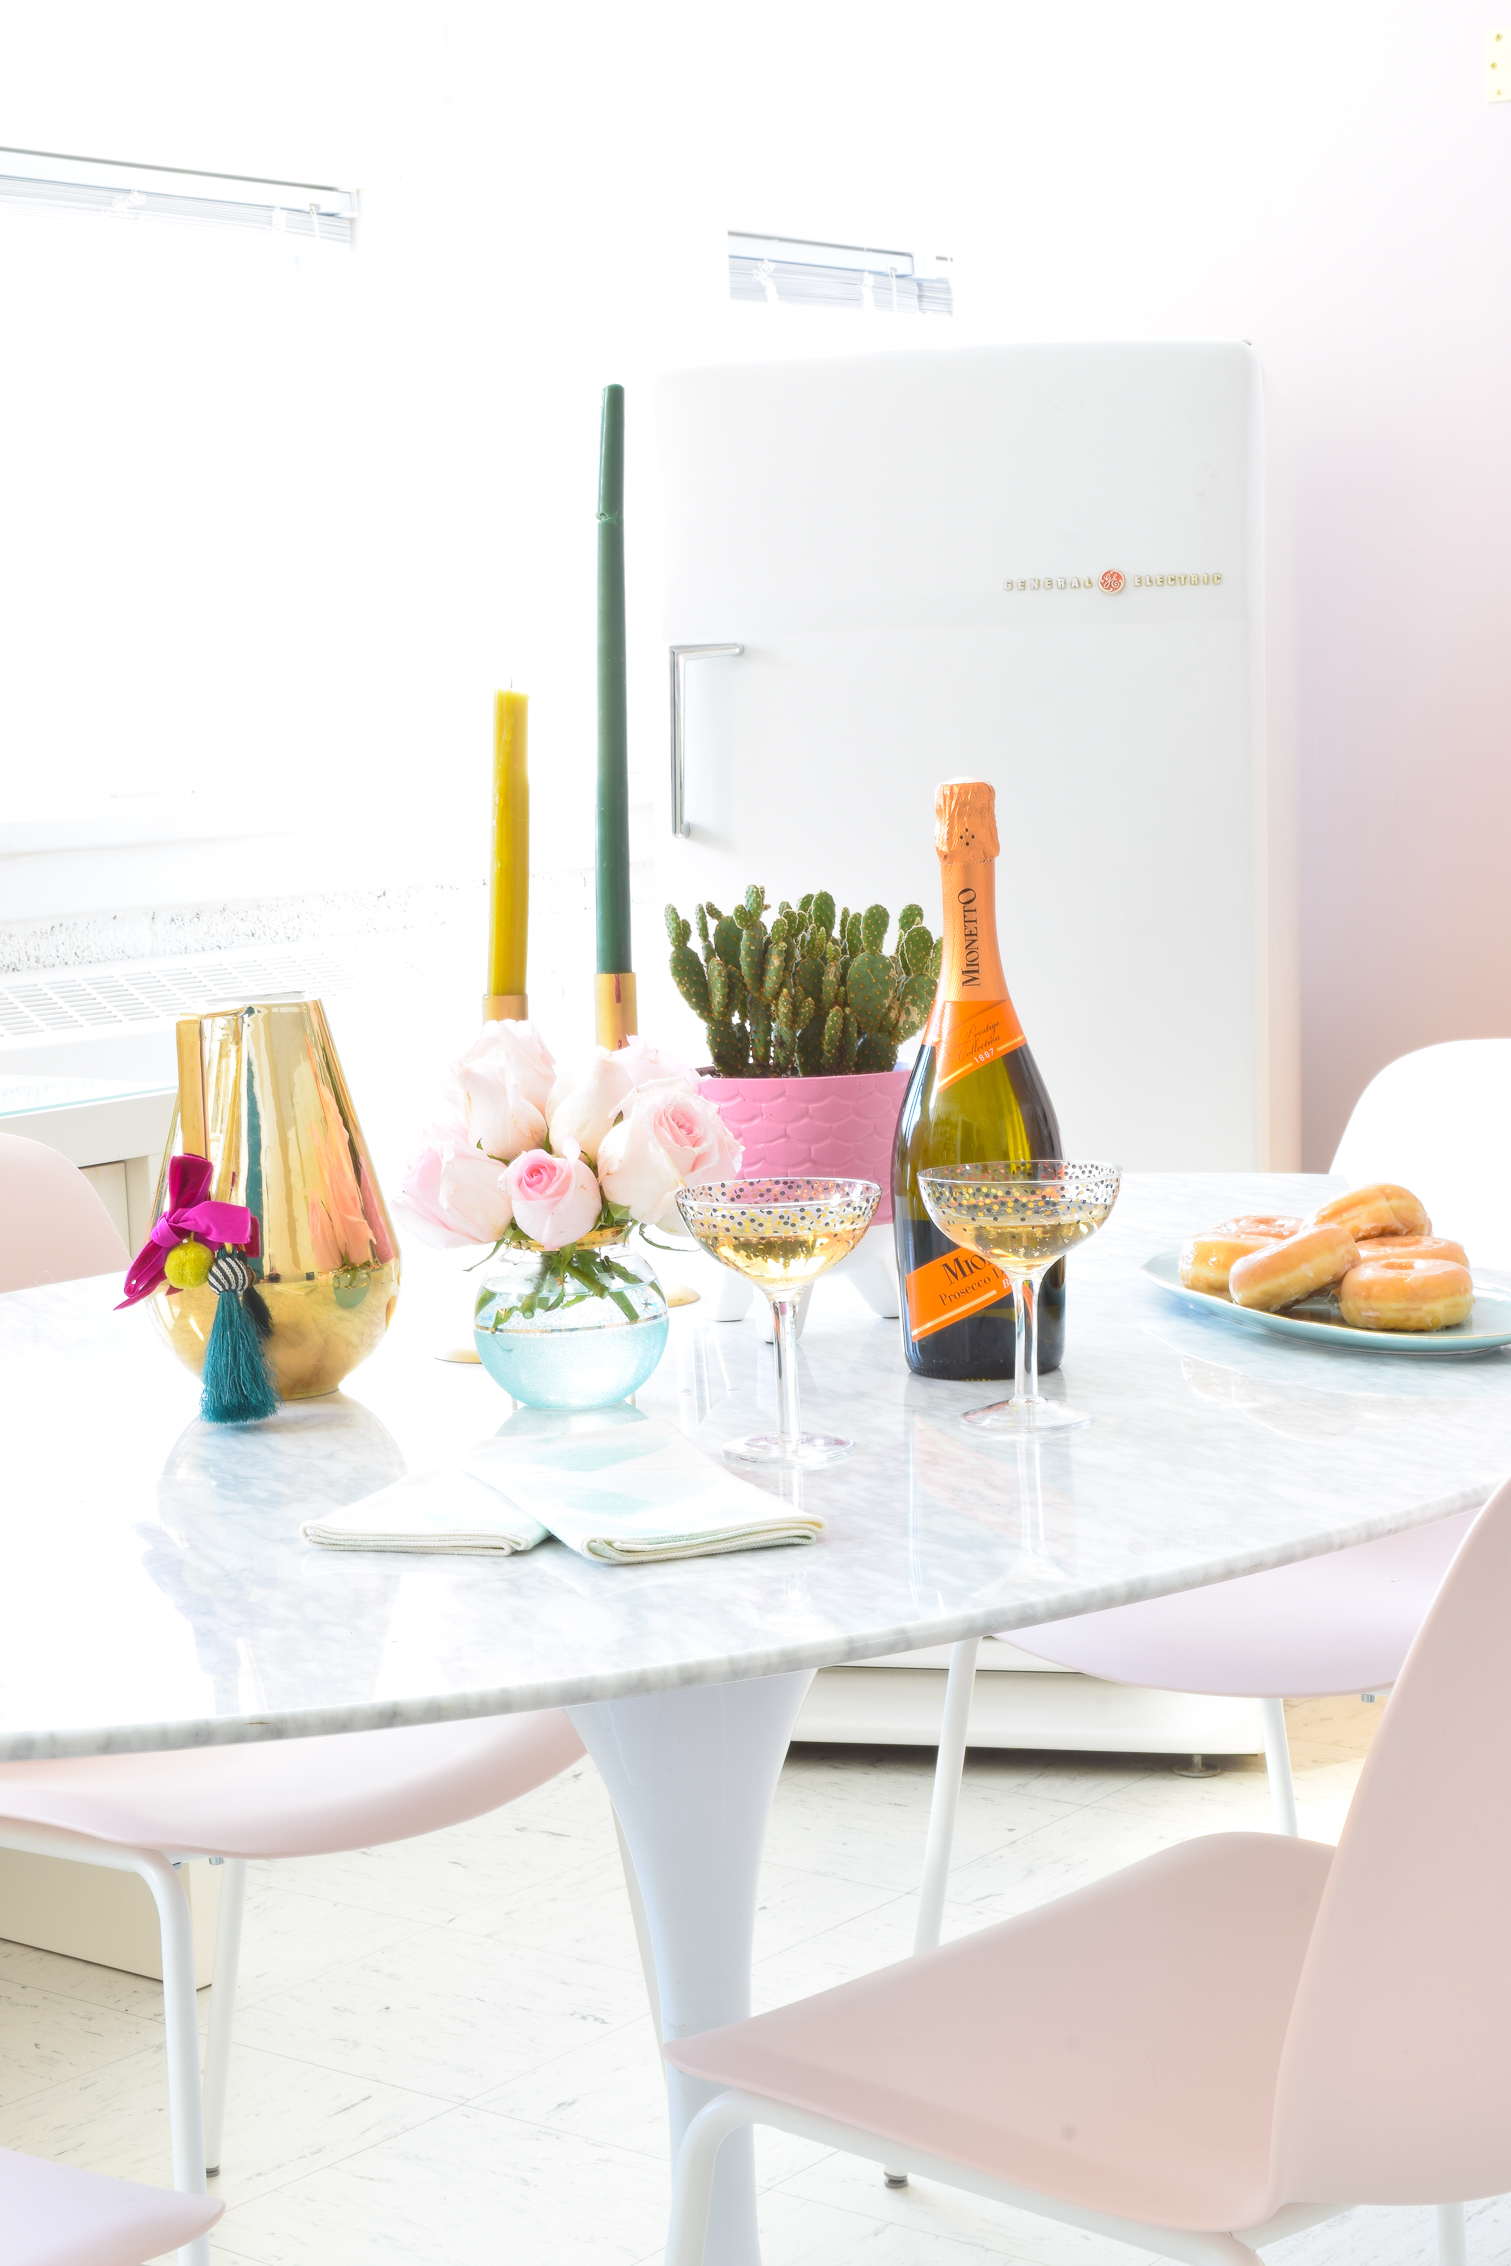

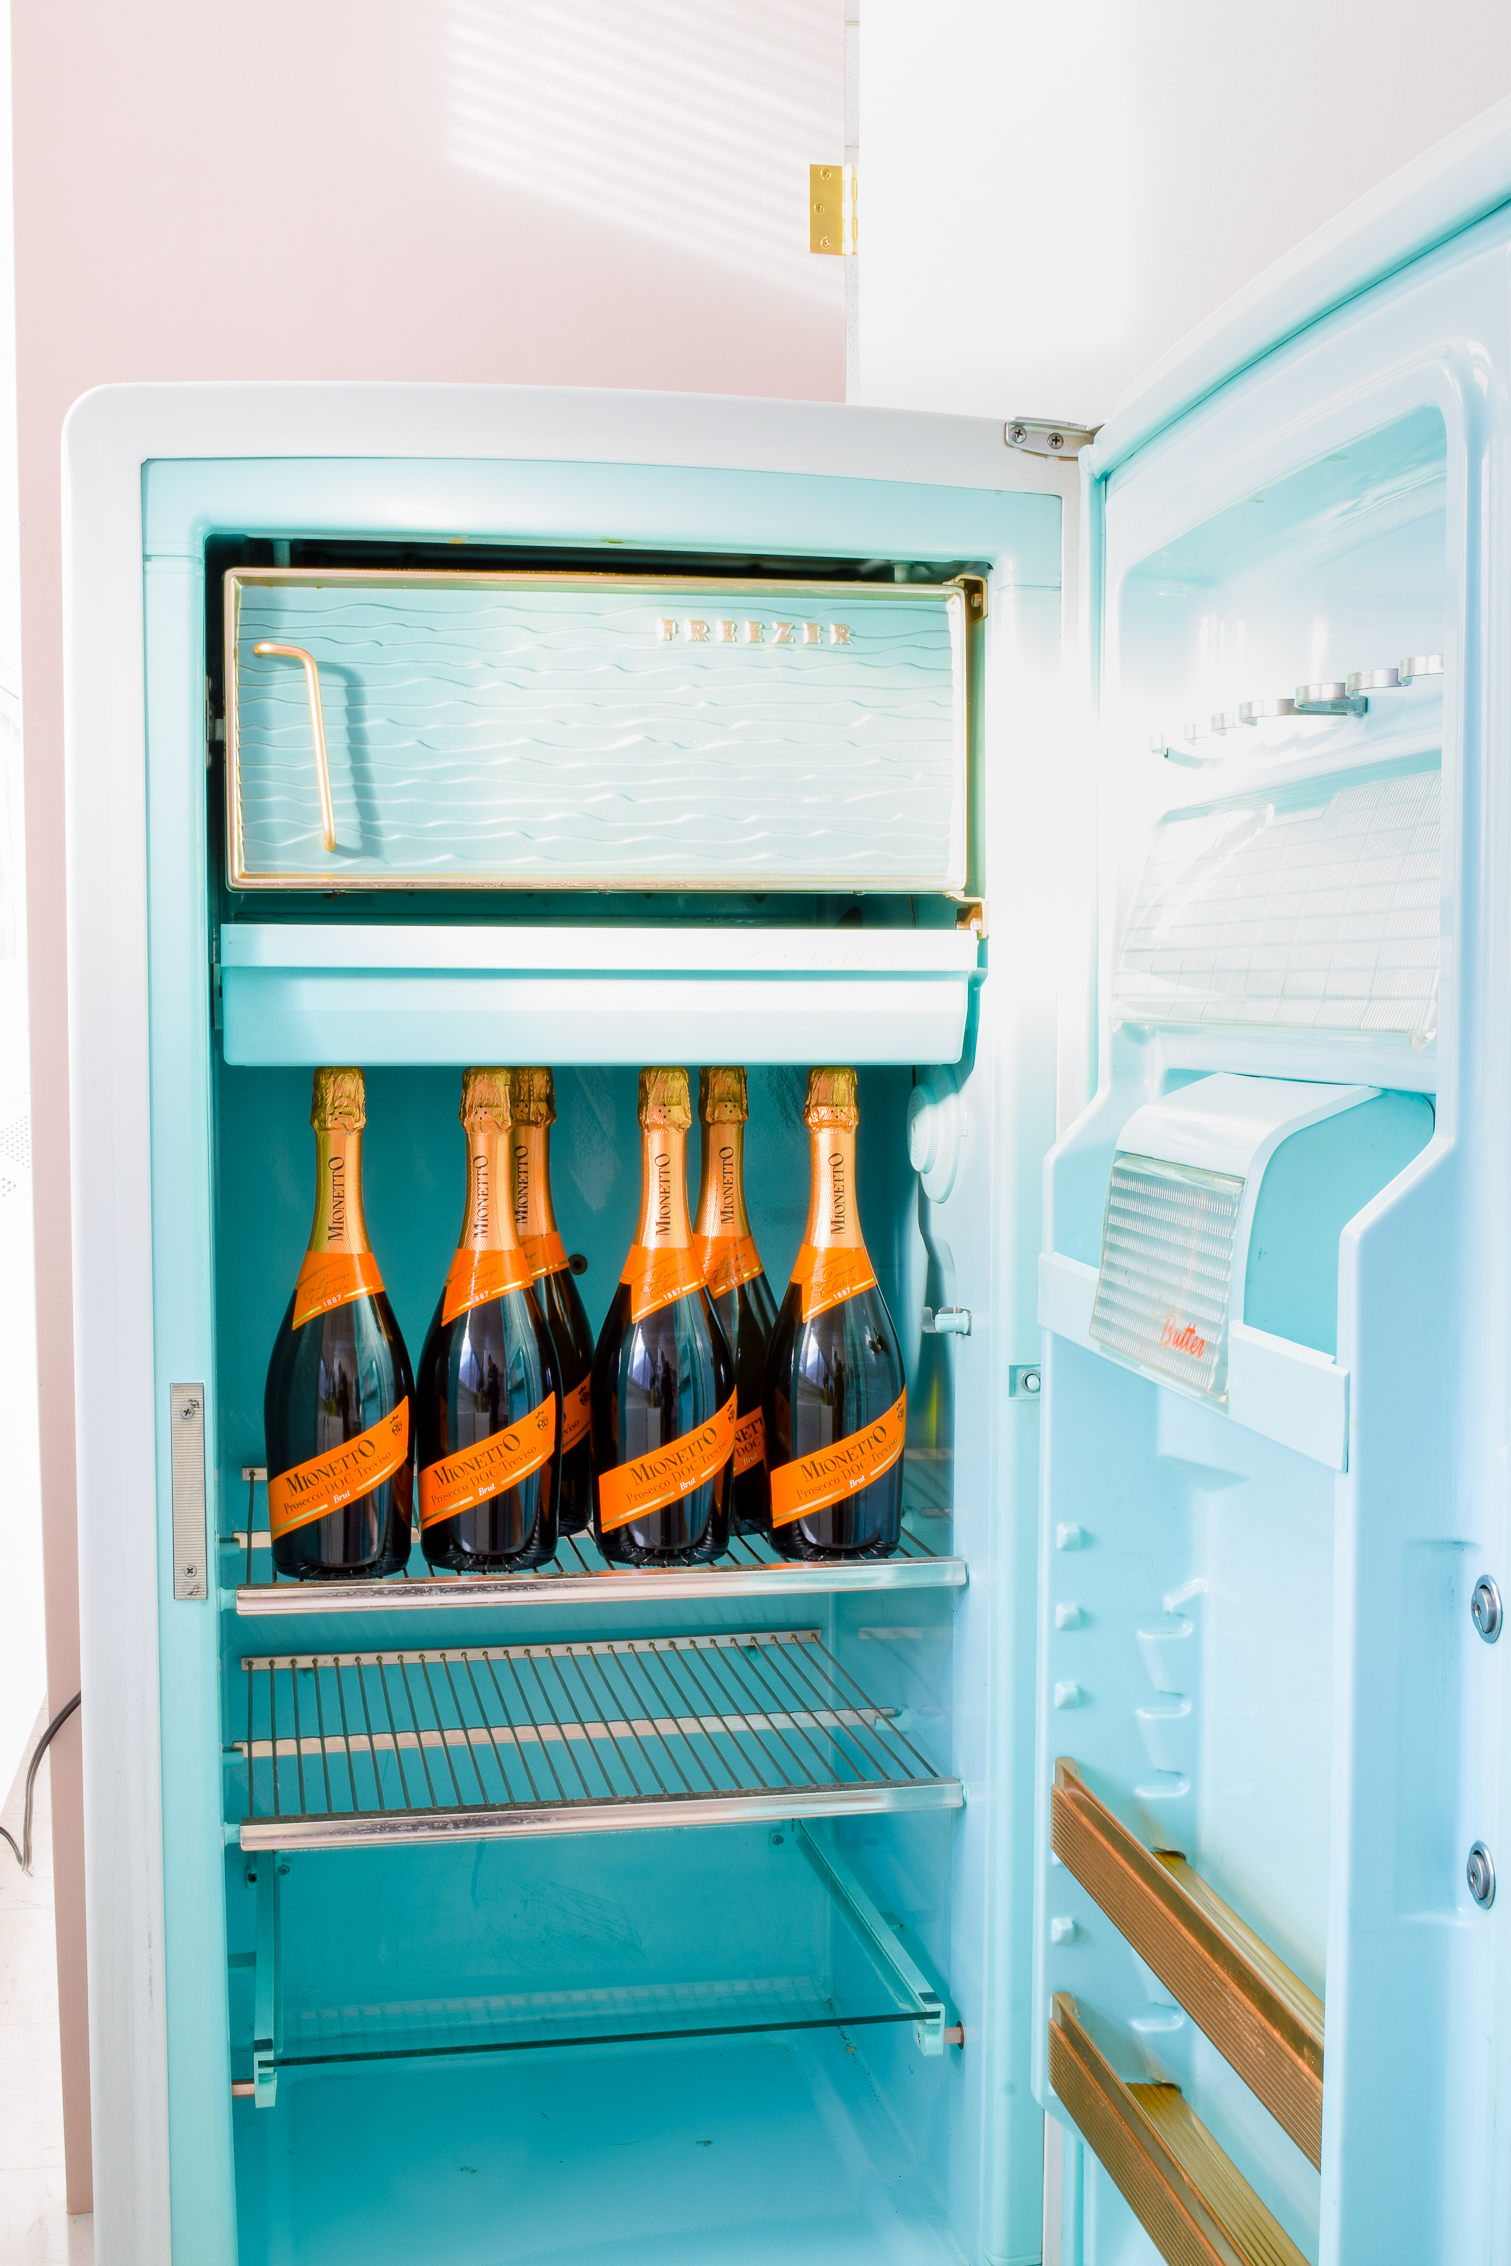
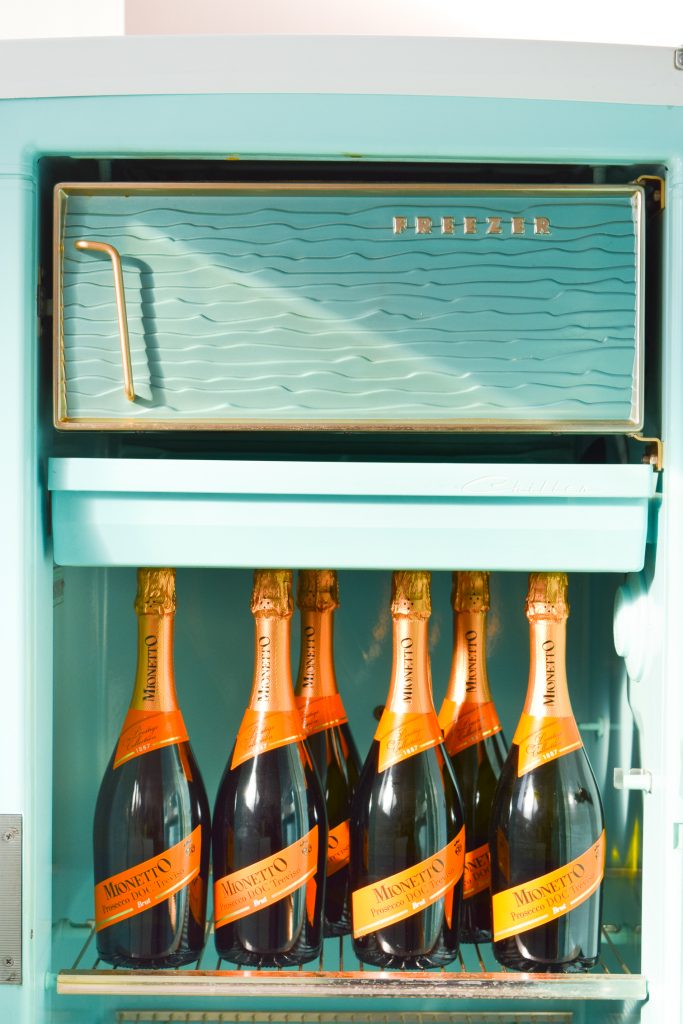
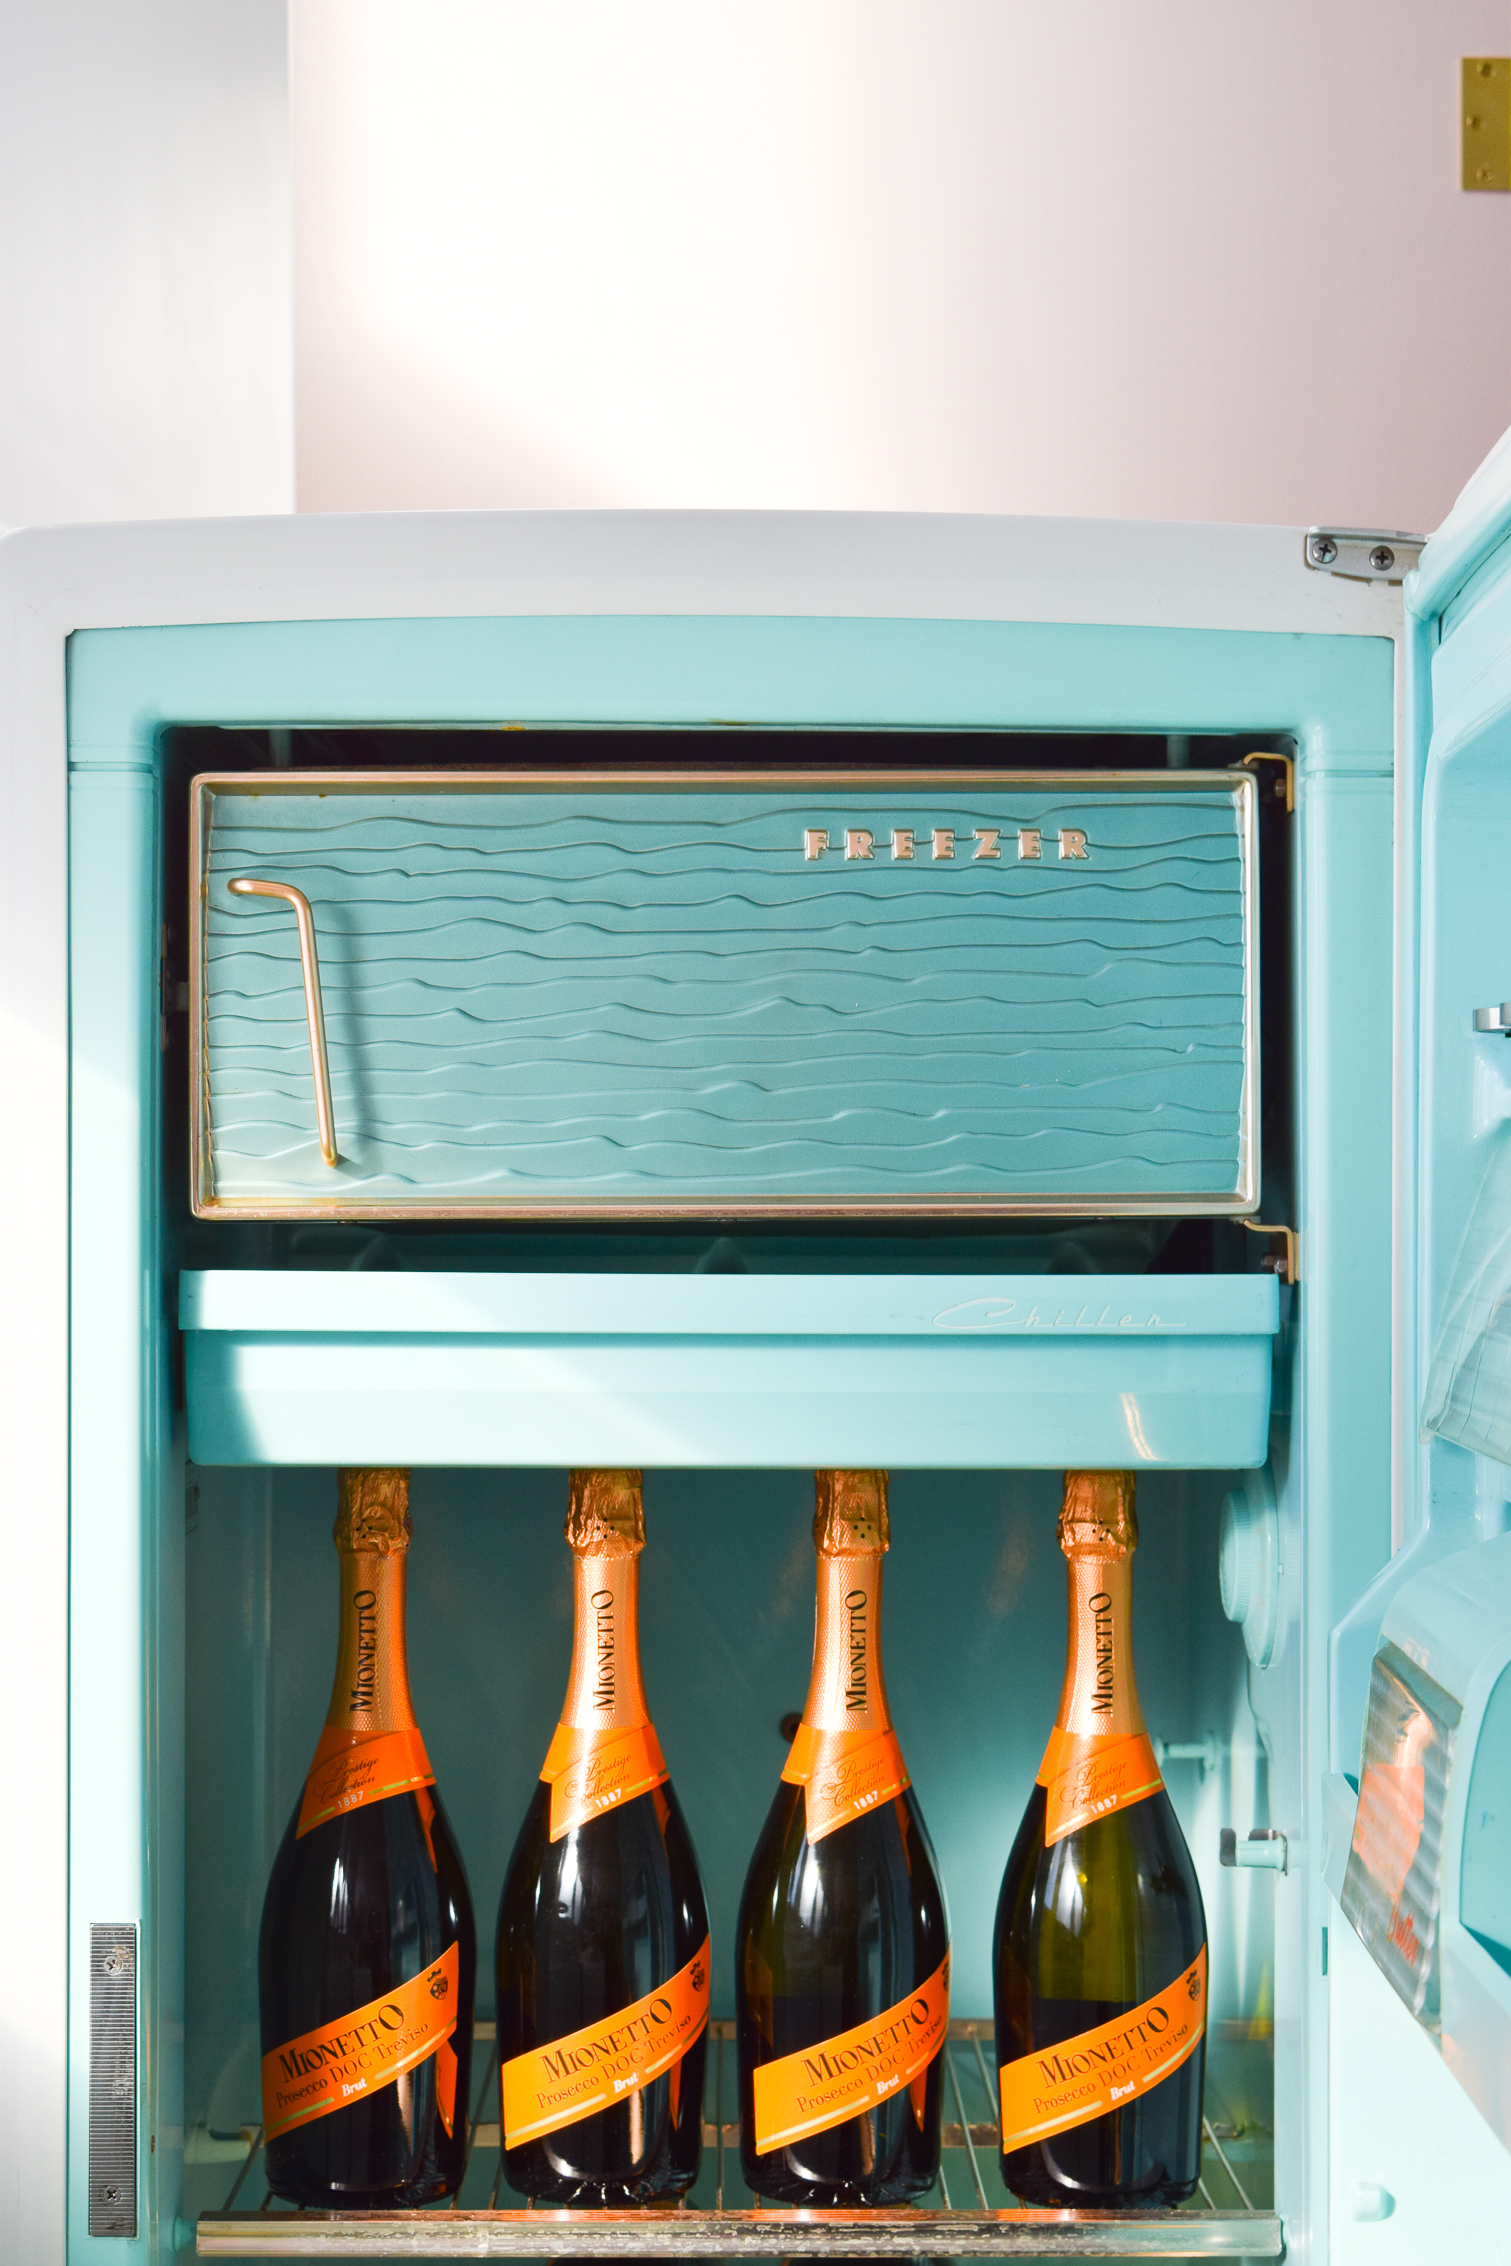
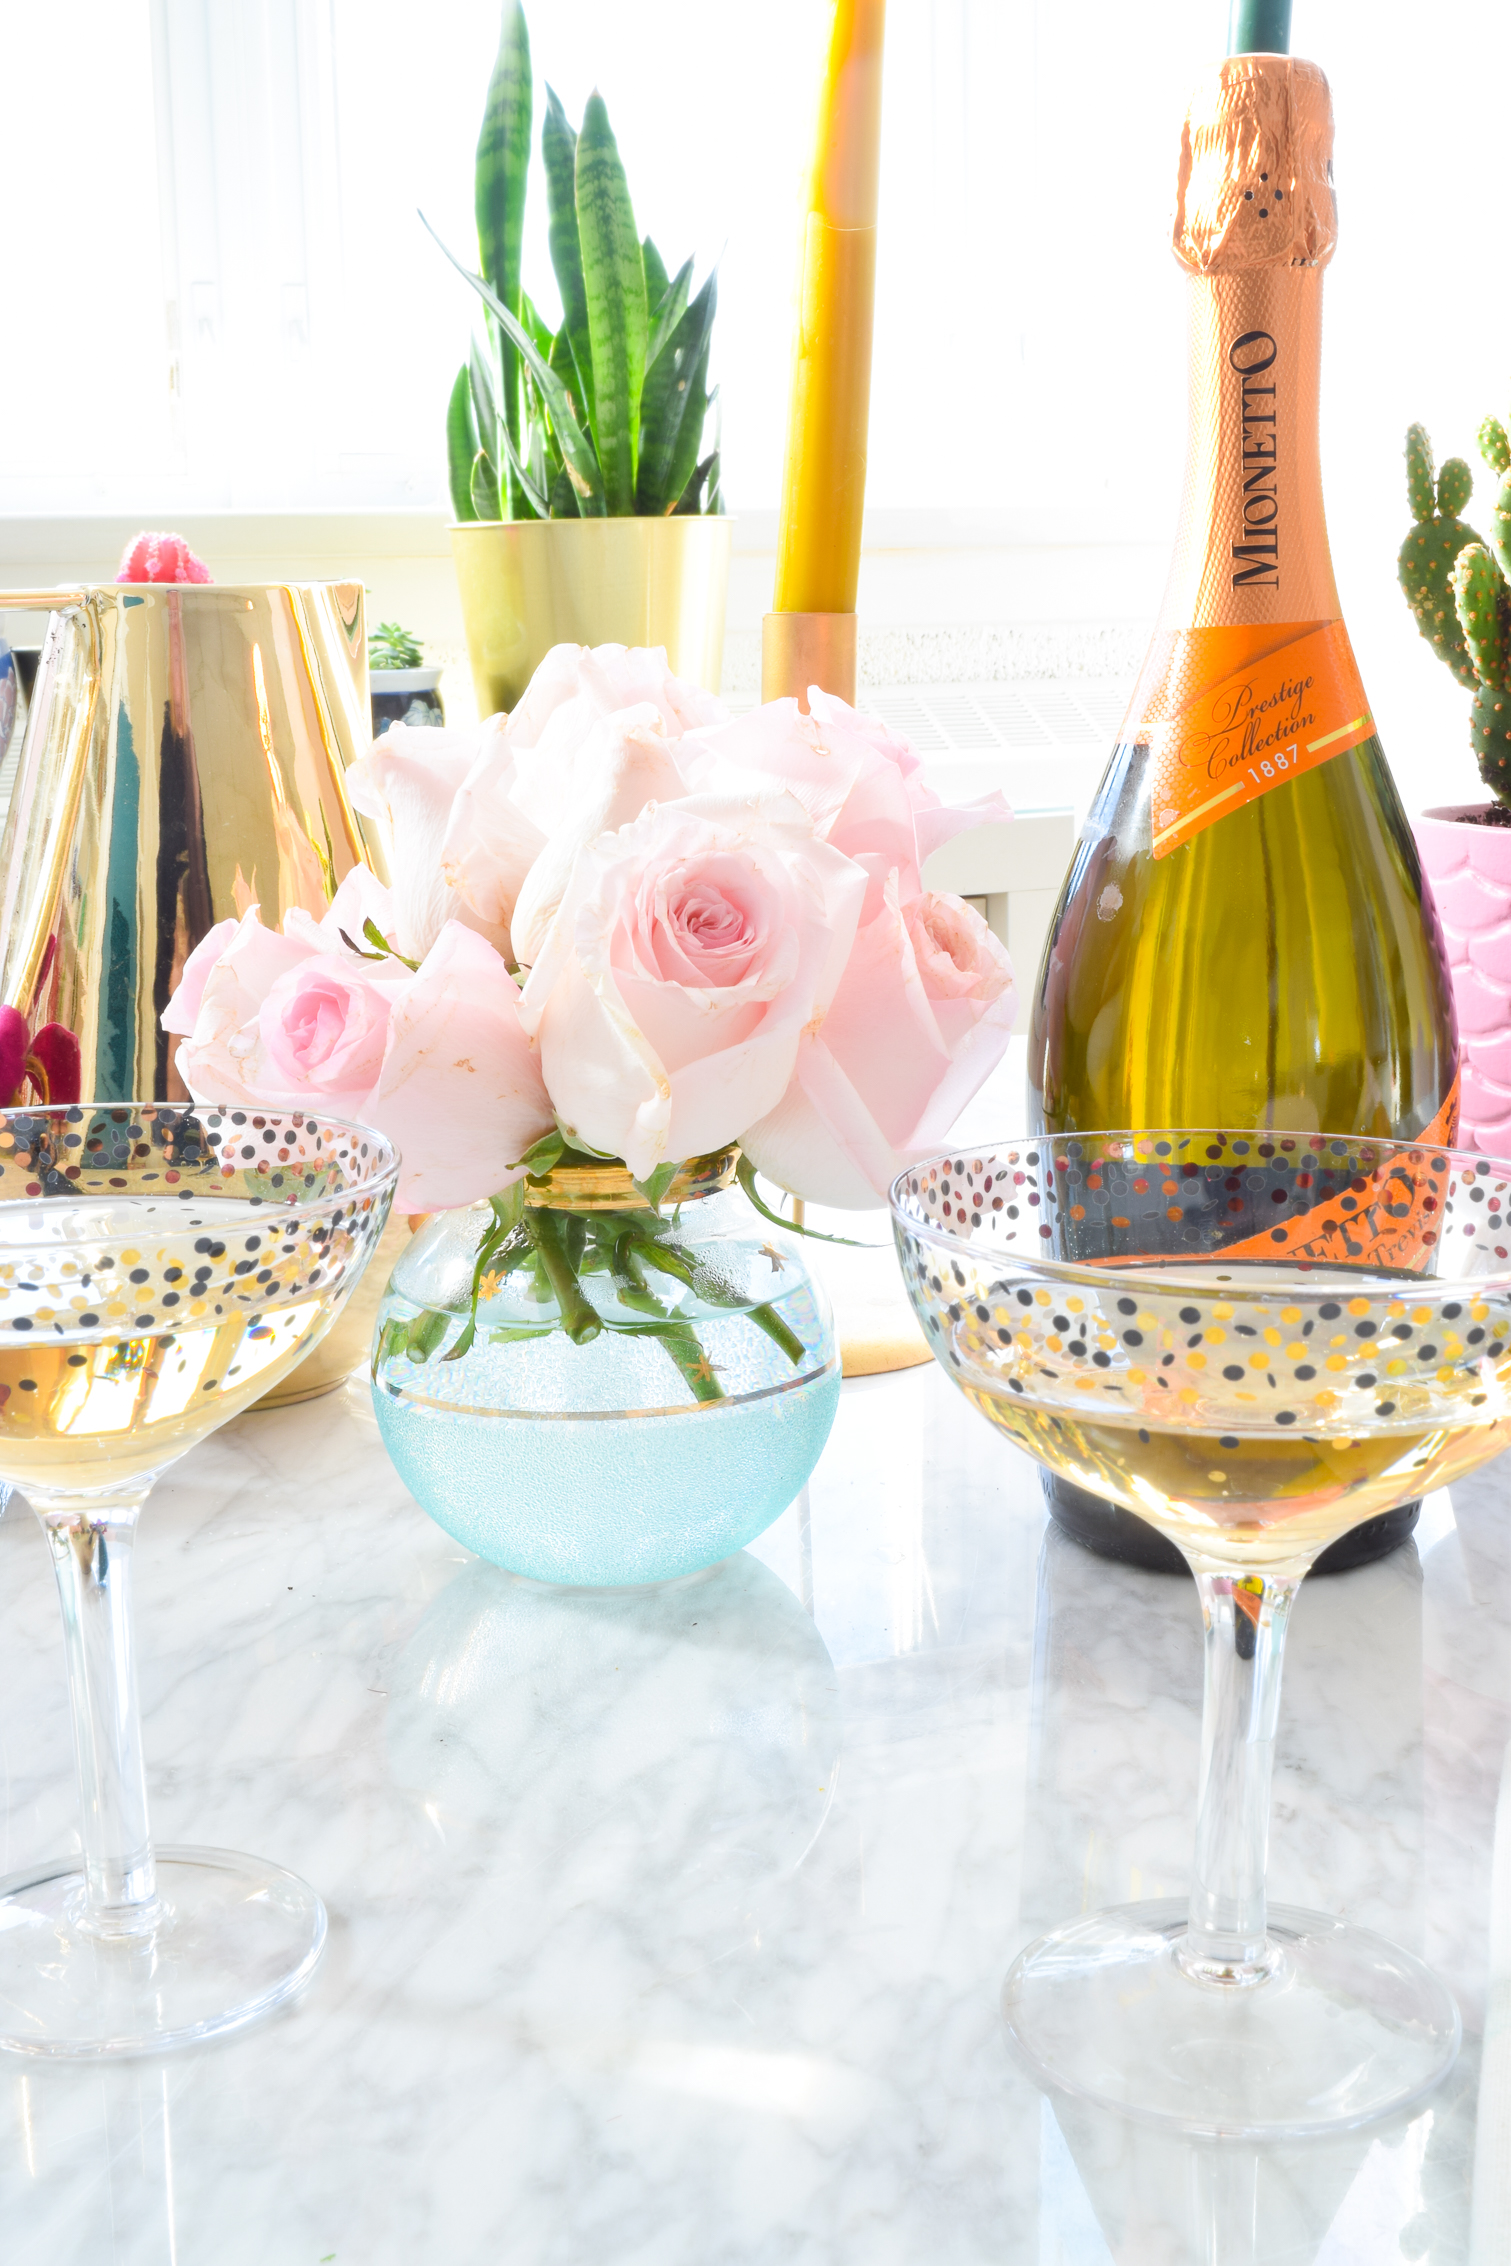
You know how I roll – champagne 24/7, but only on the top shelf, because that’s all I can afford, and a fully stocked champagne fridge is just in the cards at the moment hahahah the struggle is real, am I right?!
The kitchen area is actually getting it’s own reveal post sometime in the next week or so, which is why I am purposefully avoiding it in the photos.
If you’re local to us, and interested in renting the space for a private function such as a baby shower, bridal shower, client meeting (if you don’t have offices of your own), or other – please check out our page // here //.
Source List
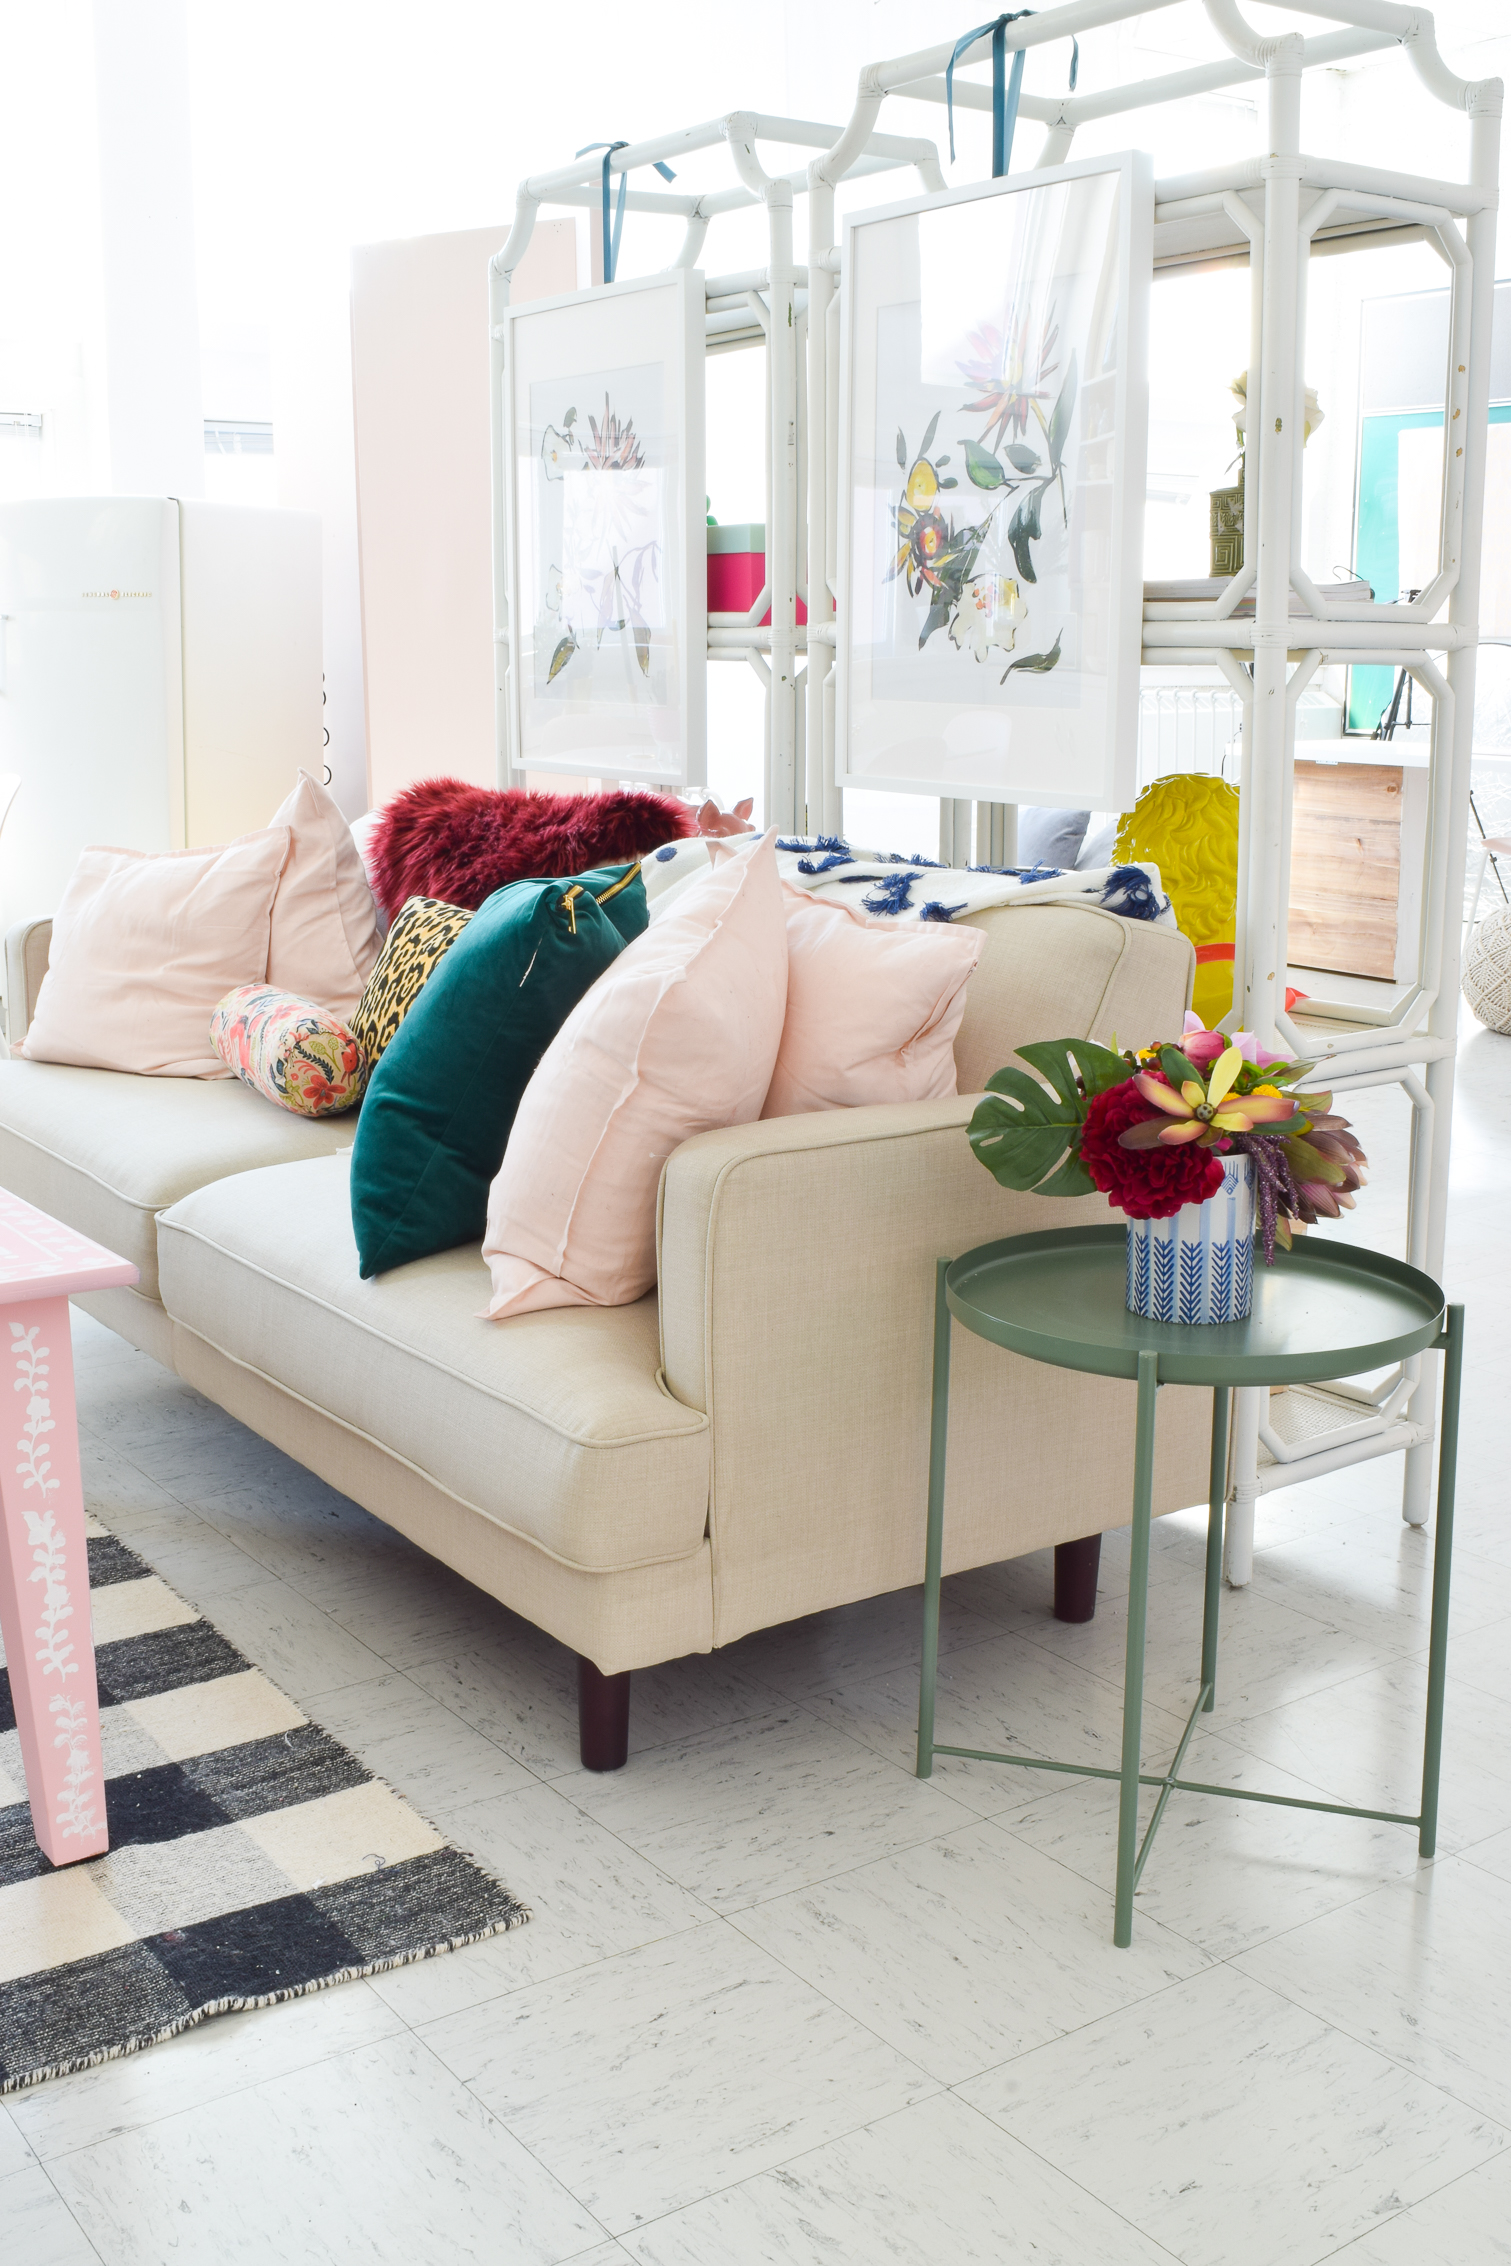
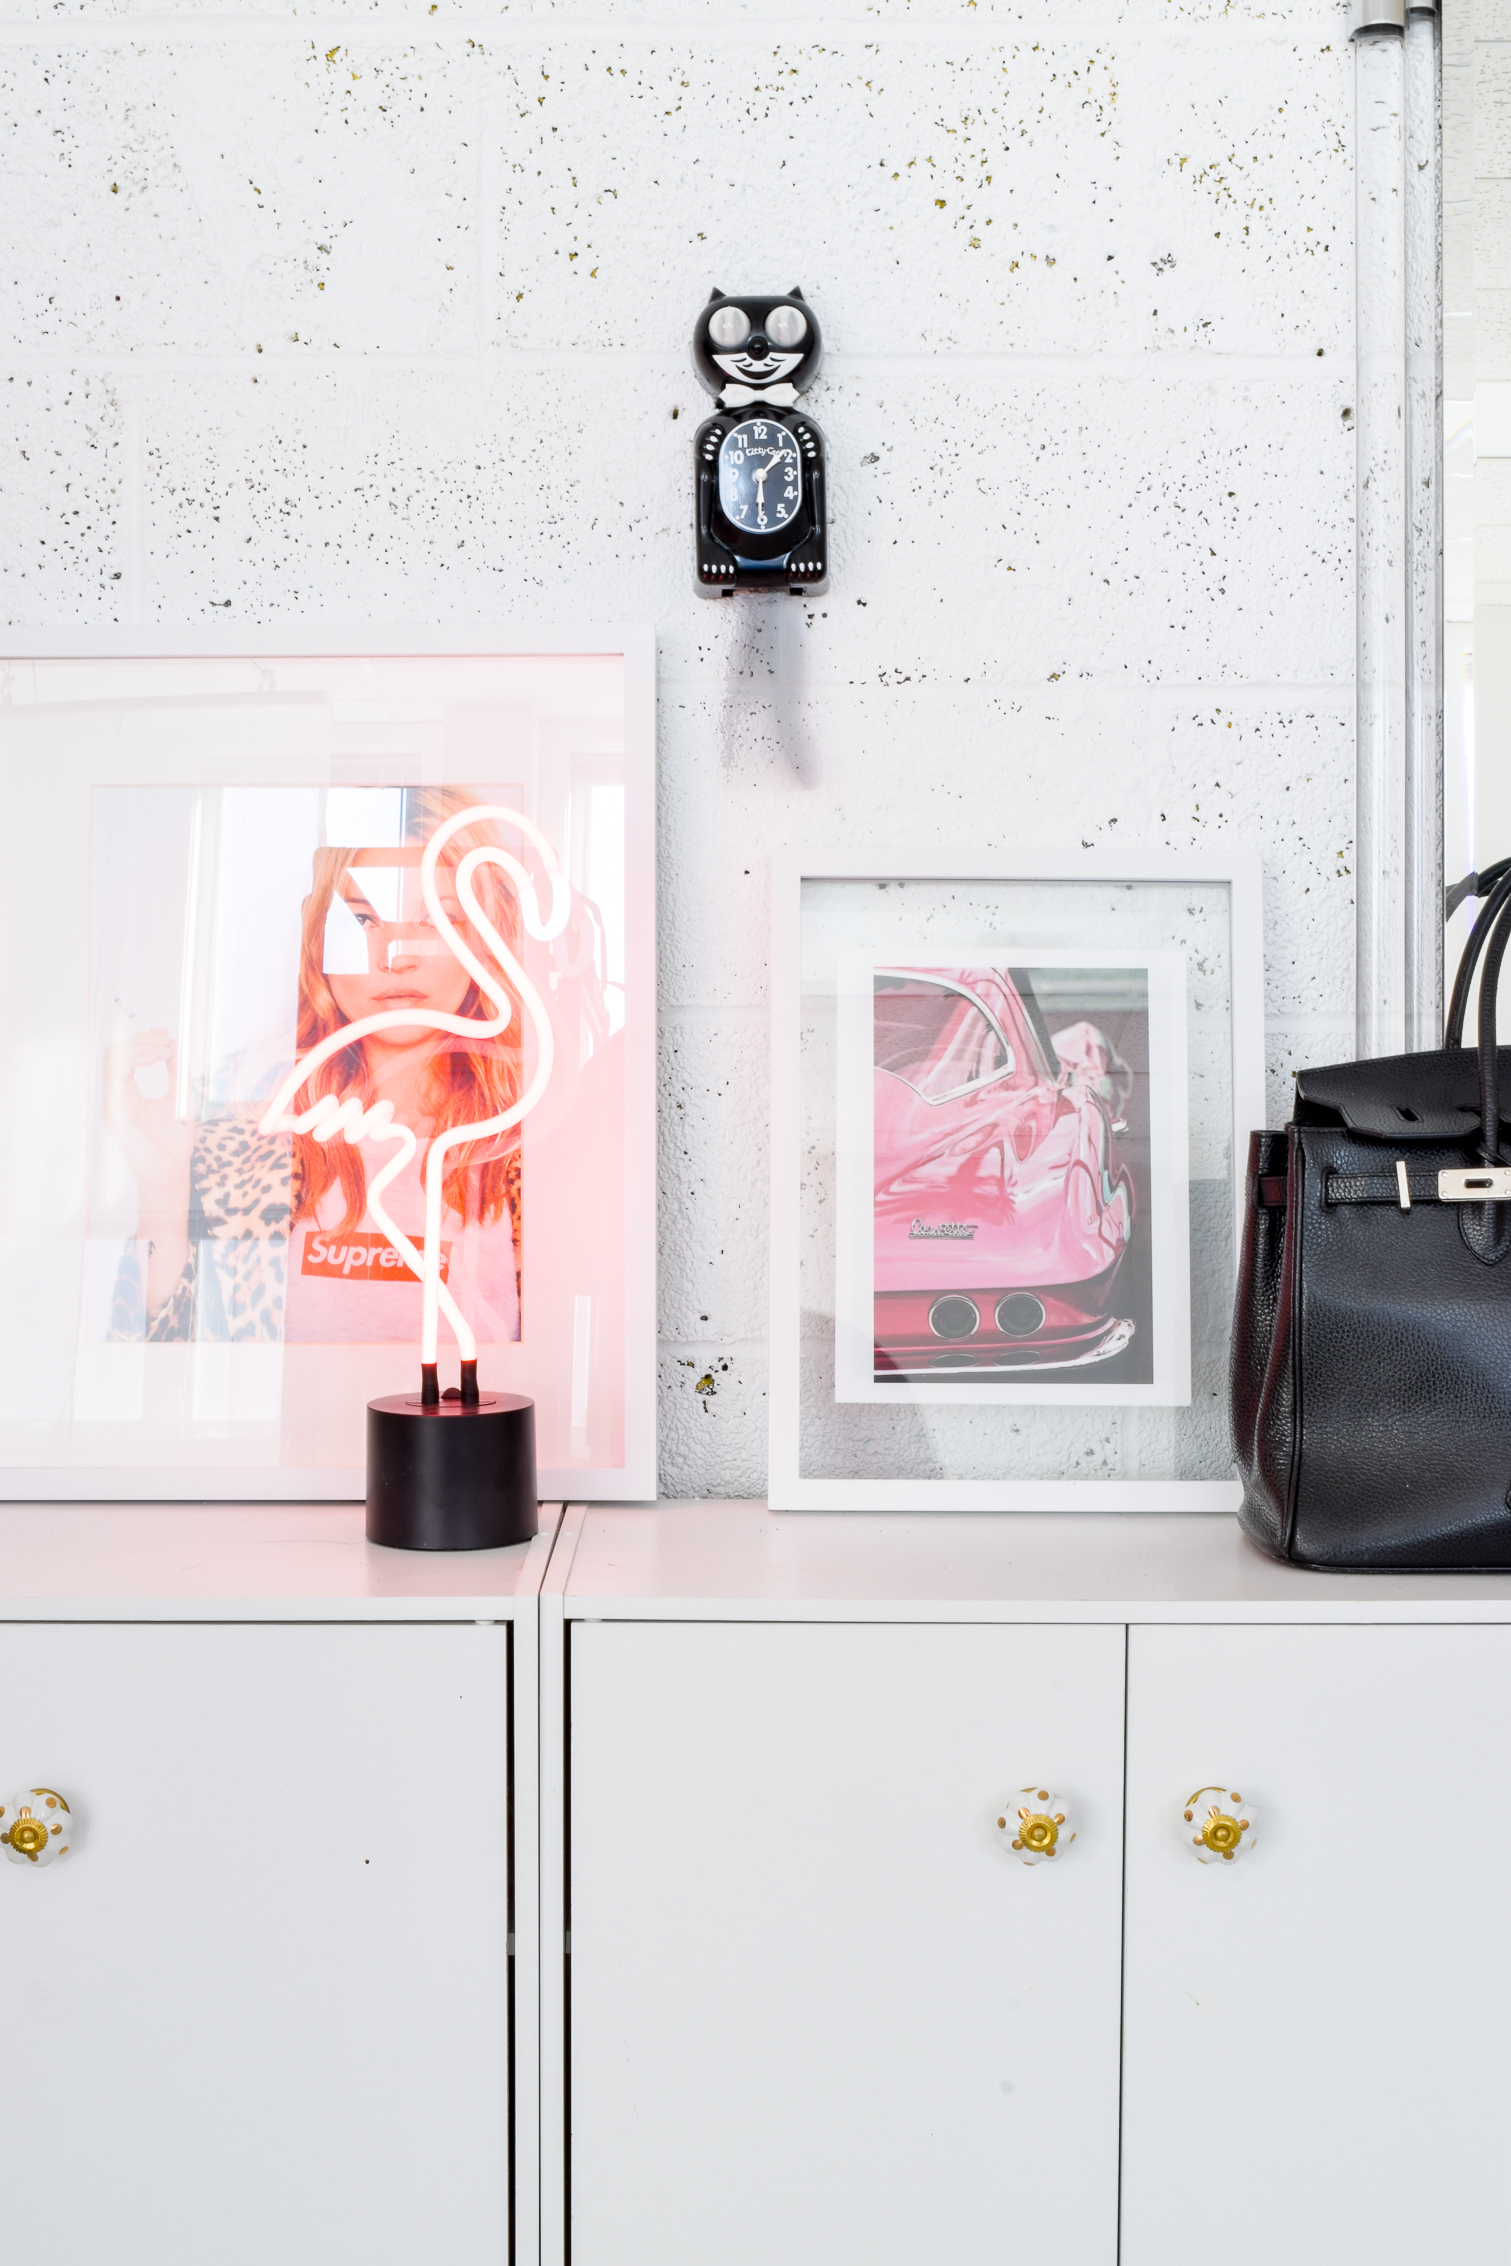
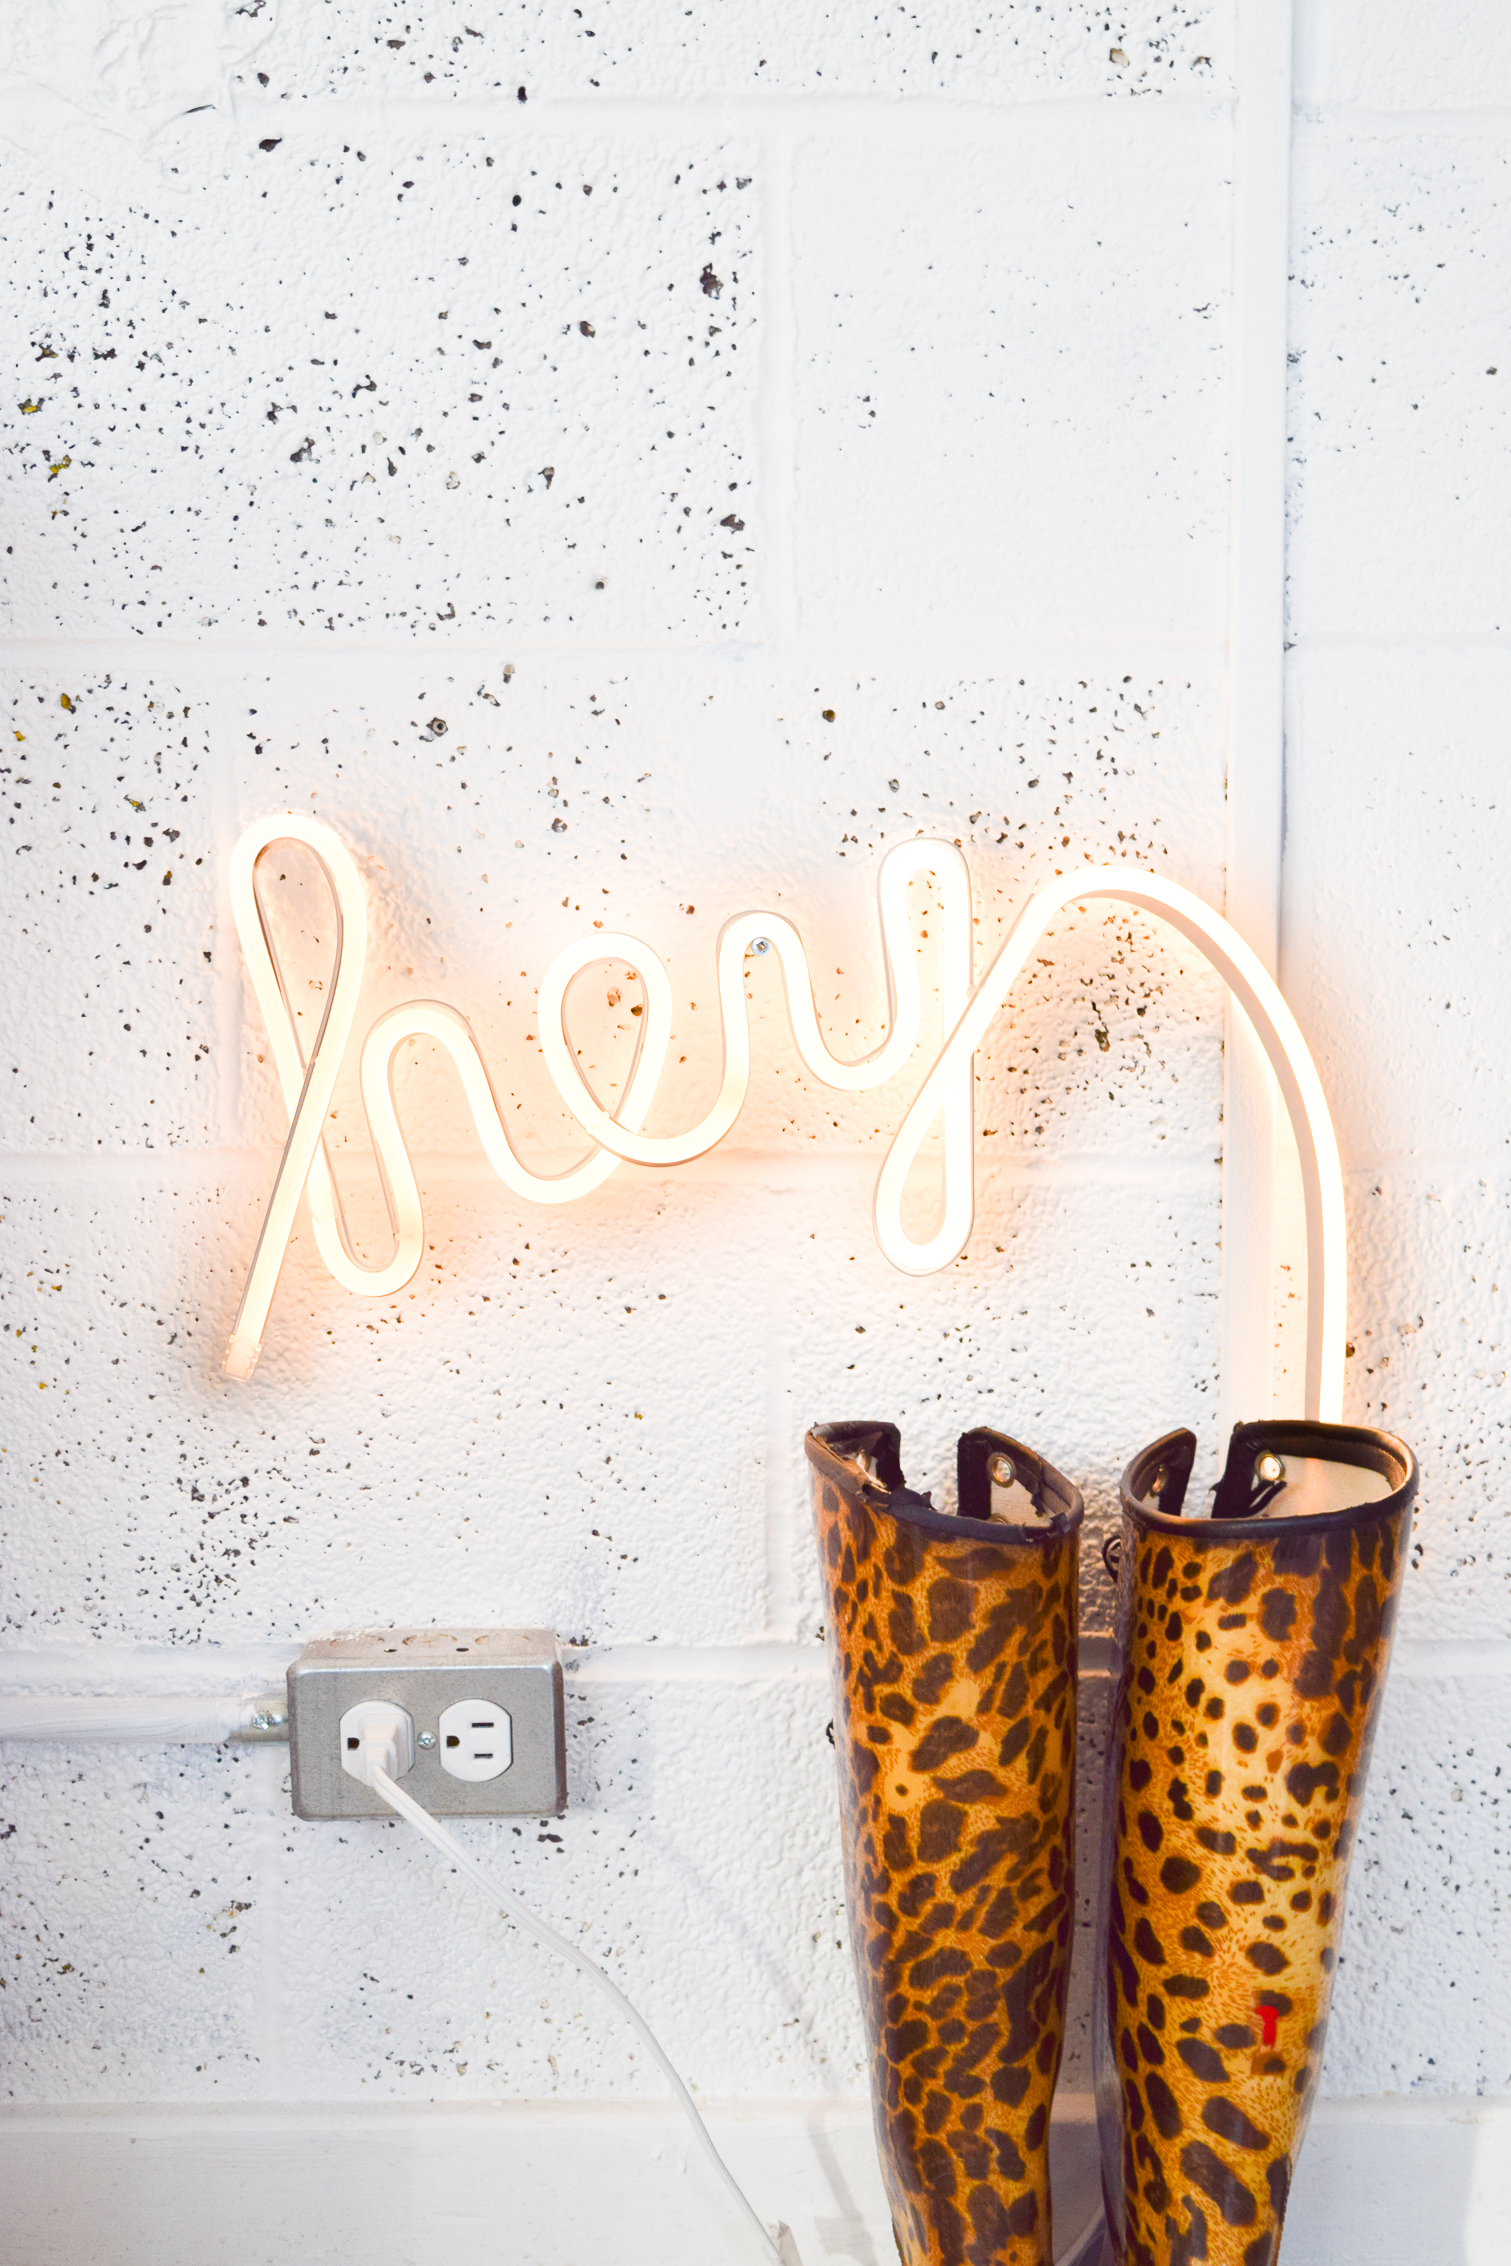
Couch, Bamboo Pagoda Bookshelves, Marble Tulip Table, Accessories, Acrylic Mirror, Neon Lights – Homesense
Bone Inlay Coffee Table DIY – Here
IKEA Hack Rast Desks – Here
General Electric Fridge – Thrifted
Pink Chairs throughout – IKEA’s Leifarne
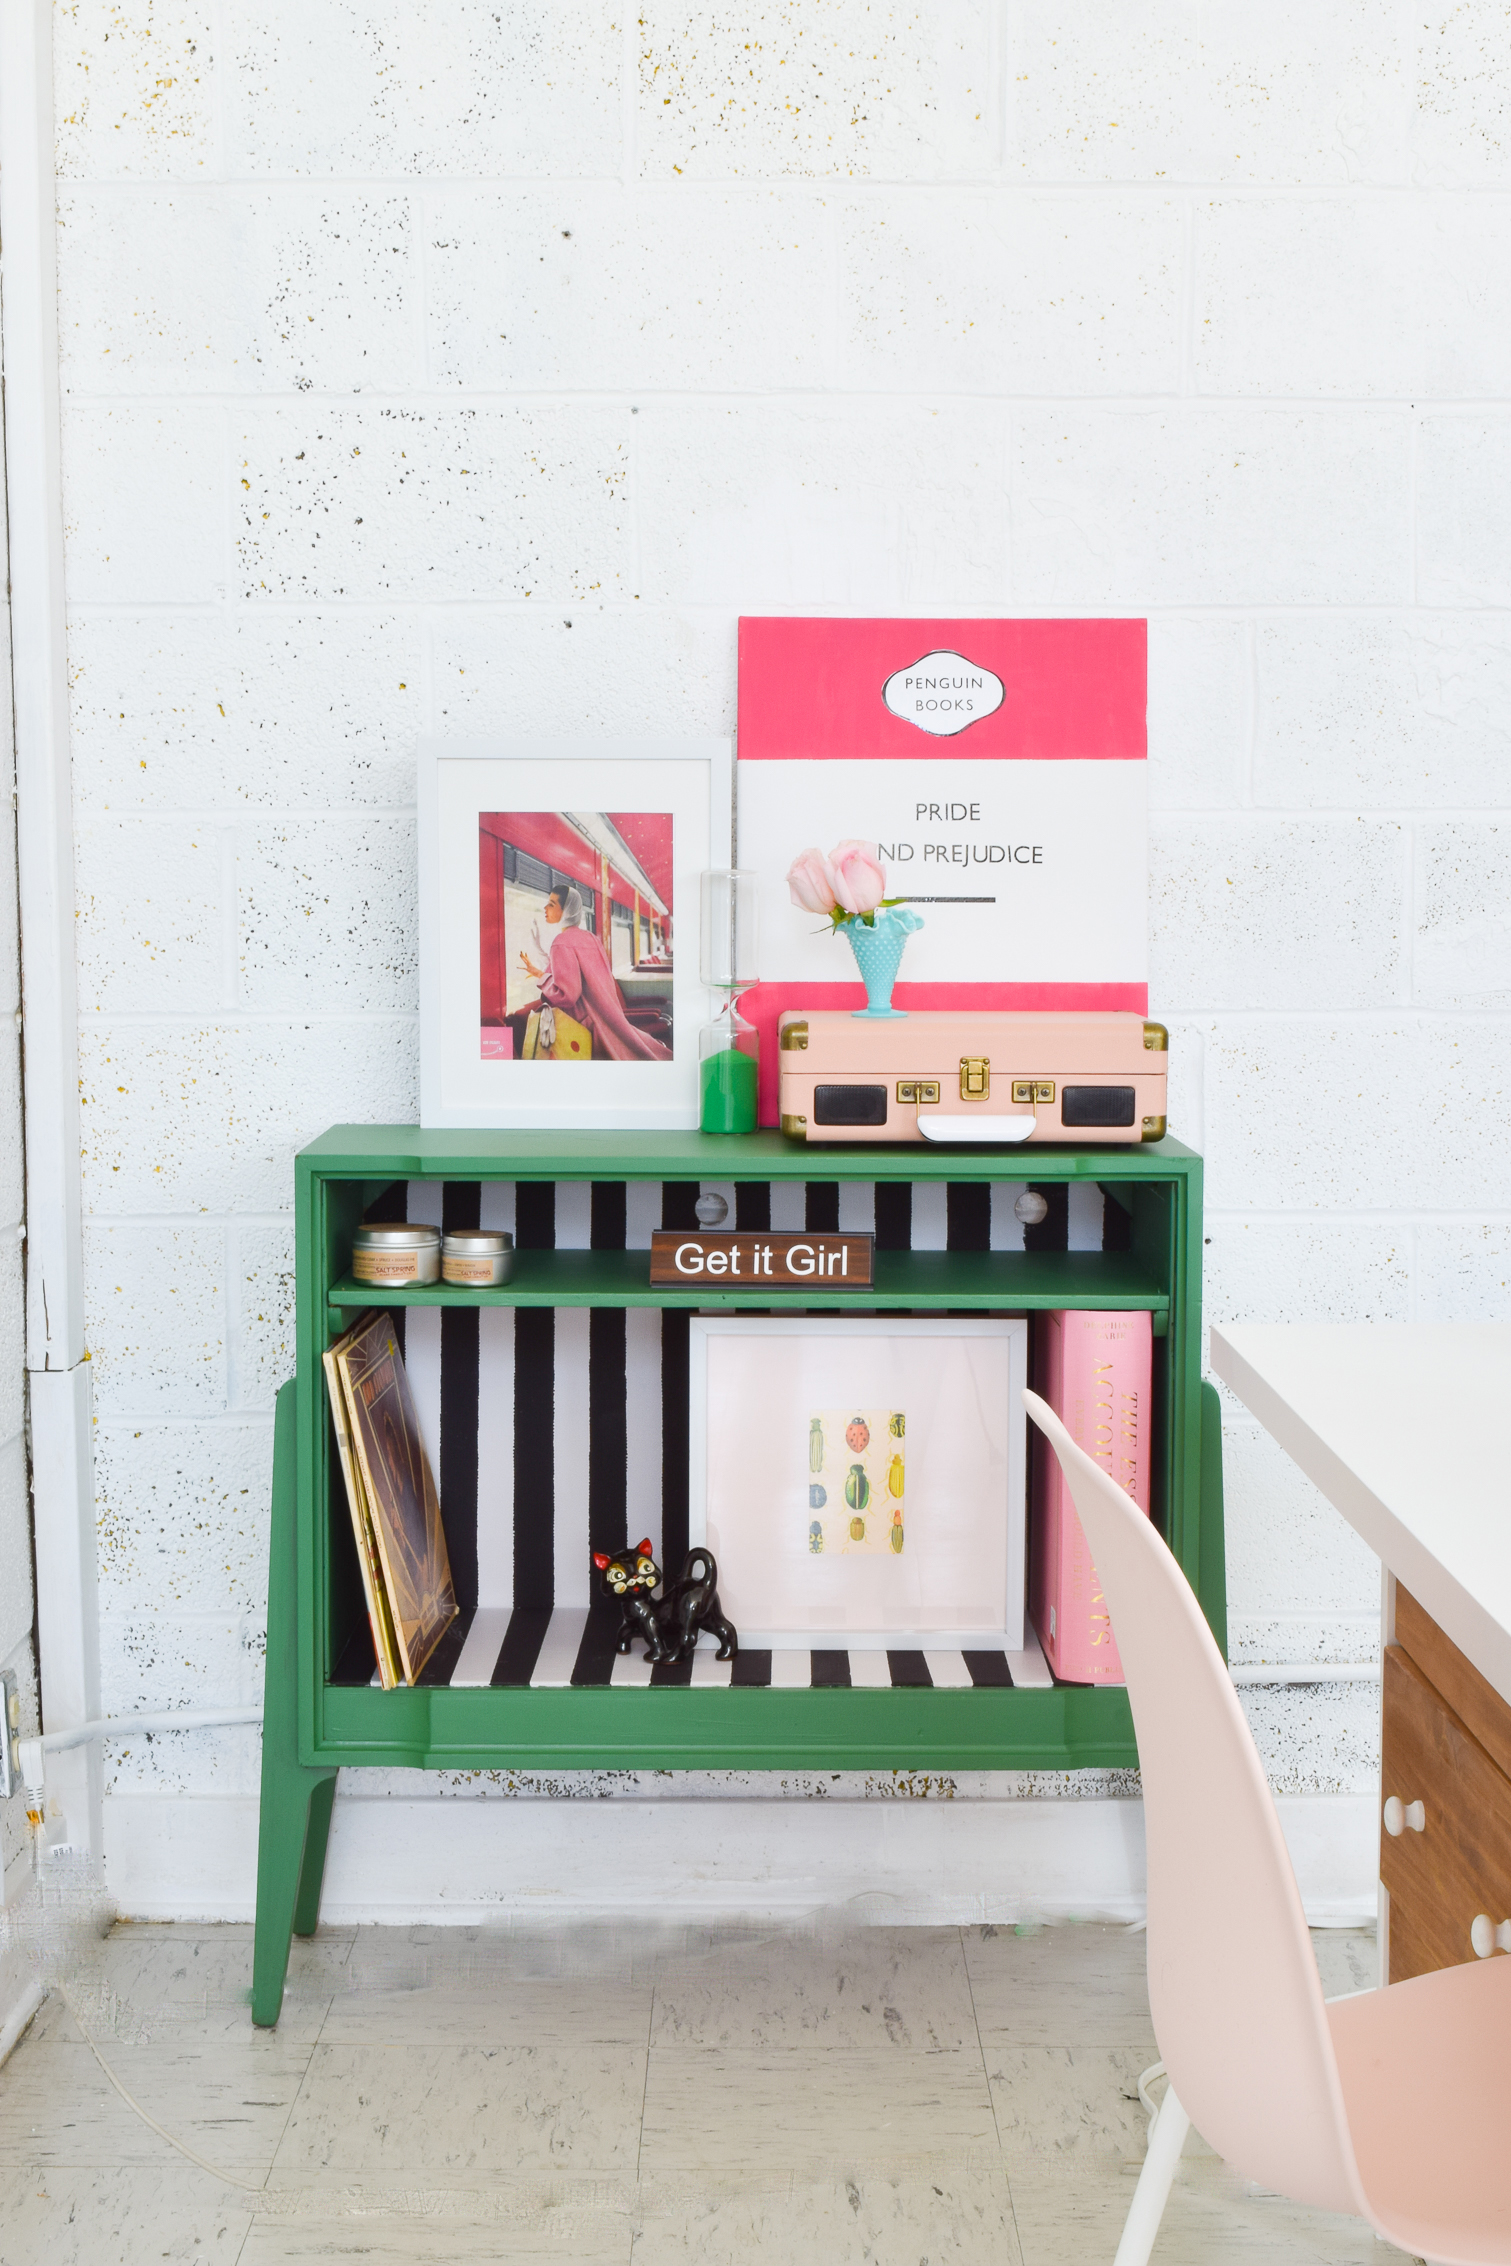
Green Record Cabinet, Collected Artwork – Personal Collection
Tule Curtains – IKEA’s Lill
All paint on walls – Behr Marquee in Ultra Pure White
Dahlia Prints Behind Couch – Jenny’s Print Shop
Green Tray Side Table – IKEA’s Gladom
Penguin Classic’s Book Cover Wall Art DIY – Here

