I am not inventing the wheel here folks, I am merely taking a lovely stroll on a bike. Now that I’ve drawn that image out enough, let’s get down to the business of putting monograms on things! Way back when I started the blog, I was monogram crazy. Along with everything in silver and blue, I hand-painted monograms for all over the house – it wasn’t anything extraordinary, but it helped make our small, small, very small, row house feel a bit more personal. Flash forward 4 years and I’ve still got a penchant for monograms, except I’m going it differently this time. Using my Cricut to create colourful monogramed napkins, I’m customizing some of our outdoor entertaining gear.
*Cricut sponsored this post, but all thoughts are my own. Thank you for supporting the brands that make PMQ for two possible.

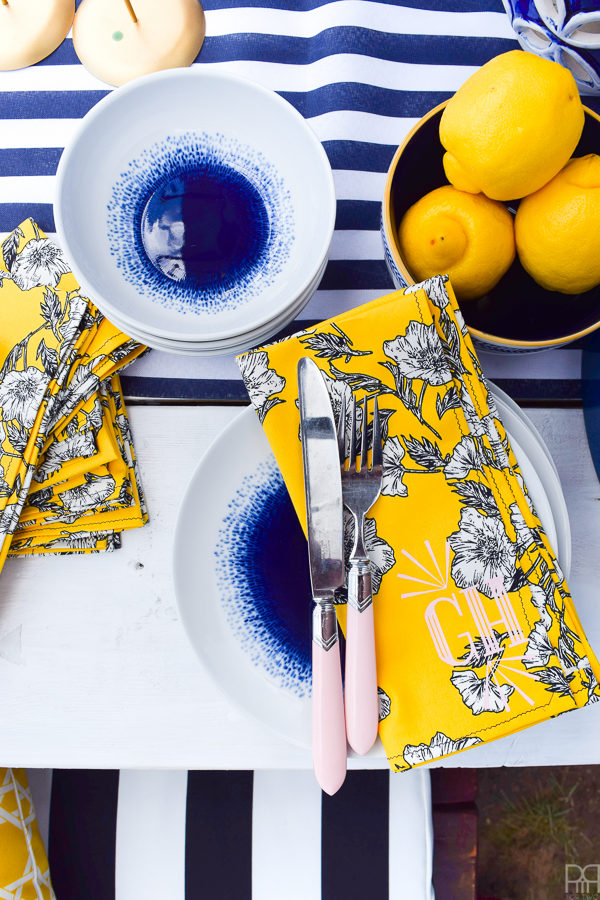
In case you missed it, our Spring One Room Challenge // here // is our entire backyard and calls for lots of outdoor-friendly pieces, and I figured a fresh set of napkins to compliment our Kate Spade set we scored at HomeSense was just the trick. After all, I only purchased 4 napkins and last Saturday we proved that we can easily seat 12 at the table if need be. So making another 8 napkins sounded like a good idea and a fun way to get better at sewing. * I saved you all the tedious part where I stand in my kitchen and yell at the sewing machine while I try and load the bobbin correctly.
*The following product links contain affiliate links. Thank you for supporting the brands that make PMQ for two possible. For my full policies click // here //
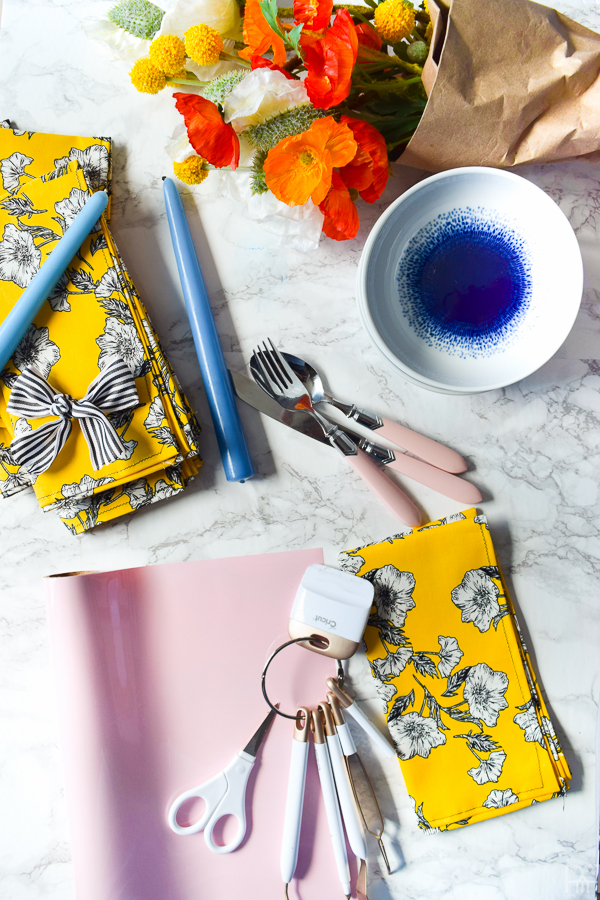
Materials
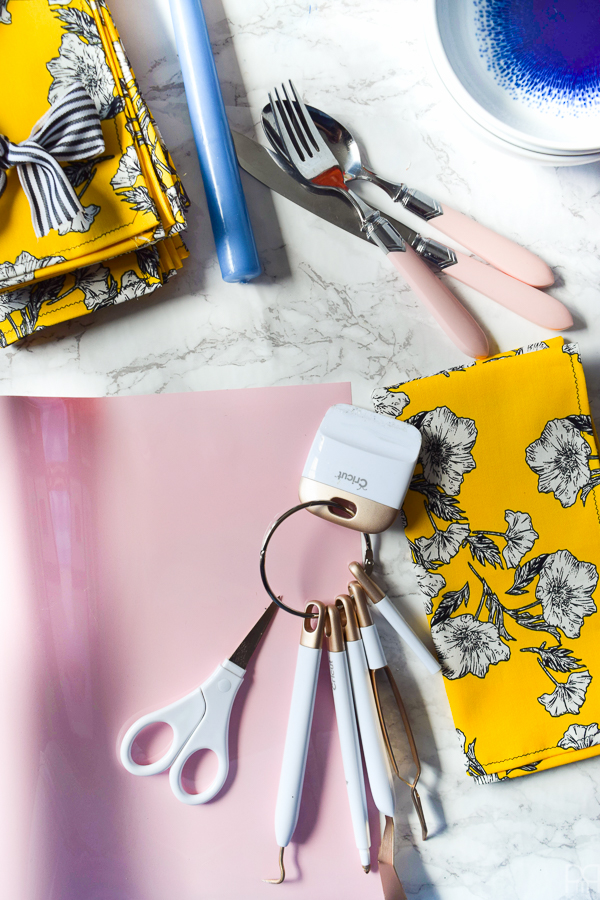
- Cricut Explore Air

- Cricut® Tools Basic Set
- Cricut® 12″ x 24″ StandardGrip Adhesive Cutting Mat, 2-pack
- Iron-on Lite, Pink
- Napkins of your choosing – I like this fabric from Minted though // here //
- Photoshop + Design Space

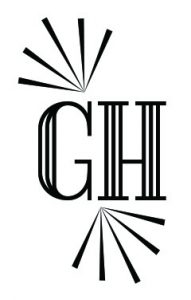
Step 1: Create a monogram for yourself. I didn’t have an existing one for DH and I, so after scouring Pinterest I came across Damask Love’s post featuring free fonts and frames // here //. I then downloaded the Bergamot & Debonair fonts, and used my photoshop to create the monogram.
If you’re looking for some etiquette on creating a monogram try this article // here //
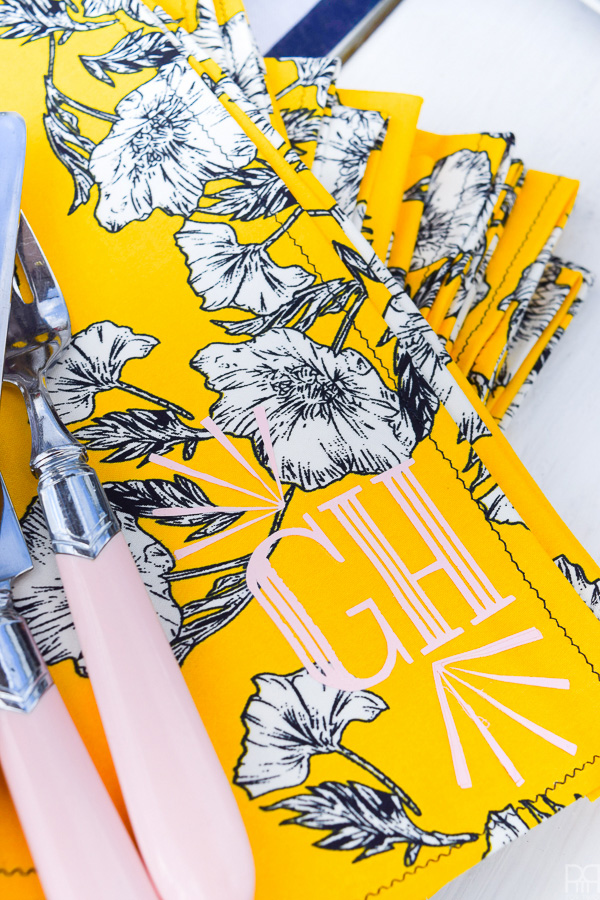
I wanted something that took up space. That sounds weird don’t it?! I didn’t want something with too many curly-queues or flourishes, but I also didn’t want the traditional formats. Ever the fan of the starburst, I like the flourishes in the Bergamot collection, and I liked the imposing grandeur of the the 1920s style Debonair font.

* If you already have a digital copy of a monogram you use go with that! Otherwise, Cricut Design Space has a series of monogram fonts and frames already loaded in.
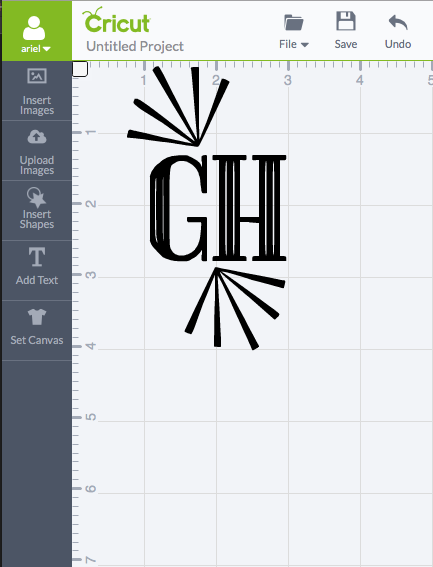
Step 2: Load your image into your Cricut Design Space account, edit accordingly and save as a cut file. In keeping with the whole “take up lots of space” idea, I made the monogram big. Because it was going to go on top of a very busy print and in a light colour, it needed size on its side.

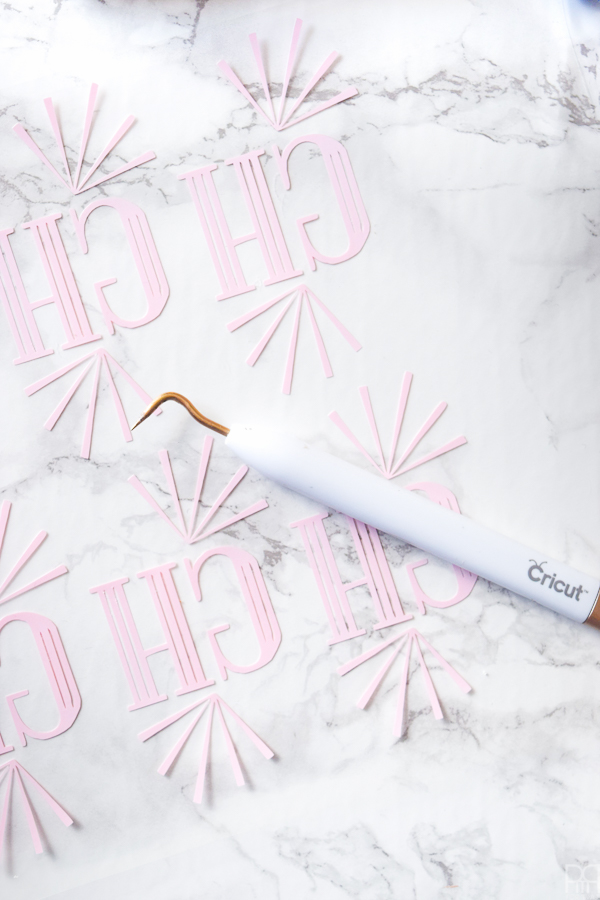
Step 3: Since you’ll be using iron-on vinyl, don’t forget to a) place the vinyl “shiny side down” and b) check the box before you hit “go” so that the image is flipped.
Step 4: Peel back the negative vinyl and weed-out the rest for a clean finish before cutting into squares.
Step 5: Following the instructions on the little info packet that come with the iron-on vinyl, set your iron to the Cotton/Linen setting (the hottest), prime your napkins for 10 secs before applying the monogram shiny side-up.
Apply pressure with iron for 30 secs before flipping the napkin over and applying another 30 secs directly underneath the monogram. Wait to cool before removing the plastic wrap. There are no pictures of this process because it’s hella complicated to take a photo that’s not blurry while ironing. Trust.
Step 6: Enjoy! I re-ironed my napkins once I was done – you know, to get that crisp fold.
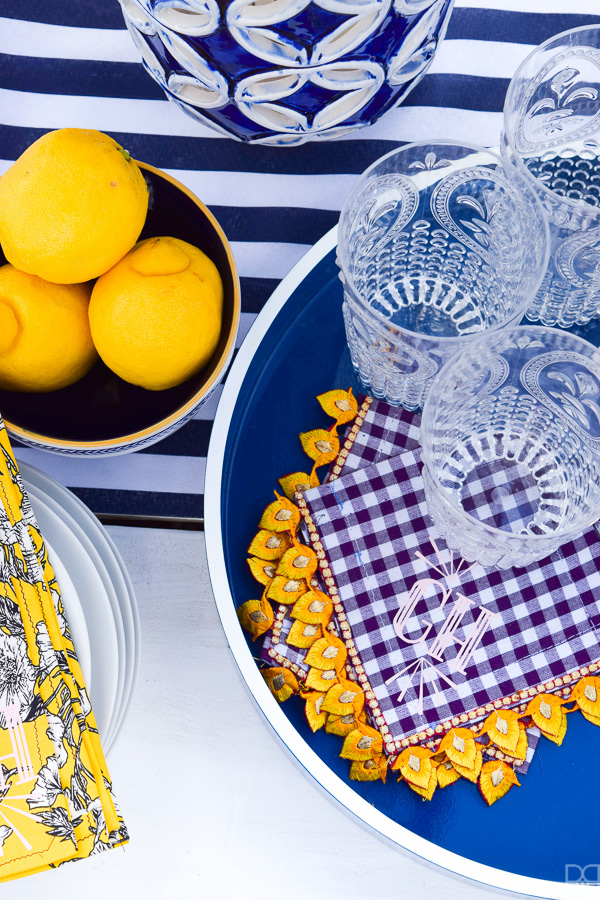
Step 7: I loved our monogram so much that I did it up on a set of our cocktail napkins. I made these suckers a few years ago (so mind the tutorial //here //)
*P.s once you’ve worked in home furnishings retail, you’ll know what I’m talking about when I say that there’s nothing like a fresh fold and ironed crease on table linens.
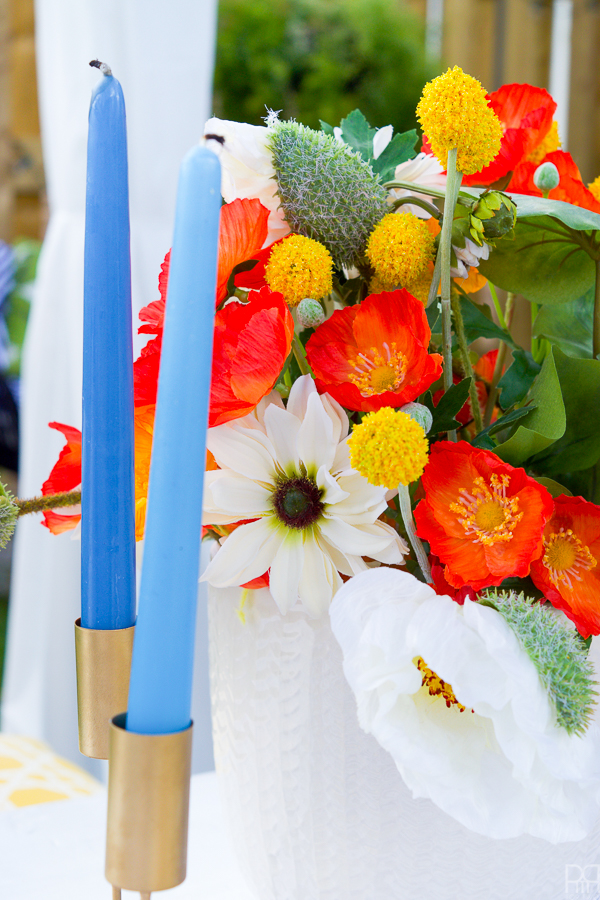
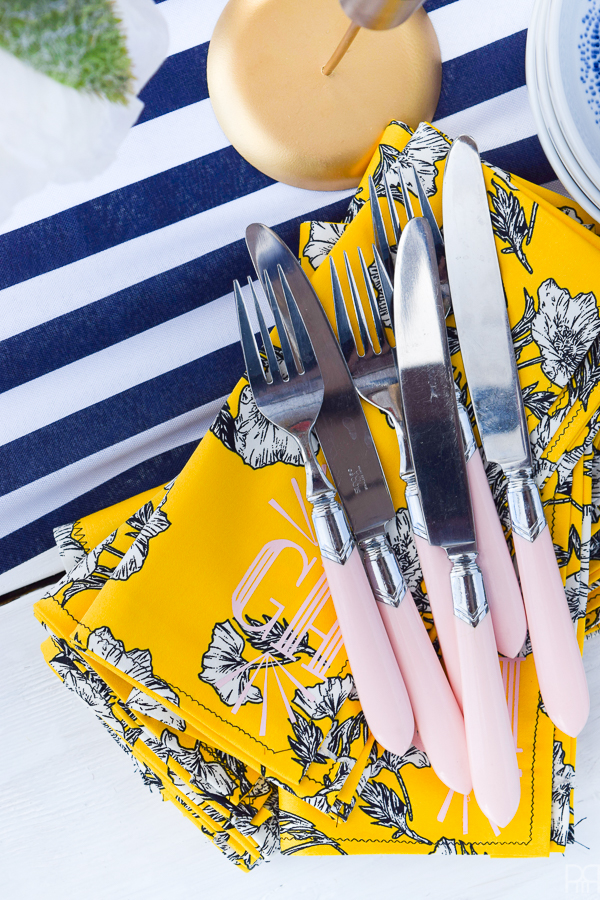
I put together a quick tapas dinner and cocktail hour and invited some friends over for some casual chit chat, but mainly to show-off my new napkins. I mean, look how crisp that yellow is against the blue! and with the pink!? dying.


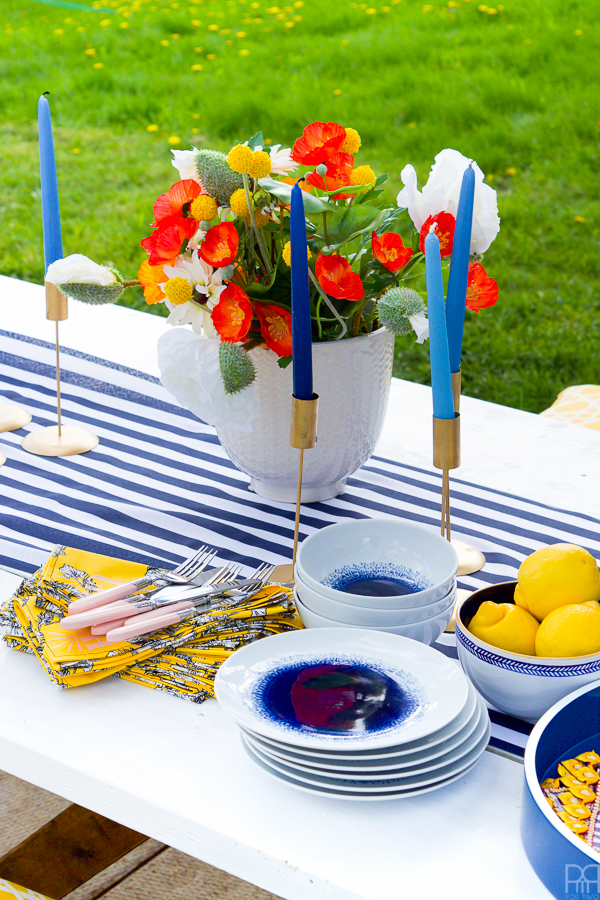
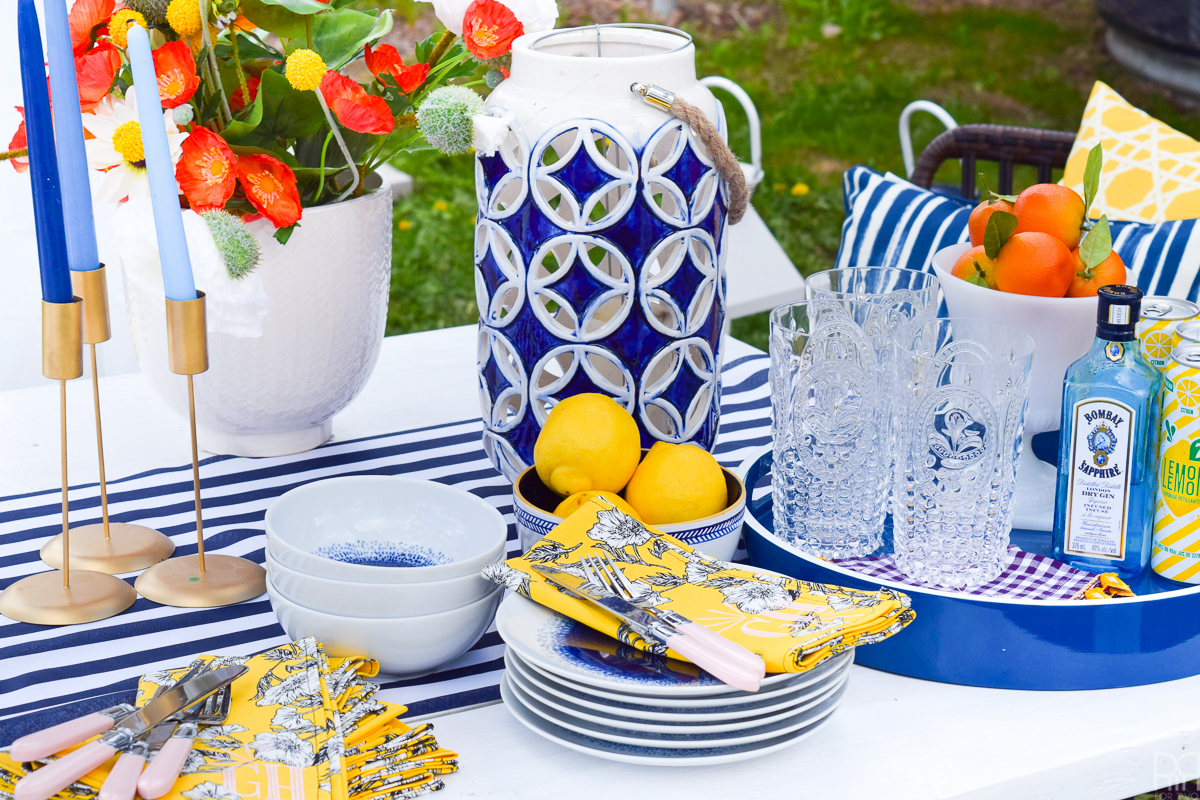

All those lovely blue, white and black decor pieces I purchased at HomeSense for the One Room Challenge are right at home in the yard. I can’t believe I didn’t invest in it as a space before, I mean like really. The backyard is quickly becoming my favourite place to hang-out and I can’t believe how good it feels to sit in a well appointed yard.
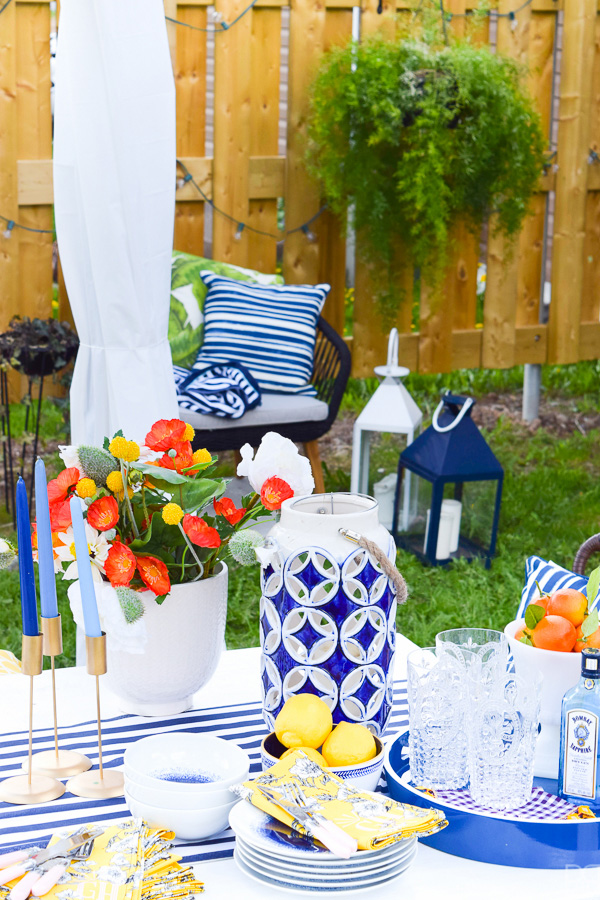
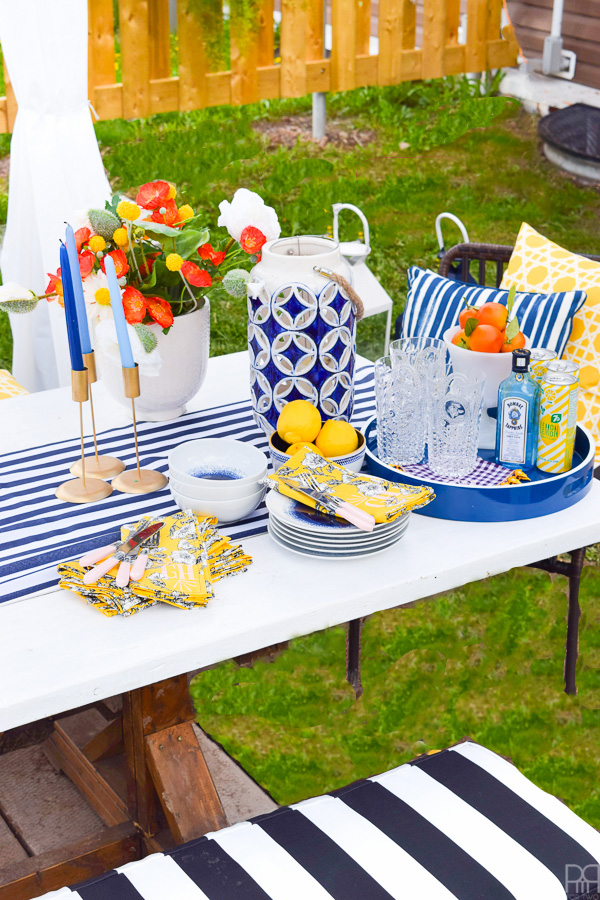
One (of the many) reason I love Afloral’s silk flowers is that I can keep re-using them, project after project, and they still look amazing. For a complete product list on those featured in my table arrangement // here //