Have you guys been to IKEA recently? Their spring collection is POPPING! POPPING I tell you! Well, I was in there this past February when they were just starting to roll-out their merchandise and had the opportunity to snag a few things. I could have grabbed a cool tent or some paper lanterns, but instead I grabbed some planters, a watering can and a beach towel. Call me crazy! Just don’t call me late for dinner.


But back to the story at hand. I new I wanted to do something cool with the planters around the topic of the One Room Challenge (catch yesterday’s update // here //) and while a lot of it has revolved around showing you some half-baked spaces and lots of plants, I thought I’d start unveiling some DIYs for the various spaces – enter the spray paint ombre planters.
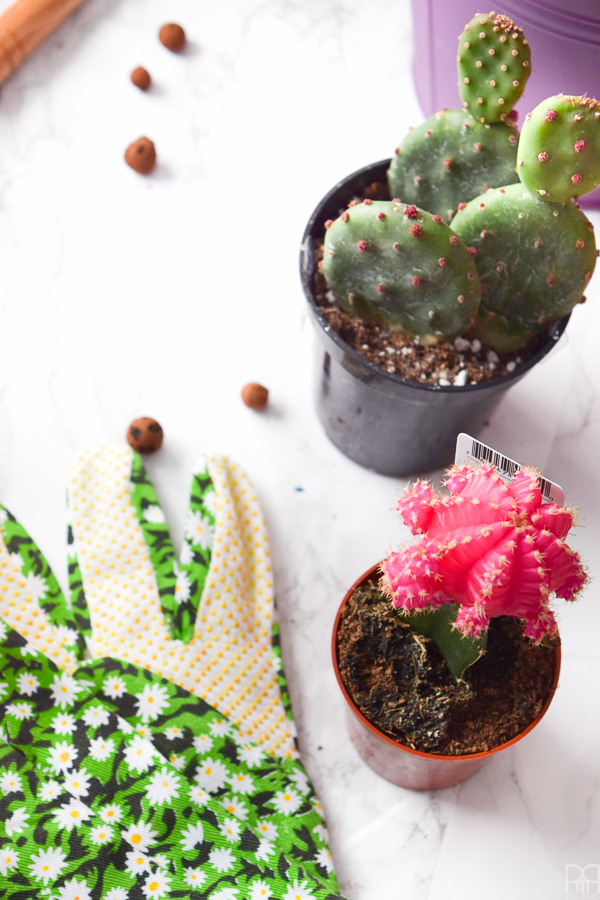
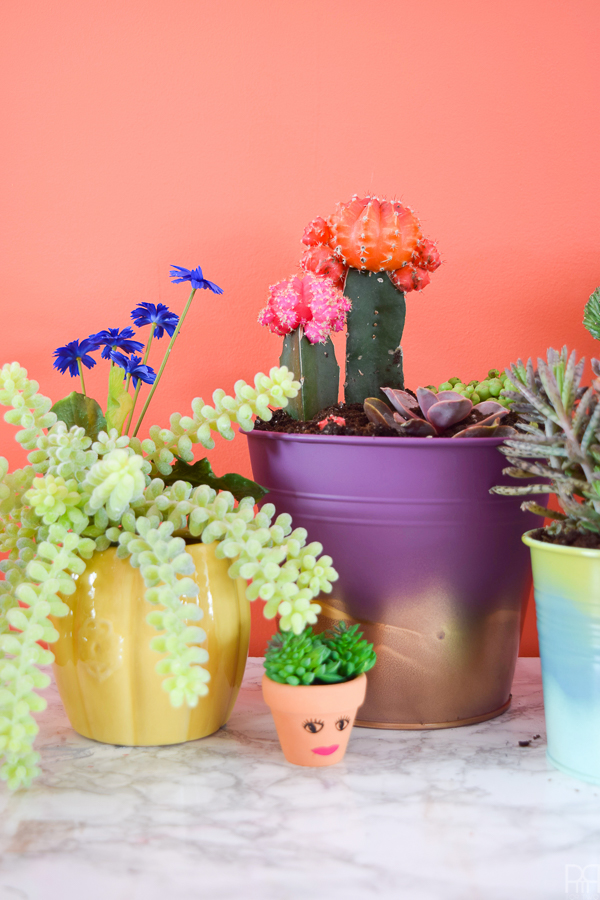
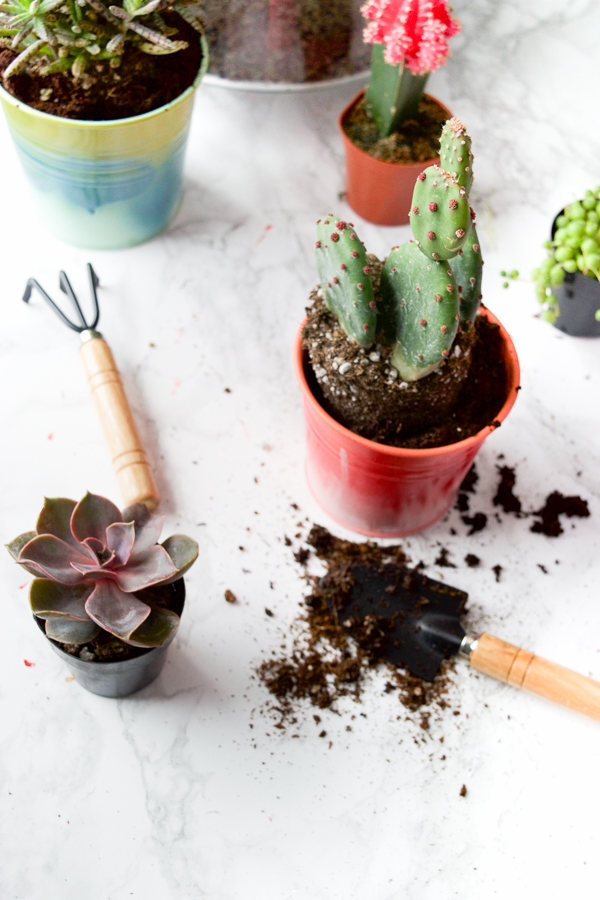
This craft was a perfect way to replant my large cactus garden and test-out some new varieties in my home. I love the moon cactus, so t was nice to see how it would thrive in different spots around my home.
The following product links contain affiliate links. Thank you for supporting the brands that make PMQ for two possible. For my full policies click // here //
Materials
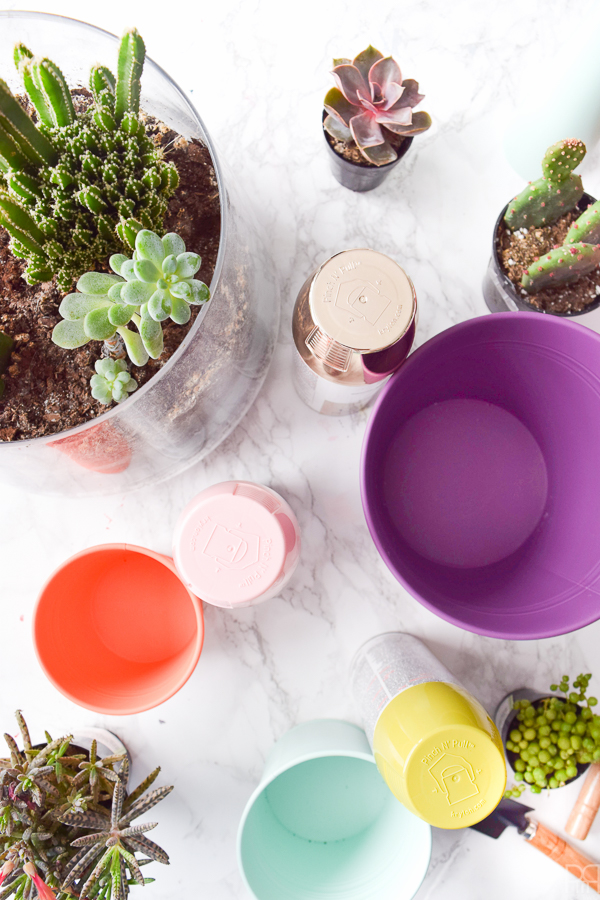
- IKEA planters in various colours starting at $1.49
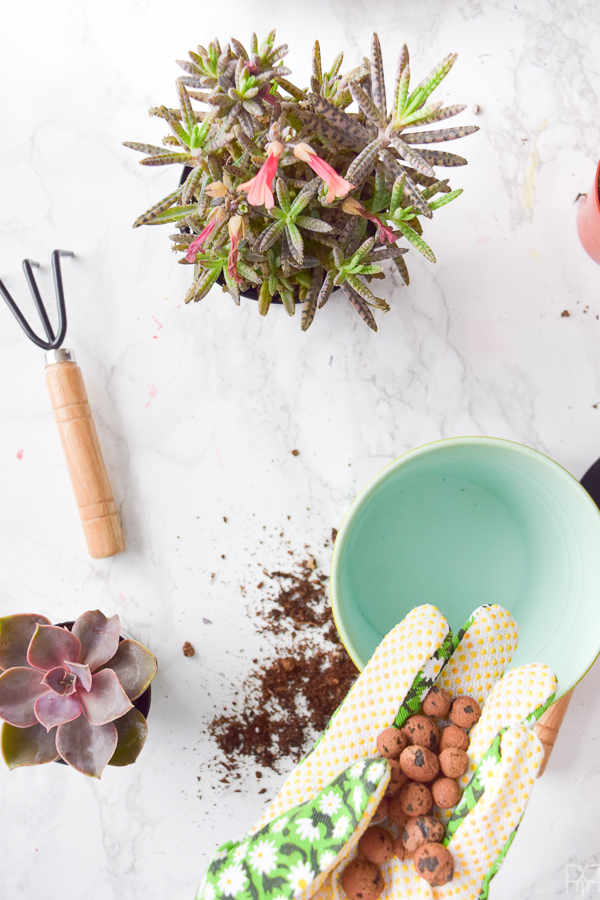
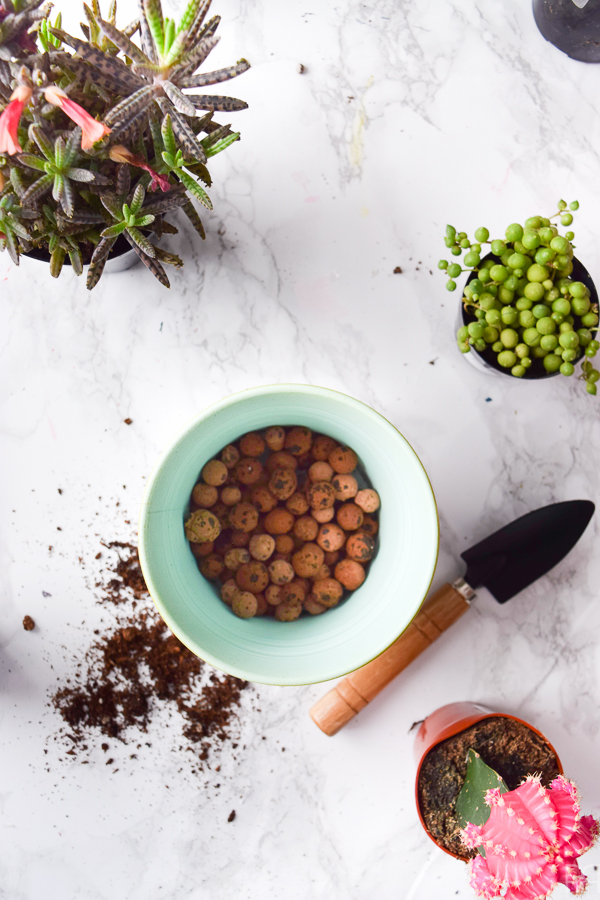
- Leca pellets
- Cactus and Succulent Soil Mix
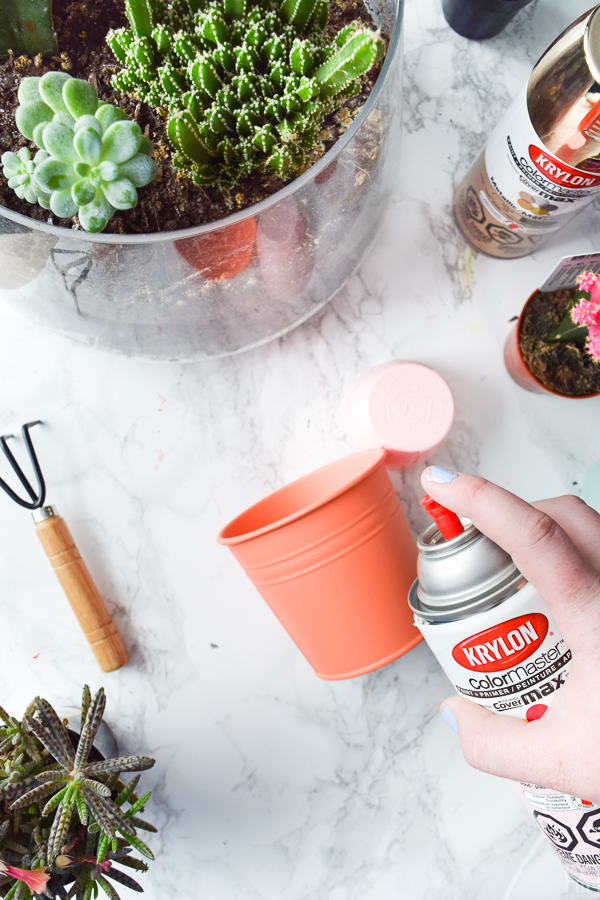
- Krylon Spray paint
- Succulents & Cacti
- Garden gloves

Step 1: Chose your colour combos for the planters. I used complimentary tones for each pot and then at least one contrasting colour to create a range.
Step 2: Once your colour selections are made, get to spraying!
To get the ombre look you’ll start with one colour and spray a ring around the bottom of the planter. Set it upside down to dry, and move on to the next planters.
Step 3: By the time the first ring is dry on the planters you can add the second ring. Spraying the next colour in a way as to overlap with the bottom colour will create the ombre look.
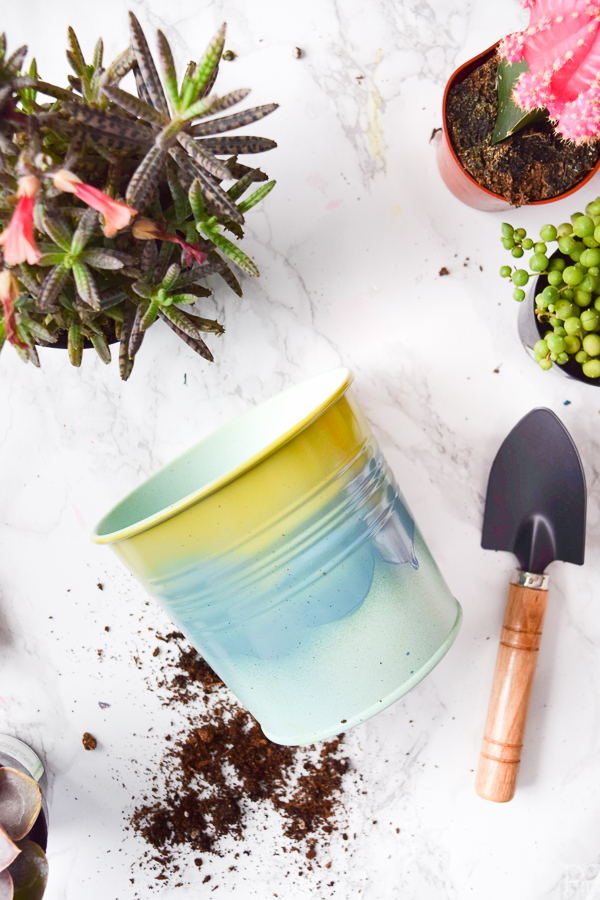
NB: Repeat for all planters before moving on to the 3rd ring. I left the 3rd ring off one or two of them, and in one case I inverted the planters so that the paint drips would run the other way.
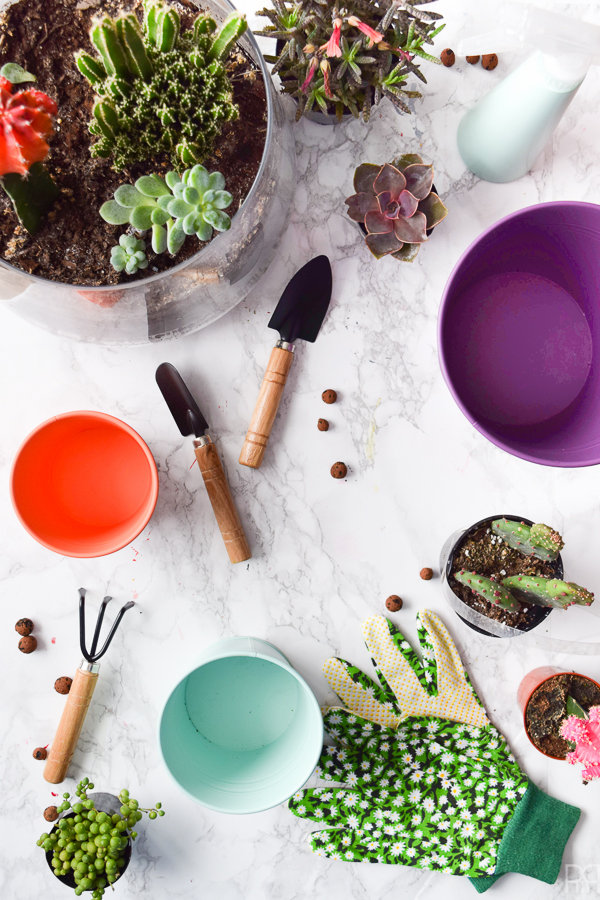
Step 4: Once it’s time to plant, start by adding a layer of leca pellets or rocks & sand to the bottom of the planter. You want to create space for the water to drain so that the roots aren’t sitting in water!
Step 5: Next you’ll add the cactus and succulent soil. I have found that the specific soil really makes a difference over the basic stuff you can dig-up in the backyard. The specific soil is nutrient rich and has really made a difference with my existing plants since making the switch.

Fun story: my husband thought the child sized tools are hilarious when I brought them home, but so far they’ve actually been really useful for the small planters I’m using.
Step 6: Water the soil to the point where you can build it up around the edge of the pot and create a space for the incoming plant. I find having a little wall of freshly damp soil to welcome the new root helps ensure it is evenly surrounded by nutrient rich soil, while also saving you the hassle of having the jamb soil down between the plant and the pot once it’s in there.
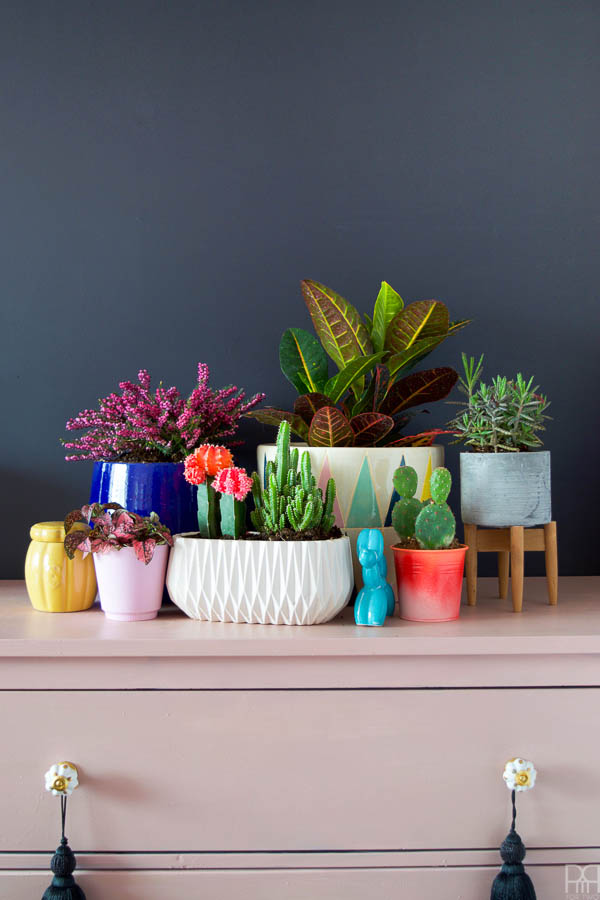
Step 7: Insert the cactus or succulent! I’ve create a few arrangements with collections, while others are lone wolves.
I tried to pair plants with similar watering needs together to prevent root rot.

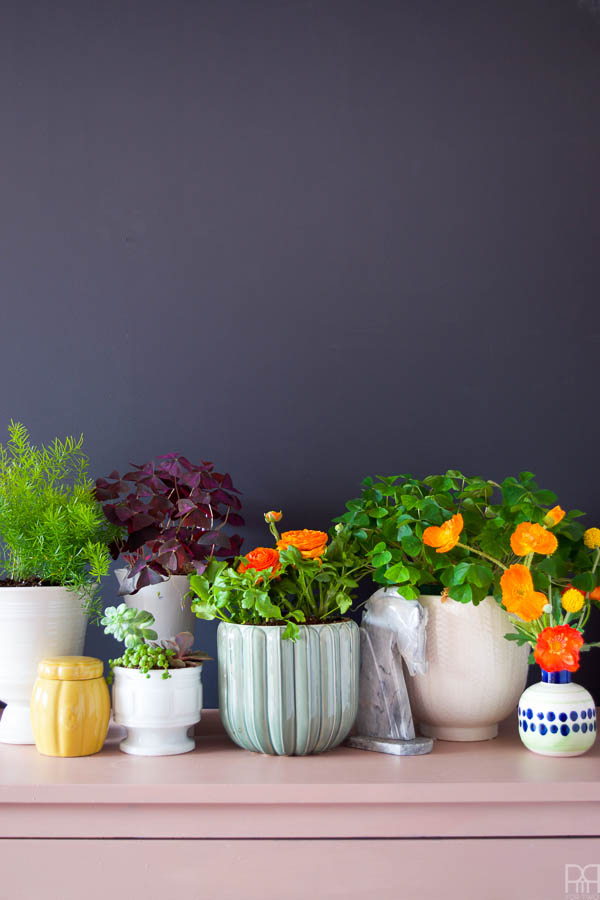
Step 8: Enjoy! and don’t forget to decorate with them 🙂 I’ve noticed a definite change in the tone of the rooms the plants are in. They feel more “complete,” ya know?