

I am so pleased to unveil my renter friendly bathroom upgrades today. If you’ll remember, I unveiled the plans and inspiration in a post last week // here. // This space came together quite quickly as it was a fairly straight forward job, and thanks to the plentiful selection at our local Home Depot and the quality of Behr’s Premium Plus Ultra Paint, the job was made that much easier.
*Behr Paint sponsored this post, but all thoughts are my own. Thank you for supporting the brands that make PMQ for two possible.
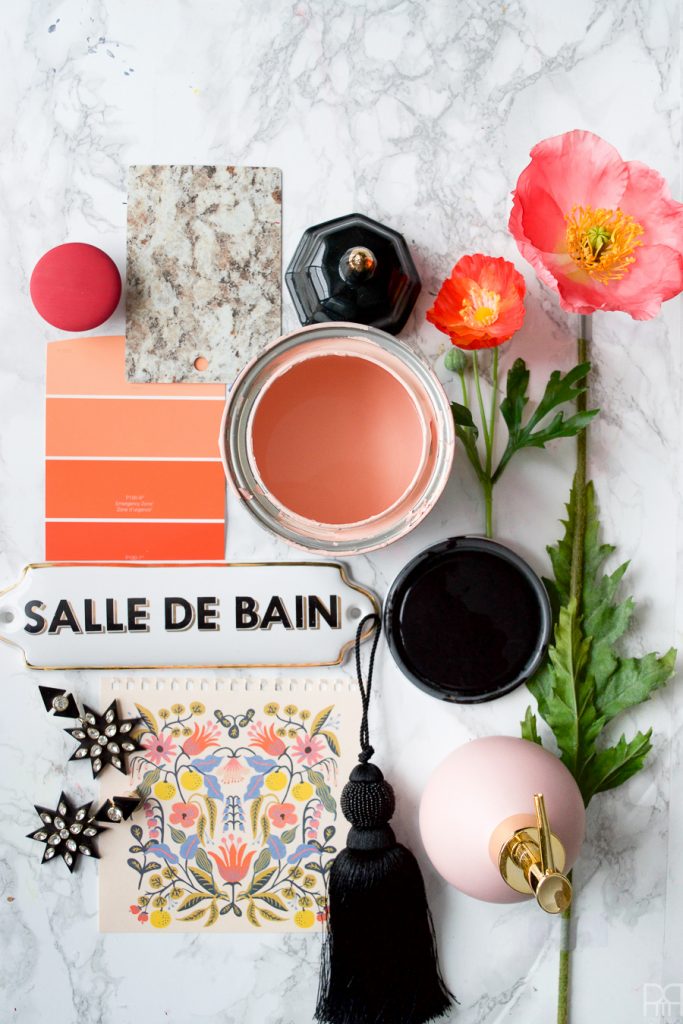

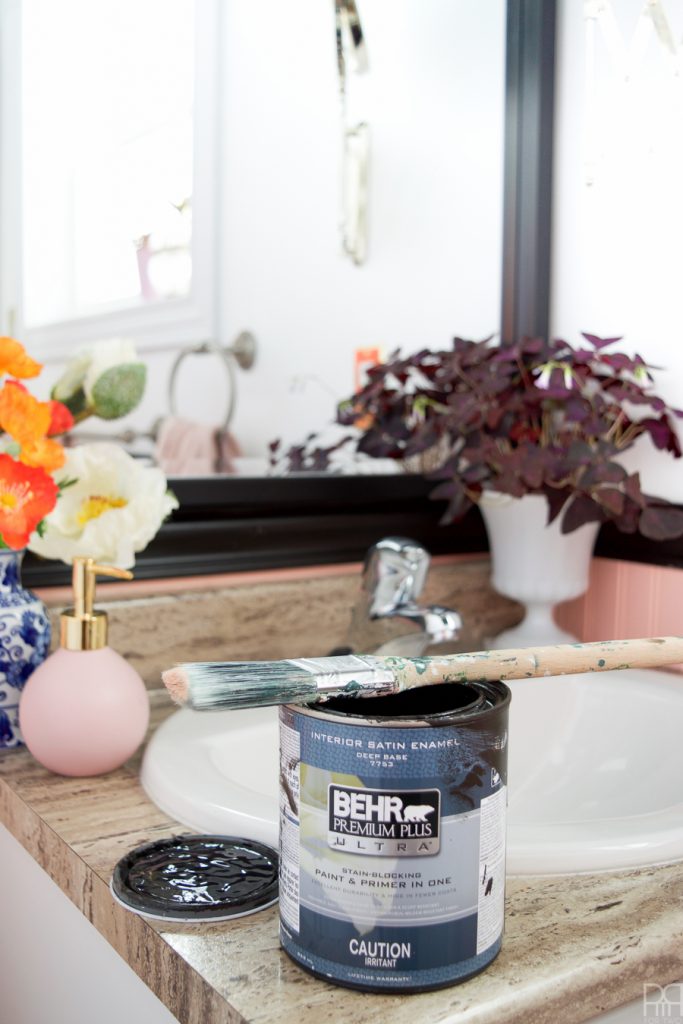
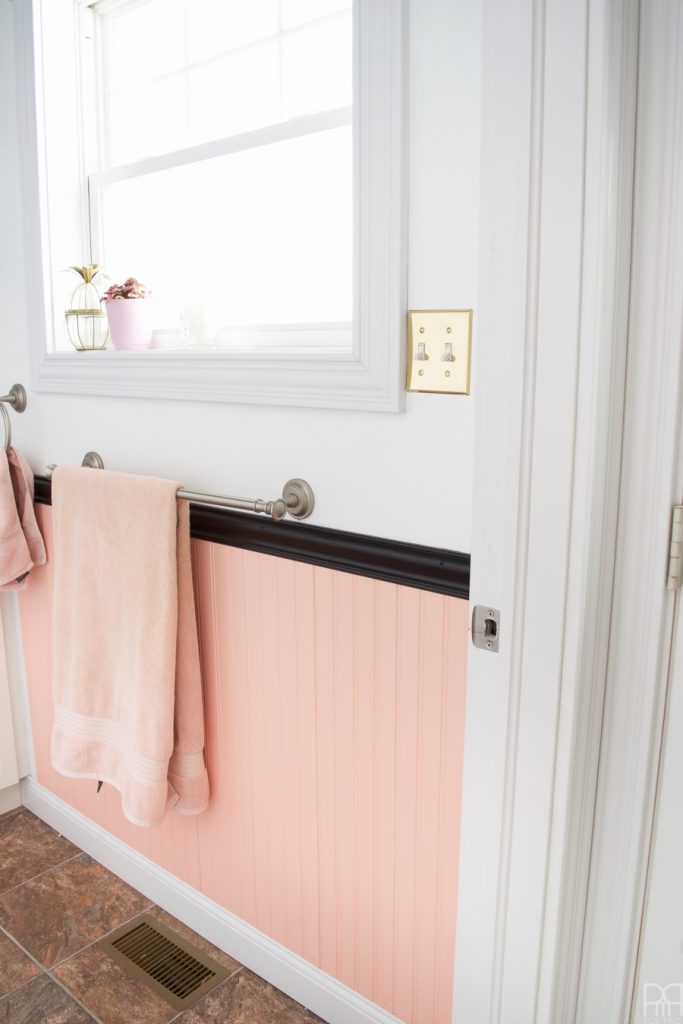
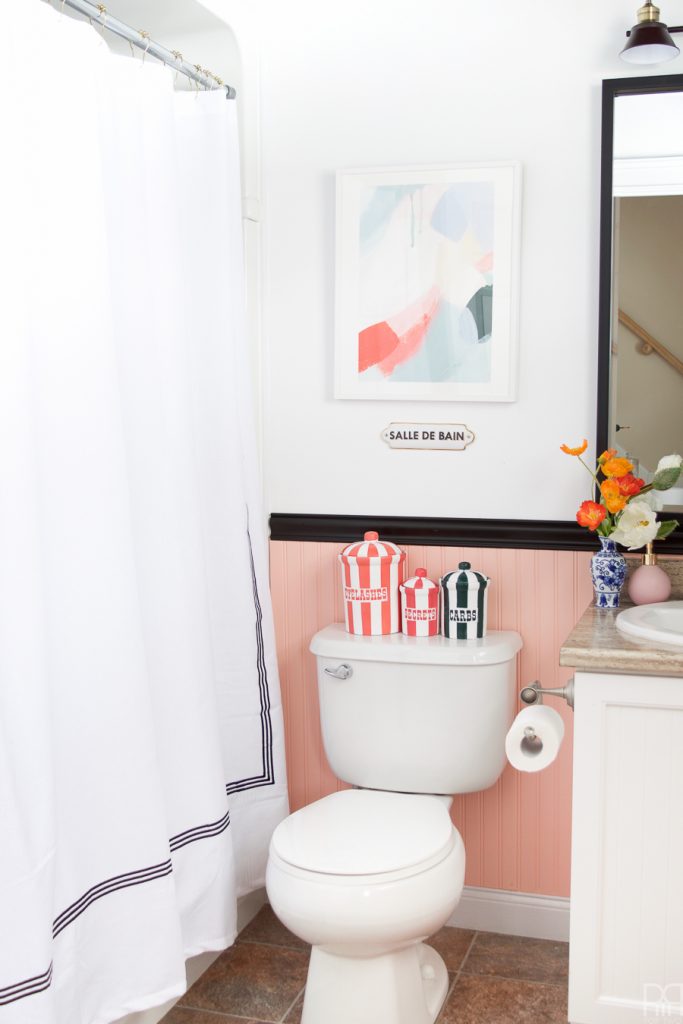
For the space, we opted to use Behr Premium Plus Ultra Paint in Blackout N510-7 & Flamingo Feather M180-3. The colours are bold, vibrant and walk the line between cool & edgy, without being unapproachable in a space.
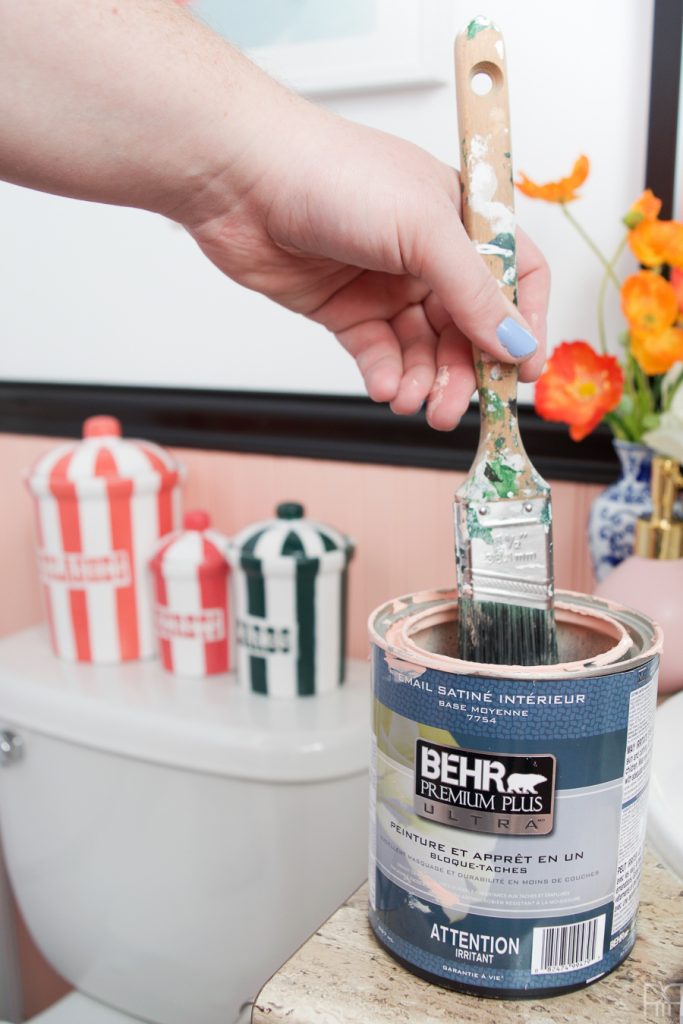
In the bathroom we wanted to avoid the pitfalls of our last paint choices – the finish! We were counselled into using the Premium Plus Ultra Semi-Gloss Enamel because it wouldn’t show condensing moisture like the other finishes. For a bathroom, there’s nothing worse than seeing the moisture condense and form thick rivets of water that then run down the walls or form droplets on the ceiling. Once dried, their residue is even worse! The semi-gloss enamel makes it essentially impossible to see any of that stuff.
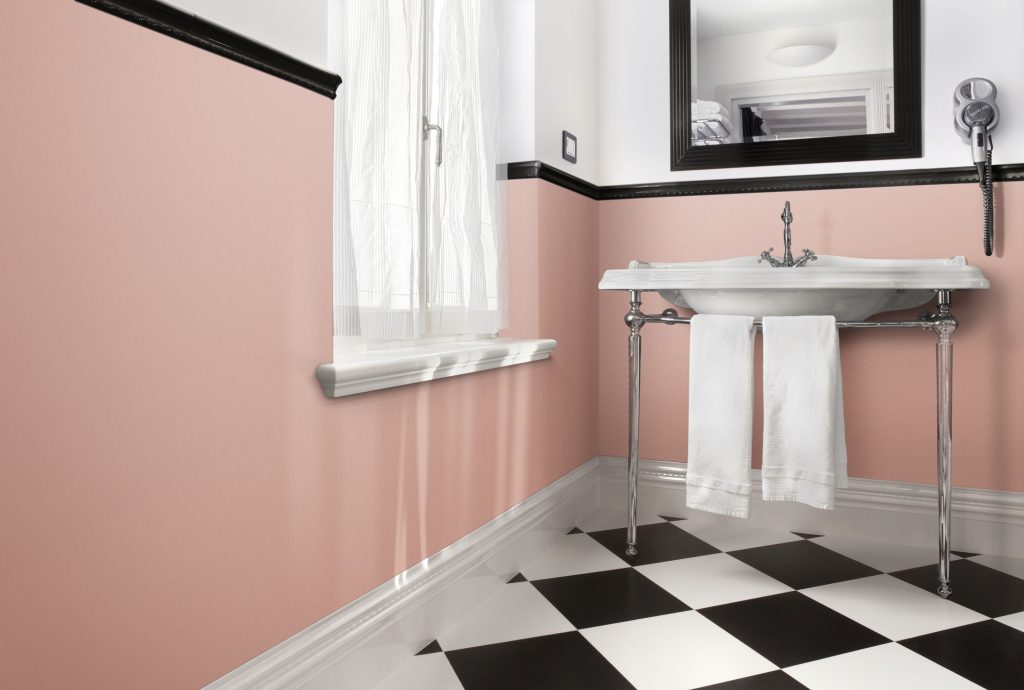
Here’s a “before” shot so that you can see what we were working with. As you can see, not terrible, but nothing that I’d call “Pinterest worthy.” I started down one path this summer after moving in // here // and then kinda fell out of love with it because we still had the original fixtures and then I kept making little changes. Before I knew it, the space made no sense! I started transitioning to a new palette when the challenge rolled around, so that was the perfect excuse to start fresh.
That folks, is what it looks like when bad spaces and poor planning happen to good people. At the very least it was a blank canvas (with the exception of the ceiling), and wouldn’t be too hard to change.
We were inspired by some beautiful spaces that had two major tones and used a variety of materials to create luxurious spaces on a small floor plan. However, we were on a budget and had to pick and chose where to splurge and where to save. That made the task at once fun and a little complicated – I can’t have marble everywhere for under 500$, especially not as renters. I also wasn’t in a position to swap-out the light-box placement or the vanity like in the picture below.

So we got to work! We wanted a way to create that two-tone effect in the space without painting half the walls. Bead board kits available at the Home Depot // here & here // were the perfect solution as they came in 7″ panels that allowed us to easily work around the small walls and tight angles without having to do major cuts. When the time comes to move, the panels come down and we’re left with a few touch-ups!
Here’s our weekend project timeline (we really did this space in a weekend)
Friday night: Using Behr’s Behr Premium Plus Ultra Paint, paint the already primed bead boards in Flamingo Feather M180-3 & paint the rail kit in Blackout N510. While those are drying, tape the walls so that they can be painted, and remove the mirror and light fixture.
Saturday morning: Paint the white walls in the Premium Plus Ultra Pure White to give them a fresh look that would let the colours pop! While that dries, add a final coat to the bead board and chair rail kit.
Saturday mid-day: Measure and dry-fit the bead boards in the bathroom while marking your cuts. Do a second coat of Pure White paint on the walls.
Saturday afternoon: Instal new light fixture and mirrors once the walls are dry to the touch. They will continue to dry for at least 12hrs, but once they’re dry to touch (and then some) you can work around them. ** Make sure whoever is working in there doesn’t put their potentially dirty hands all over the beautiful white and crisp walls while hanging said fixtures.
Sunday morning: Tape the walls so that the ceiling can be painted. Paint the ceiling!
Sunday afternoon: Instal the bead board and chair rail kits. We only used the top rail to hold the pieces together and then used our Air Strike nail gun to place a 3/4″ nail into the base of each board to hold it to the wall where the existing baseboard stops. We used black screws on the chair rail and then painted over them a second time to make sure they were incognito.
Sunday evening: Apply the final coat of paint to the ceiling and touch-up the boards and chair rail after their installation. Replace the switch plates with the new brass versions.
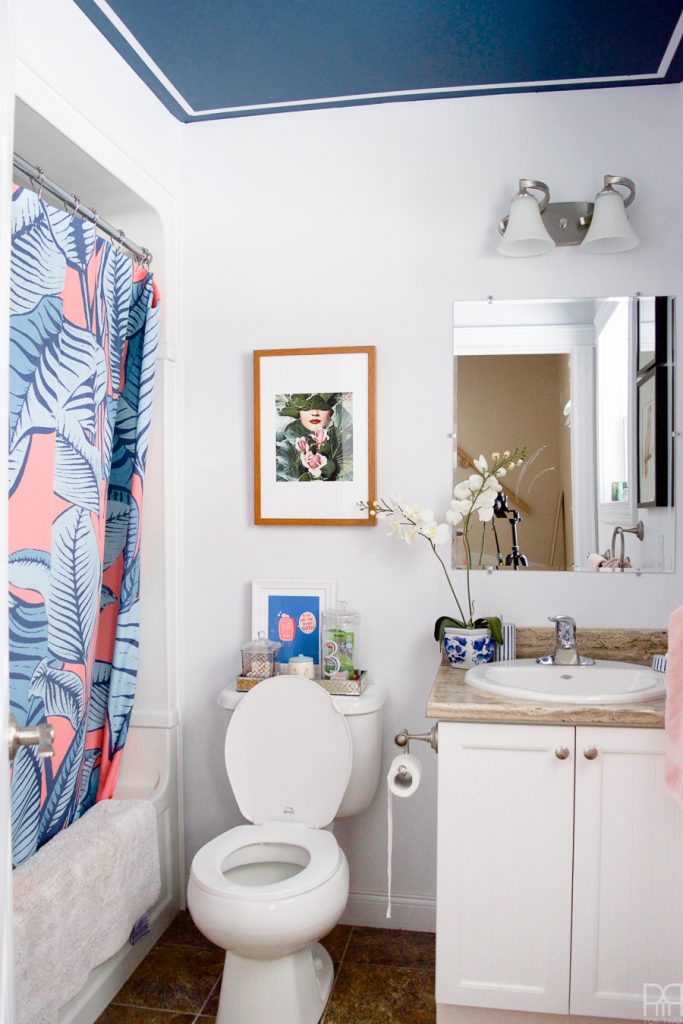
Working together, it took DH and I a weekend of on and off work to complete the space. It wasn’t labour intensive, and we allowed for plenty of dry-time. We are oh-so thrilled with the space now, as it represents a sleeker, more refined version of our style. Gone are the excessive knick knacks (at least in this room) and in comes bold colours that can truly speak for themselves. This shot of the bathroom from the hallway tells you everything you need to know – it’s punchy, vibrant and eclectic. The quality of the paint really makes all the difference in a small space
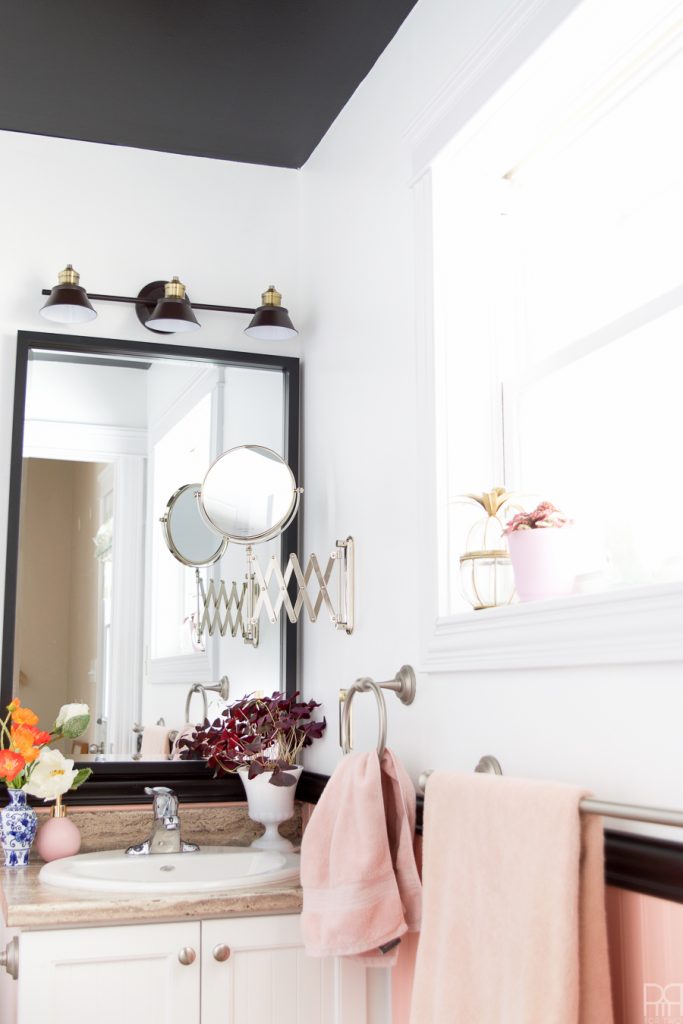
When it came to the ceiling, we went for a bold black. Putting a dark colour on the ceiling draws the eye upwards and adds the dimension of height to an otherwise small space. It covered the blue easily, and like the master bedroom accent wall, will require a few coats of primer before we march-out, but that’s a problem for future me!

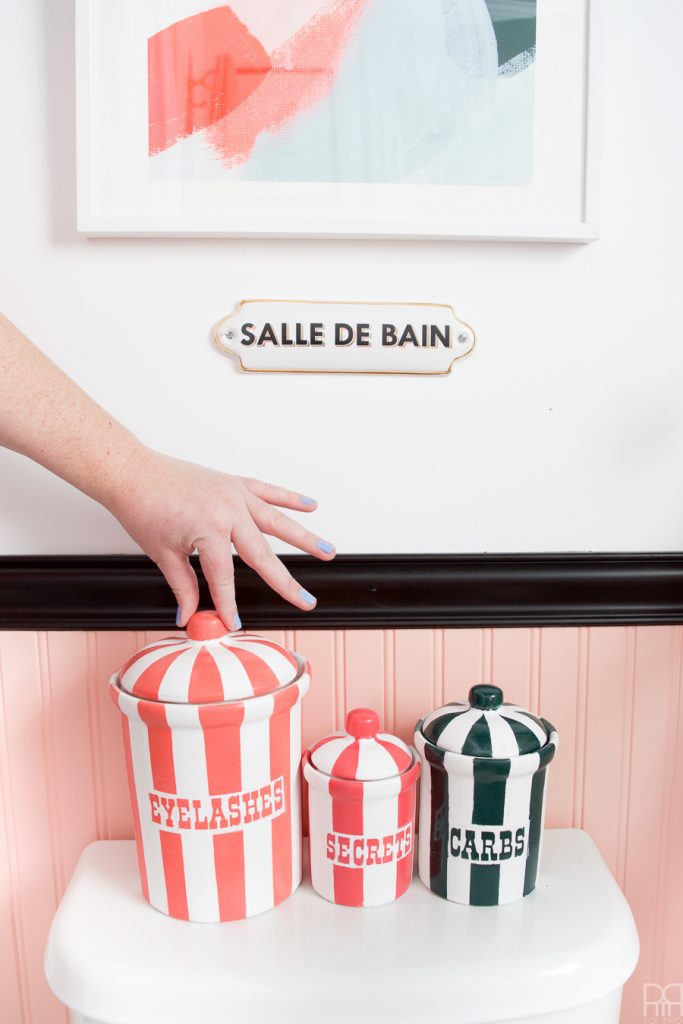
I thought my DIY Jonathan Adler inspired Vice Jars // here // complemented the colours in this print from Minted. Enliven by Melanie Severin // here // is a beautiful addition to the space. The colours are in the same palette as the Flamingo Feather, while the blue and green bring a welcome contrast that opens the room up to new colour accents. My DIY jars happen to match almost perfectly, which helps draw the colour from one medium to another, all the while complementing their surroundings.
This little corner is “the other side” of the room. It’s a small corner behind the door that doesn’t get much action, but which used to hold my Chinese garden stool. I wanted to bring some utility back to the space, and the tripod table is the perfect way to do so. Not only does it have brass tips like the switch plates, but the sleek MCM design picks-up on the trend throughout the home.
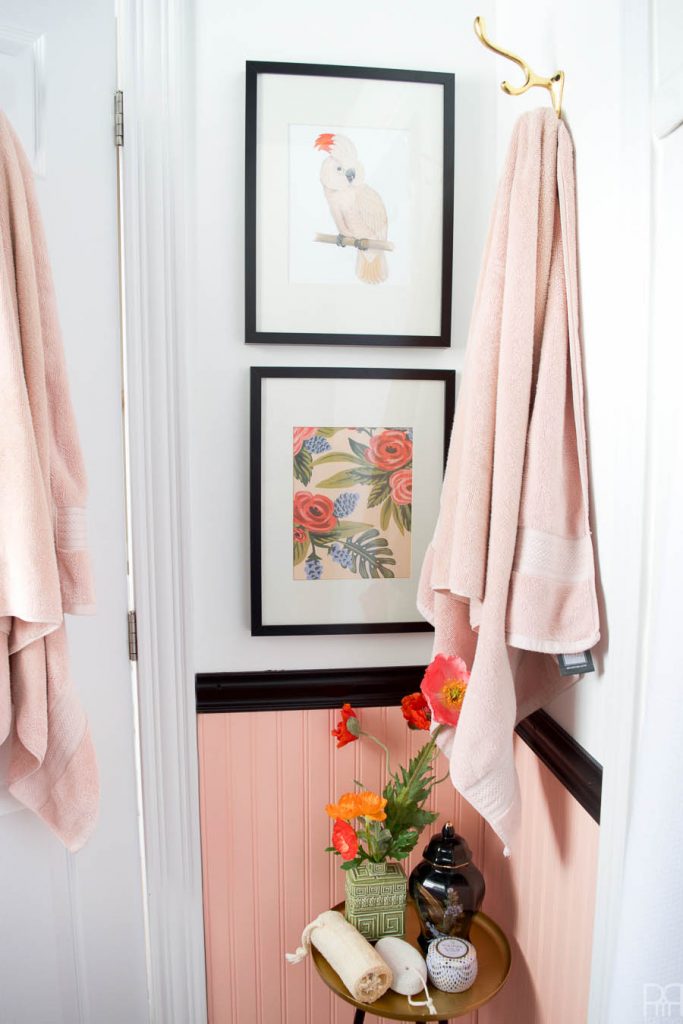
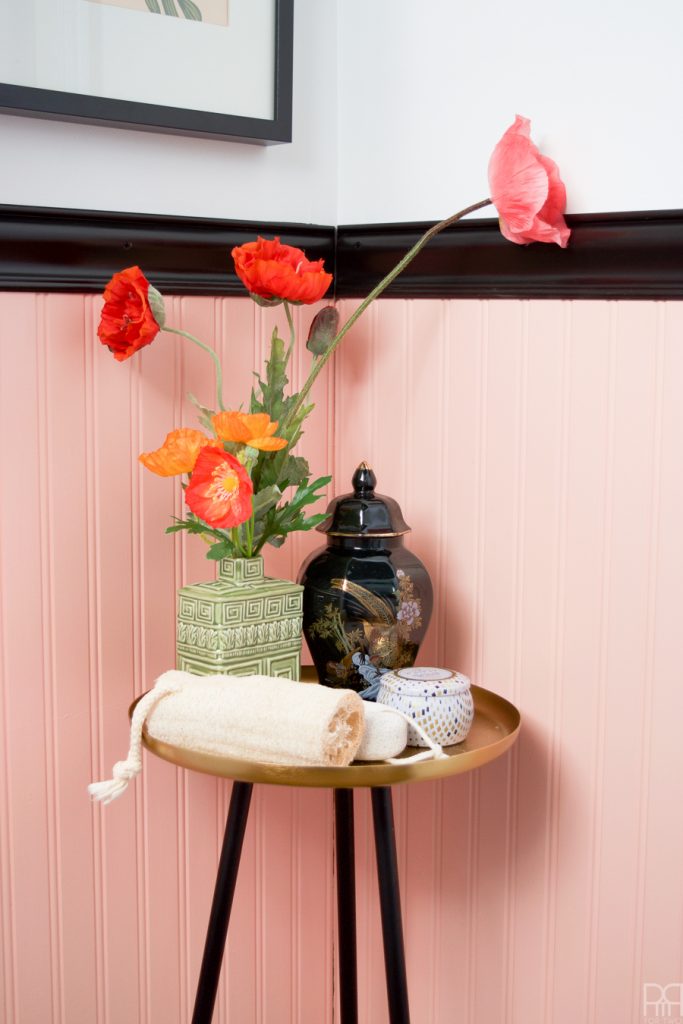
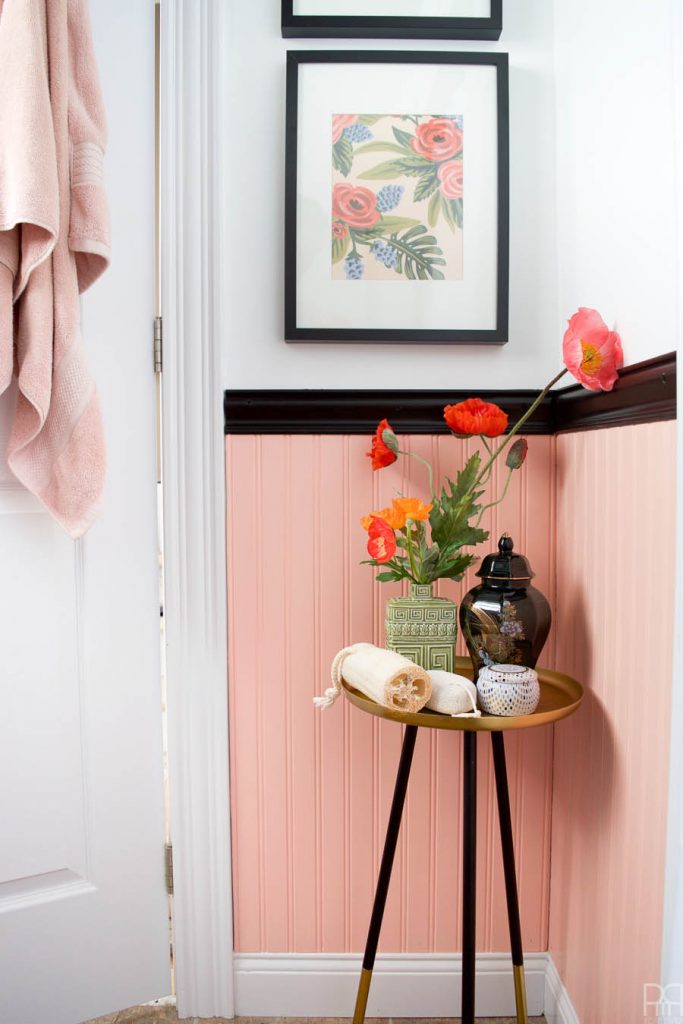
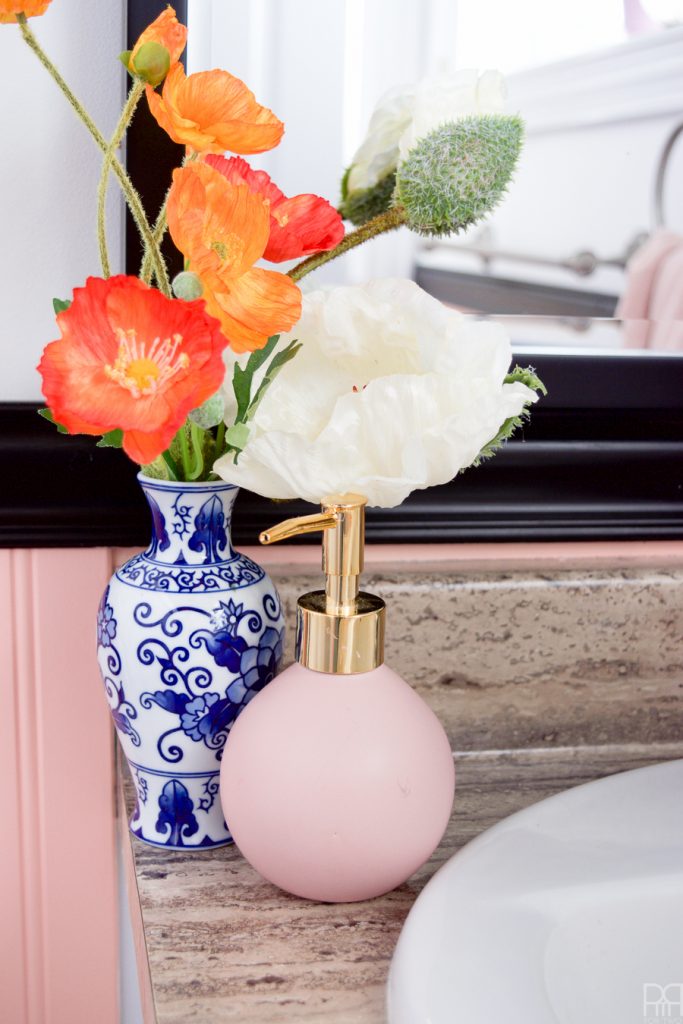
That folks, is how you tie spaces together. The little tray on top lets me hold all manner of bath time accessories, a candle, some lovely blooms and a pretty jar. If ever a perfect bathroom accessory was designed, surely this is it. The colours all mingle perfectly with the peachy-pink of the Flamingo Feather, and the height of the chair rail is perfectly proportioned to the table.
I added some cute little thrifted vases and urns to the space for some character, and am spreading my newfound interest in plants room by room. This sleepy shamrock is adorable in the corner and loves the humidity from our bathing. It also adds a new colour dimension to the space in what is otherwise a dark corner.
Have I talked about this light fixture? It’s LED Track Lighting from The Home Depot and it is fantastic. There are no lightbulbs! It’s all just part of the fixture! How neat is that?! But in all seriousness, it’s the perfect fixture for the space. The black rail parallels the black lines of the ceiling and chair rail, just adding to the satisfying design elements in the space. It also provides a heck of a lot more light than the one we had before, and we can angle it according to our needs. I can’t believe we didn’t do that sooner!
And there you have it! These changes were all done for under 500$ and we got everything we need at The Home Depot (Behr Paint included). We were also able to pull it off in a weekend, which makes it the perfect project for the spring when you can open-up a few windows. Make sure you tune-in next week to see how we transformed our kitchen using renter-friendly upgrades. You can see the plans for that space // here.//
Sources
Art from Minted // Brass Switch Plates // Shower Curtain // Wall Hooks // LED Track Lighting // Shower Hooks // Bead Board // Extendable Brass 5x Mirror // Soap Dispenser // Behr Premium Plus Ultra Paint in Blackout N510-7 & Flamingo Feather M180-3

