


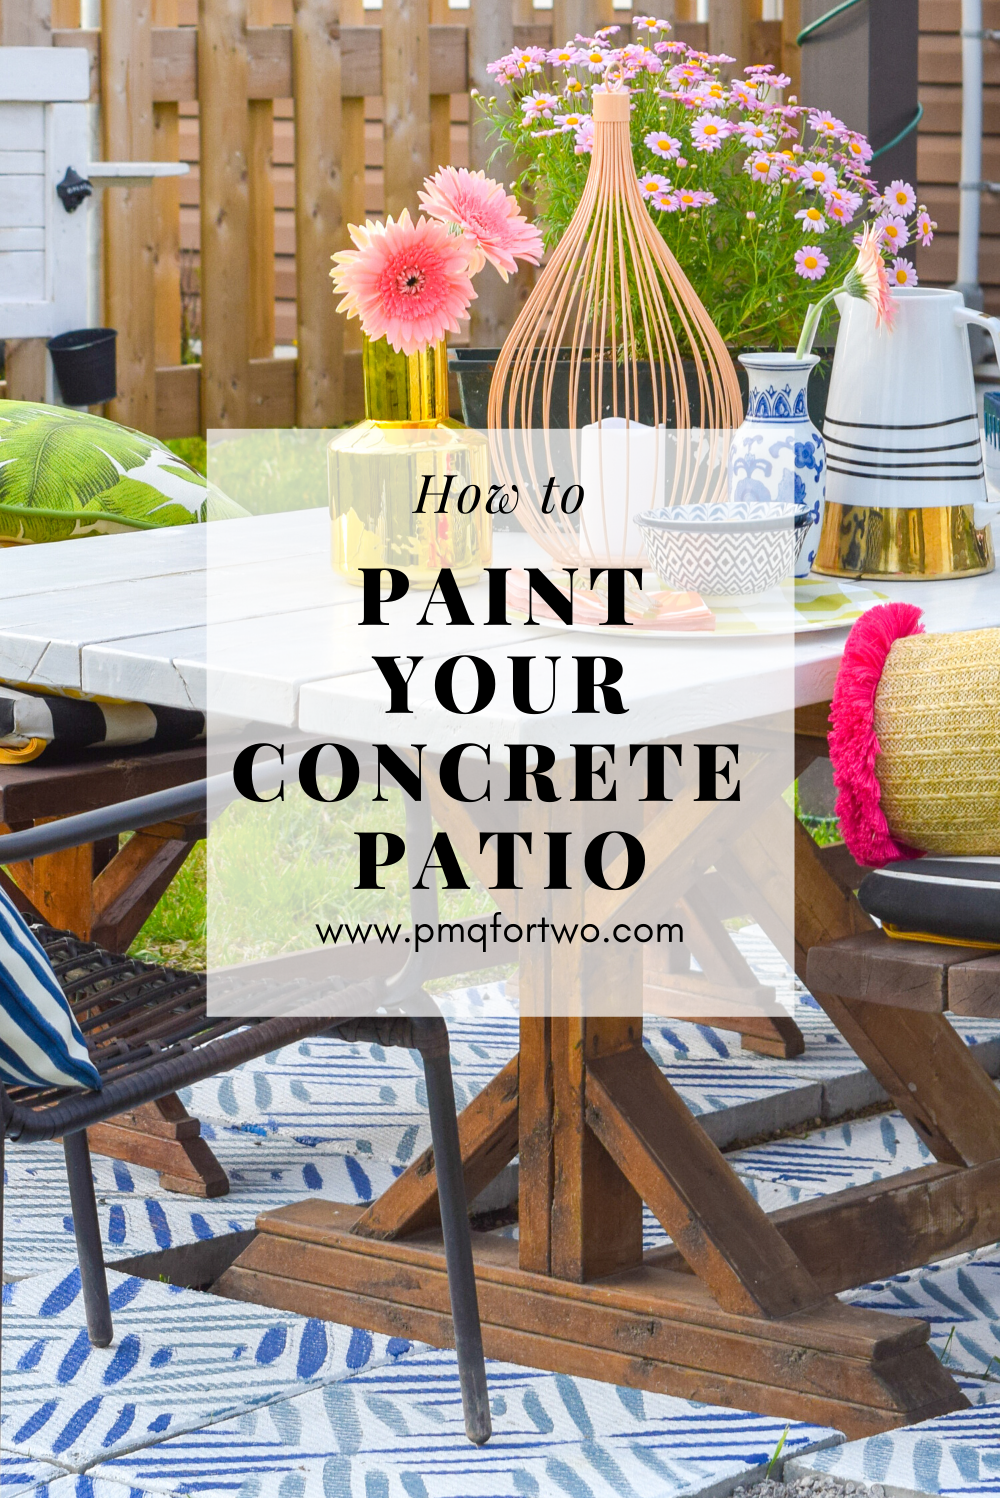
I am so pleased to have finally painted my patio tiles. Painting cement patio pavers can change your backyard space overnight, and give you a custom tile look, for a fraction of the price.
*DecoArt sponsored this post, but all thoughts are my own. Thank you for supporting the brands that make PMQ for two possible.
*First published May 24th 2018

How to paint patio tiles
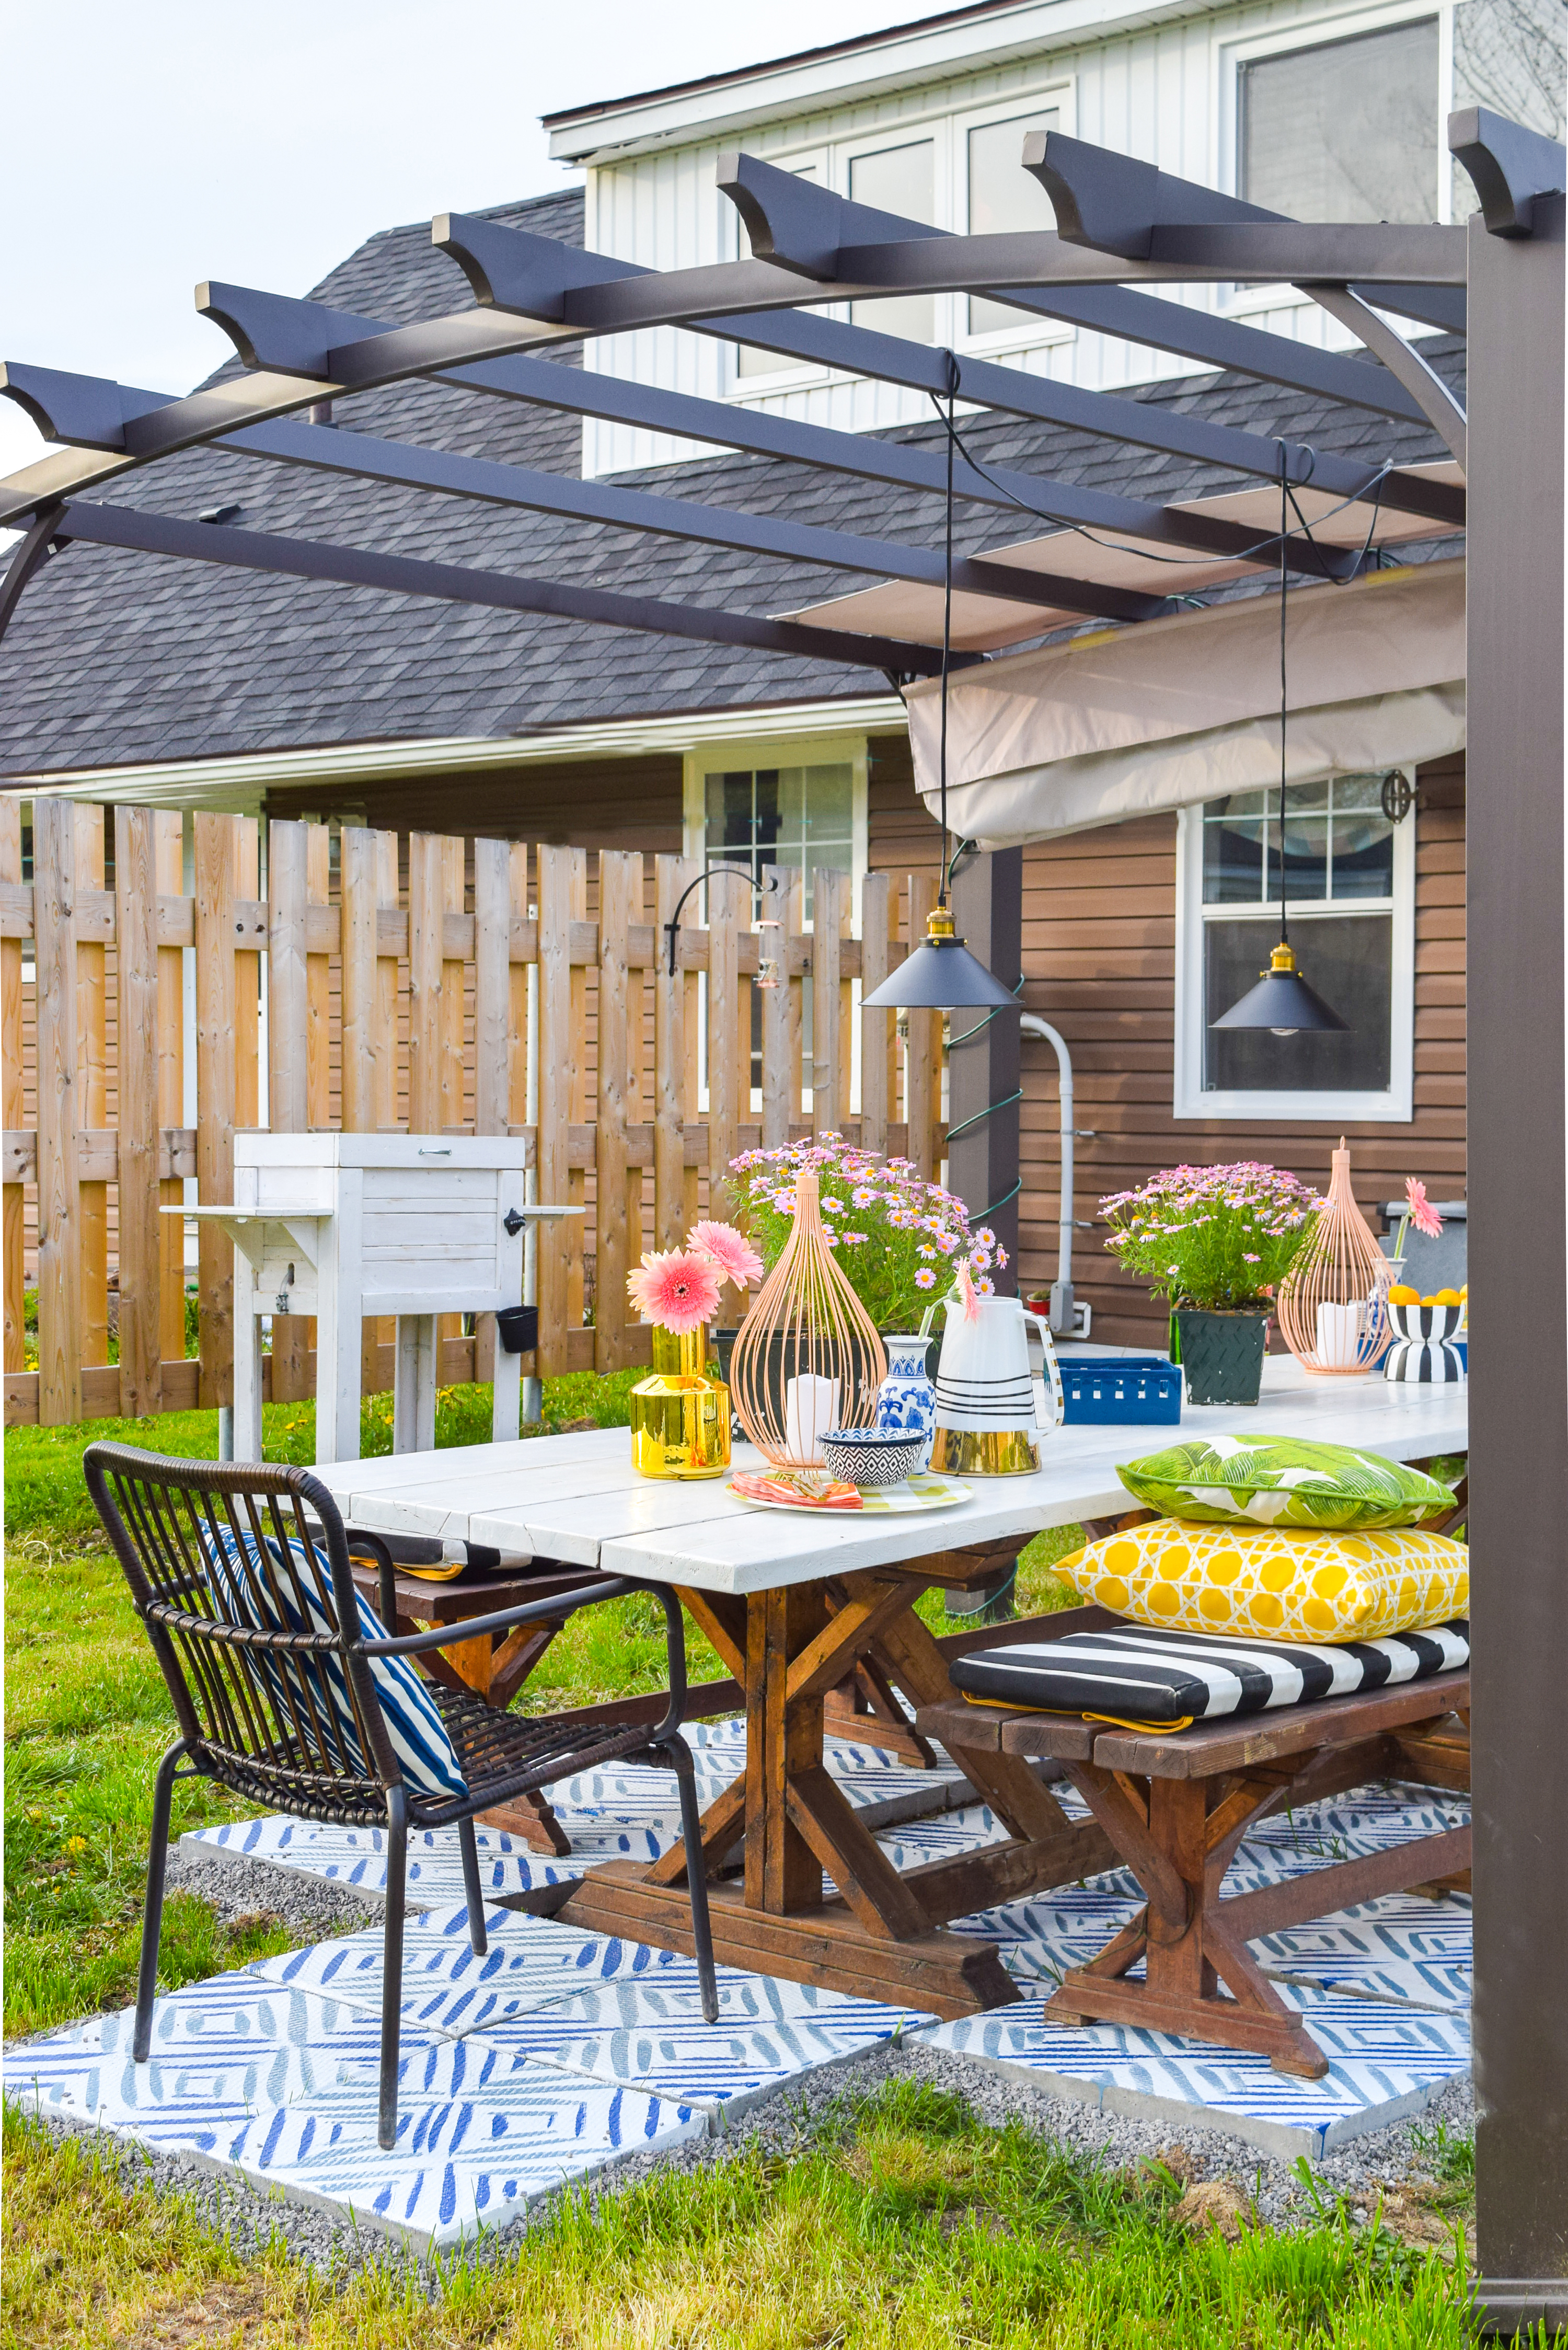
I started dreaming of this after seeing Dabito’s painted patio on his site Old Brand New. Given that we live in a PMQ and I can’t really pave over the entire backyard and get rid of the crab grass, we settled on expanding the cement pavers under the harvest table. We dug down last year as part of the // One Room Challenge // but we didn’t do anything with them, they just kinda sat there.
By adding a few extra around the table we could finally have the benches on equal footing, and have a spot where the chairs wouldn’t dig into the ground. So, we got to work.
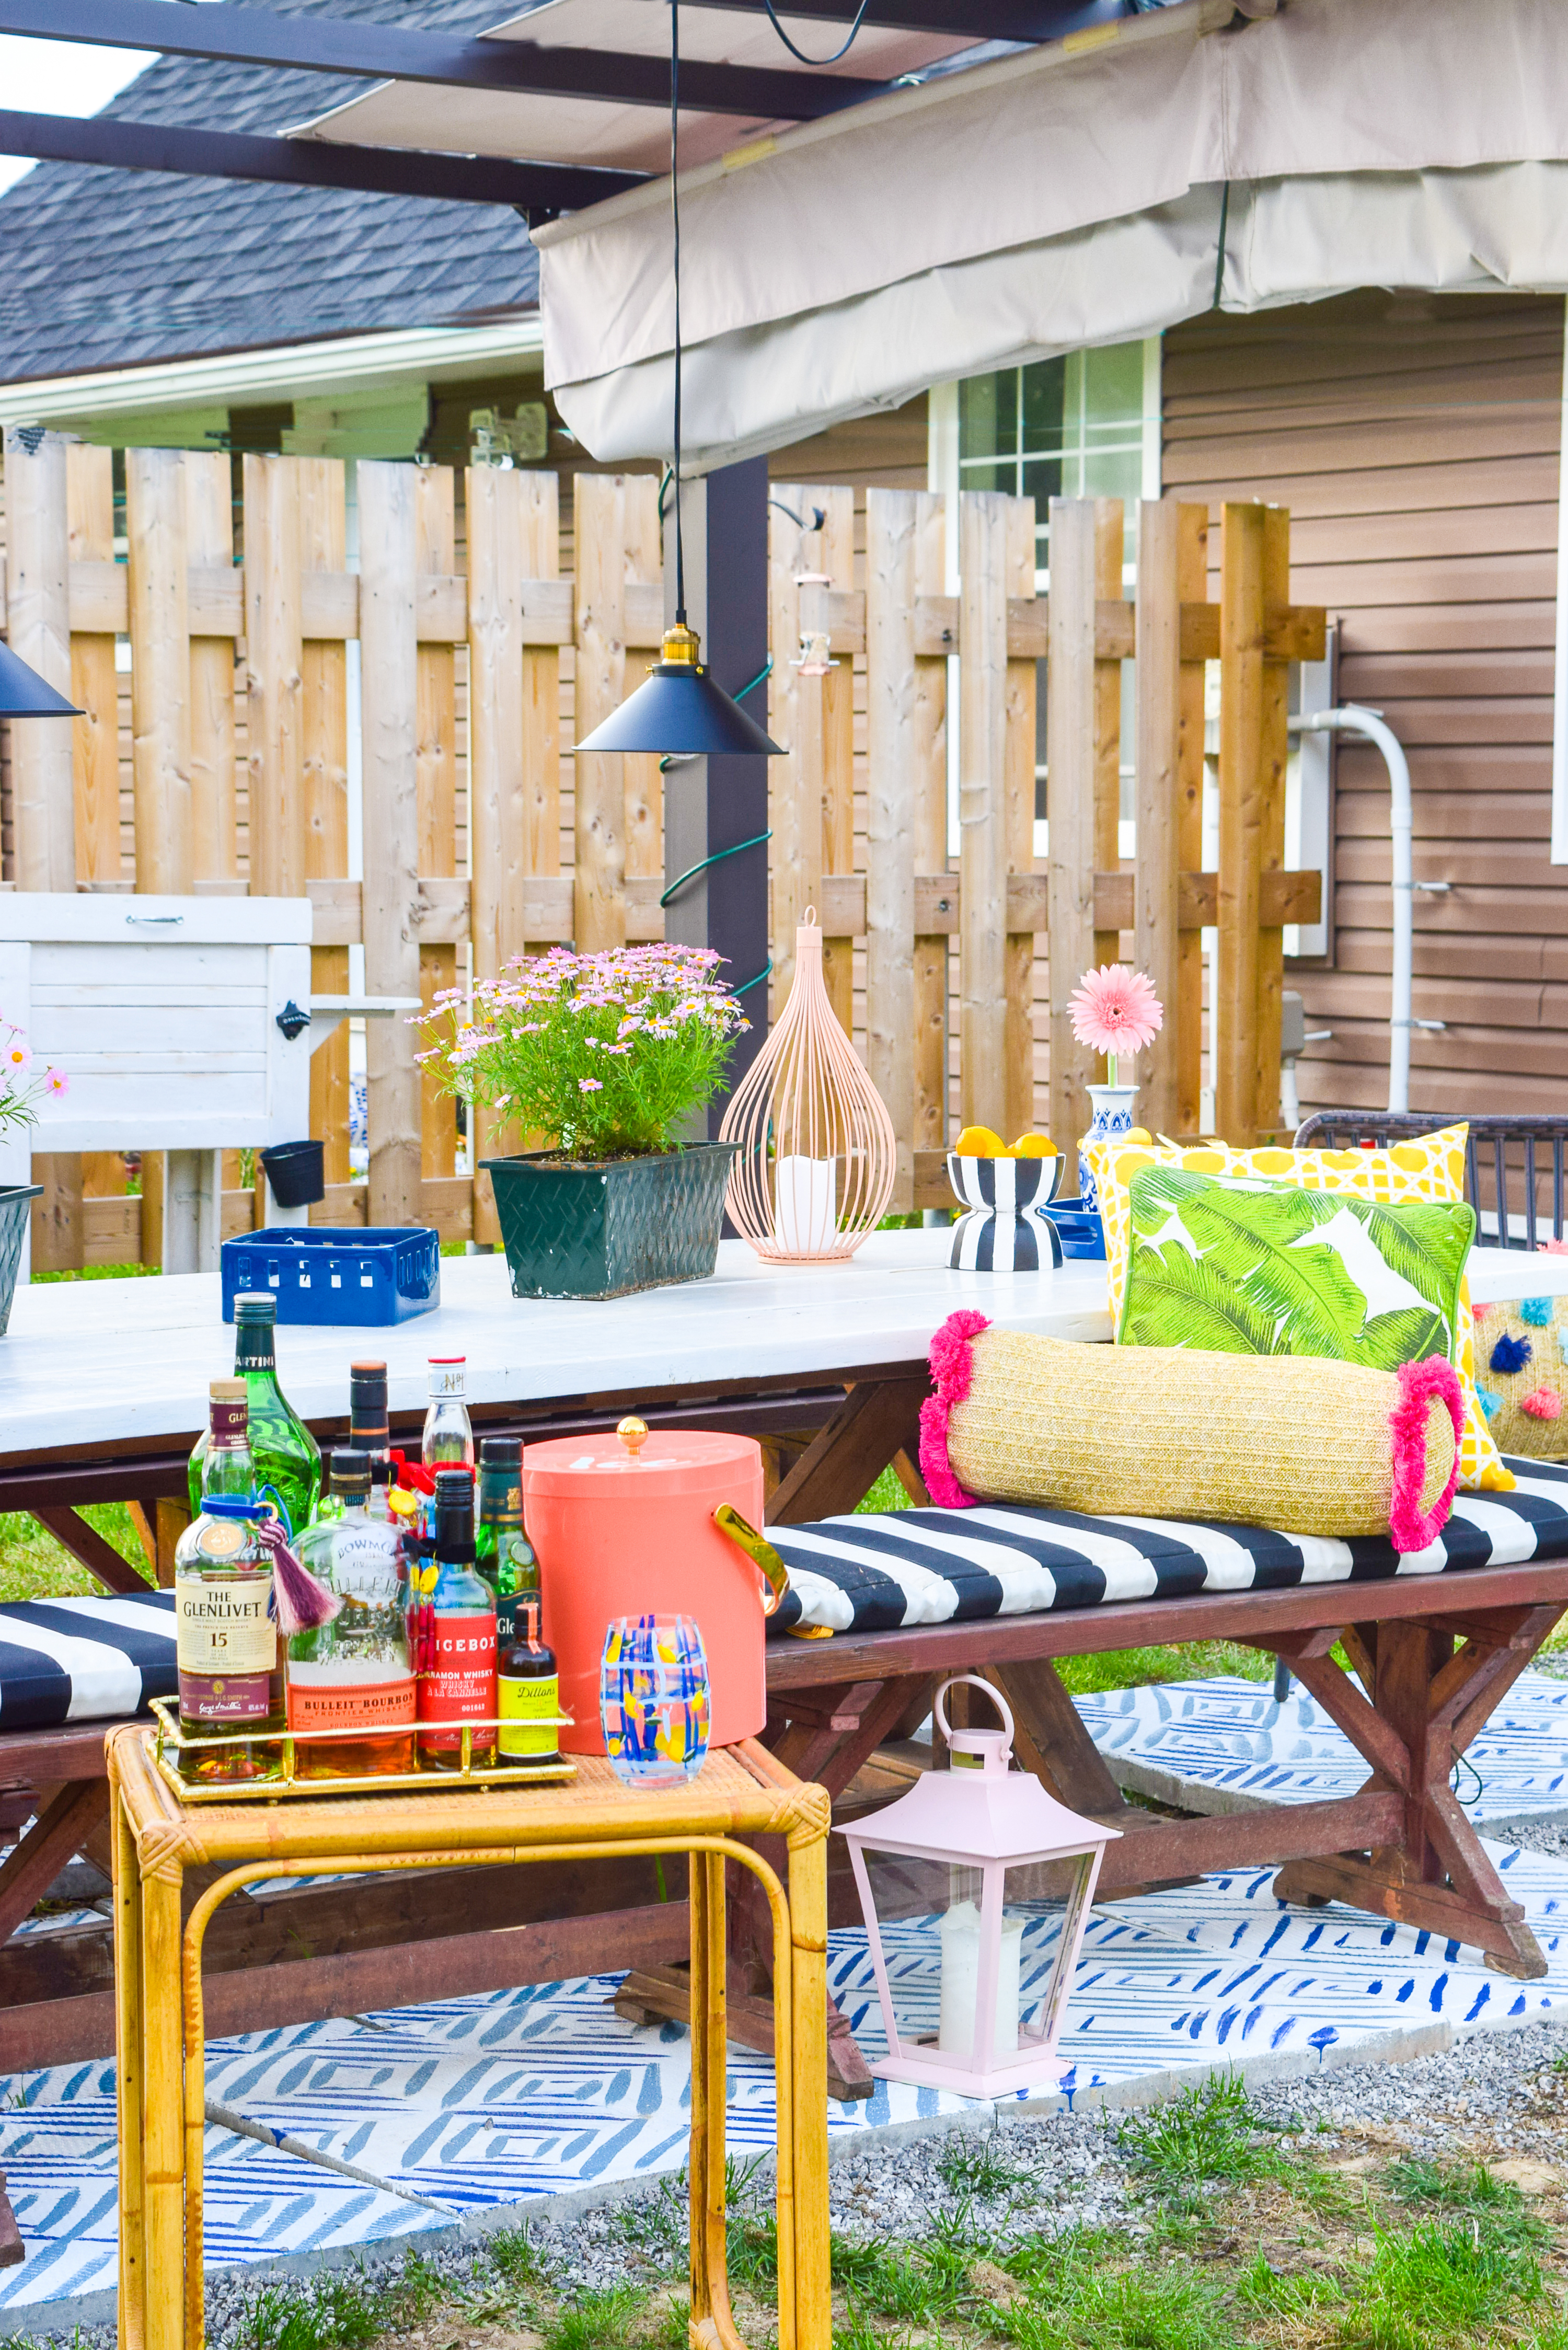

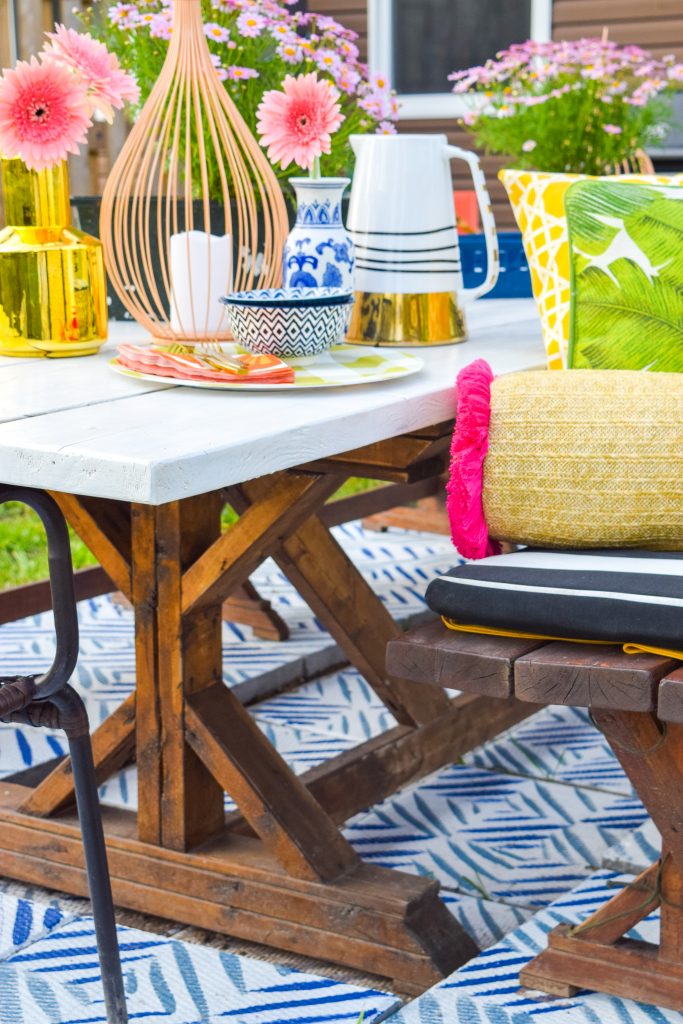
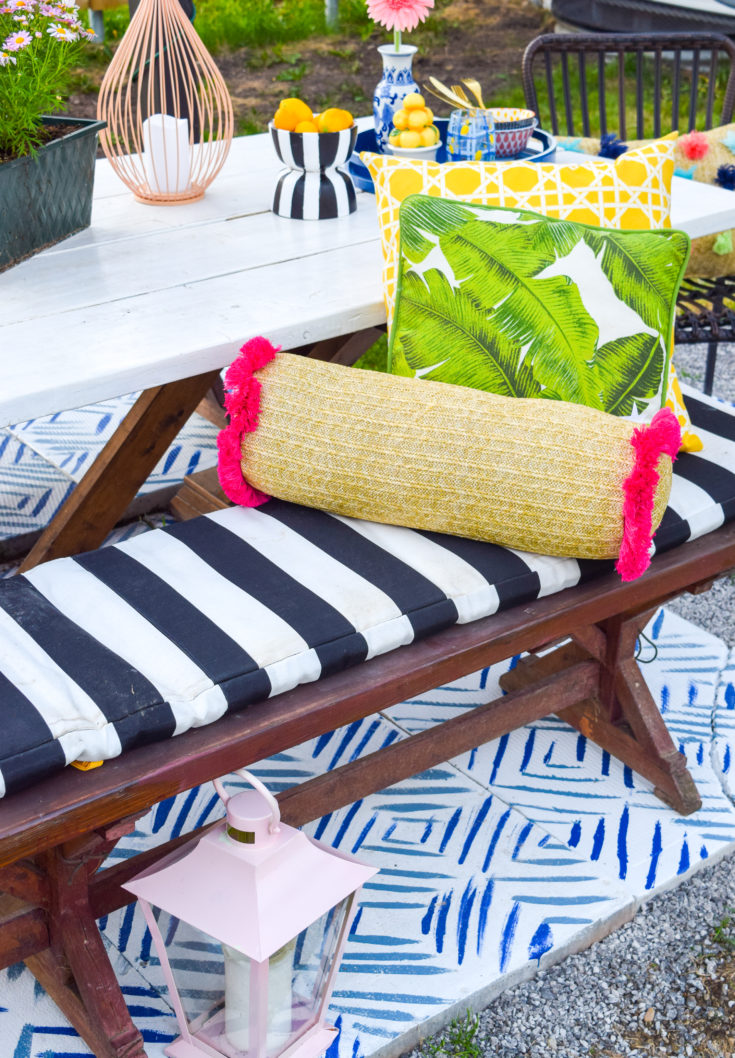
Can we talk about how good the space looks now?! It took me a few hours this weekend, and a little bit of help from Dan to load/unload and position the pavers, but the painted patio tile makeover has been well worth the sweat and tears.
I used Decoart’s line of outdoor paints for this one, and the end result is perfection.
What do you need to paint cement pavers
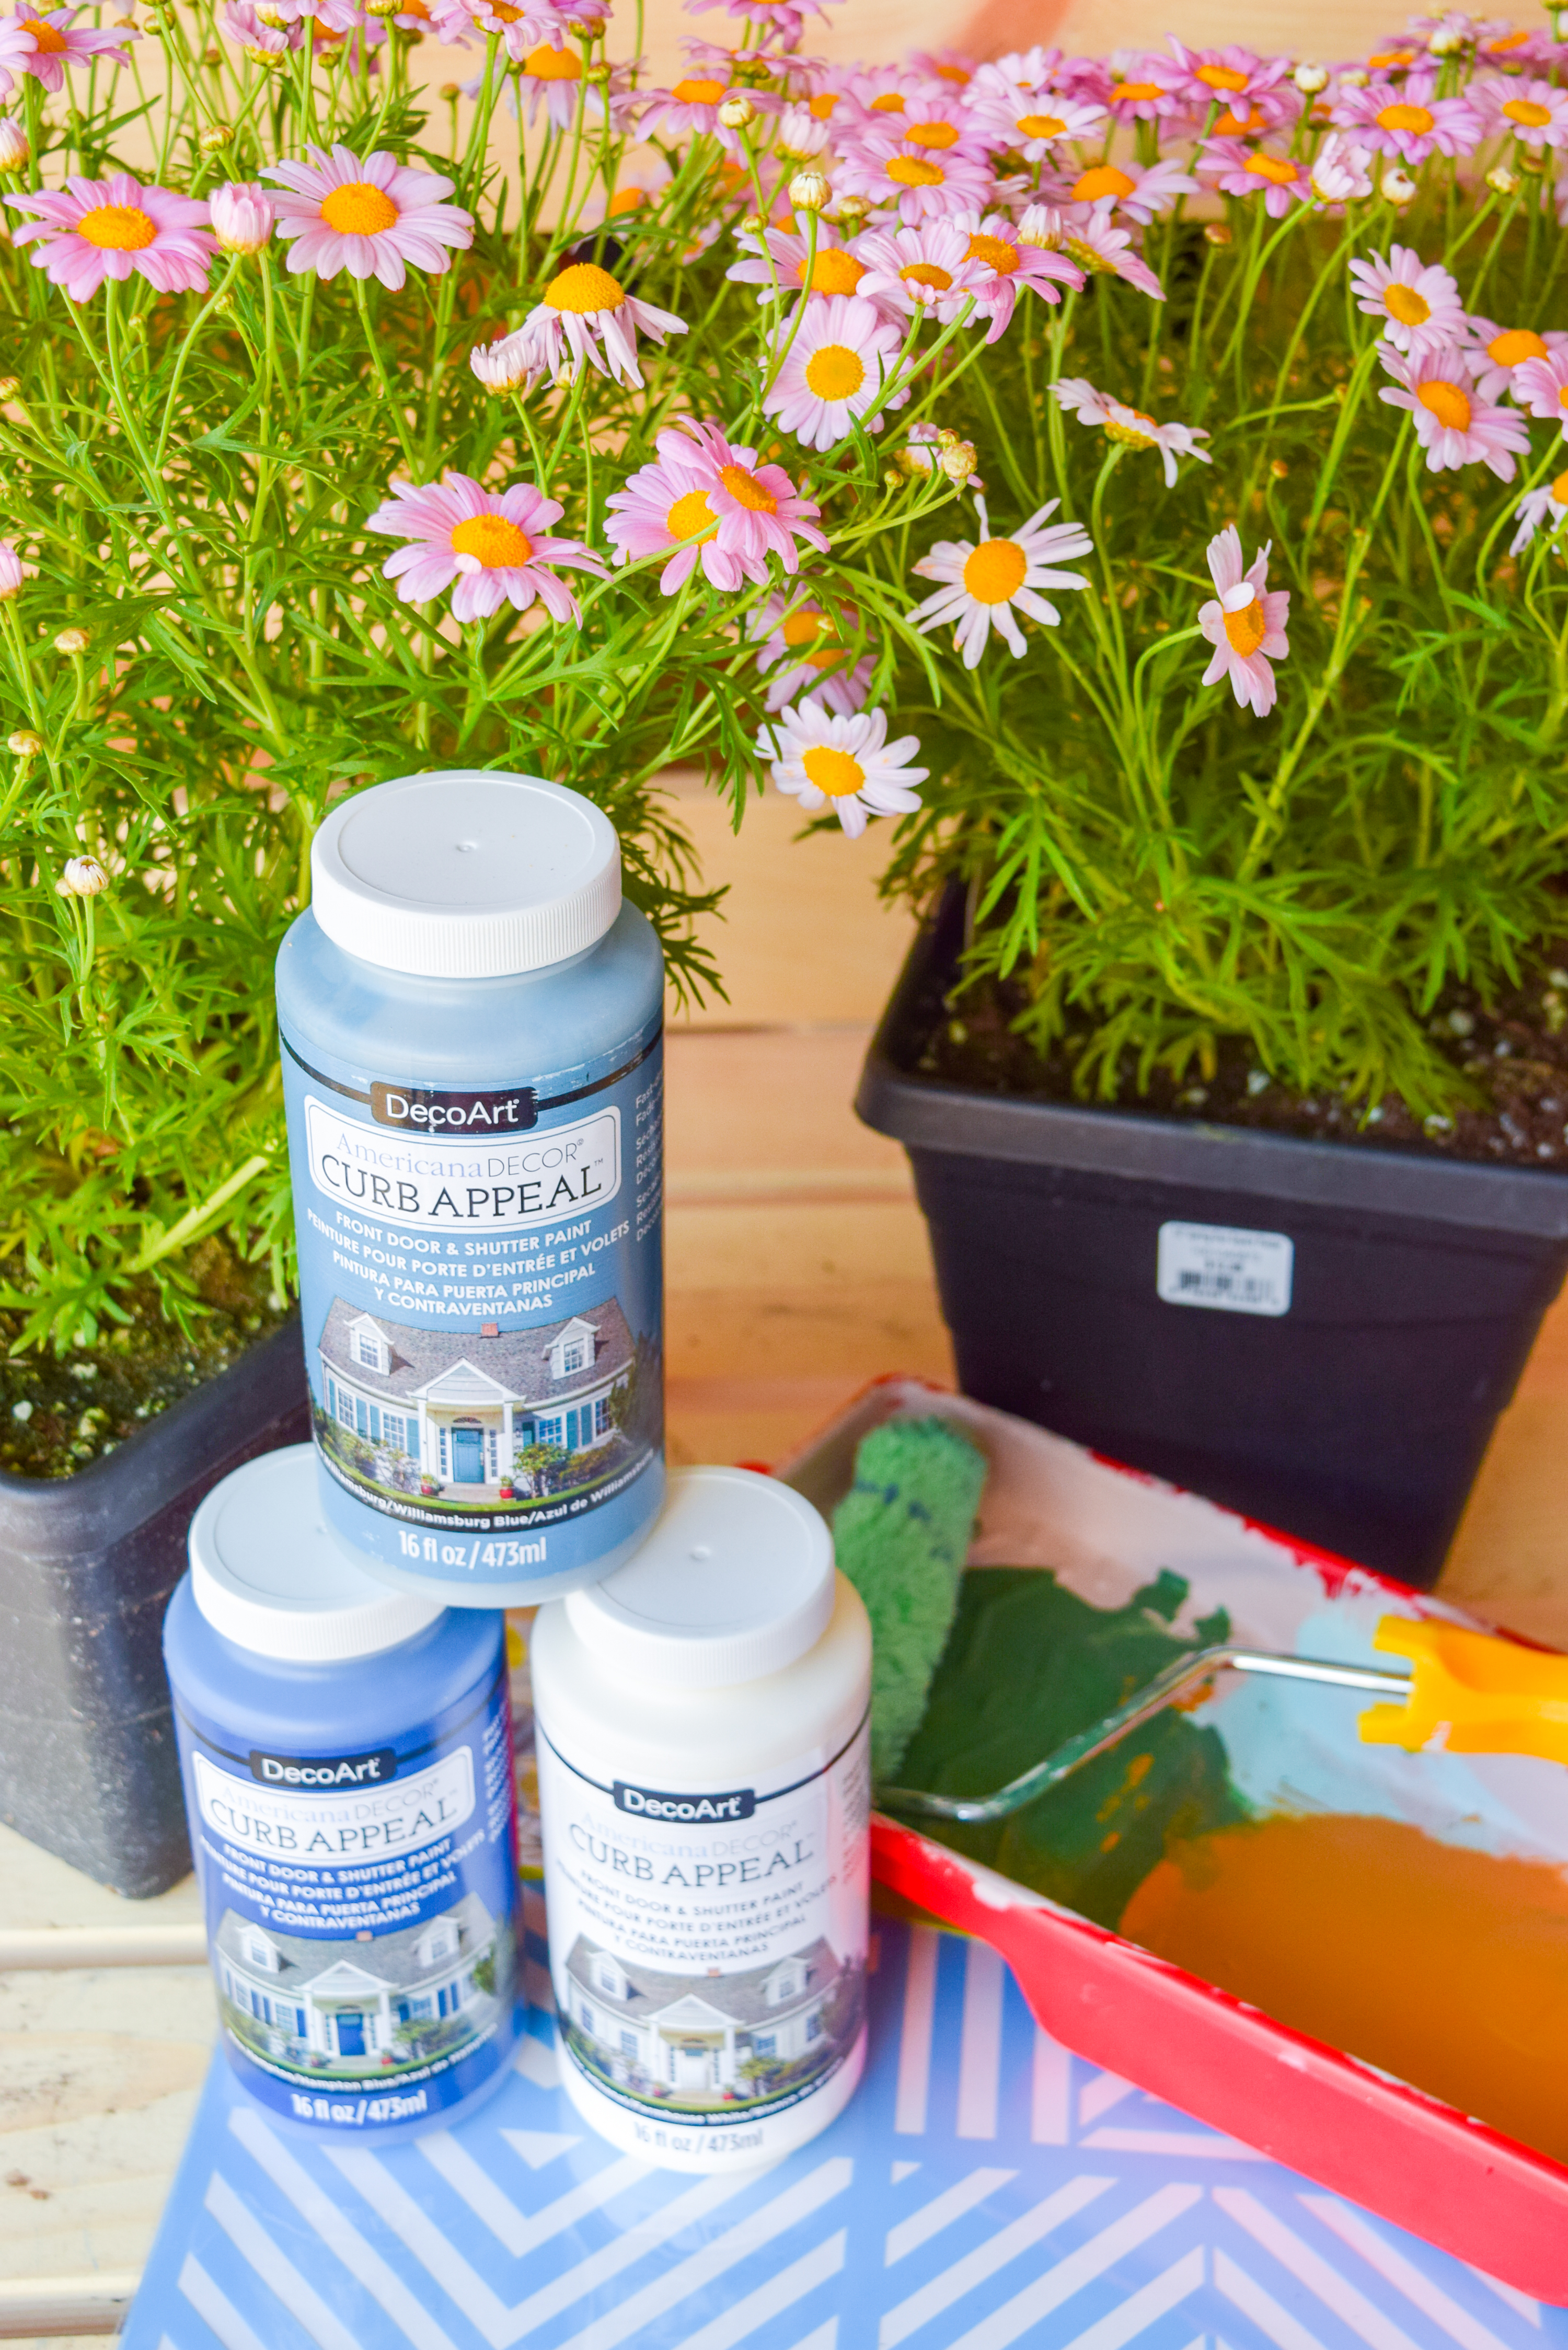
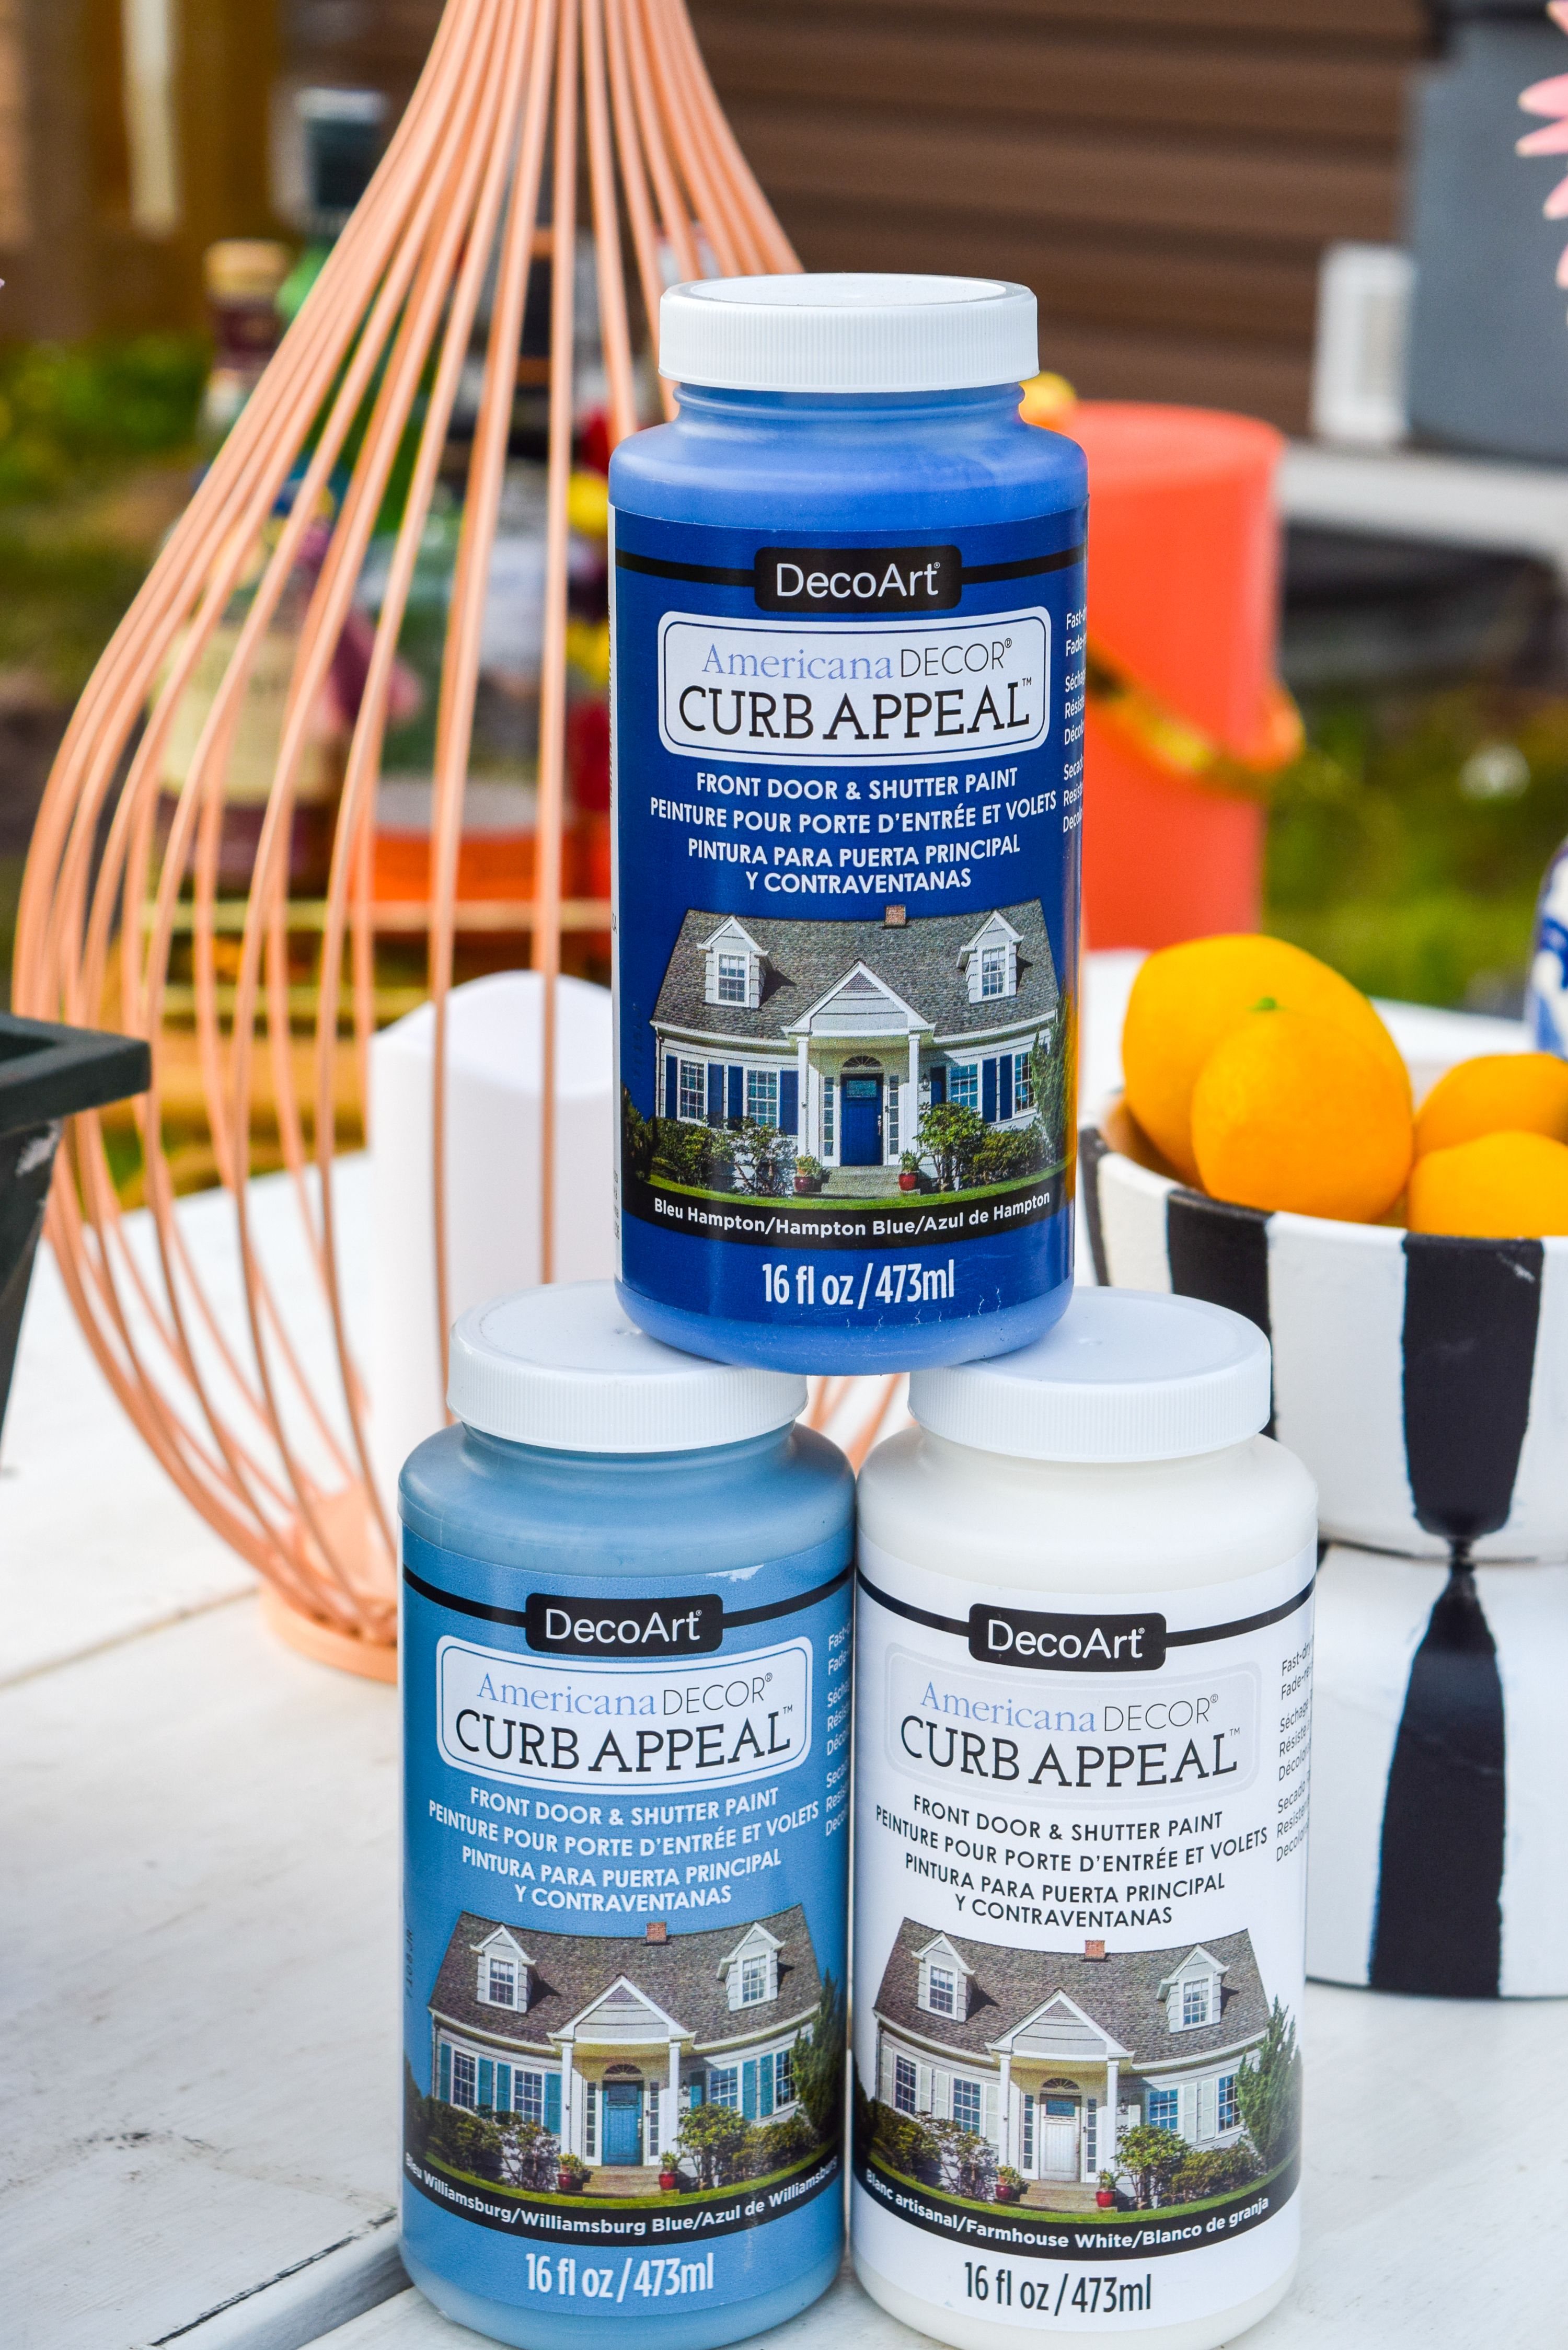
- 1 bottle of Curb Appeal in Farmhouse White
- 1 bottle of Curb Appeal in Williamsburg Blue
- 1 bottle of Curb Appeal in Hampton Blue
- 1 roller + tray, 1 brush
- crushed trail gravel to line the exterior of the pavers later
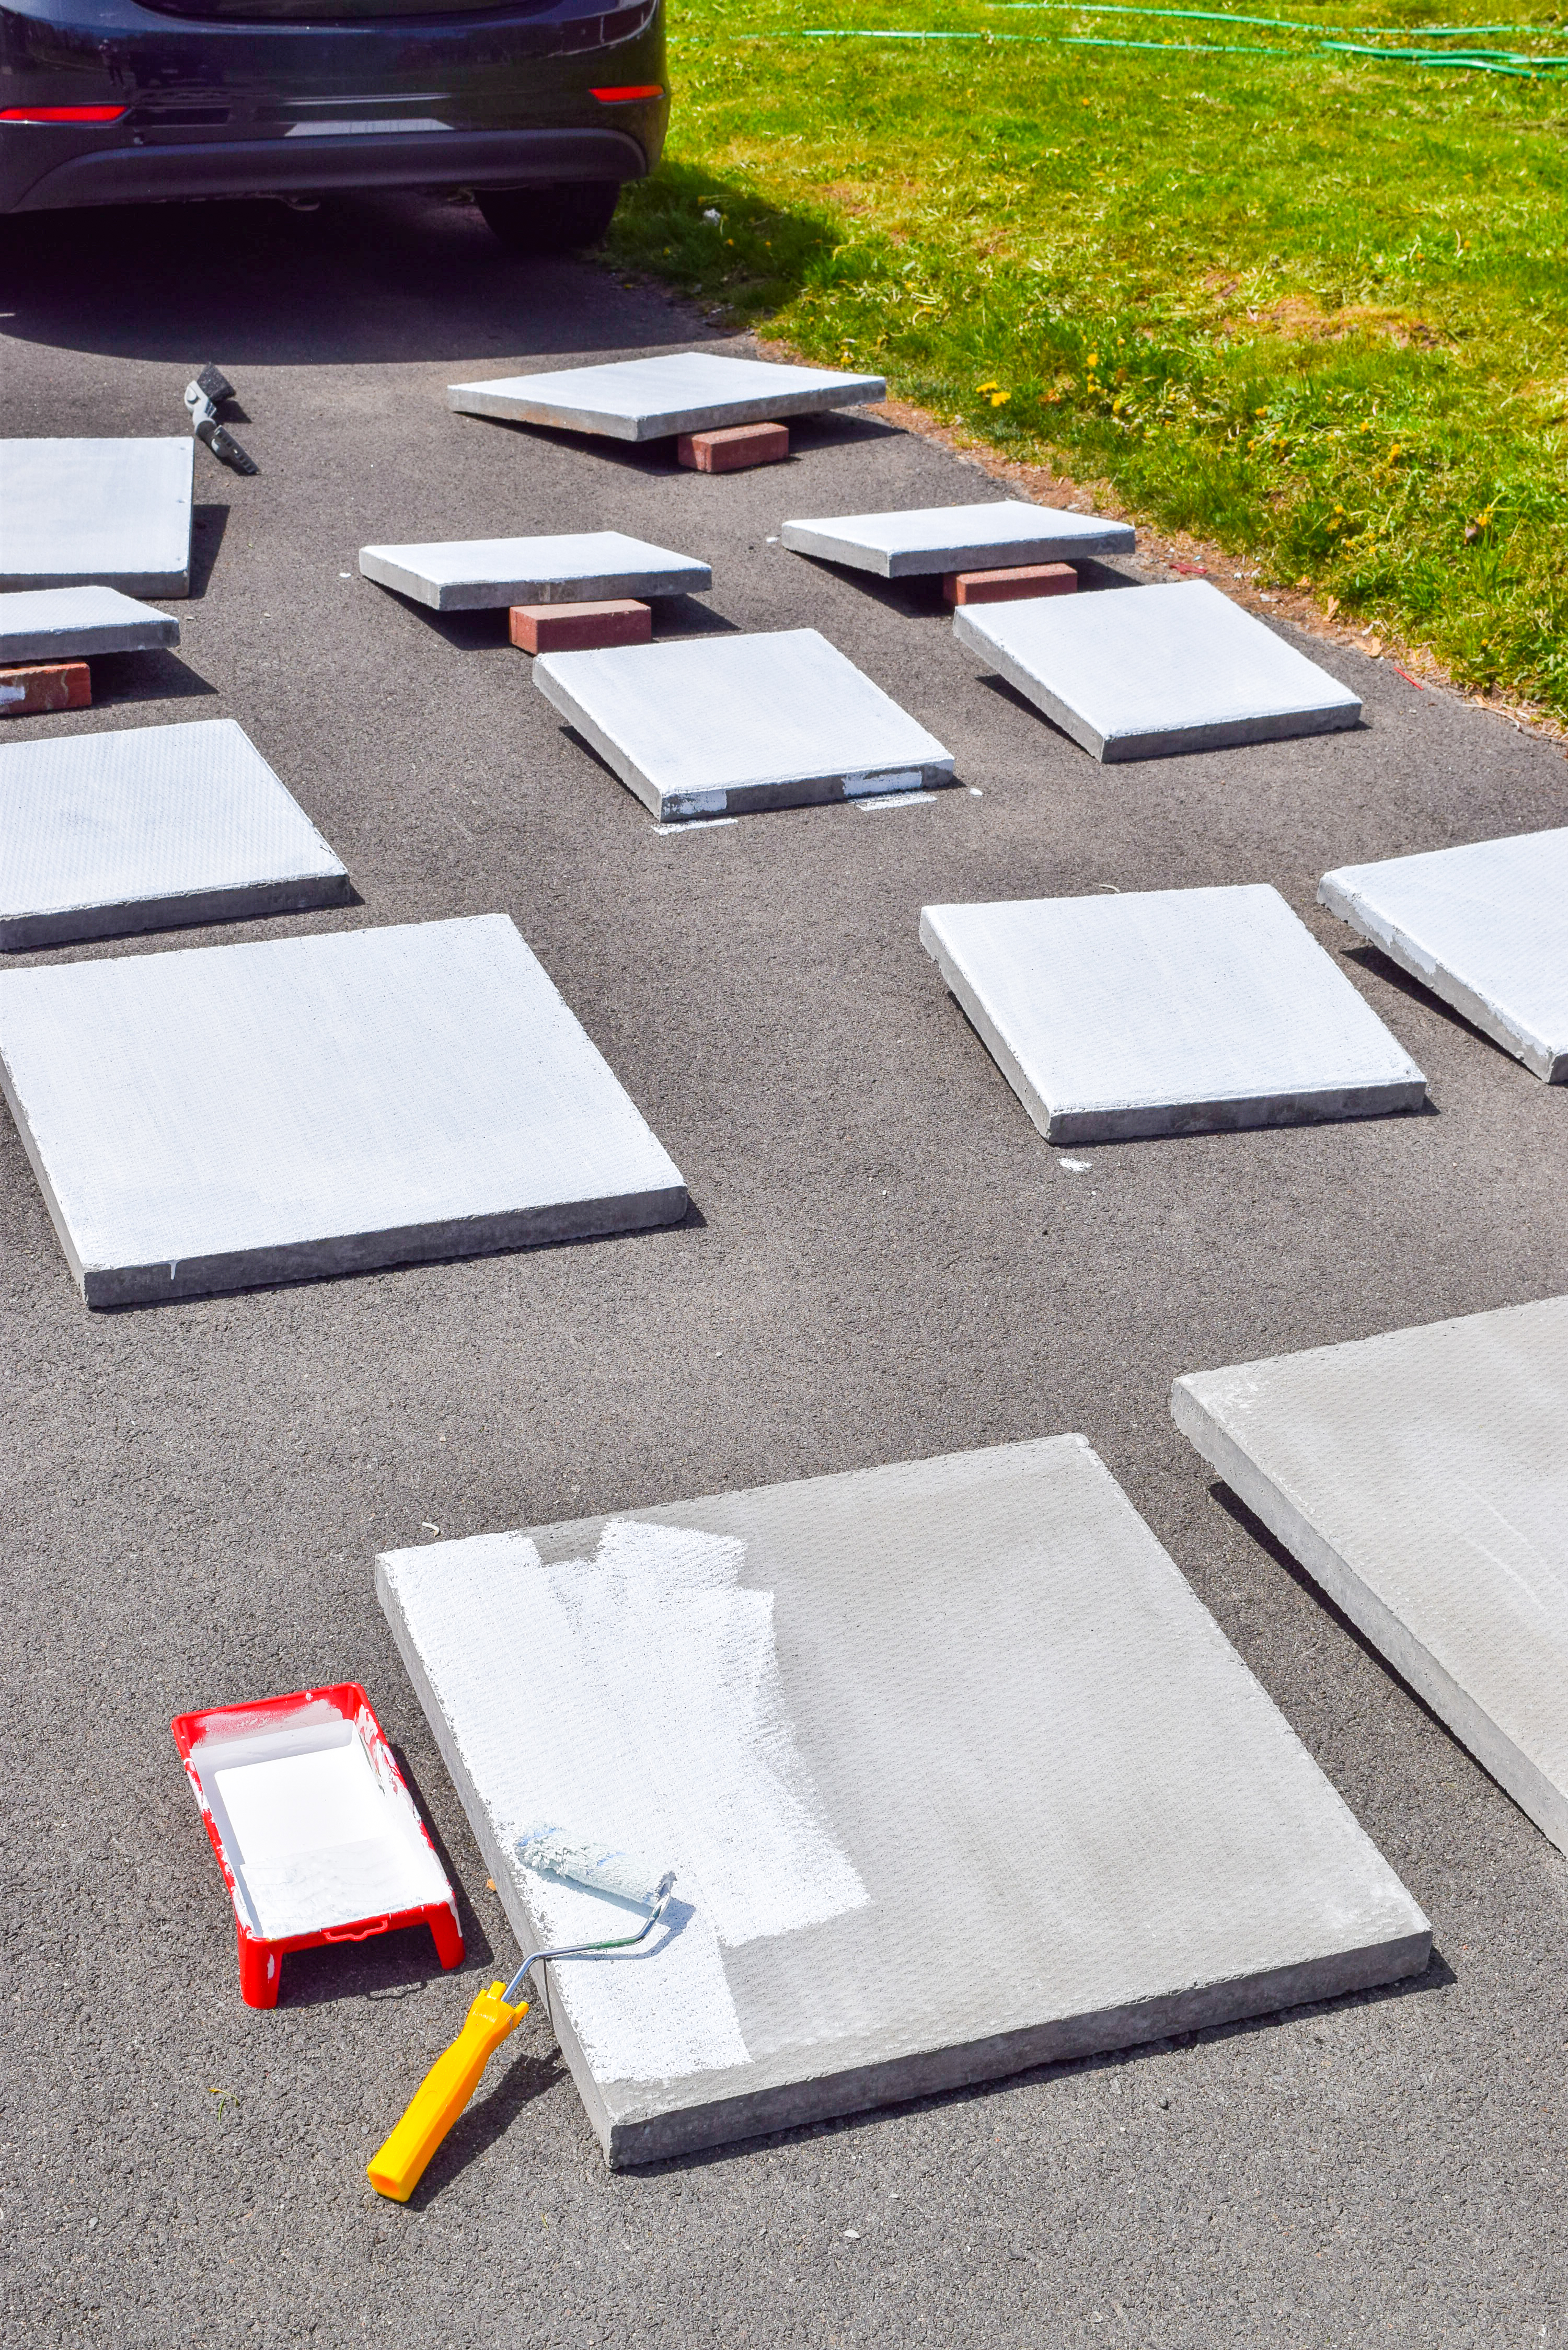
We painted 28 tiles with the following quantities (18 tiles in 24″x24″ and 10 tiles in 18″x18″)
I had intended to stencil the tiles, but once I got going I was feeling a looser pattern and opted to paint it myself.
How to prep and paint patio tiles
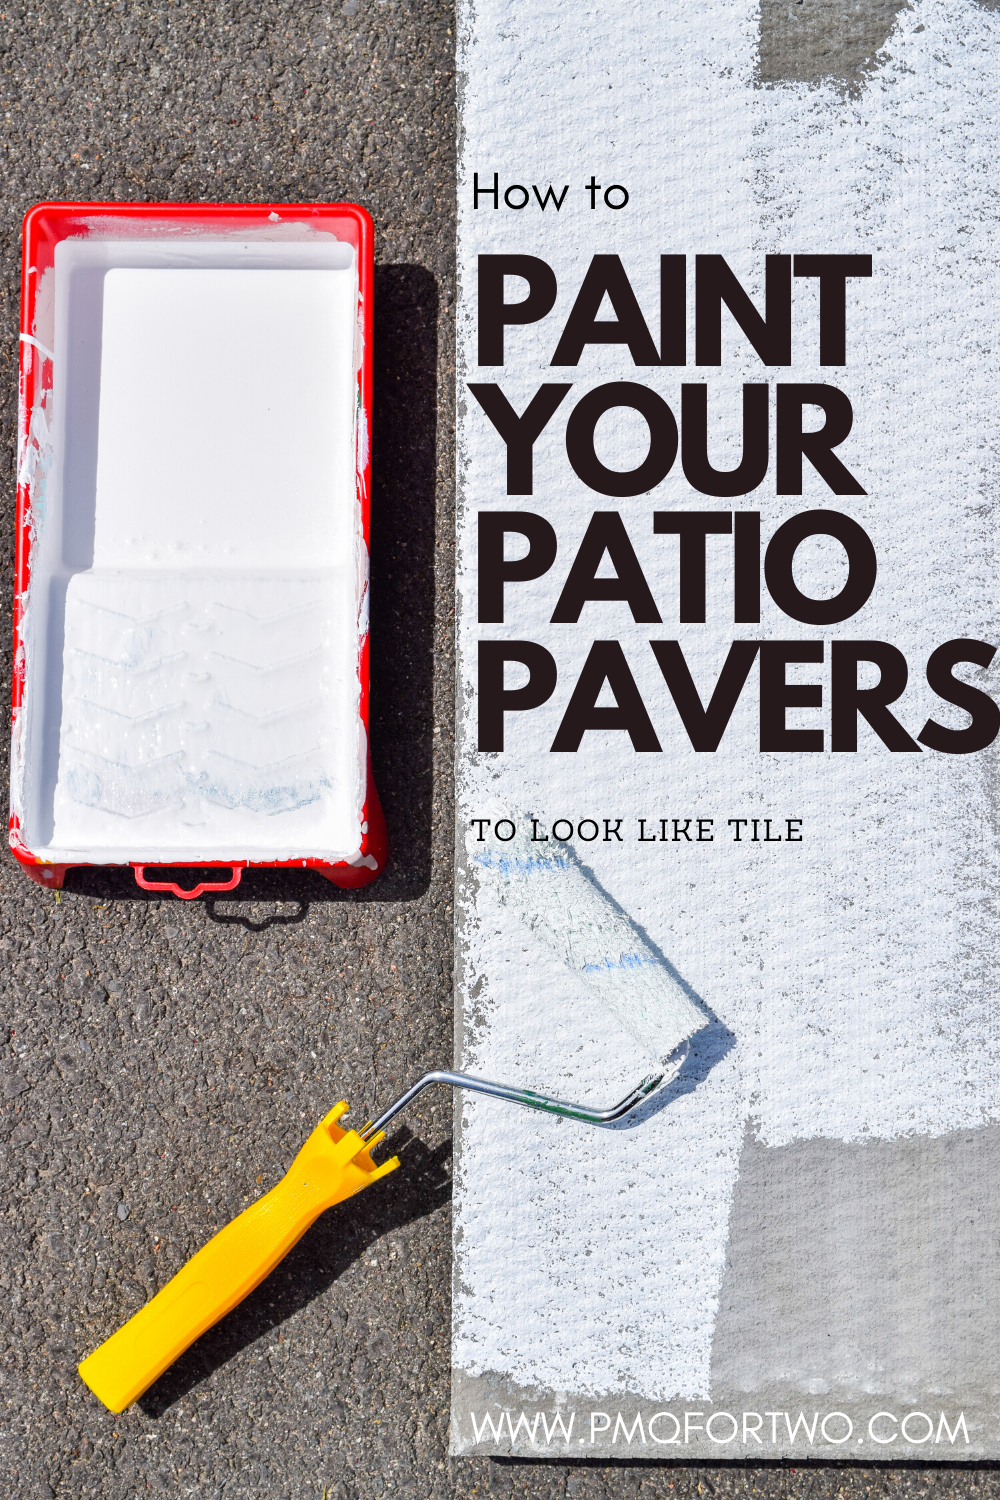
Star by rolling all the patio tiles in Farmhouse White. You’d be surprised to see how fast it dries in the full afternoon sun.
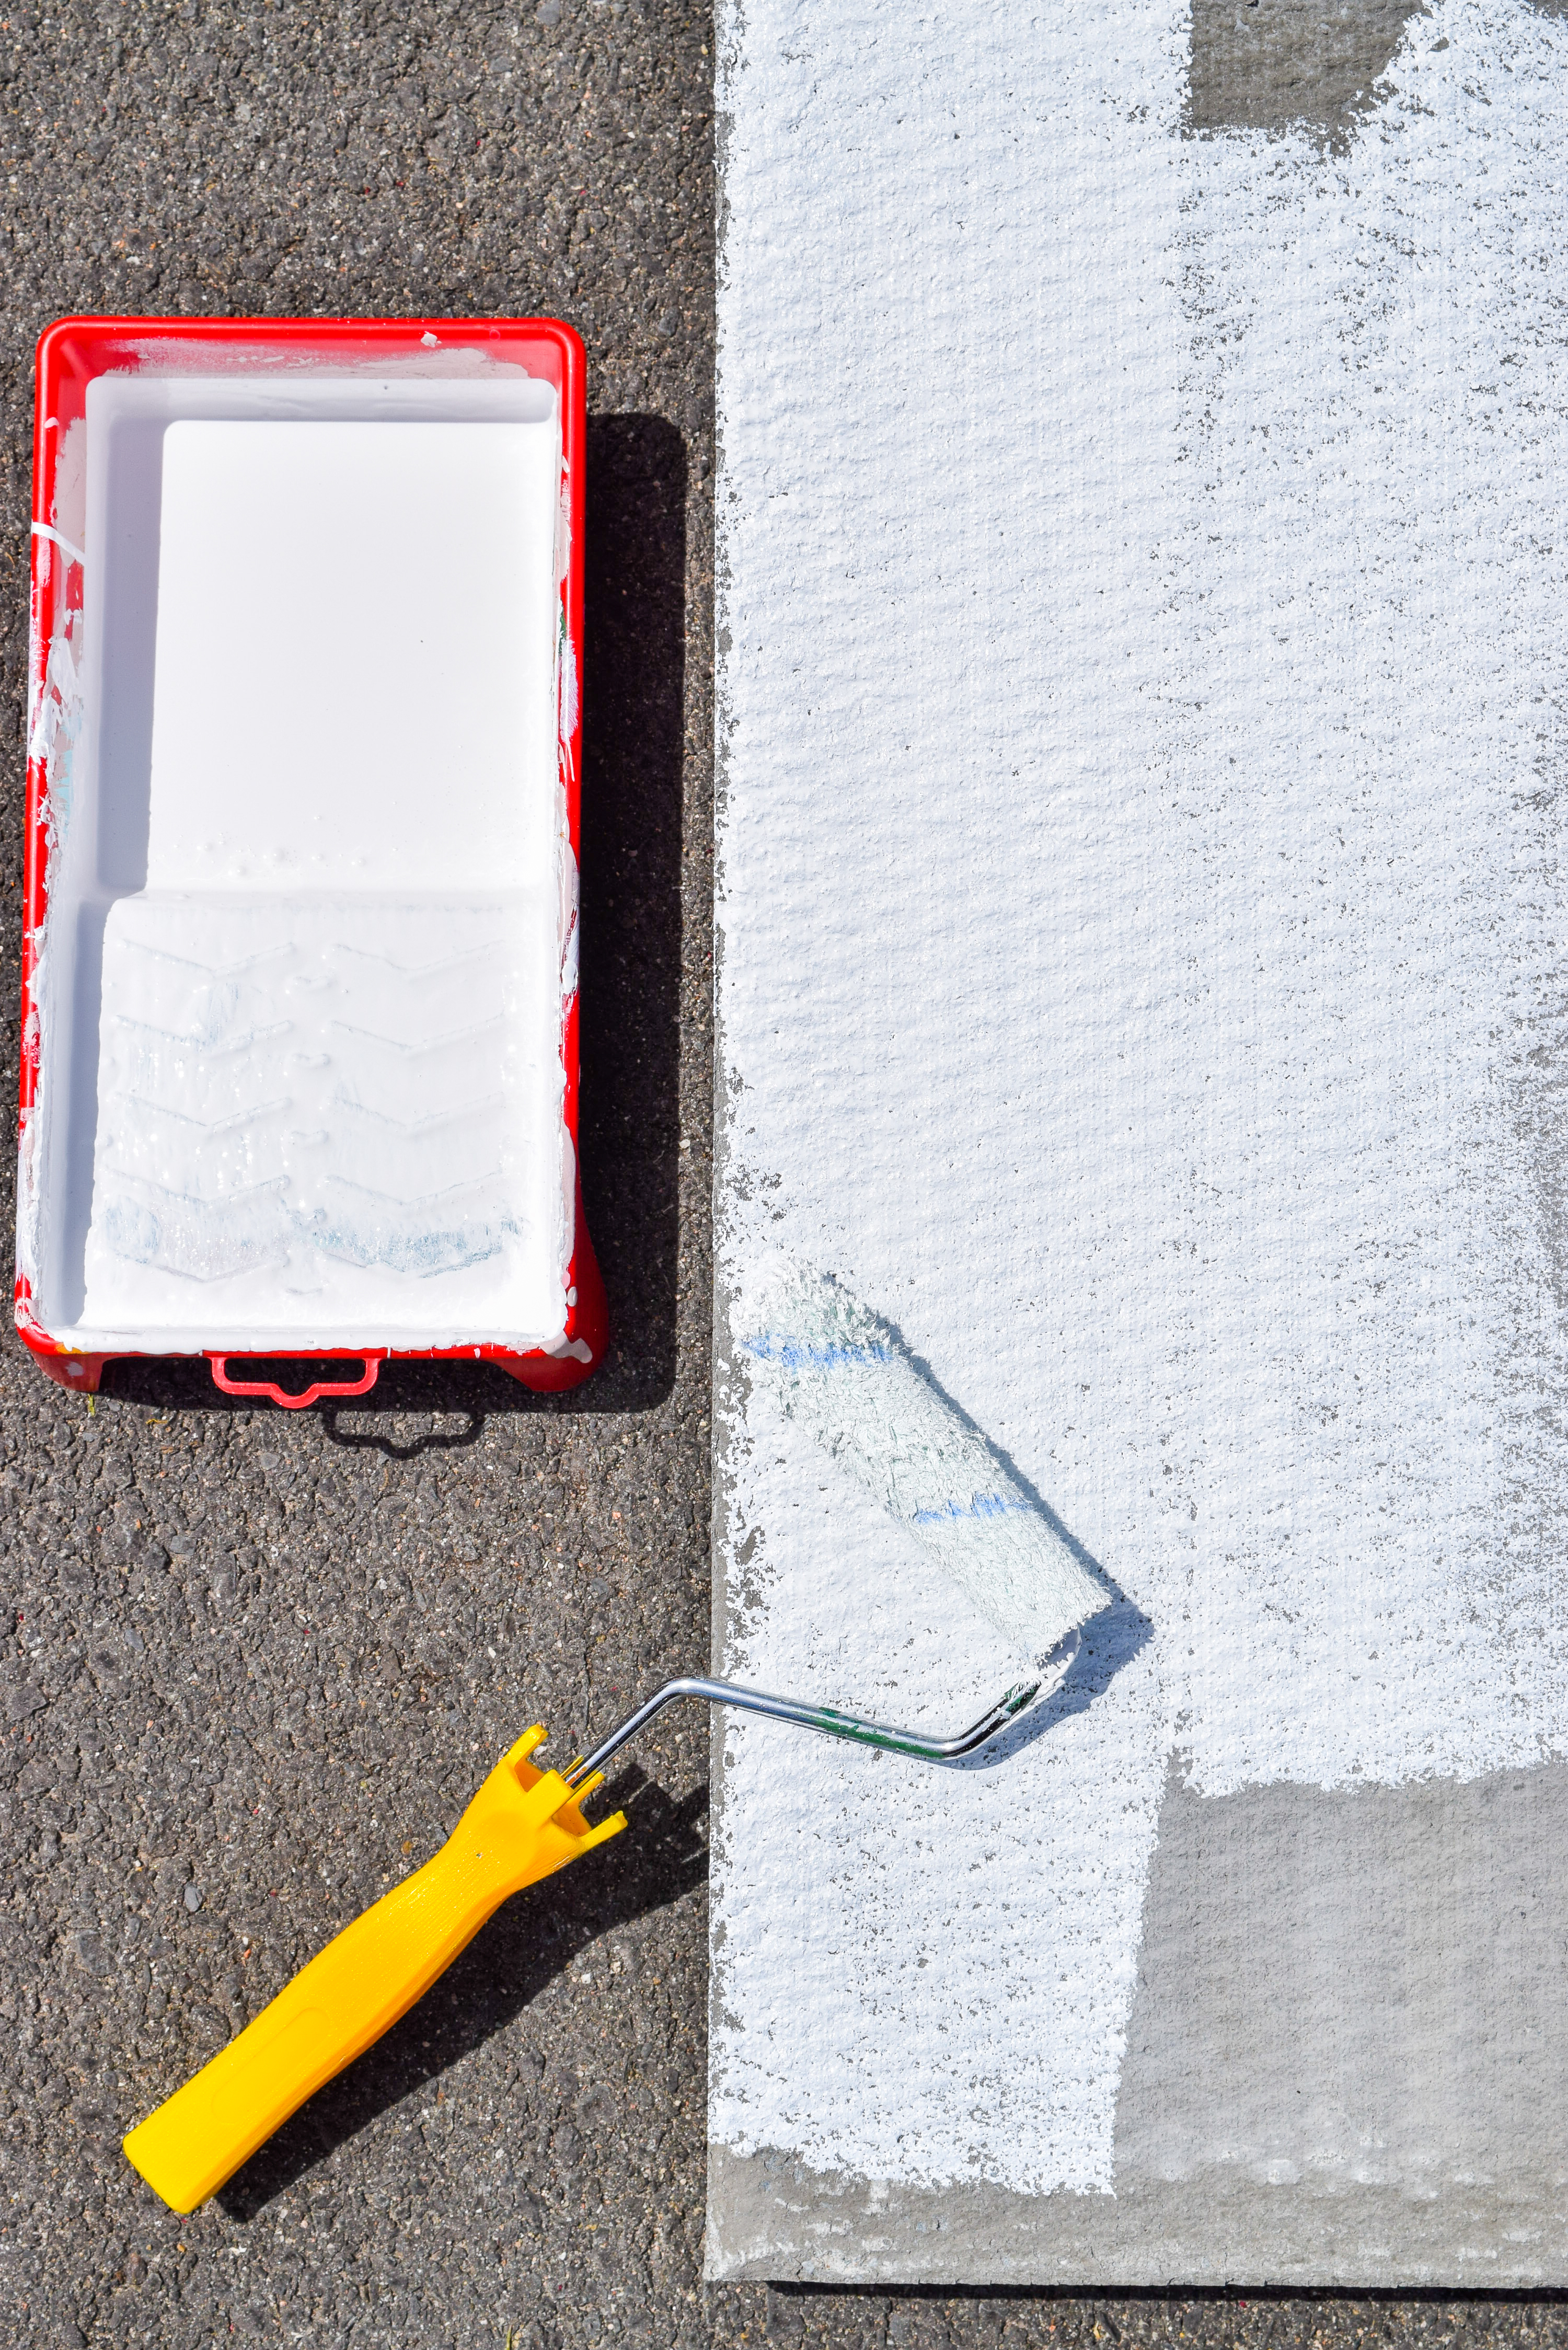
Before I painted, I used some bricks to prop up one side of each tile to ensure I could pick them up later.
Once the white coat is dry, you have the option of adding another, but I got such good coverage with the first that I didn’t need to do another.
Using a giant ruler and a pencil, lightly draw a grid of 6″x6″ squares. You’ll paint each pattern within the squares.
Using Hampton Blue and a brush, paint horizontal stripes all going in the same direction. Paint 5 stripes in alternating squares to form a checkerboard pattern. All the stripes should be oriented the same way.
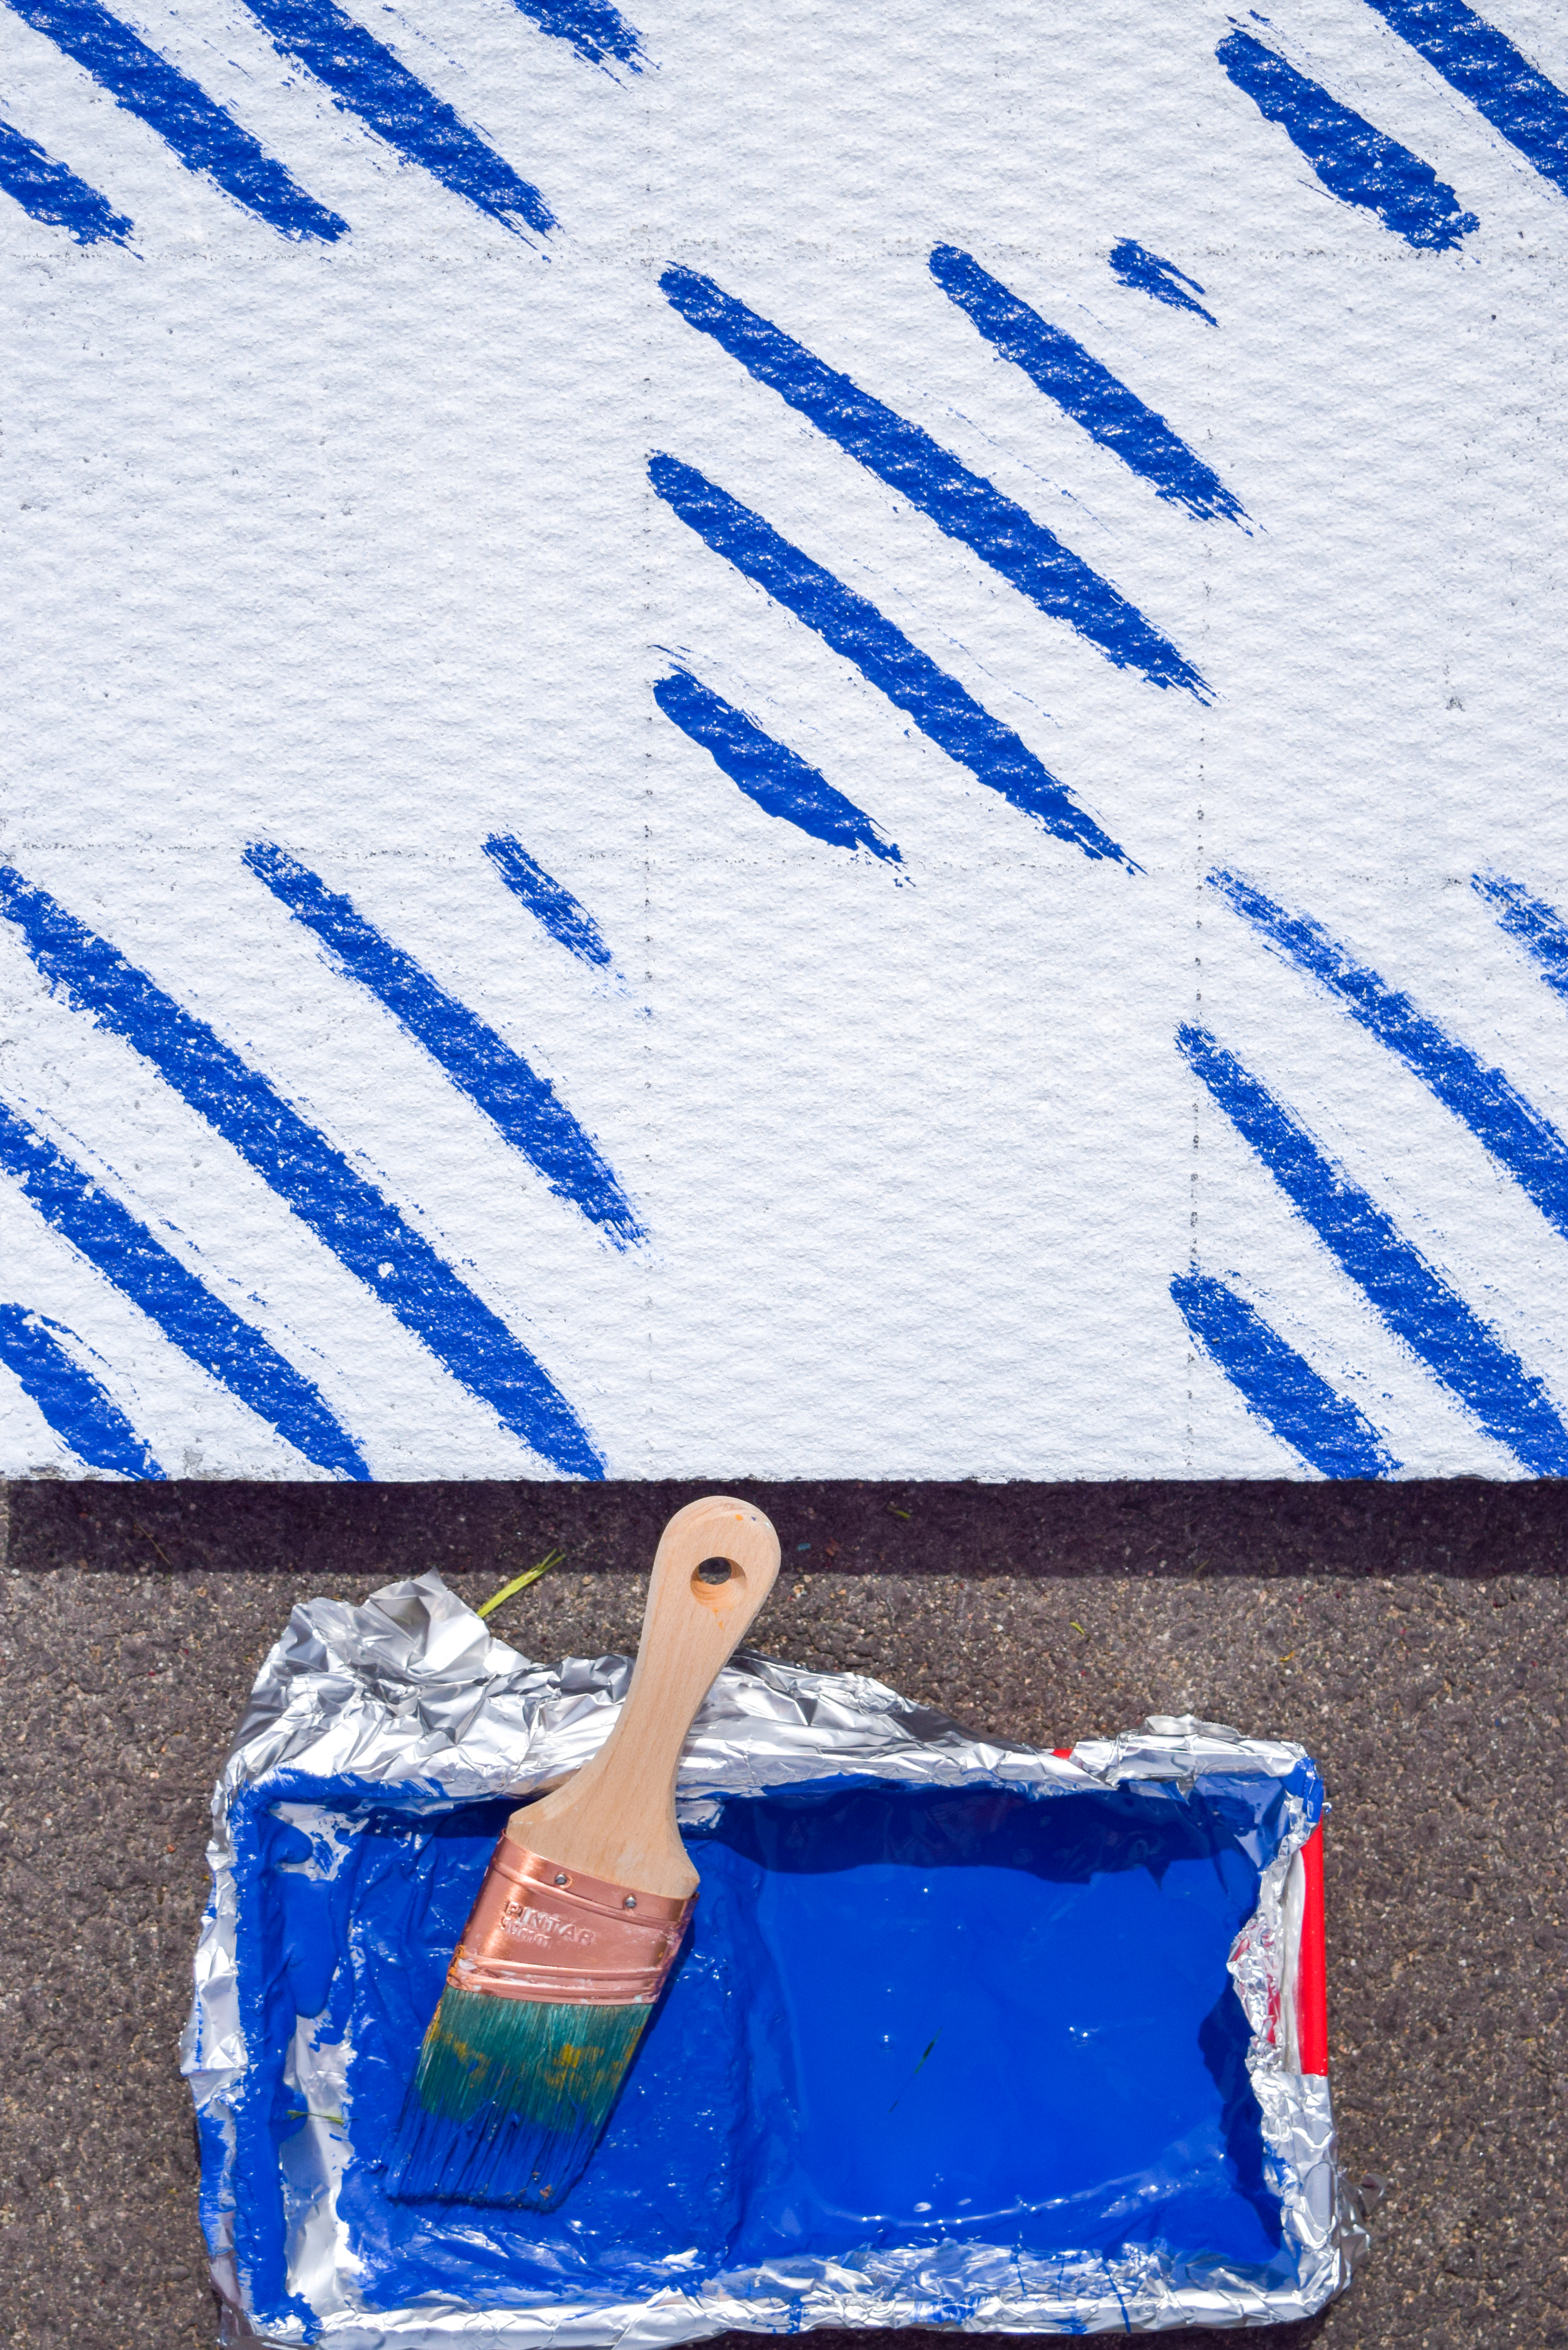
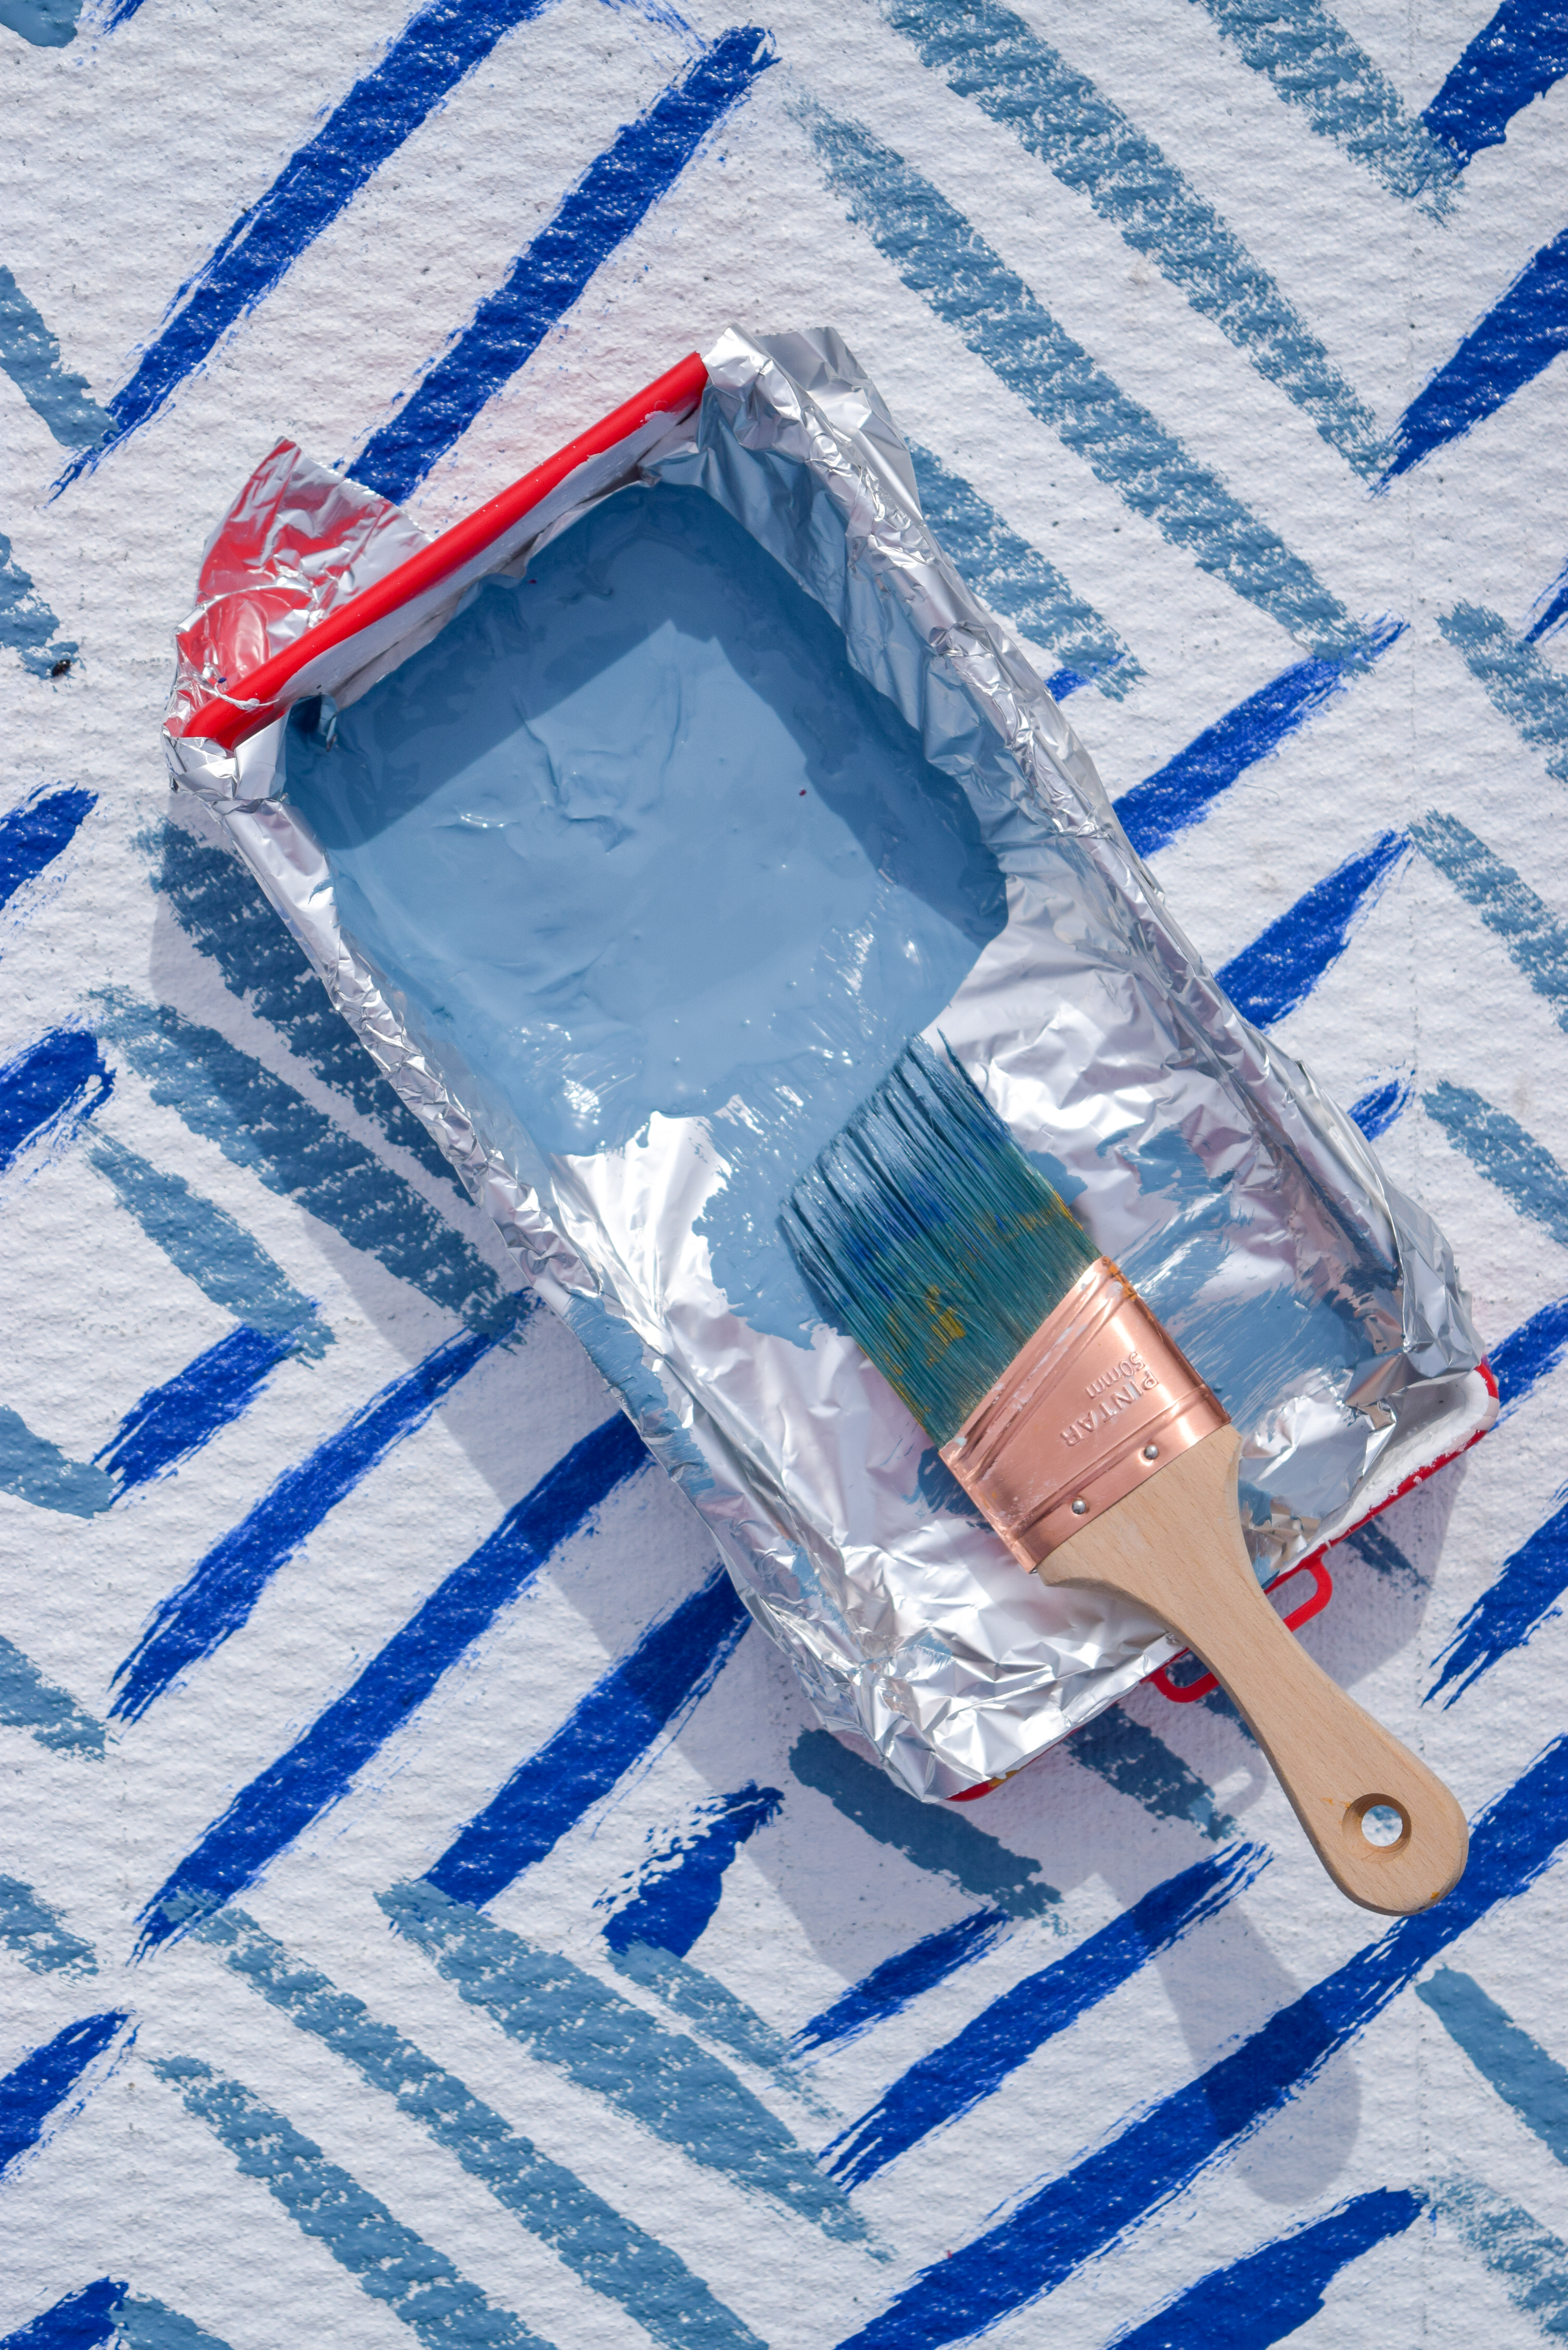
Step 5: Because I was painted 28 tiles, by the time I was done the last tile, the first ones were dry, so I was able to start painting them. Using Williamsburg Blue, repeat the pattern but going in the opposite direction. As long as you used the same amount of stripes in each square, you’ll eventually form a pattern where the stripes meet.
While the tiles dry, make sure the surface you’re going to lay them on is flat! Using a rake, a giant cement roller, whatever you do just be ready to make modifications as you lay the tile.
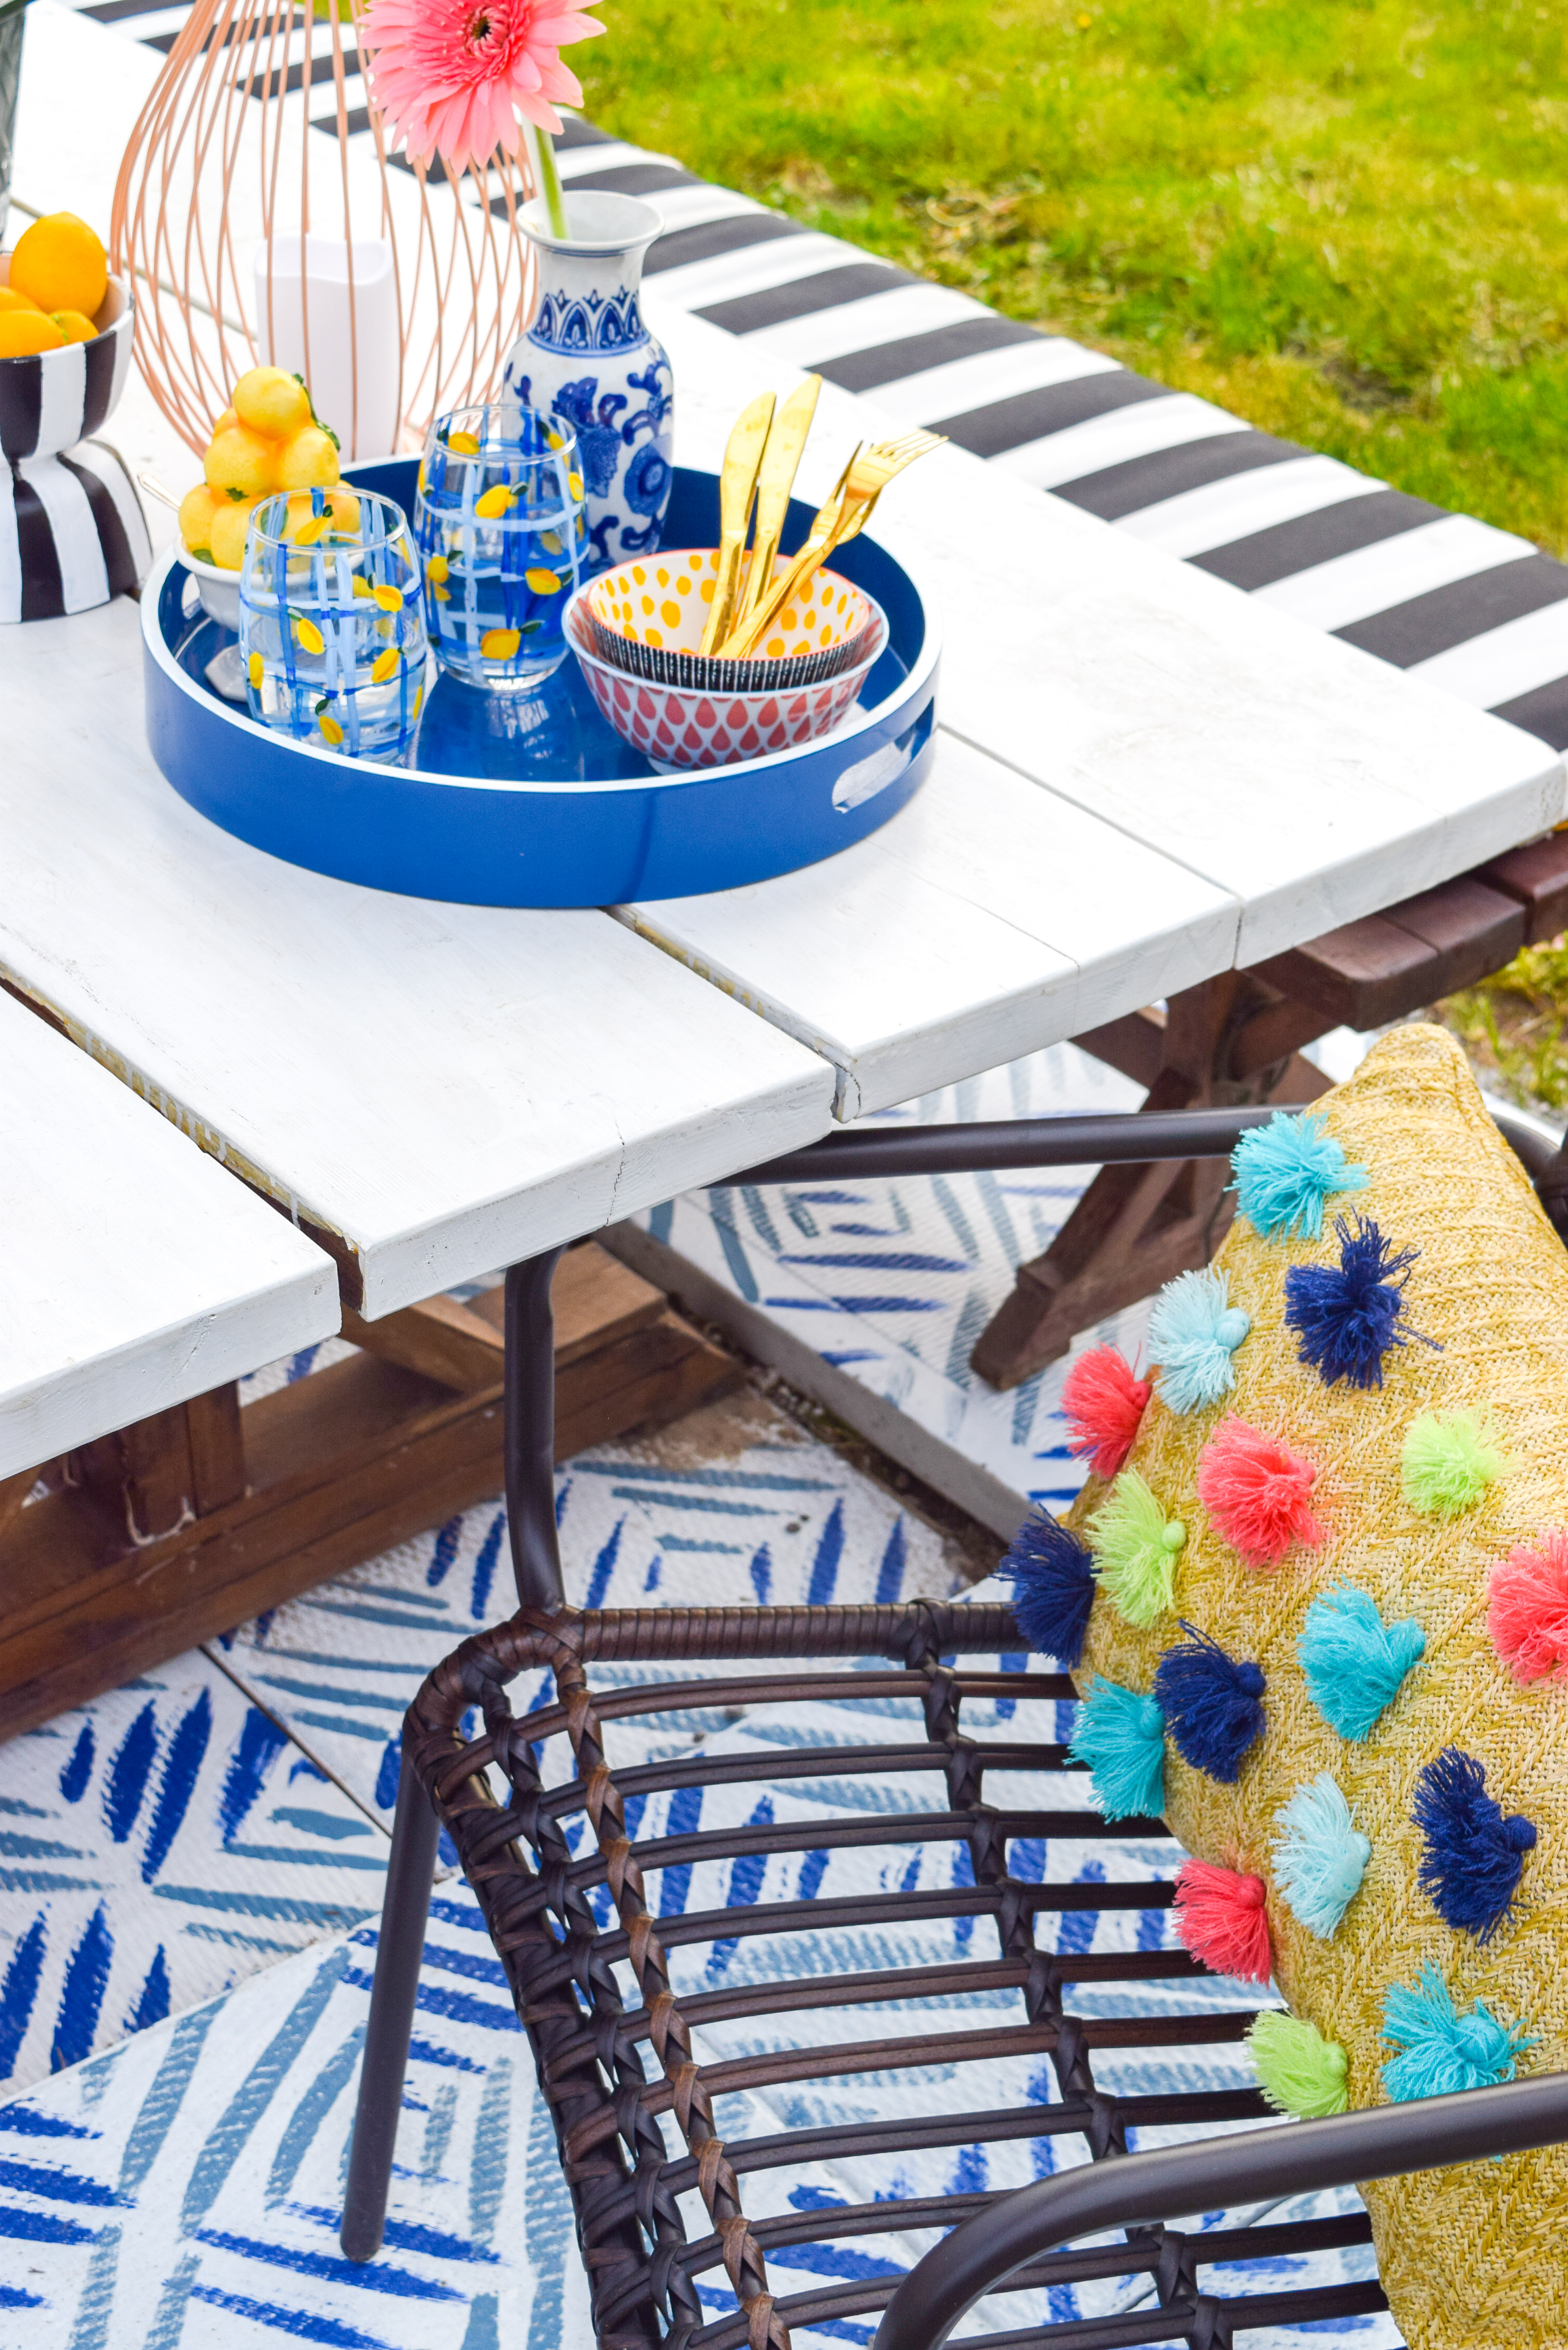
Once all the tiles are painted and dry, put them in place! Line them up as you wish, or play with the orientation to just have fun. Either way, it will all look great once they’re in place.
Because we didn’t dig down and add layers of gravel and sand — like we did with set last year — the new tiles sat above ground. Instead of painting the edges of all the tiles, we planned to add some path gravel around the edge. It helps with the transition, covers the remaining dead grass, and makes the feature look more permanent.
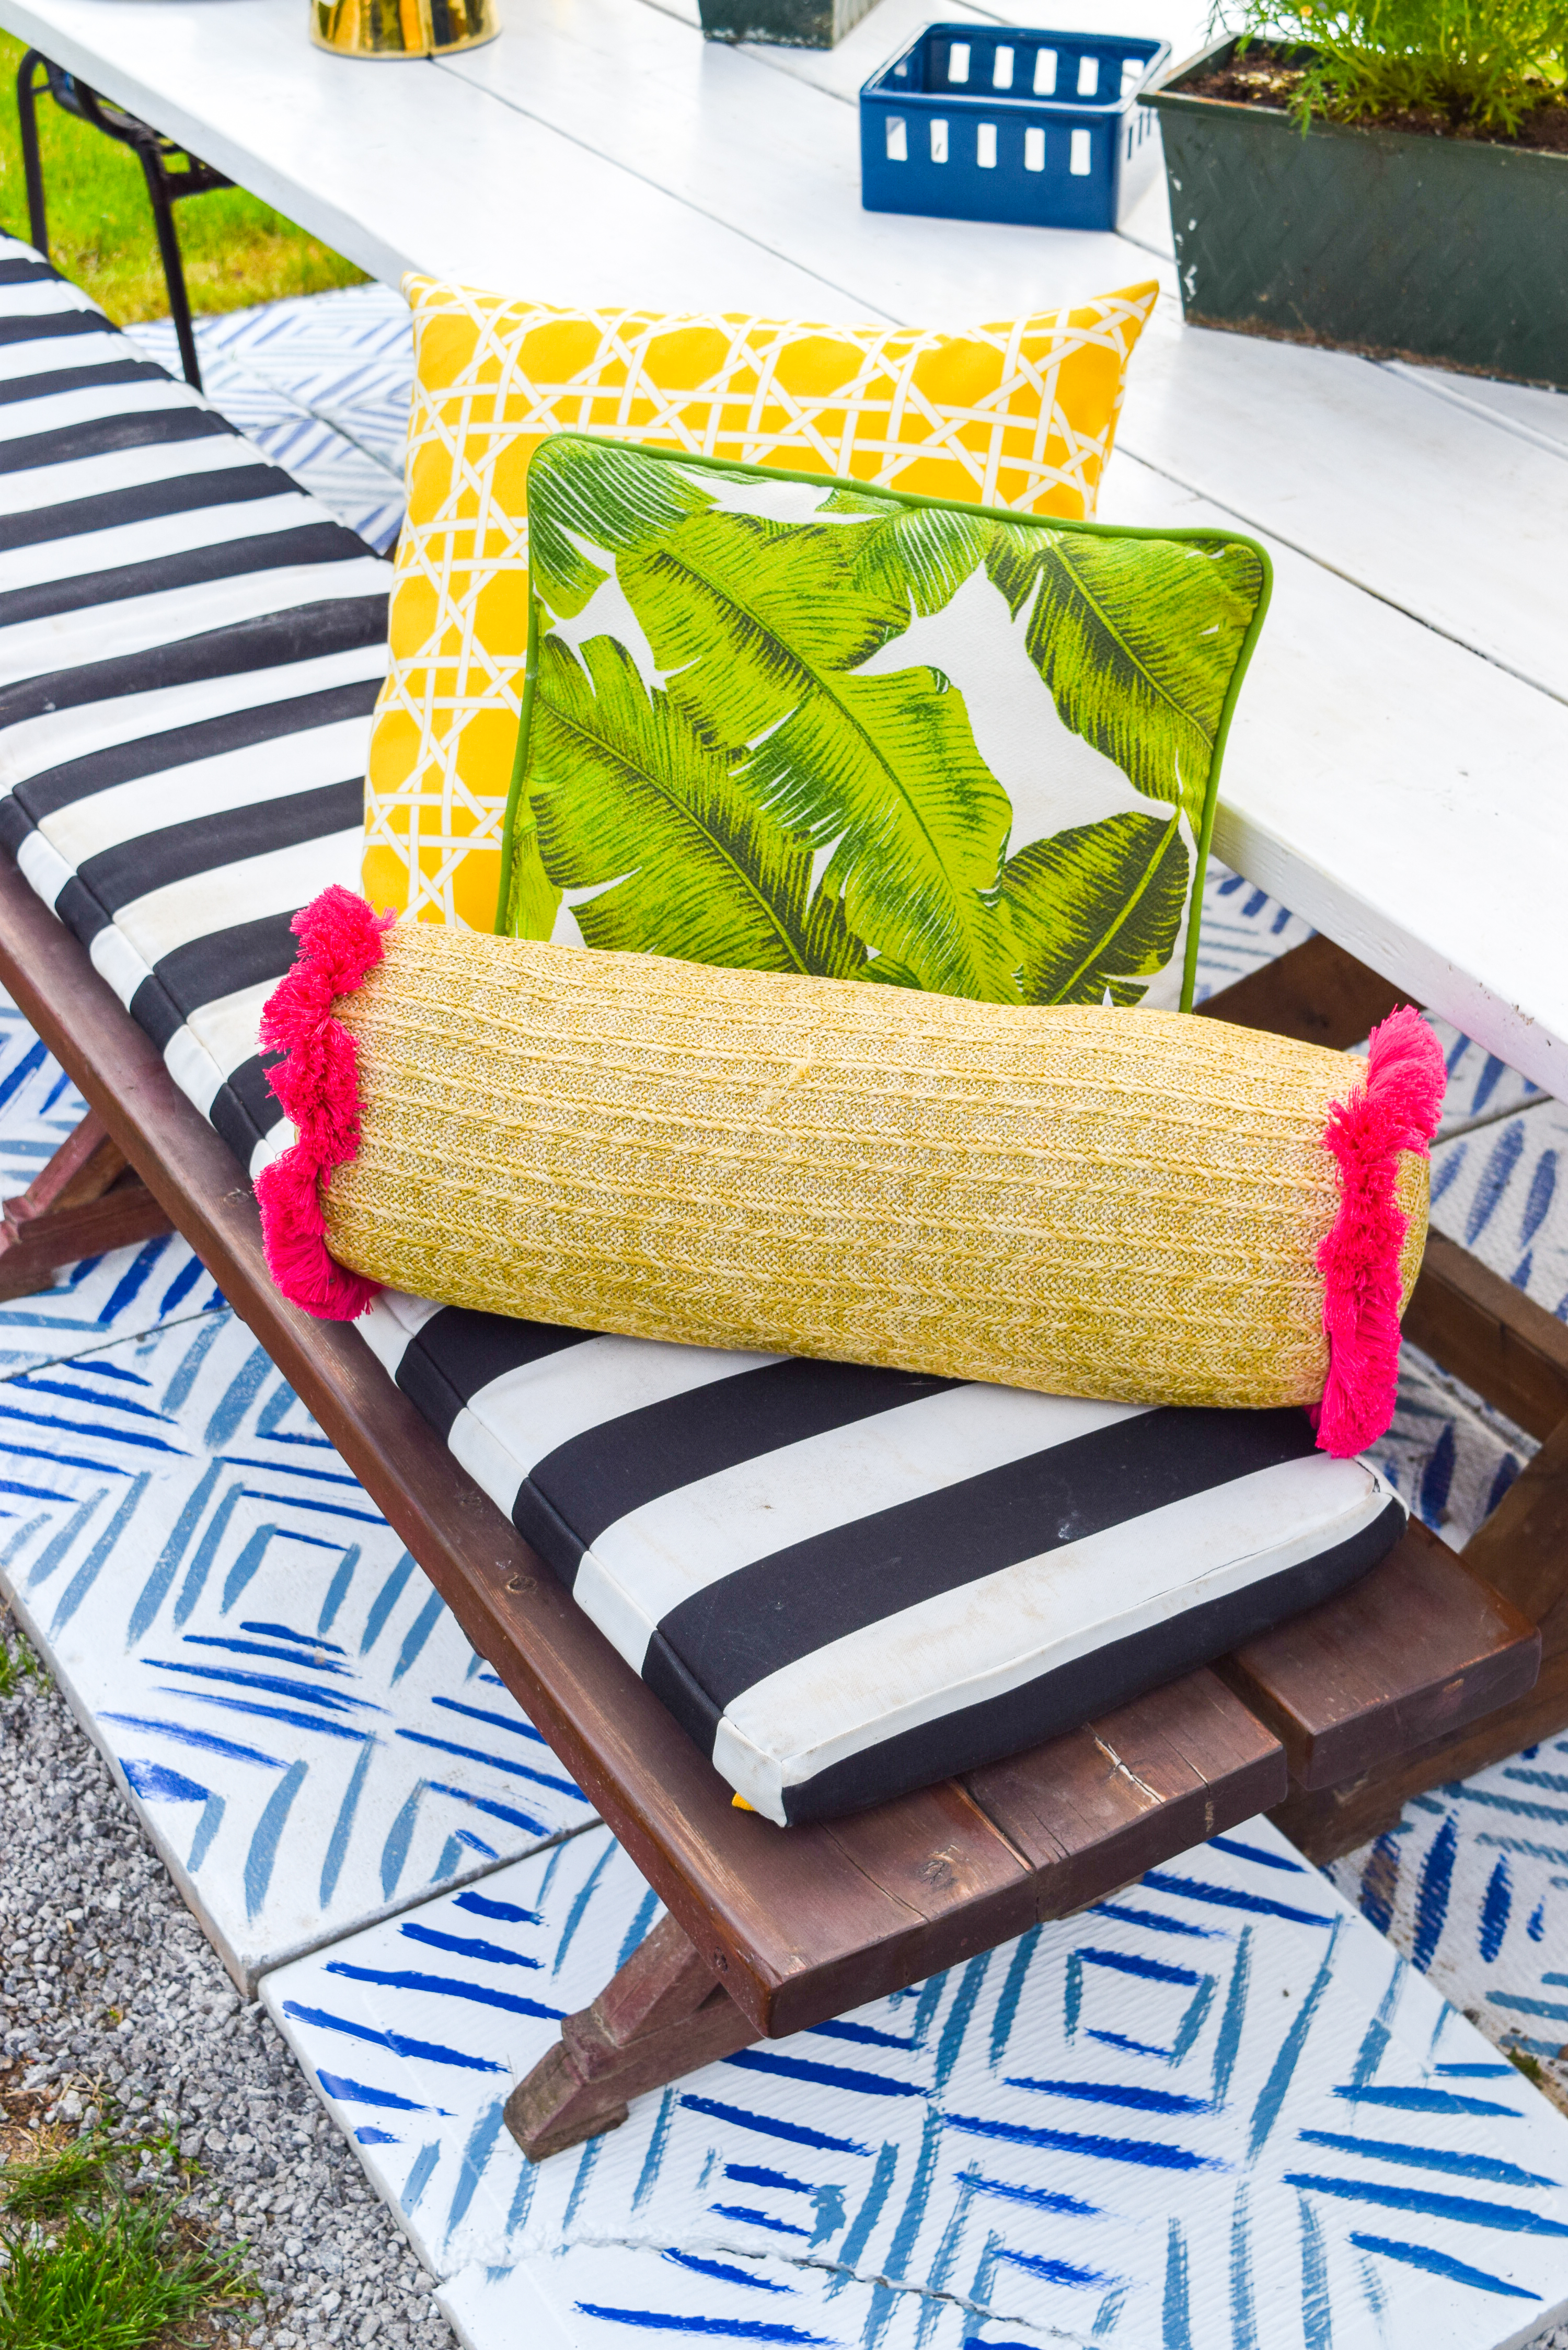


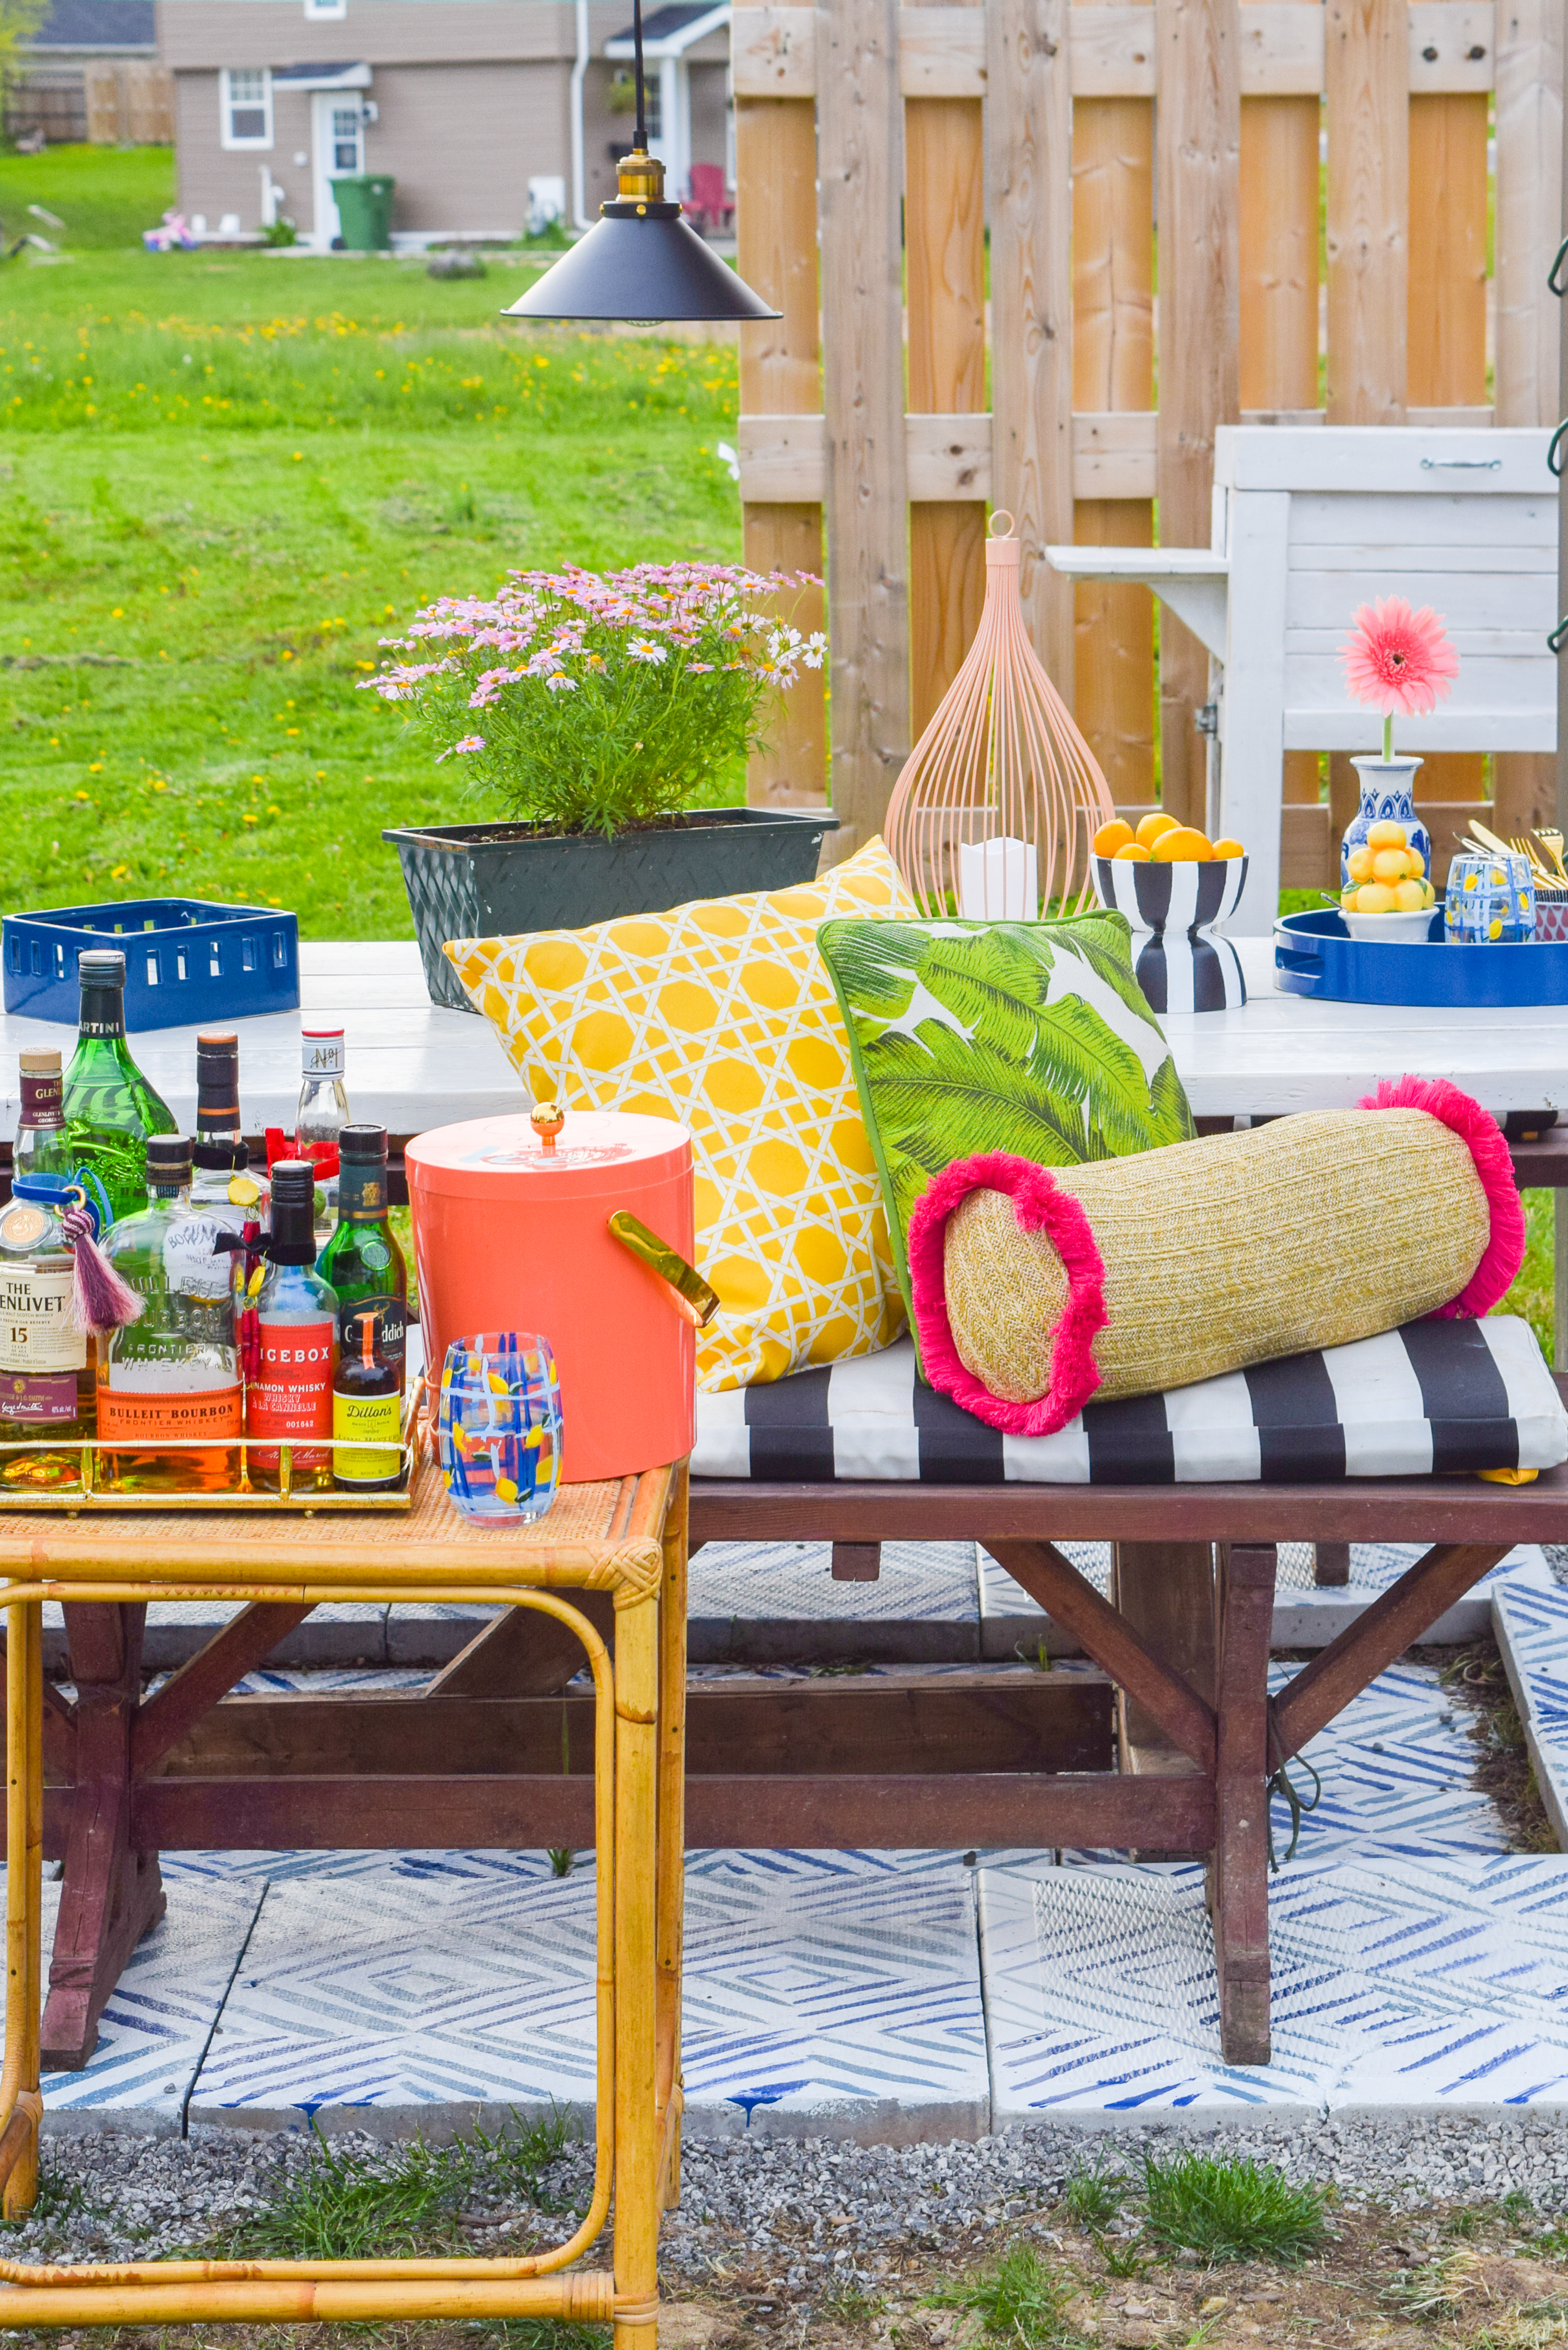


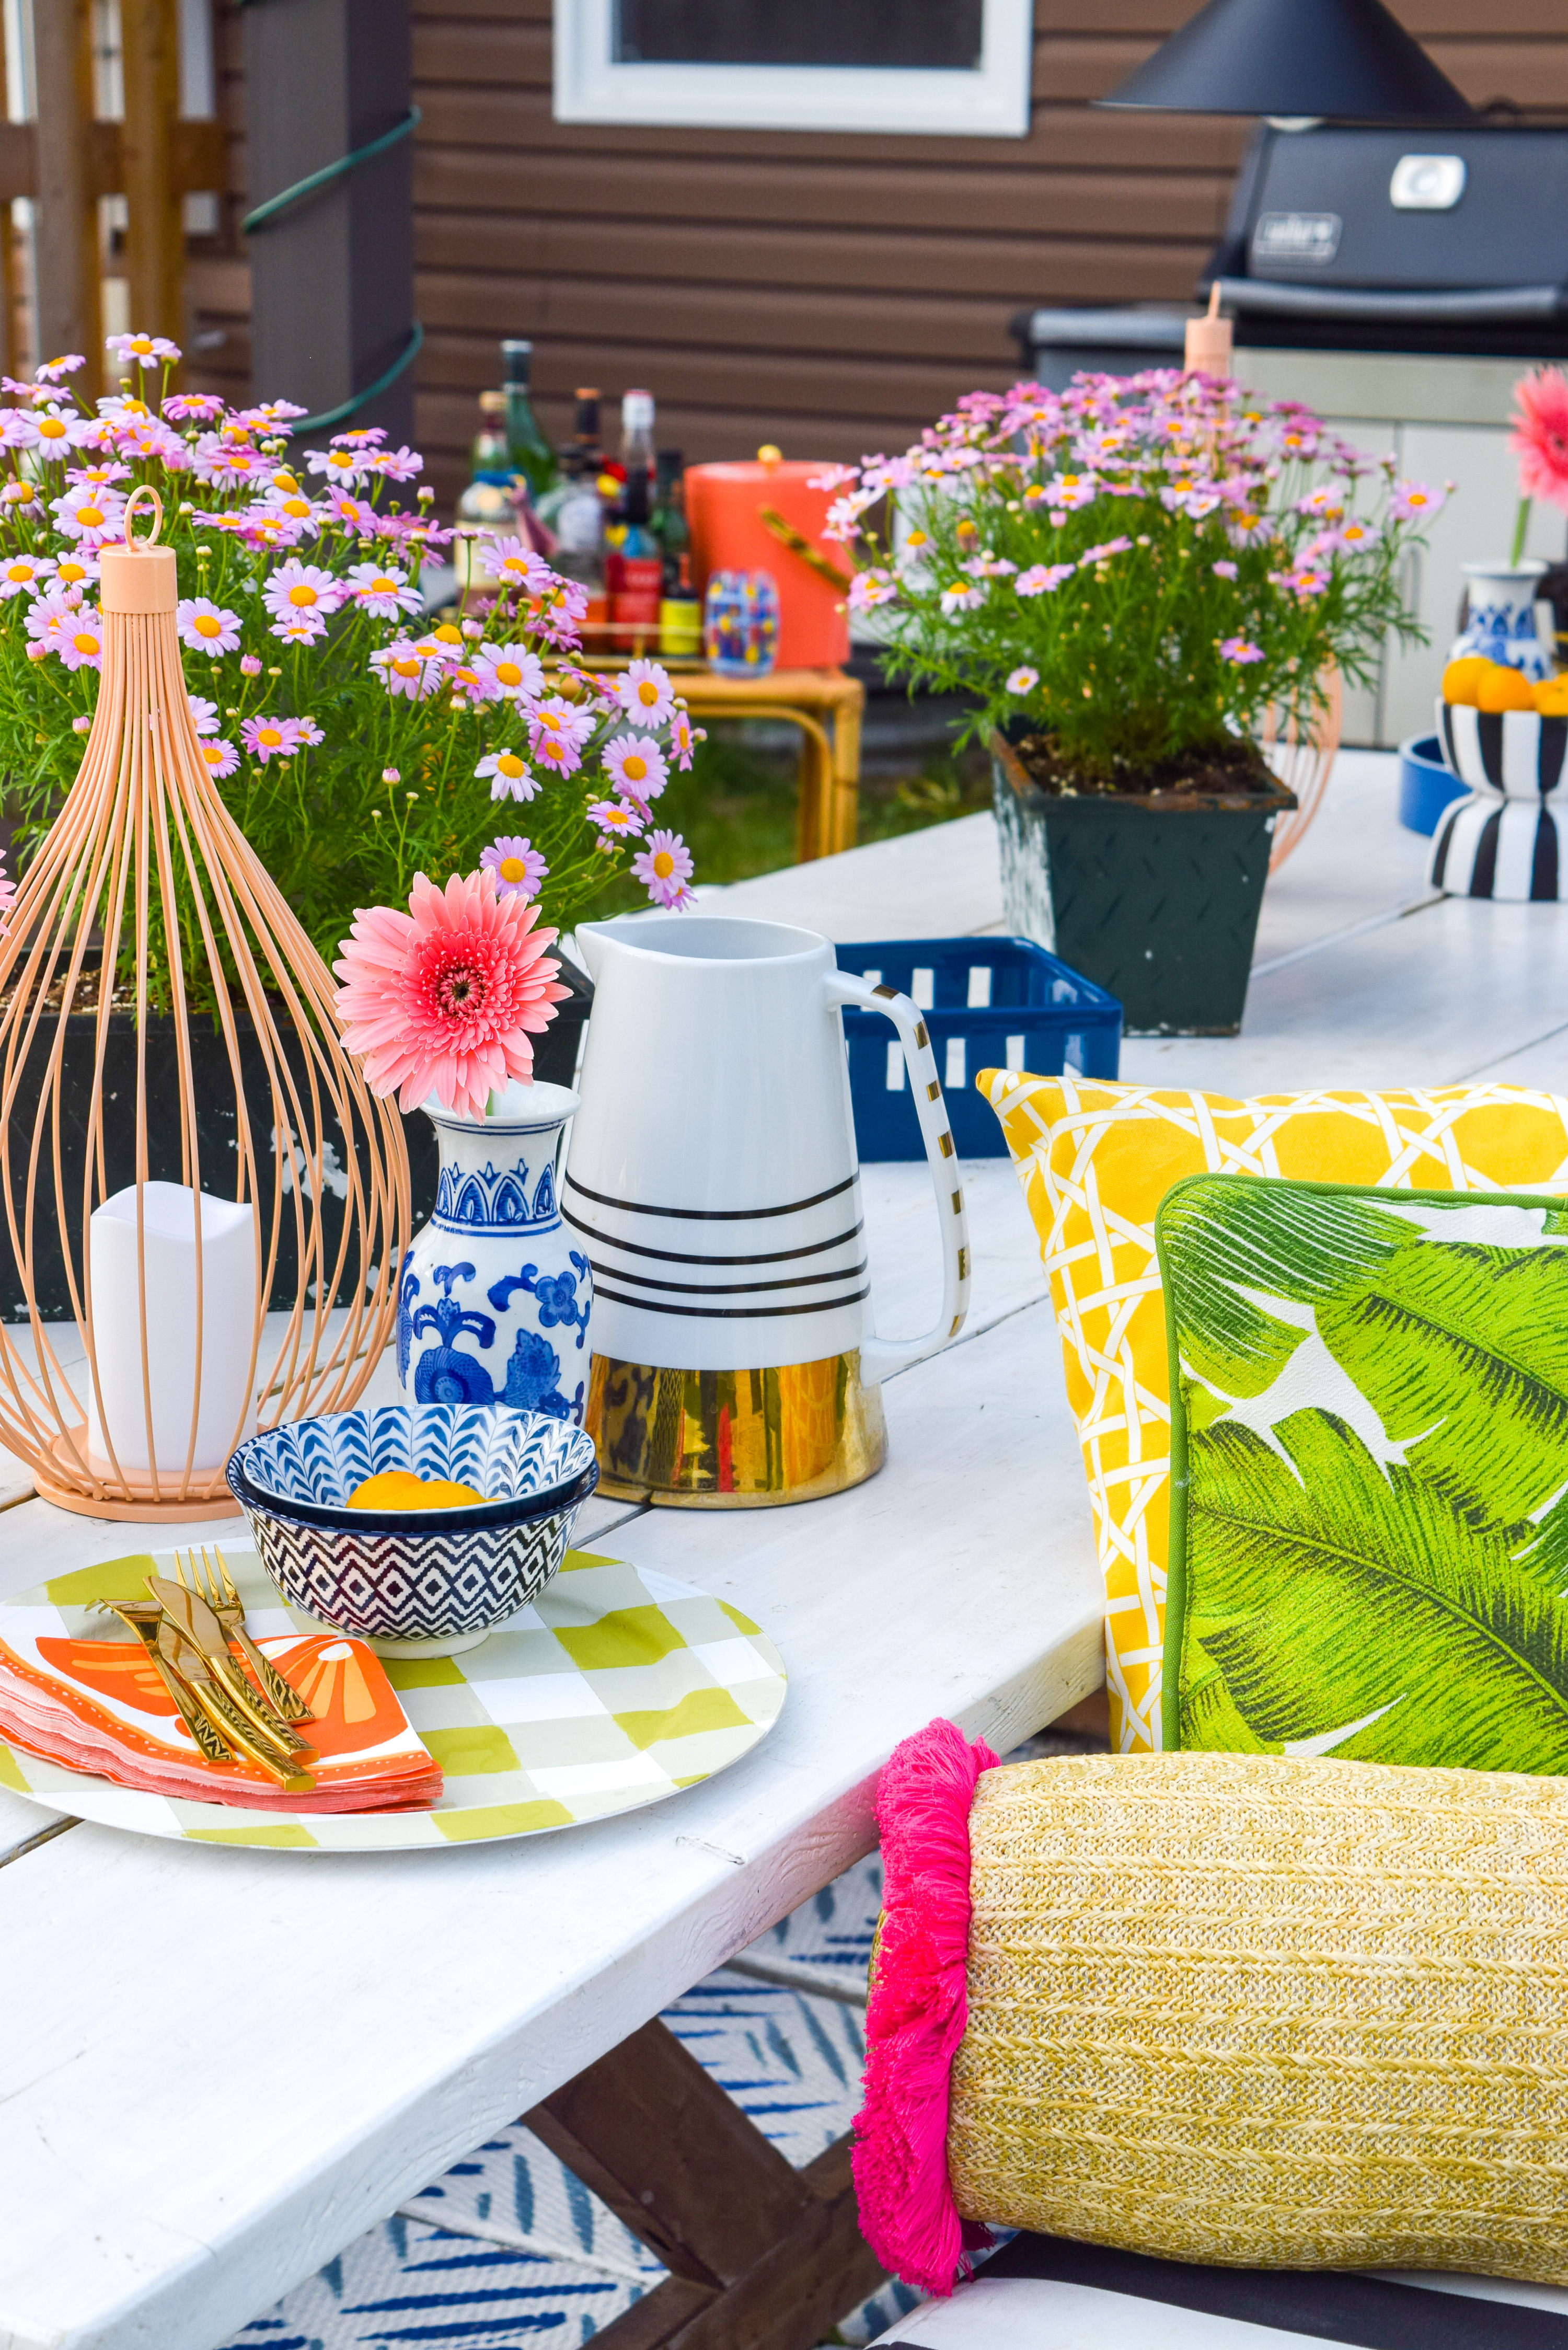
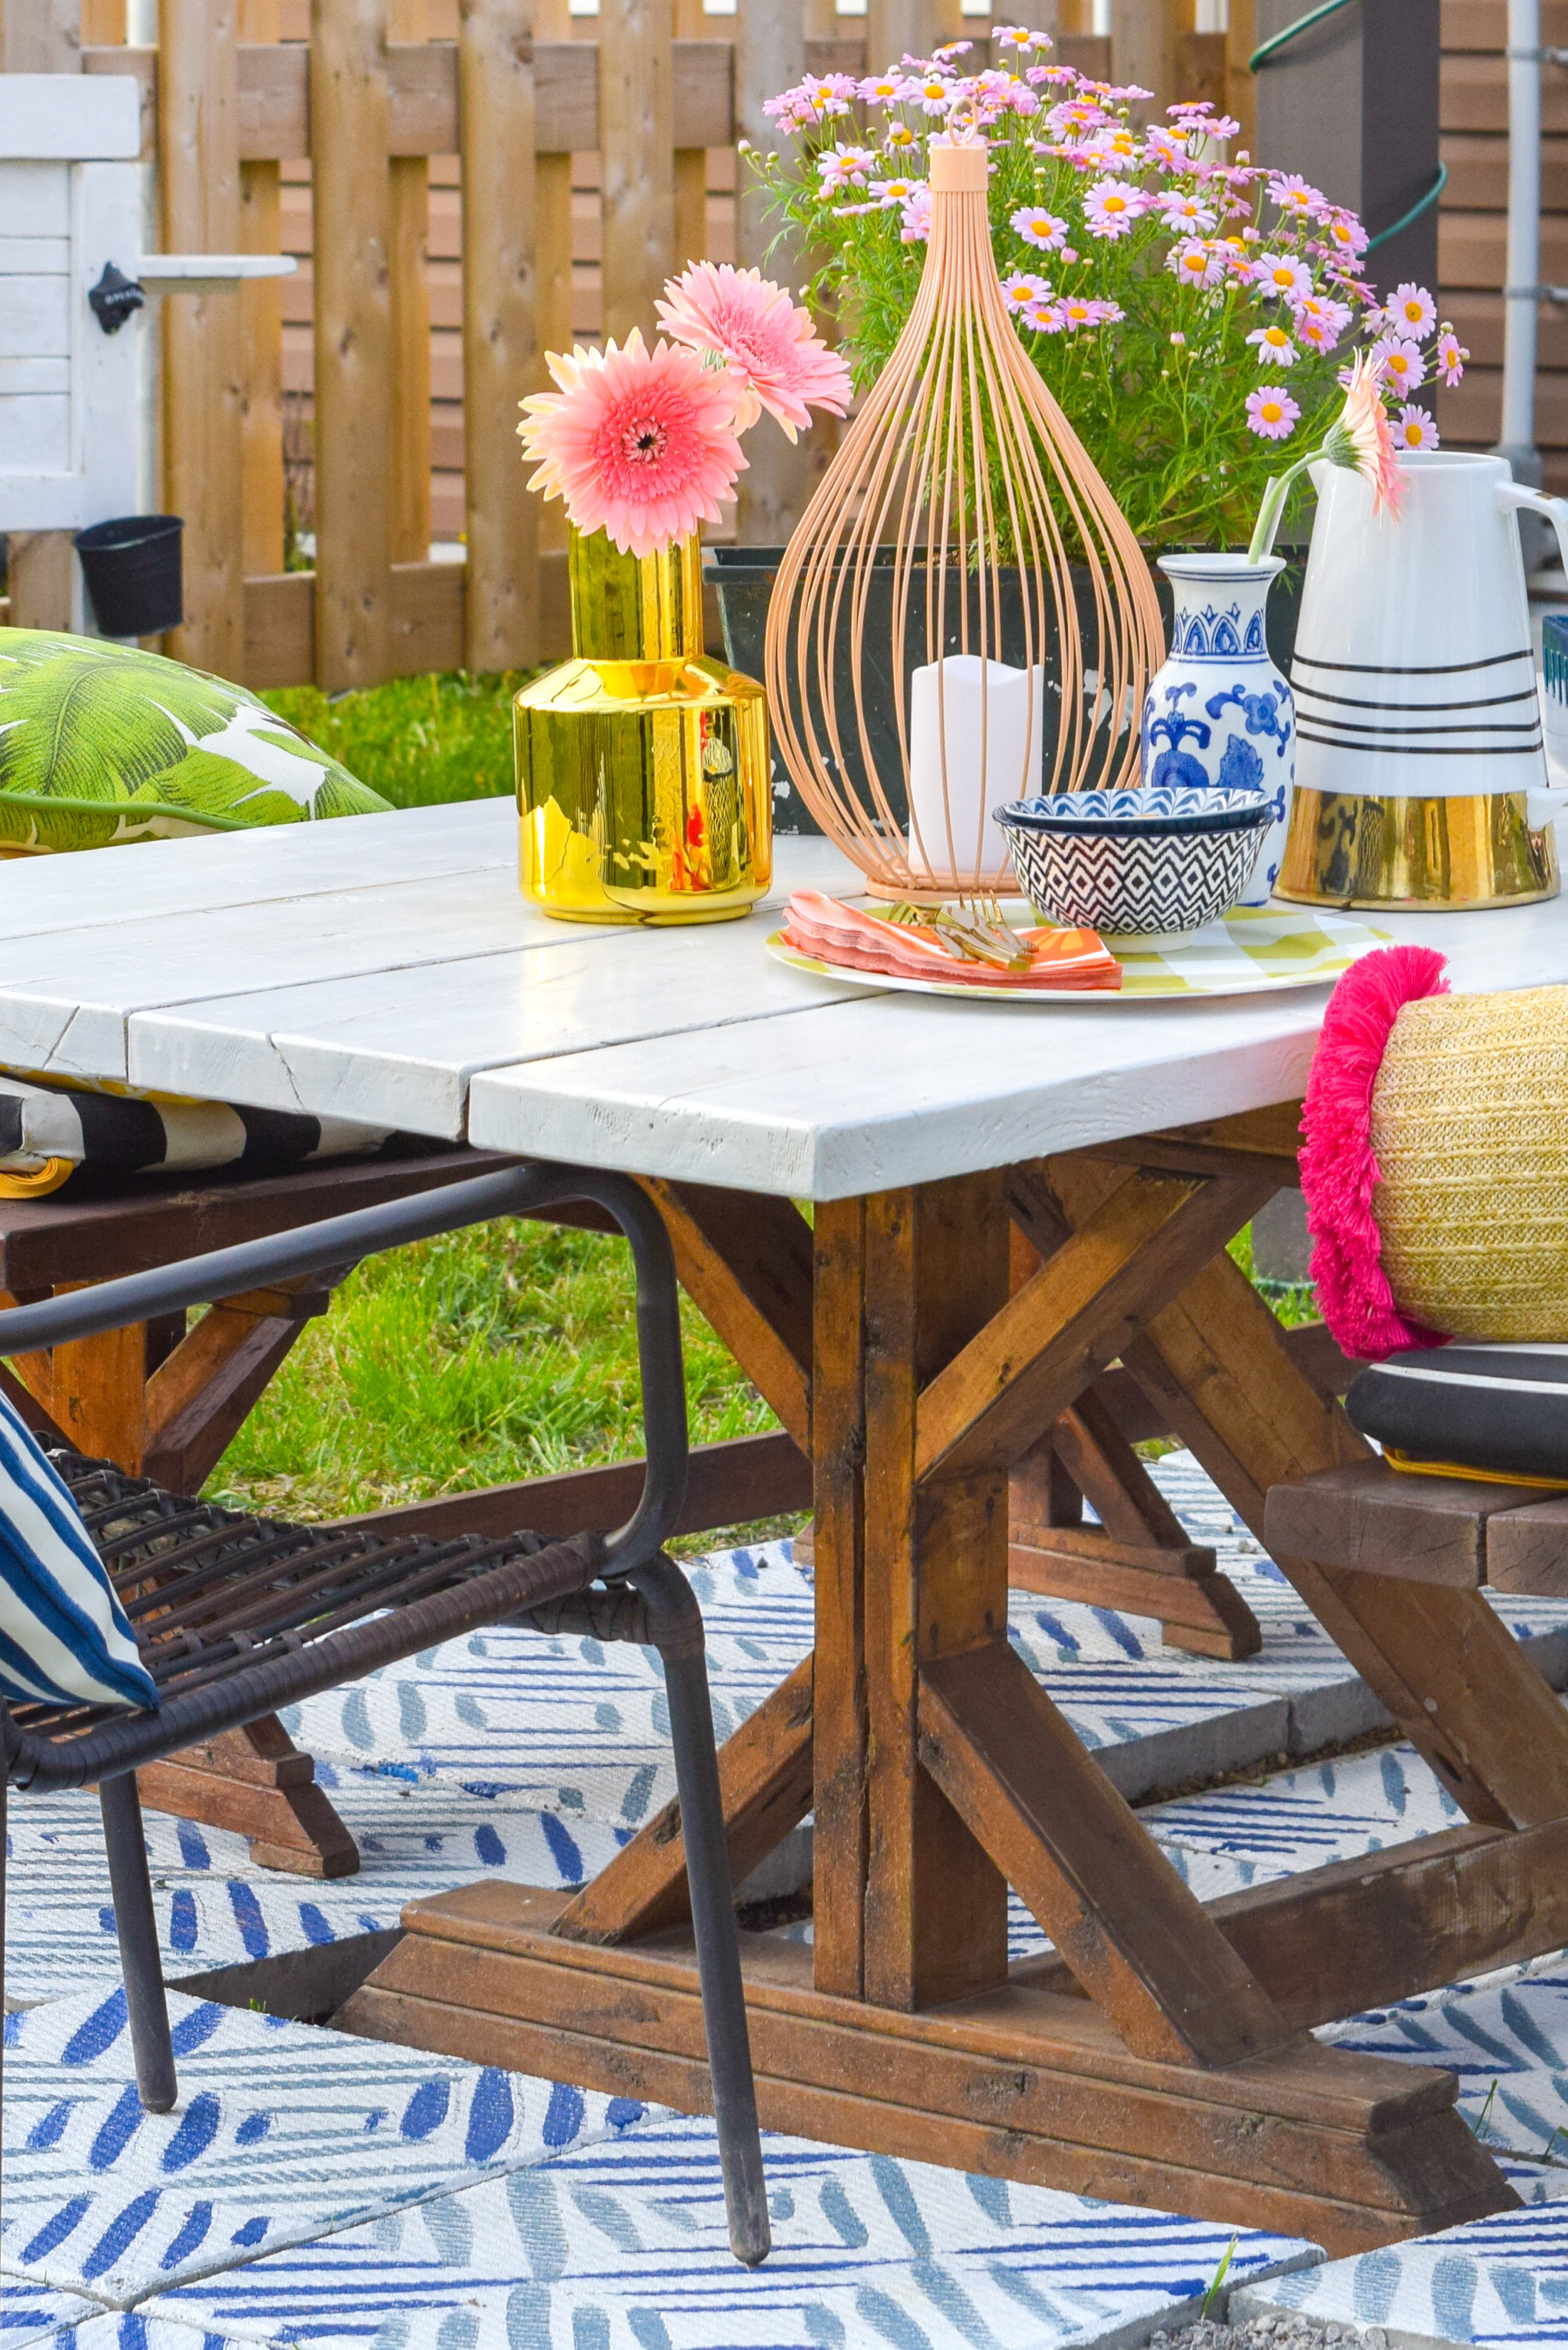
And there you have it! Our painted patio tiles makeover was cost-effective, colourful, and perfectly accented with fun finds from Homesense and our existing items. I am so happy with out it all turned-out, and will definitely be adding this renter friendly project to my arsenal.
How To Paint Patio Tiles

Create a beautiful backyard with a DIY painted patio tile makeover. It takes a little time, but is so worth it! And, it's budget-friendly.
Materials
- 1 bottle of Curb Appeal in Farmhouse White
- 1 bottle of Curb Appeal in Williamsburg Blue
- 1 bottle of Curb Appeal in Hampton Blue
Tools
- 1 roller + tray, 1 brush
Instructions
- Start by rolling all the patio tiles in Farmhouse White.
- Prop up one side of each tile with some bricks.
- Using a giant ruler and a pencil, lightly draw a grid of 6″x6″ squares.
- Paint each pattern within the squares.
- Using Hampton Blue and a brush, paint horizontal stripes all in the same direction.
- Paint 5 stripes in alternating squares to form a checkerboard pattern.
- Using Williamsburg Blue, repeat the pattern but going in the opposite direction.
- Lay them flat to dry.

