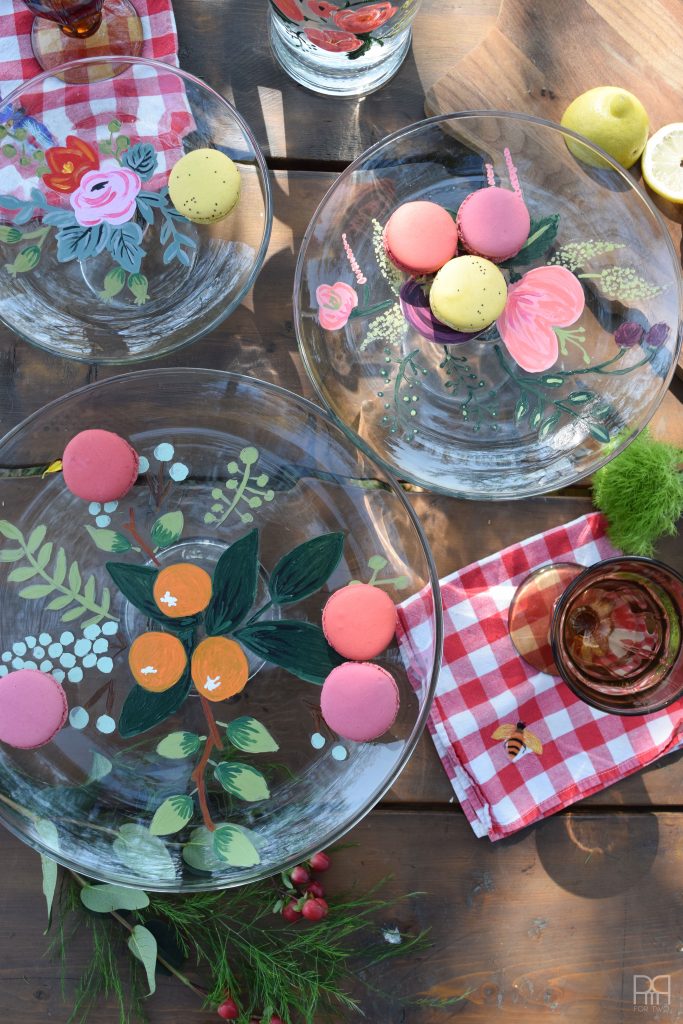
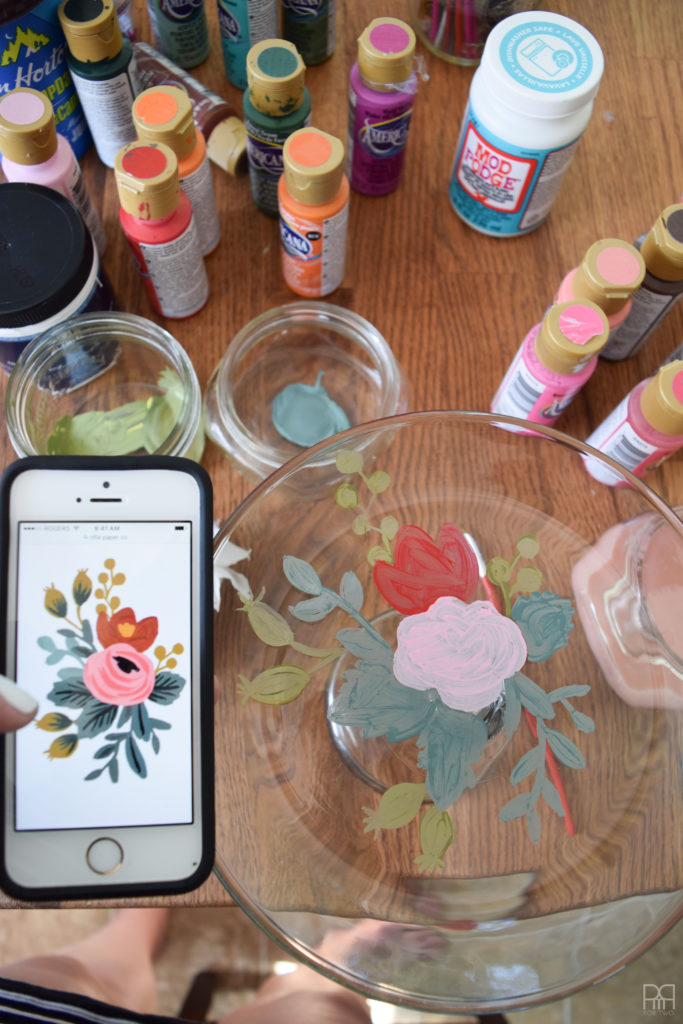
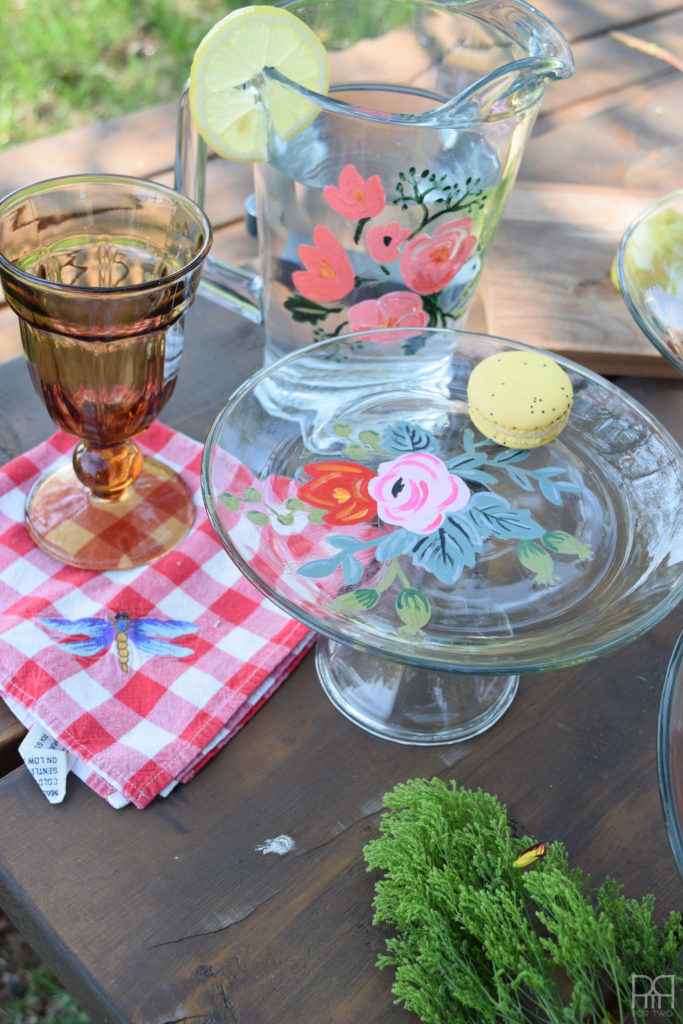
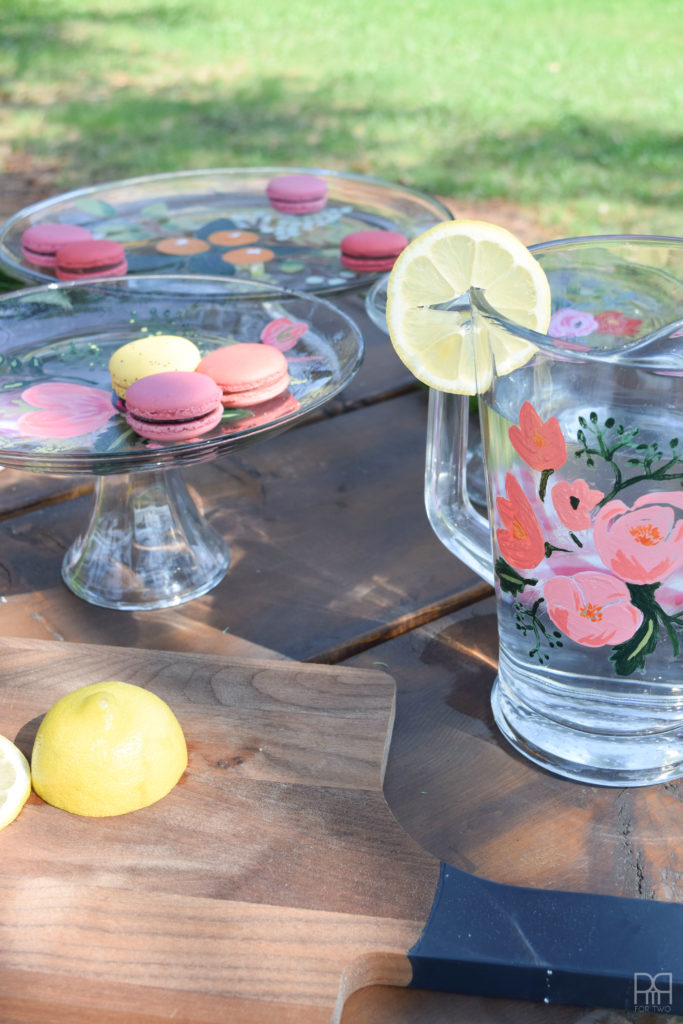
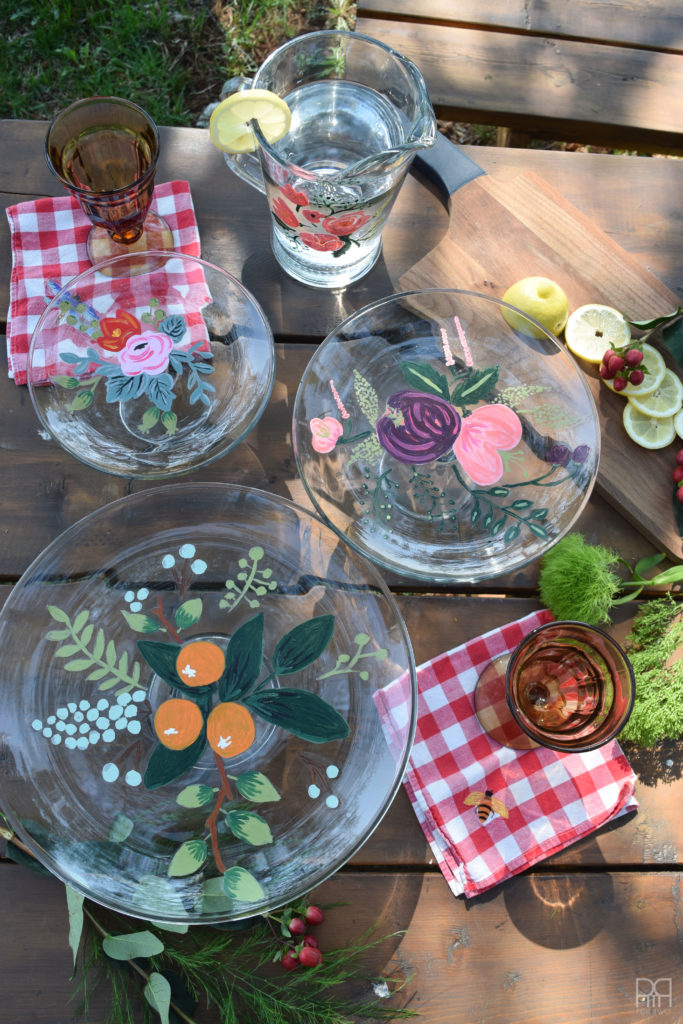
You know what time it is – time for the monthly #12monthsofDIY challenge (Mod Podge edition)! Hip Hip hooray! Today I’m sharing my painted florals on glassware inspired by the beautiful prints and designs of Rifle Paper Co.’s Anna Bond.

This month we’re working with Mod Podge – any crafters favourite tool. Mod Podge is involved in way more projects than you would think, and I personally have three different kinds kicking around now (dishwasher safe, high gloss, mat). For my other Mod Podge projects look here & here.
So for this month’s project, instead of doing decoupage (there’s nothing wrong with decoupage – it’s just a popular pairing with Mod Podge) I opted to use Mod Podge as a sealant on some painted glassware.
See, with summer around the corner I’ve been thinking of inexpensive ways to create a set of outdoor friendly dishes that are colourful, practical, and cost effective. What better way than to use items you already have and paint them yourself?! I’ll likely be doing this project again and will definitely be visiting Value Village for other pieces to paint.
Materials required
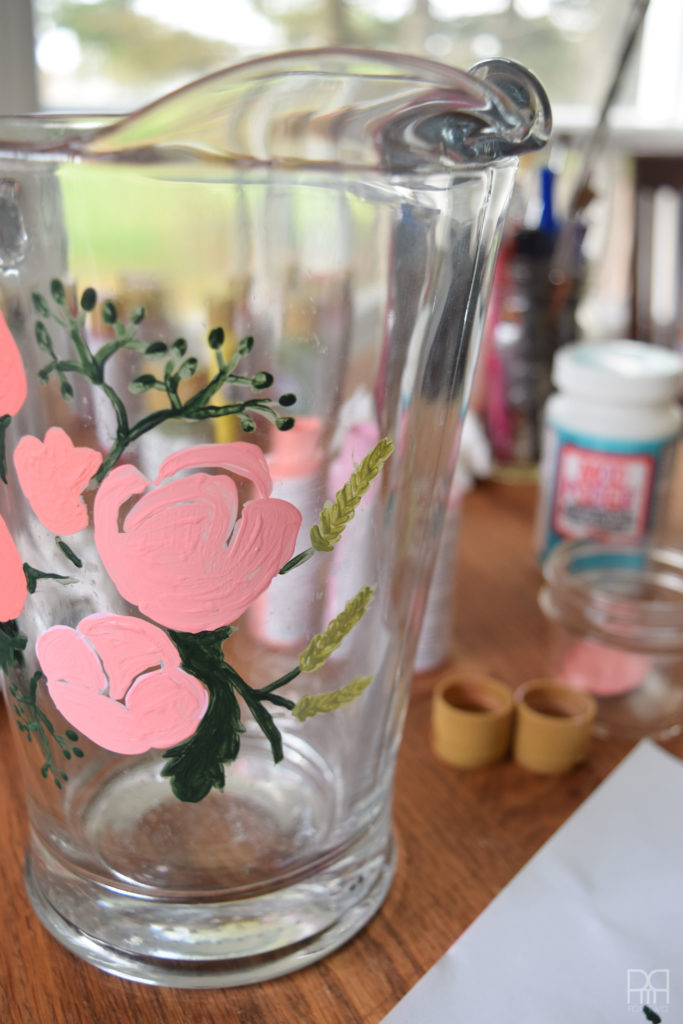
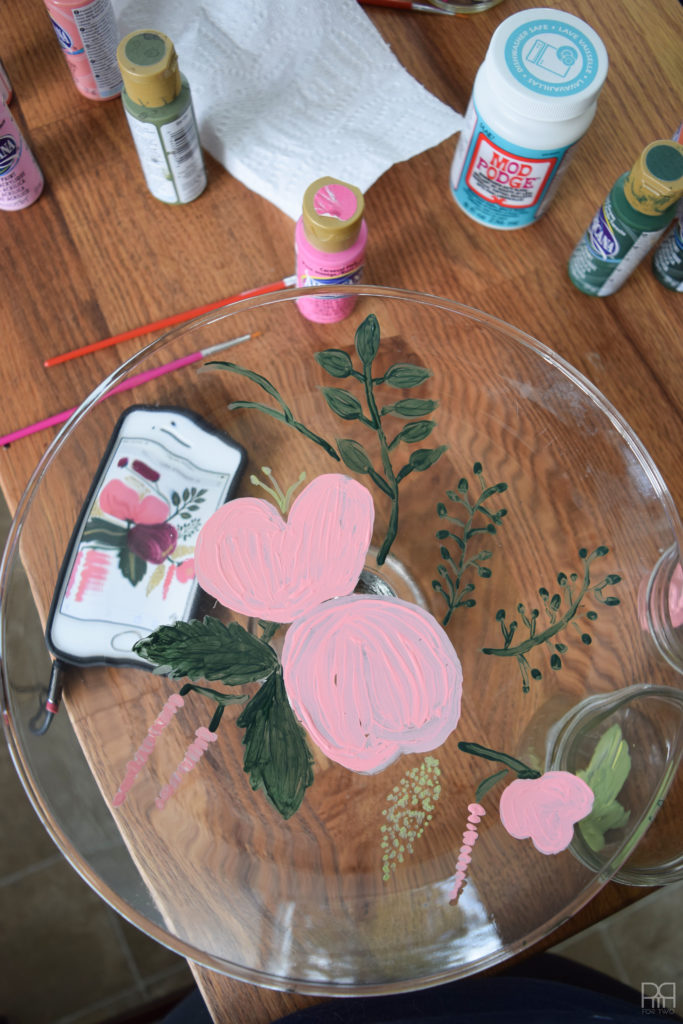
- Glassware: in my case, a water pitcher and three cake stands.
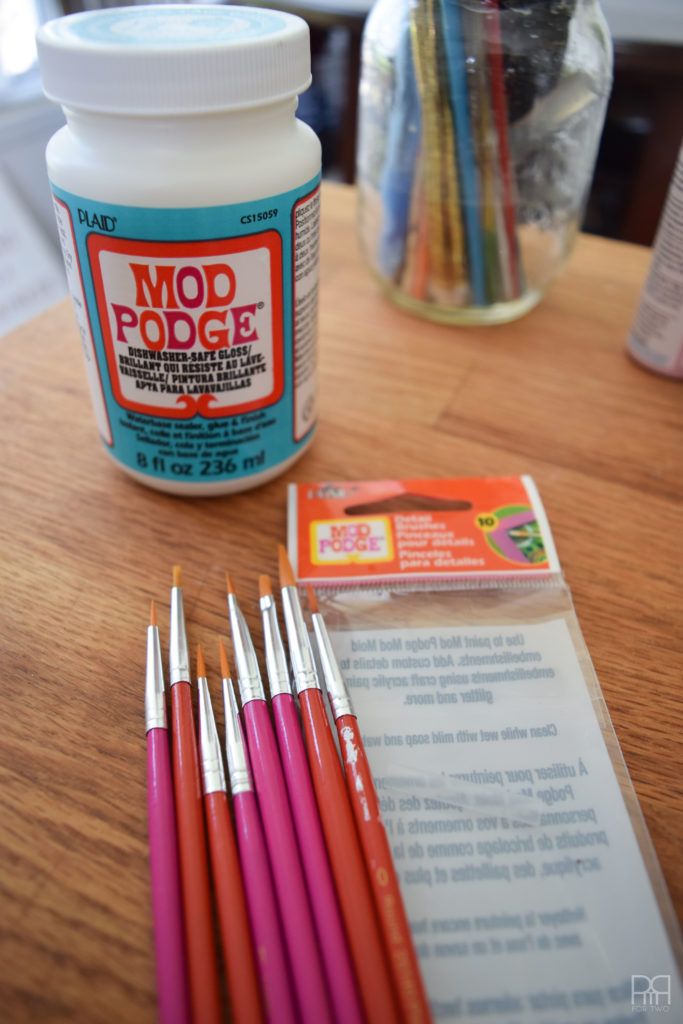
- Mod Podge pack of 10 fine tip brushes (but regular brushes will do too)
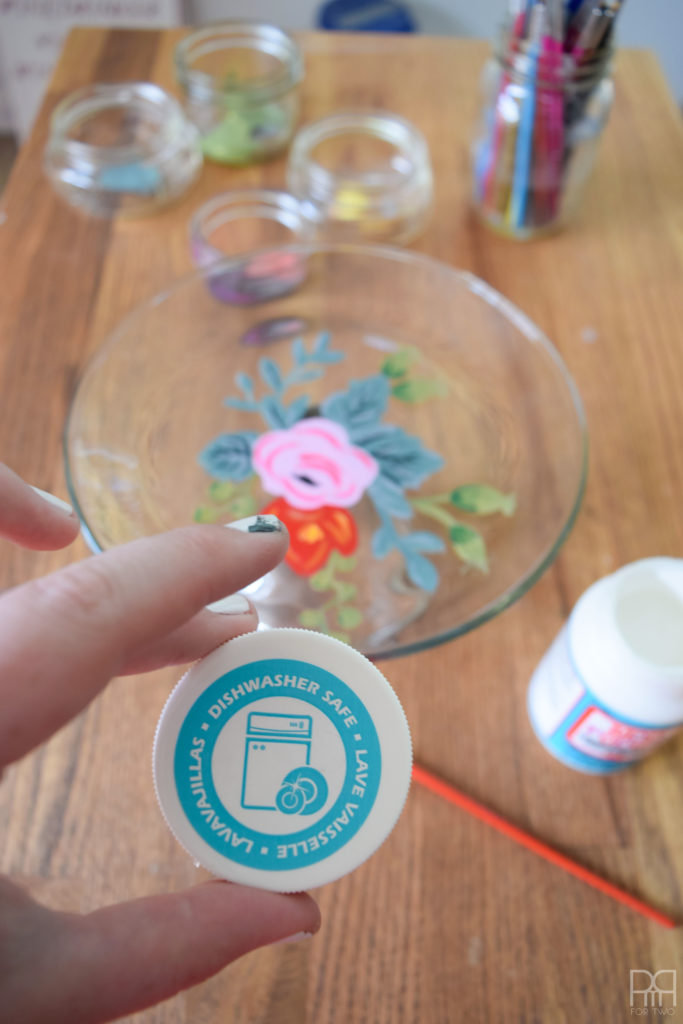
- Dishwasher formula Mod Podge (also available at major craft stores and Walmart)
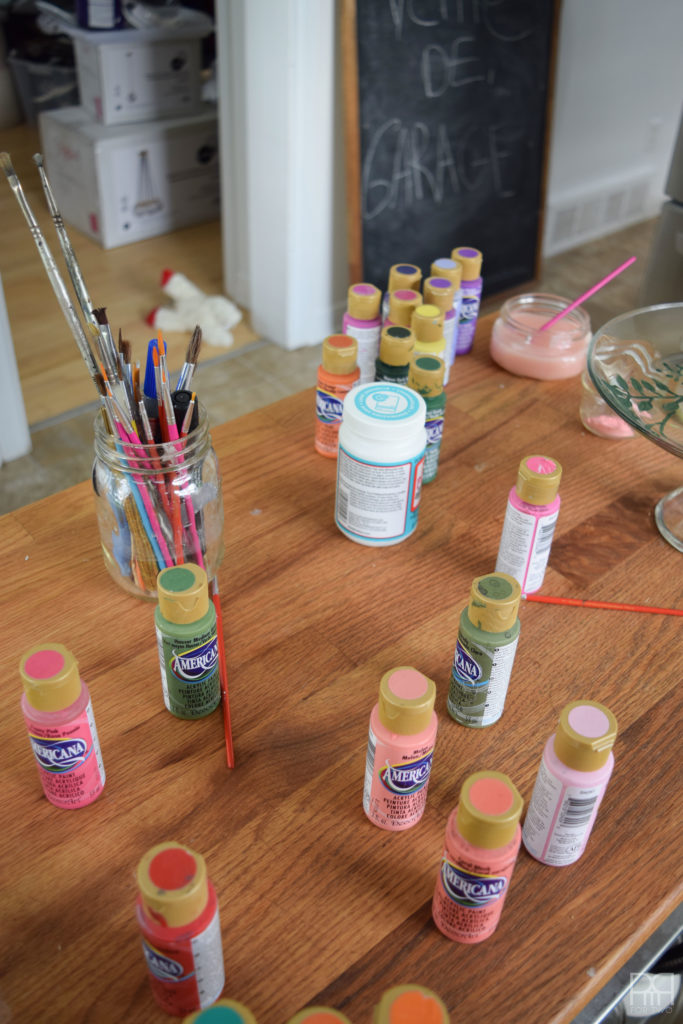
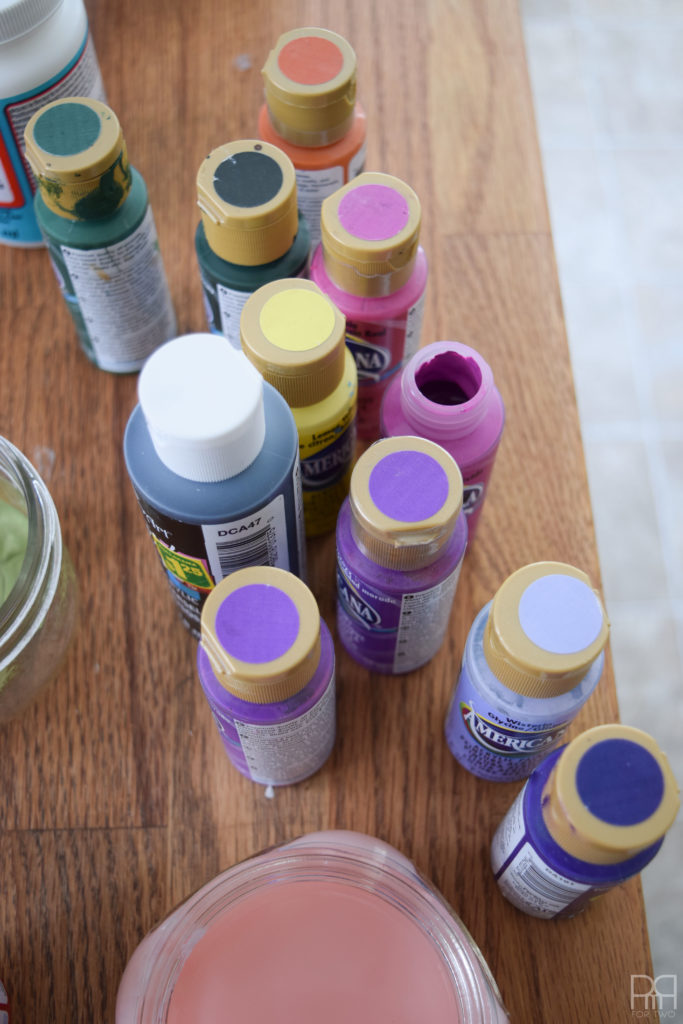
- Paint in all the colours of the rainbow
- Isopropyl Alcohol
Step 1: Like with all Mod Podge projects involving painting on enamel or glassware, you should clean the surface with Isopropyl Alcohol beforehand to ensure the area is clean and dry.
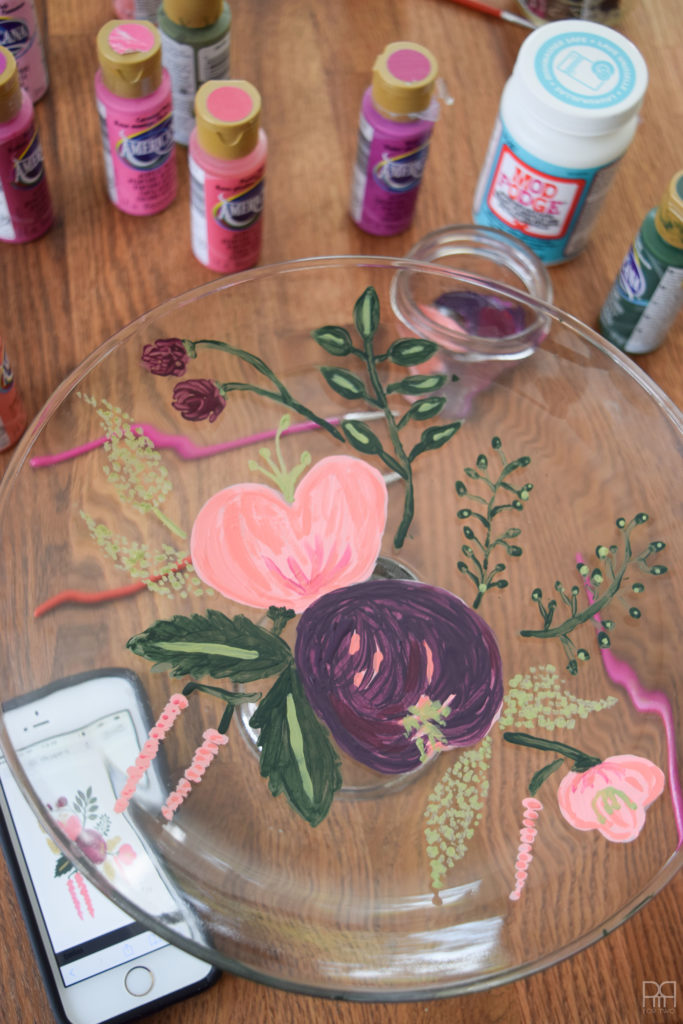
Step 2: Using your inspiration as a template, or if drawing from imagination, paint the base colours of your design onto the surface.
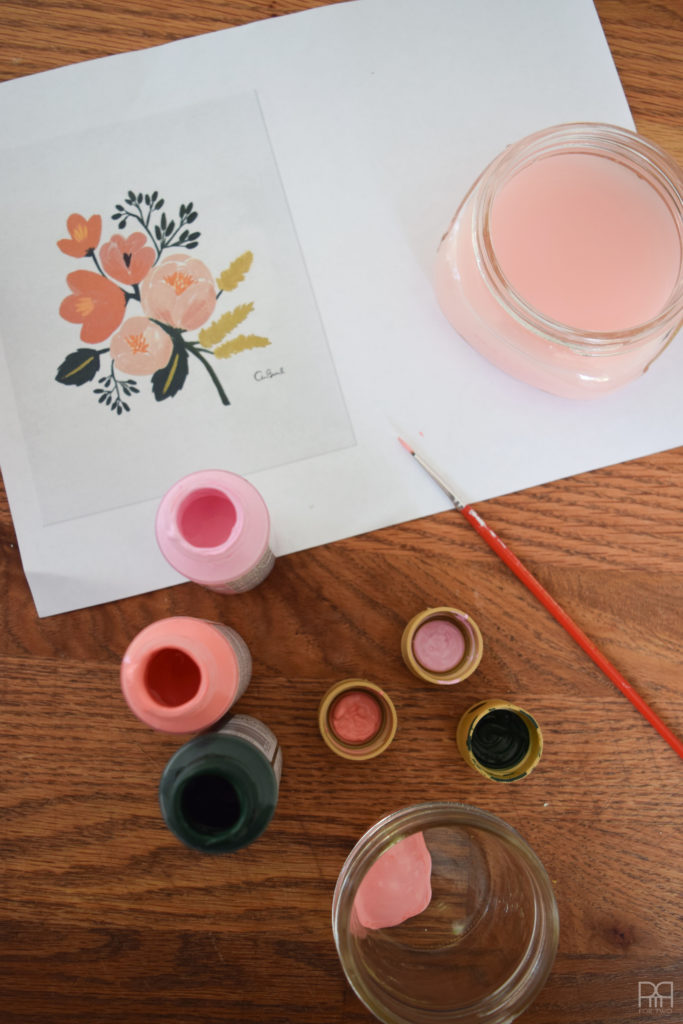
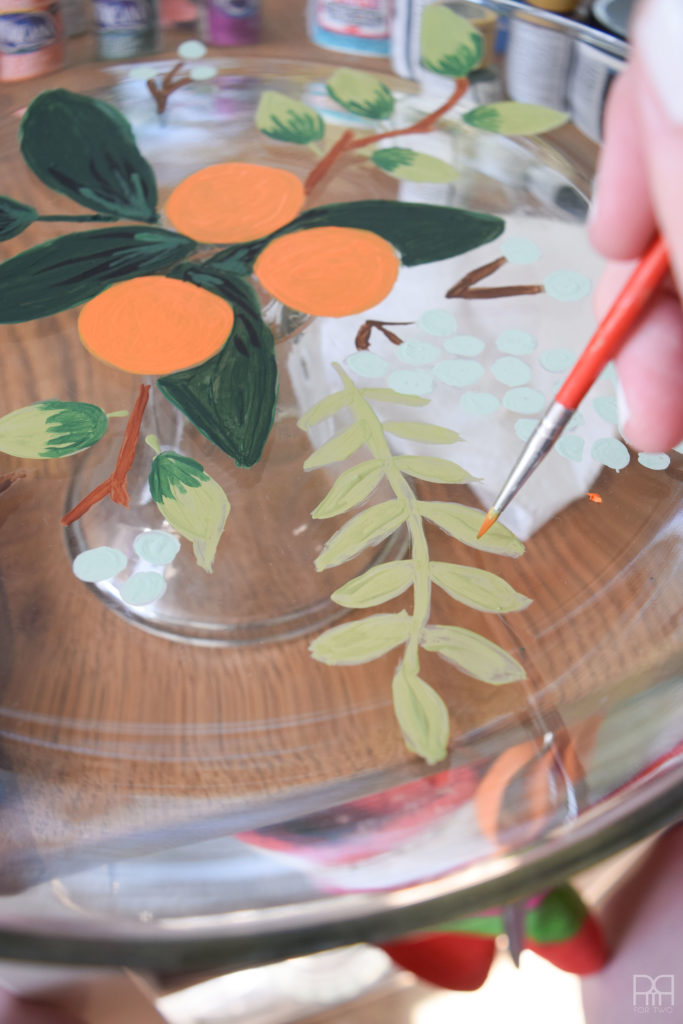
Since most of the flowers and leaves are colours built upon other colours, I started with the lightest colours and worked my way up to the darkest colours (usually used for fine details) as the last layer before the sealant.
Make sure you take the time to get the layers done correctly; focusing on general shapes and contours. It may take several coats of your base colour to get the coverage you want before you can start applying other colours.
Step 3: Once the base colours are dry, start layering in the colours. Think lightest to darkest, because light can always be covered with dark, not necessarily the way around. This of course depends on the gradient of colours you’re trying to achieve.
If you think of painting as layering colours, go with what will work best for the given subject.


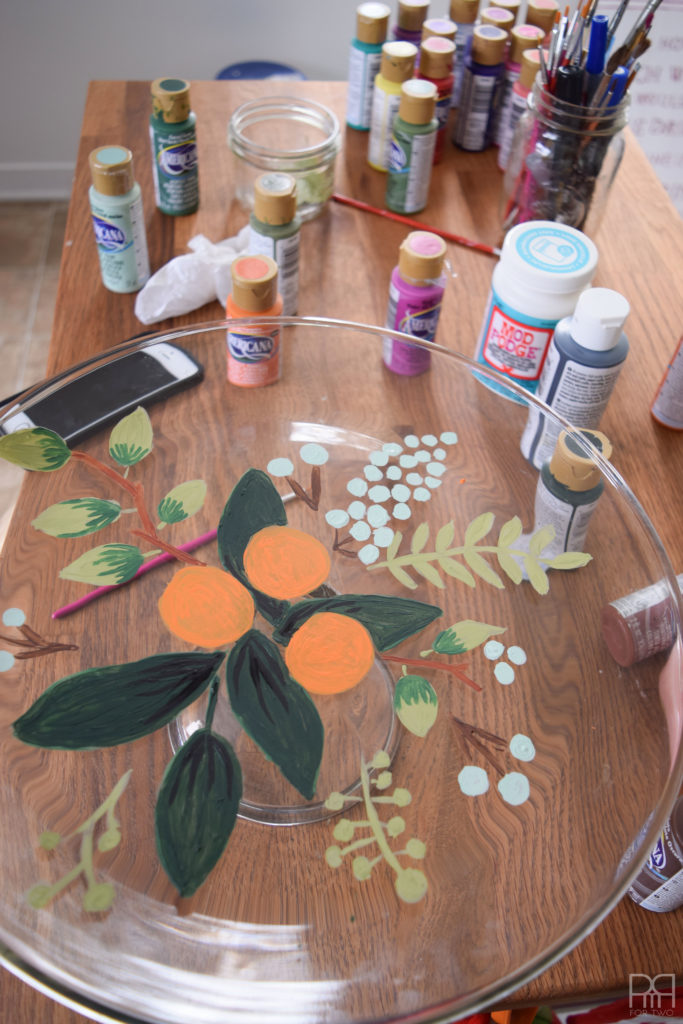
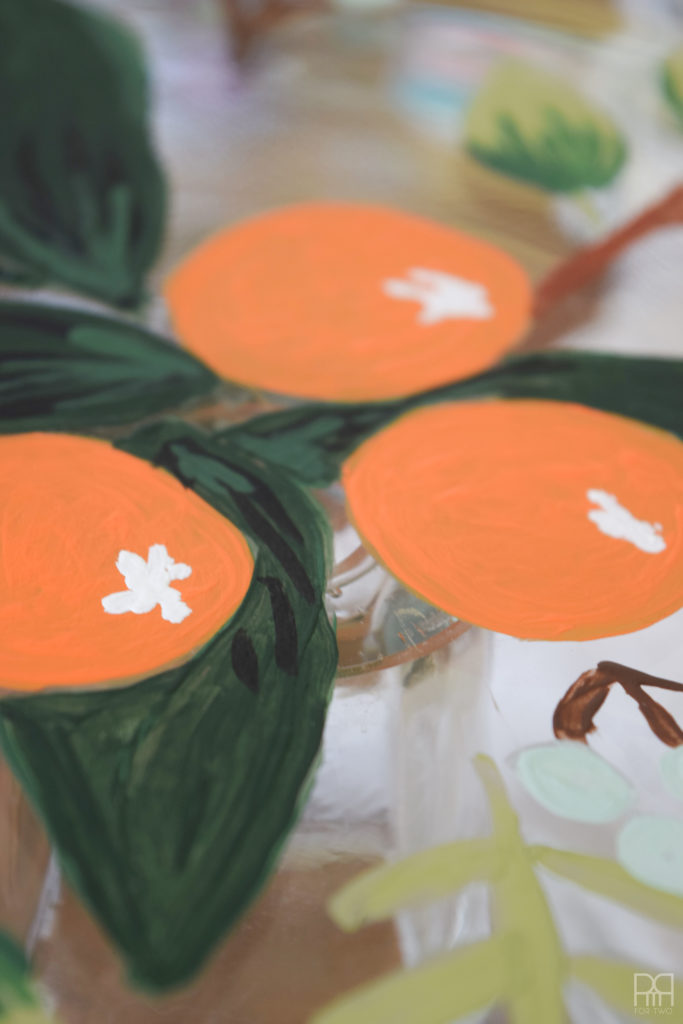
Step 4: Get to the details and the fine print! For me, this was adding contours, shadows, and little contrasting swipes to make certain colours pop.
I use the most colours when doing details because the lifelike qualities come from all the small colours, even if it’s just one dot here and a stroke there.
Step 5: Wait for everything to dry.
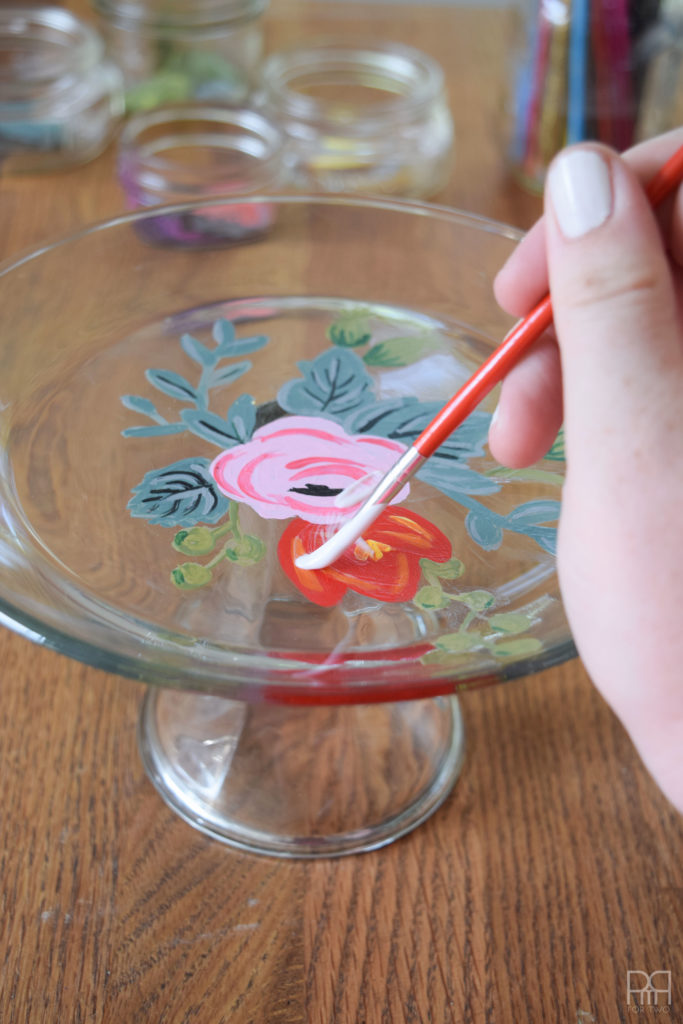
Step 6: Using a soft bristle brush, generously apply a first coat of dishwasher safe Mod Podge to the painted areas on your glassware (or ceramic as the case may be). If you read the instructions carefully they say that you should apply 2-3 coats with 1-2 hours of drying time between coats.
I did one before bed, as soon as I woke, and then after breakfast.
I made sure to only cover the painted portion because otherwise the Mod Podge will be visible on the glass. To keep things looking neat I stuck to the painted areas.
Step 7: Let dry overnight and cure for up to 28 days. Needless to say I won’t be throwing these in the dishwasher until after the move.
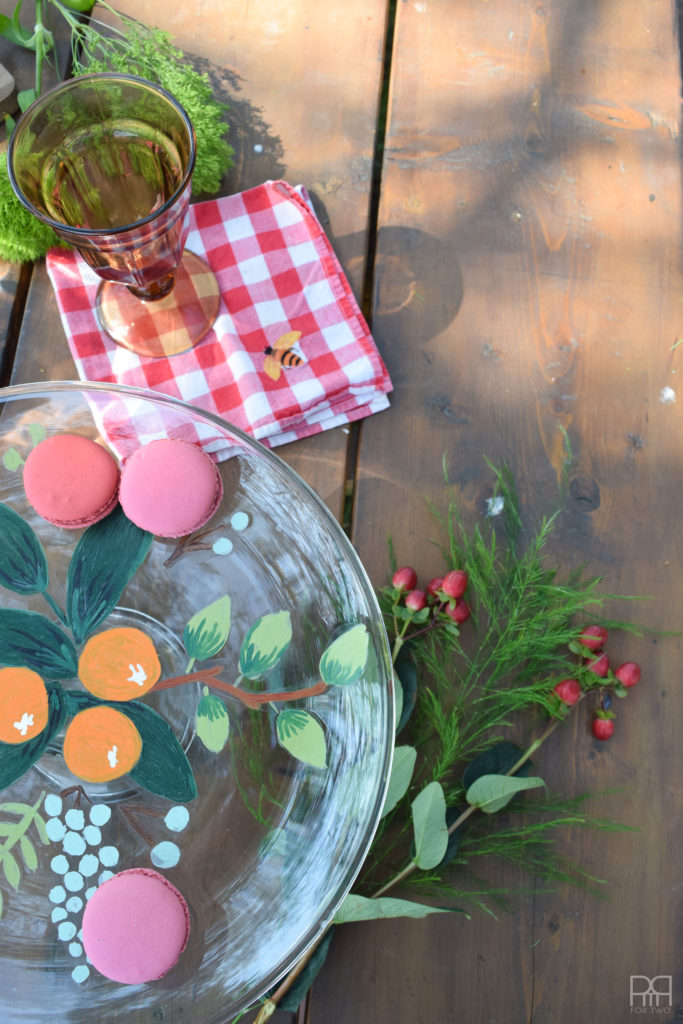
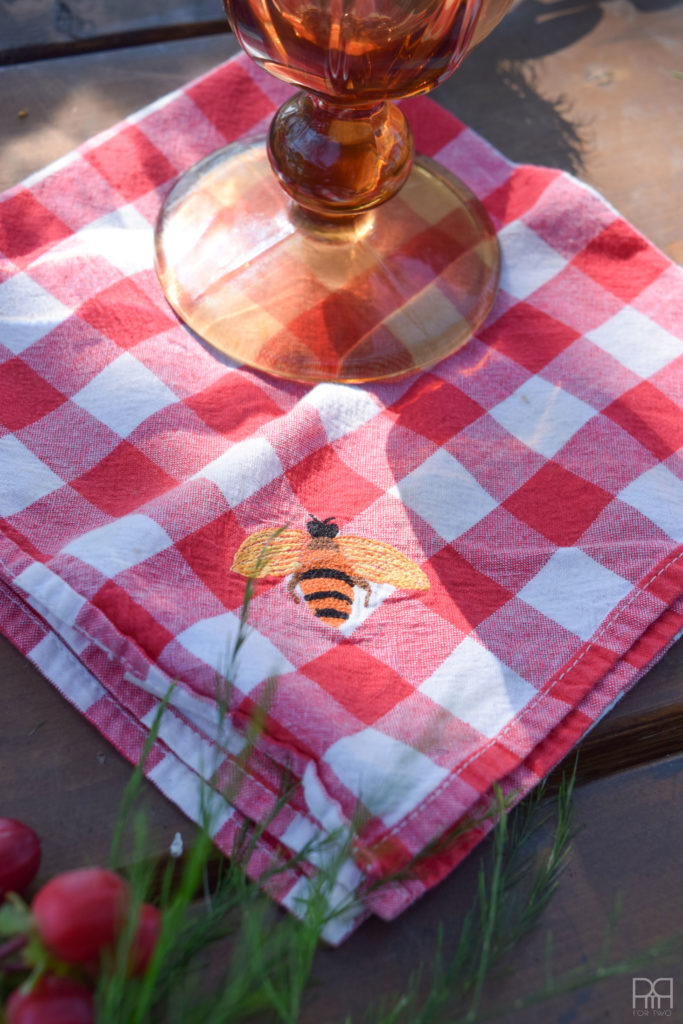
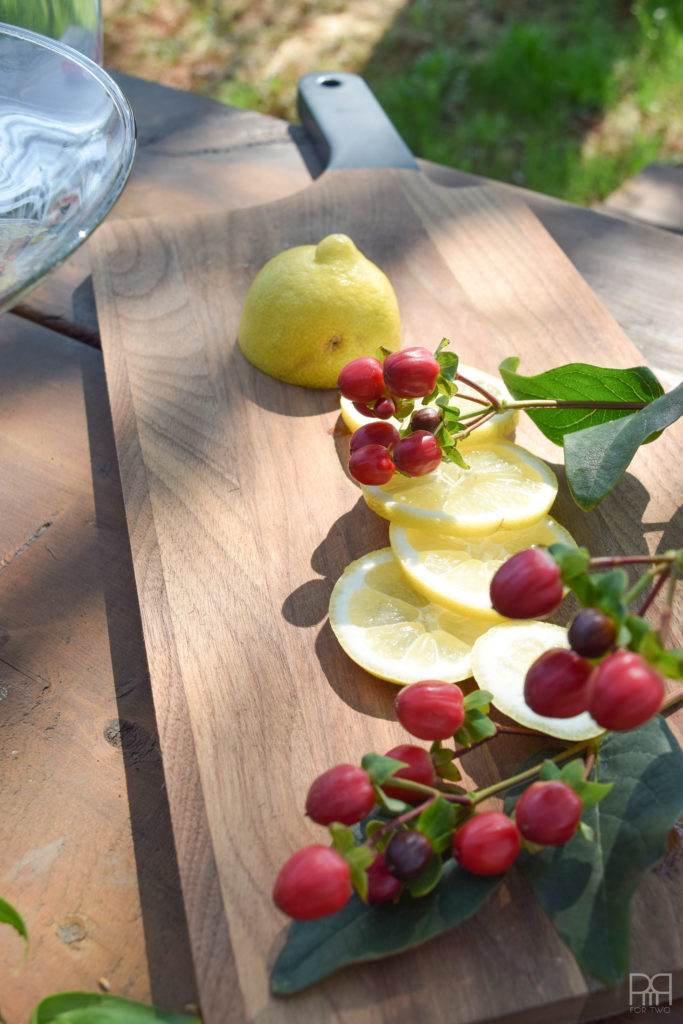
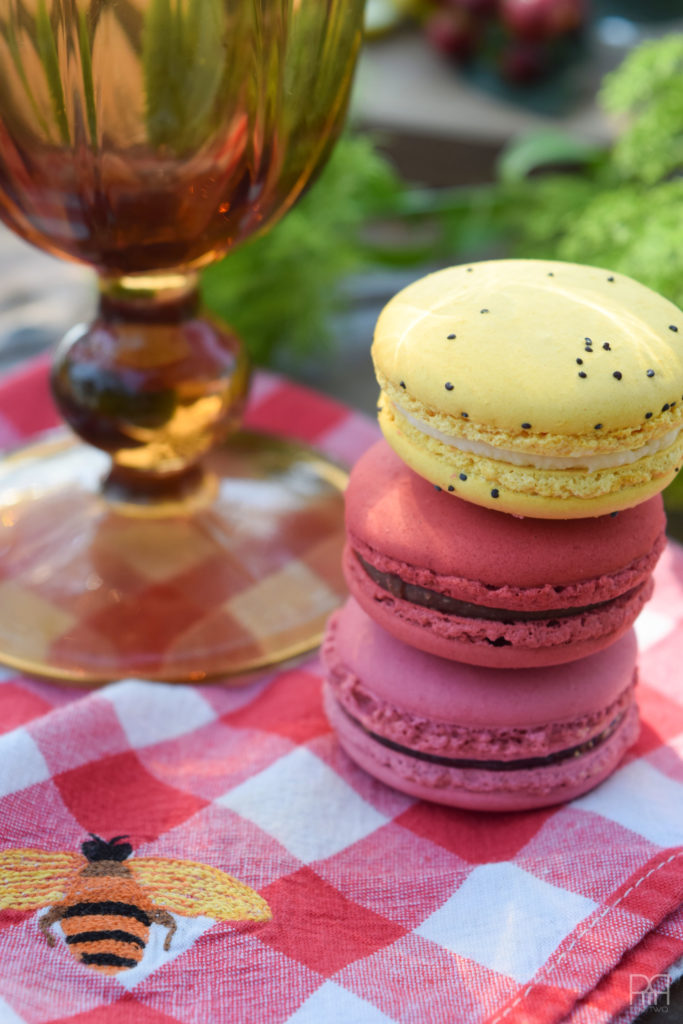
Once everything was dry I got to setting my harvest table for a little macaroon party!


What would you paint?
*Mod Podge (Plaid) provided the product for review, but all thoughts are my own. Thank you for supporting the brands that make PMQ for two.


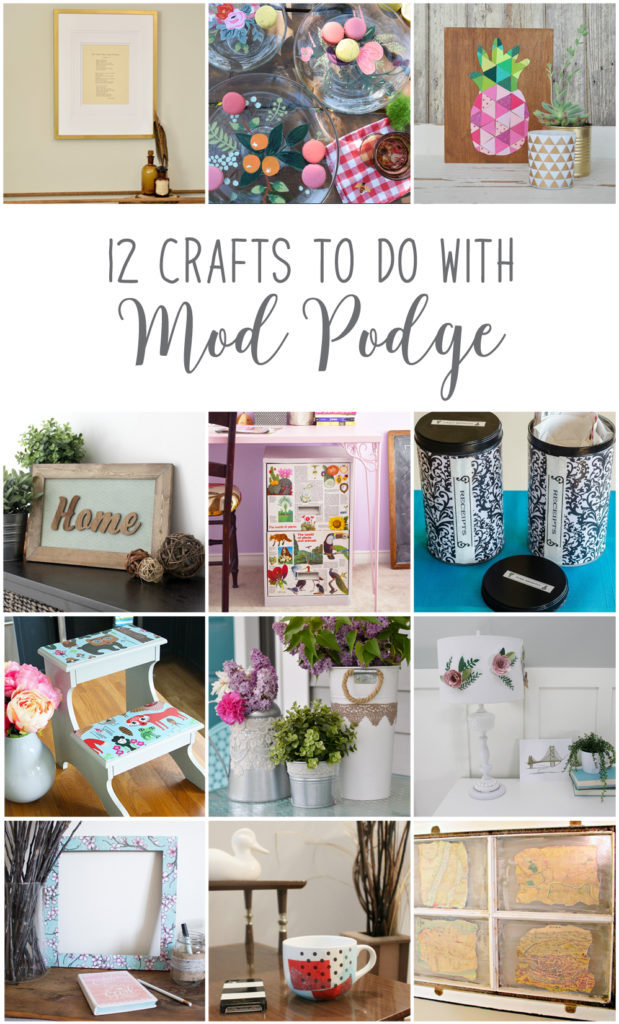
Now it’s time to see the rest of the DIY Mod Podge project ideas from my Canadian blogging friends!
From the top left, they are:
How To Use Mod Podge – A Beginner’s Story from Vin’yet Etc.
Painted Florals on Glassware from PMQ for Two
Geometric Pineapple Art from Life Is A Party
DIY “Home” Wood Sign from Love Create Celebrate
DIY Filing Cabinet Makeover Using Vintage Book Pages from Woman in Real Life
Handy DIY Two Month Receipt Organizer from Time with Thea
Decoupage Foot Stool from Fresh Crush
Make Lace Decoupaged Garden Containers from The DIY Mommy
Paper Flower Lamp Shade from Brooklyn Berry Designs
Easily Upcycled Photo Frames from Sustain My Craft Habit
Kate Spade-Inspired Mug from Mommyzoid
Window Map Art from New House New Home