

In case you can’t tell, I love the month of October. It’s got my birthday, Thanksgiving and Halloween all wrapped into one!
November is for remembering and December is for celebrating.


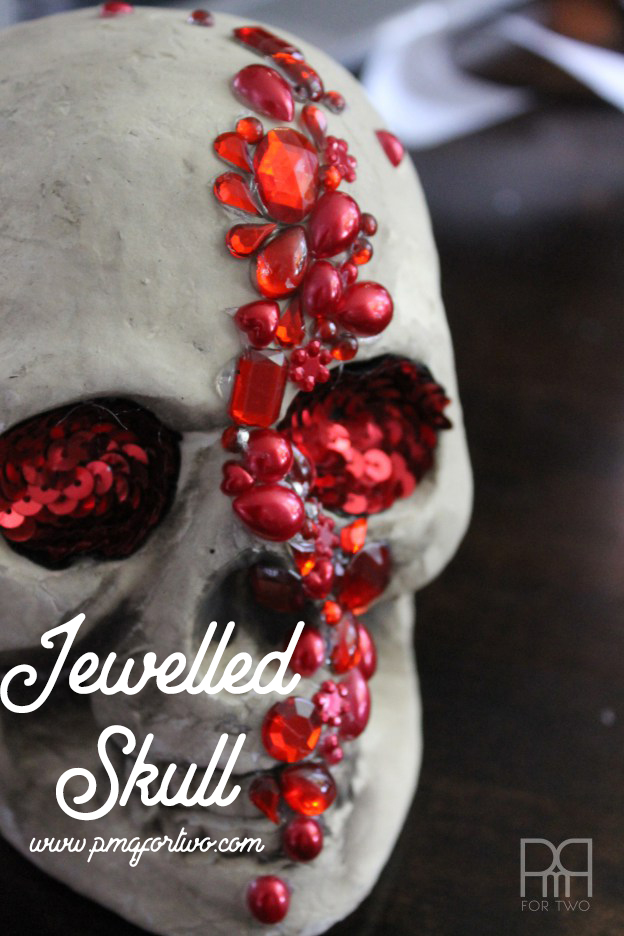

To help get you all into the spooky part of the season I’m sharing my jewelled skull project. This quick DIY cost $5.80 + tax and takes less than 30 minutes. I was very much inspired by the image below, I just haven’t found a huge pearl yet!

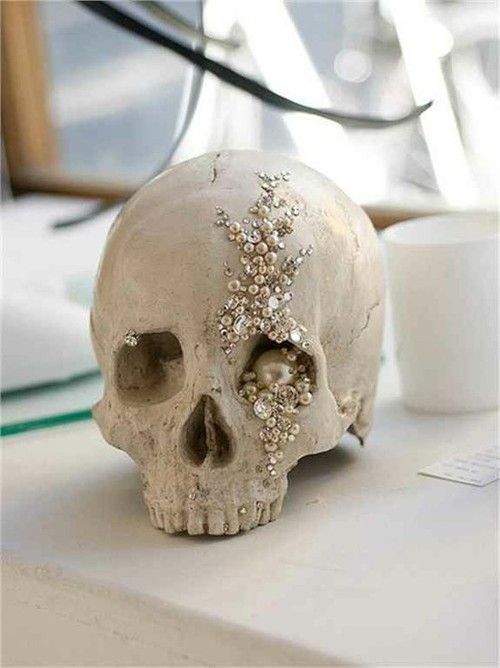
image from DigsDigs.com
I found the skull in Dollarama’s seasonal isle next to all the pumpkins and costumes, while I found the gems and little pearls in their year-round crafting isle, sold in packs of three. This craft comes down to placing the gems and pearls in an alternating and complimentary pattern down the front of the skull.
*This post may contain affiliate links. For more information please visit my policies page
Materials
- Hot Glue Gun
- Realistic Foam Skull Prop
- Acrylic Ivory Cream Off-White Round Pearl Beads-(200pcs) Wedding Jewelry Making (6mm, Cream)
- Be Wicked BWMR15 15 Gram Marabou Feather Boa, 6Ft Solid Color,color Red,size OS

It’s quite easy once you get going and each jewelled skull can easily be completed in 30 minutes if you’re distraction free and rocking out to some tunes as you go.
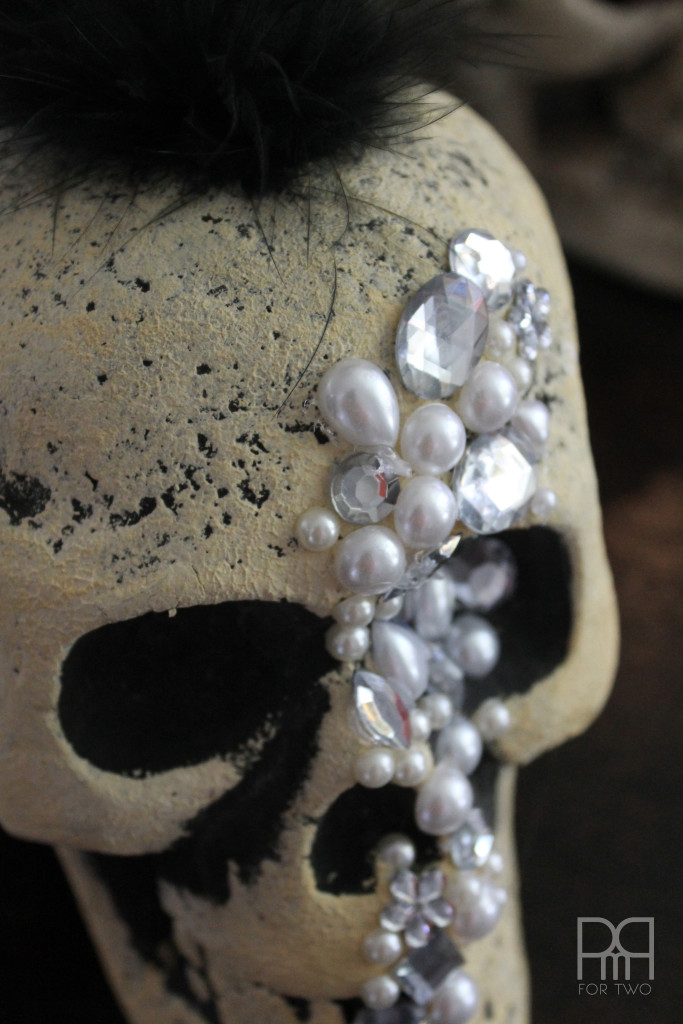
Step 1: (OPTIONAL) Start by gluing a caribou mohawk onto your skull
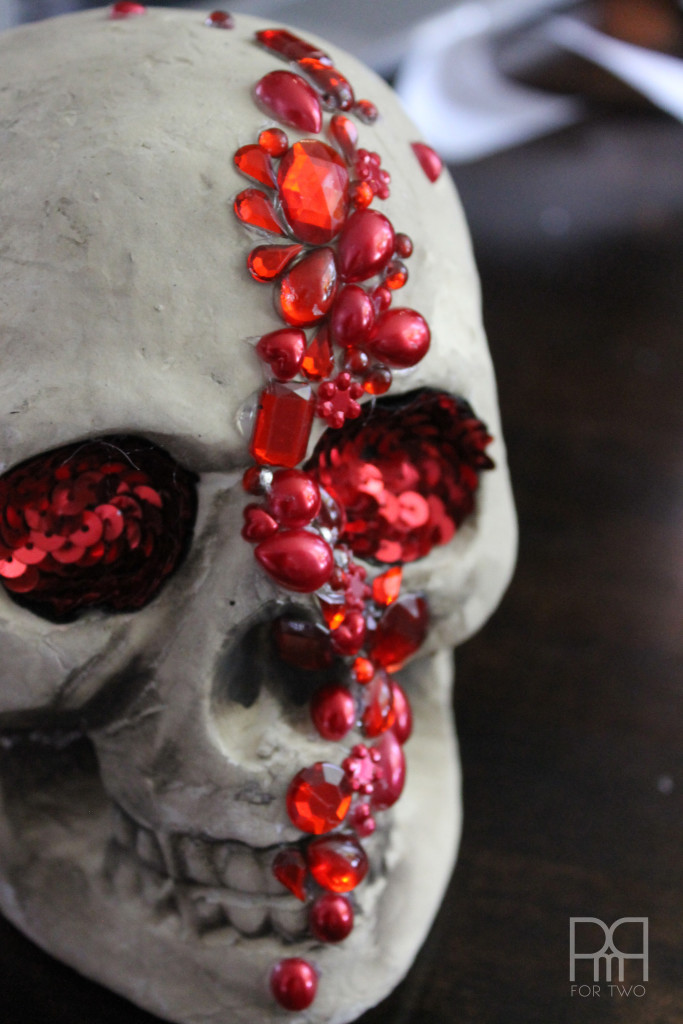
Step 2: Start gluing the pearls and gemstones in a stream that starts above the eye socket.
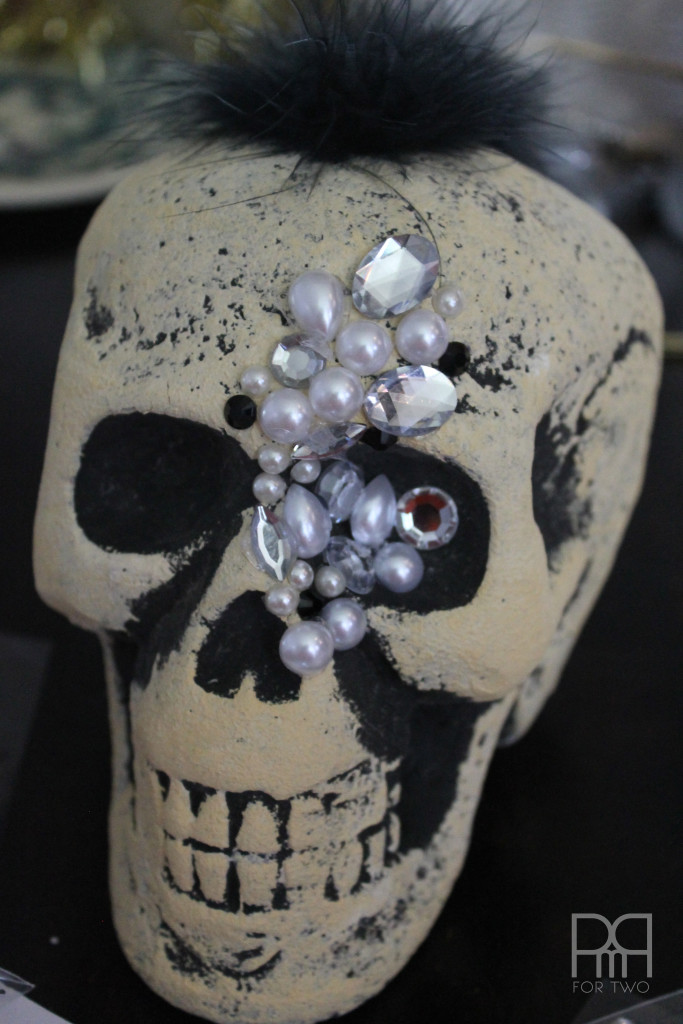

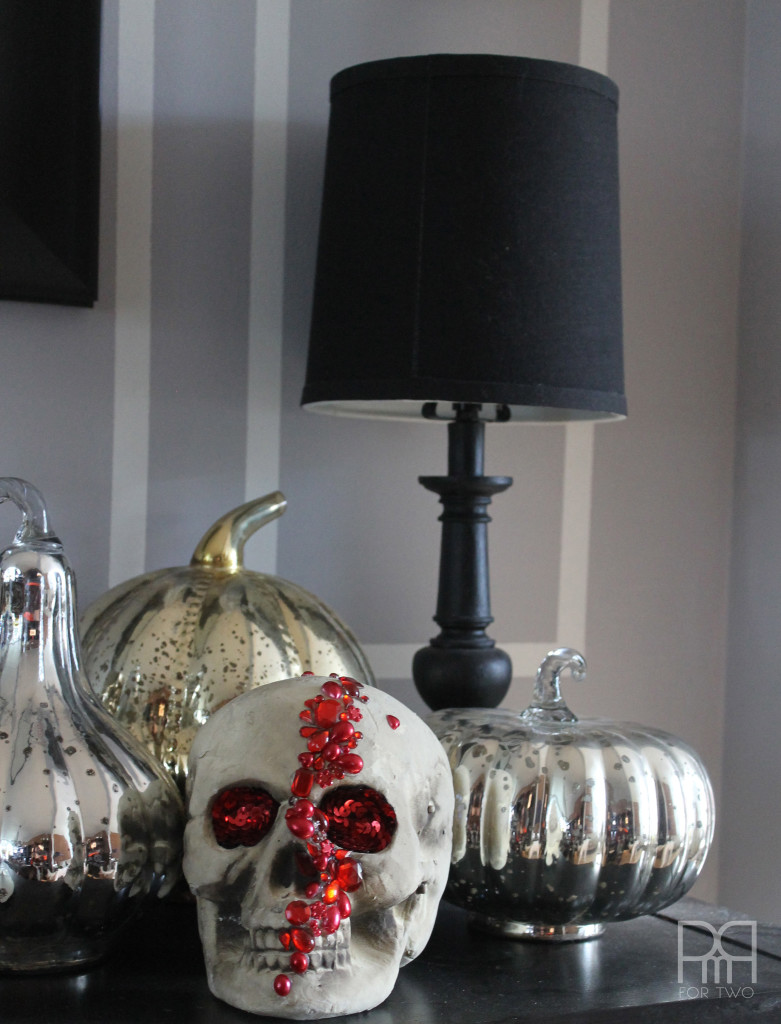
I like the one with the marabou mohawk, but the red one is a craft after my heart. I mean look at those hues! Jewelled skulls 4 life.
Step 3: Keep gluing! Make sure you include different sizes and shapes for a more intricate look.
Step 4: (OPTIONAL) include sequins in the eye sockets of the skull.
Step 5: Glue an entire axis of gemstones and pearls until you are happy with the design. I aim to have mine run across the face in a diagonal line, but you could easily make a more intricate design along the side.

What should I call them? Should I give these DIY jewelled skulls some pet names or just leave them nameless?

I really need to purchase my own Cannon Rebel instead of borrowing my friend’s. I’ll let you all in on a dirty little secret – most of my photos are taken using an iPad mini. Shhh! I managed to borrow hers for this shoot though.

I’m very happy with the way this DIY jewelled skull project turned out, and I’ll definitely be seeing what else I can jewel.
Live boldly and have fun! Life is too short for serious crafts and uninteresting decor.

