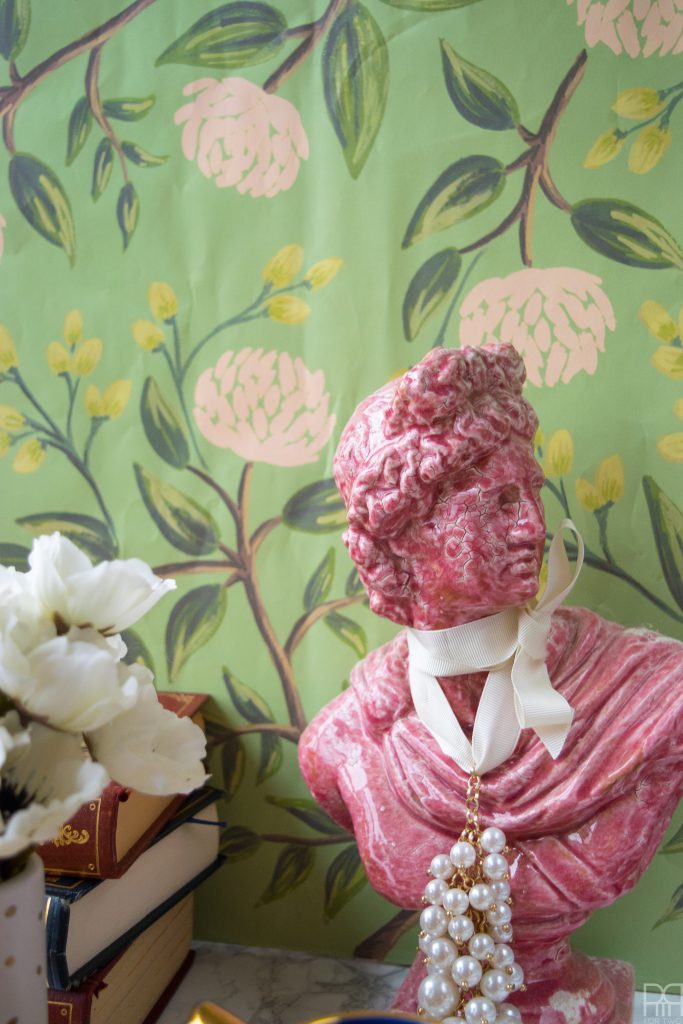
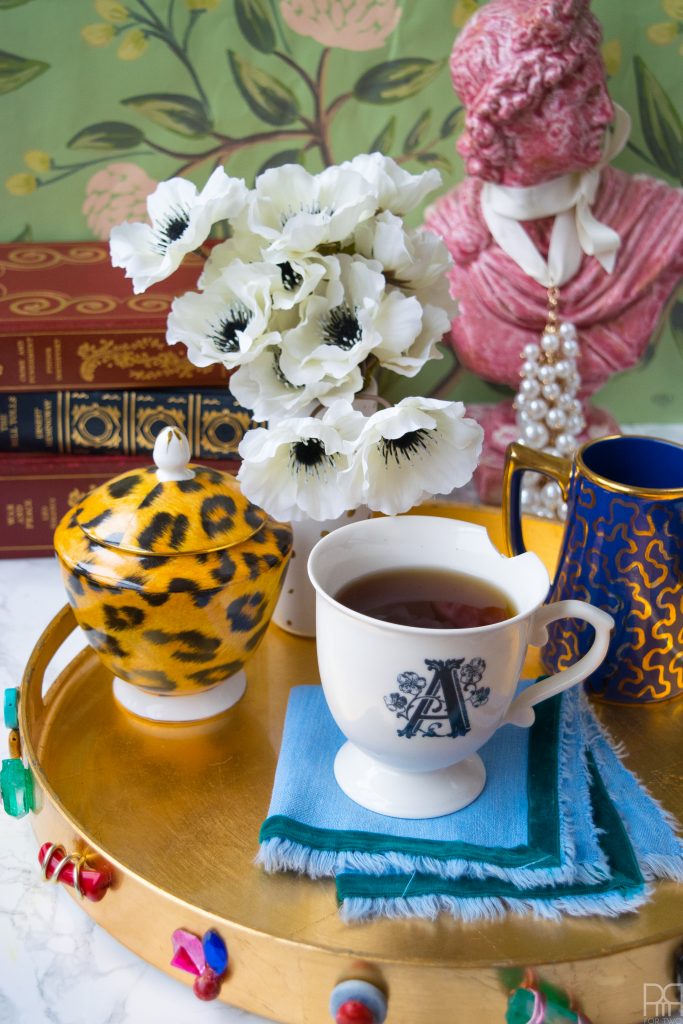
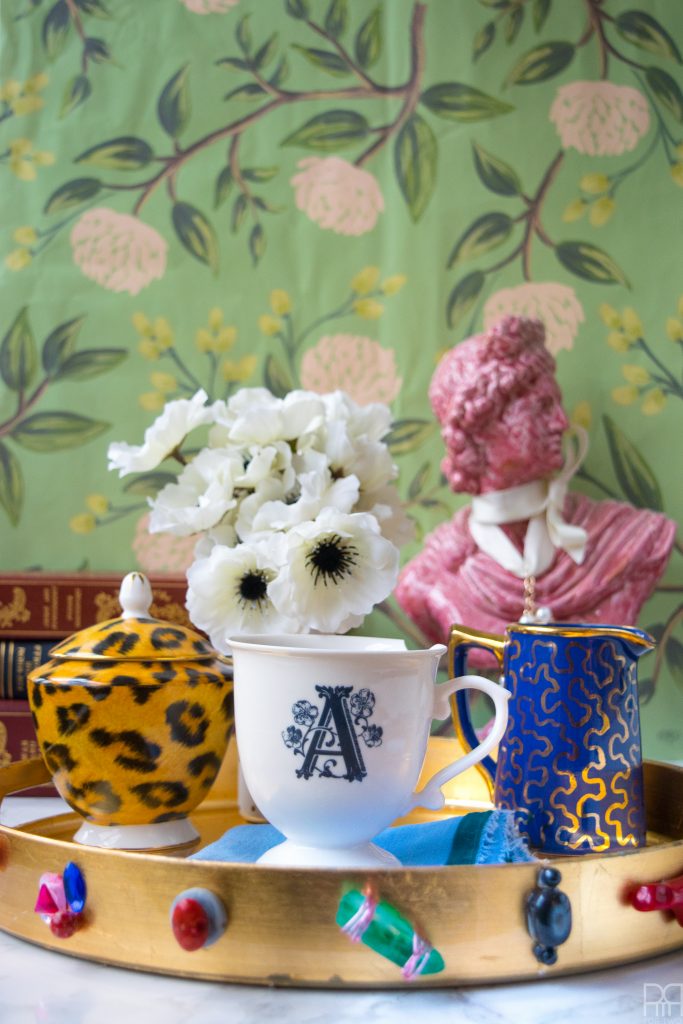
Inspired by DIY is here! A week late! Oops. With the One Room Challenge madness happening we’re all a little behind with things, but for October’s Kelly Wearstler themed challenge we were all able to pull it together, just a week late. For my DIY I chose to make over her Bauble Tray . I really like her stuff, I just can’t stomach that price point. Instead, I made my own using some items from Michaels and a tray I already owned! How crazy is that.
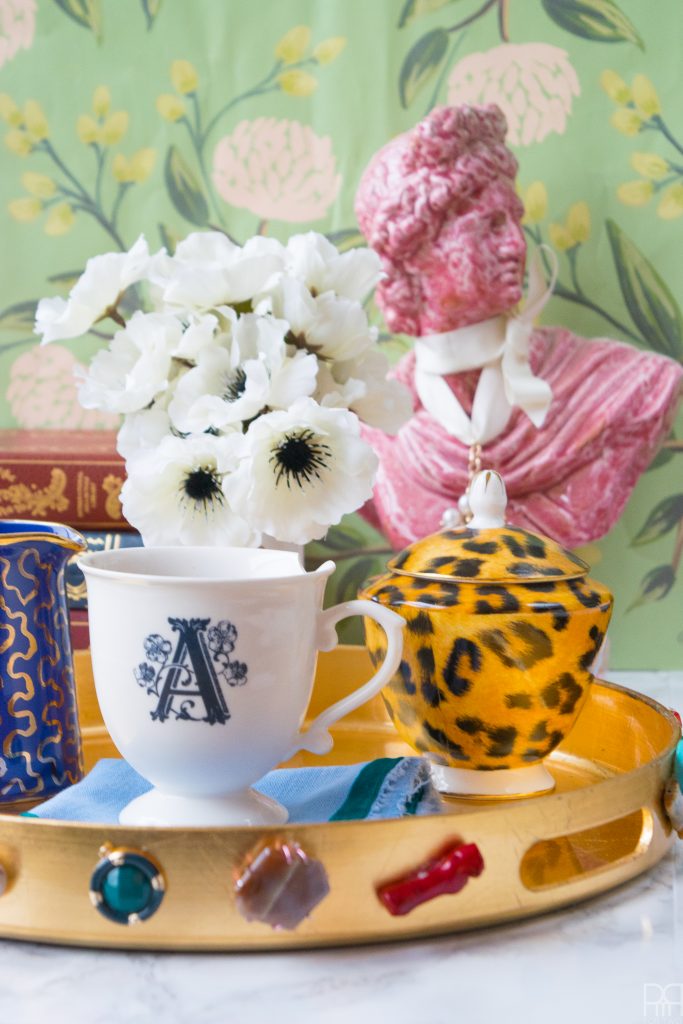

With the holidays around the corner I’m trying to be a little more careful with how I spend my crafting budget, so when the Bauble Tray flashed across my screen I knew I had the perfect craft. A few years ago when Target was still a thing in Canada, I purchased a gorgeous gold circular tray. I’ve used it with our bar and in our living room in various applications, but lately it’s been collecting dust and not looking as hot as it used to.
You can find tons of trays at the thrift store and just spray paint them if you don’t have one.

Don’t forget to check-out //Domicile 37// and // Up To Date Interiors’// posts for this edition!
Materials
- Super Glue
- Hot Glue Gun
- Assorted Beads + Gemstones
- Broken jewelry – you can use the pieces for your tray!
- Gold & Pink crafting wire
- Tray + Spray Paint / Gold Tray
– Wherever you find your tray, make sure you’ve got it painted gold before you start –
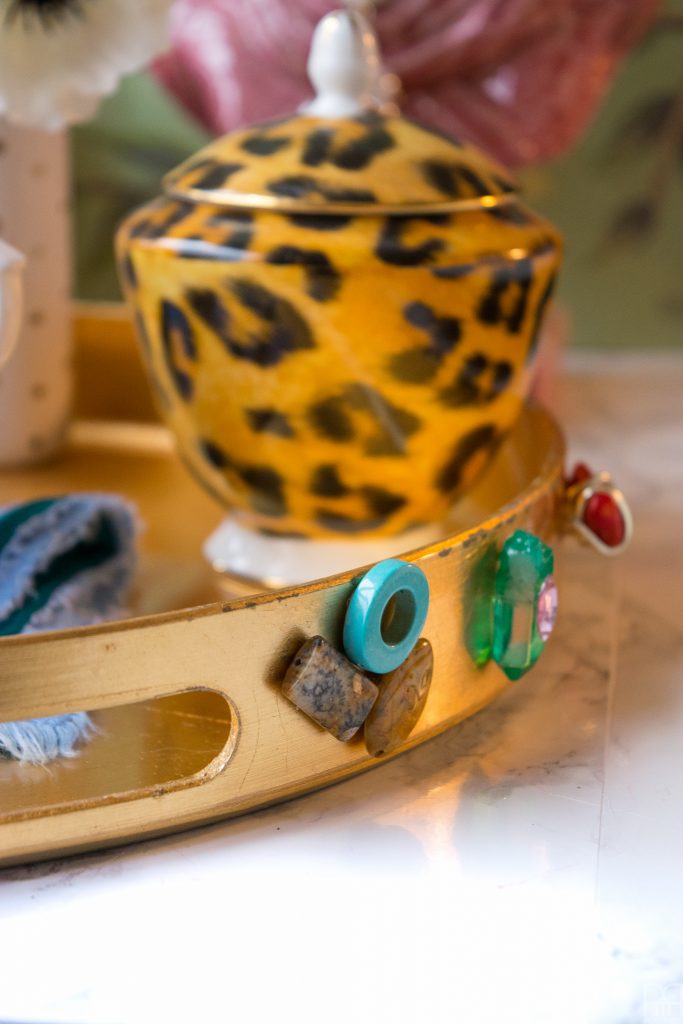
Step 1: Roughly decide the order or repeat you want for your design.
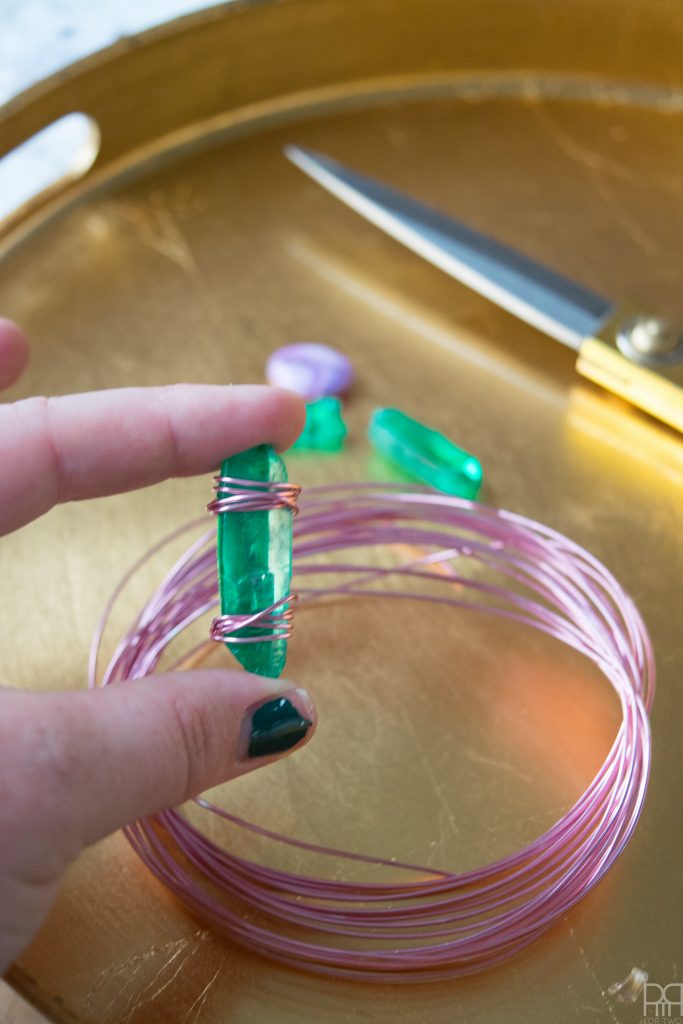
Step 2: In some instances, you’ll want to wrap the stones or beads in wire before gluing them to the tray.
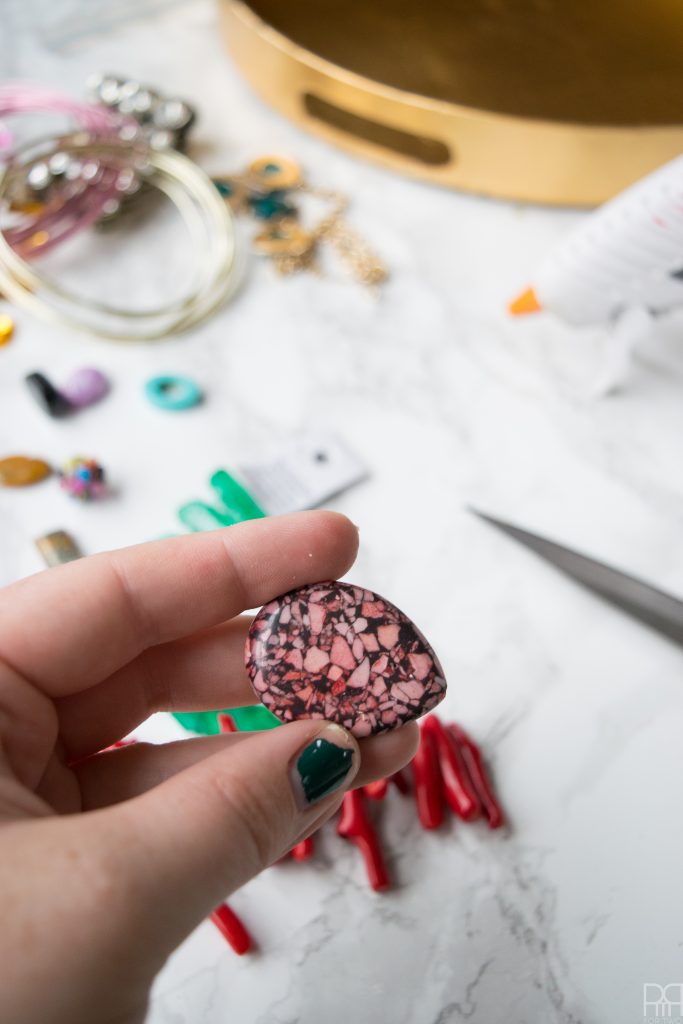
Snip a bit of wire and wrap it around the stone. Repeat as many times as you’d like before gluing the stone to the tray.

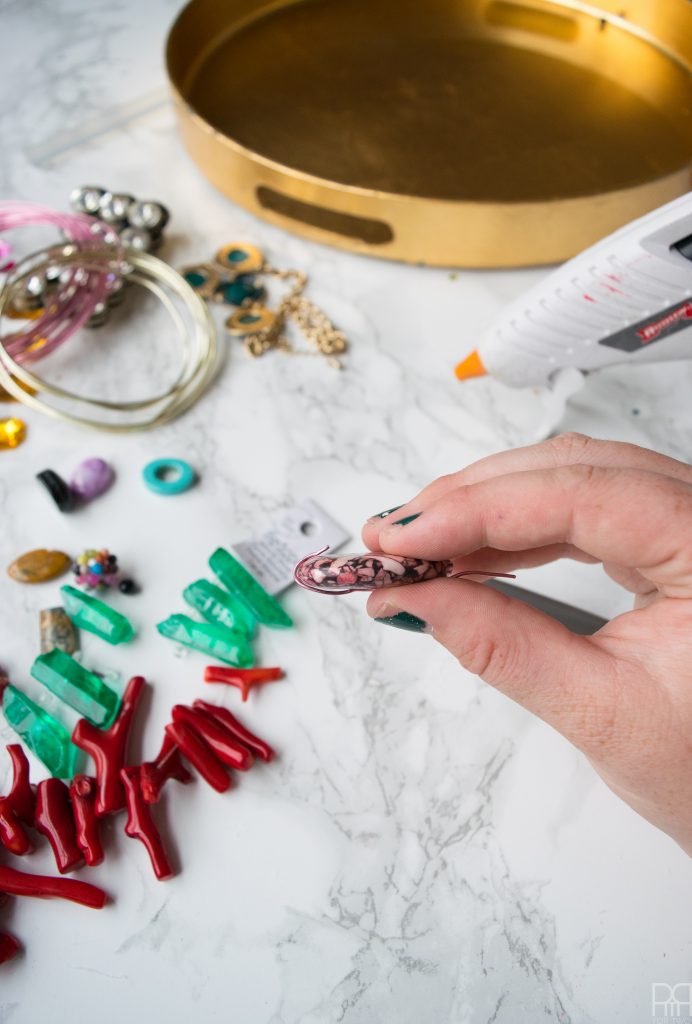

Step 3: Some other beads or gems you may want to wrap. Same concept
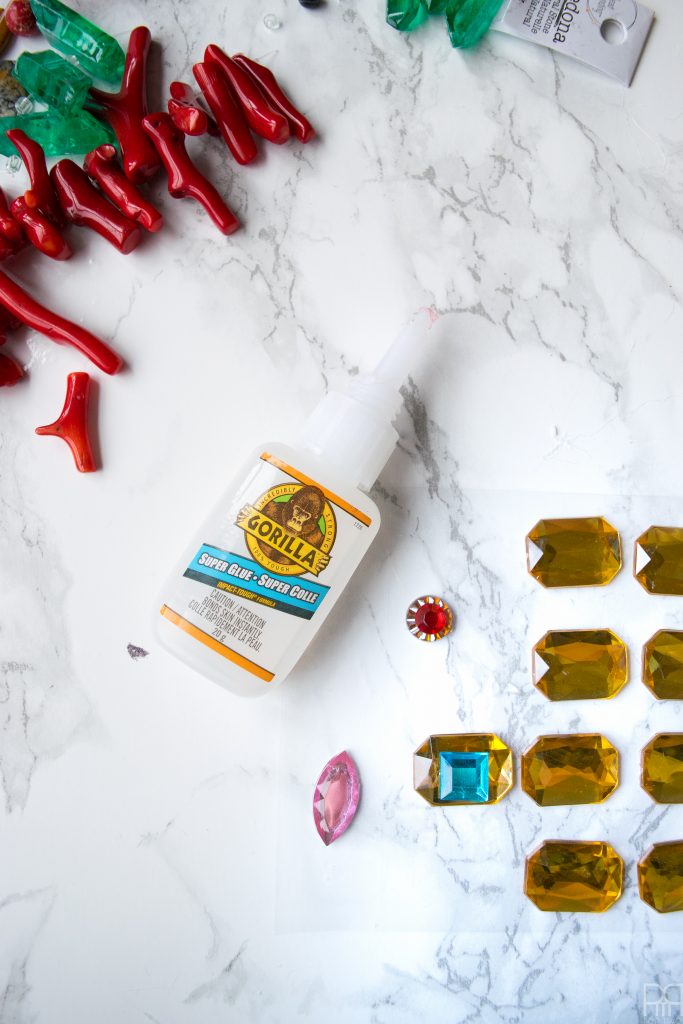
Step 4: To help vary the look of the stones on your tray, you can also stack plastic gemstones one on top of another, using super glue, and then glue them to the tray.
P.S. If you’re like me, you also keep a ginormous stash of plastic gemstones of all shapes, sizes and colours because comme’on! They’re so useful!
Step 5: If you haven’t already, start gluing the beads and gemstones to the outer rim of the tray.
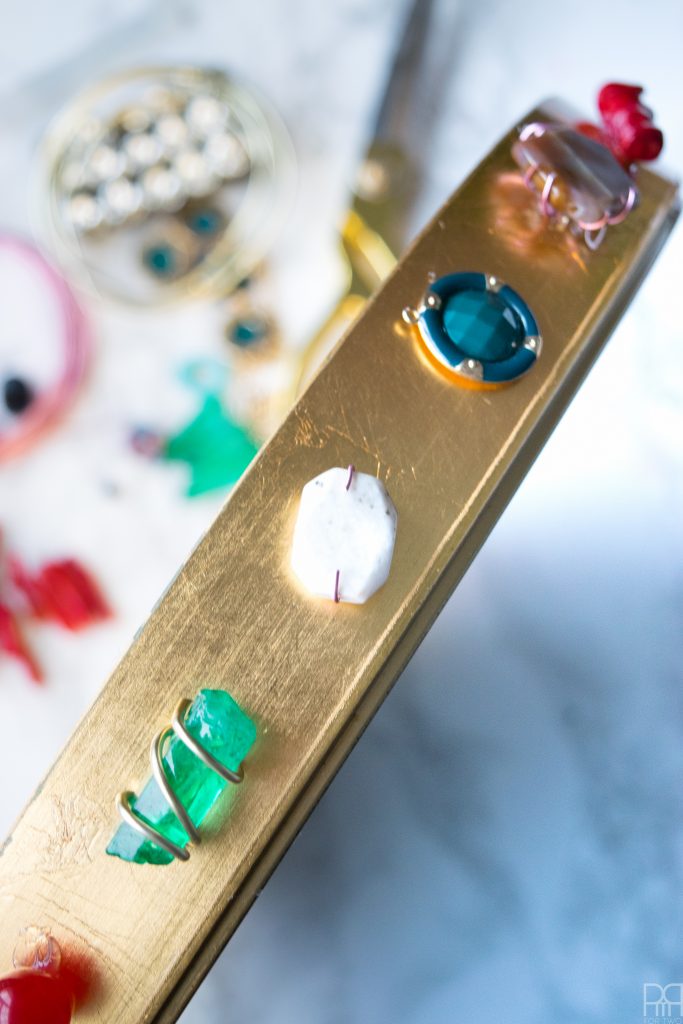
At this point it’s pretty much a “lather, rinse, repeat” kinda thing, so just keep going! I did the entire tray in about 10 minutes and love the end result. It very much brought that gold tray into the holiday season in style!
Step 6: Enjoy!
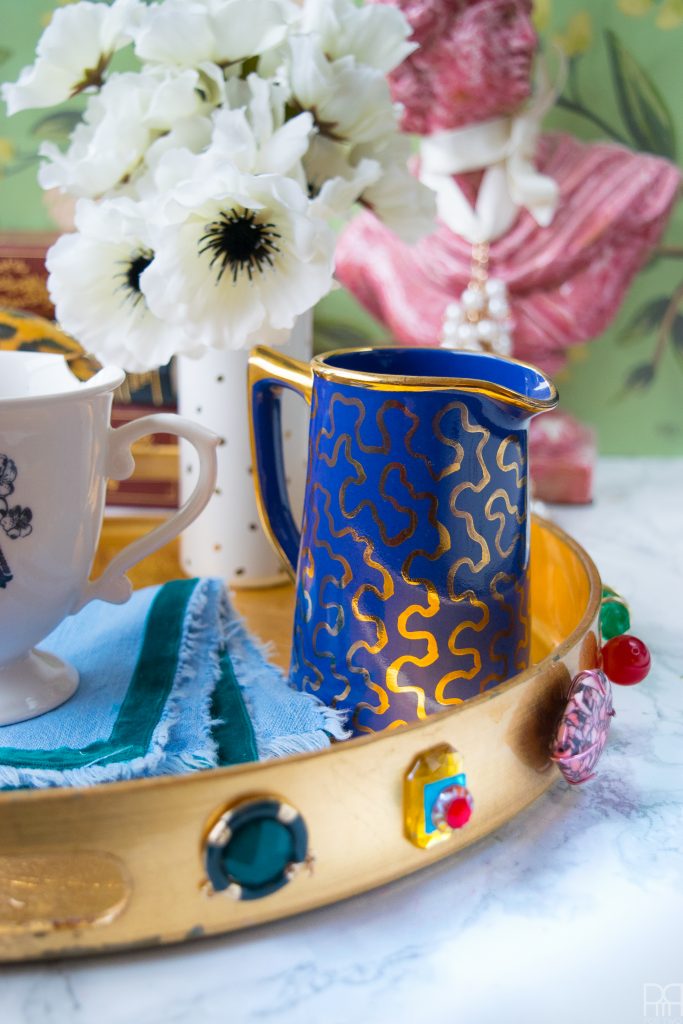
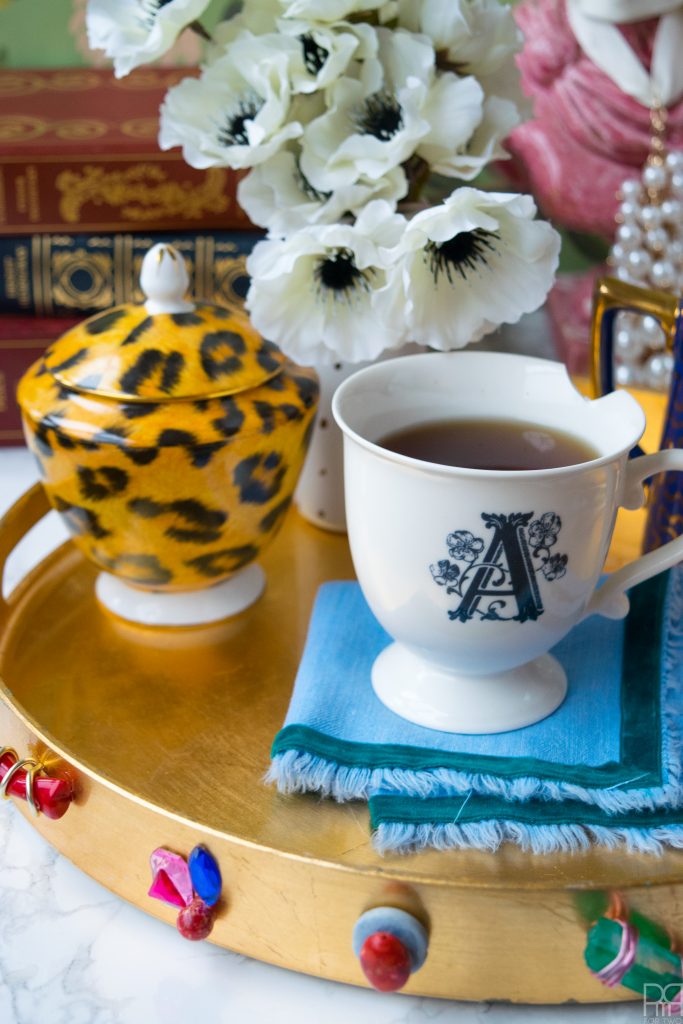
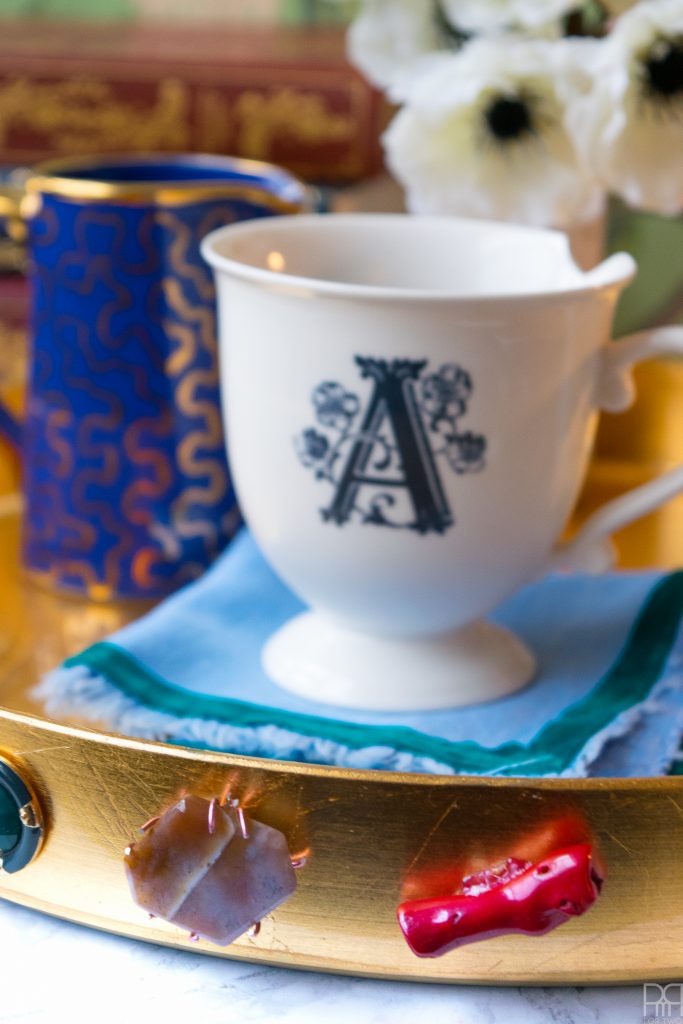
P.S. Recognize that napkin?! It’s one I made for October’s 12 Months of DIY which you can see // here // They’re fab and perfect for essentially any occasion!