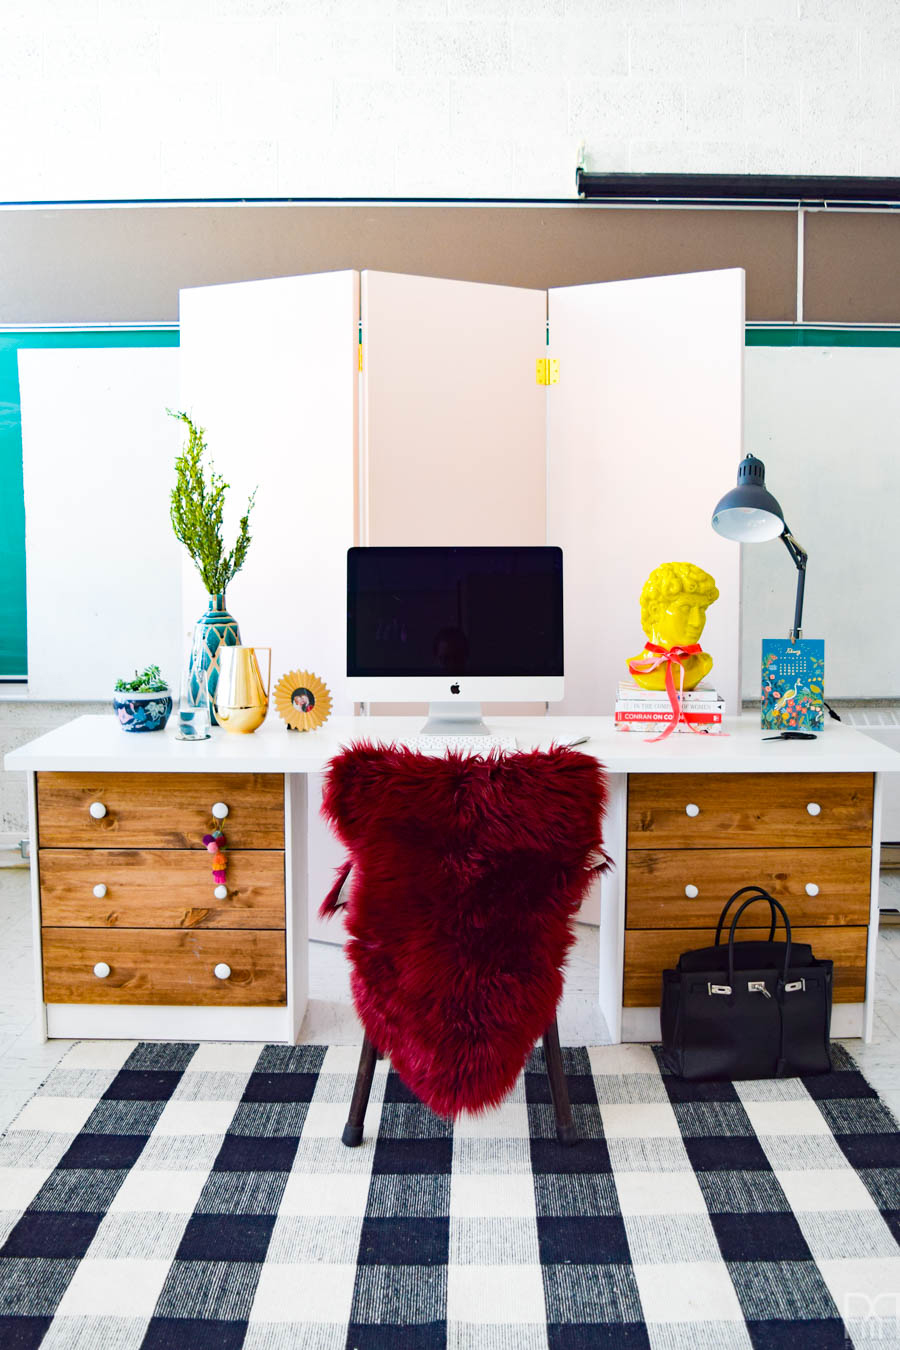
New Year, new me, new desk! I’m in a new work space this year (more on that next week with the studio tour), but in the meantime I can show you the amazing desks I built. See, our new studio space is a classroom in a converted school, so we have a lot of room and no natural divide, which means we need big pieces that create symmetry to help define things. I spotted a picture of this project on Good Housekeeping // here // and set about making my own version. This IKEA RAST Desk Hack is super affordable and very dooable, so you should definitely consider it next time you’re in the market for a desk.
*MinWax sponsored this post, but all thoughts are my own. Thank you for supporting the brands that make PMQ for two possible.

This project took me about 2 days to complete, but that’s a pretty loose timeline with lots of wiggle room. It too so long mainly because I was making two of them – one for myself and one for my partner.
In our case, the back of the desks will be exposed to the entire room (because we’re backing them on the chalk board – they’re photographed in reverse here), so we needed to find a work around that was aestheticaly pleasing. If you’re just backing the desk agaisnt a wall, you can disregard anything after step 3, and then just add the desktop using L brackets on the underside.
*The following product links contain affiliate links. Thank you for supporting the brands that make PMQ for two possible. For my full policies click // here //
Materials:
- IKEA Rast x 2
- IKEA Linnmon
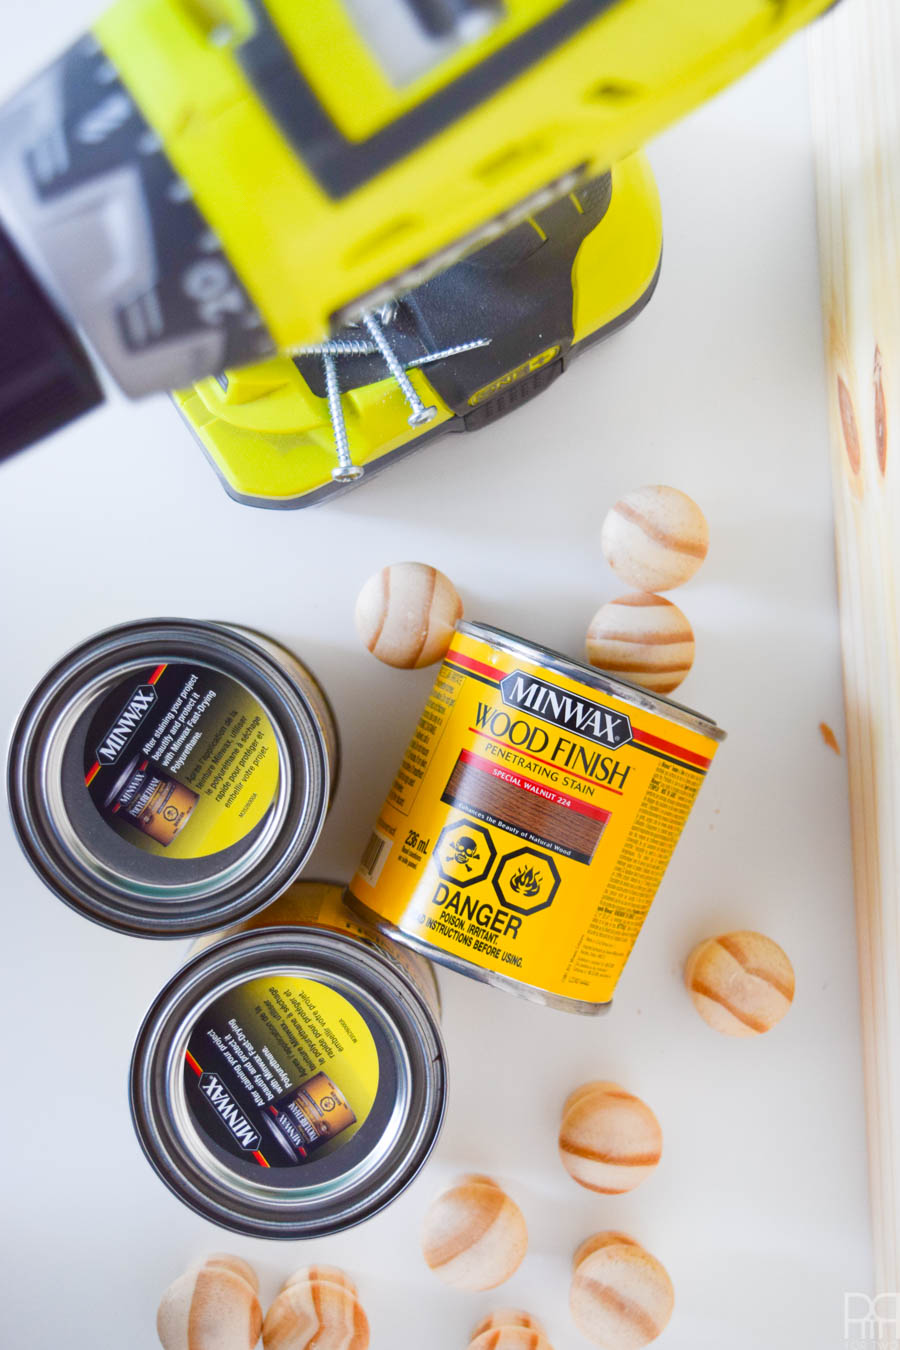
- MinWax Wood Stain – I used Special Walnut 224
- Latex Gloves – to keep your hands safe from the stain
- Cotton Staining Rags
- White Paint
- Drill & bits – I like the Ryobi Drill
- Nail Gun – I used the Ryobi Air Strike
- 1x8x6 knotty pine x3
- 1x3x6 knotty pine x2

Step 1: Assemble the Rast dressers per specifications. Don’t add the knobs to the drawers, but use a piece of painters tape to be able to open the drawers even when they’re closed.

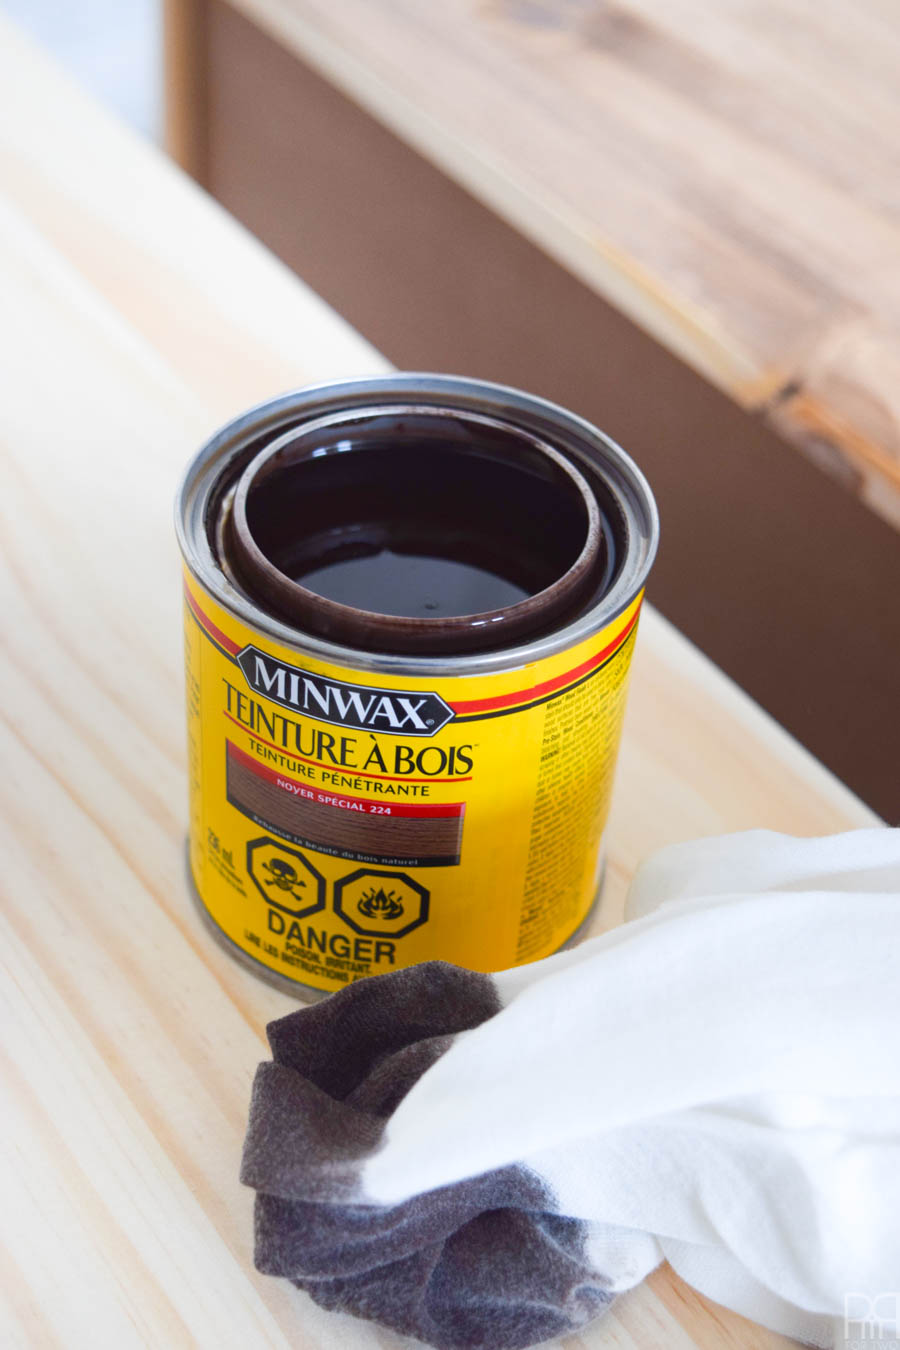
Step 2: Stain the drawer fronts using your MinWax stain. Use the latex gloves and cotton rags to do so. Be sure to follow the instructions exactly as stated on the cans, and ensure proper ventilation.
I applied two coats to get this colours, so if you’re going to as well, make sure you account for the dry time in between coats.
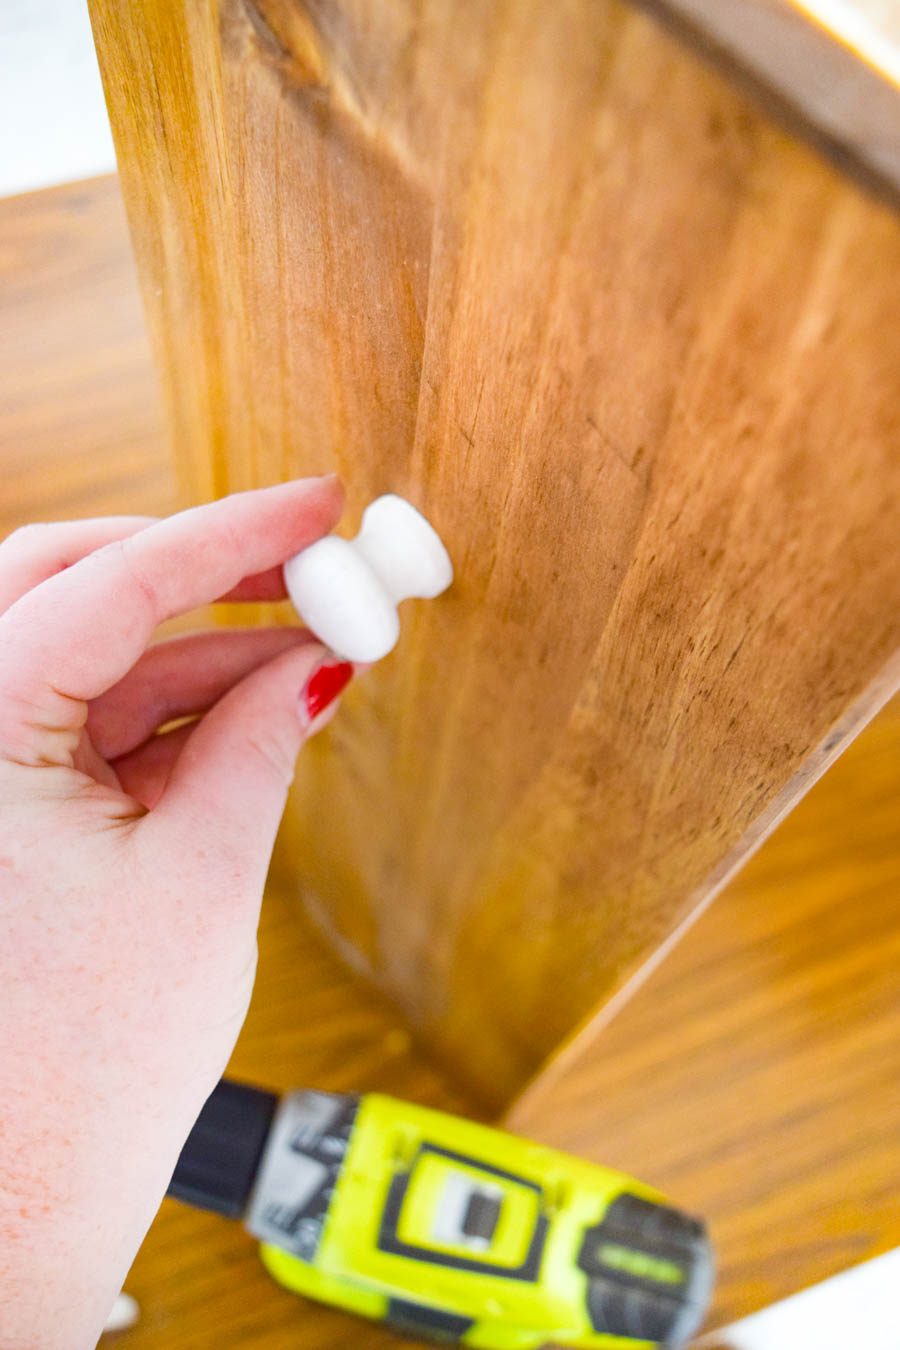
Step 3: Paint the knobs white and then put them back on the drawer fronts once the stain has dried.
To make the back of the desks match the front, you’ll make a small panel to cover it and stain it to match.
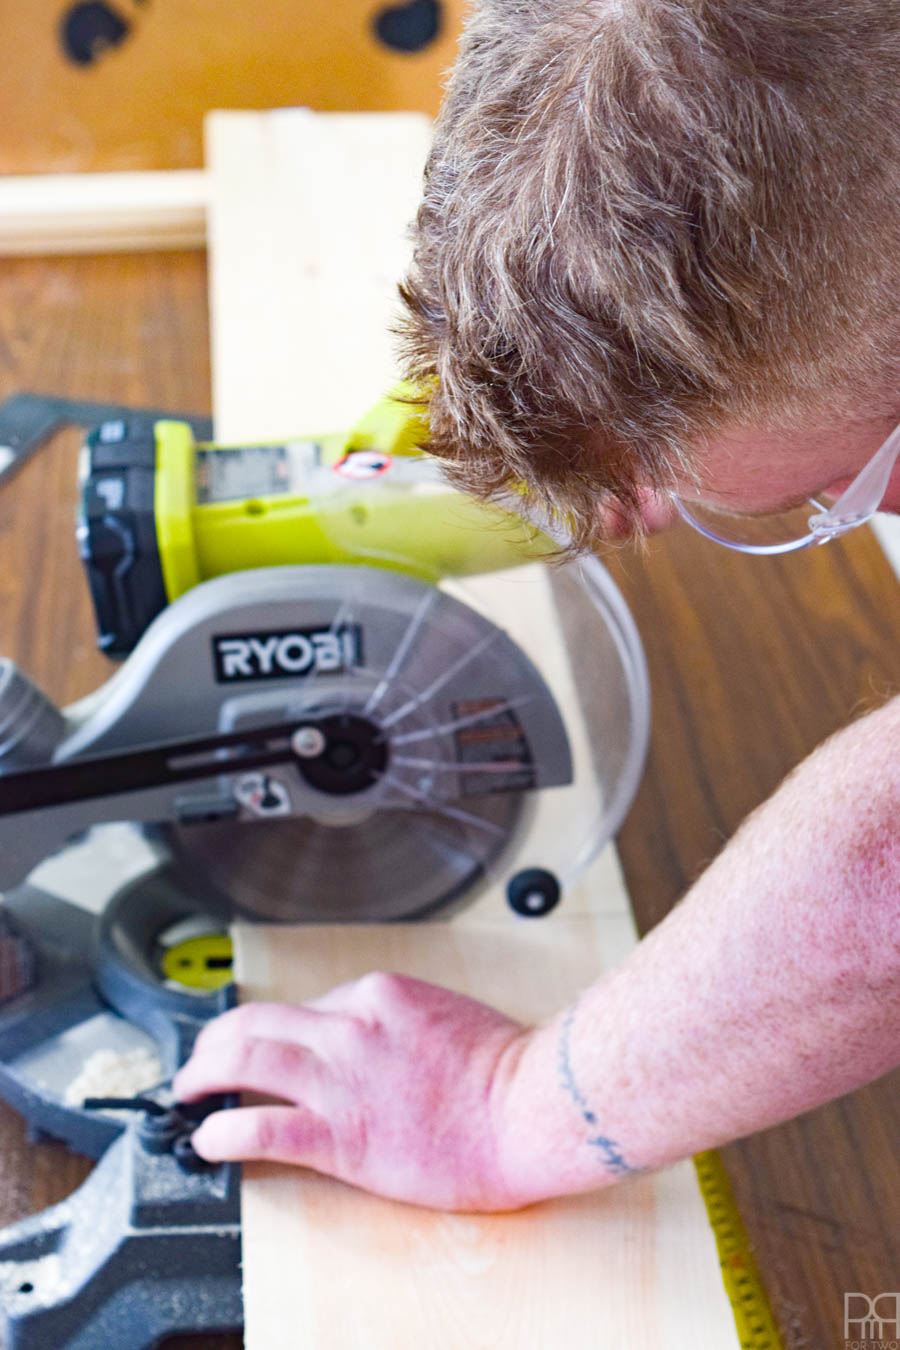
Step 4: Measure the width of the rast dresser, and make the appropriate cuts in the lumber. You’ll want 3 pieces of the 1×8 and 2 of the 1×3.
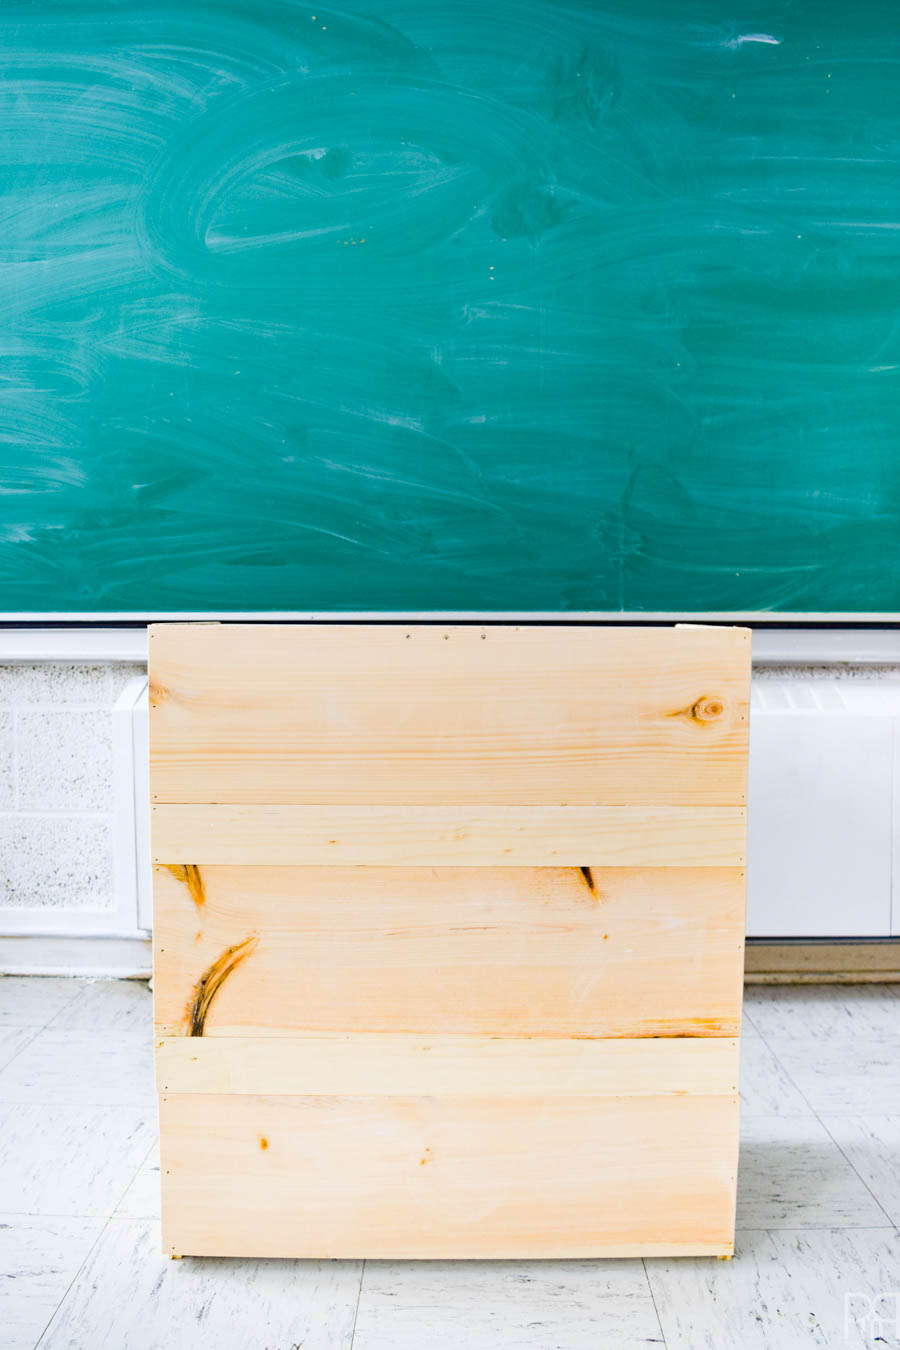
Step 5: Using a nail gun, add the wood pieces to the back of the dresser, alternating between the 1×8 and 1×3 pieces. It should cover the entirety of the back of the dresser.
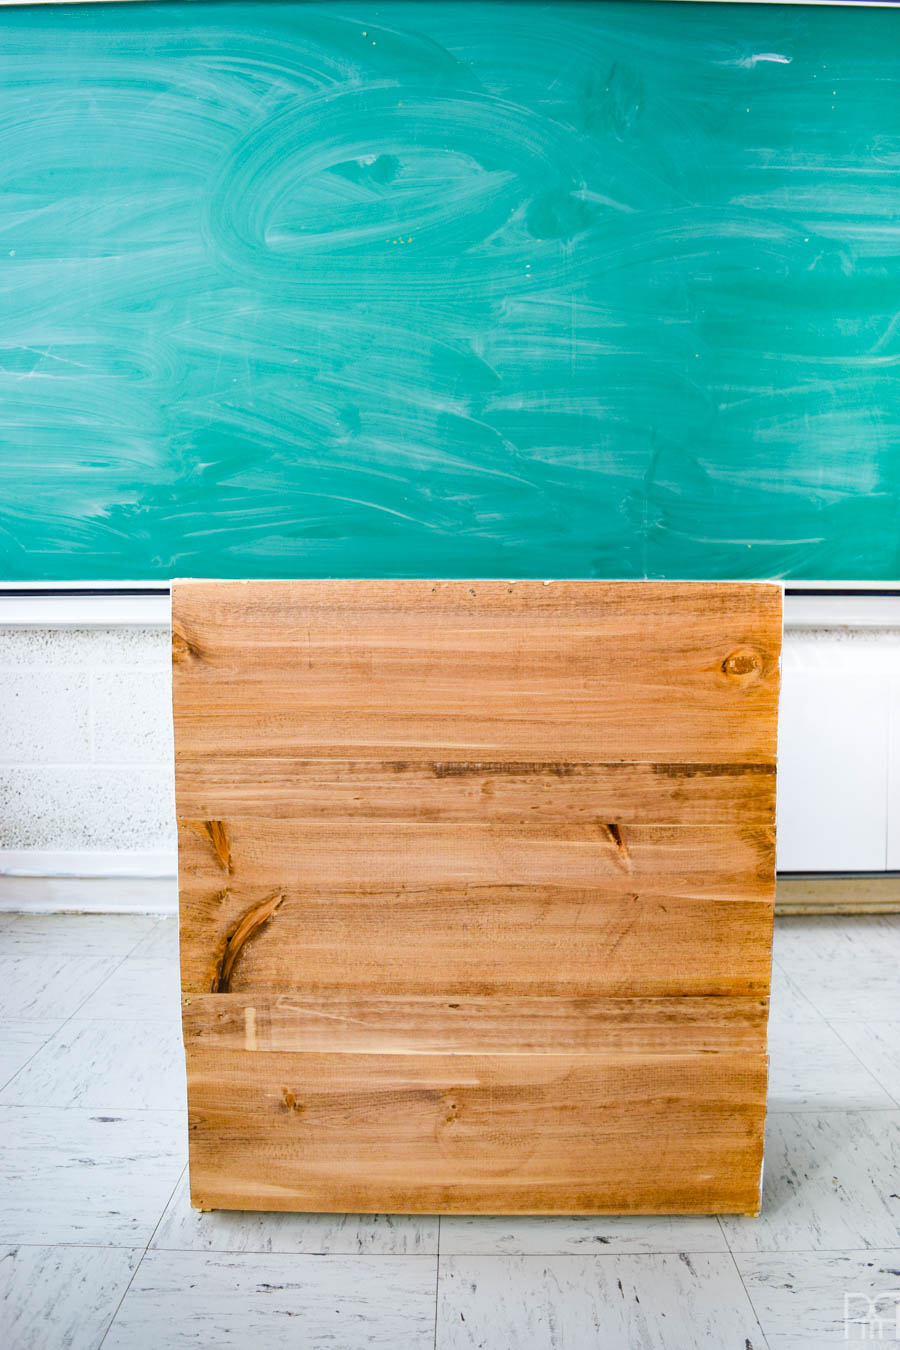
Step 6: Give the wood a quick sand to erase any gritty parts, and then stain it! I found it easier to stain the wood once it was in place.
Step 7: Attach the desktop to the rast dressers. I laid the desktop flat on the ground and then inverted the dressers. I centered them along the sides and then traced where I needed them to go.
I used L brackets to secure the desktop to the dressers, so I drilled pilot holes before flipping everything back over and securing it all with screws.
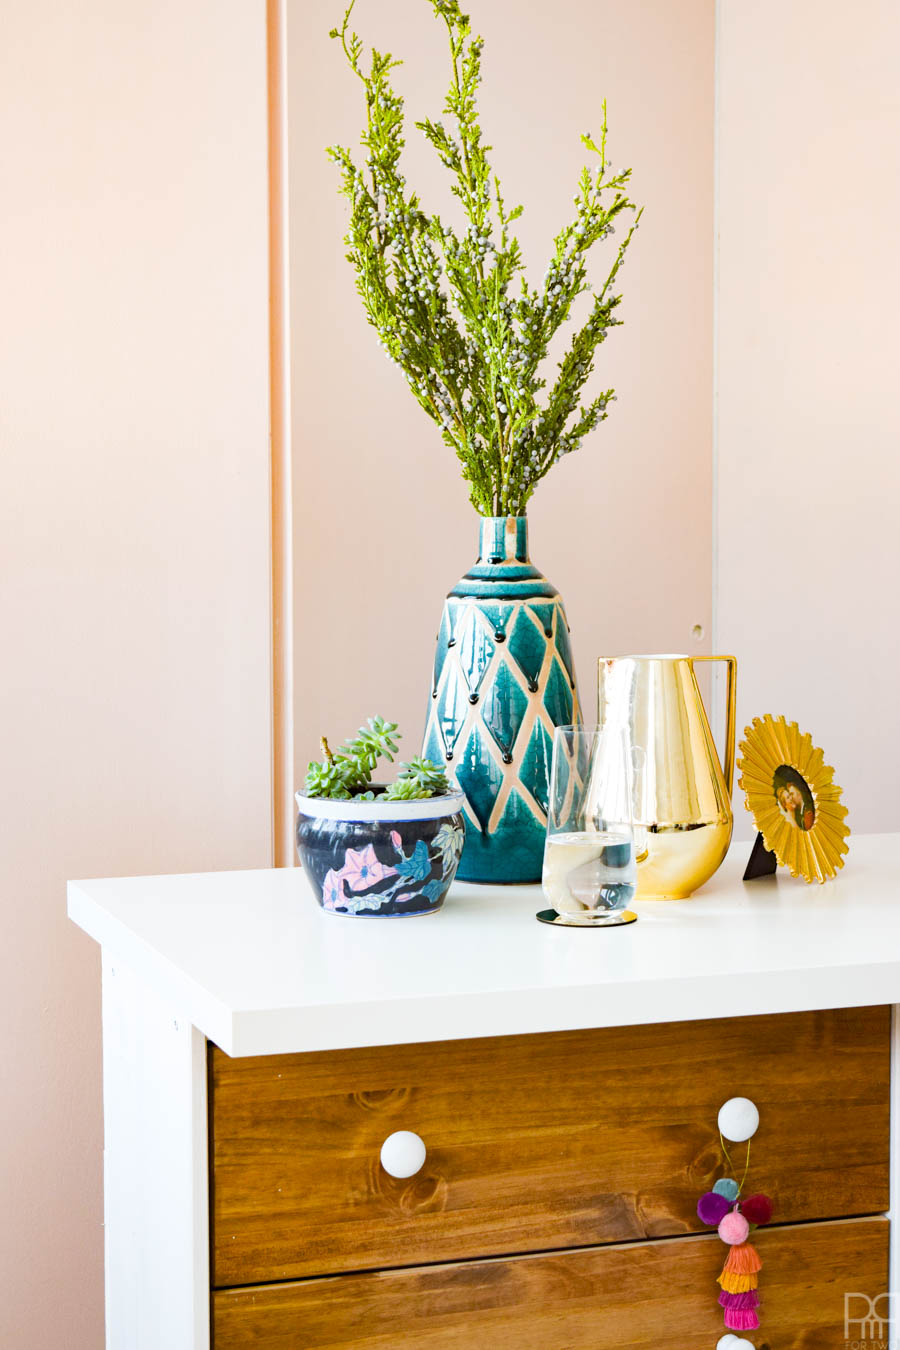
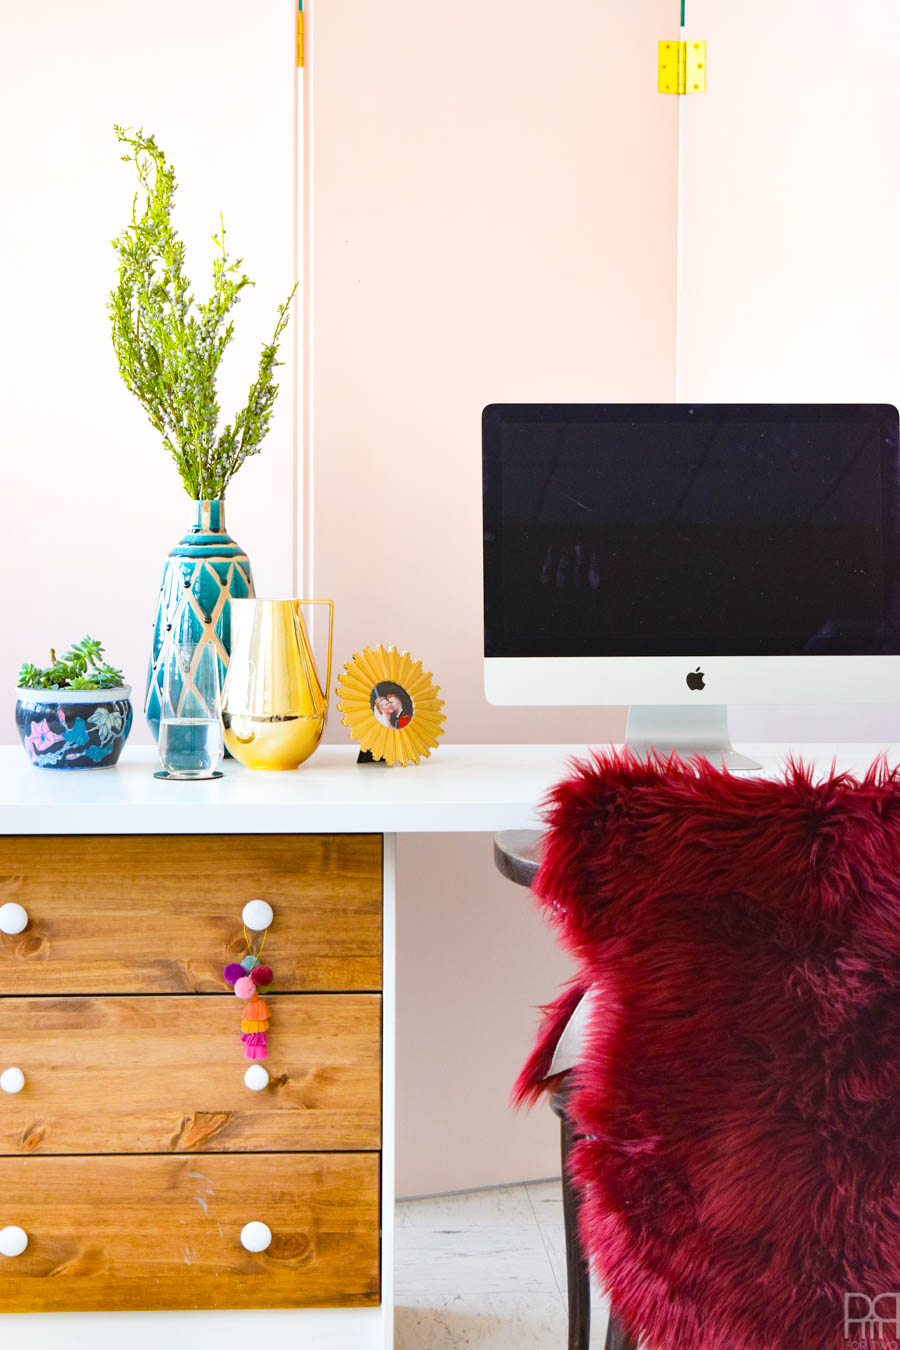
Step 8: Complete! I then added an IKEA table top work lamp, and brought in everything from my home office to make the transition complete.