I fell in love with the custom moulding and wainscotting of the great parlours and dining rooms on Pinterest. I really wanted something that could be customized, wouldn’t cost a fortune, and could “taken down” when we move.

Nailing actual trim to the walls wasn’t ideal or budget friendly. We were already thinking of painting the rooms, so it was just a question of figuring out how to get the effect we wanted with paint.

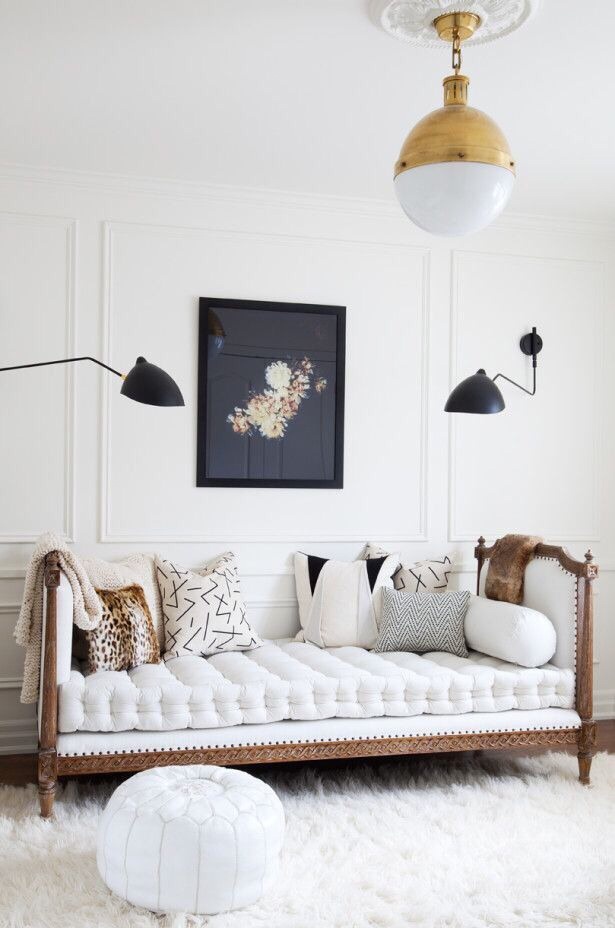
image from From Palm Trees to Paris.tumblr.com
We opted to paint faux wainscotting and wall moulding. How you may ask? By using many rolls of painter’s tape, and a lot of patience.
Before you even begin to paint or sketch, consider how many boxes you want, where, and what you want them to look like. How thick do you want the moulding to be? Will there be intricate details at the corners? Will there be concentric boxes? etc. It’s good to figure this out before you go buy tape and supplies, to ensure that you get everything you need without having to make 5 trips to the store.
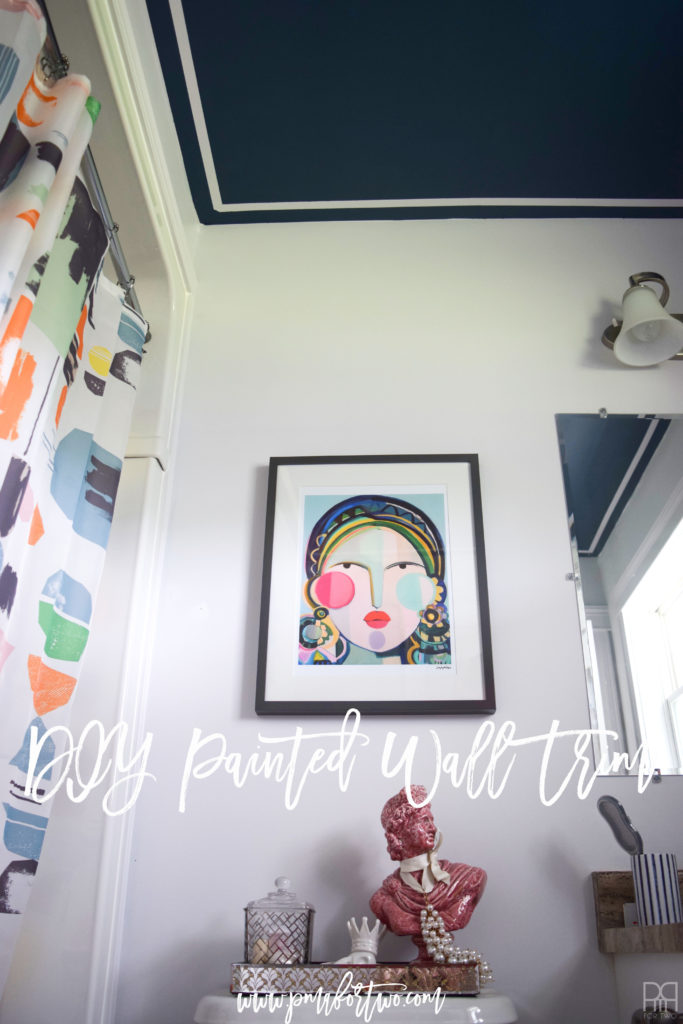
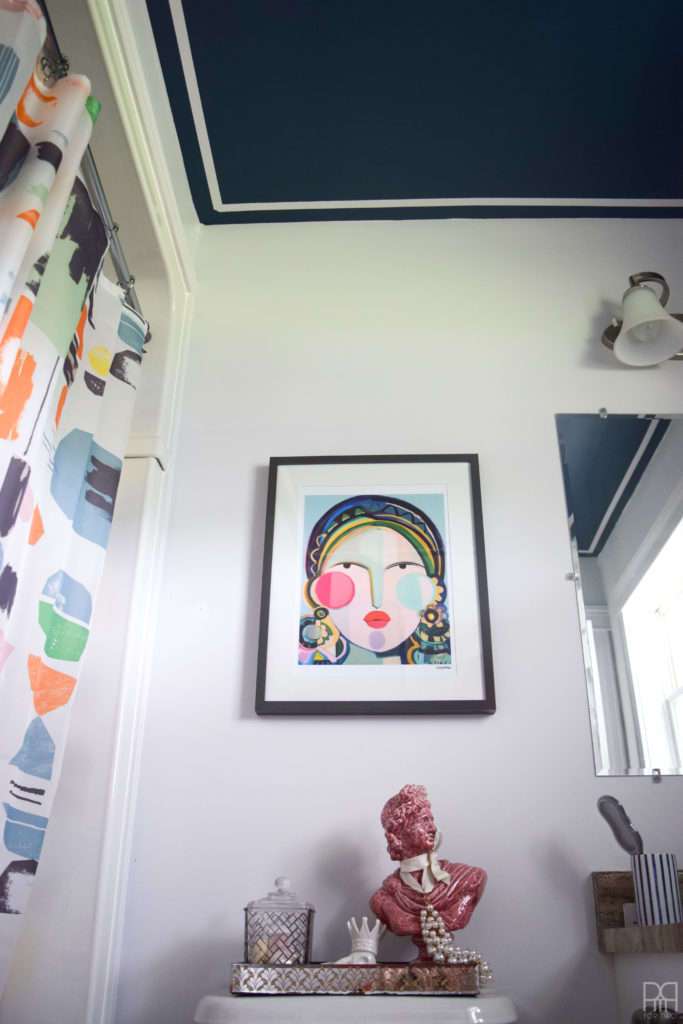
We’ve now done concentric boxes on our siting and dining room walls, and the ceiling in our main floor bathroom. The technique is universal and I love using it for its simplicity.
Materials required
- 1″ and 3-4″ masking tape
- Paint Roller
- Paint Tray
- Scissors
*** Make sure the walls are the colour you want the faux moulding to look like. Once you apply the wall colour and peel off the paint, the colour of the moulding will be the original colour of the walls. If the previous tenants have painted everything Shiatsu beige and you want the moulding to be white you’ll have to paint a box the size of the moulding in your desired colour. ***
Step 1: Apply the 1″ masking tape in the design you want on the desired surface.
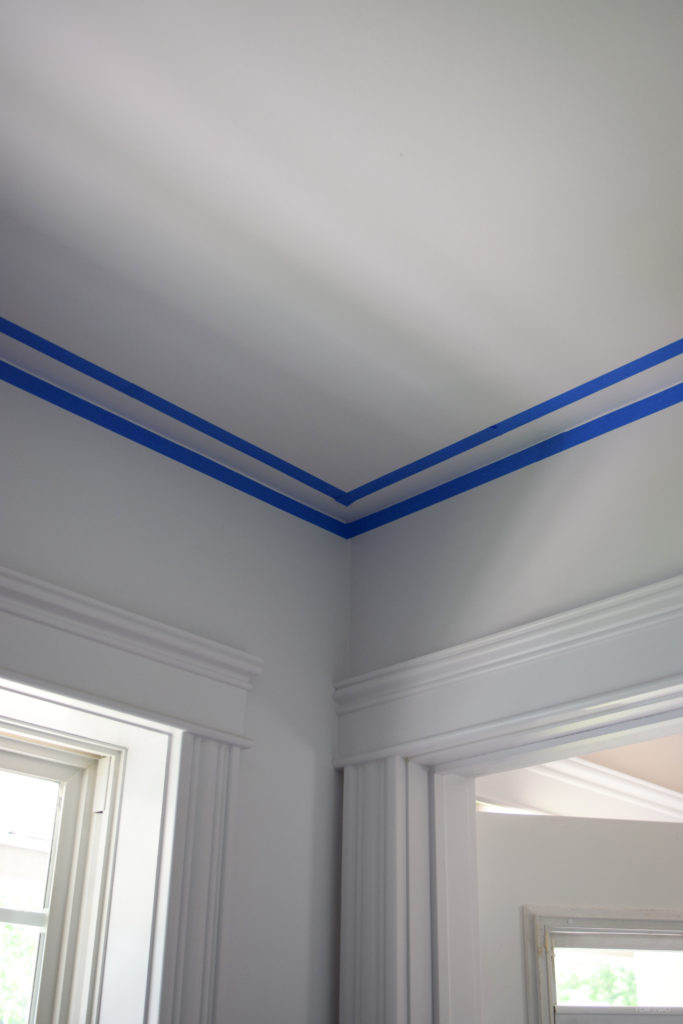

Step 2: Tape the walls like you normally would. This is where I recommend a thicker tape like a 3 or 4″ roll, as it will allow you to use your roller up to the edges of the wall without painting the adjacent one.
Step 3: Lay-down a drop cloth. Rollers have a tendency of flicking paint everywhere, and when you paint your ceiling things will drip no matter how much prep work you think you’ve done.
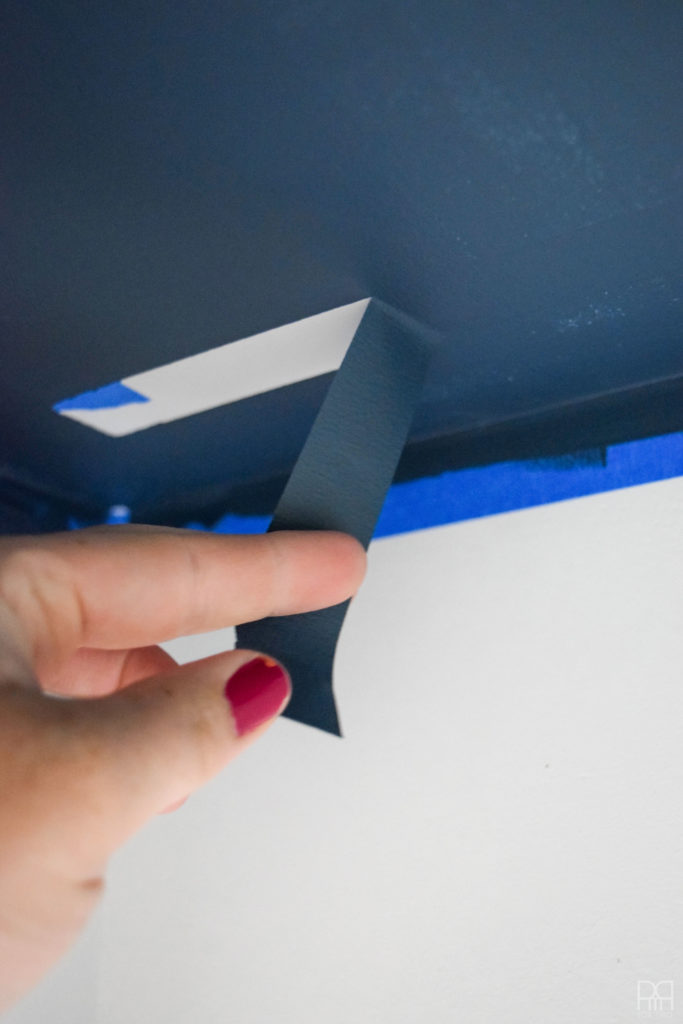
Step 4: Respect drying times. If your paint isn’t dry when you peel the tape off you’ll take more than just the tape with it.
Step 5: With precision and a consistent tug, peel away the box of painters tape to reveal.
Step 6: Admire!
We chose to do a simply white boarder but we could have easily done another box, a corner detail or a Greek key.
This idea was originally created and executed in our sitting room/ dining room combo from this // house tour //
What do you think of the boxes? Would you do something like that?