


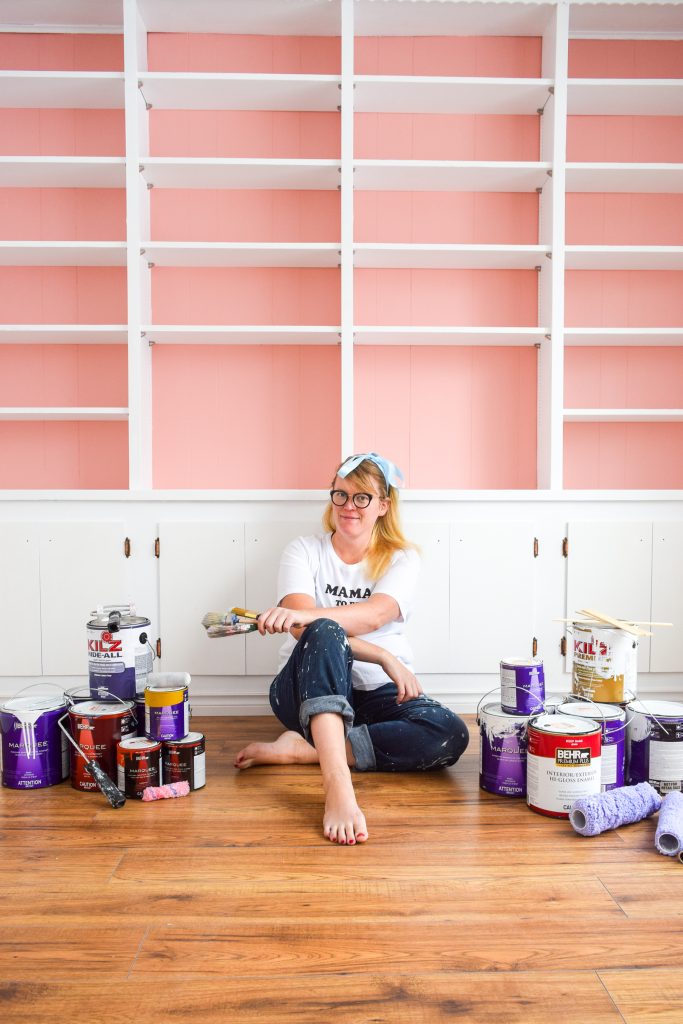
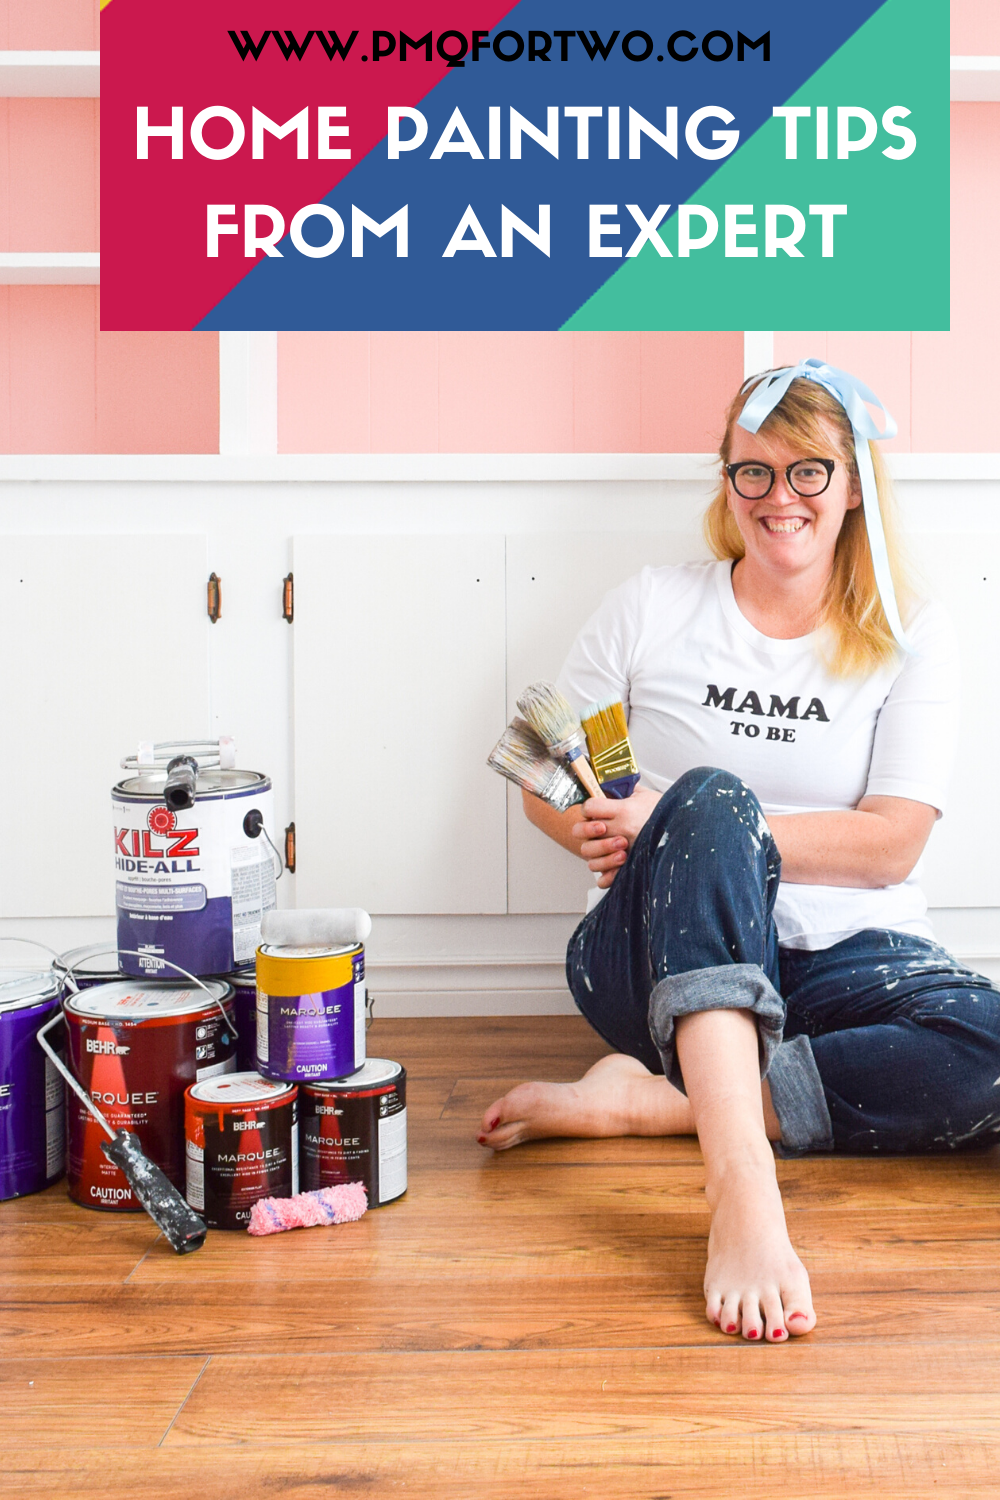
I paint a lot of things. I paint everything from crafts, to furniture, walls, cabinets, doors and more. If you can paint it, chances are good I have painted it. Over the years, I’ve picked-up quite a bit of info, tips and tricks about how to go about it for the best results, so today I wanted to share Home Painting Tips from an Expert aka me. We’re talking paint selection, brushes vs. rollers, priming, and more!
Check out my guide for how to paint a house in a day.
*BEHR sponsored this post, but all thoughts are my own. Thank you for supporting the brands that make PMQ for two possible.


Let’s Talk Paint Type
I’ve been using BEHR’s line of paints exclusively since I started making over spaces. I can get them at Home Depot, so even if we’re posted to the middle of nowhere I can still get my hands on the paints I know and love. I use their formulas for a variety of reasons.
Why I Chose BEHR Paint
I like that they have a variety of price points, formulas, and colour ranges. There are 272 one coat colour options in the Marquee colour center- specific to marquee- however, there are over 1000 colours throughout the BEHR colour center that will cover in 1 coat when tinted into Marquee. Premium Plus or Premium Plus Ultra can be tinted to the Marquee specific colours, however, these products require 2 coats.
Each of these lines of paint are available in quarts, gallons and samples! The amount of coverage you’ll get depends on a few things like the surface condition, number of coats, selected colour and the type of paint. They have a handy paint coverage calculator to help you out. Based on what you’re working with, Premium Plus and Premium Plus Ultra will cover 250 to 400 sq ft per gallon ; Marquee will cover up to 400 sq ft per gallon
Marquee (MQI) vs. Premium Plus (PP) & Premium Plus Ultra (PPU)
The first major difference is quality, and that’s reflected in the price. You’ll pay more for a gallon of Marquee then you will for PP or PPU, but chances are good you’ll need fewer gallons to begin with.
Check out our Marquee spaces like the Studio Kitchen, Kate Spade Master Bedroom, The Eclectic Blue Dining Room, our Mid Mod Eclectic Living Room, or my Girl Boss Office
Premium plus is great for colour changes, and in 2 coats will act as a primer and paint. A primer is only needed if there are existing stains or concerns with the surface.
PPU will block household stains -crayons, food stains, fingerprints- and in 2 coats transform your space even when covering dark to light or light to dark colours.
MQI is designed to cover in one coat on previously painted surfaces (without existing stains). The one coat guarantee extends to about 1200 colours. If using a colour outside the suggested 1 colour guarantee, you’ll have to apply 2 coats. If the surface has not been previously painted or has existing stains on the surface, a primer is suggested prior too applying MQI.
Check out our Premium Plus Ultra spaces like our Flamingo Feather Retro Rental Bathroom, our Hosta Leaf Rental Kitchen, or our Kate Spade Guest Bedroom


Check out my Wood Panelled Home Office Paint Job
For example, we primed our home office using the KILLZ brand of primers because we were going over wood panelling (which is super absorbent). On top of that, we were painting a white, so it we absolutely needed the Marquee to get the kind of coverage we wanted without having to buy a million gallons.
For me, it’s no contest between the different products, so I always pick Marquee, and I am never disappointed. MQI is available in matte, eggshell, satin and semi-gloss sheens. If you prefer a hi-gloss finish, then I would suggest either PP or PPU depending upon your project and surface.
Check out our 1960s retro fixer upper colour palette.
We used a high-gloss enamel for our baseboards, windows, and door trim in the floral glam master bedroom, and we were very happy with the coverage.
Check out our High Gloss Master Bedroom

Exterior Paint Quality
I’ve only worked with Behr’s line of exterior paints a few times, but have loved the result each time. Much like interior paint, your decision will come down to the type of surface you are painting, the number of coats desired, colour selection and the time you have dedicated to the project. I always pick Marquee when I can, and short of painting the exterior of your house, you’d be surprised to see how far the pint will go for most outdoor projects like painting doors, loungers, and more.
Check out my exterior paint projects like my Pink Sun Loungers, or my Classic Holiday Porch Makeover.
One of the reasons I like the marquee exterior, is that it can be applied down to 0c, and will resist rain within 60 mins of application. You can’t say that about many paints! Additionally, MQE (Marquee Exterior) has exceptional fade and dirt resistance. MQE makes it easy to paint during most seasons, however, I do suggest that you check the label instructions for ideal temperatures, humidity and surfaces to ensure the job is done correctly.

When Do You Prime Before Painting?
I don’t prime a lot of the surfaces I paint, and that’s simply because I use the Marquee formula which doesn’t always require a primer. BUT, as I mentioned above, sometimes the project may require a primer due to surface conditions.
Here are a few instances where you absolutely need to prime:
- If the surface has never been painted before i.e fresh drywall, masonry, stucco, etc.
- If you’re painting over an over oil based paint
- If you’re painting over a surface that was patched or repaired
Prior to priming, you may want to lightly sand the surface to provide a smooth surface.
Picking The Right Primer
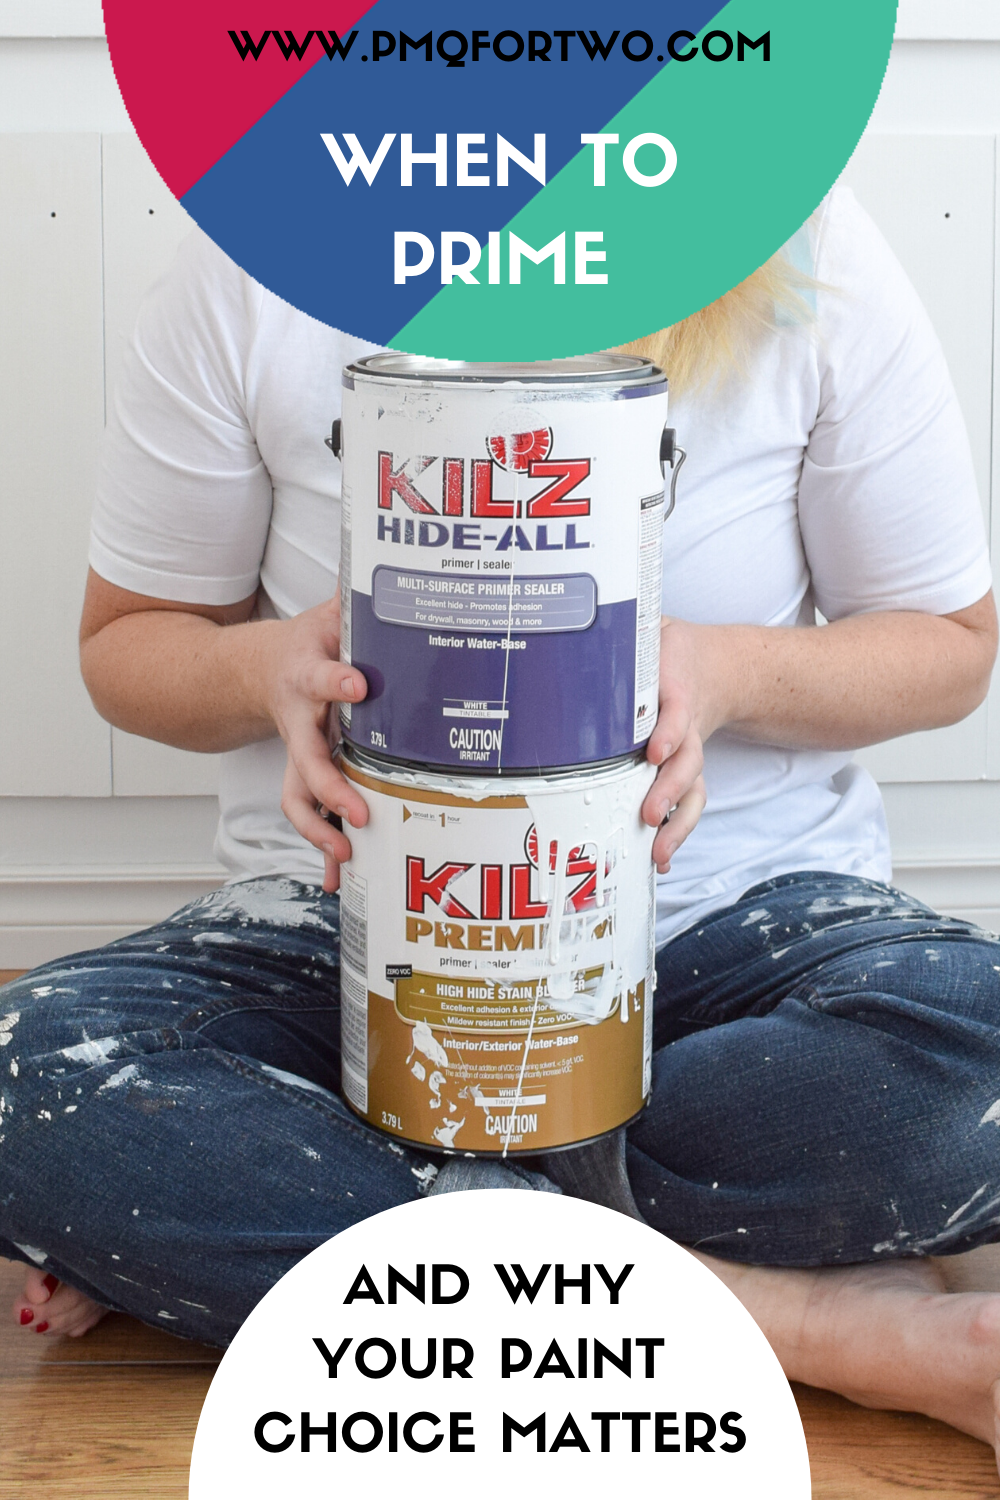
I’ve used two of KILZ’ primers, for two very different jobs.
We used the Hide-All Multi Surface Primer Sealer for the areas of the house where we took down wallpaper, or there was yellowing from years of use. Over time, the once white walls in this place yellowed and picked-up stains, so instead of scrubbing or doing damage to the walls, we just covered everything with a coat of primer.
It’s important to note, that when the wallpaper was removed the walls required a light sand before applying the primer. This means there won’t be a weird texture or any glues left-over from the backing of the wall paper.
As I mentioned above, we used the Medium High Hide Stain Blocker on the wood panelling in the front office. The wood panelling absorbed everything, had discolouration from years of sun exposure, and was actually holding onto some stains. Since this space will eventually become the nursery we needed the walls to be pristine. I would recommend this level of stain blocking protection if you were painting a room that had seen a lot of sun, nicotine, or smoke damage.
KILZ makes a variety of other primers, for interior and exterior jobs, but these are the two I have experience with and are likely what you’ll need for any interior jobs.
Brush or Roller?
So this is totally obvious to me, but maybe not to you! I use rollers for almost everything, and then brushes for details like around handles, hardware, or for trim/baseboards.
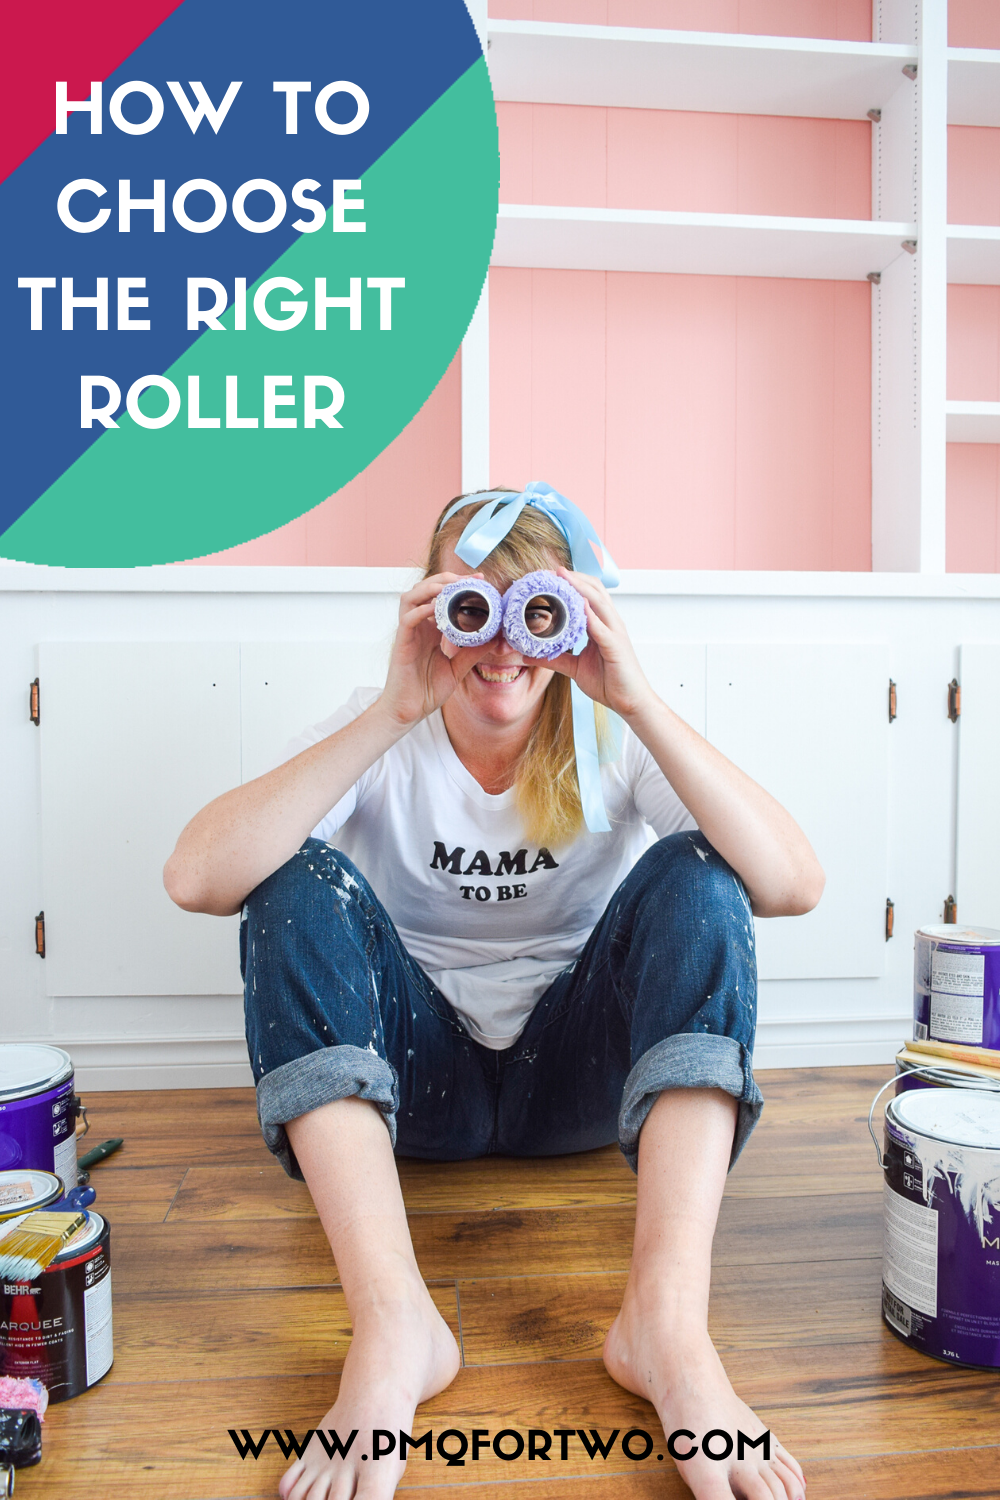
Picking The Right Roller
Not all rollers are created equal, and some can be a little expensive. But if you practice good roller care by washing them out, they’ll last for a several paint jobs. The rollers mentioned below are perfect for 99% of the projects you’ll encounter.
The most common roller covers are 3/8” nap and ideal for most sheens – flat, eggshell, satin or semi-gloss. My fave rollers are the Performance Select Gold 240mm Shedless Knit Roller Cover – 10mm (3/8 Inch) pile 3 Pack. I only ever have to buy a pack or two a year, and they end up getting tossed because Dan doesn’t wash them properly.
When painting surfaces with a heavier texture or porosity, such as brick, masonry or stucco, I would suggest ½” – ¾” nap rollers. I use the Performance Select Gold 240mm Shedless Knit Roller Cover – 19mm (3/4 Inch) pile. This nap height helps to spread the paint into the nook and crannies.
When using a hi-gloss paint, I would suggest using ¼” nap roller cover. A finer or smaller nap will allow a higher sheen to flow and level on the surface beautifully, finishing to a glass or mirror like sheen. Outside of these recommendations, foam rollers are great for cabinetry or even hi-gloss finishes.
Another item to consider is a comfortable roller frame. I prefer to attach an extention pole to my roller frame handle for areas such as ceilings and high walls (I’m tall and kinda lazy, so I try to save the ladder just for cutting and trim).
I like to use 9” roller covers for most wall surfaces. I will sometimes use the smaller rollers -cigar or weenie rollers- for tighter spaces, behind toilets, cabinetry, doors, or corners.

Using Your Brush
Rollers are what you’ll use for 80% of any given paint project, but you’ll need brushes for a few paint related tasks, including but not limited to:
- cutting in on edges
- painting trim, baseboards, door frames, or window frames
- painting around details that can’t be moved like door handles or in-set windows.
You Don’t Need Painters Tape
Whatever you do, don’t mess with painters tape. It’s expensive, and lulls people into feeling like they can be sloppy with their painting. Your best bet is to use a short, angled brush and do all your trim work. It might take two coats, but the finish will be superior to any paint job, and you’ll develop an appreciation for some rather complex paint jobs.
I recommend the Wooster 50mm (2 inch) Poly Nylon Angle Sash Shortcut Brush as the most versatile brush you can buy on the market. The bristles are easy to clean, the angle is perfect for cutting in, and you don’t have to apply too much pressure when painting.
Other brushes are more niche, and really reflect the job you’re doing, but that might veer out of interiors and more into craft territory, so I’ll avoid them.
I do not recommend foam brushes be used on walls or trim in any capacity. Got it?
What Painting Tools Do I Need?
This is pretty easy! Beyond the right paint and paint applicator, your painting arsenal will be pretty small. You should always have the following items though:
- metal or durable plastic paint trays: you can peel the dry paint out later, or use a tin-foil liner if you need to change colours before they’re dry.
- Paint sticks: actually super useful for stirring paint, helping clean brushes and rollers, and are just good to have lying around.
- An outfit you can routinely get paint on. Pick one, and stick with it. Your wardrobe will thank you. I’ve got a pair of jeans and some leggings for the hotter days.
- Magic erasers: you can use them to remove relatively fresh “dry” paint from your floors.
- A place to dry your brushes and rollers that won’t result in them being covered with food, pet hair, or other.
- Baby wipes are great for taking paint off your body if it’s still relatively fresh.
Don’t forget to store your paint at room temperature. I would suggest a closet rather than your garage.

Painting Decor & Things Other Than Walls
What do you do with the left-over paint in the can? You know exactly what I’m talking about. You finished painting but there’s easily enough left to paint some furniture, a small wall, or who knows! I say go for it, but you may need to do a bit of prep work like sanding and priming depending on the material you’re painting.
Things like laminate require a special primer and a solid sanding. A chalk board was covered quite well with two coats of the Marquee, and outdoor decor like mdf snowflakes going in an arrangement are fine as is.


