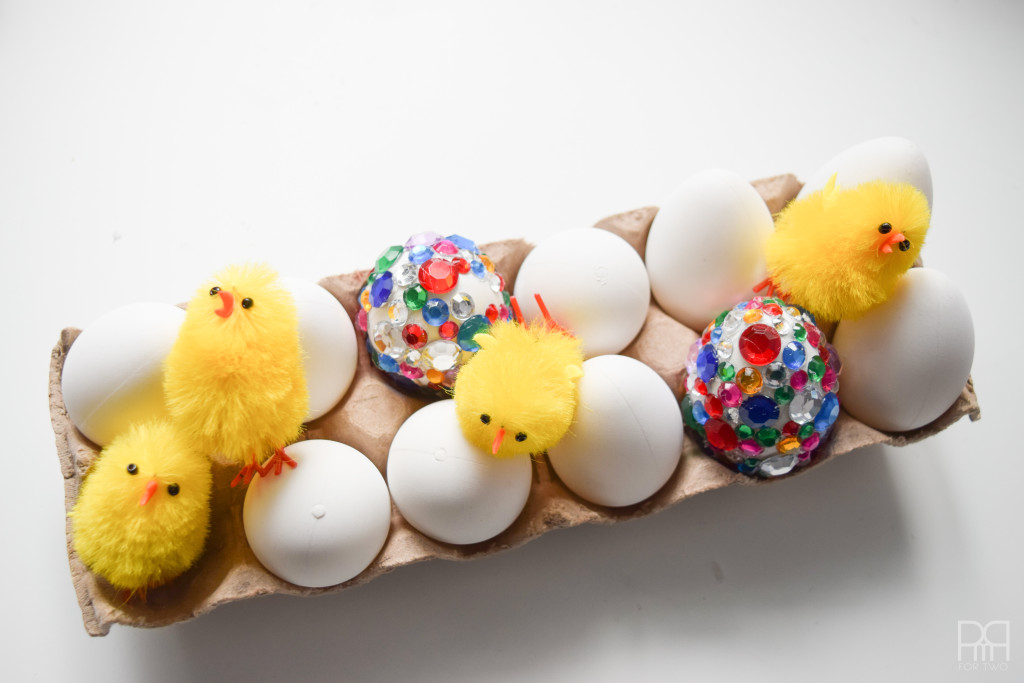
Make the most beautiful glam Easter eggs with this simple tutorial.
Easter is a little over a month away, but the dollar store has been full of Easter eggs, bunnies, and peeps since like January 15th. No lies. I don’t actually have any Easter crafts on here, but last year I did do an Easter brunch tablescape.
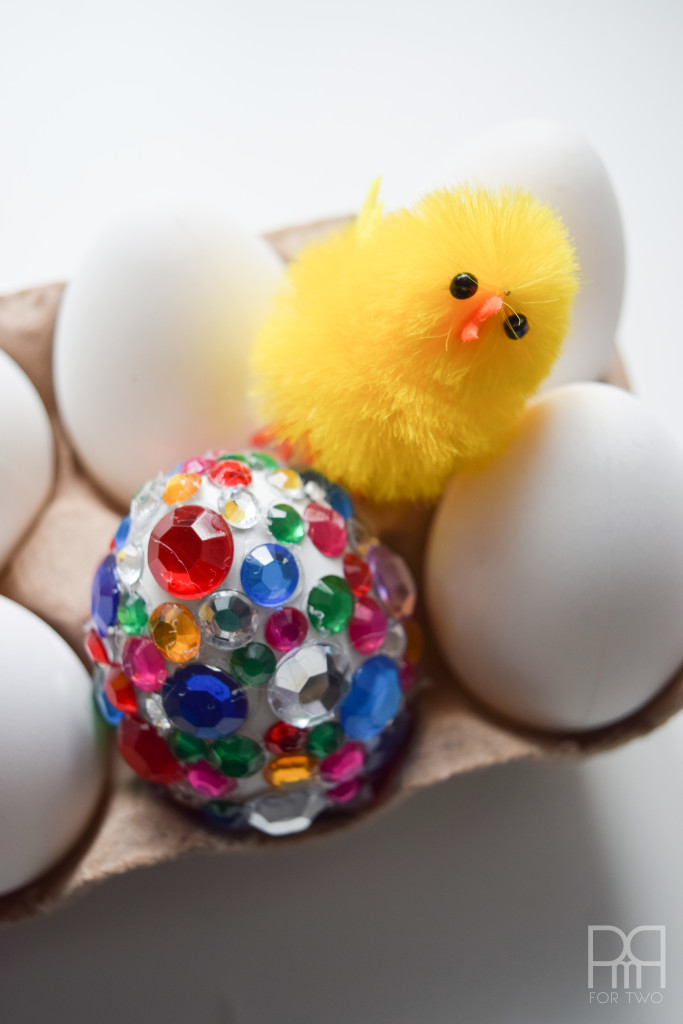
To make up for this craving deficiency, this year I’ve done two sets of Easter eggs – both fun and funky – but both quite different. The ones I’m sharing today are my favourite – glam eggs!

For the glam eggs DIY you need a bit of patience and an existing hoard of coloured gemstones. I actually used all the remaining gemstones from my DIY Starburst Wreath. I mean, what else am I supposed to do with so many coloured gemstones?!
Glam Easter Eggs Materials required
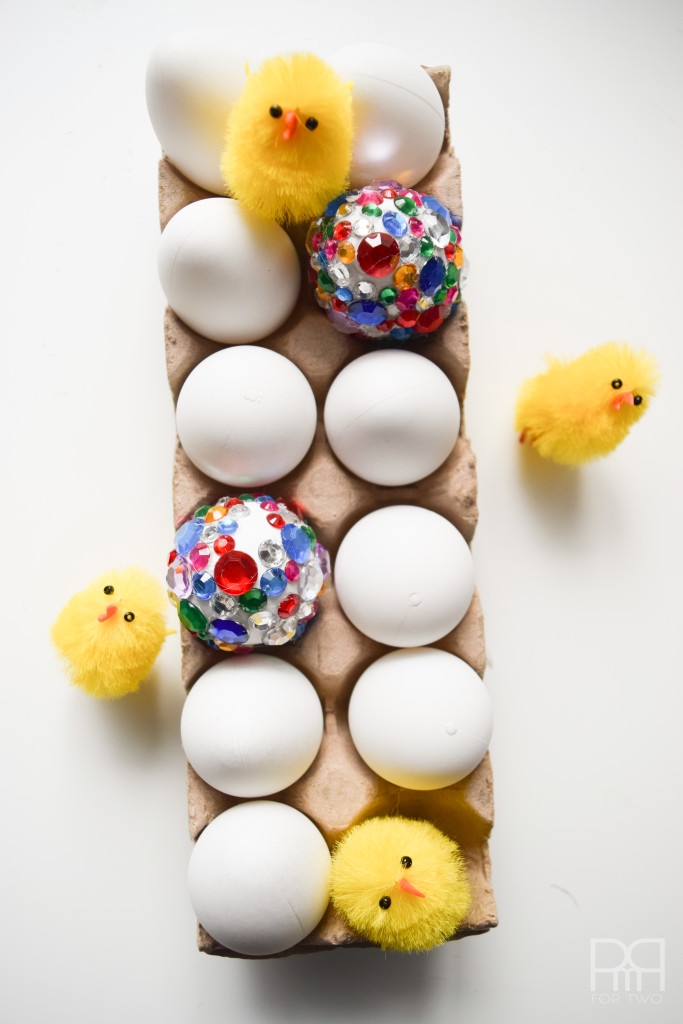
- Plastic Easter Eggs – One dozen plastic eggs (or real eggs, but that seems like a lot of work for something that goes bad).
- 100-200 plastic gemstones in varying colours and sizes
- Hot Glue Gun and glue sticks
- Tweezers
- Patience
- Cute pipe-cleaner chicks for display purposes
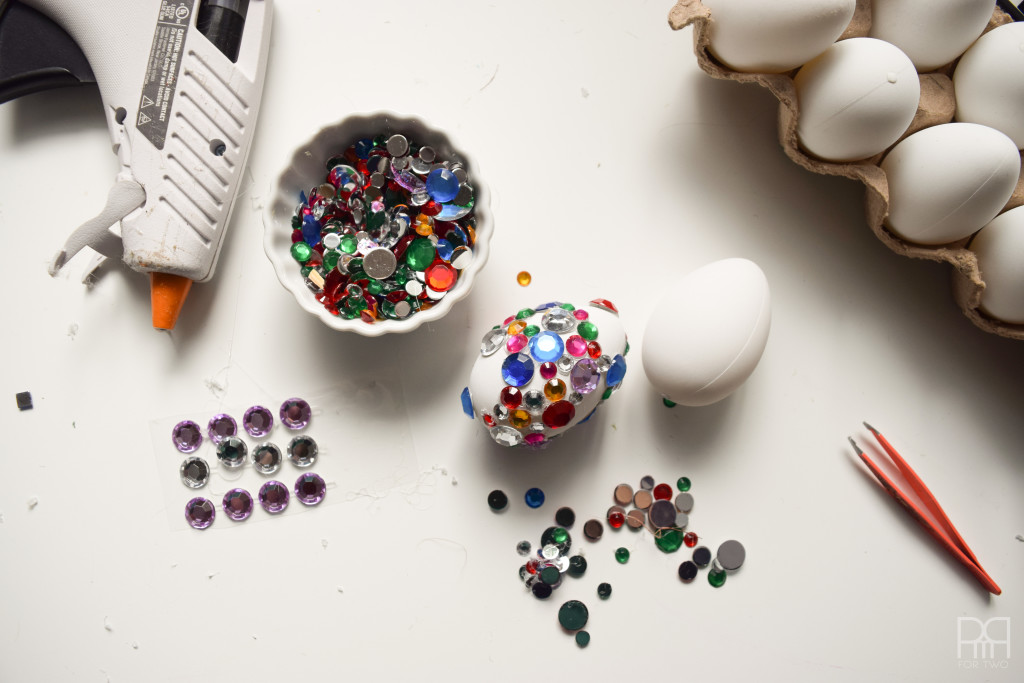
Step 1: Lay out your materials. I try and flip as many of the gemstones right side up as I can.
Although the colours are laid out pretty haphazardly, I don’t want to end up clumping too many similar stones together.

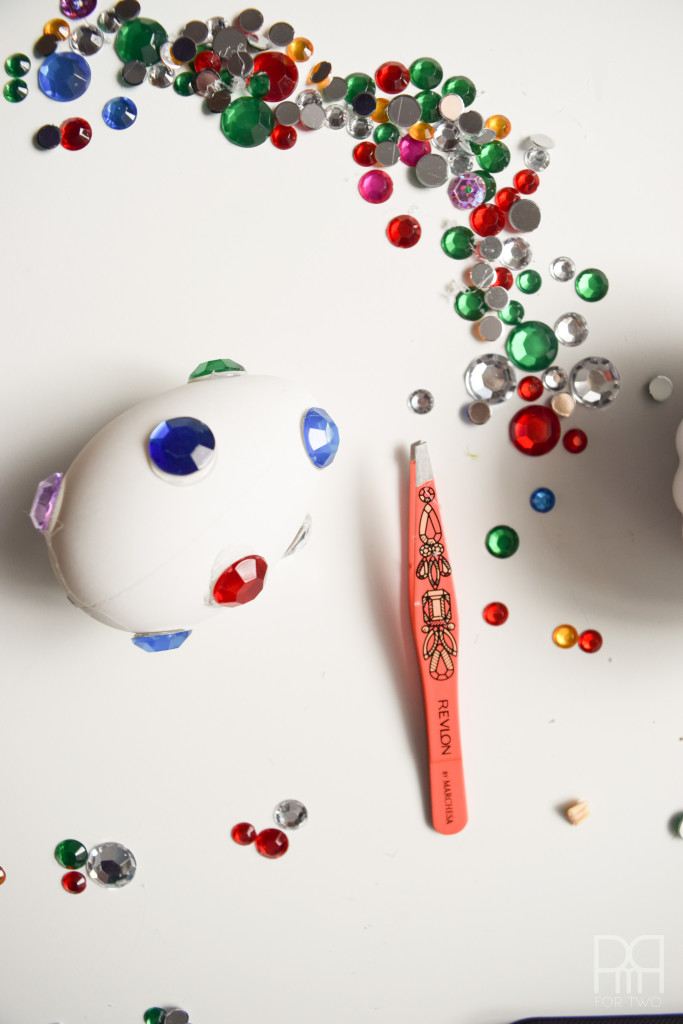
Step 2: Start by gluing the bigger stones first. It will help fill the space and make it easier to place the medium and smaller sized.

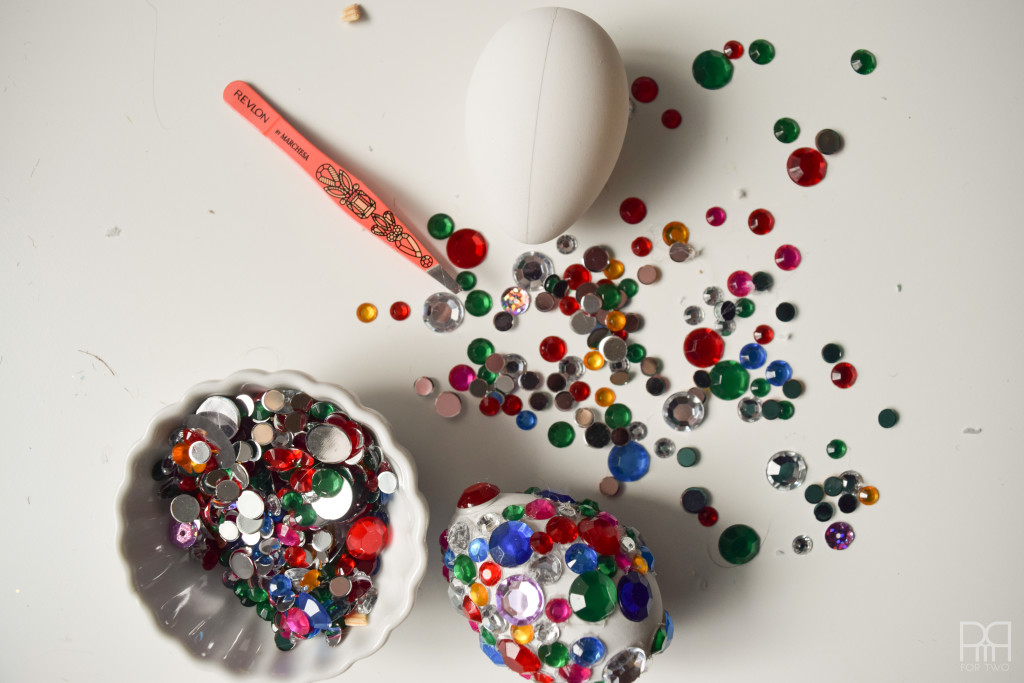
Step 3: Once you’re satisfied with the layout of larger gemstones, start added the medium sized stones.
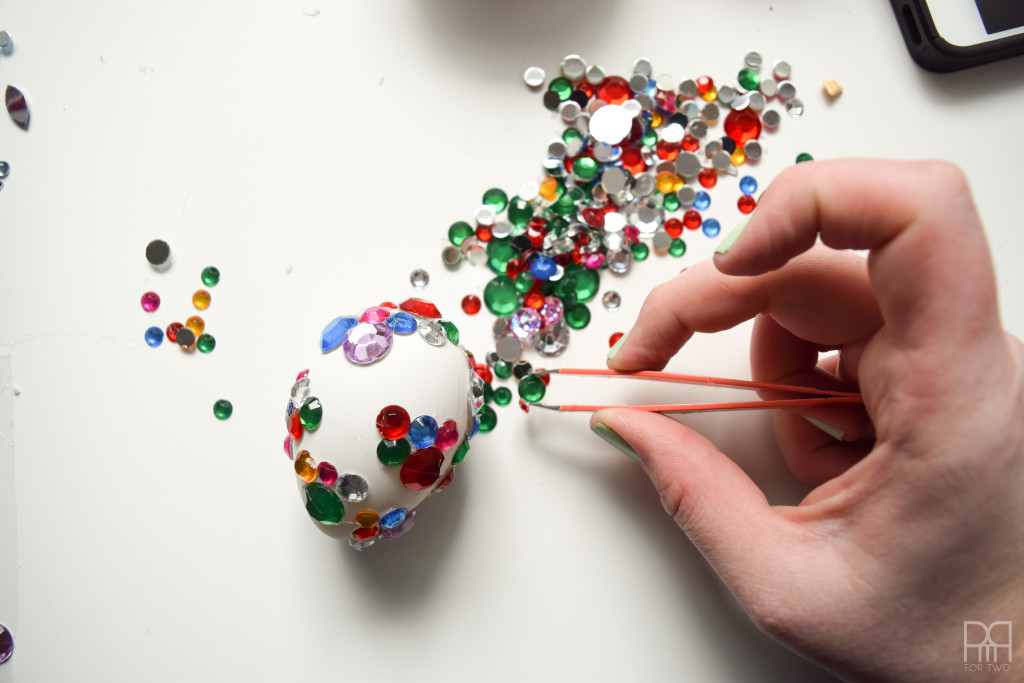
I use tweezers to place the stones because they’re too small to hold and get close to the scalding hot tip of my glue gun. It spares my fingertips and keeps the glue where it needs to be.
Step 4: Start adding the smaller stones to fill in the gaps.
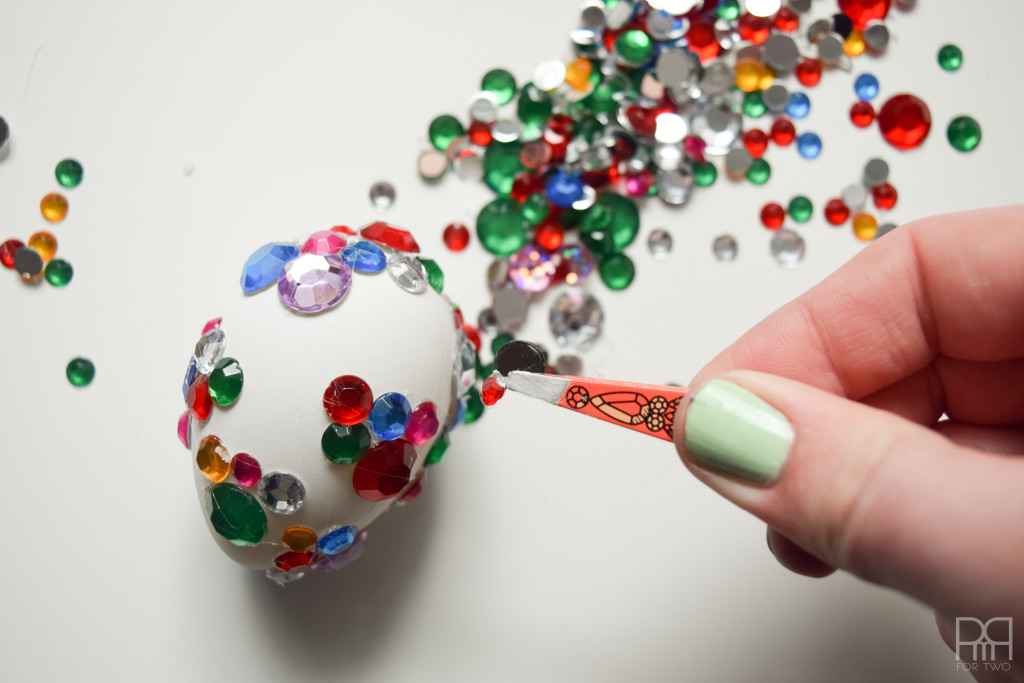
I try and gather the small glue threads as I go. I don’t want them drying at the risk of flicking off other stones while picking them off.
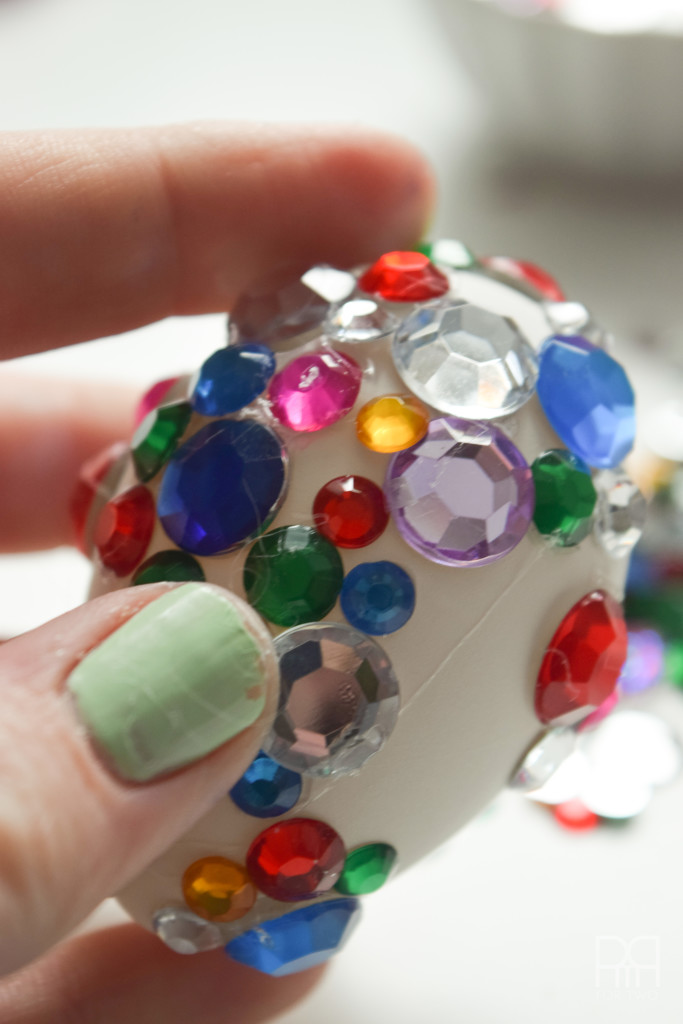

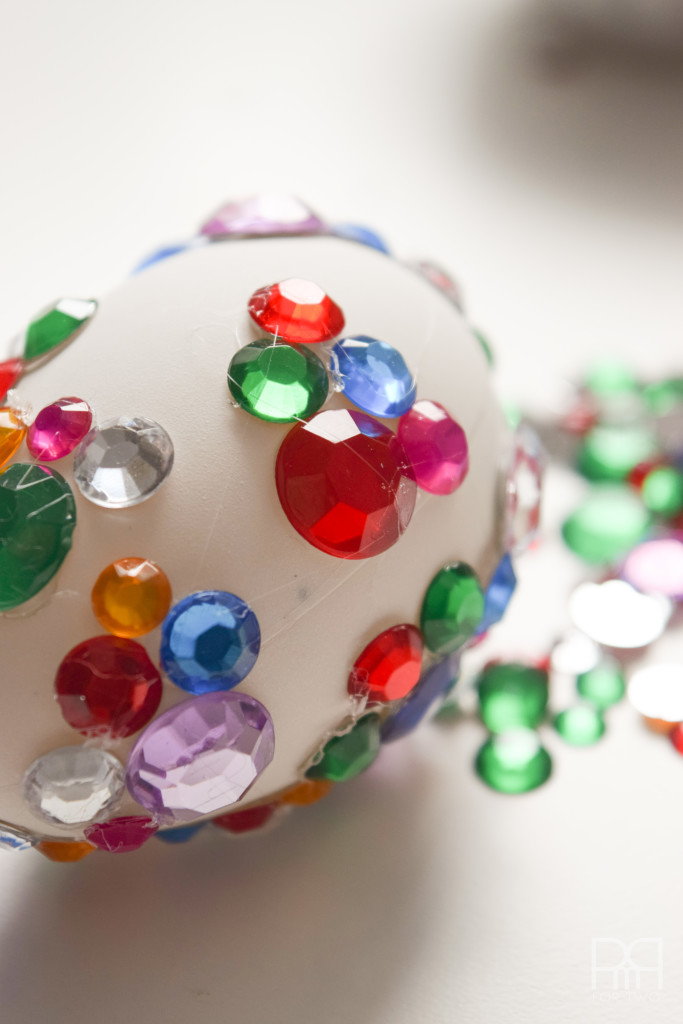
Step 5: Repeat steps 3 and 4 until the egg is complete! It might take a while to do each egg, but if you look at them as investments in future decorations it will be well worth it.
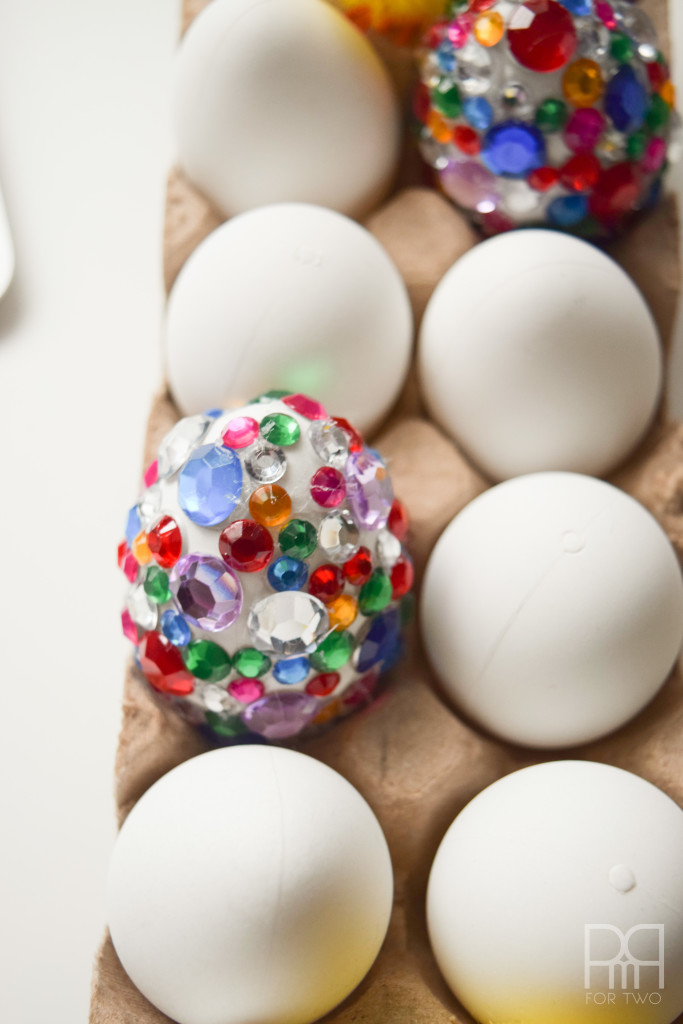
Stay tuned for the second egg DIY later this week! Tell me, what do you think of the colours?
Glam Eggs


Make the prettiest glam Easter eggs using plastic eggs and rhinestones.
Materials
- Plastic Easter Eggs
- Rhinestones
Tools
- Tweezers
- Hot Glue Gun and glue sticks
Instructions
- Lay out your materials.
- Use the glue gun to glue the bigger rhinestones first.
- Glue the medium sized stones.
- Use tweezers to hold the small rhinestones while adding hot glue.
- Repeat steps 3 and 4 until the egg is complete.