When I think weddings these days, I also think of floral crowns. They’re everywhere, and with good reason! They’re colourful, fun, more relaxed and don’t require the rigid formalities of an updo when considering your hair. With Spring just around the corner, or so I’m told, I finally tried my hand at making one. It was far simpler than I thought, as evinced by the few pictures I took during its creation. You know I’ll be busting mine out at the first signs of appropriateness, maybe even for the spring ball!
Whether you’re creating a floral crown for yourself, a flower girl, a bridal party, or just for the busts in your life, this DIY is too easy to pass up.
*Afloral sponsored this post, but all thoughts are my own. Thank you for supporting the brands that make PMQ for two possible.

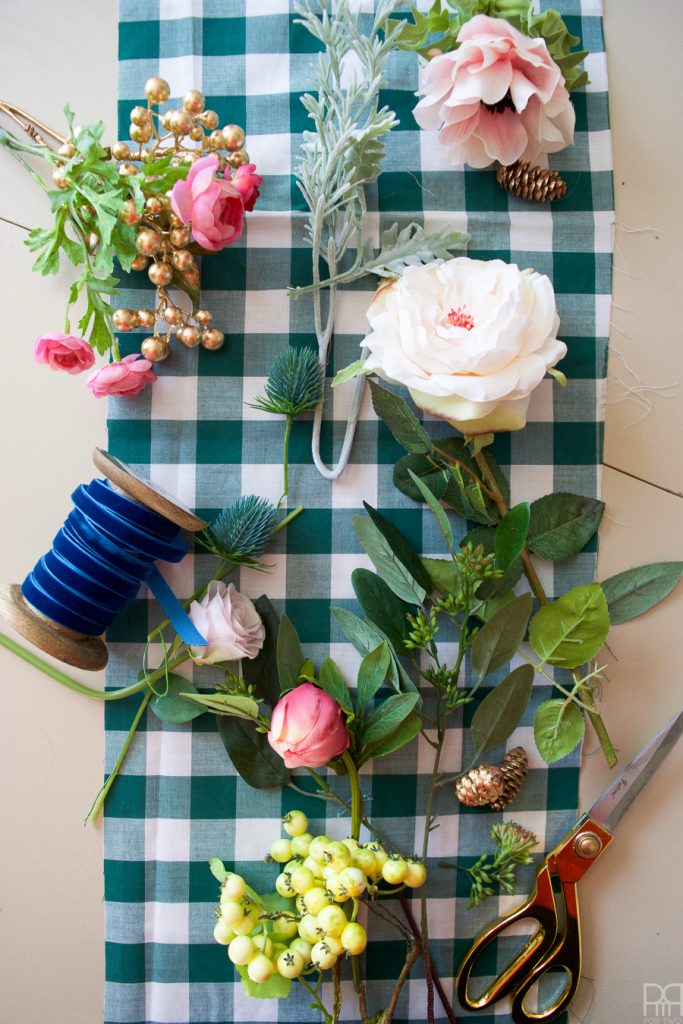
Materials needed for these bouquets:
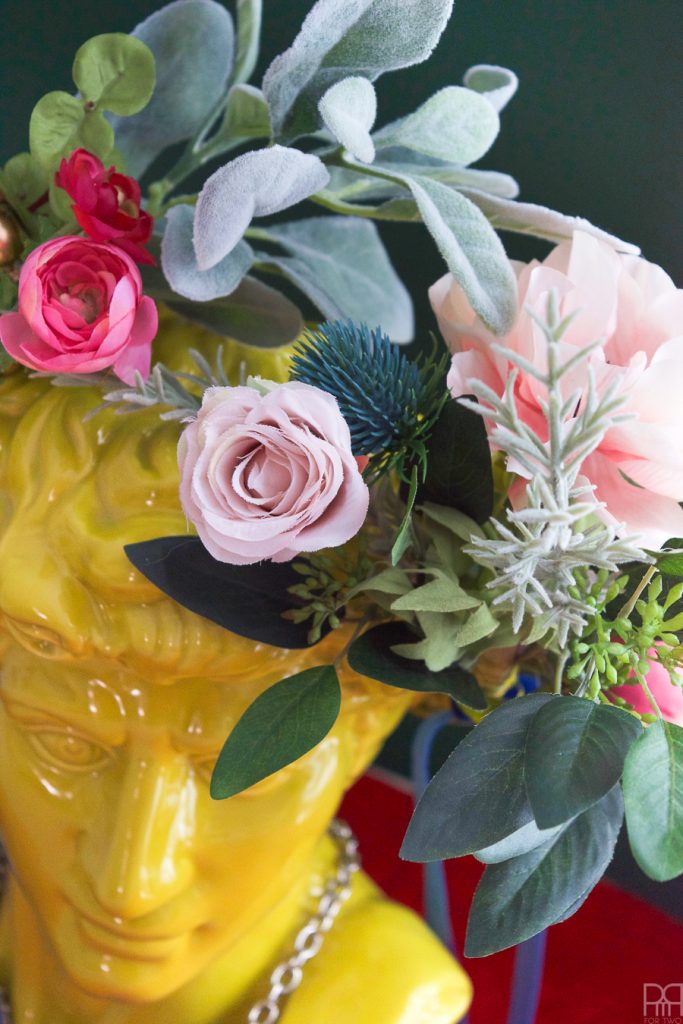
- English Rose in Vanilla white
- Anemones in Pink
- Berries in Cream Green and Berries in Gold
- Thistle Spray in Blue
- Lamb’s Ear
- Dusty Miller
- Eucalyptus Bush in Green
- Amaranthus Spray
- Blue Velvet Ribbon
- Floral Wire & Floral Tape
- Scissors and wire cutters
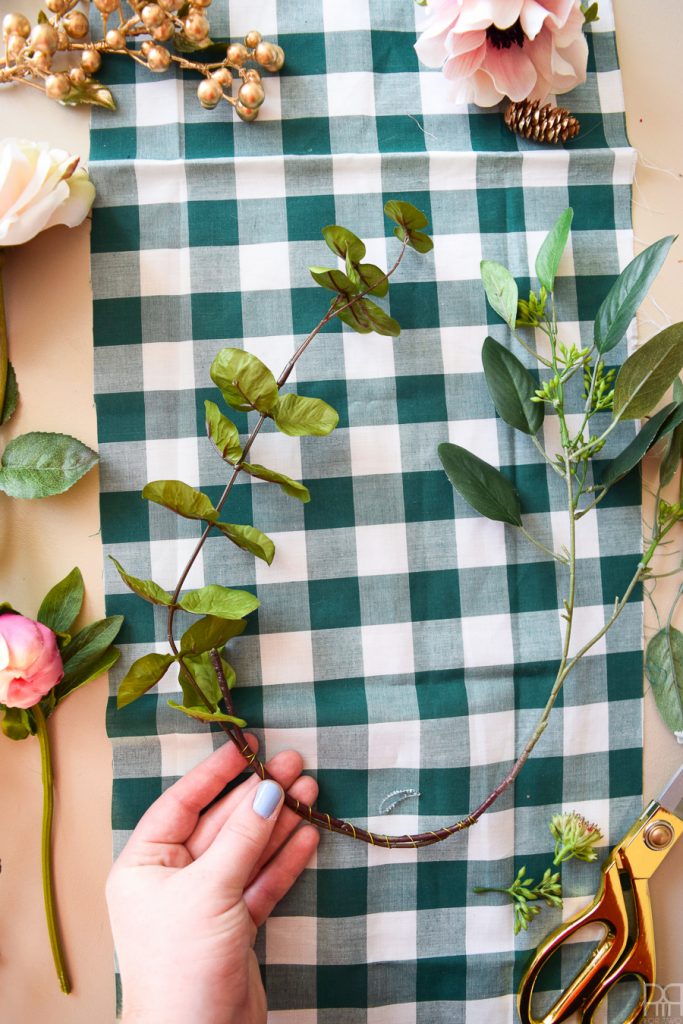
Step 1: Chose your base. I chose this grape seed stem because it was long enough to reach around the back, and because as greenery, it would provide a great base.
I curved it around the back of my head so that I could attach another branch on the other side.
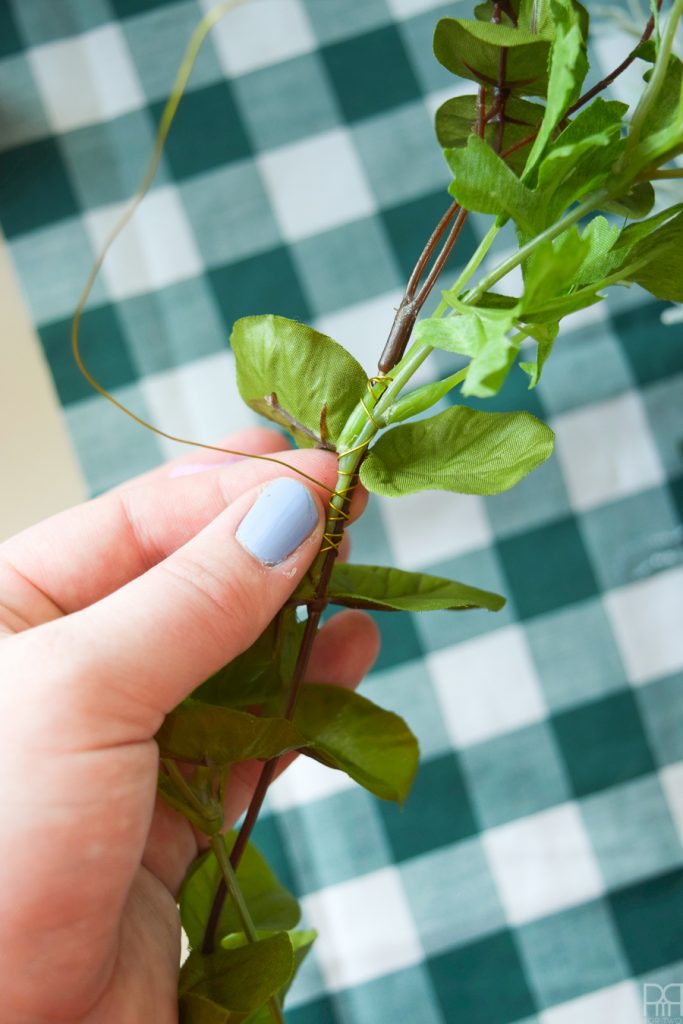
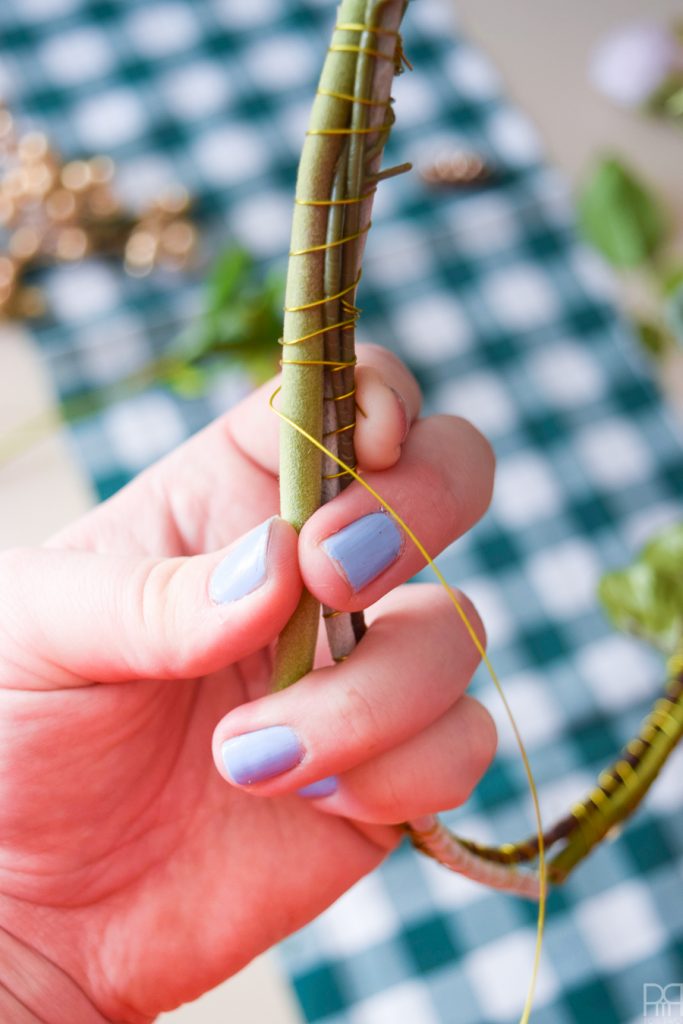
Step 2: Using floral wire, attach a second stem to the first to complete your crown. You’ll join those two branches to form a circle, later.
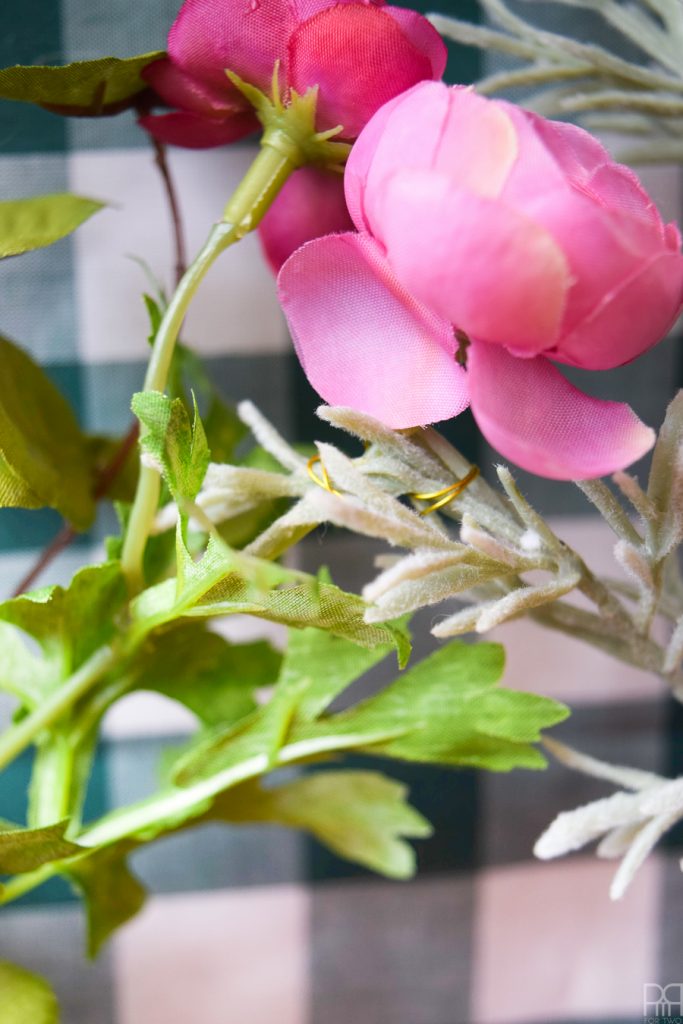
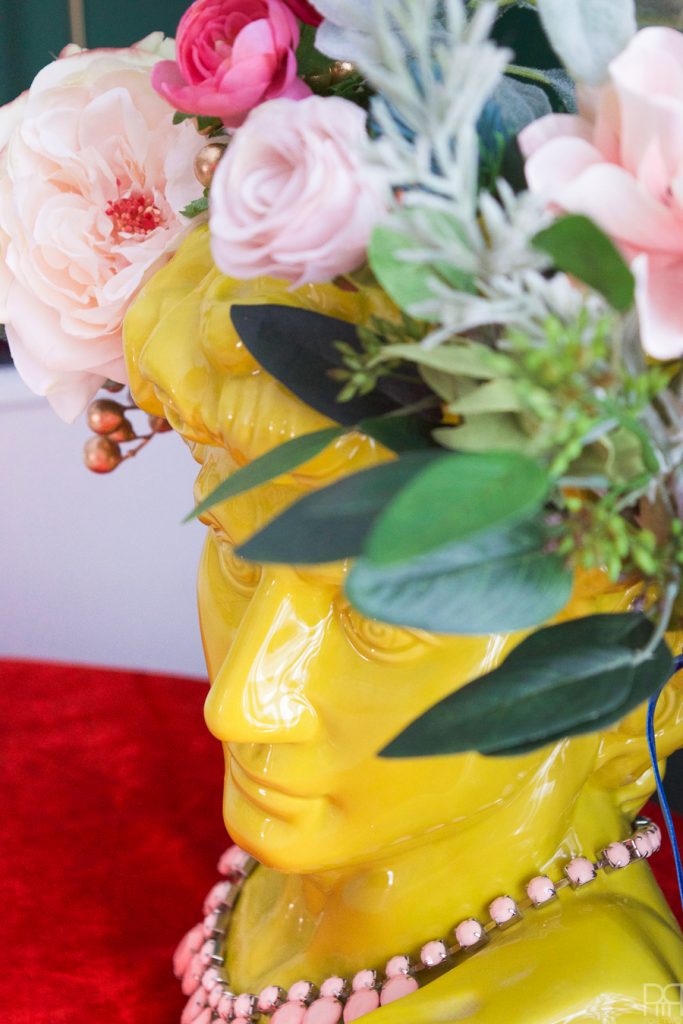
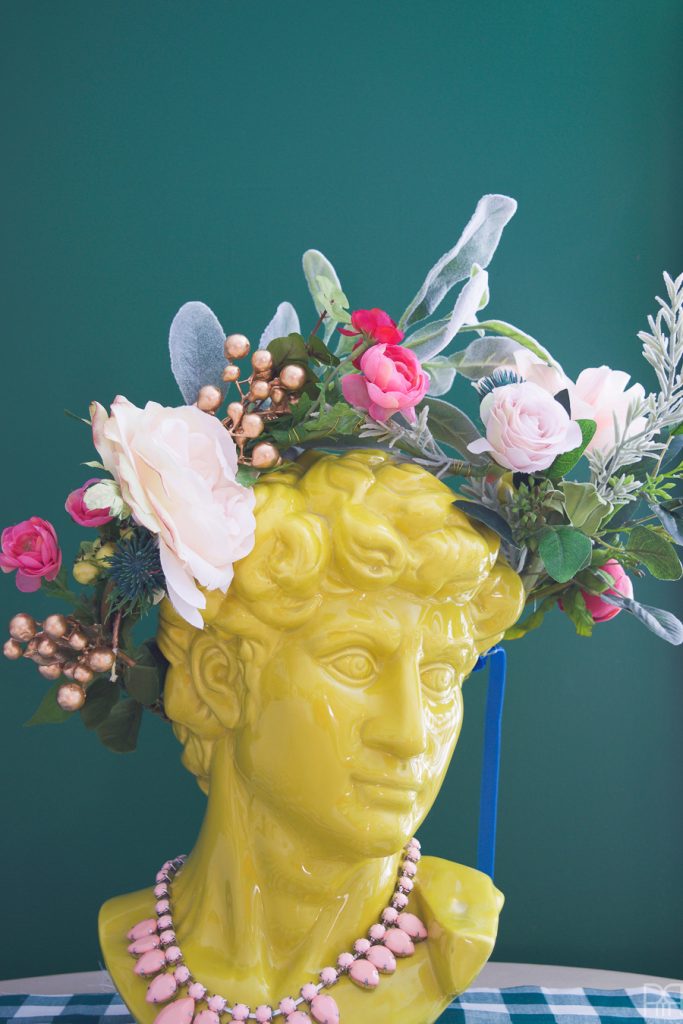
Step 3: Start adding florals to the crown by wrapping the stems together with wire. You want them to be relatively balanced on each side, so for the bigger blooms to take centre stage, with smaller touches around them.
Step 4: Once you’ve got enough blooms on either side, it’s time to join the two ends at the front. I chose a long multi-stemmed anemone sprig that I attached between both sides and then discreetly hid between flowers.
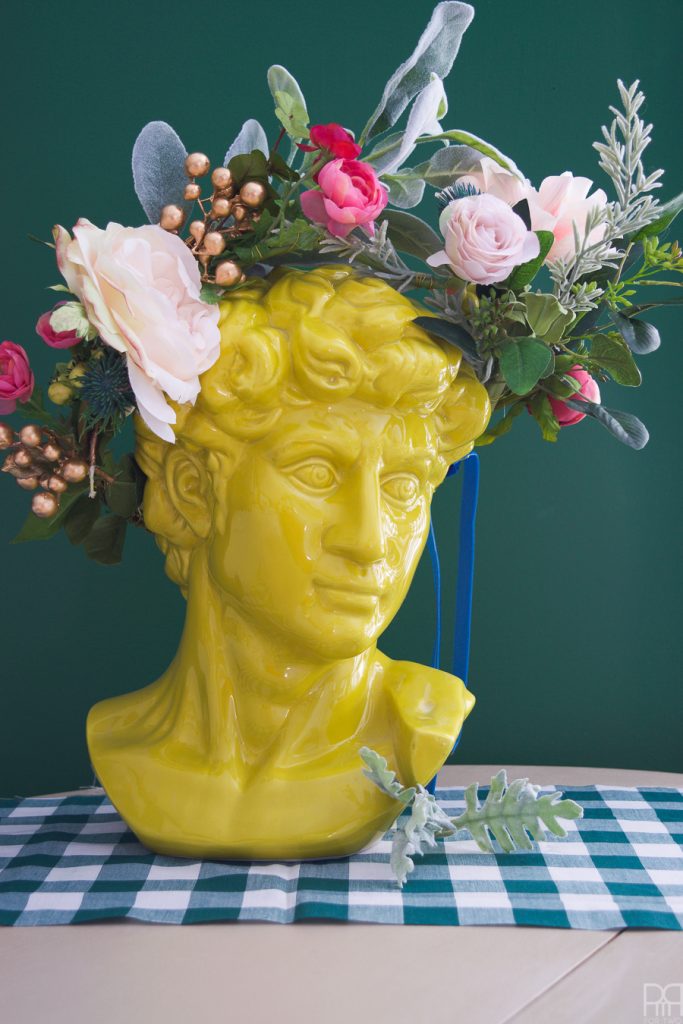
Step 5: Using your blue velvet ribbon, wrap the back of the crown so that the wire and stems aren’t visible. It’ll also prevent your head from being scratched by any sharp stems, and look pretty.
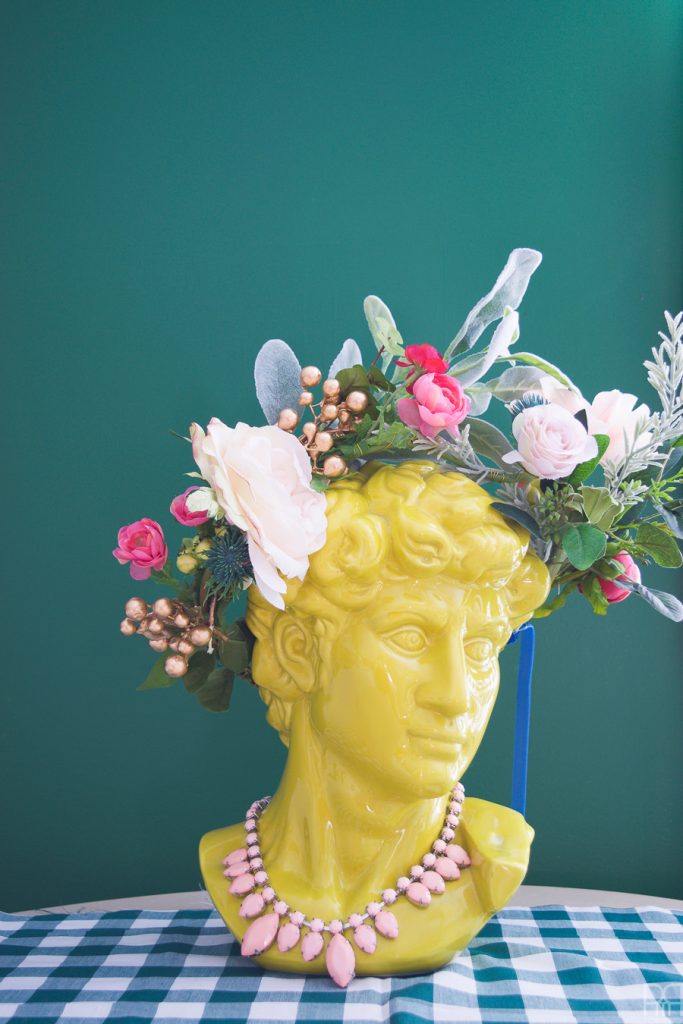
Step 6: You’re ready to rock! Because I’m not all about putting my face all over my blog, I opted to use Julius here as my model. He looks so fab with the crown, that he may continue to wear it for a few months until its my turn.

If you made a floral crown, would you wear it or stick it on a bust and call it a day?

OH WOw, I love busts, i was justing talking yesterdy to FRIEND THAT i WANTED TO GET A BUST FOR MY GARDEN AND ADD FLOWERS EVERYWHERE AND HERE YOU HAVE IT. lOVE IT
mARIA
We’re on the same wave length! I think you could lovely things with all your greenery. Keep me posted 🙂