Can you believe two weeks have already gone by?! It feels like yesterday I met with Ainsley and Brendan for the first time to see if the space would even work!
Catch-up on the One Room Challenge to date:
Week 1
Week 2 – You are here
Week 3
Week 4
Week 5
Week 6 – The Reveal
And if you’re curious about seeing everyone else’s Week 1 posts you can view the official and guest participants on Calling It Home‘s blog here and here. Make sure you swing by and comment on the others!
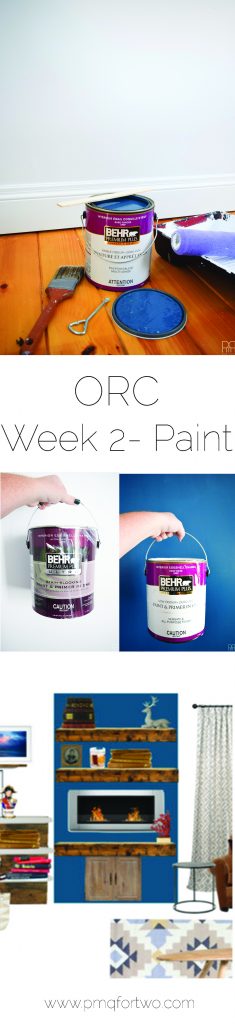
I can’t emphasize how important paint is for refreshing a room. You can change absolutely nothing in a room’s decor, but give it a fresh coat of paint and suddenly it’s a different space.
The transformative power of paint can’t be discussed enough, but in this case I’ll let the images speak for the transformation. With the help of Behr paint we’ve taken this blah space into the 21st century.
*Behr Paint provided the paint for review, but all thoughts are my own. Thank you for supporting the brands that make PMQ for two possible.

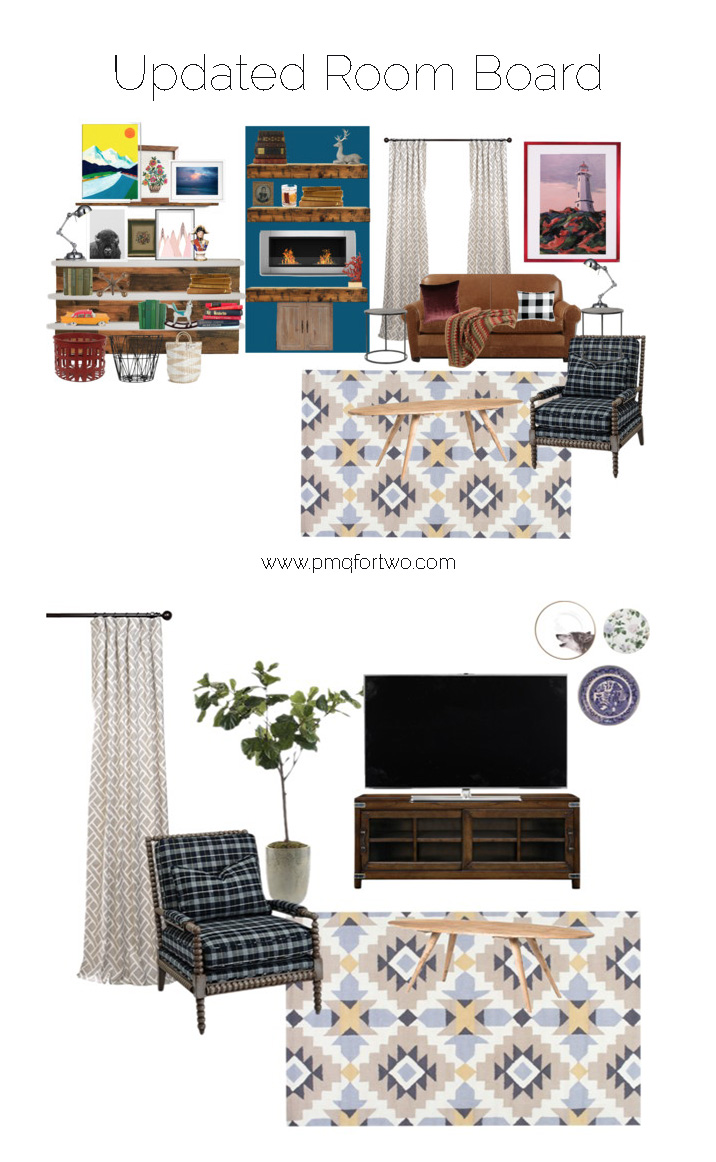
I am very excited though to show you guys the built-ins we have in mind. Because design is fluid and things change very day, you can be 100% sure that the design I shared as the final look in last week’s post is already different. Since last week we’ve been hard at work getting some of the big things like out the way. We’ve ordered everything that needs to be ordered, picked-up all the stuff that we can, and painted! Now that the big decisions are over, the mood board is a heck of a lot more accurate and reflections those decisions.
Here’s an updated mood board for the space.

Why do you think the first thing I do when I move into a new PMQ is paint? It helps me put my own spin on things and sets the tone for what’s to come, but in a way that I like. If you want to see what we did in our current PMQ you can read about the paint selection process with Behr paints –> here <–
When Ainsley and Brendan moved-in, they had a newborn and didn’t quite have the time to paint the house from top to bottom. So until I showed-up with 4 cans of Behr paint, that room hadn’t seen a refresh in god knows how long, and it looked like this (minus the paint swatches on the walls)
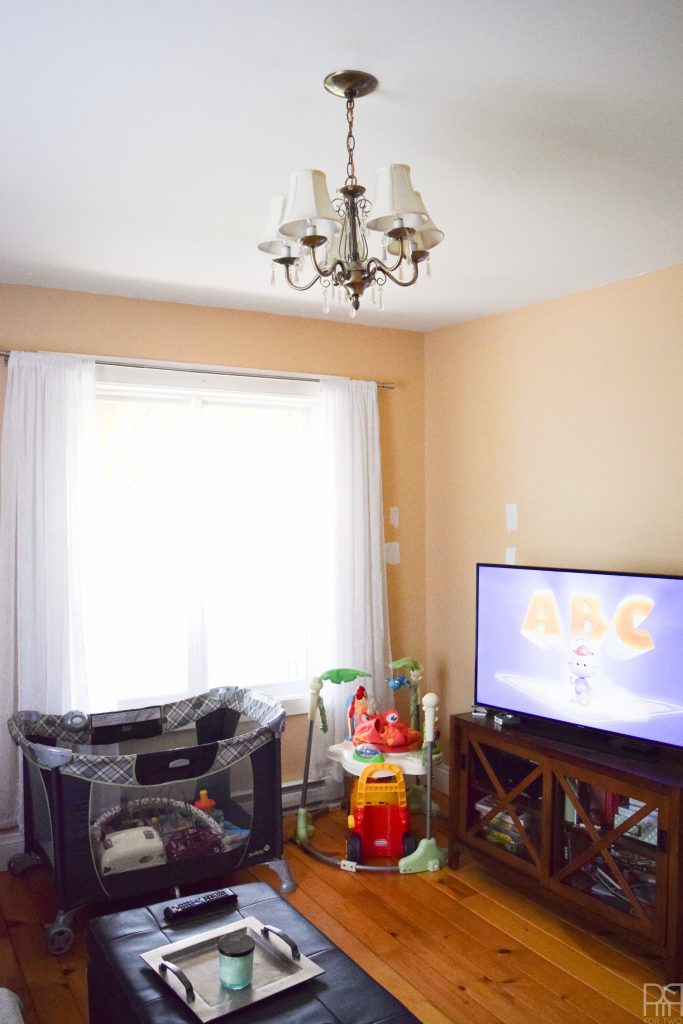
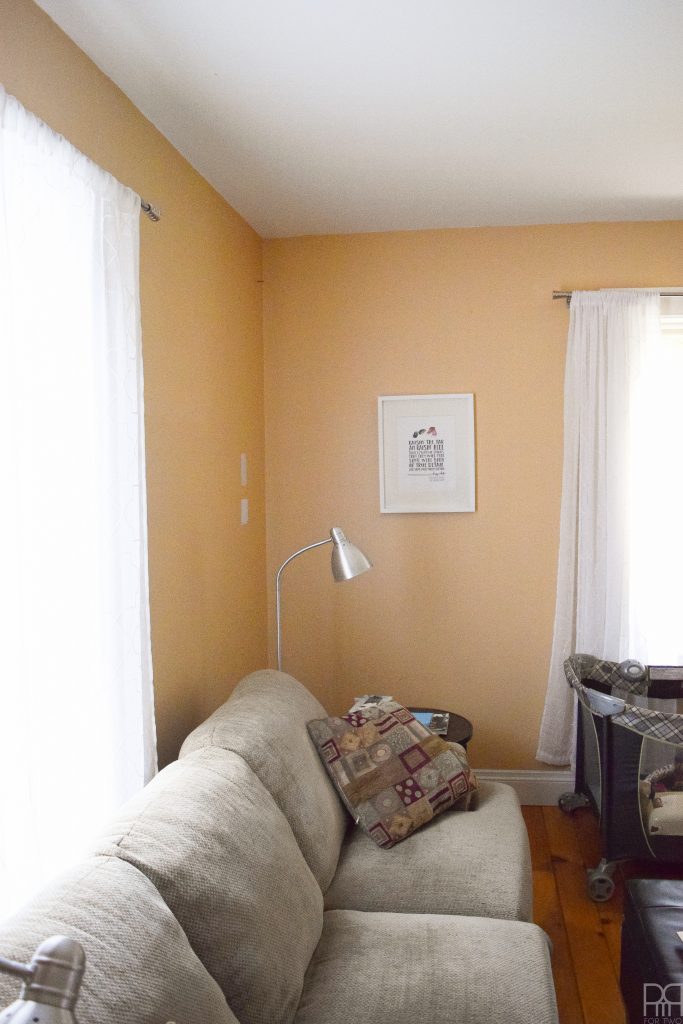
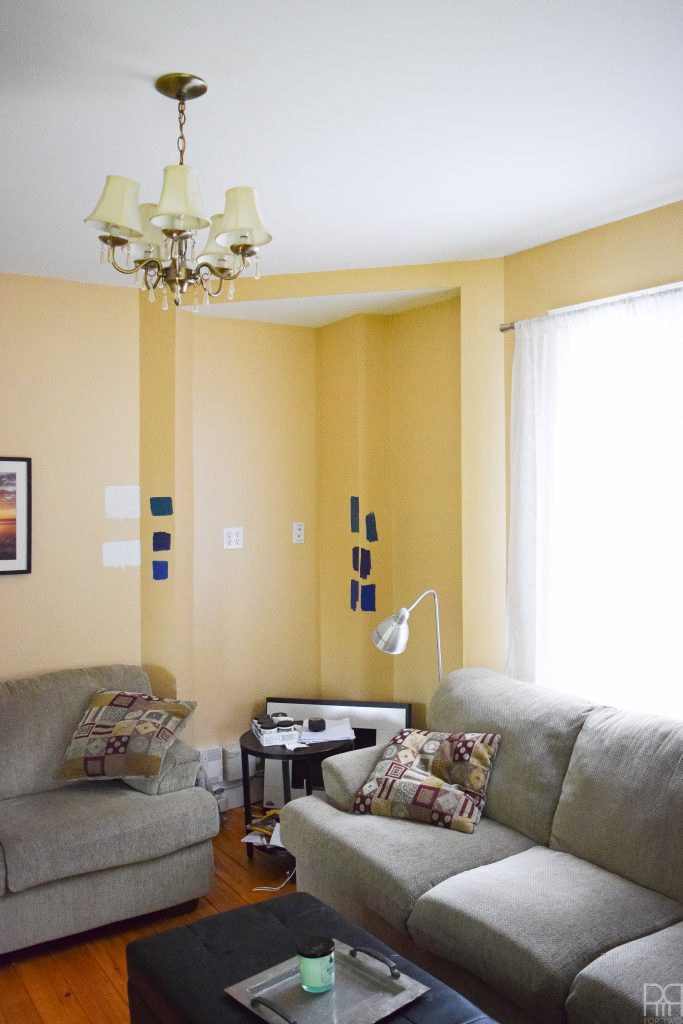
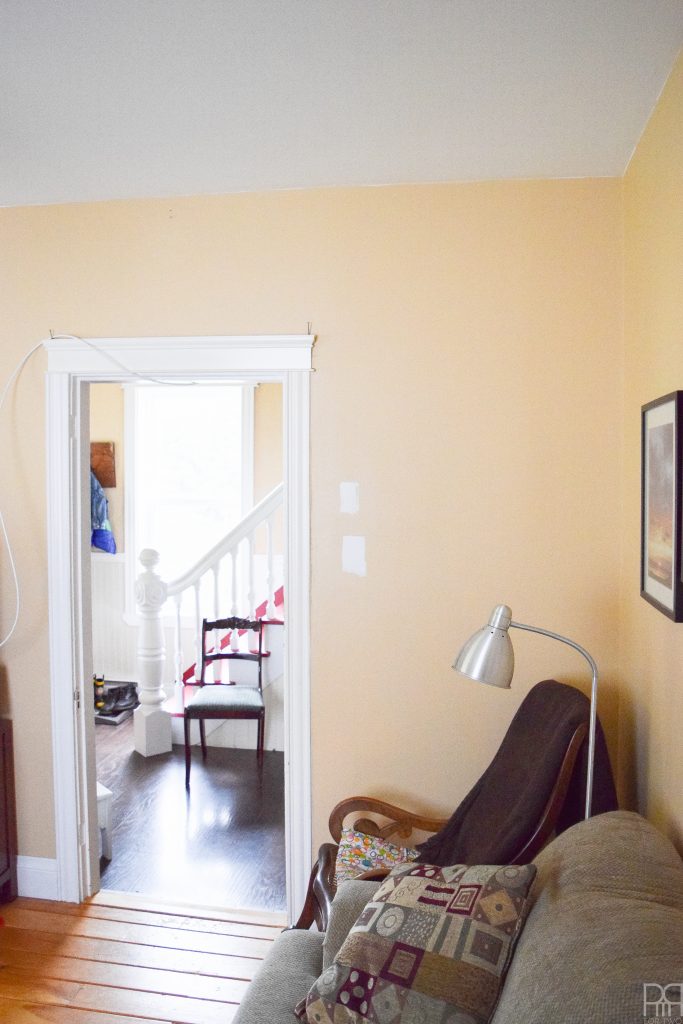
I pretty much just gave you on a 360 tour of the space FIY – as you can tell, nothing wrong with it, but nothing good about it either. The ceiling had started to yellow, the walls were scuffed-up from kids and a dog, and the window frames and door frame had more than their share of dust and finger prints. I showed-up just in time guys! I swear!
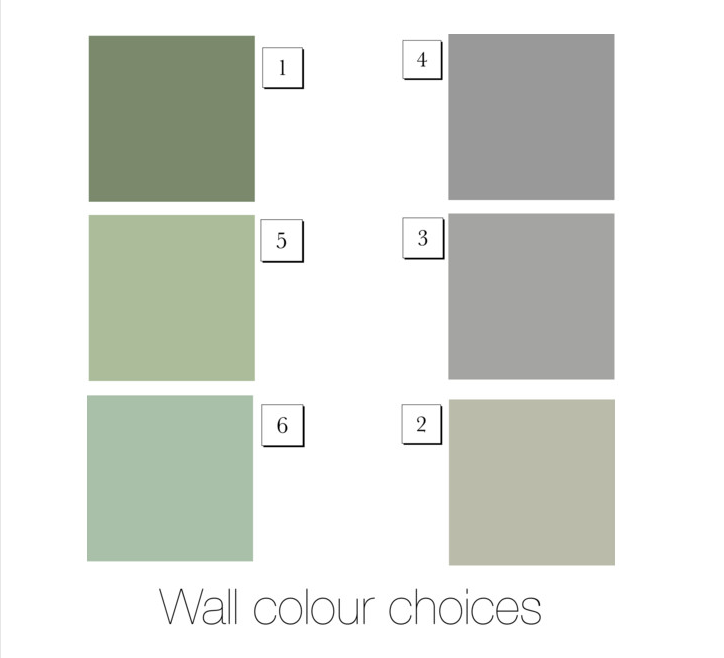
When I had originally proposed the space designs to them I was thinking of using a nice sage green in the room. I thought it went with their design and style preferences, and that it would be an easy enough colour to work off. They weren’t sold on it. You can see my initial paint suggestions below (ranked in order of my preference for the space).

When the discussion about the fireplace happened however, I started tossing around the idea of a blue accent wall. The exterior of their fireplace is white, so the warmth of the flames with the white would really pop against a blue, like in our mock-up.

So off I went to the Home Depot to grab some paint swatches in blue. I gave them 3 choices in a blue and 2 choices in a white (for the rest of the room) and after 48hrs they chose Bermuda Blue for the accent wall and Maui Mist for the white.
The blues on option were:
- Nobility Blue PPU15-01
- Bermudan Blue PPU13-18 –> what we went with
- Dark Cobalt Blue PPU15-03
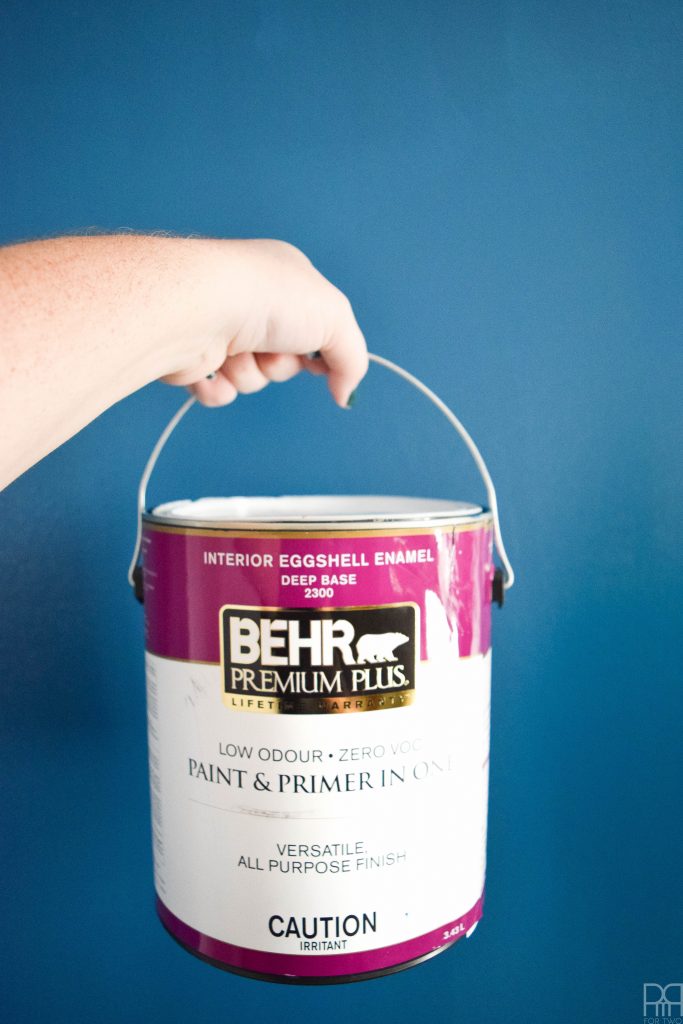
- Maui Mist BL-W10 –> what we went with
- Frost 57
A note on choosing whites: pick a white with the undertone of whatever other colour is dominant. In this case, we went with a white that had blue undertones so that it wouldn’t look “off” next to the accent wall or with the other touches of blue we’ve decided to incorporate.
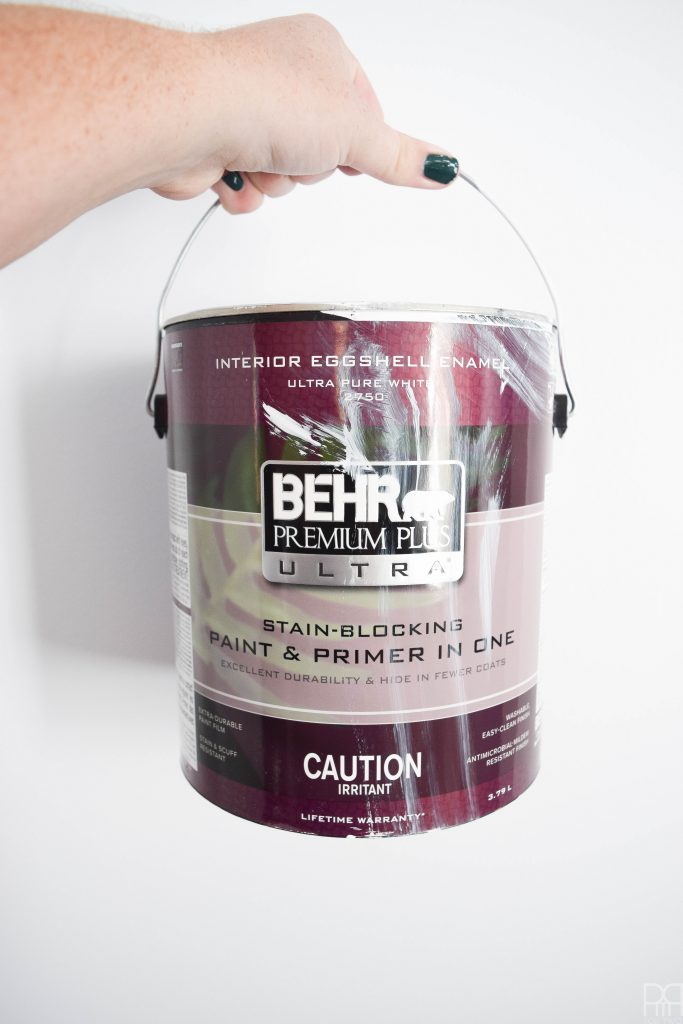
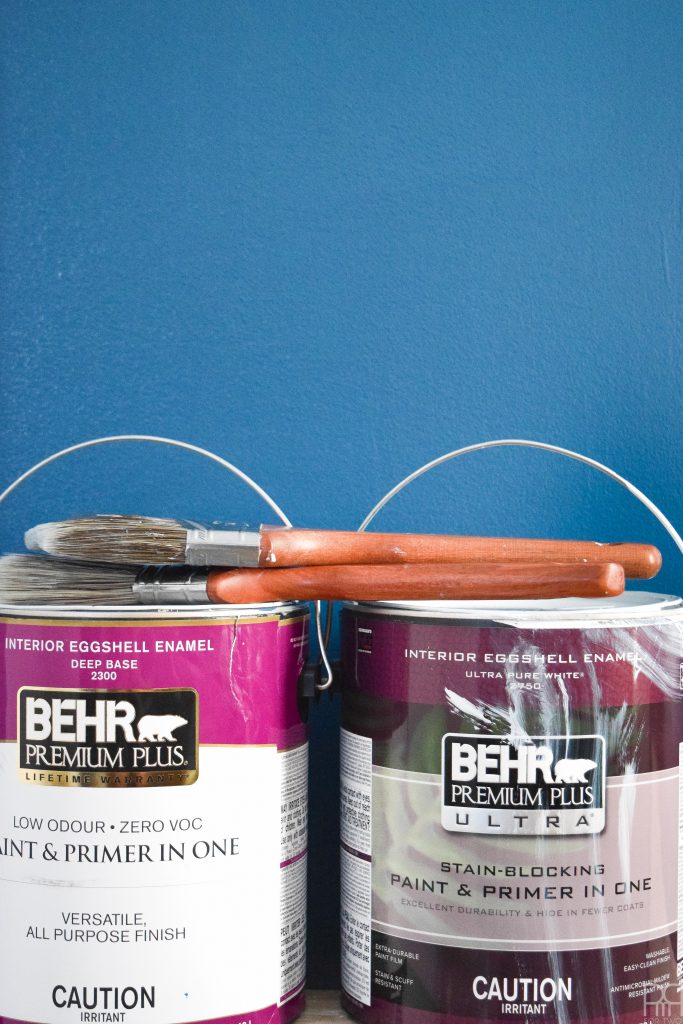
For the room we used
- 2 1/2 cans of Premium Plus Ultra paint to cover the yellowy cream walls with two coats, do all the windows, the door frame and the ceiling. It gave us excellent coverage and has really helped unify the room.
- 1/3 of a can of Behr Marquee for the accent wall in “the corner.”
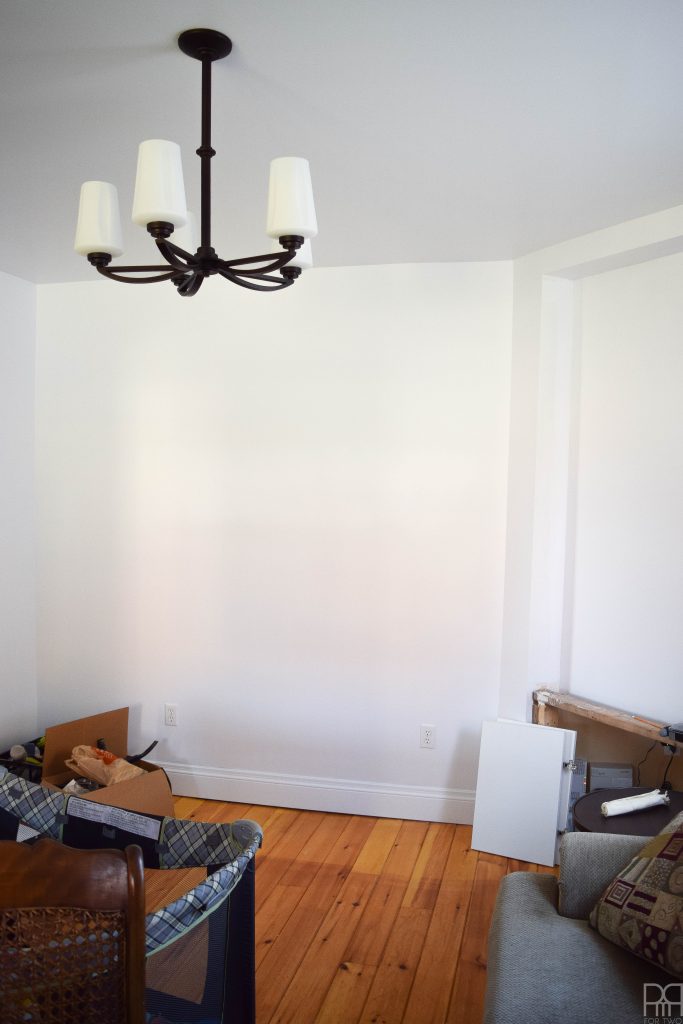
You could tell from the second the paint started pouring out of the can that it was the right colour for this space.

Once we started rolling-on the paint you could feel the room being propelled forward into the 21st century. By choosing to match the trim, baseboards, door frame and ceiling to the wall everything is uniformly coated and coloured. It looks really fresh and interesting.
The blue accent wall is giving me life though, like, in all seriousness I love it. You can see the “corner” coming to life, and how good it’s going to look with those beautifully stained wood shelves and the fireplace. We’ve got to instal the shelving, the cupboard doors and the fireplace on this wall still.
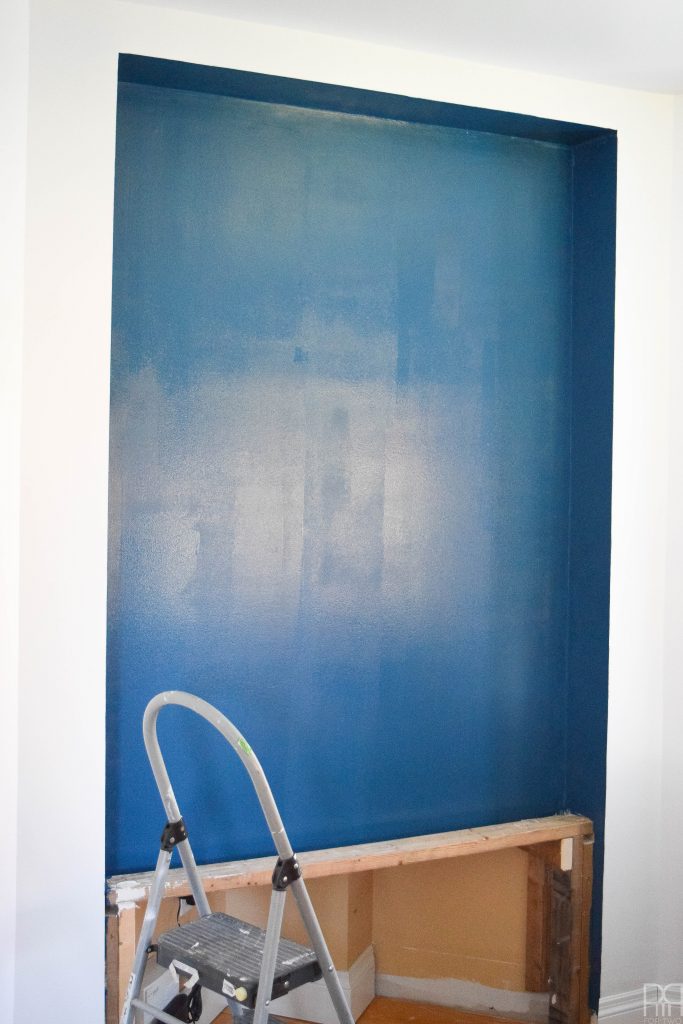
p.s this shot of the corner has wet paint, hence the sheen!
Because showing you an entire post about how we painted a room doesn’t make for compelling content, and I can’t “reveal” a room that isn’t ready, I thought I’d share some of my painting tips!
Painting tips:
- Don’t forget to patch and mud holes at least a day in advance to let them dry… not like how we did it…
- Don’t forget window frames, baseboards, architraves, and the ceiling. Hitting those elements goes a long way in pulling a room back from the brink, or in creating a fresh new canvas.
- You can save your rollers and brushes overnight if you stick them in a plastic bag wrapped tightly.
- Tape is great for super precise lines, and I highly recommend it when butting two colours against each other on a corner.
- The first coat can be ugly and messy, it’s the second and/or final coat that matters the most. Take the time to cut-in and roll with precision.
- Pushing everything into the middle of the room is the best way to protect it. DON’T FORGET to cover it all with a tarp though. You’d be surprised how much paint flies off a roller.
- Keep a little bit of extra paint for the end. Touch-ups a the last thing you do before unveiling a space.
Now that the space is painted, we’re looking at the following installation schedule for the remaining items on our to-do list:
Week 3: Re-upholstering a chair and recovering pillows for the room – mixing patterns
Week 4: Built-ins, shelving, a picture rail and the fireplace – Building the big stuff
Week 5: Styling the space with a rug, lighting and art
Week 6: The reveal – how it all comes together
As always, I’d like to thank our sponsors – without whom this edition of the One Room Challenge would not be possible.