This project isn’t anything new, but it’s good fun, relatively easy, and can be made to customize your seasonal decor. I am so glad I was able to use such a beautiful range of fabrics to make these pumpkins, because the quality made all the difference. Fabric pumpkins are still very much on trend, so I’m not worried about missing the boat with this one.
Mine are a mix of velour and patterned fabrics from Fabric.com and the various brands they cary. If I wanted I could have done an entire range in just velours and it would have looked just as sexy.
*Fabric.com sponsored this post, but all thoughts are my own. Thank you for supporting the brands that make PMQ for two possible.


I made all of these in an afternoon while listening to a podcast (which is what I’d call a great day) so these fabric pumpkins could easily be made while watching TV or over the course of a weekend. As such, I think you should definitely place an order with your pics from Fabric.com and get crafting before the season is out!
*The following product links contain affiliate links. Thank you for supporting the brands that make PMQ for two possible. For my full policies click // here //
Materials
- 1/4 yard fabric per set of pumpkins (you can get 2 out of a standard width bolt) I used:
Antique Velvet Olive Green,Cotton + Steel Lil’ Monsters Sugar Pink,Jaclyn Smith 02633 Upholstery Velvet Coral, - Scissors
- Rice or hard beans -anything to help weigh down the base of the pumpkins
- Batting or craft finer stuffing
- Needle and thread. If you use regular thread, double it. You can also use dental floss or upholstery thread.
- Hot glue gun
- Pumpkin stems – I used stems from cheap dollar store pumpkins and just pulled them out.
- Tassels (from Woman Shops World) are optional but highly recommended. There’s a great 10 tassels deal // here //


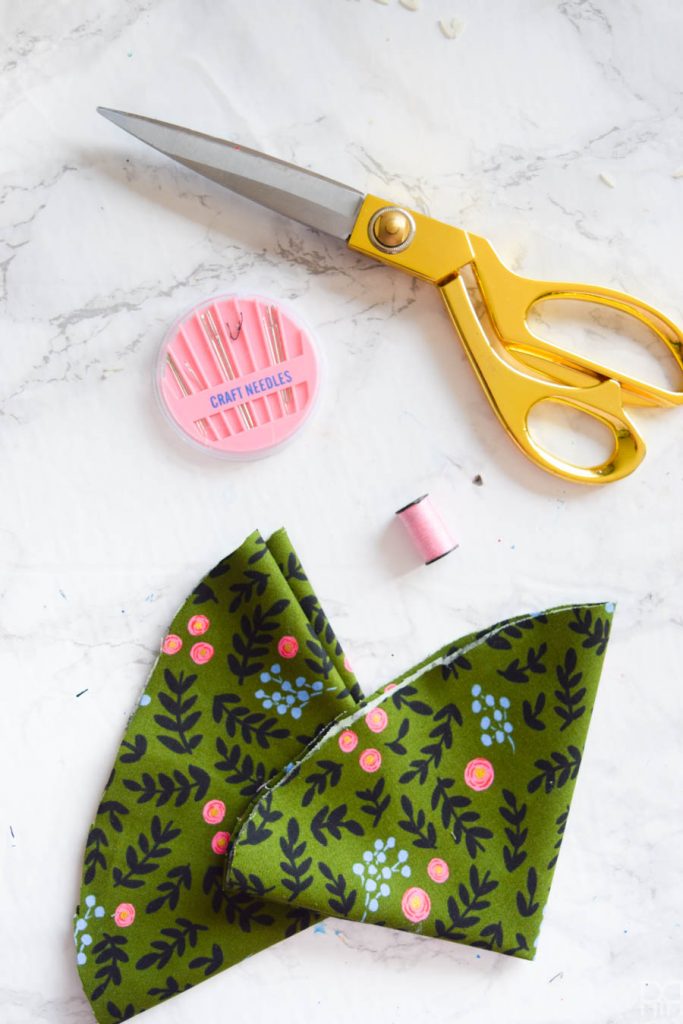
Step 1: Chose your fabric and cut it in a circle. To make it easy on myself I cut the fabric in giant squares, folder them twice and trimmed the pieces so that they would look like pizza slices.
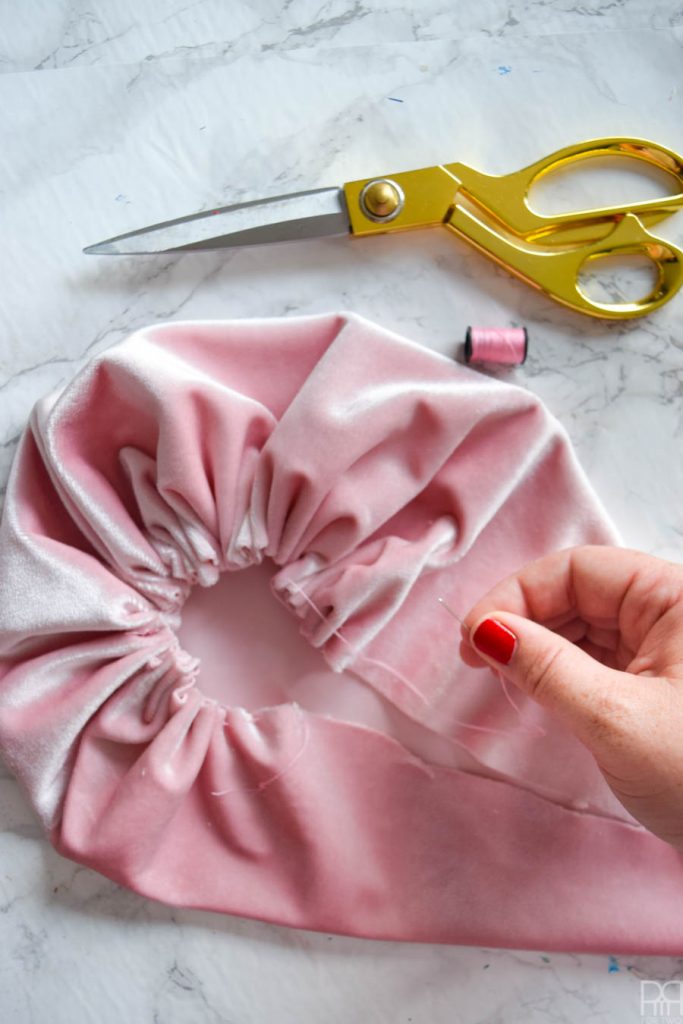
Step 2: Using your thread and needle, start gathering the edge of the circle like an accordion. You want to be able to draw the bag closer once you’ve threaded around the entire edge of the fabric.
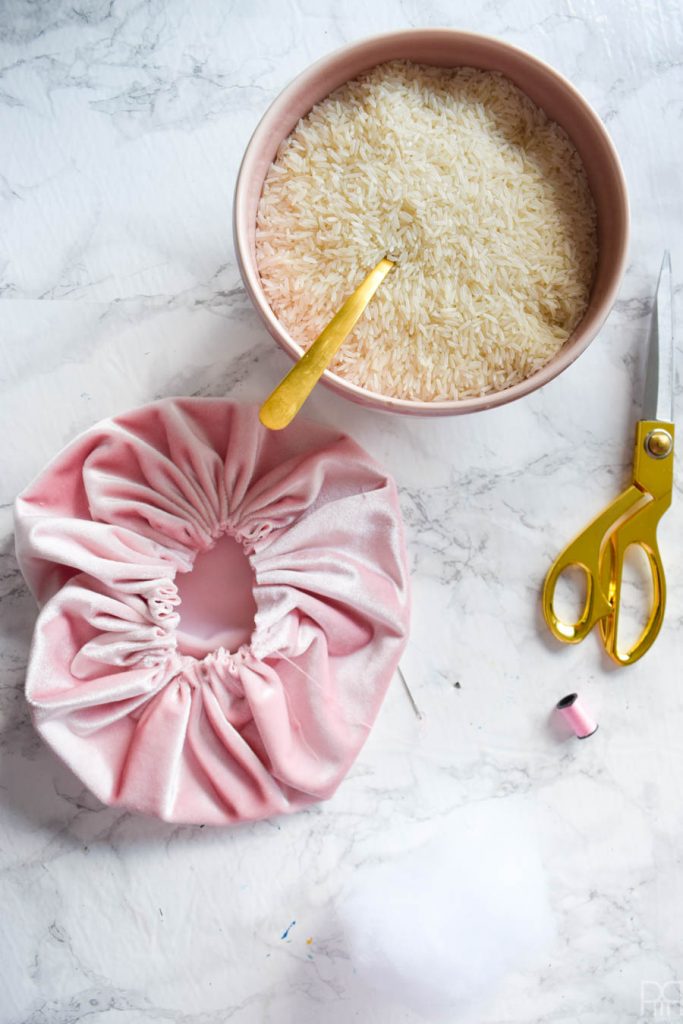
Step 3: Once you’ve sewn around the entire circle, gathering it into a pseudo pouch with an opening, spoon in some rice. You want it to be enough to weigh down the pumpkin, but you don’t want it to be all rice. There’s a fine line for each size and you’ll find it. There’s at least a 1/4 cup in the small ones I made though.
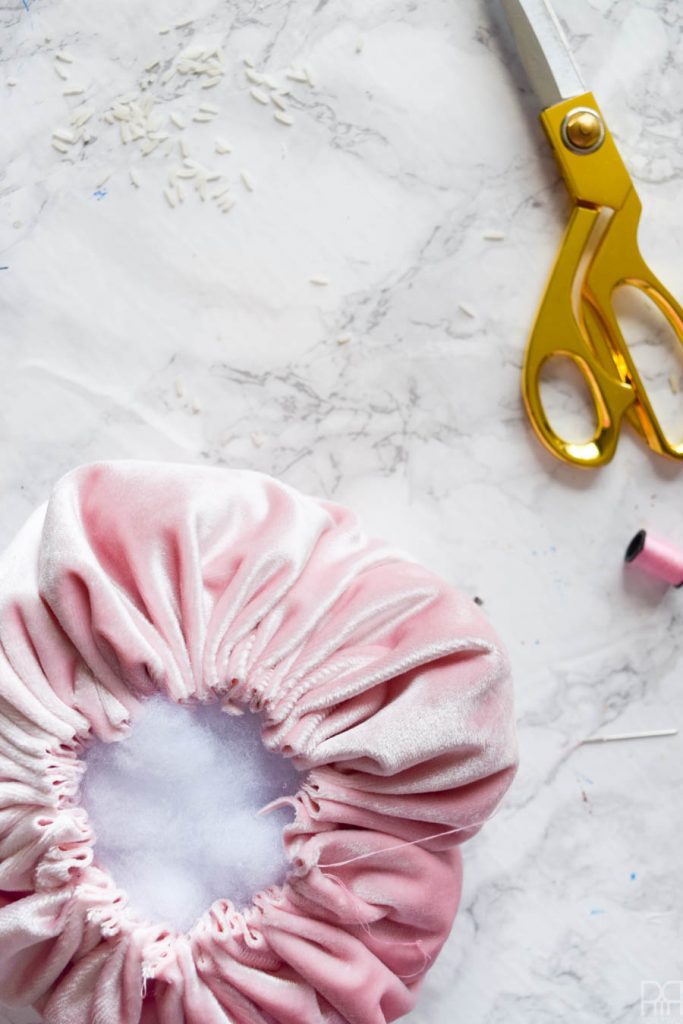
Step 4: Next, fill your pumpkin with batting fibre. Stuff that sucker full, but not to the point where you bust open the stitches. I added mine in pieces as opposed to all at once.
Step 5: Once you’re satisfied with the plushness of your pumpkin, pull the thread and needle to draw the opening closed. You can use the remaining thread to dart across the opening in all directions in an attempt to keep it closed tightly.
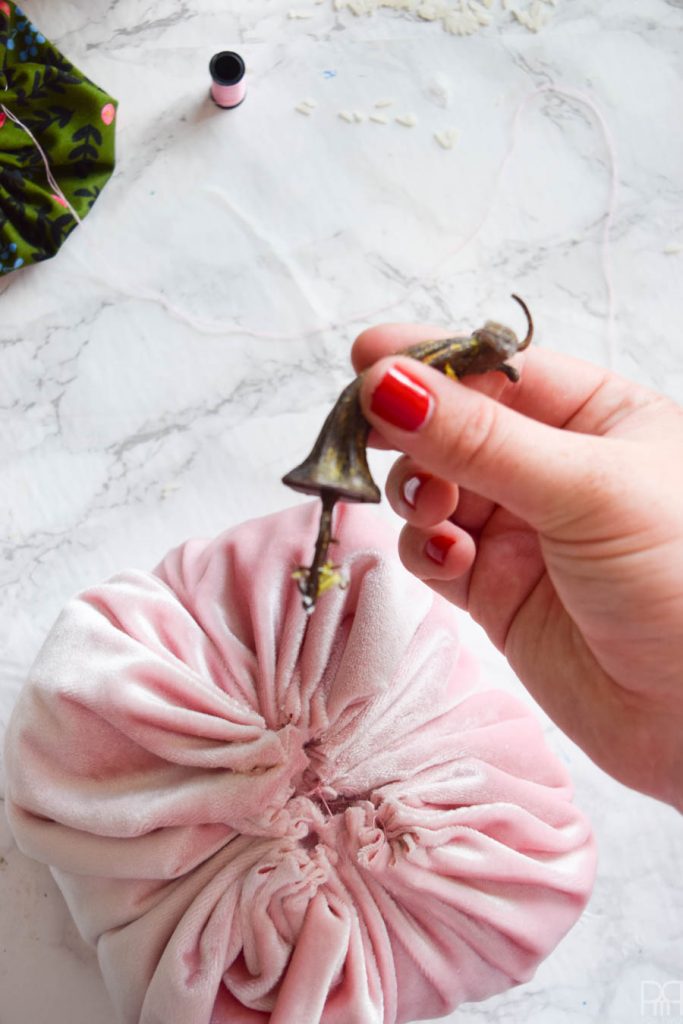
Step 6: Apply a large gob of hot glue to the – now small – opening, add your pumpkin stem and then gather any lose ends underneath it and hold it firmly until dried.
Step 7: Repeat with as many pumpkins as you can and want!


As you can see, DIY fabric pumpkins are not hard to make. The are few steps, the process is simple and the results are stunning. I’ve been looking for an excuse to bring the Rifle Paper Co. fabrics into my fall decor and this was the best way!