


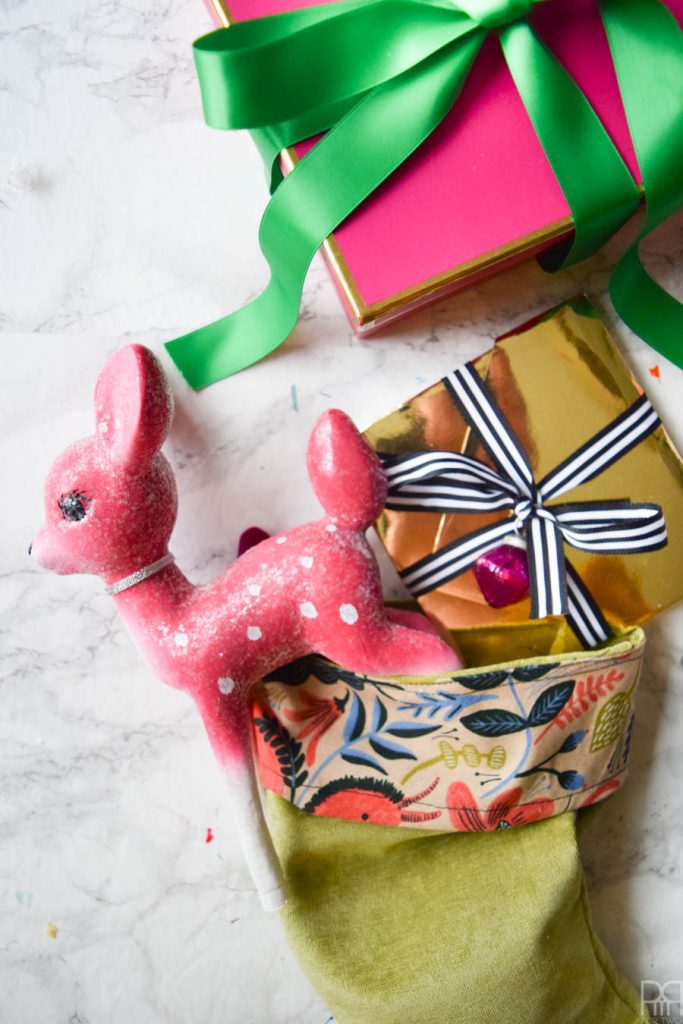
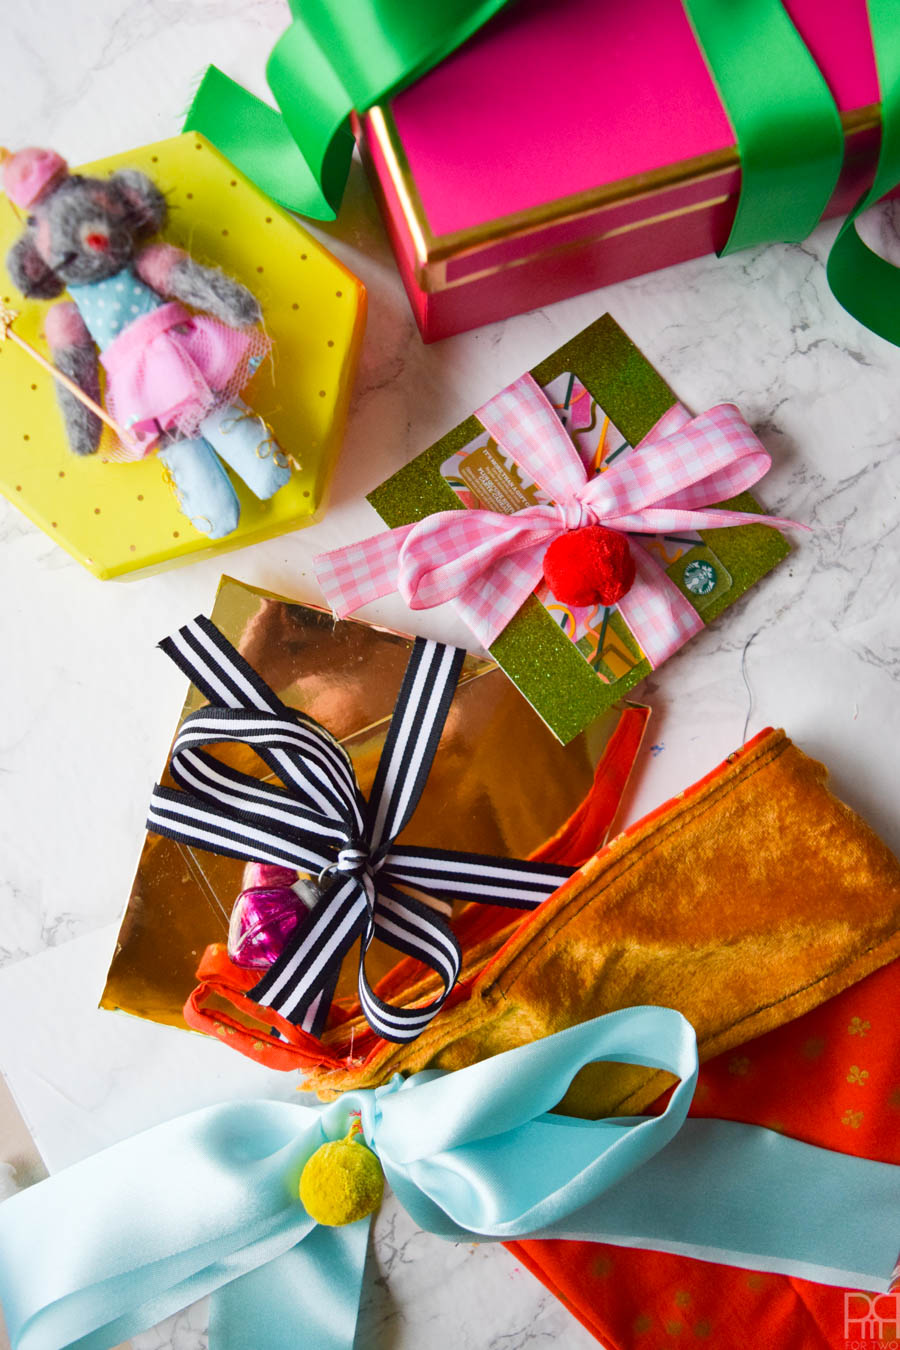
Do you guys remember my super cute and sentimental story about why we still use the Christmas stockings we purchased 5 years ago? (you can catch that // here //) Well, while those are super fun, I wanted to try my hand at making some this winter so I made my own DIY Colourful Christmas Stockings using fabrics from Fabric.com. I’ll be treating these much as I would with any other piece of Christmas decor, and maybe even as gift bags too.
p.s big thanks to Shannon for organizing this crafting hop – make sure you scroll to the bottom for 19 other fun Christmas projects.
*Fabric.com sponsored this post, but all thoughts are my own. Thank you for supporting the brands that make PMQ for two possible.

I always fall in love with the beautiful and ornate stockings in HomeSense, but I’ve always felt that I could make a version that was perfect for my home and match-up colour wise.
I ordered a lot of fabric from Fabric.com earlier this fall for a variety of projects and made sure to keep some extra yardage to make stockings (and maybe a tree skirt). While I haven’t gotten around to much sewing this holiday season, I was glad to be able to sit down and make these in a few hours.
Plaid Tablescape // Fabric Pumpkins // Halloween Tablescape // Astrology Coasters
Sidebar: I don’t sew much, but I know the basics. Somehow every time I’m in a hurry though, the thread bunches up, the needle breaks, I end up having to re-thread the bobbin like 6 times, and then I sew something incorrectly. Does this happen to anyone else? No? just me?
*The following product links are affiliate things. Thank you for supporting the brands that make PMQ for two possible.
Materials for DIY Colourful Christmas Stockings
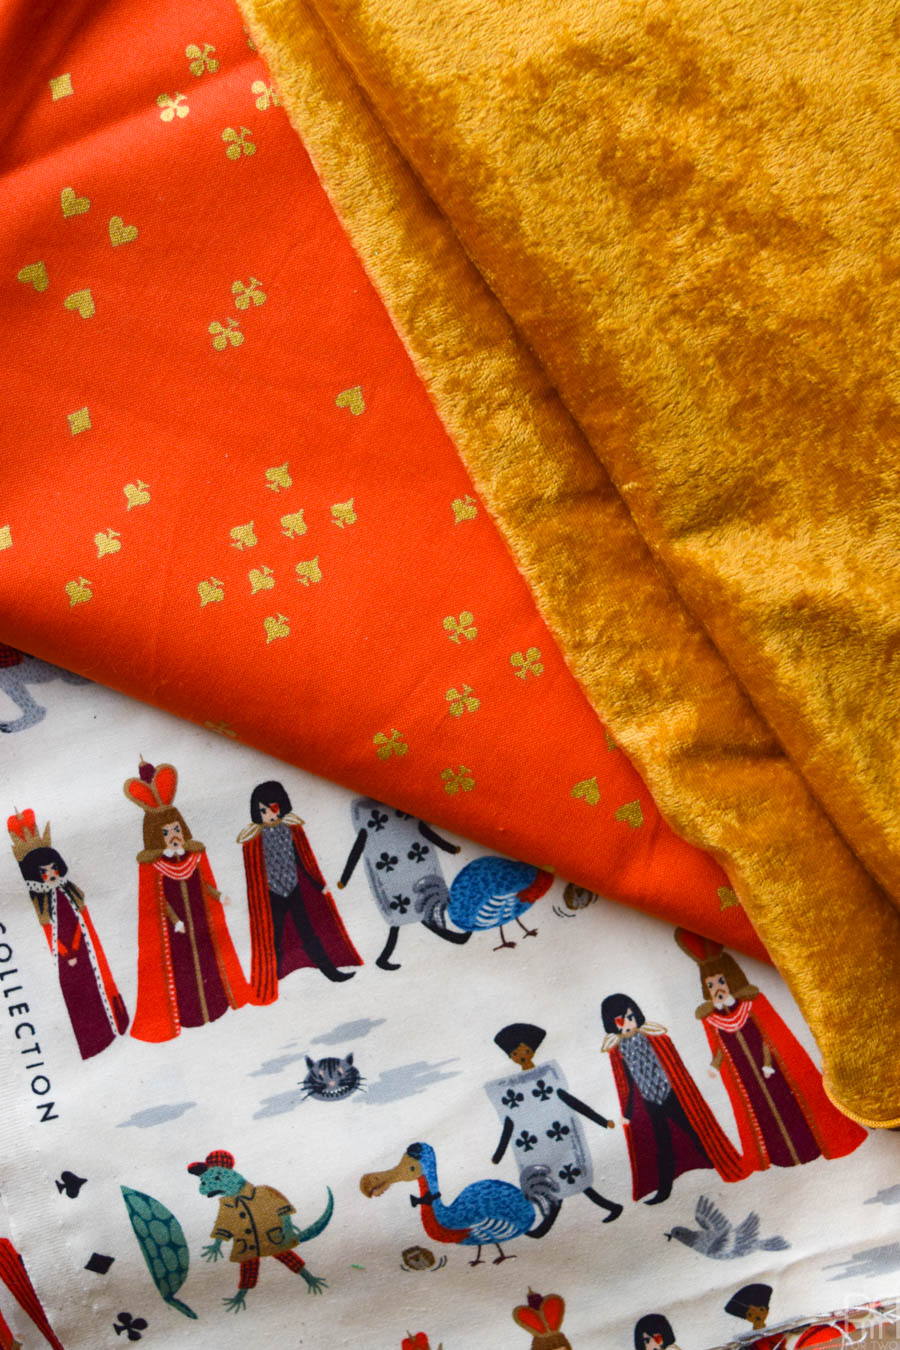
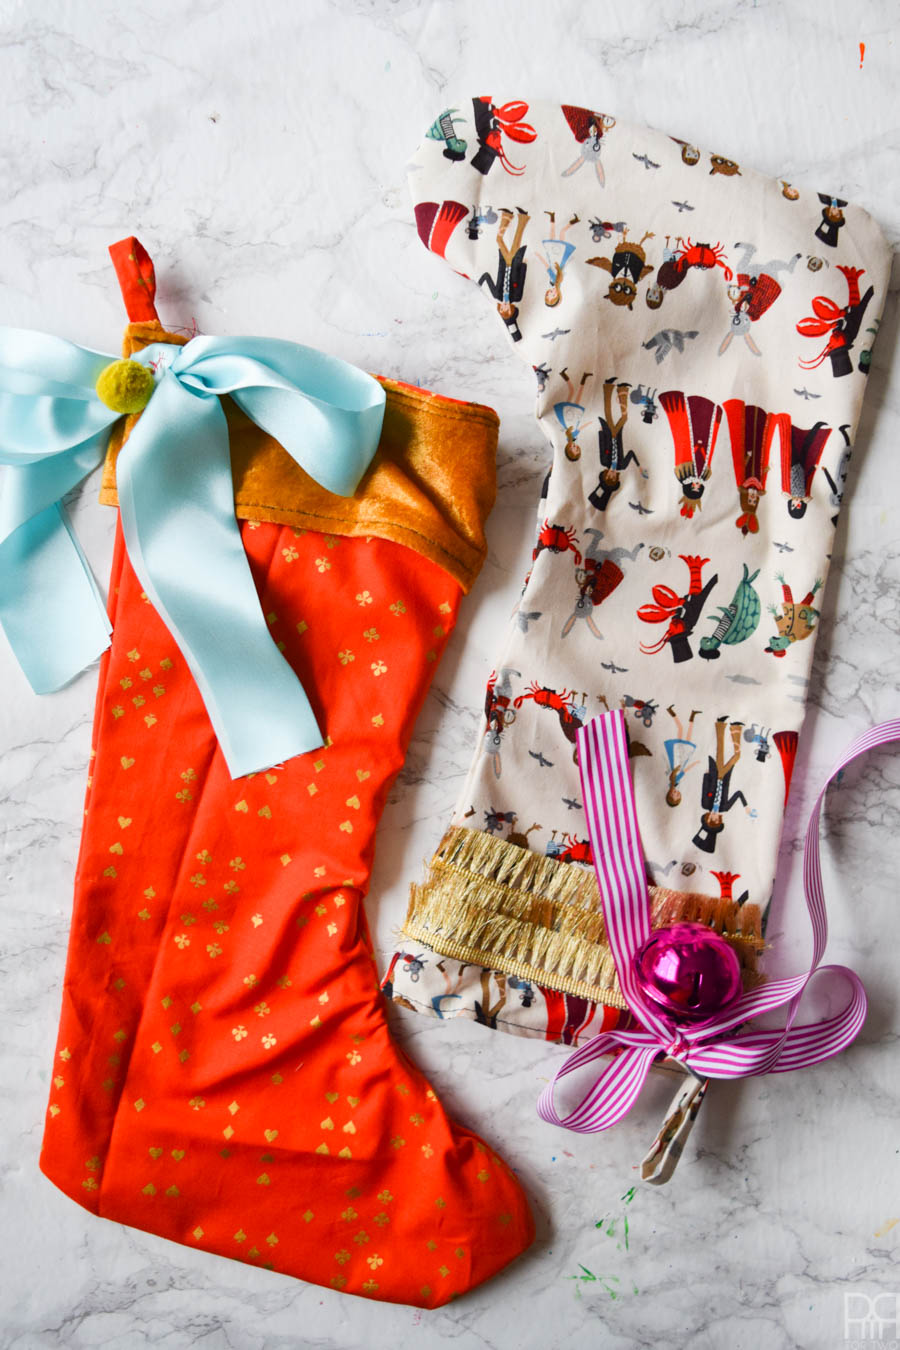
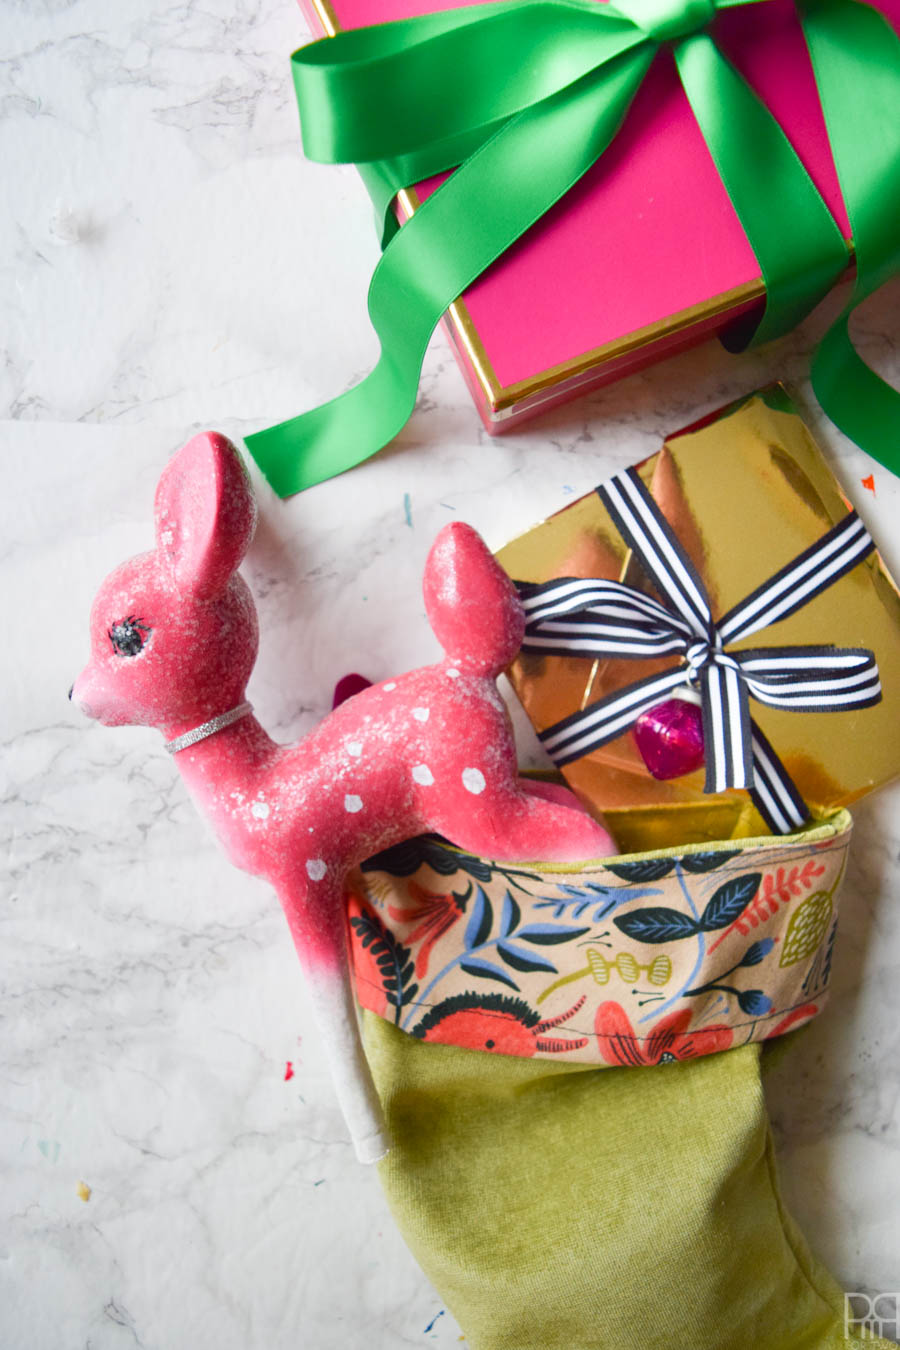
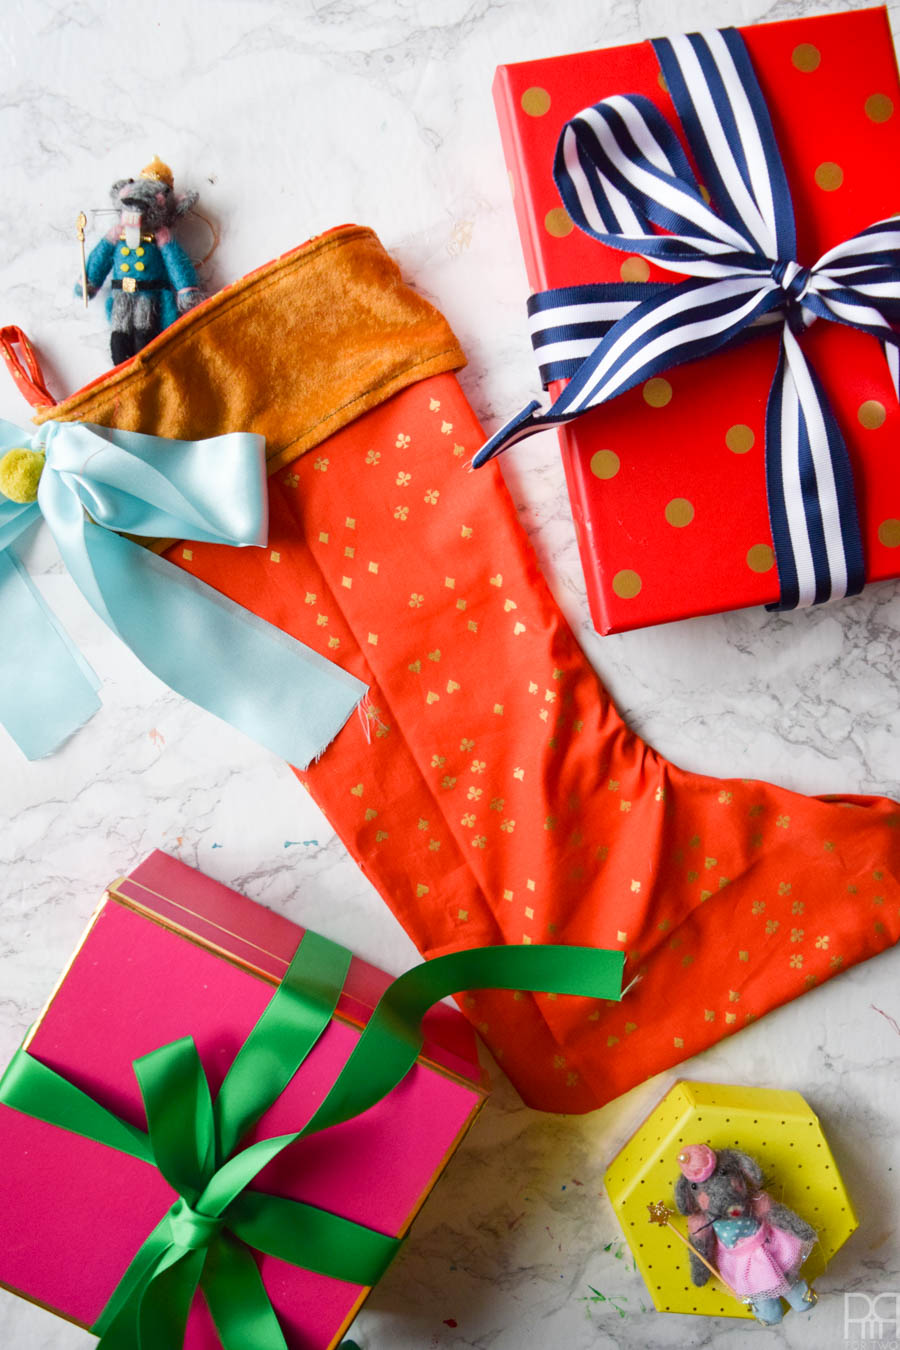
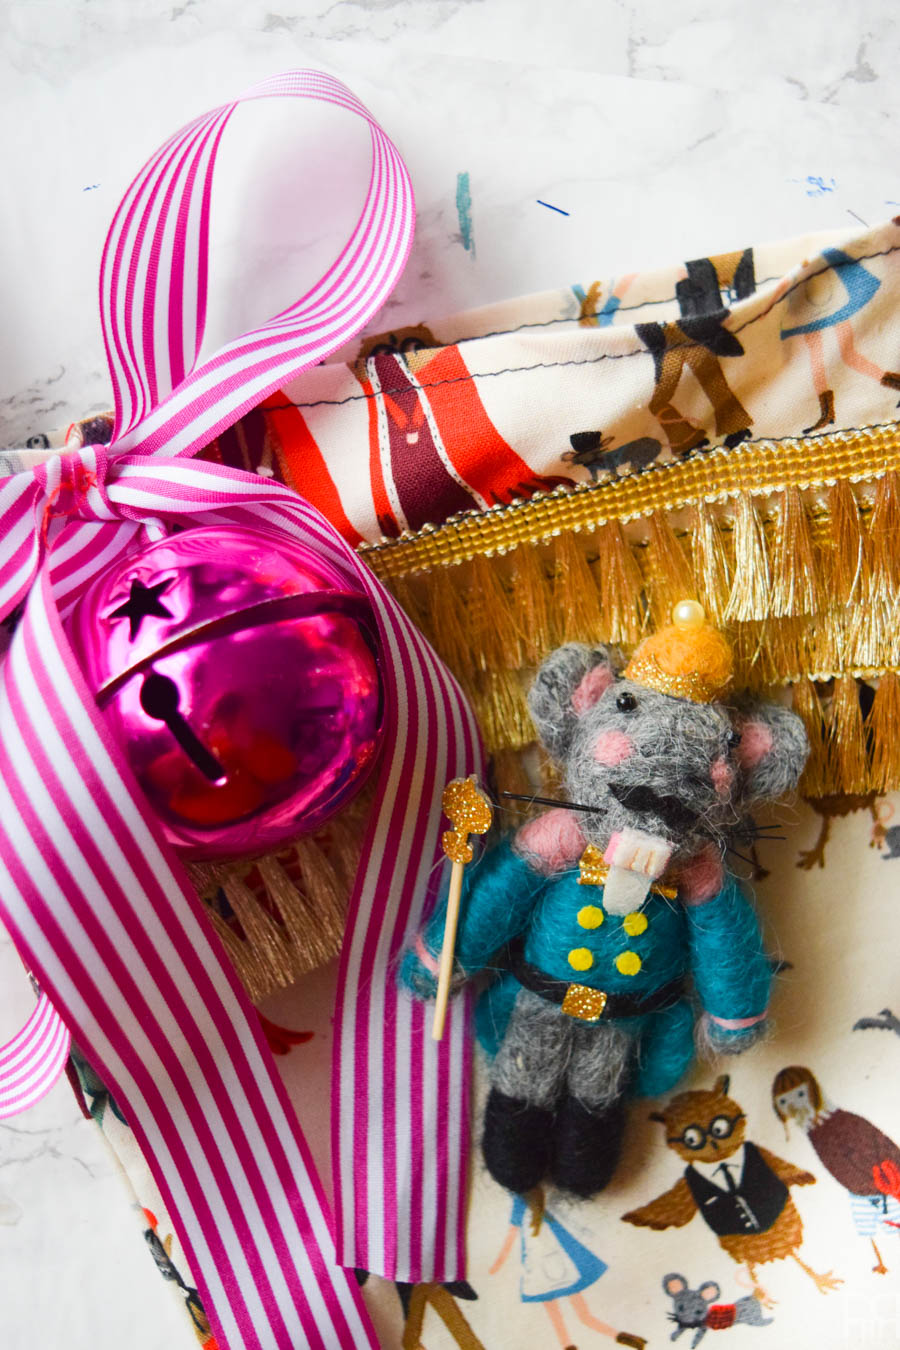
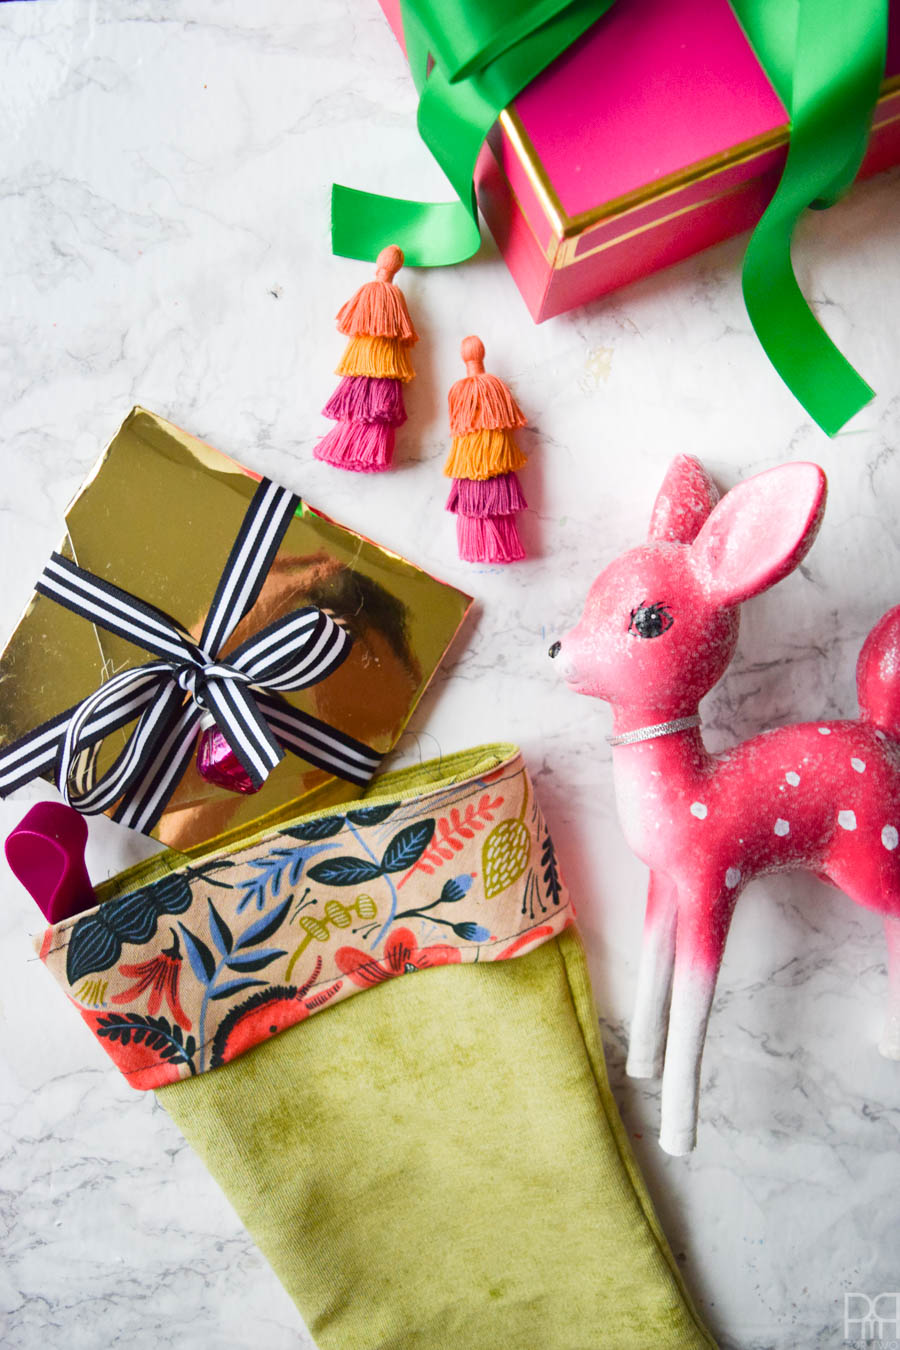
- 1/2 yard of fabric per stocking. I used: Antique Velvet Olive Green, Rifle Paper Co. Wonderland Procession Neutral, Rifle Paper Co. Wonderland Metallic Follow Suit Red, Stretch Panne Velvet Velour Soft Gold, Rifle Paper Co. Les Fleurs Canvas Folk Horse Coral.
- Sewing Machine
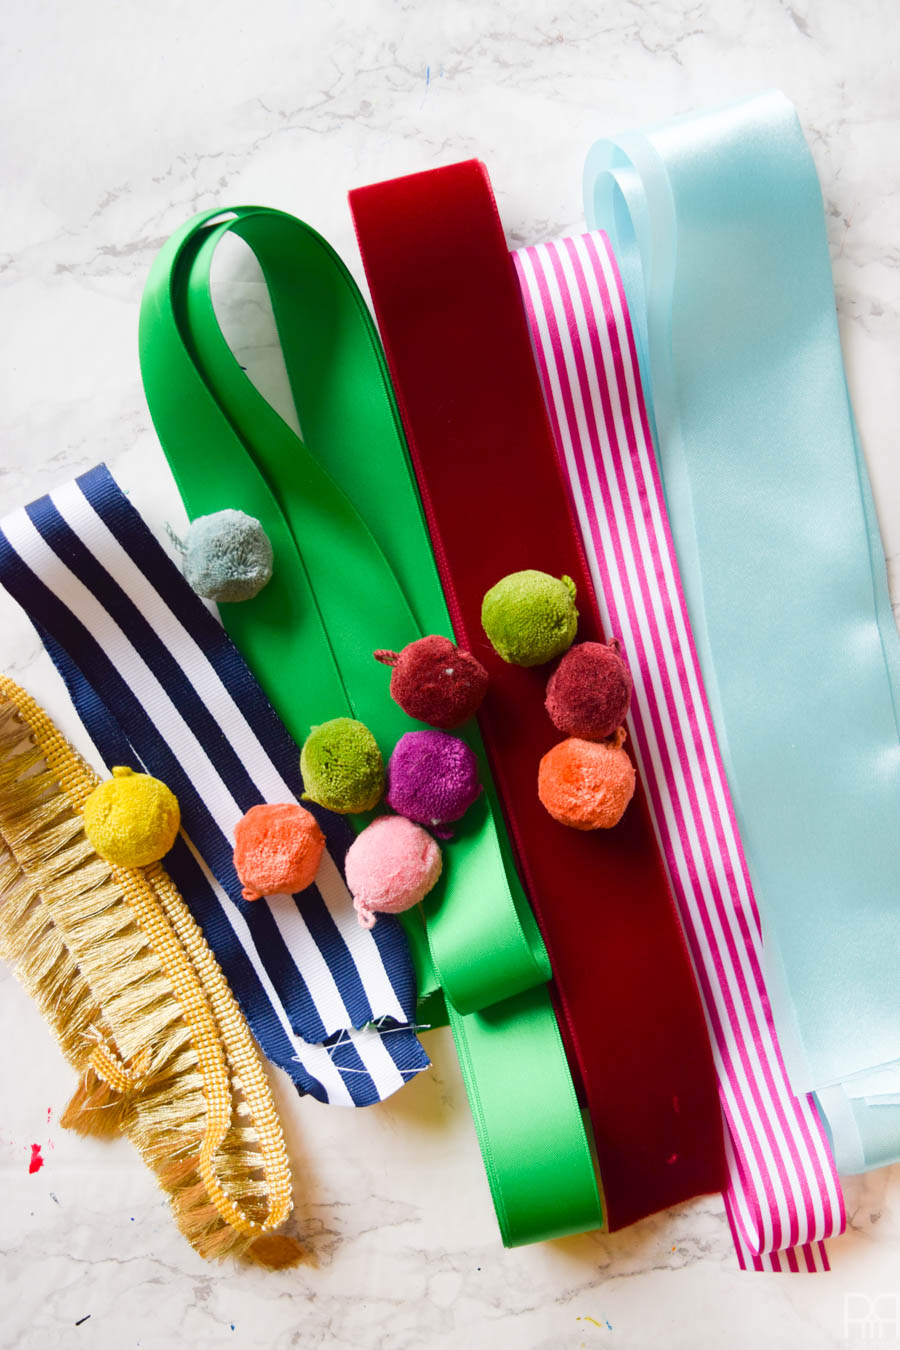
- Ribbons
- Scissors
- Pom Poms and Trim
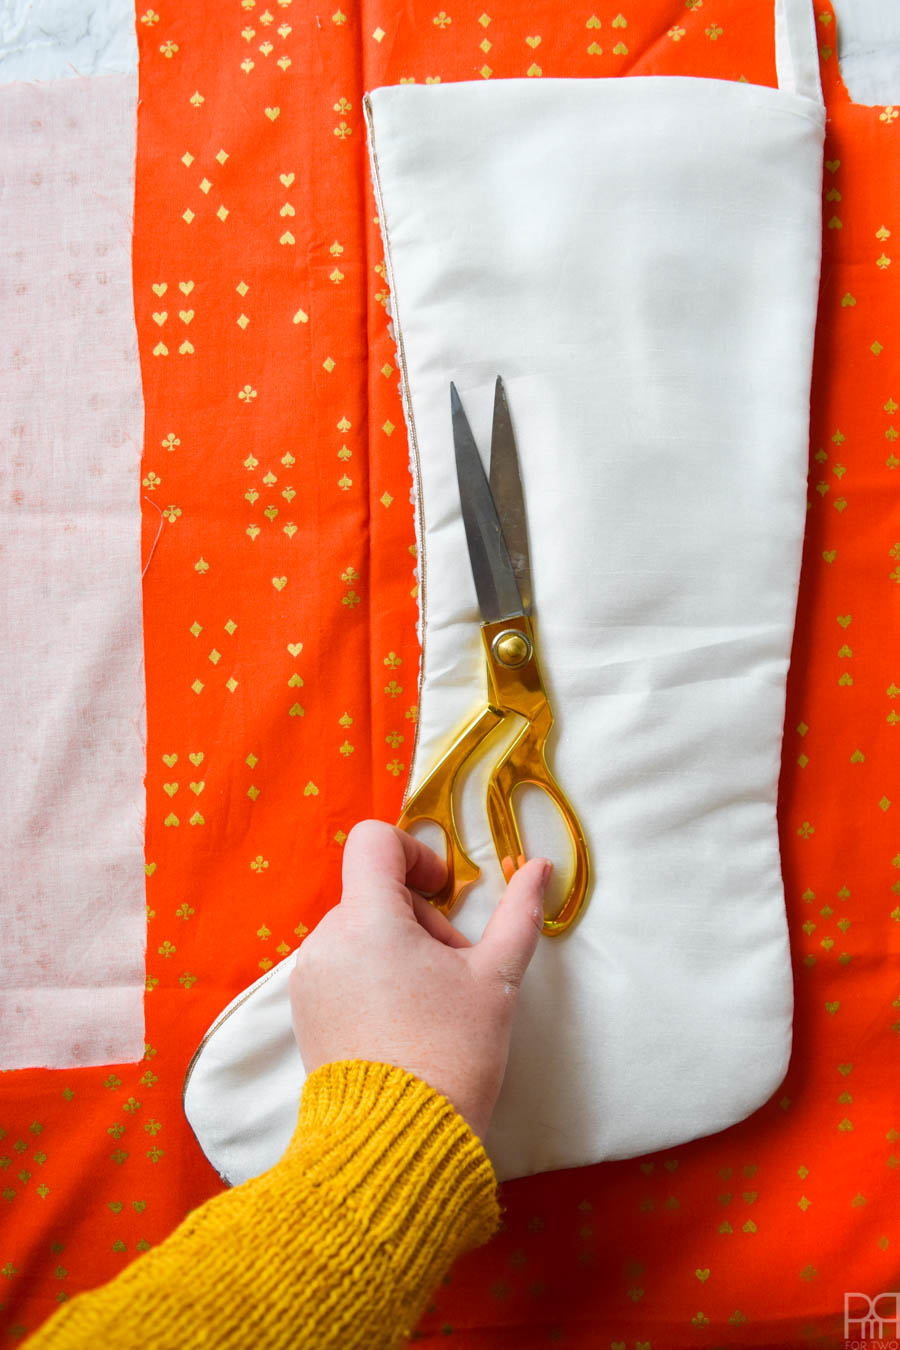
Step 1: Lay your fabric out and fold it over (so that it’s doubled up) and make sure you have enough width and height. Once you’re sure that stocking fits on top perfectly, trim the fabric.
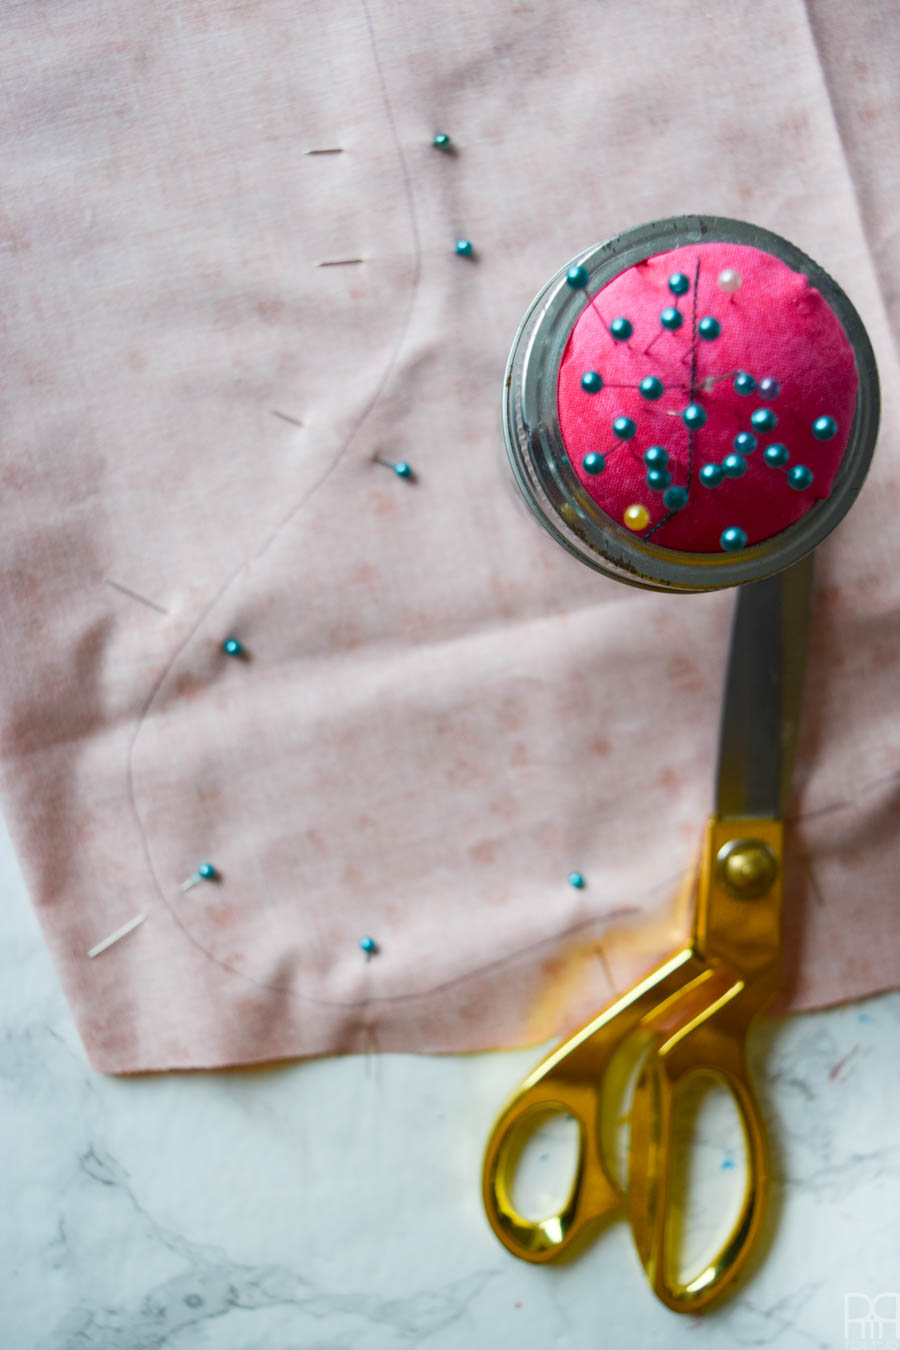
Step 2: Fold it inside out so that the underside of the fabric is facing out on both sides. Trace the stocking outline with a pencil (or light pen), and then pin along the outline.
Step 3: Trim the excess fabric around the outline of the stocking. I used the edge of the pins are the guide to make sure there was enough for a good seam.
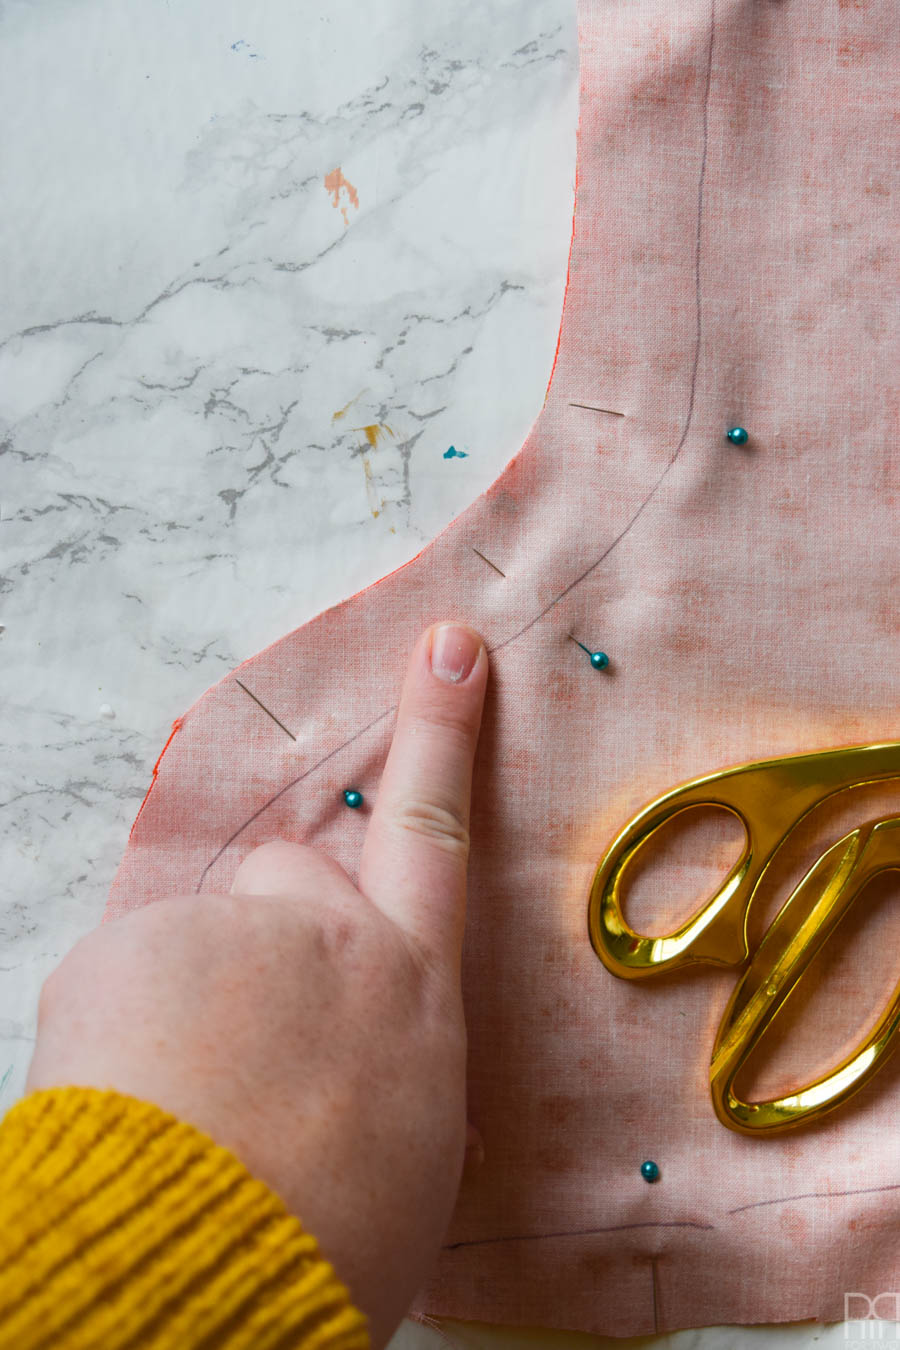
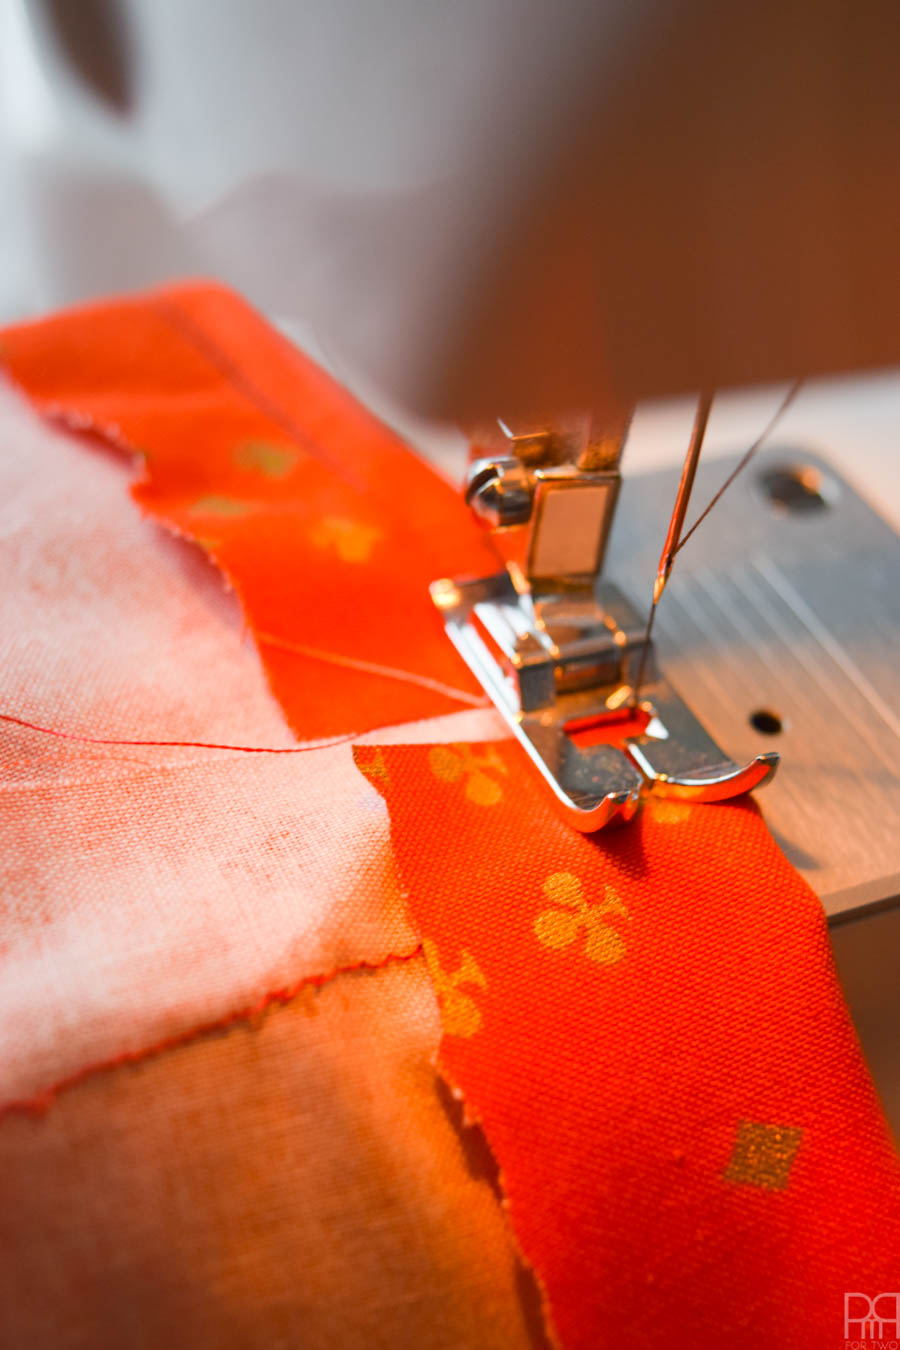
Step 4: Sew along the line you traced – MAKE SURE NOT TO SEW ACROSS THE TOP.
Take good care with the curves otherwise it will all look a little janky when you flip it inside out.
Step 5: For the top of the stocking, fold it over and sew along the top of the seem. When you pull it back out the right side it will look like a nice rolled hem.
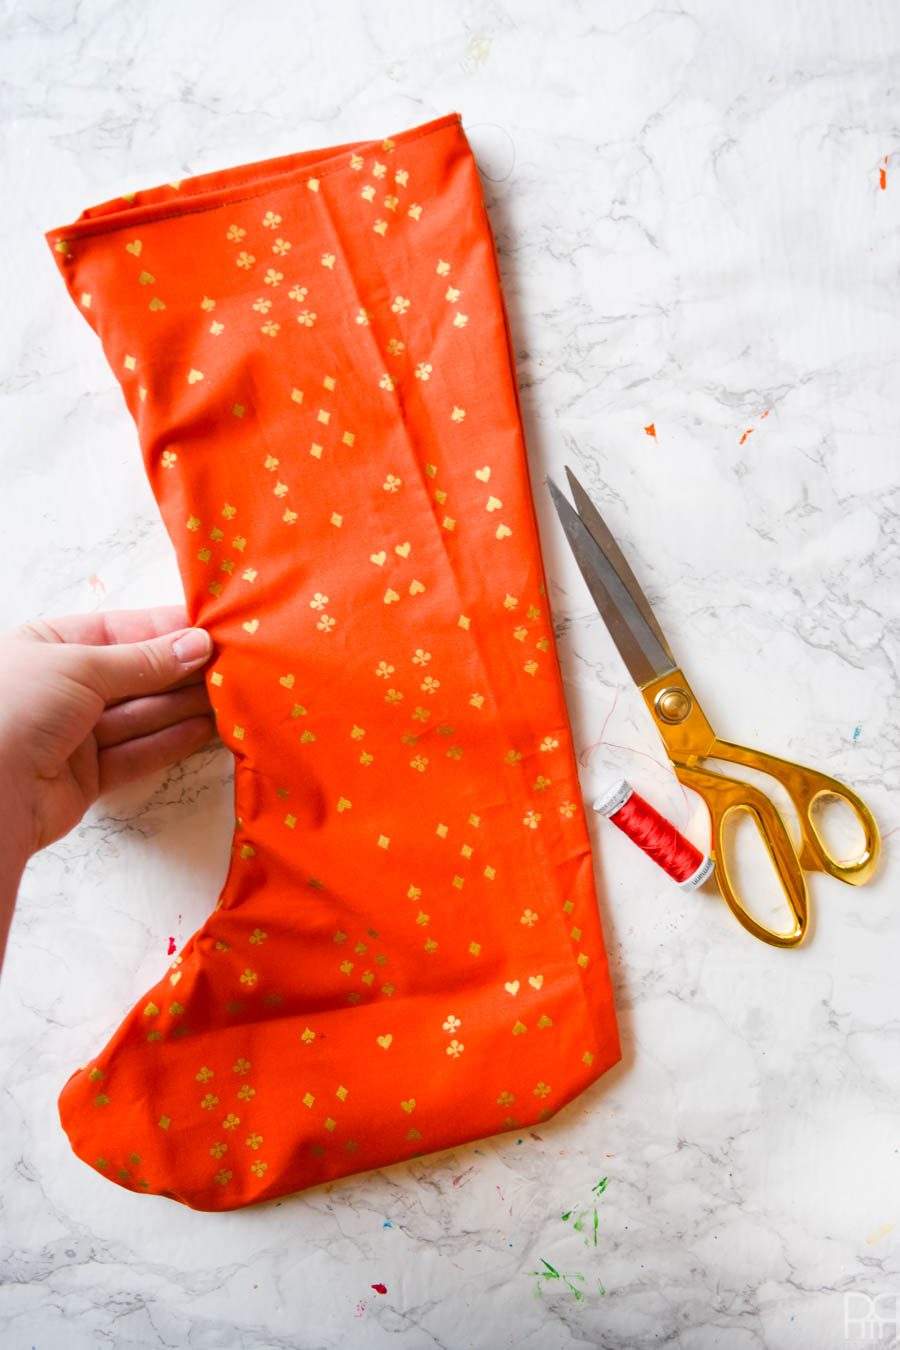
You could leave it as is, or ad a trim around the top and a big bow 😉
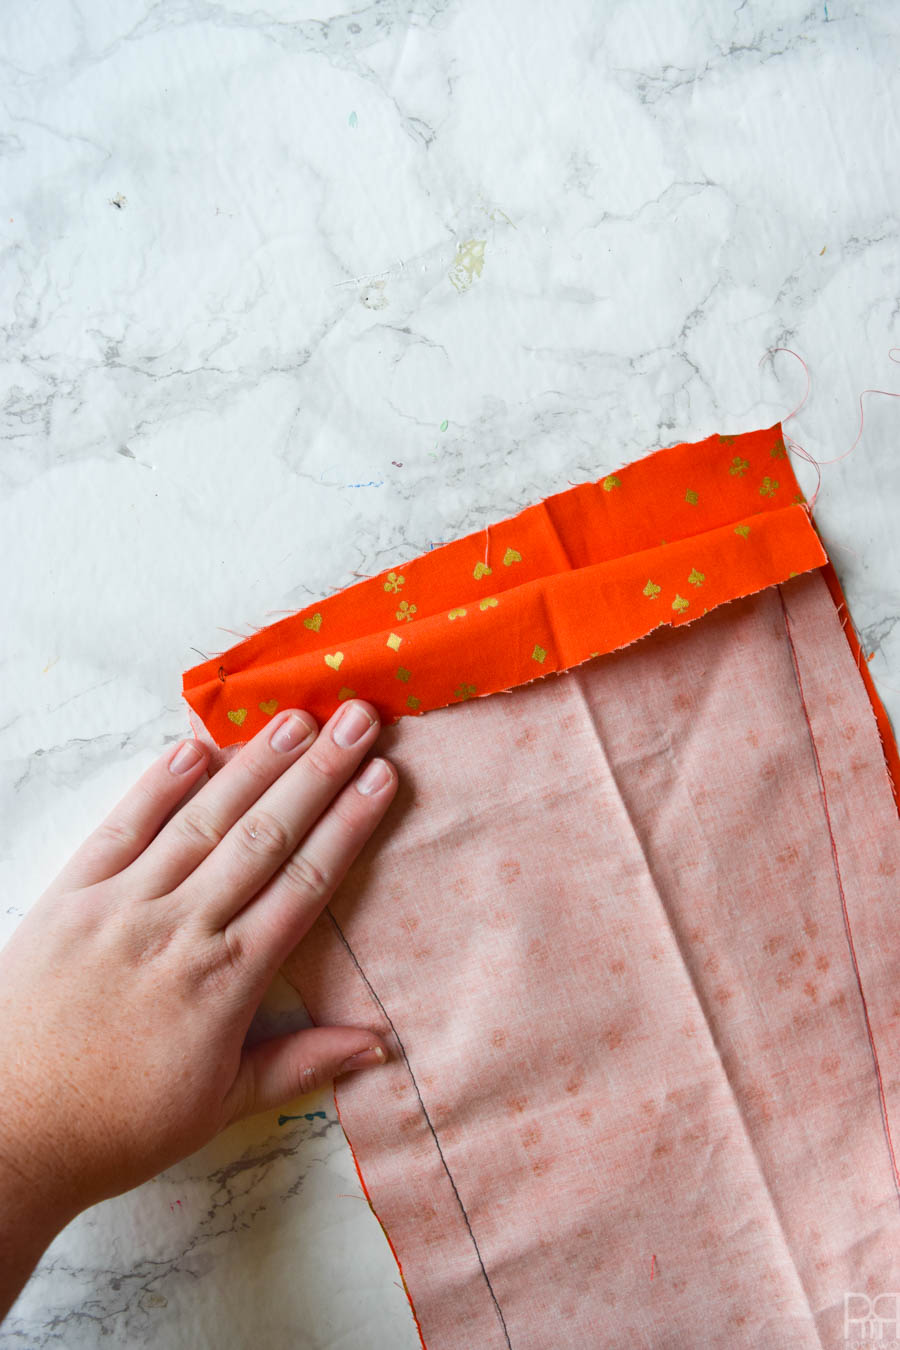
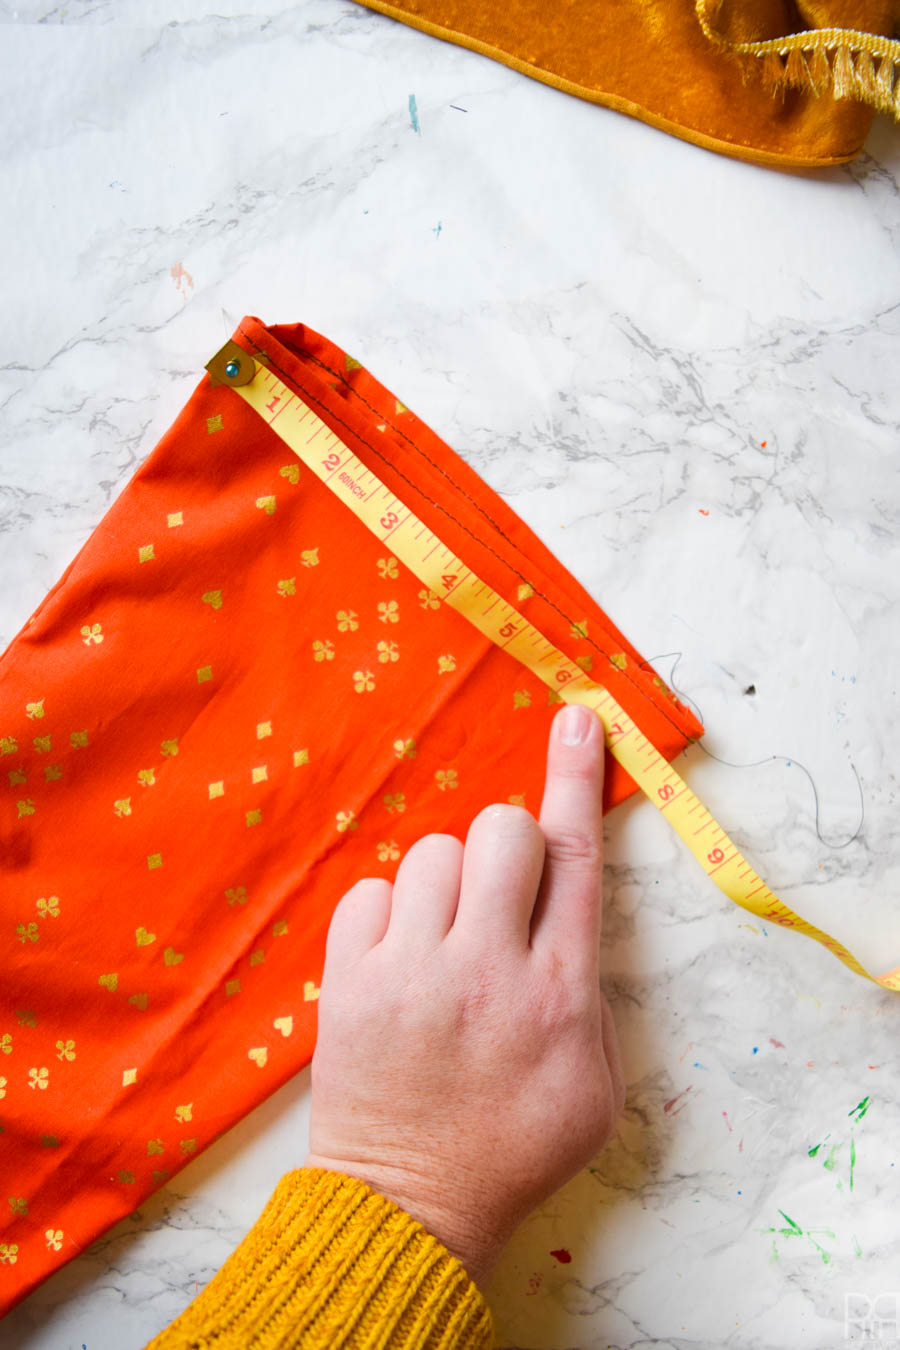
Step 6: Pick a complimentary fabric and cut a 5″ x the circumference of your stocking opening (in my case 16″) piece of fabric. Pin it so that the piece is actually 3″ wide with a 1″ seam on the top and bottom. Sew along the long edges.
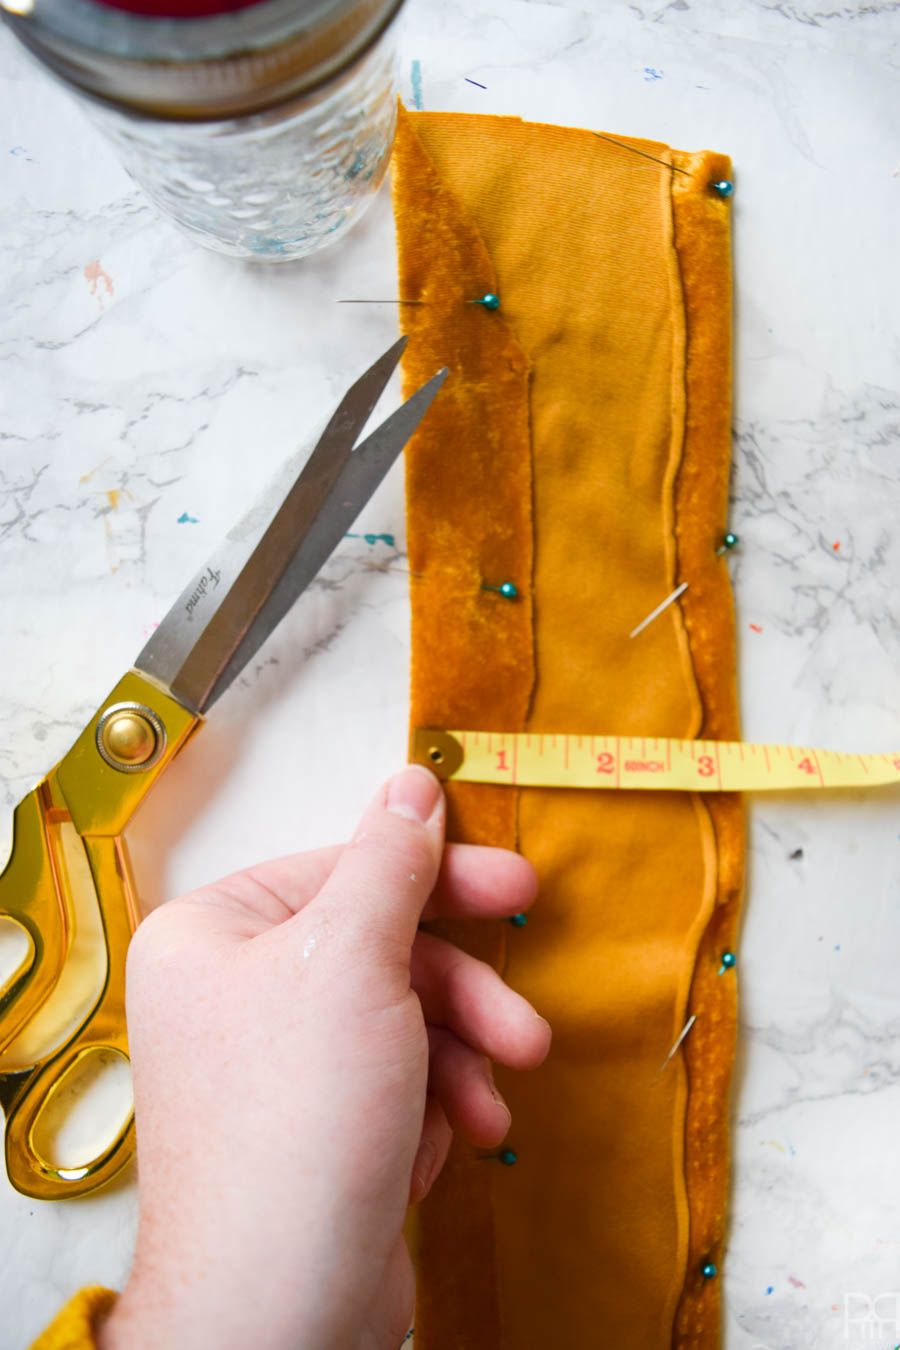
Step 7: Pin the piece along the opening of the stocking, and then sew along the top.
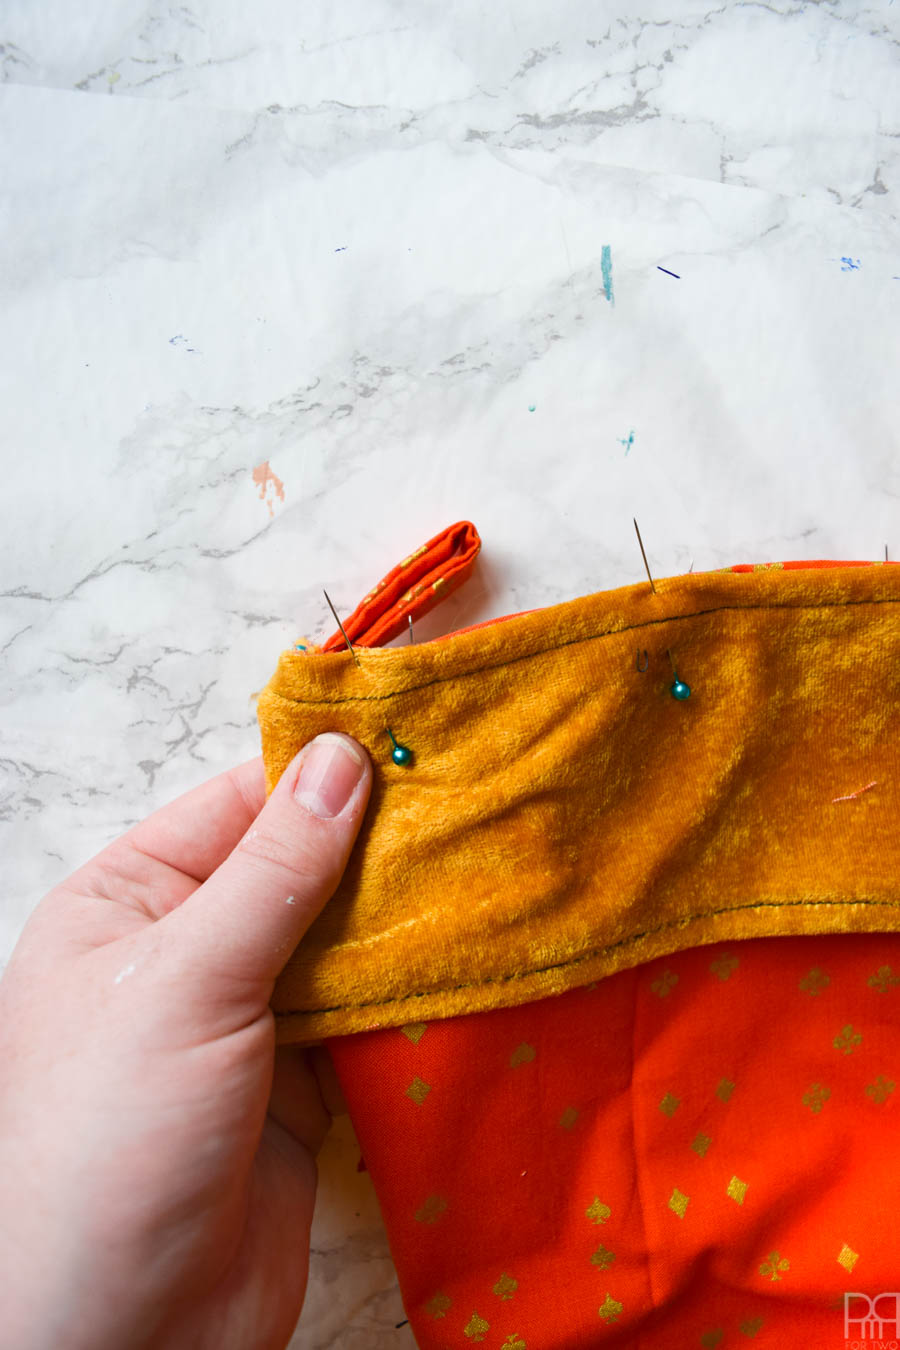
While you’re adding this piece, add a loop on the back of the stocking to hang it. I made a loop using some scrap fabric, but you could use ribbon.
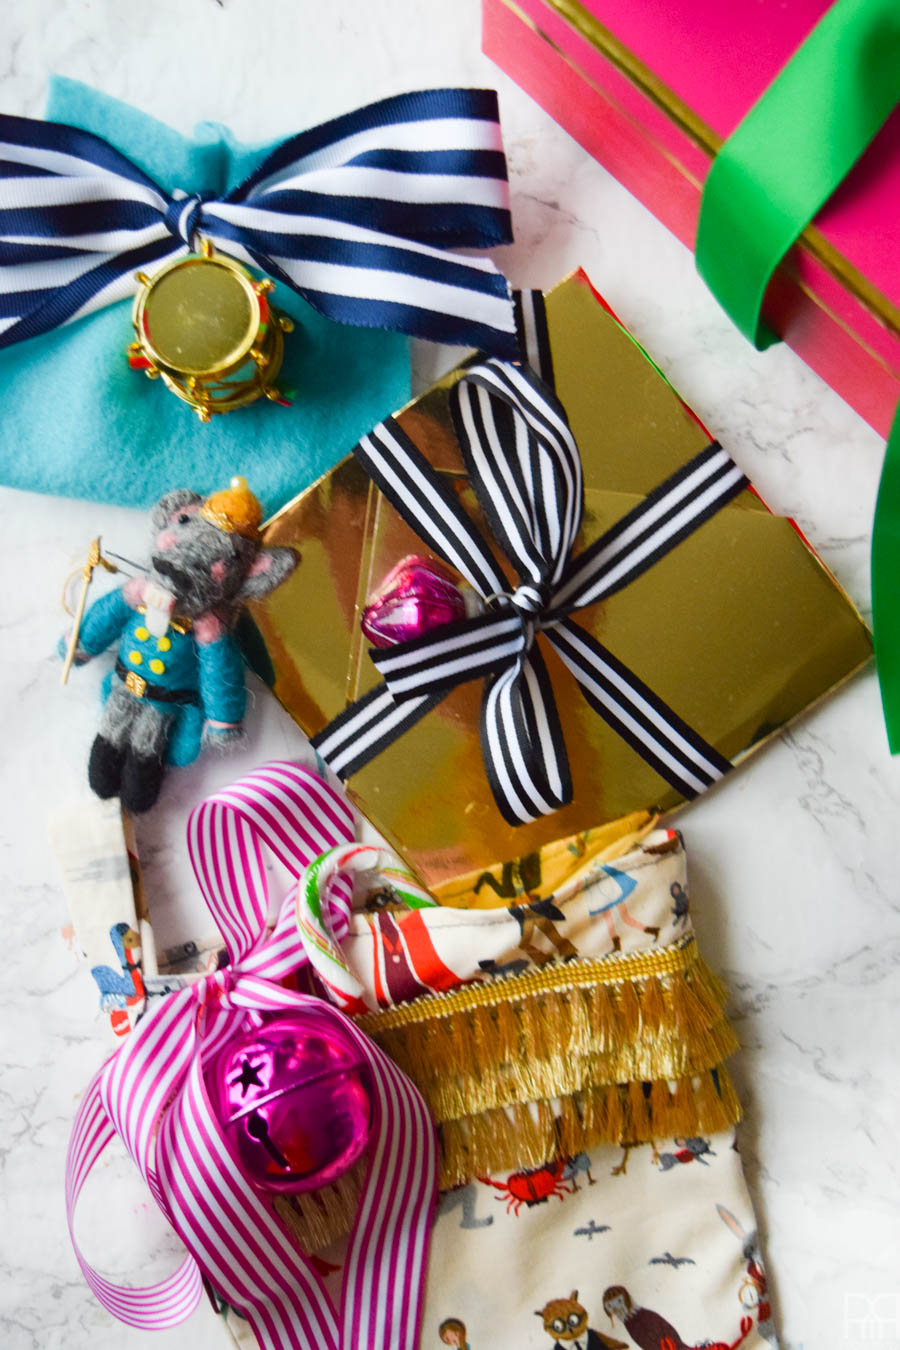
Step 8: Embelishment! This is always my favourite part of any craft – adding fun bits that make the piece unique. Each of the stockings I sewed is different, but this one with the bow was super easy.
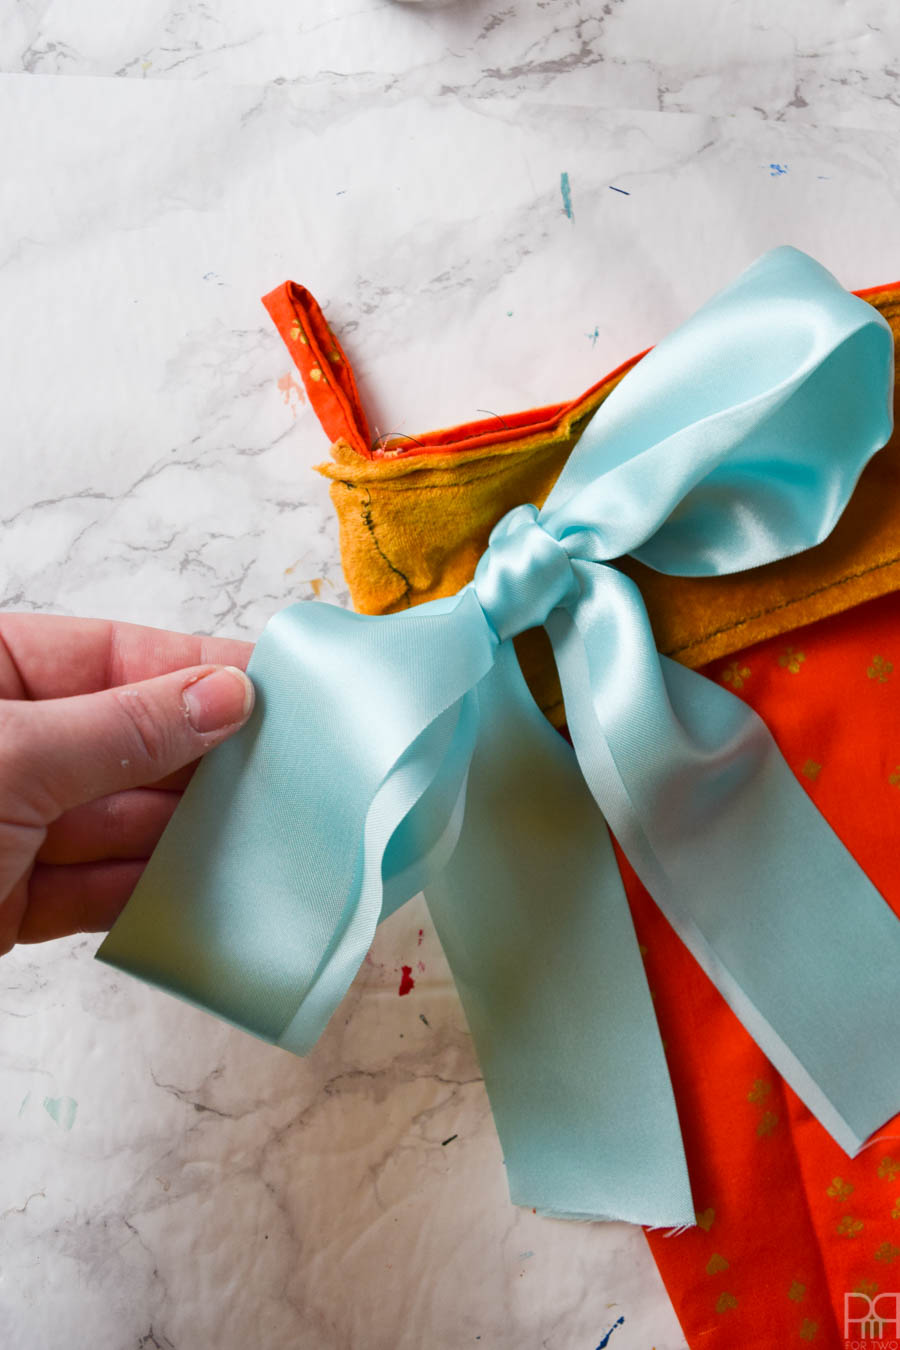
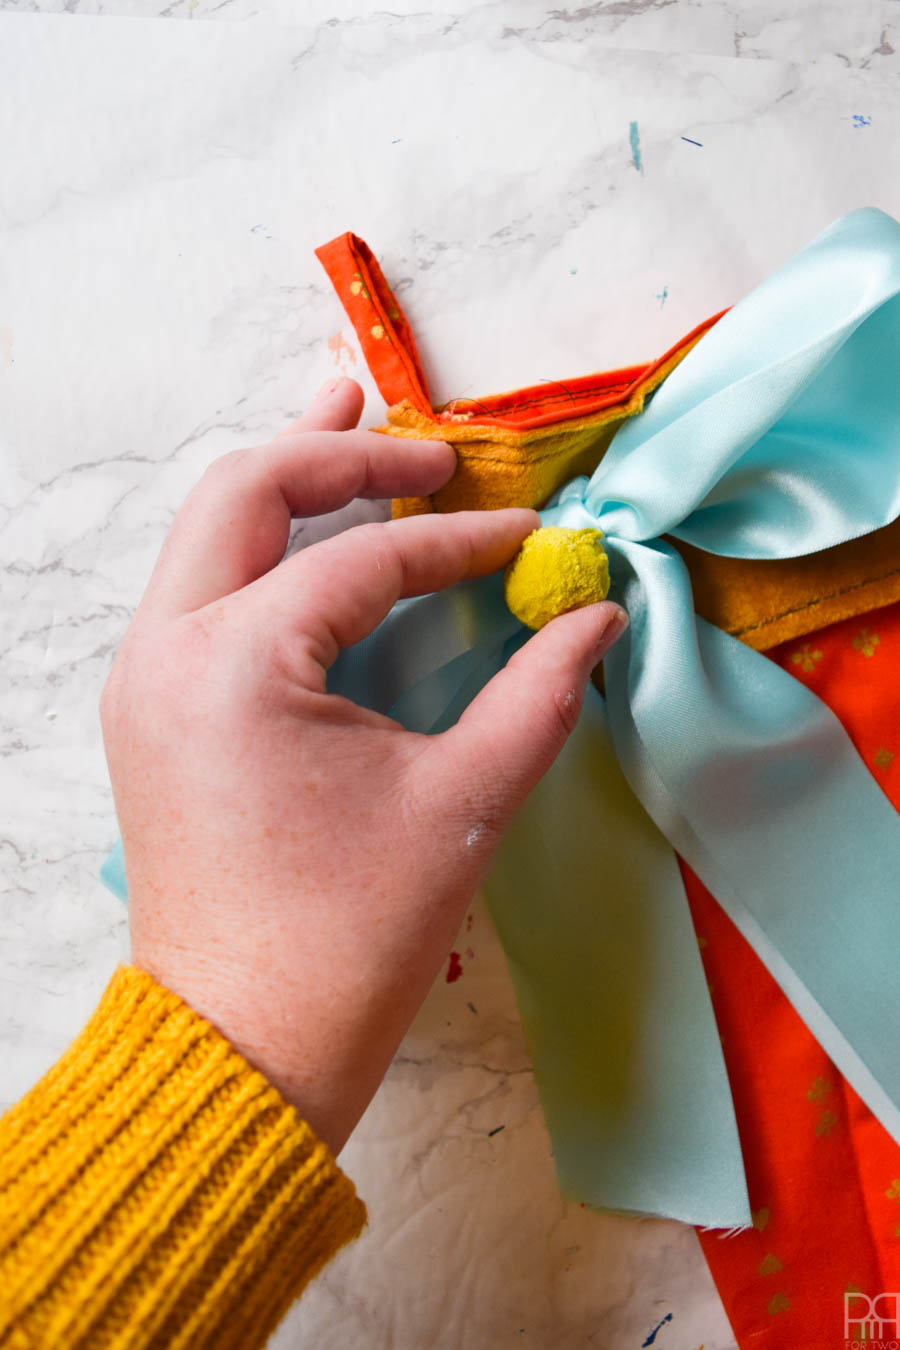
I used a needle and thread to sew the ribbon into the corner of the stocking, and then hand-threaded a pom pom onto the center as well.
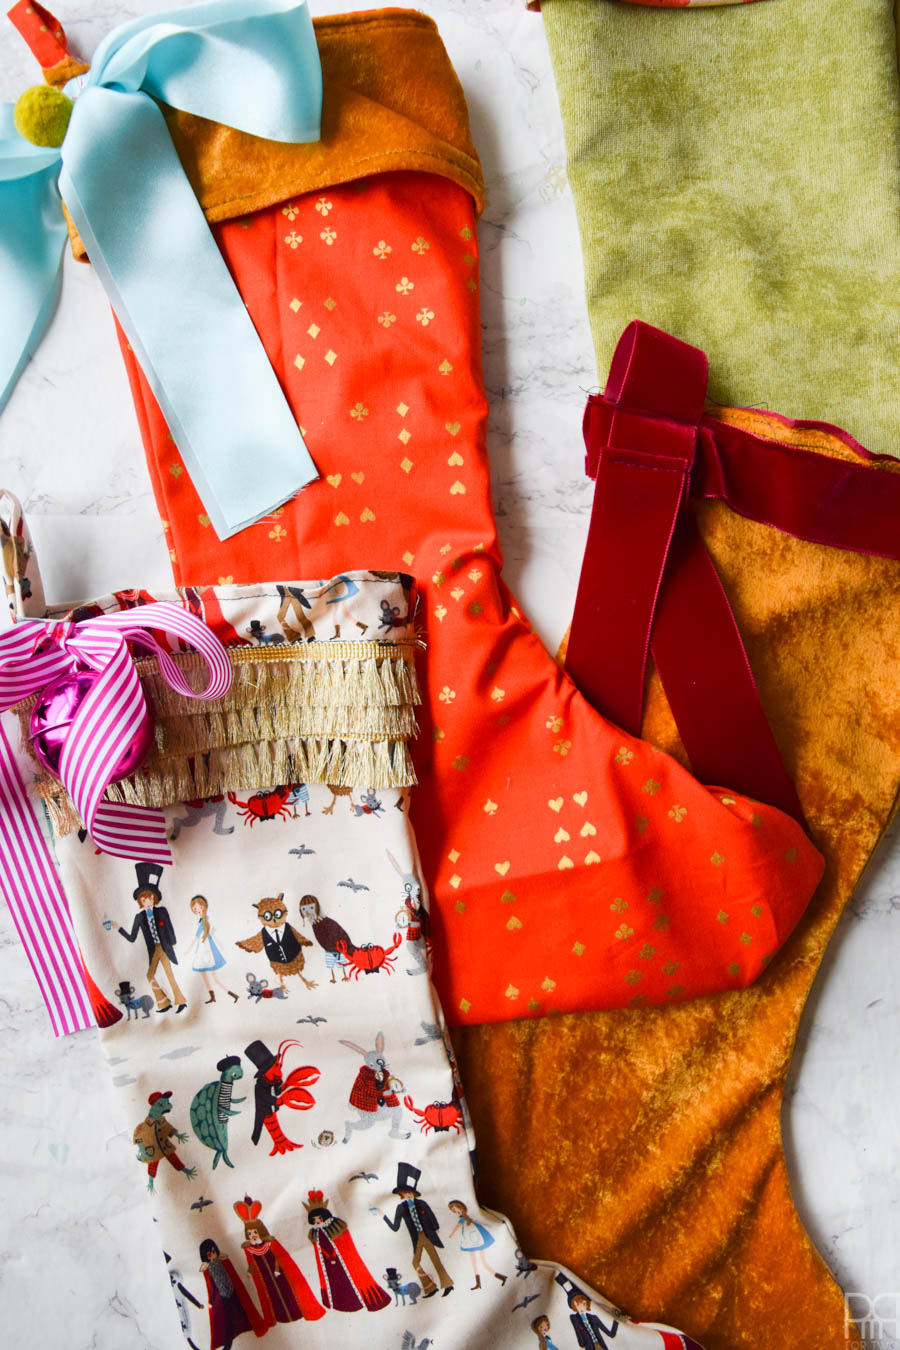
I repeated the process another 3 times in the space of an hour and created a few more styes. I played around with fabric choices, embellishments and details. I’m really glad I got to spend an afternoon behind my machine.


From left to right, top to bottom:
AKA Design | Vinyet Etc. | The DIY Mommy | A Pretty Life
Sustain My Craft Habit | A Pretty Fix | Making it in the Mountains | The Learner Observer
BrooklynBerryDesigns | Country Parent | Craftberry Bush | Amidst the Chaos
northstory | Life is a Party | Pink Little Notebook | hodge:podge
This Mamas Dance | Rambling Renovators | Suburble | PMQ for two (not shown)

