


I love a good apron. I wear one when I paint, I wear one when I clean, and I wear one when I cook. Beyond keeping me clean, they also look adorable. I turned my last one into a painting apron, so I don’t have one for cooking! Well, I didn’t until I sewed this one. Because it’s me you know it’s an easy to sew apron, so get ready for a quick project!
Catch my other easy sewing tutorials: DIY Holly Golightly Sleep Mask // DIY Gucci Tea Towels // DIY Peter Pan Collars
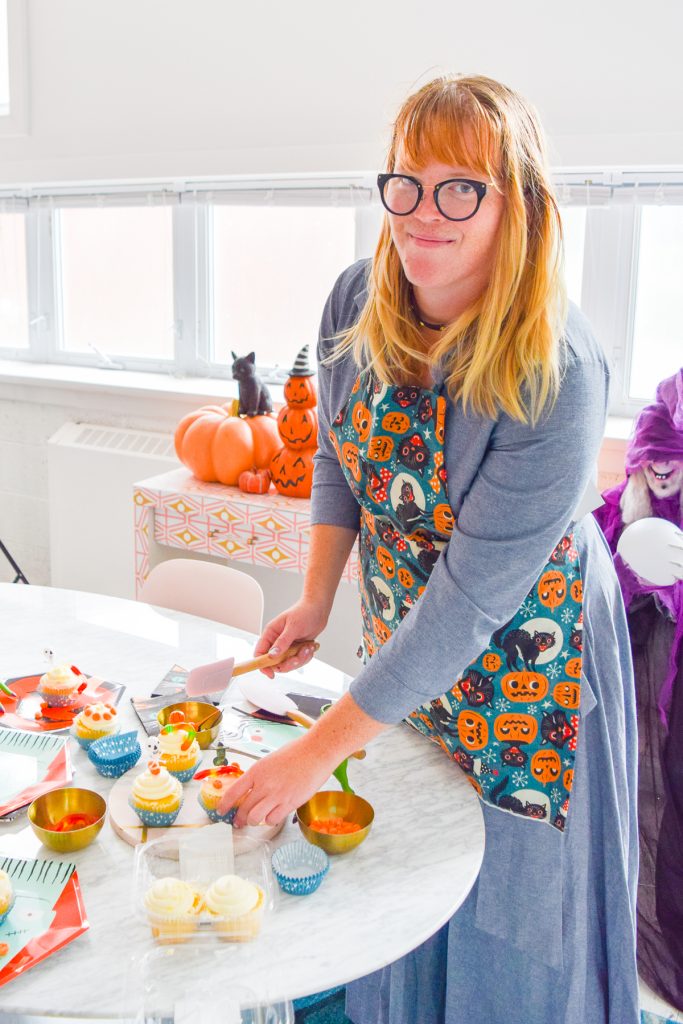
Because I’ve been totally rocking the retro Halloween vibes, when I stumbled across this pattern on Spoonflower, I knew it was meant to be! Spooky Vintage Cats and Pumpkins by Mirabelle Print is giving me all the warm and fuzzy (and spooky vibes). I love the cat faces, and the expressions on the pumpkins!
*Spoonflower sponsored this post, but all thoughts are my own. Thank you for supporting the brands that make PMQ for two possible.


How to make an Easy to Sew Apron
You need an apron you like, some scissors, a sewing machine, some ribbon for the ties and of course 2yrds of Spooky Vintage Cats and Pumpkins.


Start by ironing the fabric, because as Kelly my assistant tells me ” it’s easier to sew when the wrinkles aren’t messing with your lines or measurements.” I however, didn’t get the nugget of knowledge until after doing the apron, so please, forgive me the folds and creases!
Fold it in half once ironed, lay your existing apron on top of the fabric, and cut around it. Leave a 1″-2″ seam allowance around the apron as you go.


Next, flip your fabric so that both pieces face inwards. You’re going to sew this inside out so that the seams and ribbon ties are hidden. Sew around the outline of the apron. I used black thread but dark blue would have worked fine as well!

To attach the ribbon ties (and the loop for the neck) you’ll measure out how much you need beforehand. I attached the ties for the back, 2″ from the top of body (before it swoops upward for the neck) with the bulk of the length of the ties in between the two pieces. When you flip the apron right side out, you need the ties to be usable!

For the neck loop, I added them in an inch from the ends. I also made sure that the ribbon was in between the two pieces of fabric.


Once I made it all the way around with the sewing machine, I flipped it inside out, sewed right above the bleed, and then trimmed off the excess! Super simple, see?

If you’re looking to sew an apron, but don’t love this tutorial, you should check out this one on the Spoonflower blog.
As you can see though, I wasted no time getting mine on so that I could whip up some Easy to Decorate Halloween Cupcakes. Bruce helped too.


