I know! It’s like I never stop upgrading or changing things. I’m constantly in motion, and you better hold on or get left behind. Kidding, not kidding. In this case, I had originally planned our desks // here // with in-furniture power units, but I just needed to find the right ones. This is where radiant by Legrand comes into play. They reached-out to me shortly after I completed the desks, and asked if I’d be interested in collaborating. I’m never one to turn down a good collaboration, and their furniture power units were exactly what I needed. The best part is that they’re dead easy to install.
*Legrand sponsored this post, but all thoughts are my own. Thank you for supporting the brands that make PMQ for two possible.
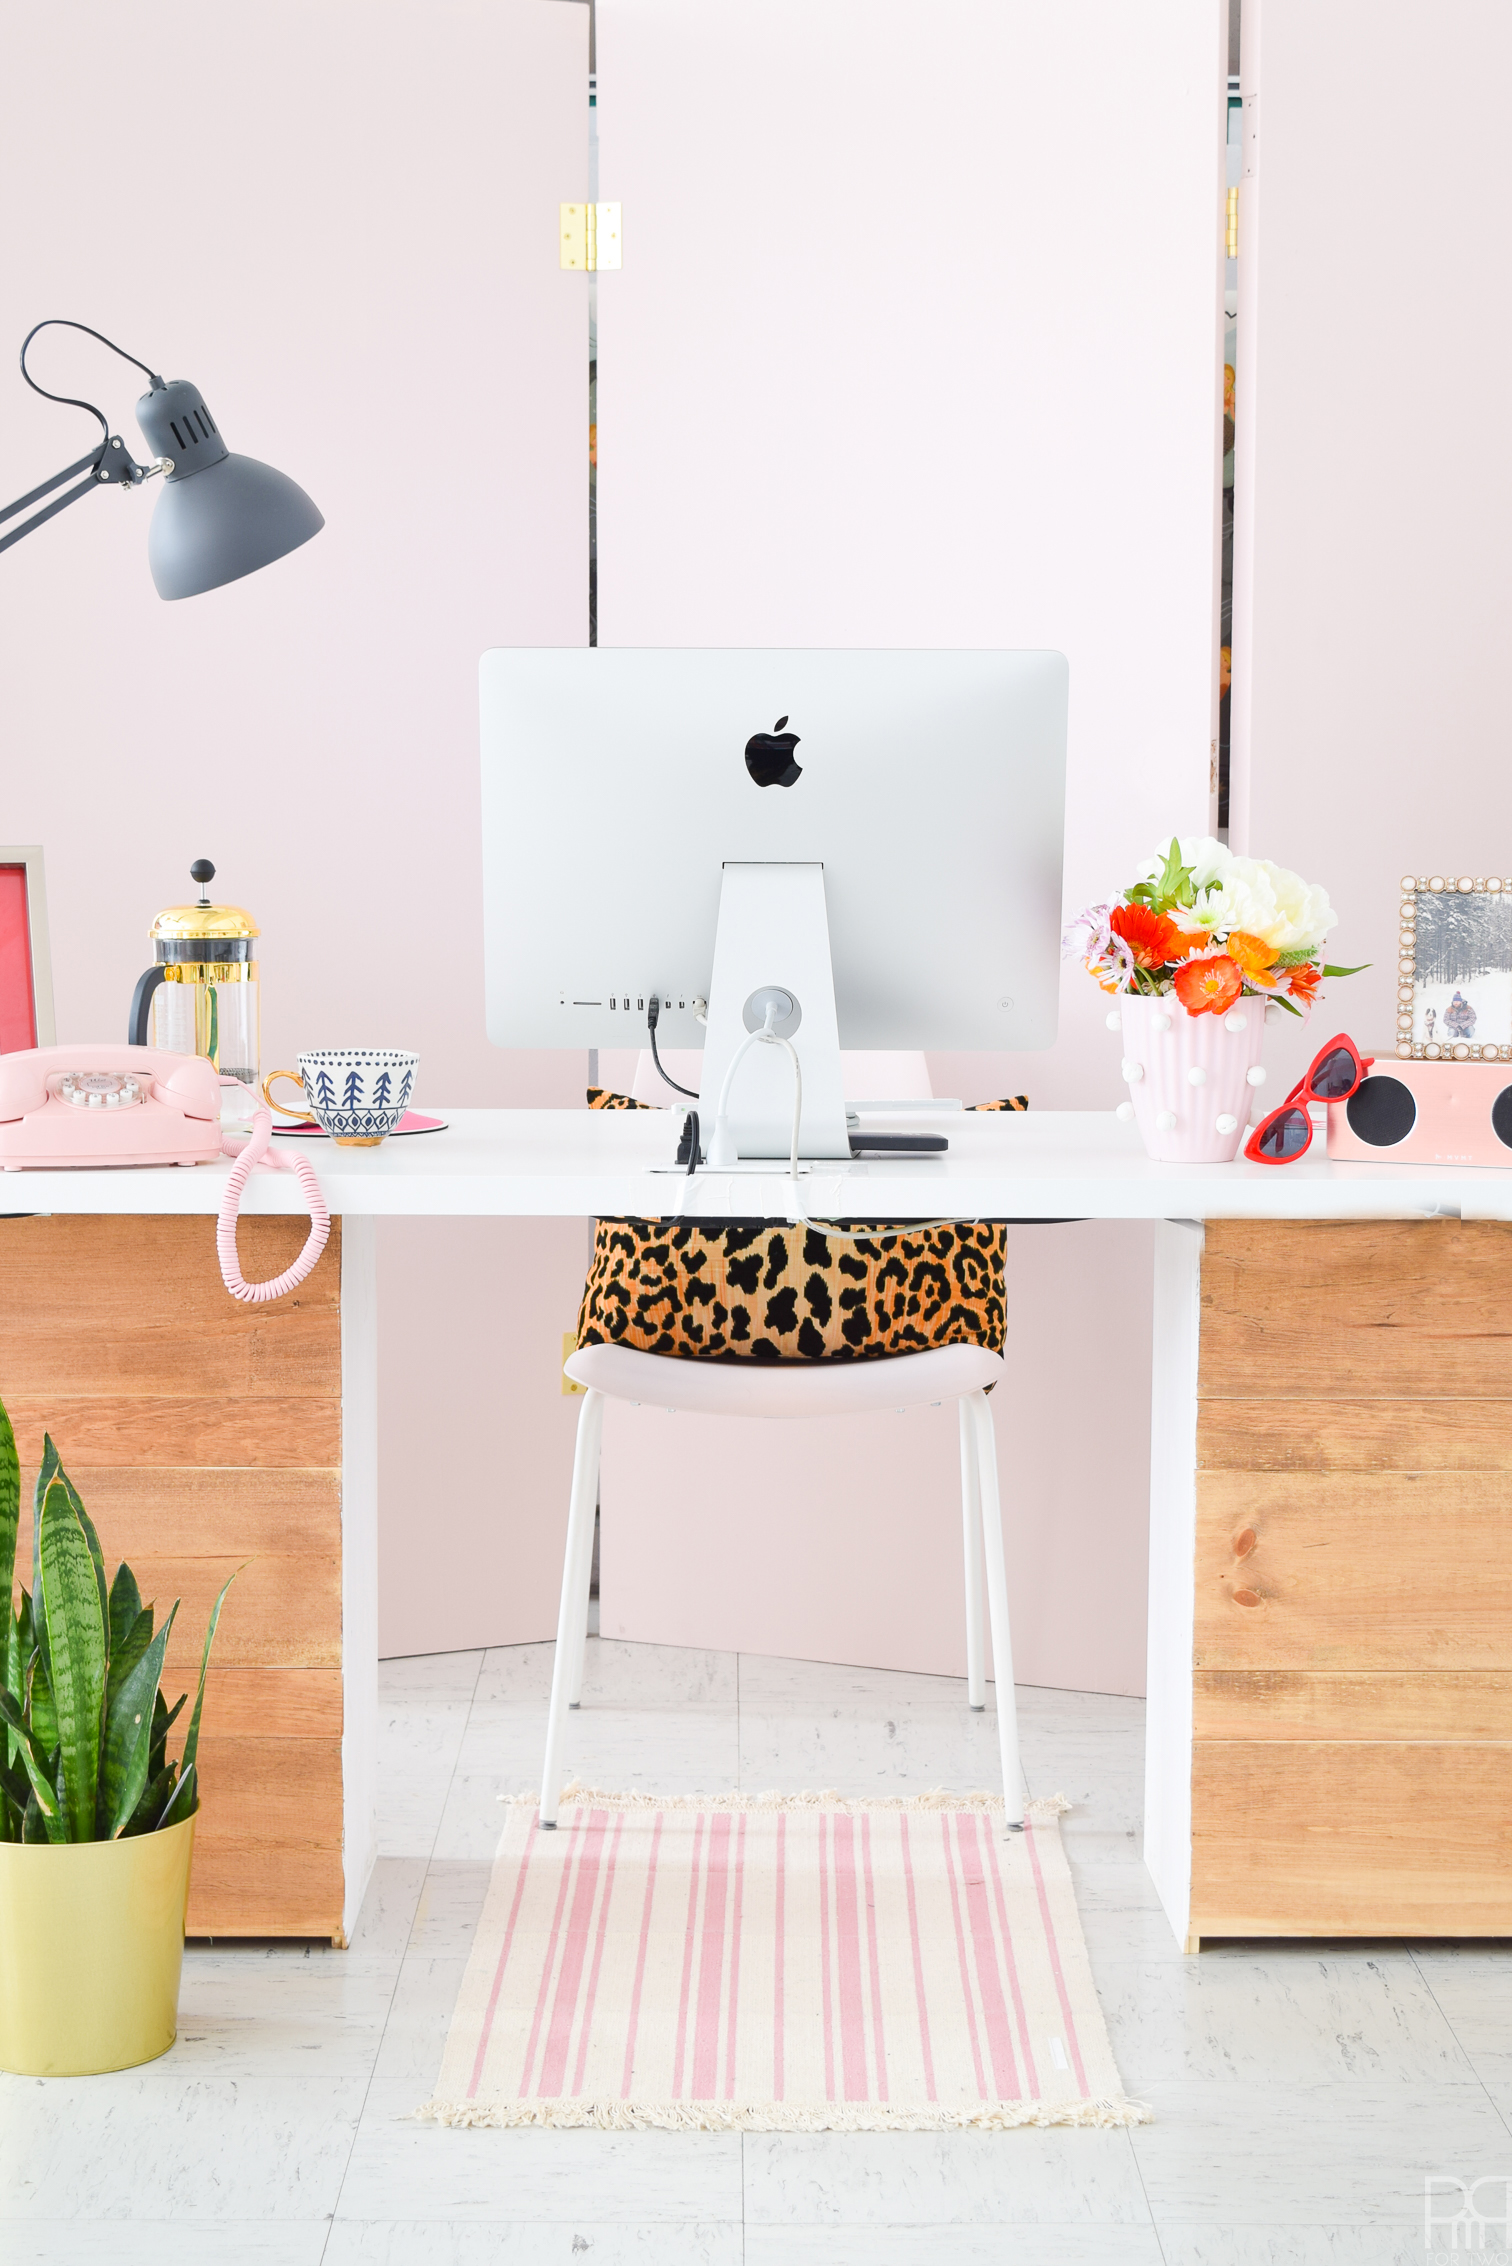
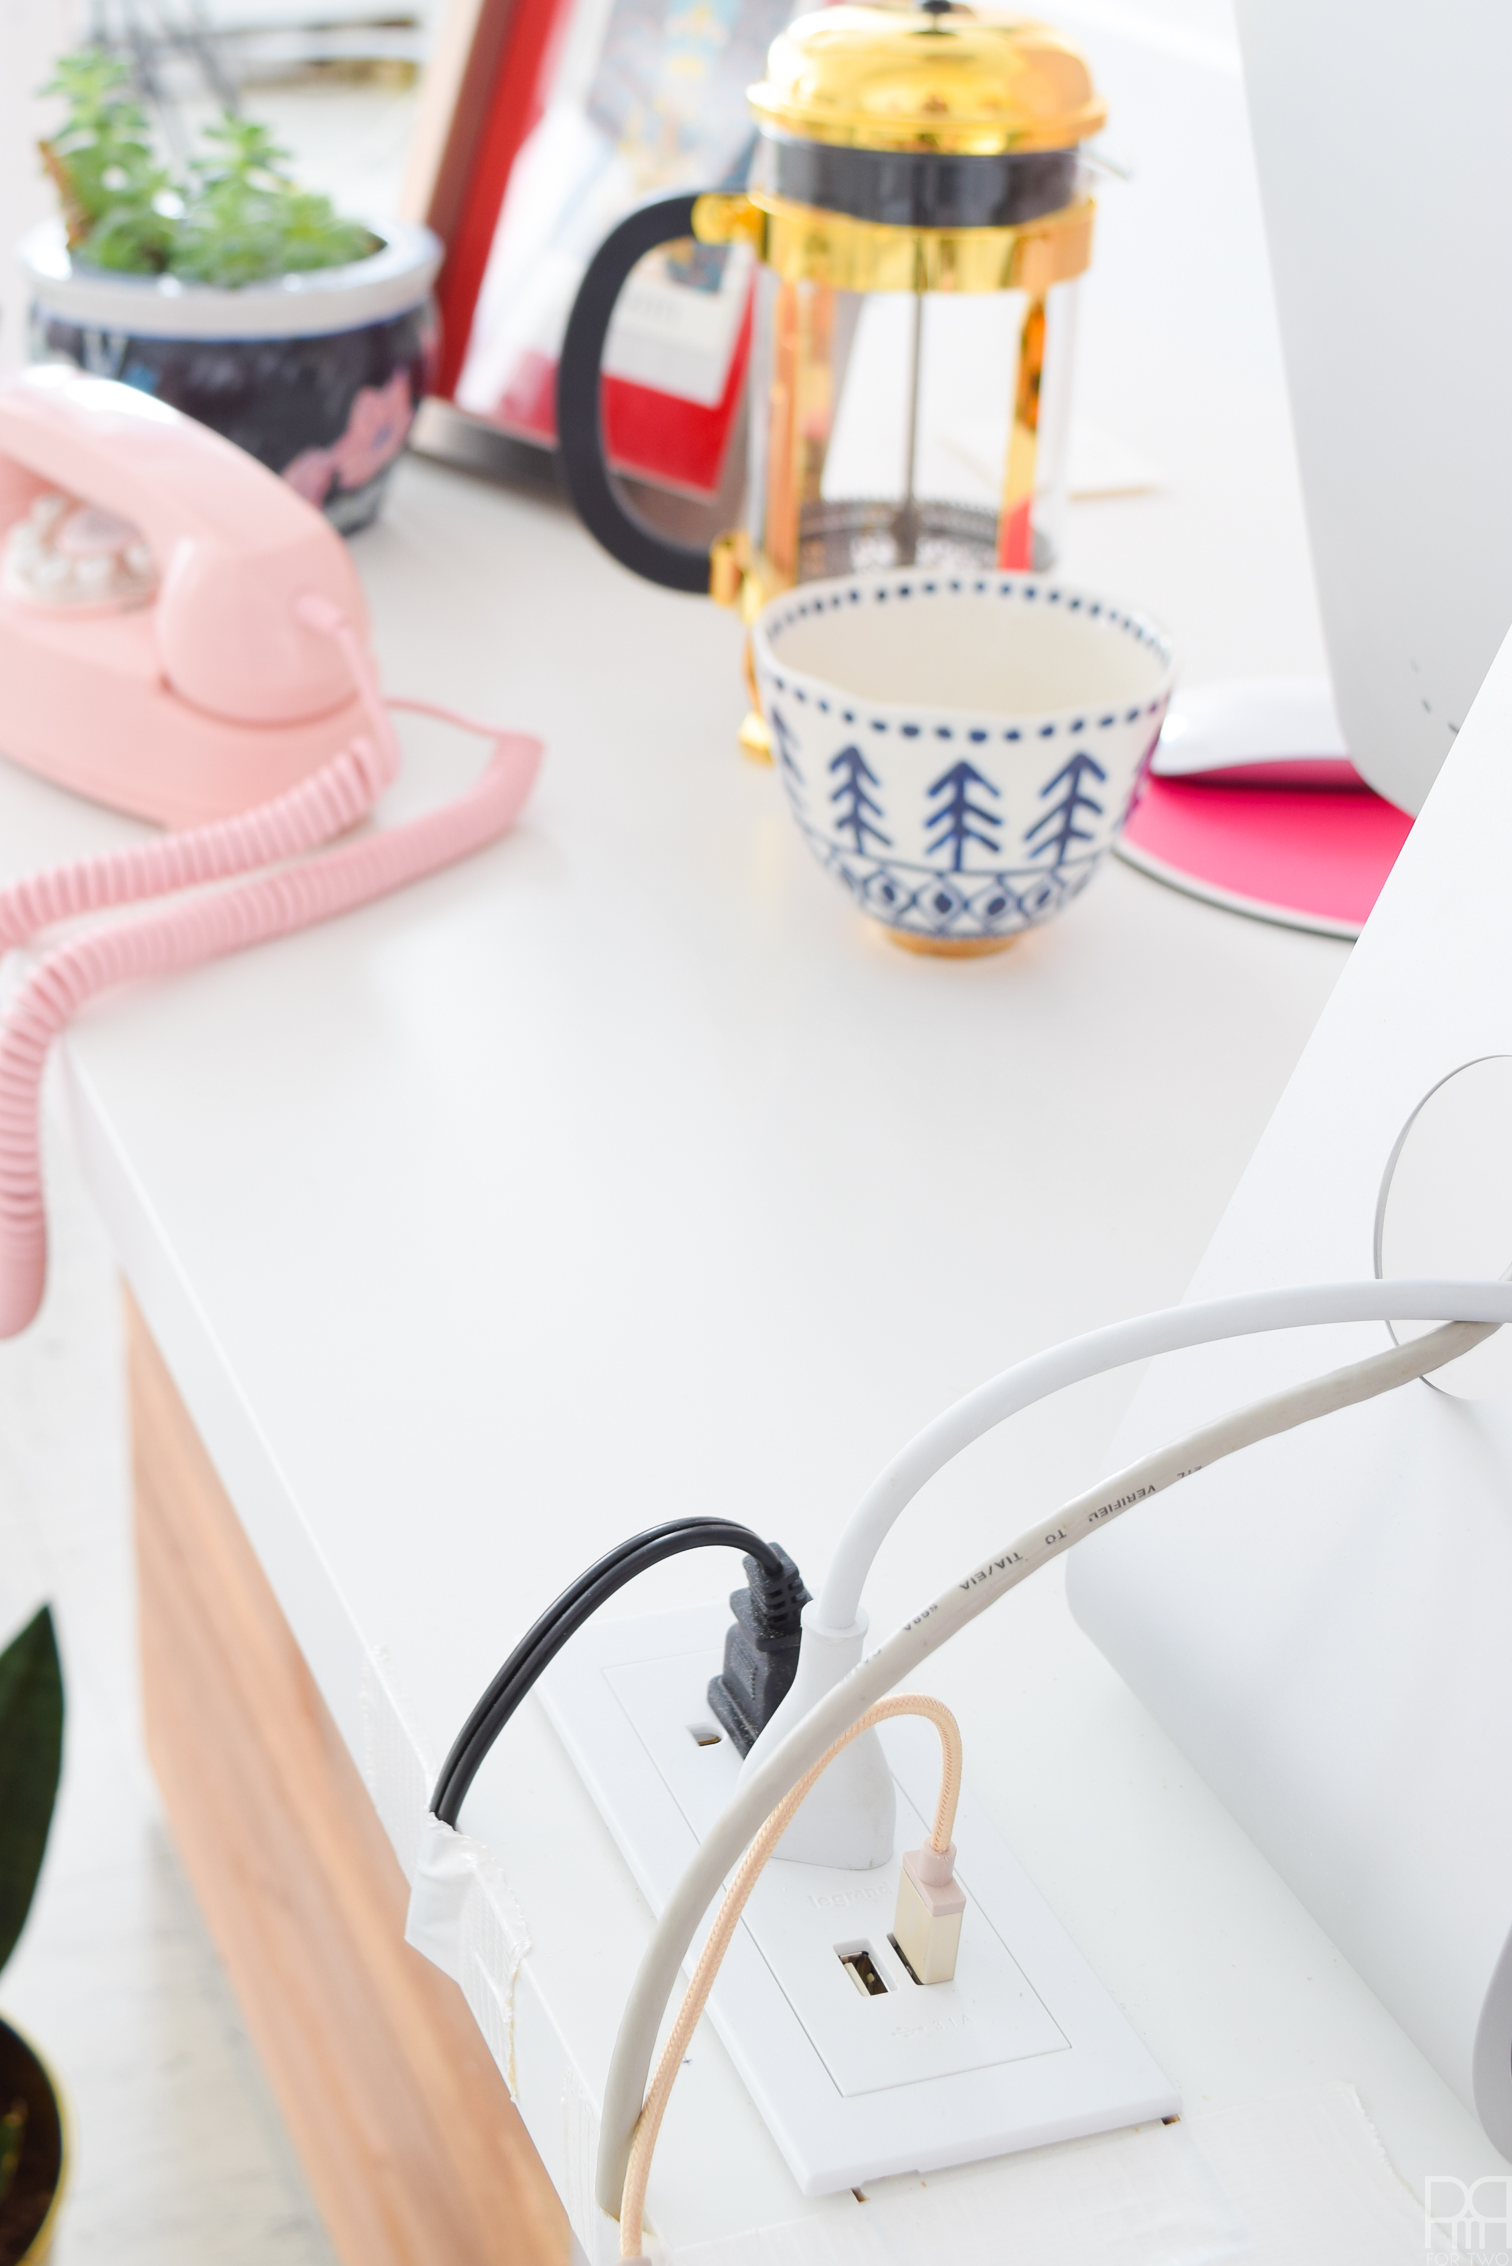
I’m going to start by horrifying you with my cord management as is stood yesterday. *gasp*
Every single one of my previous OCD bosses would be experiencing an aneurism if they saw this. That light isn’t plugged-in, the cords look way too taught or too lax, they’re not hidden, and most of all — they’re not near an actual outlet, so things look kinda janky.
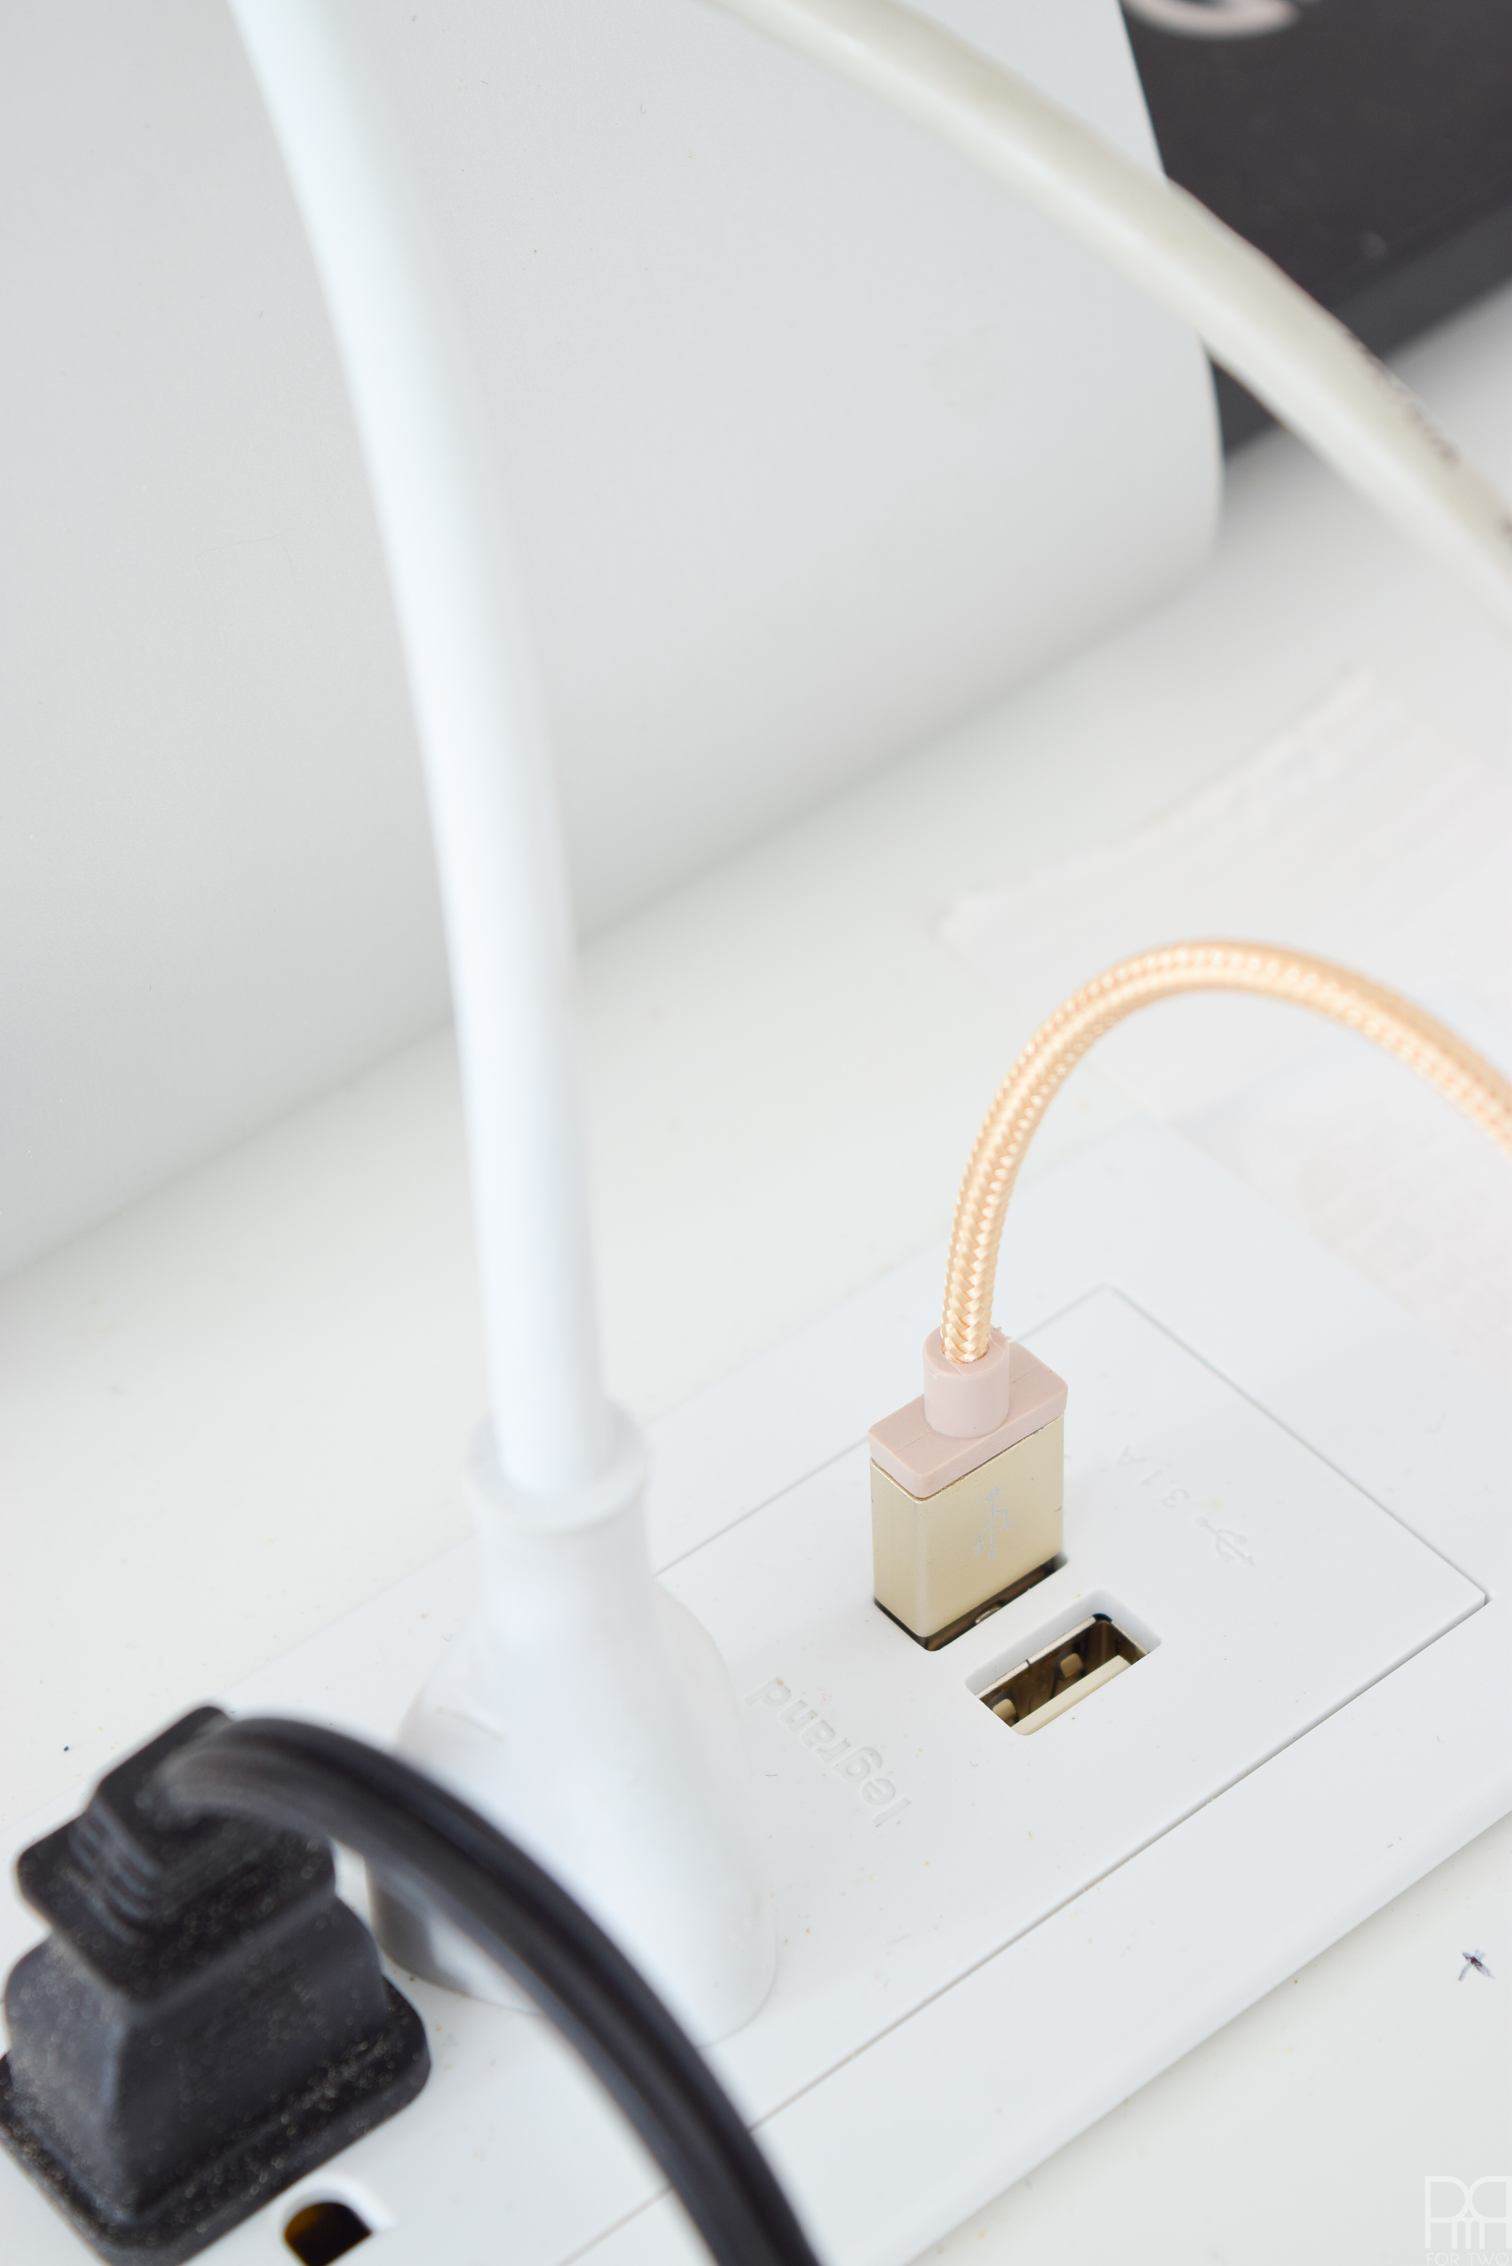
This was a bad situation waiting to happen. One wrong step, and I could trip over the wires, send my desktop flying, and maybe strangle myself with the lamp cord. I had considered drilling a bower ball into the underside of the desk, but that’s no better looking, and it doesn’t have the added bonus of two USB slots.
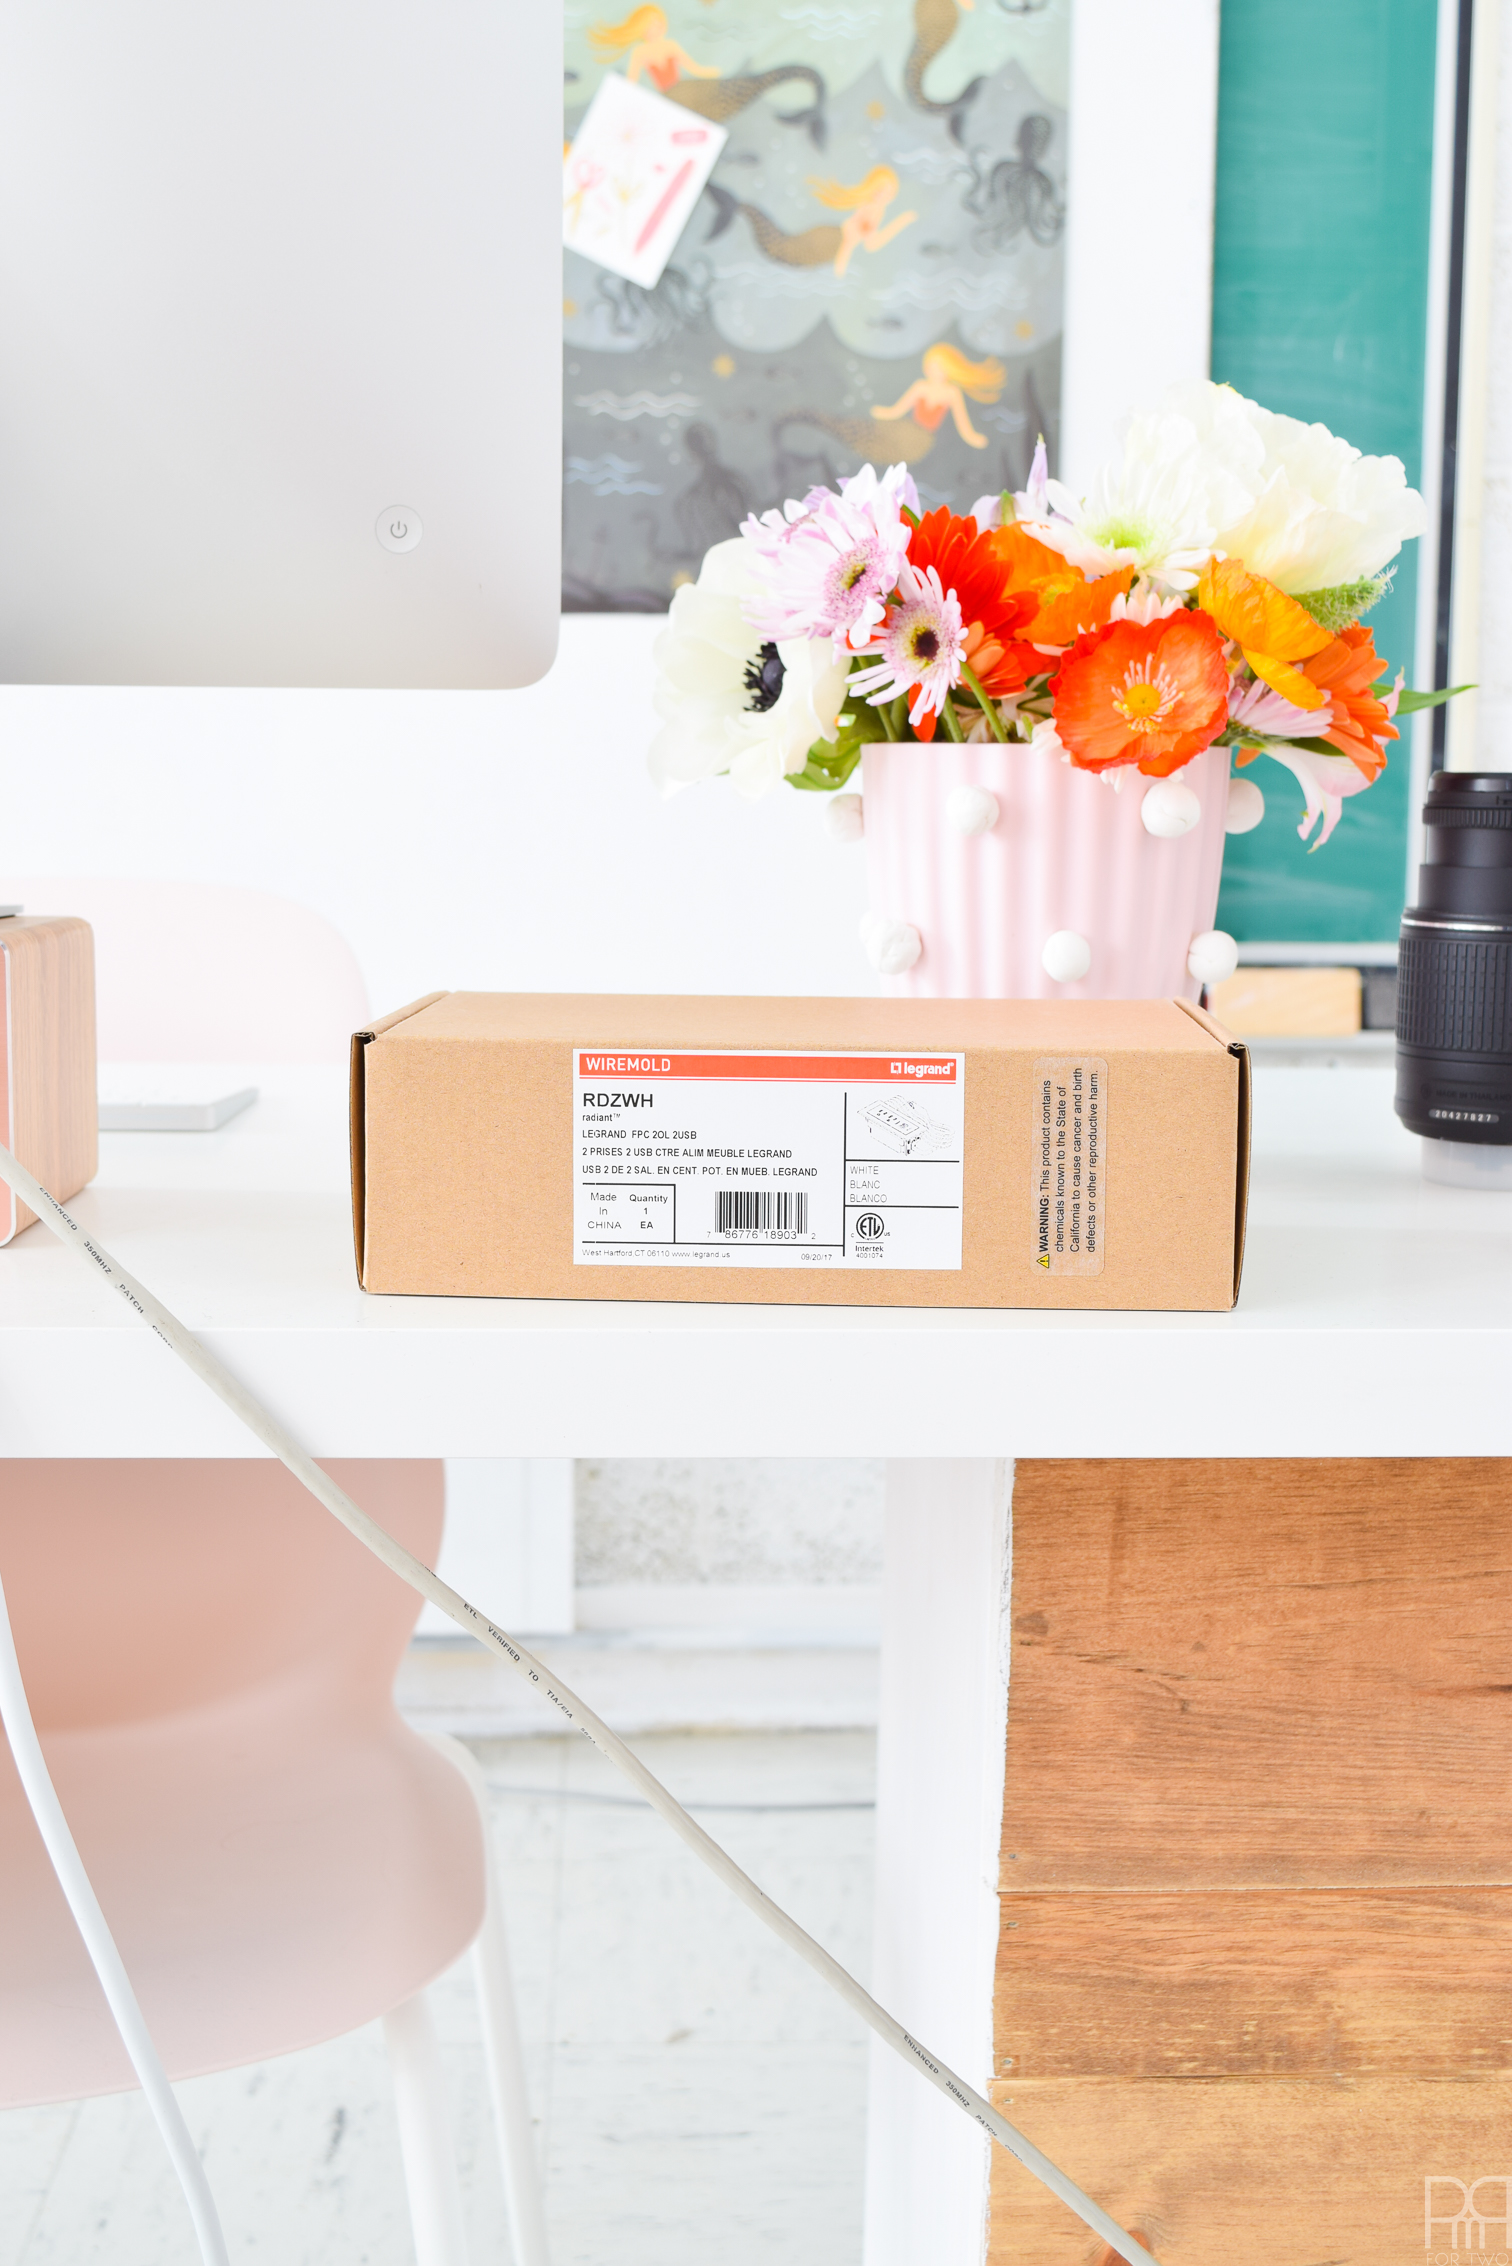
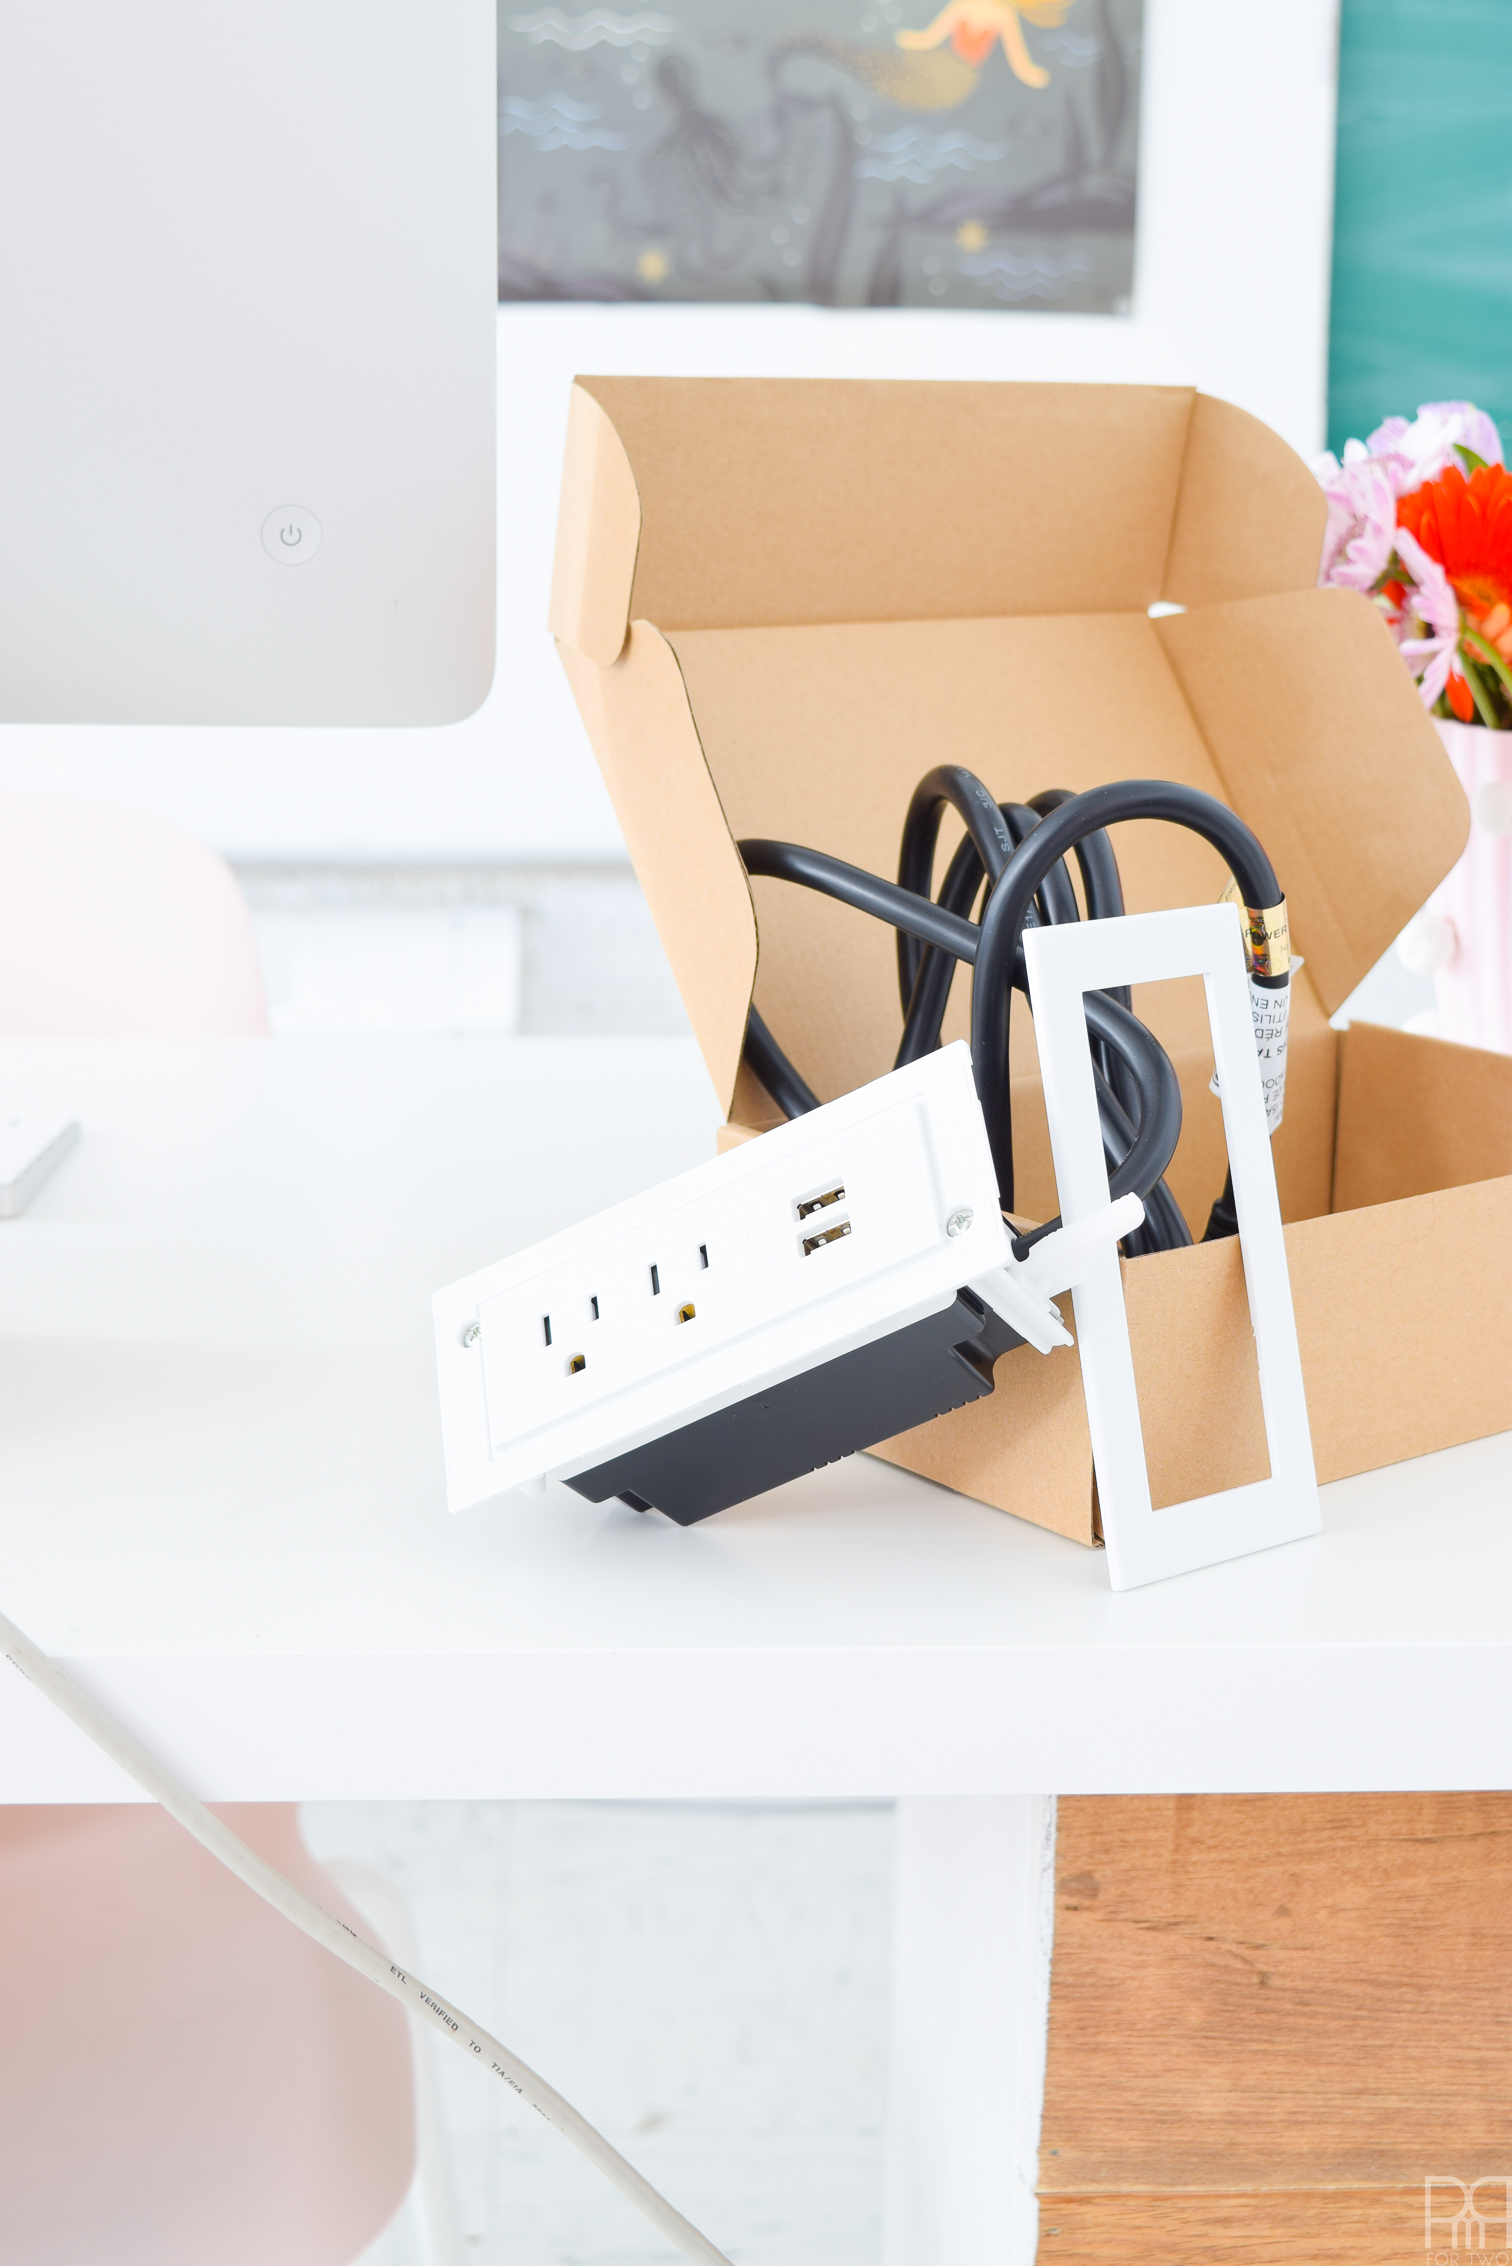
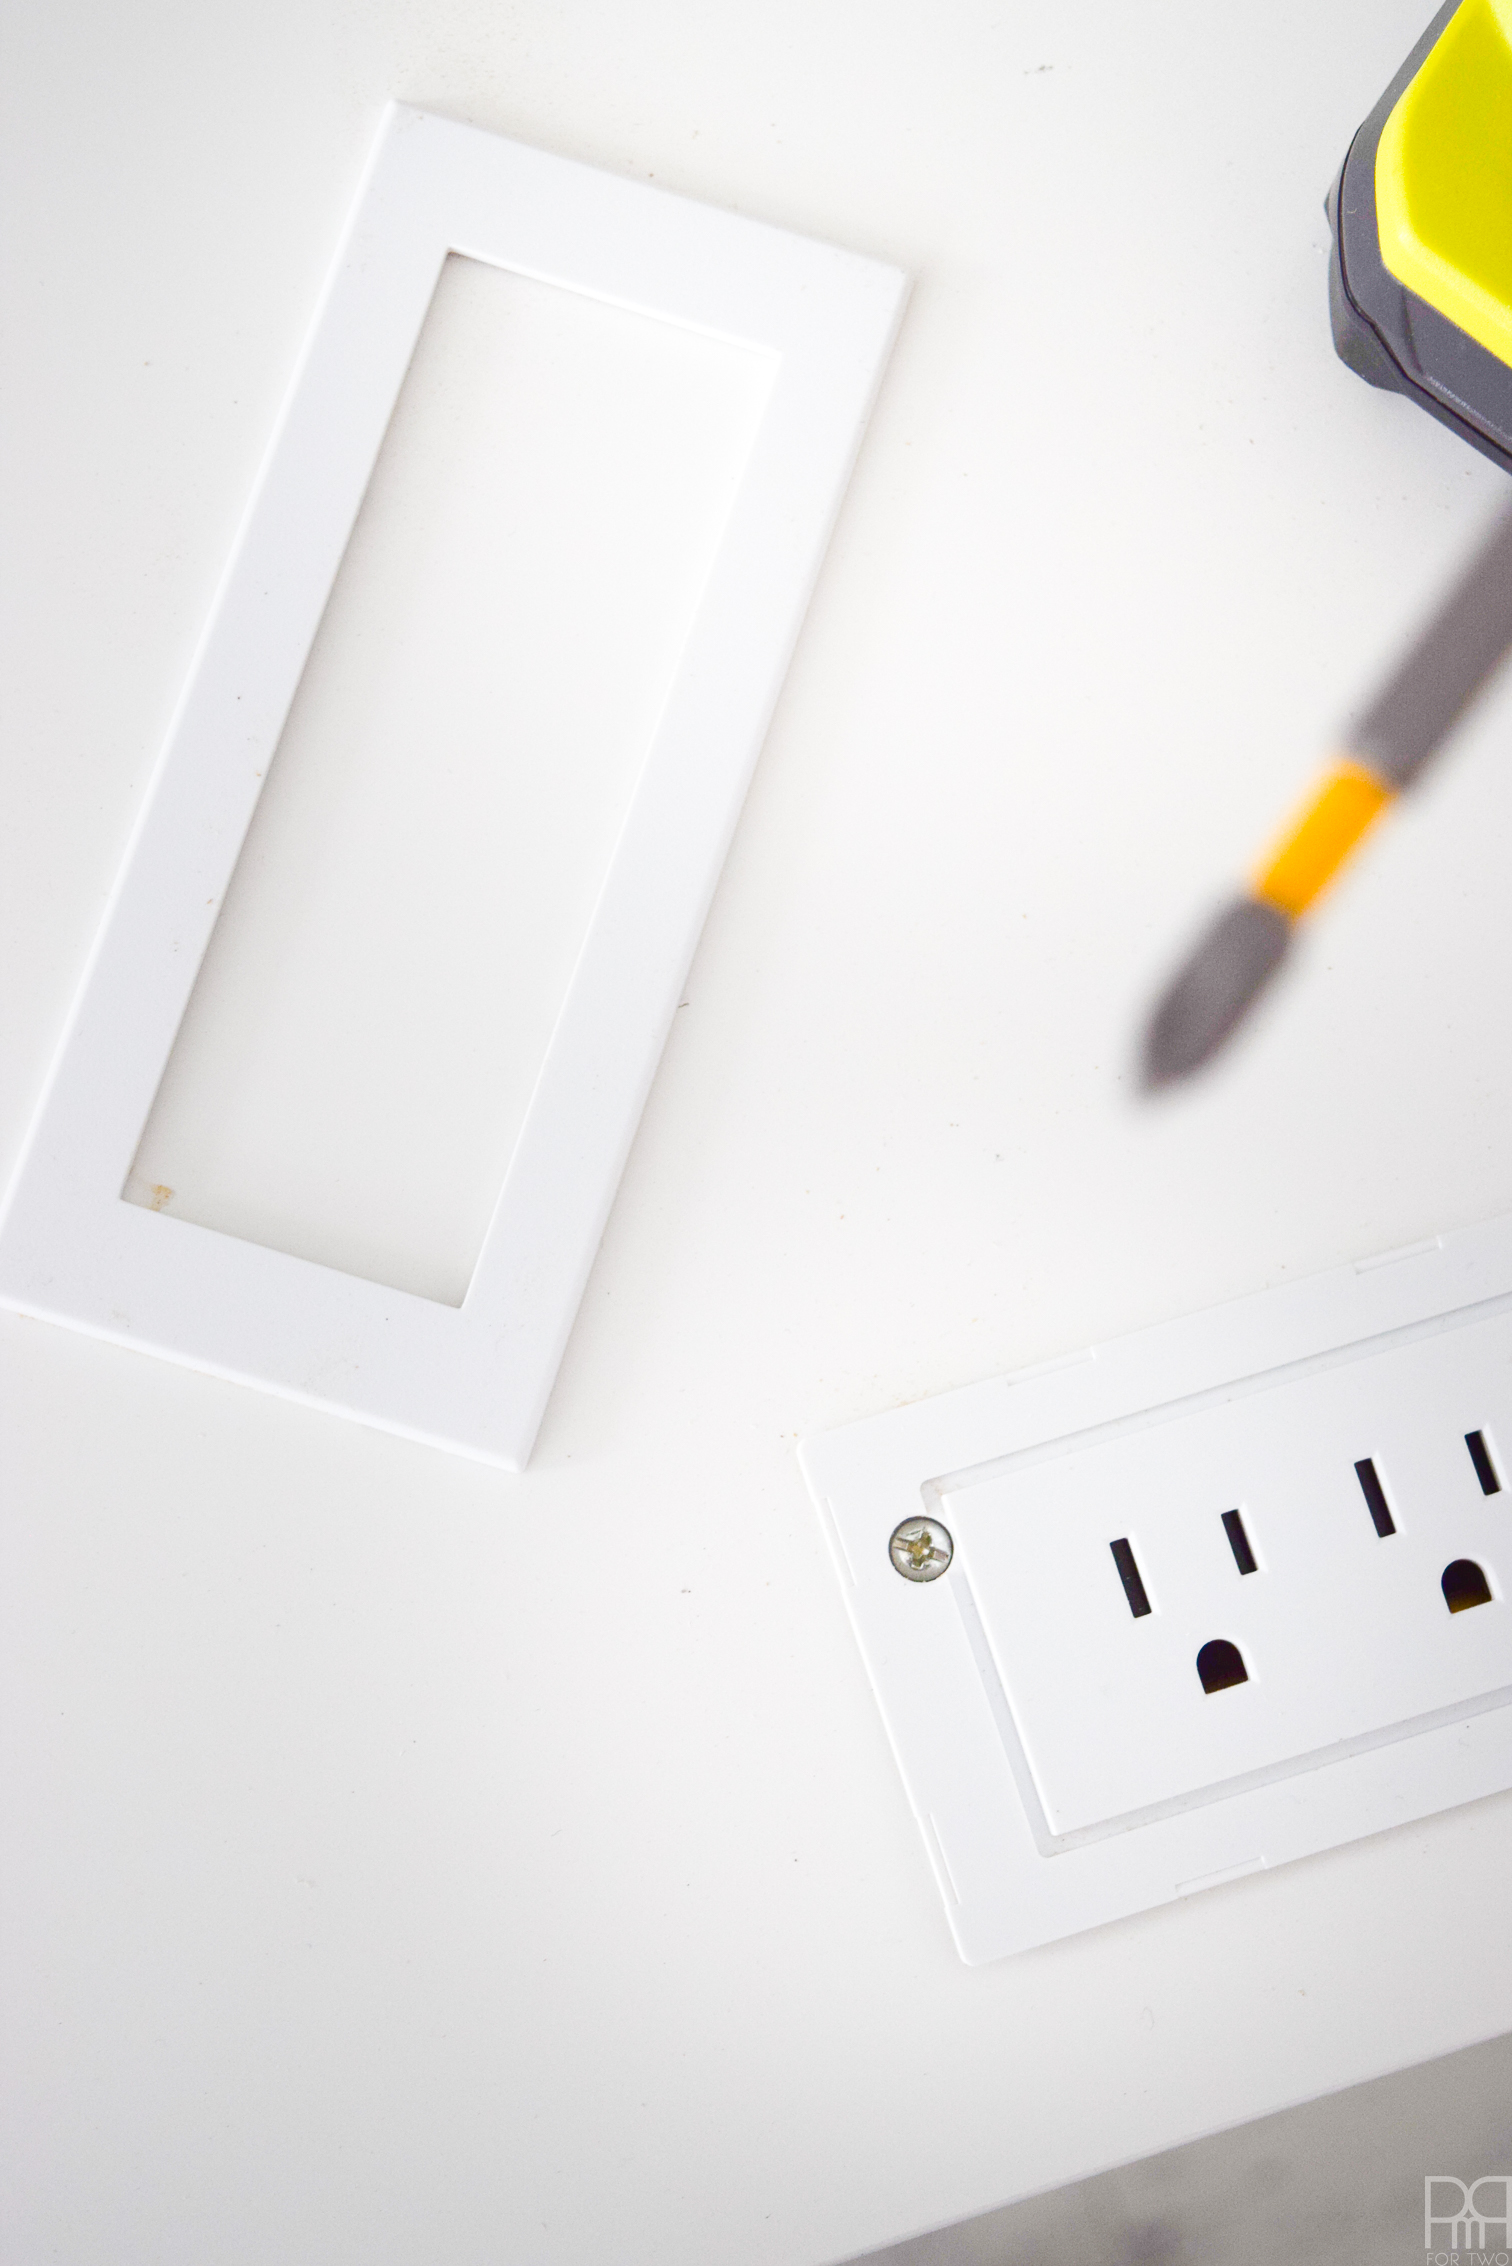
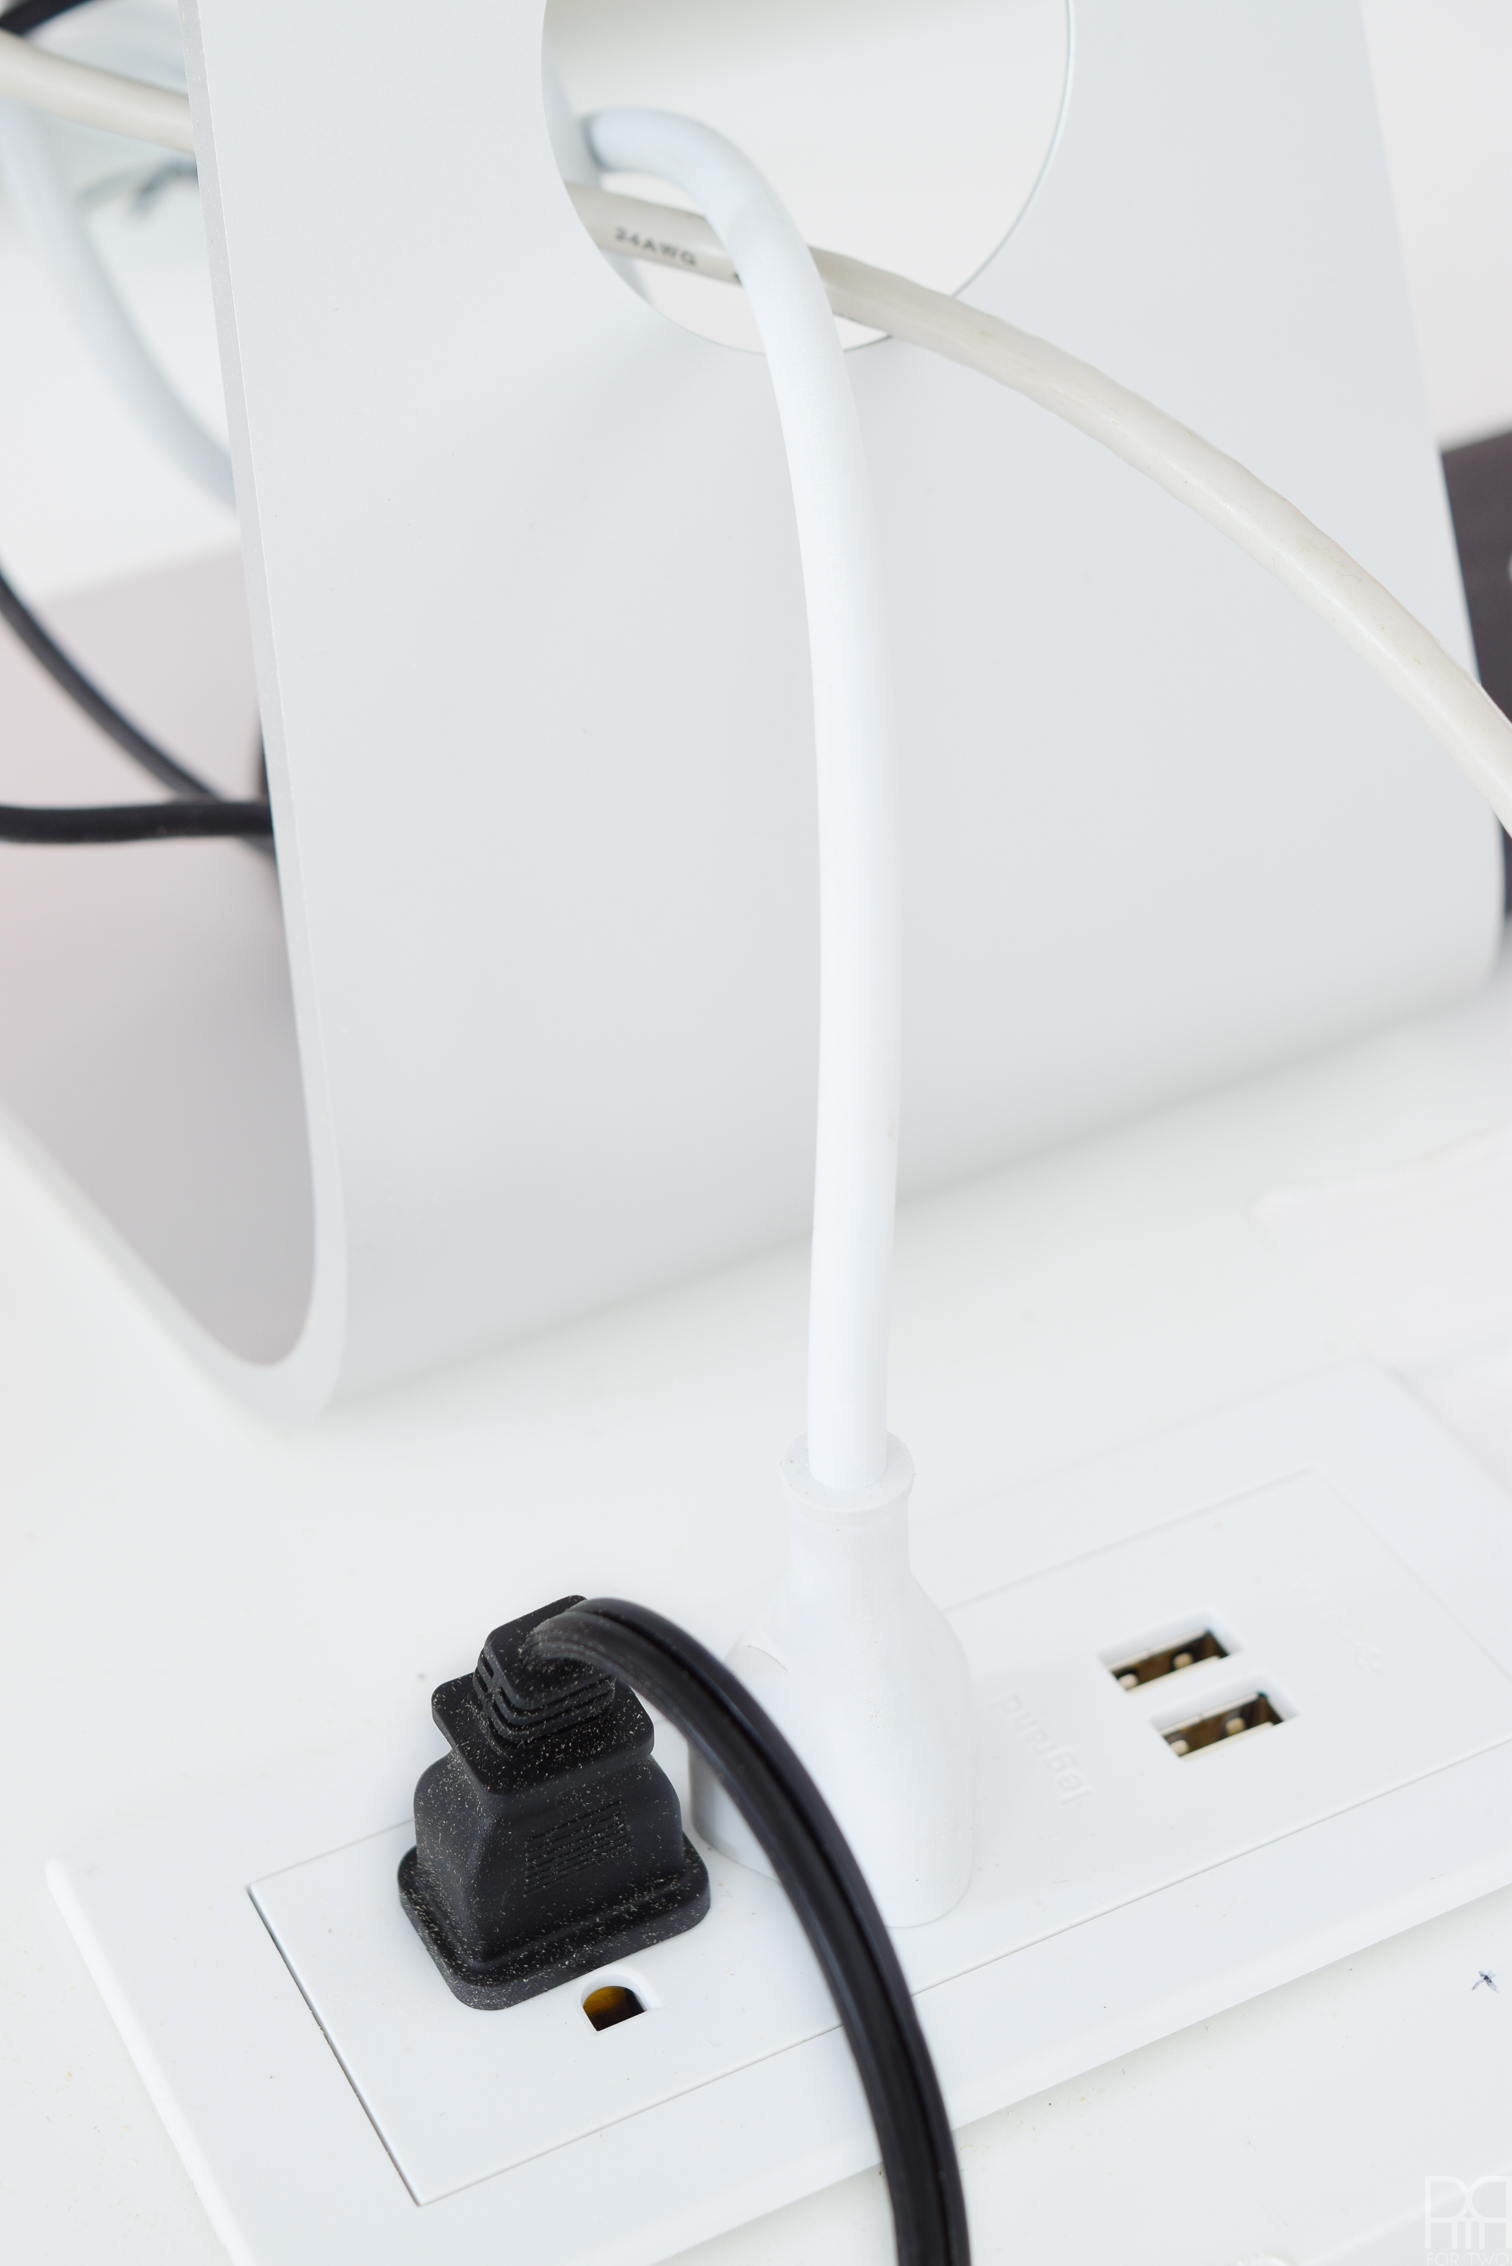
I chose Legrand’s Radiant Furniture Power Unit because it had the dual 3 prong outlets, AND the USB outlets. I have a lot of USB devices, not to mention my speaker and phone charger, so it’s nice to not be clogging-up the back of my desktop with superfluous wires. Luckily my desk is white, but I could have painted it or chosen a different colour if I was trying to match it to something else.
The installation instructions are super simple, and you’ll need:
- Drill with a large bit
- Masking tape
- Legrand’s template
- Jigsaw
- Screwdriver
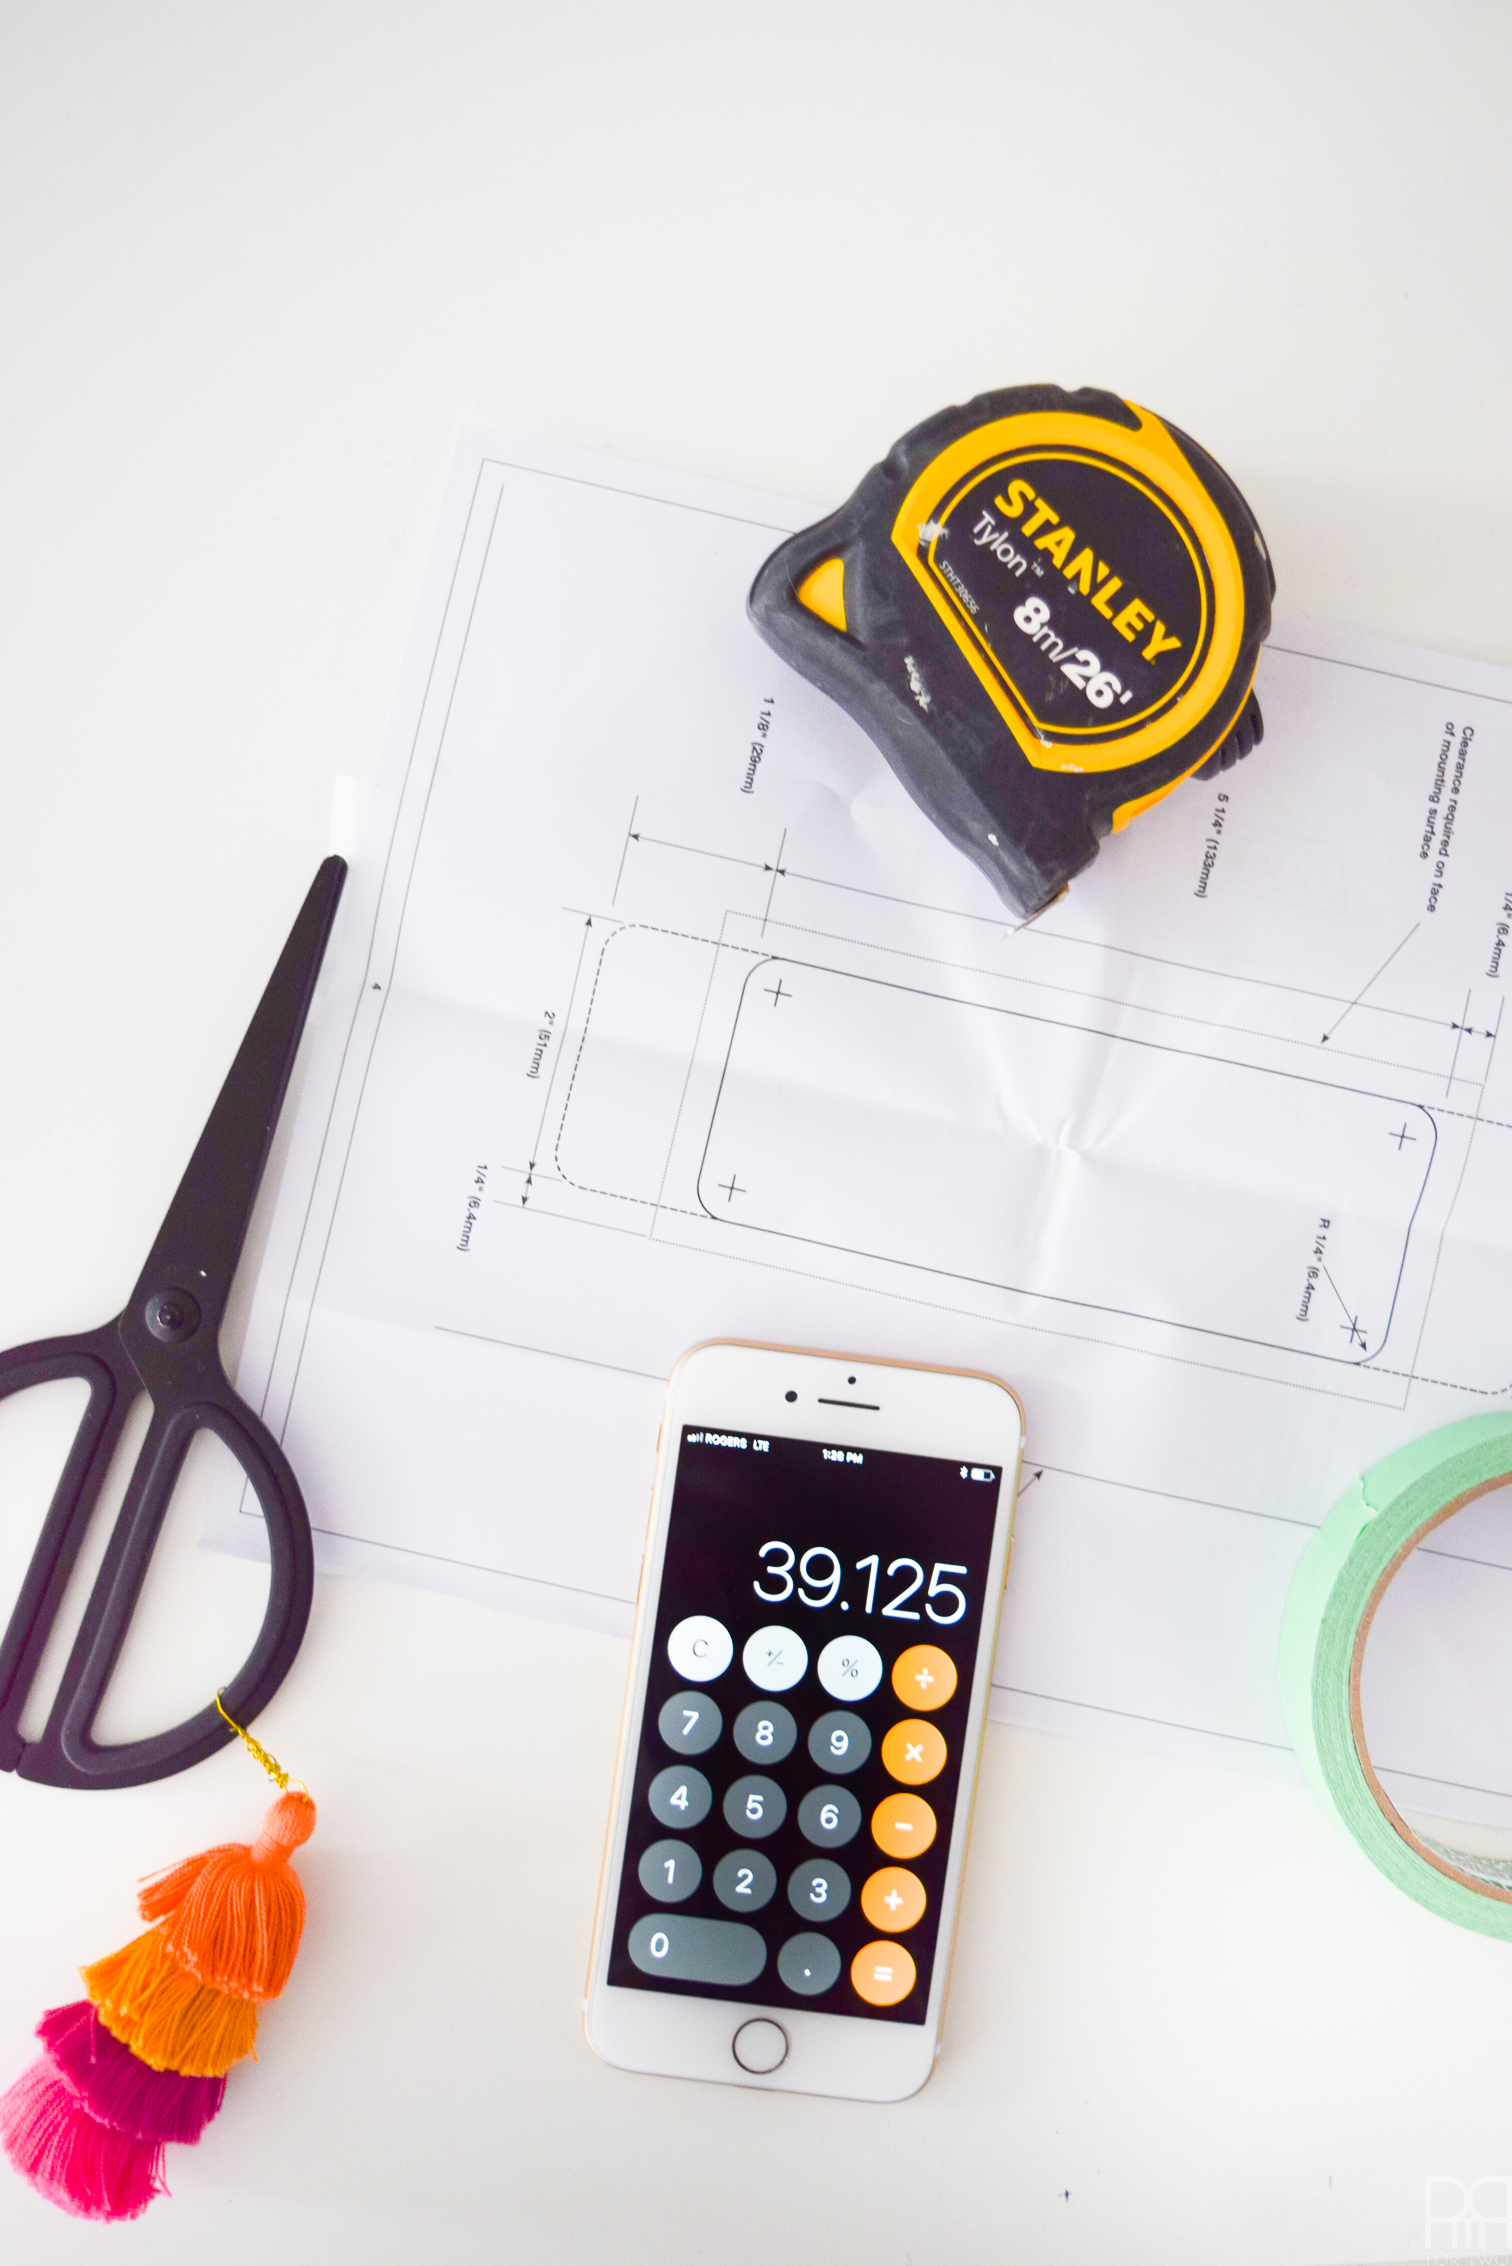
Start by figuring-out where you’re putting the unit (I measured for the middle of my desk), and make sure it has all the necessary clearance as indicated in their instructions.
Then using masking tape, apply the template so that you can drill and cut without having to trace.
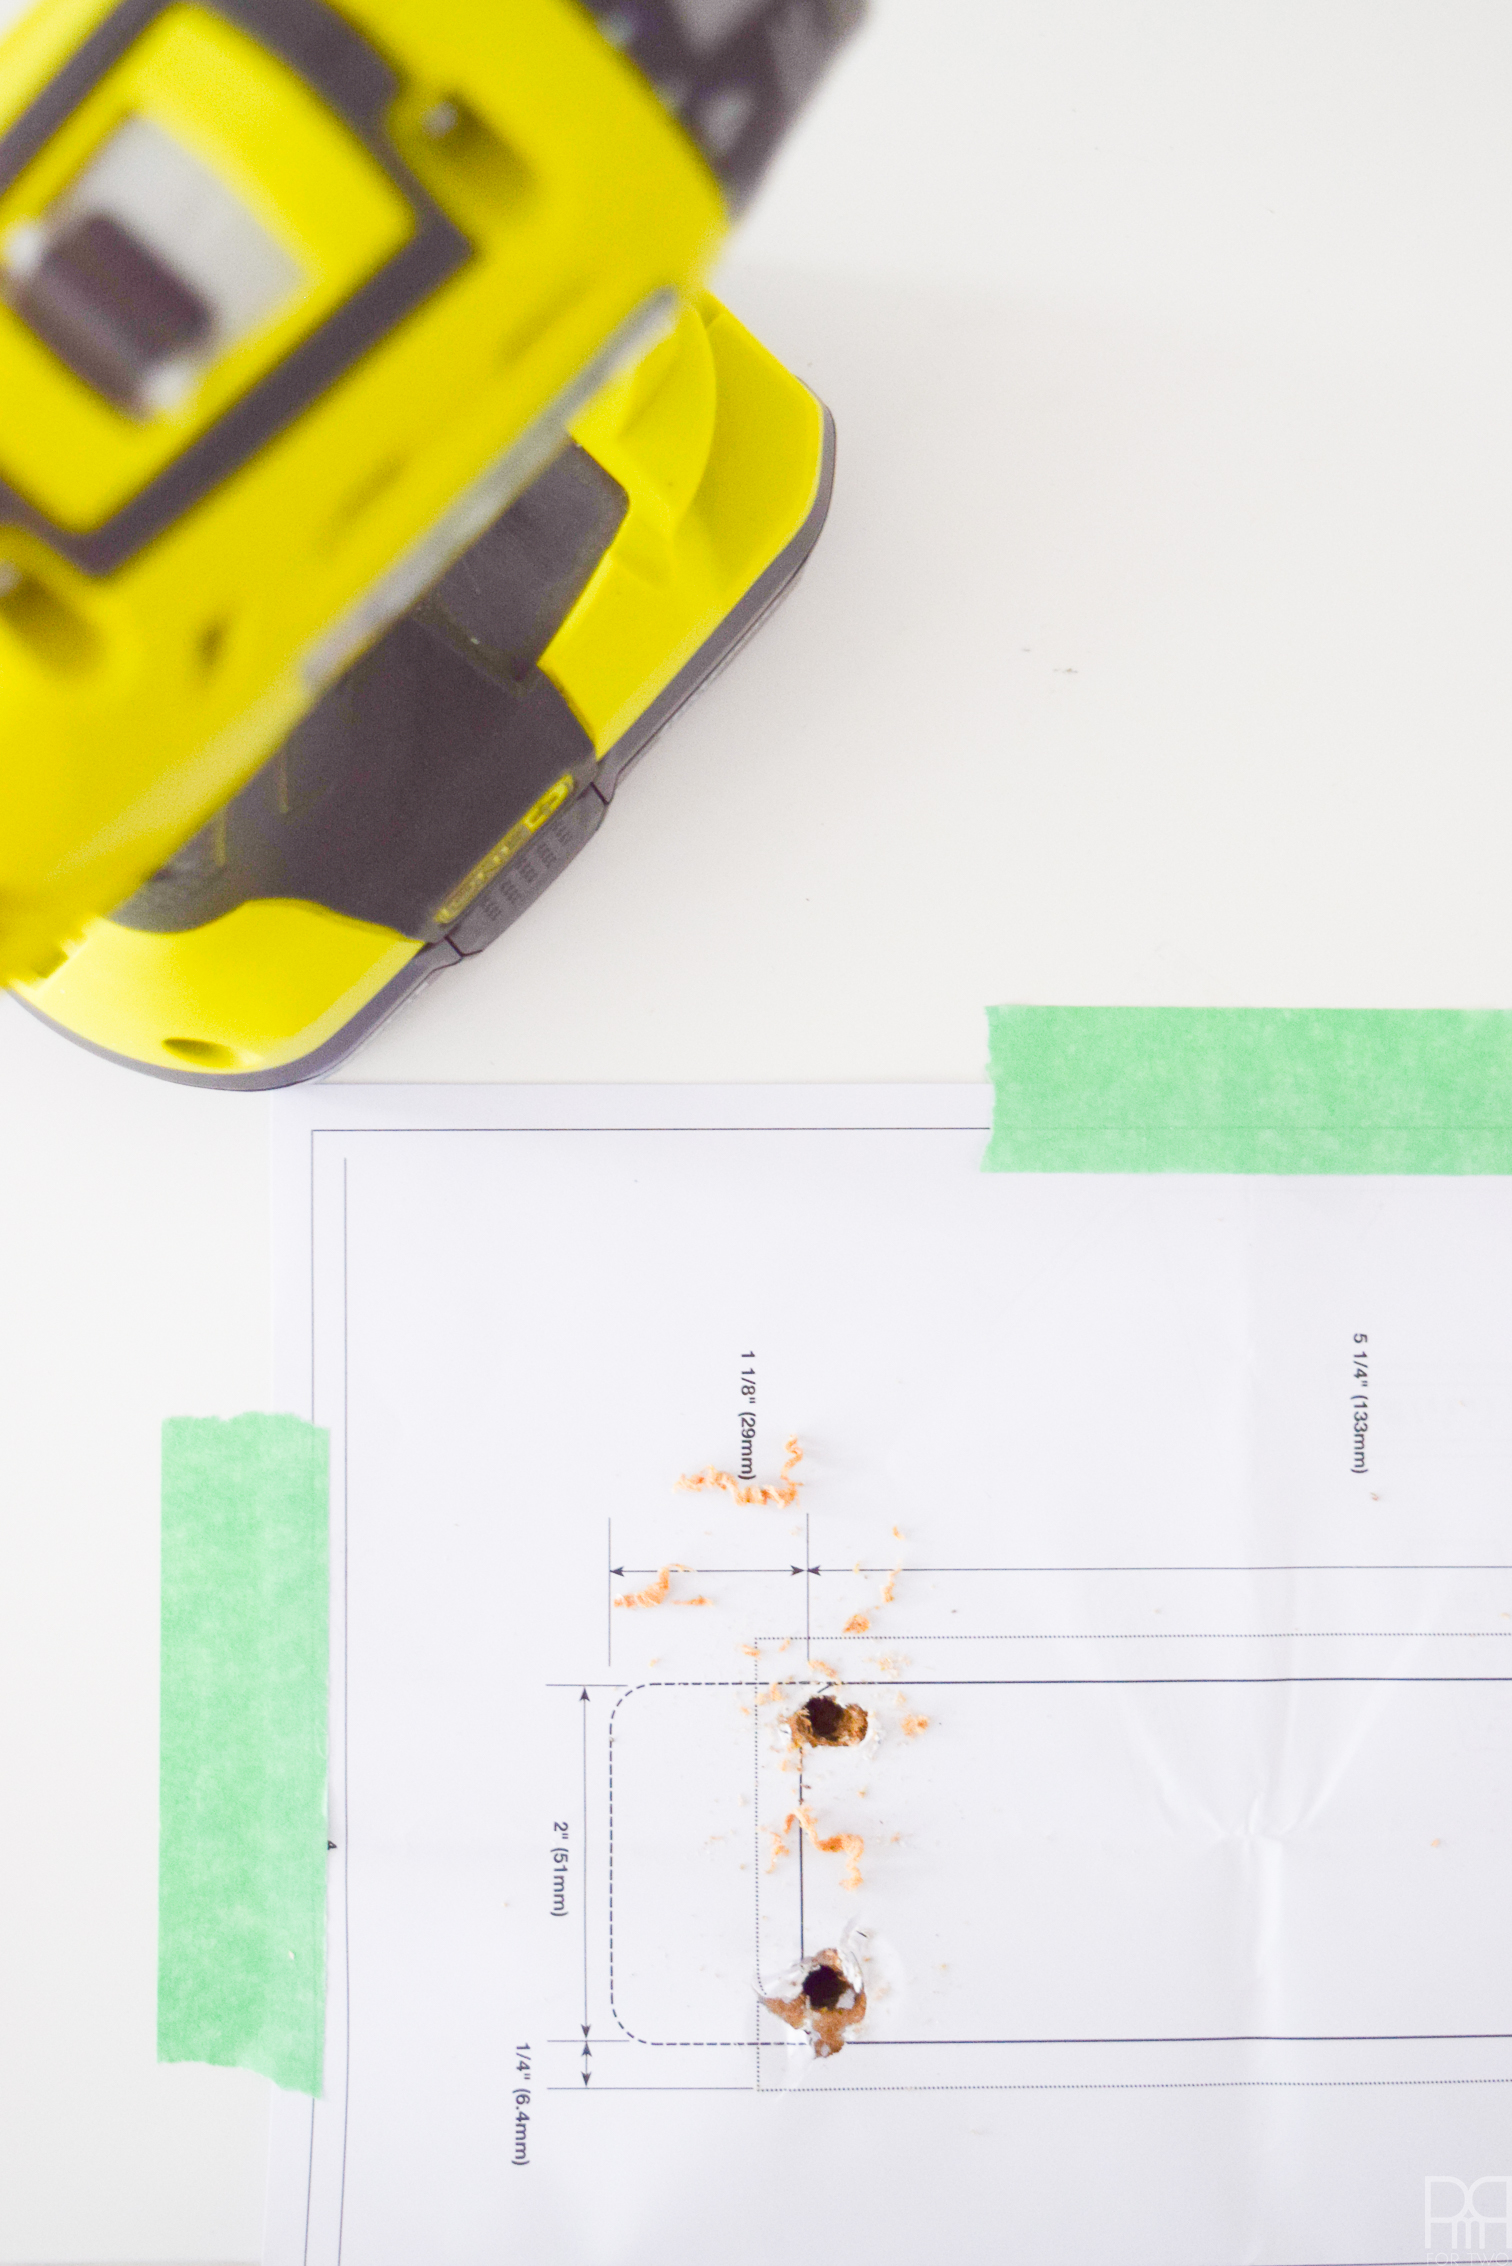
I didn’t snap a pic of myself using the jigsaw, because a) it kicked-up a lot of dust b) It shook me and the table like crazy c) ain’t nobody got time for that. So you get the point.
You can catch the full installation guide // here //


Next, I used a combination of zip ties, C hooks, and white masking tape, to better coral my cables once they were safely running from a certified outlet.
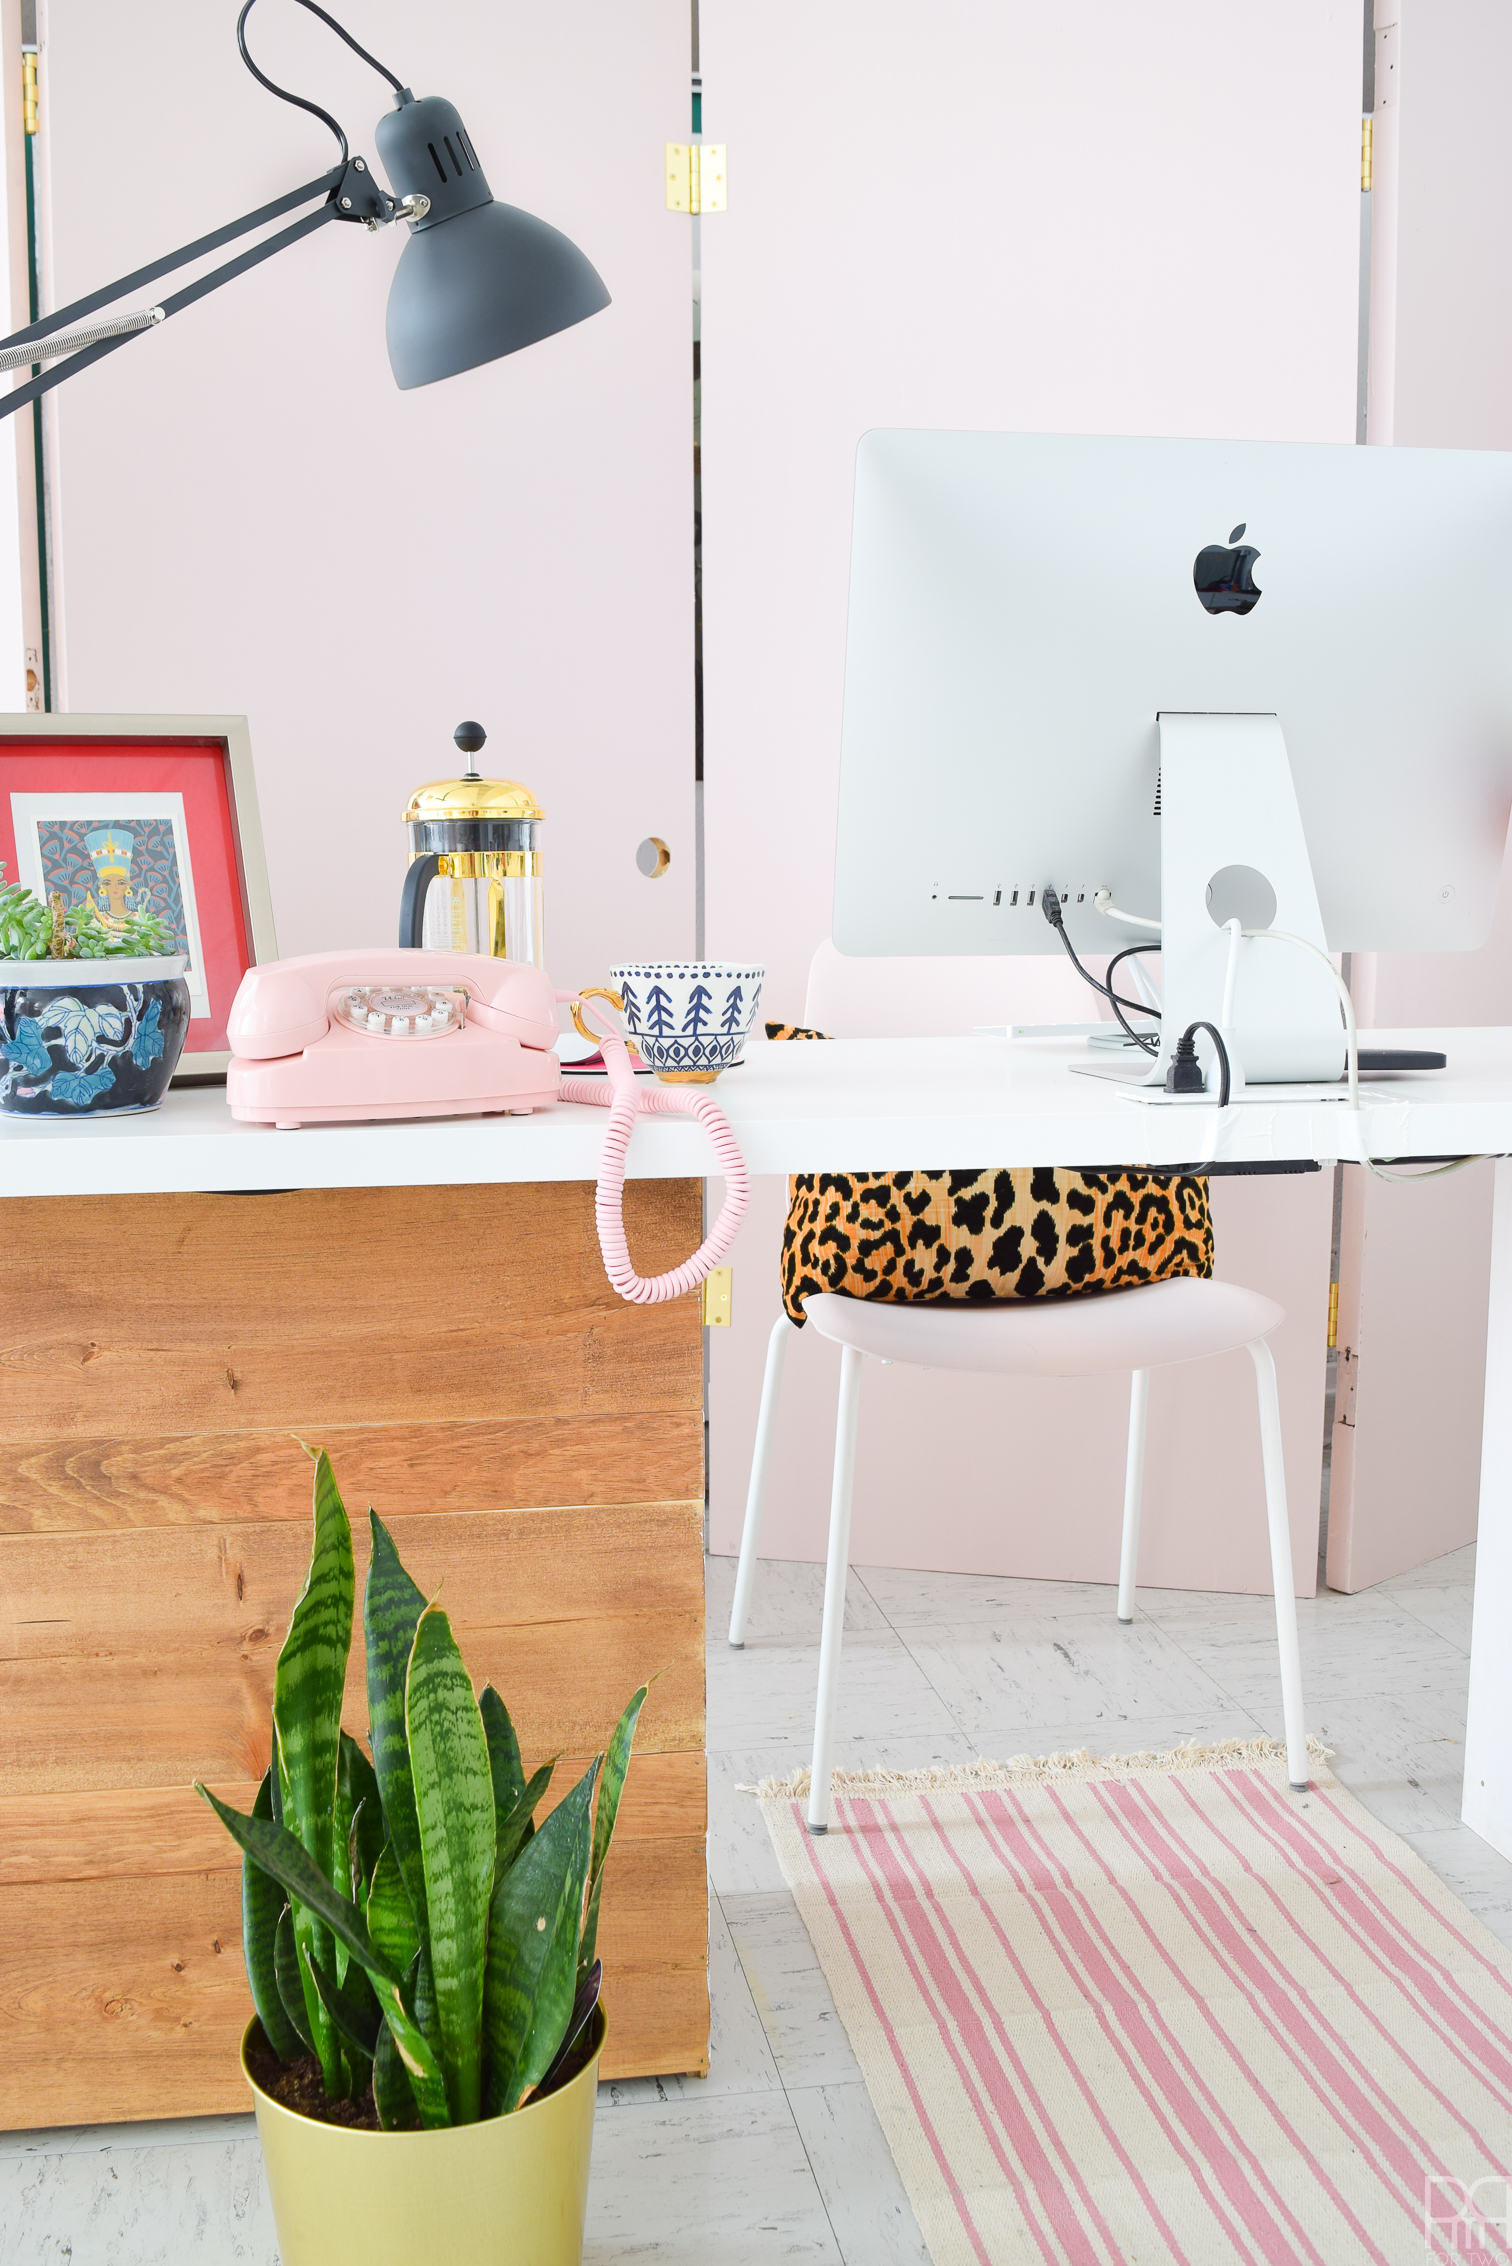
The beauty of my RAST Desk Hack, is that they’ve got a great overhand, so it’s easy to tape things to the underside.

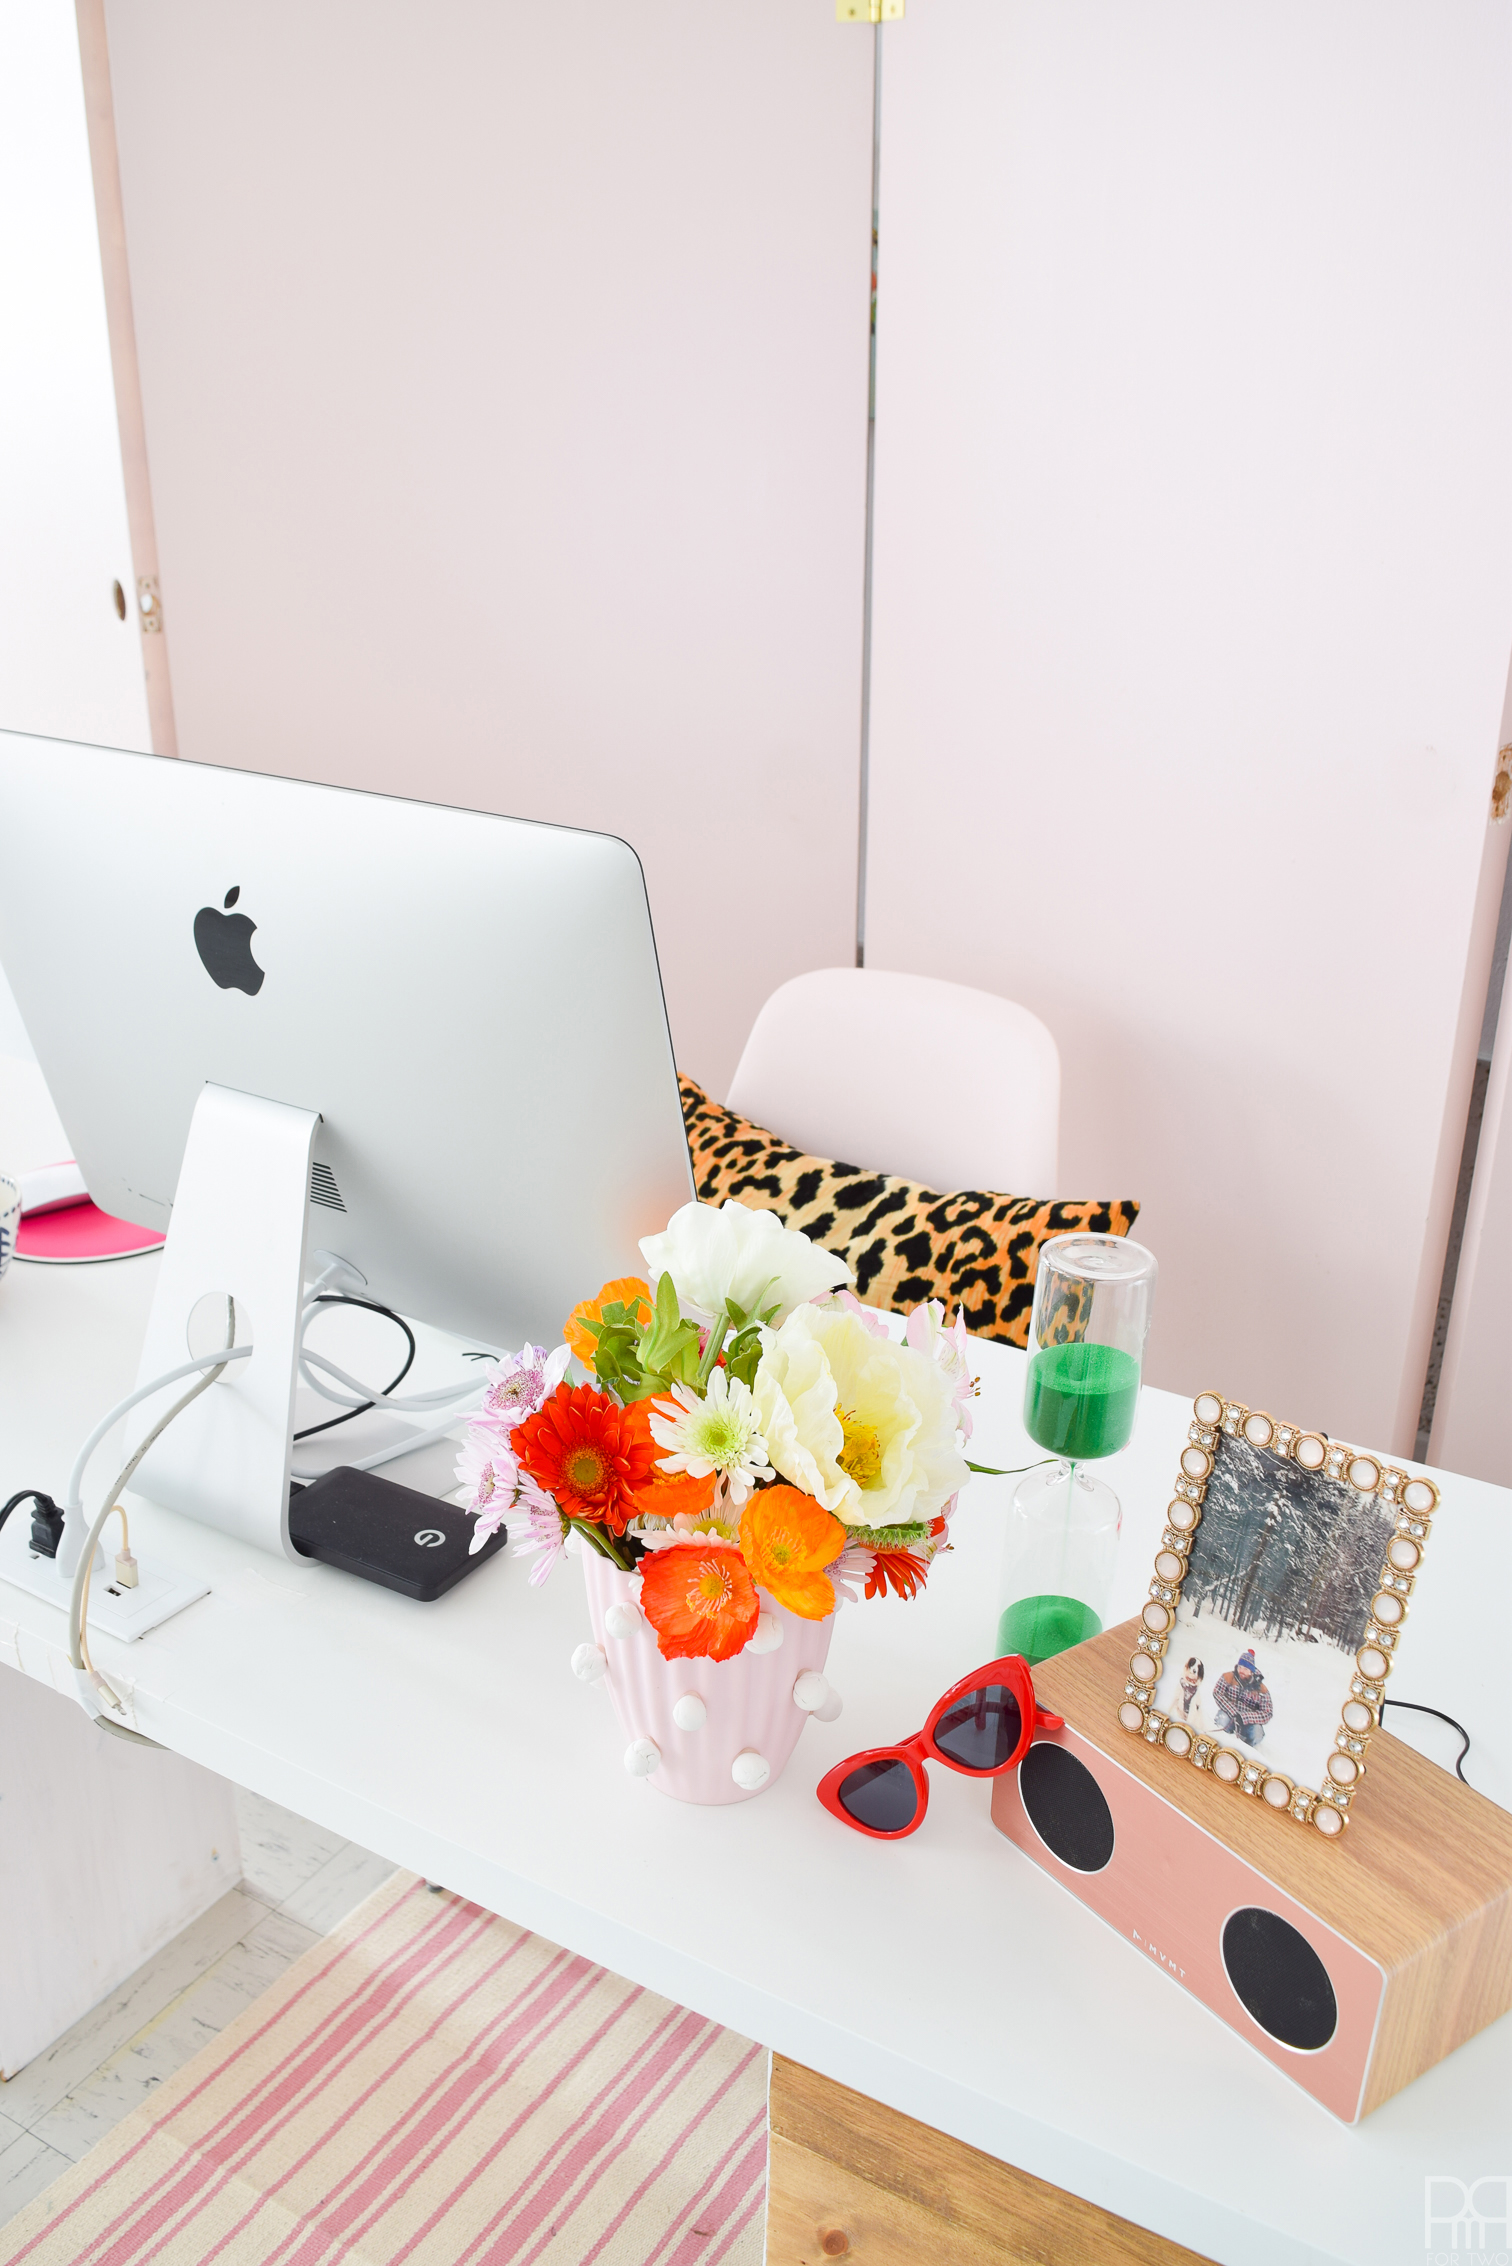
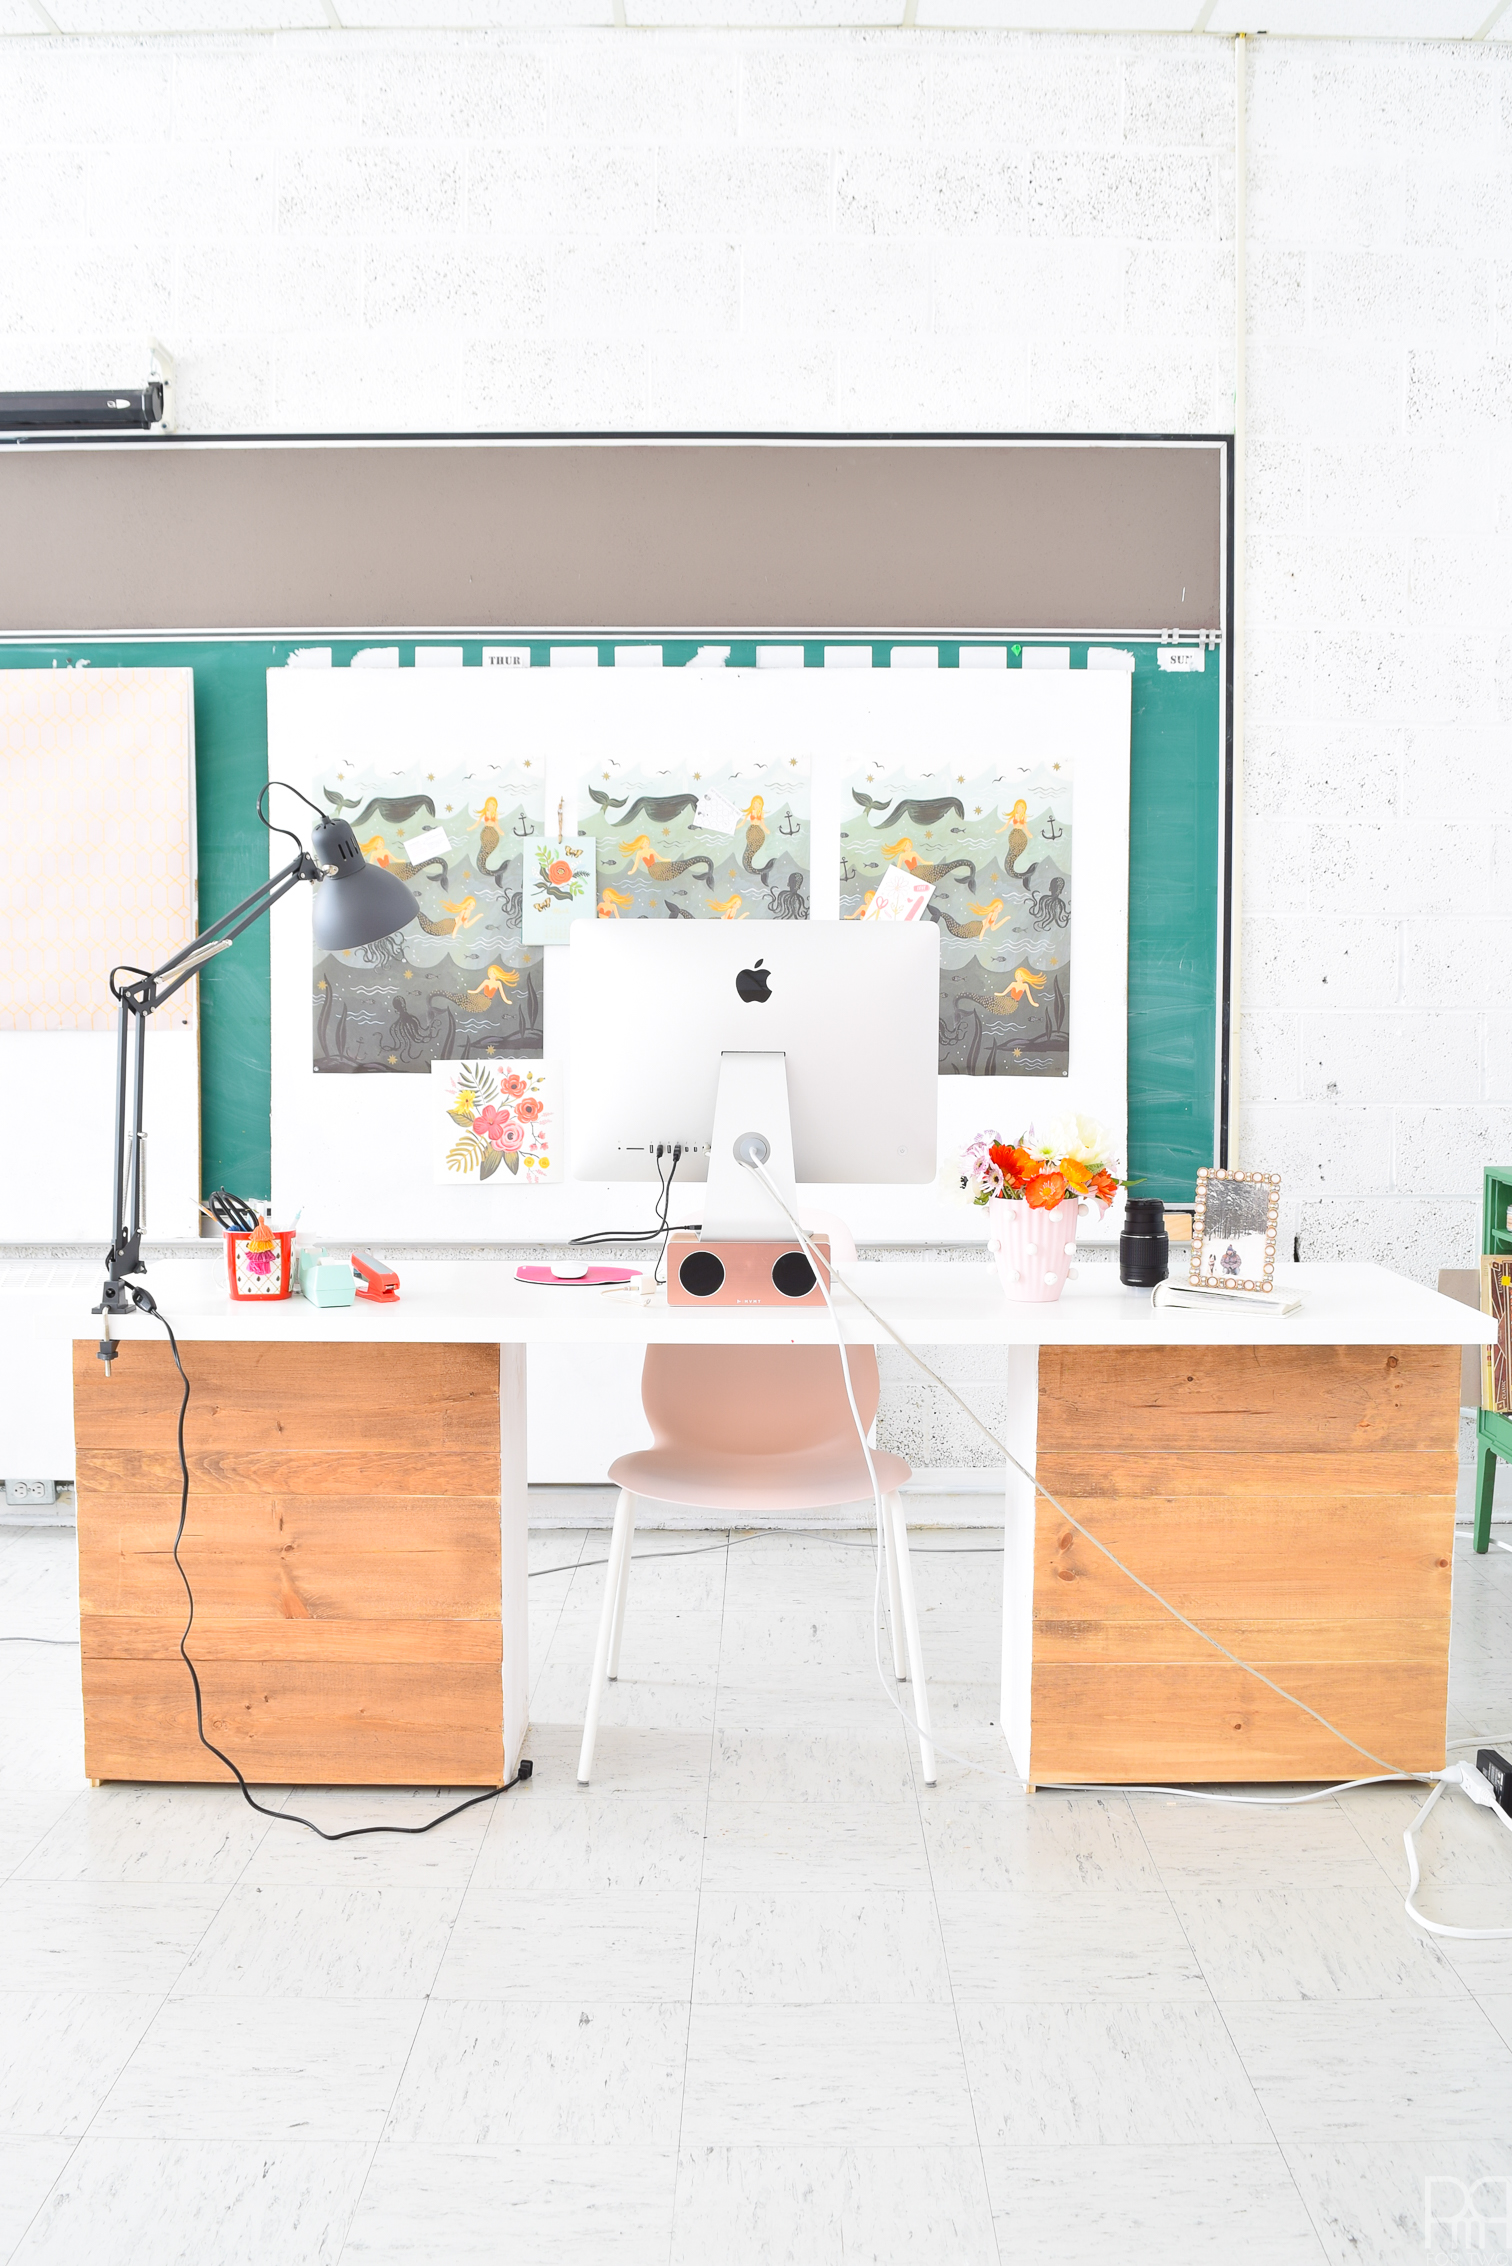
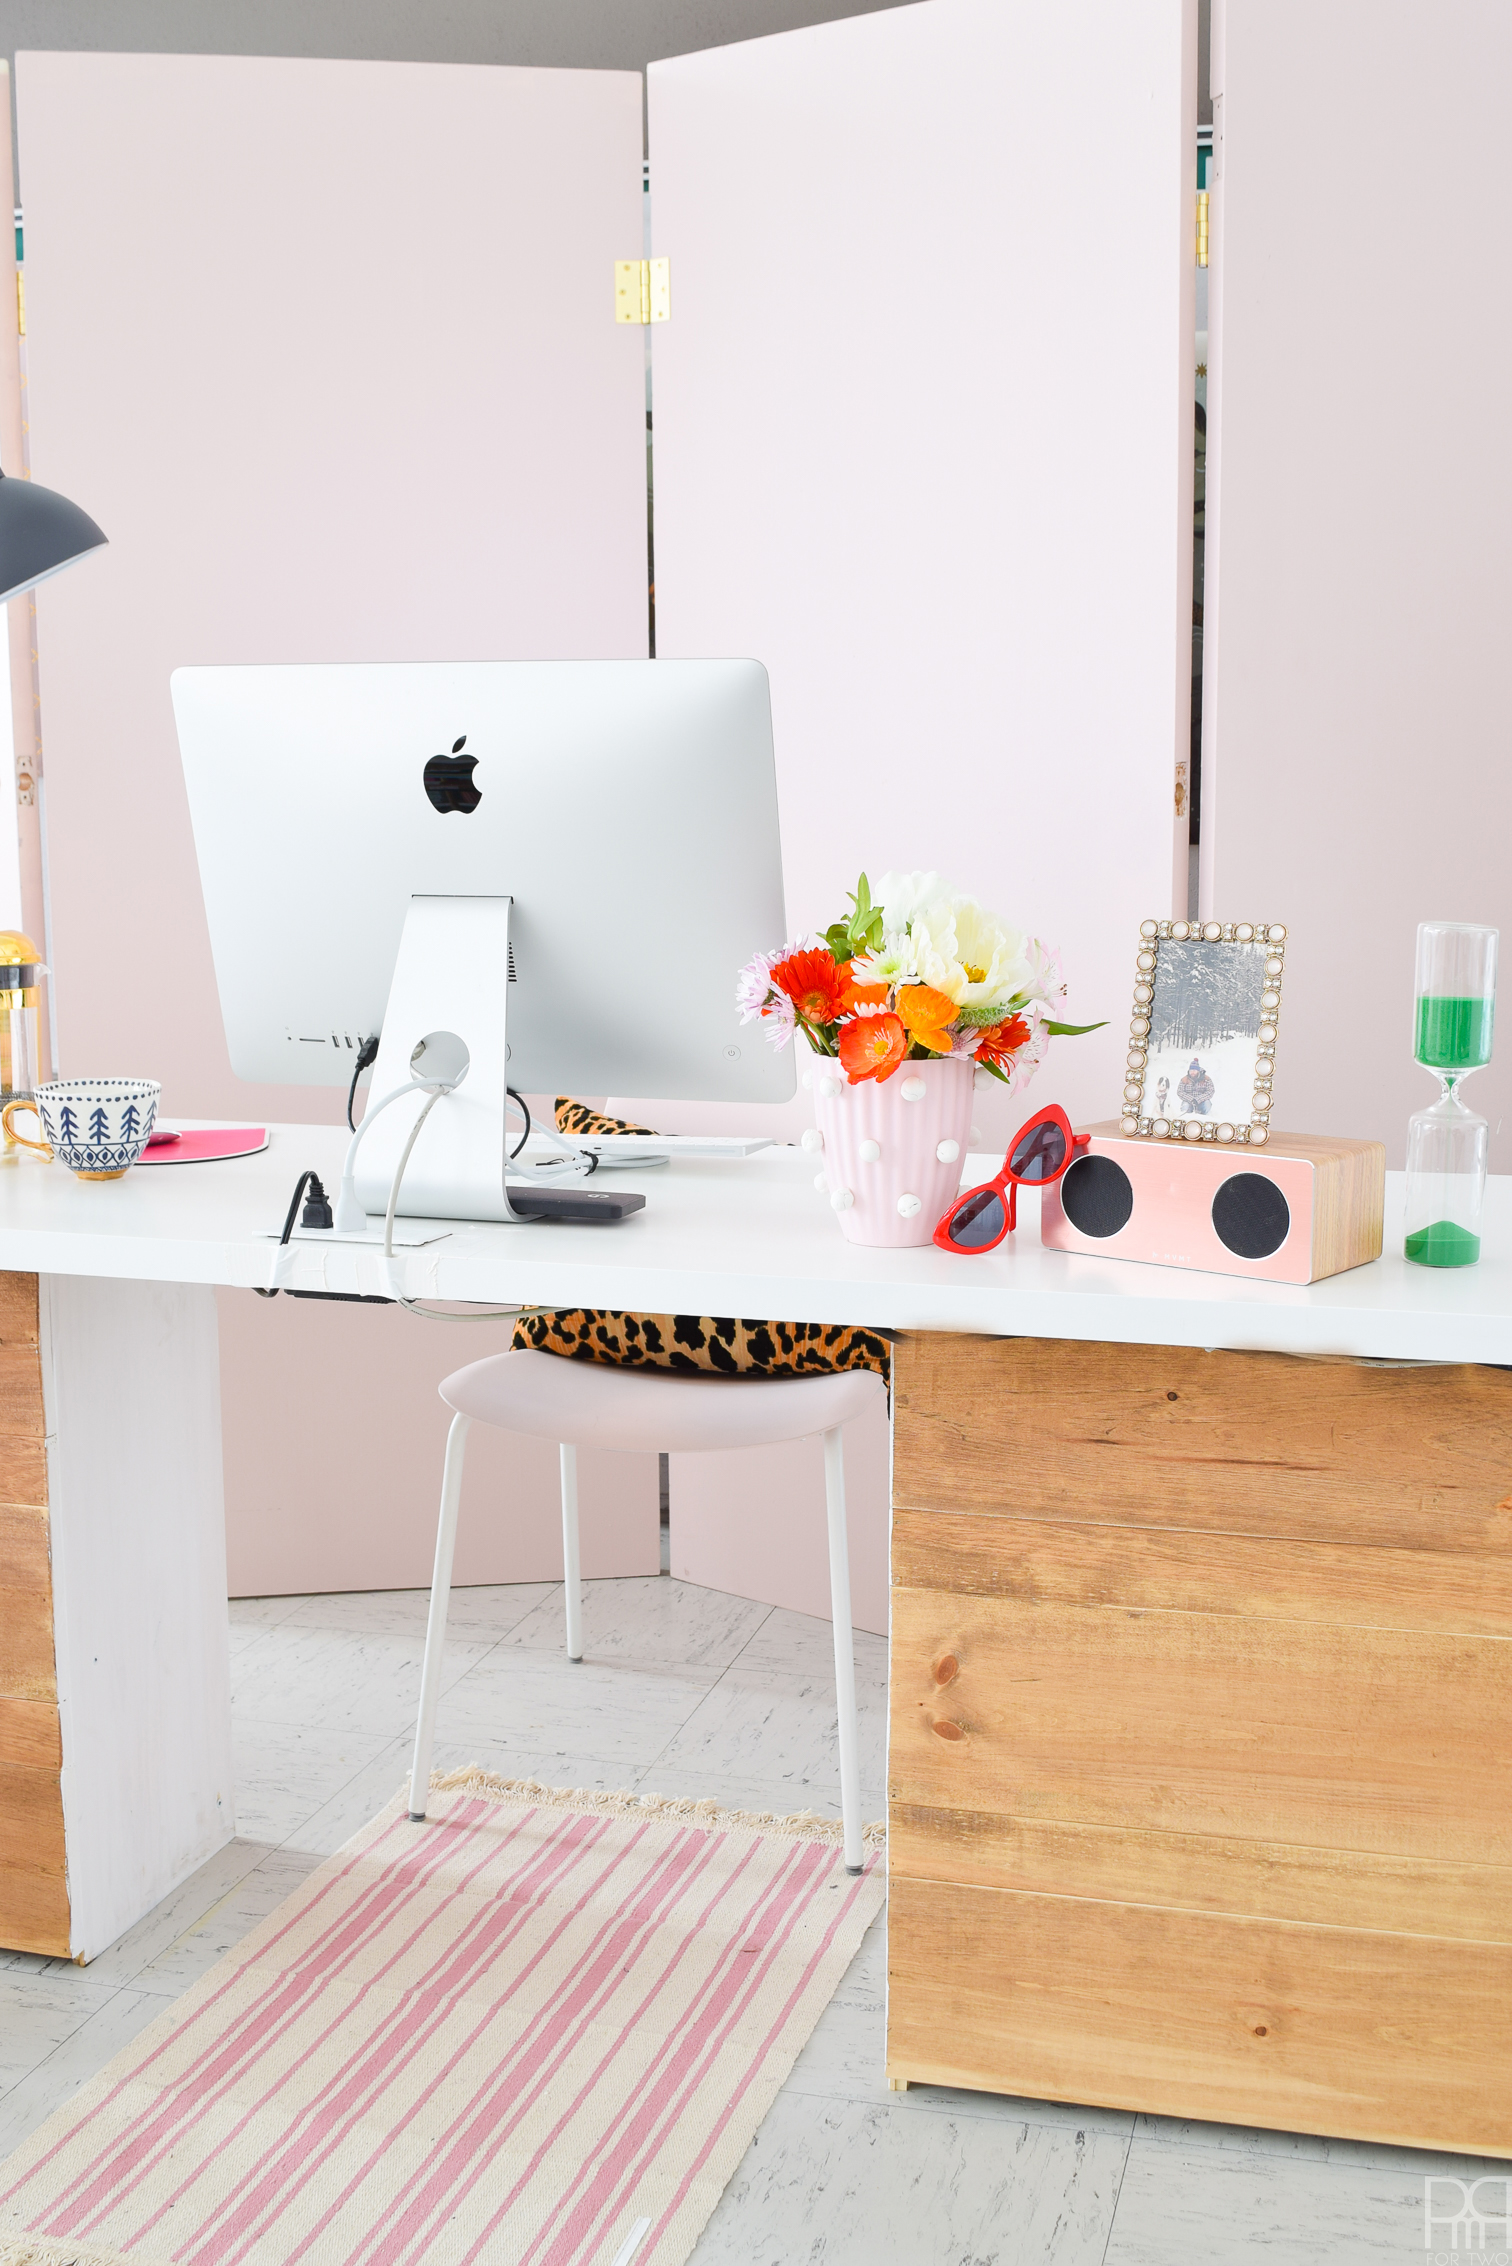
Can we talk about how much cleaner this looks? It’s crazy what the right piece does to space and system. I’ve got a few more of the units left to install, and have got to put one in Kassidy’s desk, but that’s a project for tomorrow.
I’m also going to work some into our guest room and office at home, so stay tuned for those as well!


This is such a cool idea, I have never thought of attaching a power unit and like you used to, i have wires everywhere! WIll definitely be looking into this and I can’t believe how simple it looks to install – thanks so much for sharing!
Go for it! It’s such an easy thing to do, and it adds so much versatility to the space. I’m quite happy with them.