I made a thing! A pretty thing!
This year I opted to drill my pumpkin design instead of carving it. Why? Because it looked a heck of a lot easier than carving, and because I wanted a more precise series of carvings that would allow the light to dance through the holes with the flutter of the wind. That, and it looked easier than trying to monogram my pumpkin again.


I didn’t re-invent the wheel here, this has been done before, but I can now tell you that it does work and it’s super easy! A drilled pumpkin is the way to go from now on.
Materials
- Pumpkin, hollowed and cleared-out.
- Electric drill
- Different sized drill bits
Step 1 – Carve your pumpkins the way you normally would. Take a notch out of the top, clear the guts and seeds.

Step 2 – Pick a design and sketch it on the pumpkin. I went with some stars and pretty flower designs, but for simplicity’s sake I sketched-out where on the pumpkin the stars would go.
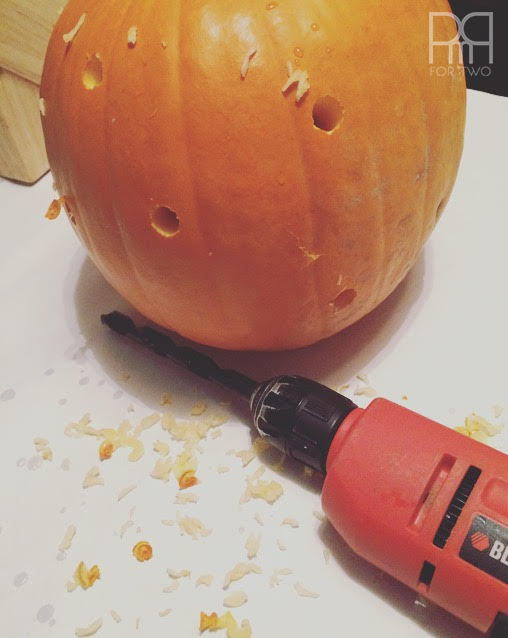
Once the drill starts up it has a habit of skipping across the pumpkin skin, so if you have a place to aim the drill it will go much better.
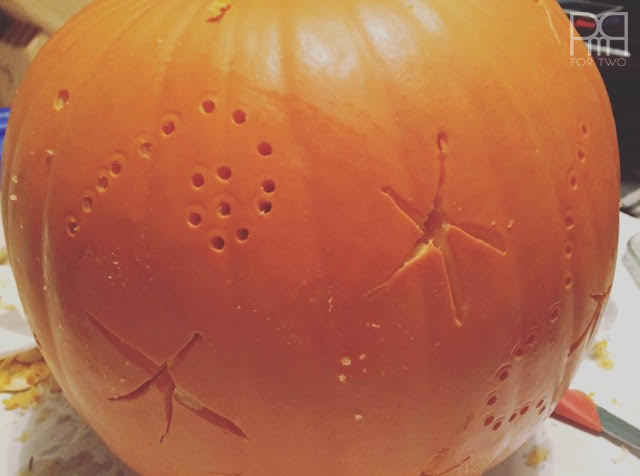

Step 3 – Start drilling! In my design I used a couple of different sizes in drill bits because I wanted to create depth in the design.
See Bruce in the window? He was very concerned that I should be outside without him
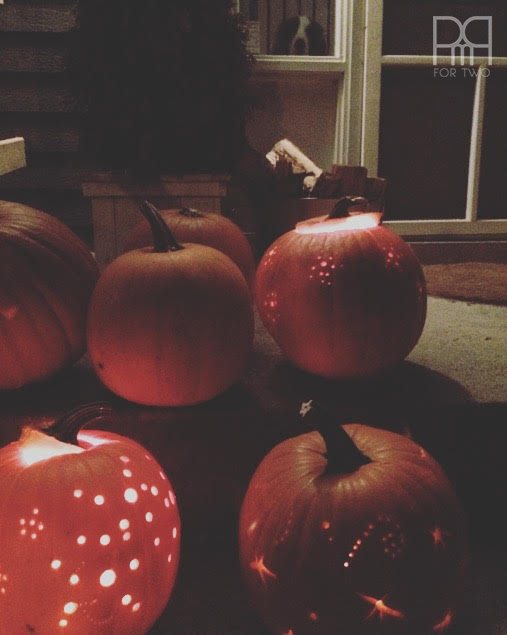
Step 4 – Get the candles in there and enjoy your work!
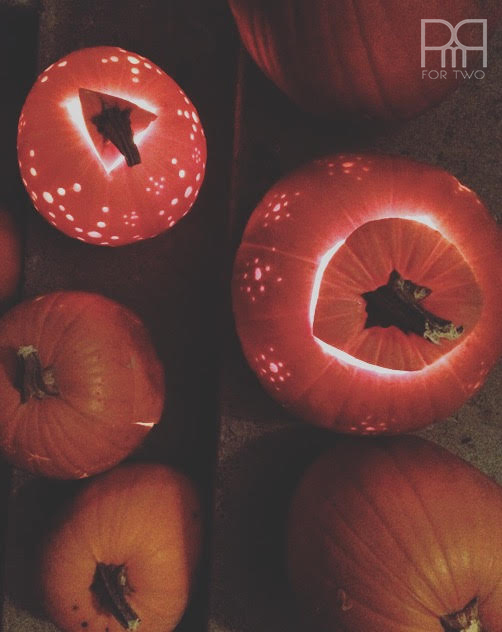

See how easy that was? I got three pumpkins done today but I’ll be doing the others in the lead-up to Halloween. I will have them all glowing and beautiful come saturday night.
Live boldly