

It’s not even December and I’ve now got everything I need for Christmas already done. Everything has been acquired or made, so when it comes to decorating for Christmas in November we’re good to go!
Check out my other Christmas Wreaths: His & Hers Ornament wreaths // my Gold Magnolia Leaf Wreath // my Minty Cool LED Vignette Wreath // my Painted Pinecone Wreath
Check out my DIY Atomic Starburst Ornaments
*originally published Nov 3rd 2015
")

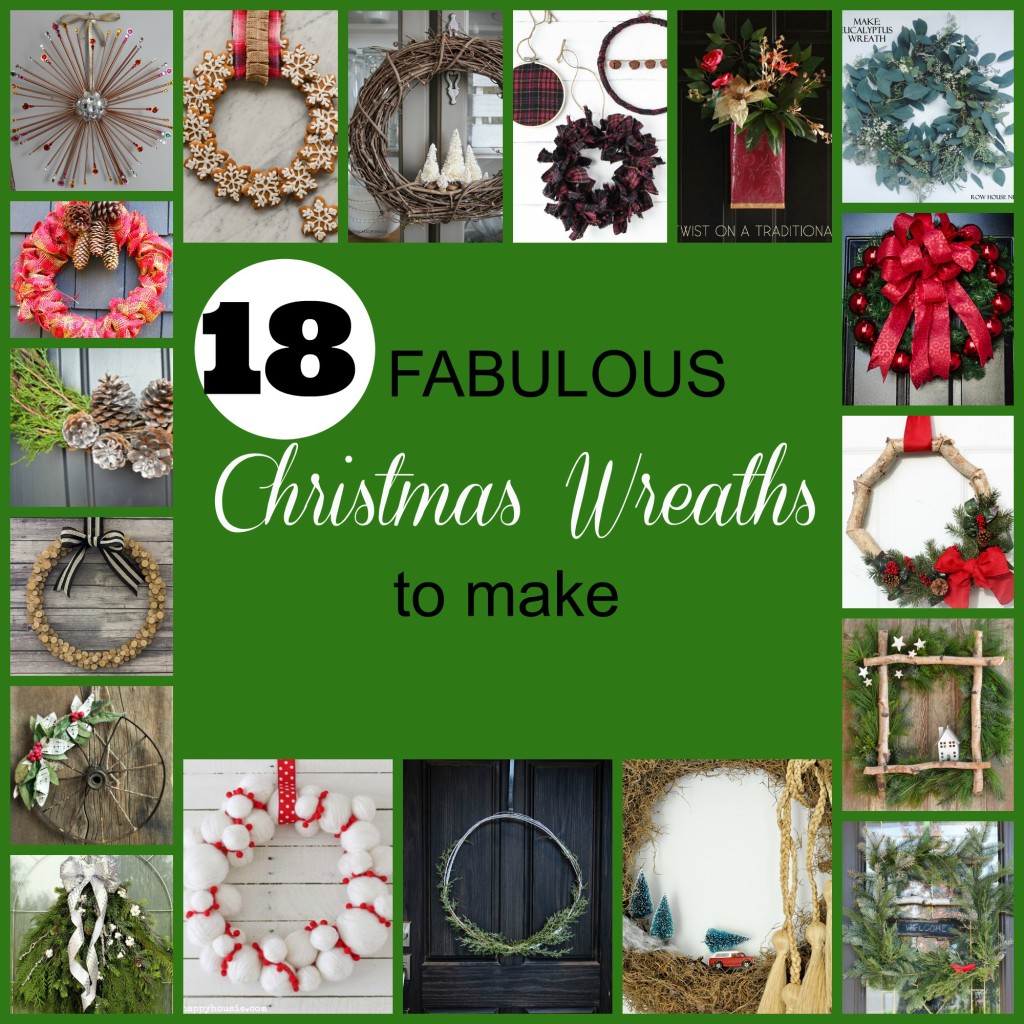
Today I’m participating in the Canadian Home Decor and DIY bloggers’ Christmas Wreath Blog hop. Remember our fall wreath blog hop? Well we loved it so much and you all enjoyed it, so we thought we’d do a christmas edition!
Instead of going with a green or ornament wreath, I opted to make one that would fit in with the colours I’ve been curating into our seasonal decor, and the look and feel of the PMQ. I went with a DIY starburst wreath! Not just because it’s mid-century modern, or because it matches the colours, but because it was a lot of fun to make.
This is one of the more time consuming DIYs and it requires an eye for detail.
Everything you need to make a DIY Starburst Wreath
*The following product links contain affiliate links. Thank you for supporting the brands that make PMQ for two possible. For my full policies click // here //
– 8 inch (20 cm) Smooth Foam Ball for Crafts, School and Modeling Projects
– Woodsies Dowels 12″-3/16″ 20/Pkg
– S&S Worldwide Faceted Acrylic Gemstones, 1/2 Lb. (Bag of 2000)
– CCbetter® Mini Hot Glue Gun with 25 pcs Melt Glue Sticks High Temperature Melting Glue Gun Kit Flexible Trigger for DIY Small Craft Projects & Package and Quick Repairs in Home & Office Cleanly (20-watt, Blue)
– Ribbon Large Glitter Solid Gold 5/8″

")

All my materials came to about 30$. I have a lot of gems left, so I’ll be recycling them into another project or two. When you look at it that way, the cost isn’t too bad considering you can buy a semi-decent wreath for about that.
How to Make an Atomic Starburst Wreath
Step 1 – Sketch the overall shape and design of the starburst. Figure out how many dowels you need and of what size. I mimicked the starburst in the image below. There are 8 large dowels, 16 medium dowels, and 24 small dowels in my design.
Step 2 – Cut and then sand the dowels. Once you’ve got the measurements for your dowels figured-out (keeping in mind that some are longer than others) cut them using a mini miter box or some sharp scissors. The small dowels were easily cut using scissors. Sand the ends when you’re done to make sure everything looks good once painted and to avoid splinters.
Step 3 – Spray-paint all the dowels. I’ve tried painting many dowels once before (when PMQ for two was just starting up) and it was the most time consuming and insane thing I had done in my life up until that point. Never again.
Step 4 – Cut the foam sphere in half. You’ll be inserting the dowels along the circumference of the half-sphere. You can use the other half as a stand for the dowels when spray-painting.
Step 5 – Using a protractor to guide you, insert the dowels to recreate your sketched pattern. I had a large dowel every 45 degrees which created “slices” to work within. Within each slice I had another 5 dowels going in every 9 degrees. Instead of gaming them all in at the same height, for each level of dowels within each slice, I raised them. It creates depth in the wreath and allows for all the dowels without them bumping into each other.
")

You might make some mistakes as you go, and if you do, cover the tip of your dowel in hot glue before re-insterting into the correct spot to ensure it holds. When correctly placed, the dowels will hold in the foam on their own.
Step 6 – Determine which gemstones you’ll be placing where before you start gluing. I laid-out the pattern the night before to make sure I liked all the colours and combinations before I started gluing.
Step 7 – Glue all your gemstones as planned onto the dowels using a hot glue gun. THIS was time consuming, let me tell you. I think I got through 2 episodes of Scandal while doing this.
")

When you get to the smaller gemstones consider using some tweezers to hold the gem while applying scaling hot glue. Your fingers will love you.
Step 8 – Start gluing gemstones onto the foam sphere at the centre of the wreath. SPRAY PAINT MELTS FOAM – You cannot spray-paint your foam centre. You can paint it or cover it in gems like I did.
Step 9 – Using ribbon, create a bow or way to hang the wreath. I opted for a classic champagne coloured ribbon to tie a bow with. I glued the ribbon to the back of the foam, and then glue my bow onto the ribbon! I weighed down the tips of the bow using gemstones on the back, and then I added a key ring right behind the bow as a way to hang it off a hook without straining the bow or ribbon.
")

Step 10 – admire!
I took the occasion to style the bar area for a christmas photo shoot to match the wreath!
")
")
")
")
I’m particularly proud of the wrapped Christmas gifts! I love leopard wrapping paper and I bought this stuff a little over a year ago but didn’t get a chance to use it. This is the season of the leopard print wrapping paper!

Live boldly.

