Spring kinda flew by, but only because it lasted about 2 weeks, and we’ve only got one more before it starts to just get and stay hot. In anticipation of warmer days, but also because the grass has started to come in, I finally tackled our sad looking front porch with the help of Krylon and some beautiful flowers. The Tiffany Pratt Collection for Spring/Summer 2018 is LIT y’all, and I got to use it to help with my makeover. I made these DIY Spray Painted Striped Planters using colours from the collection, and some planters I picked-up at the store.
*Krylon sponsored this post, but all thoughts are my own. Thank you for supporting the brands that make PMQ for two possible.

I removed the big Christmas planter, put the salt back in the garage, and picked-up whatever trash had blown up during the winter storms. I was allowed to paint our front door last fall, so you can see how that turned out in my Christmas front porch // here //.
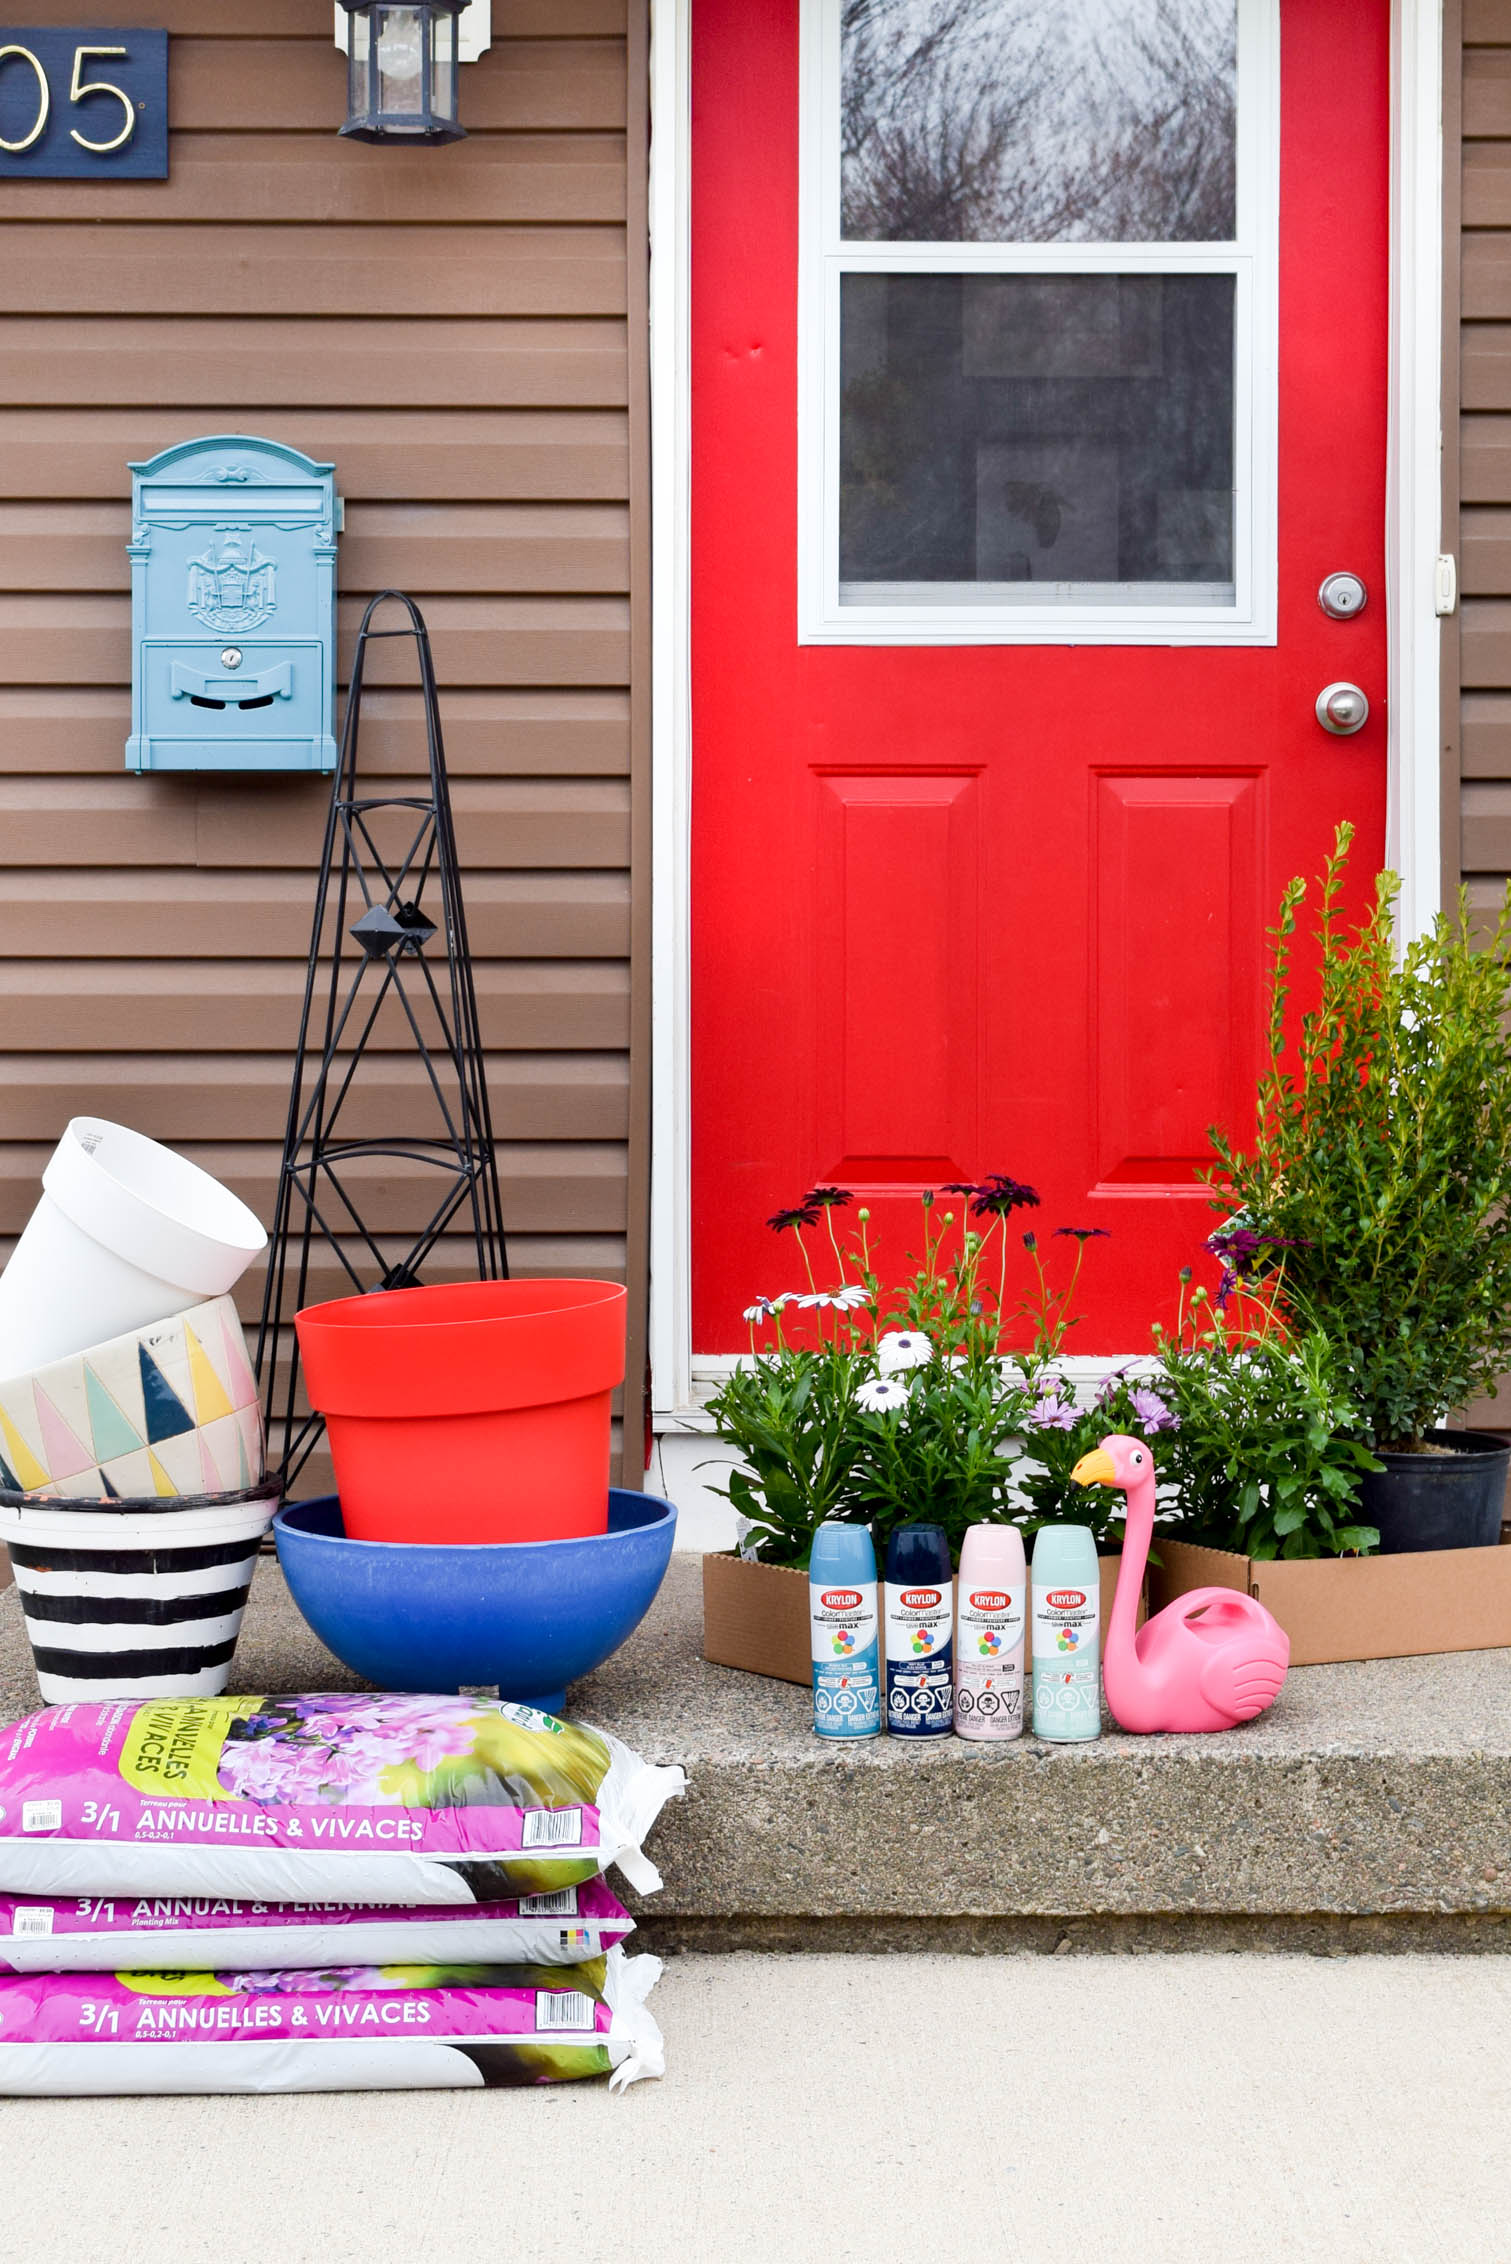
Materials required for DIY Spray Painted Striped Planters
- Planters – I opted for some nice ones with a water reservoir so that when Dan forgets to water them, they don’t die.
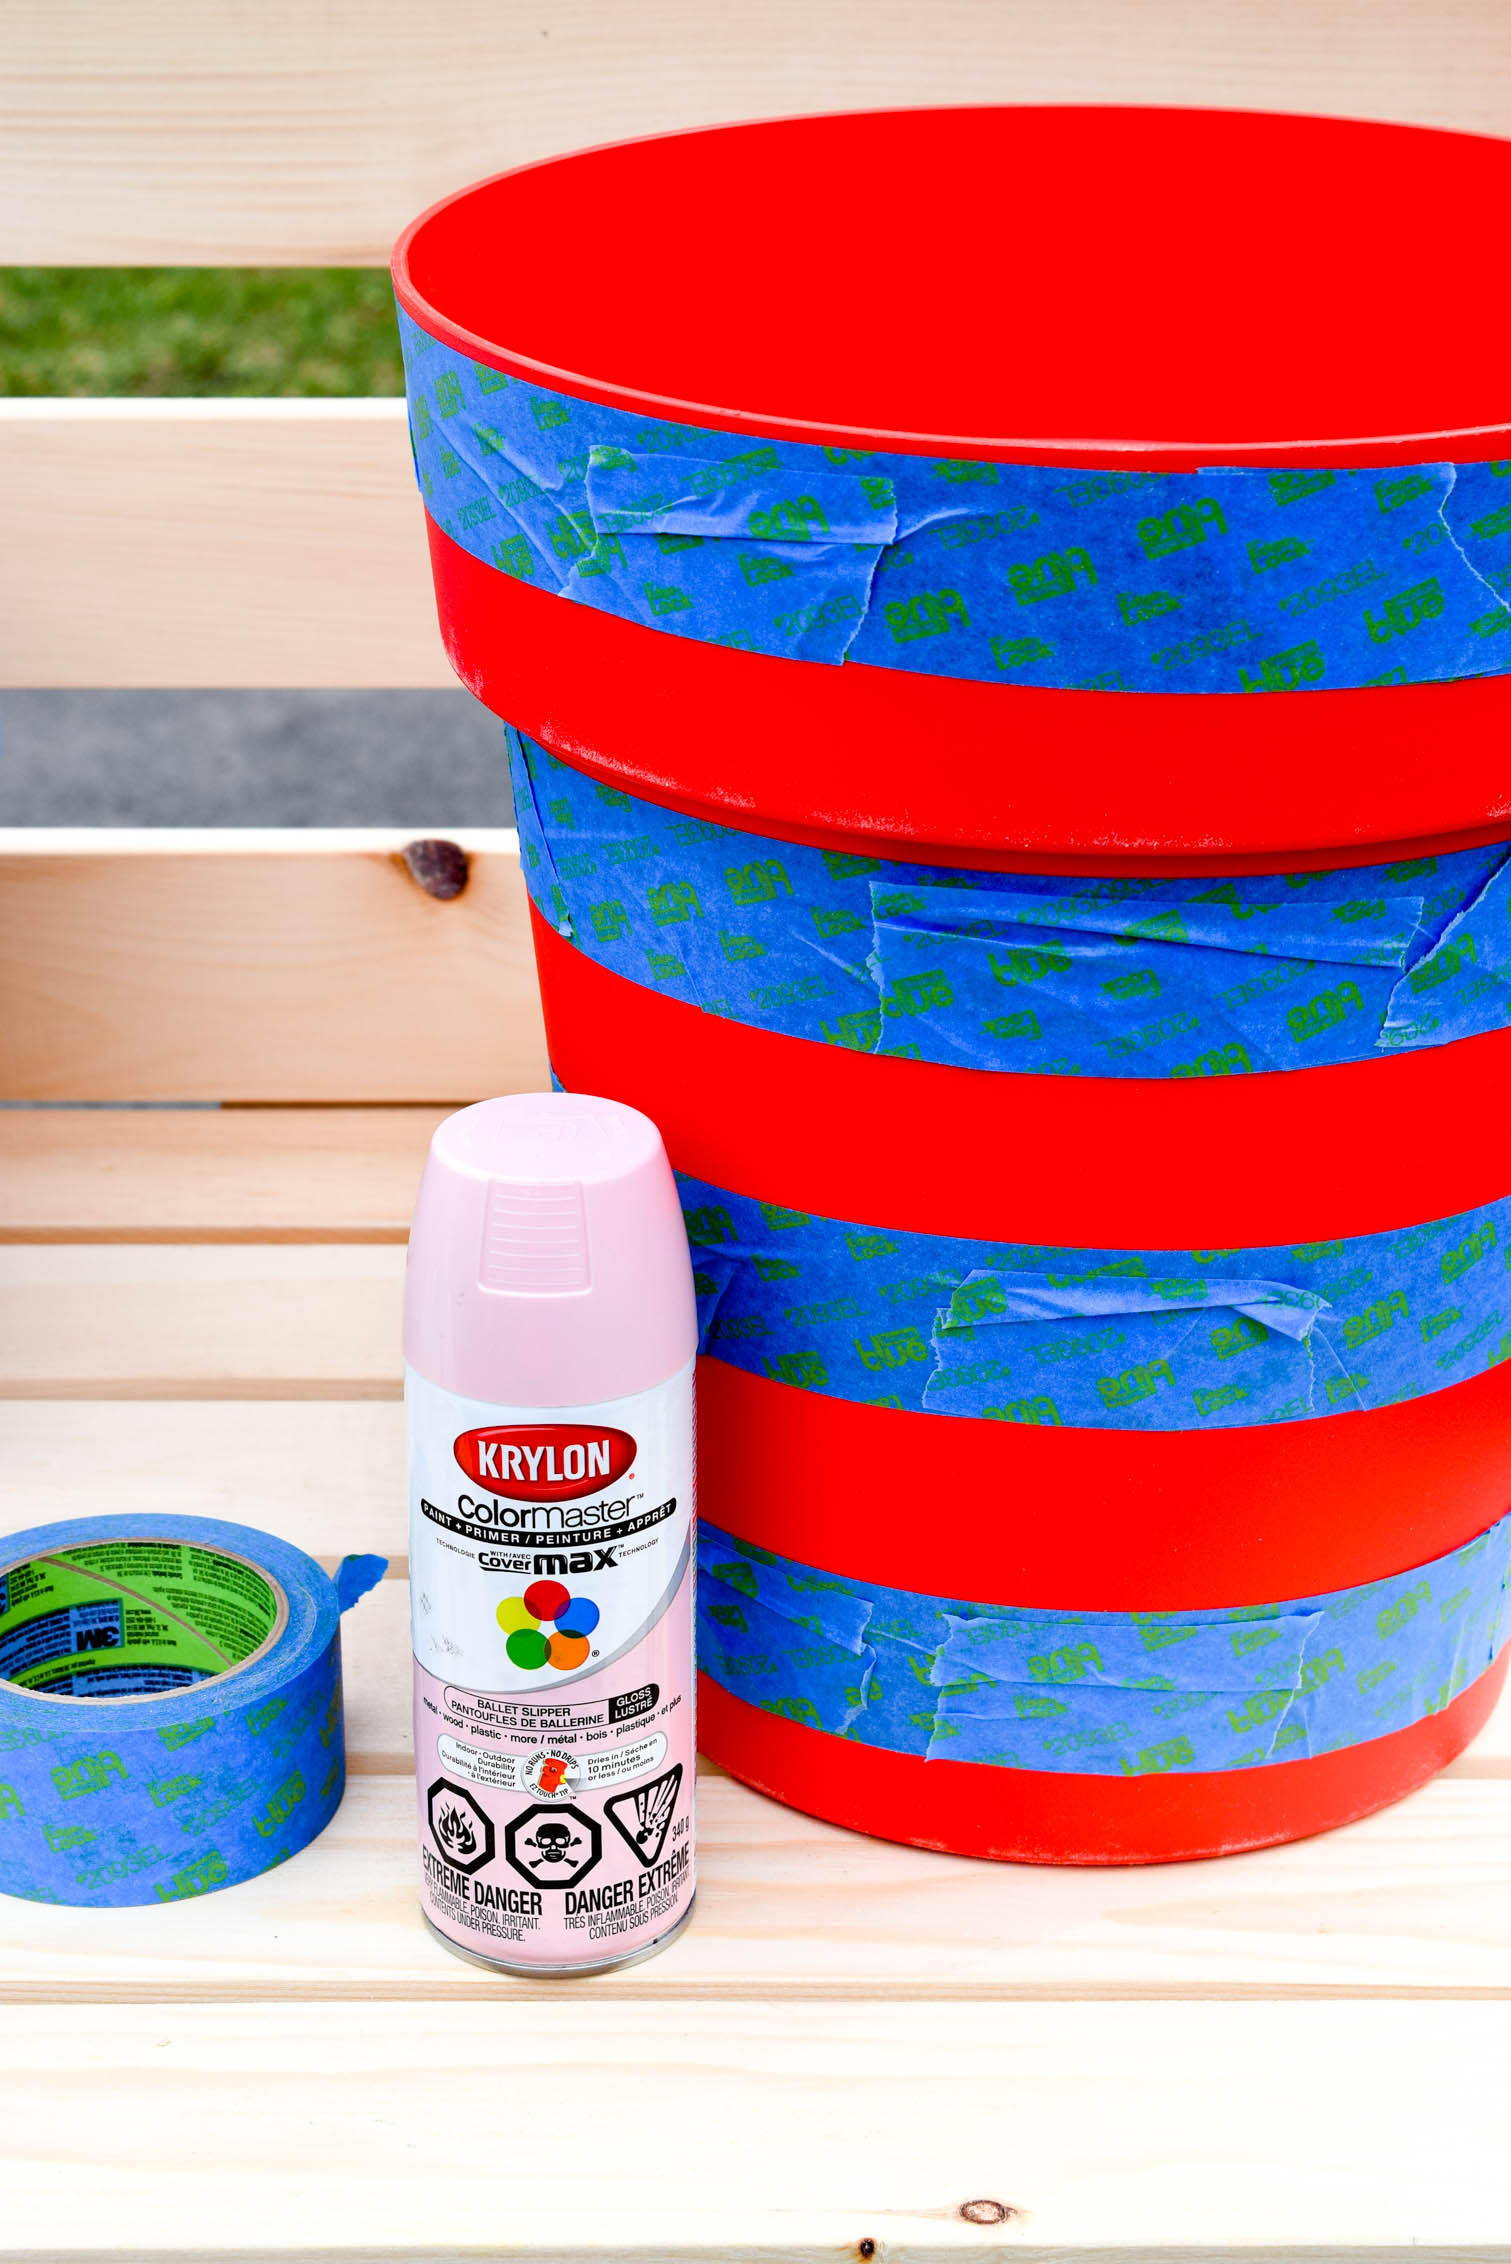
- 3M Painter’s Tape
- Krylon Spray Paint from the Tiffany Pratt Collection: Ballet Slipper (Satin), Catalina Mist (Satin), Bahama Sea (satin), and Navy (Satin)
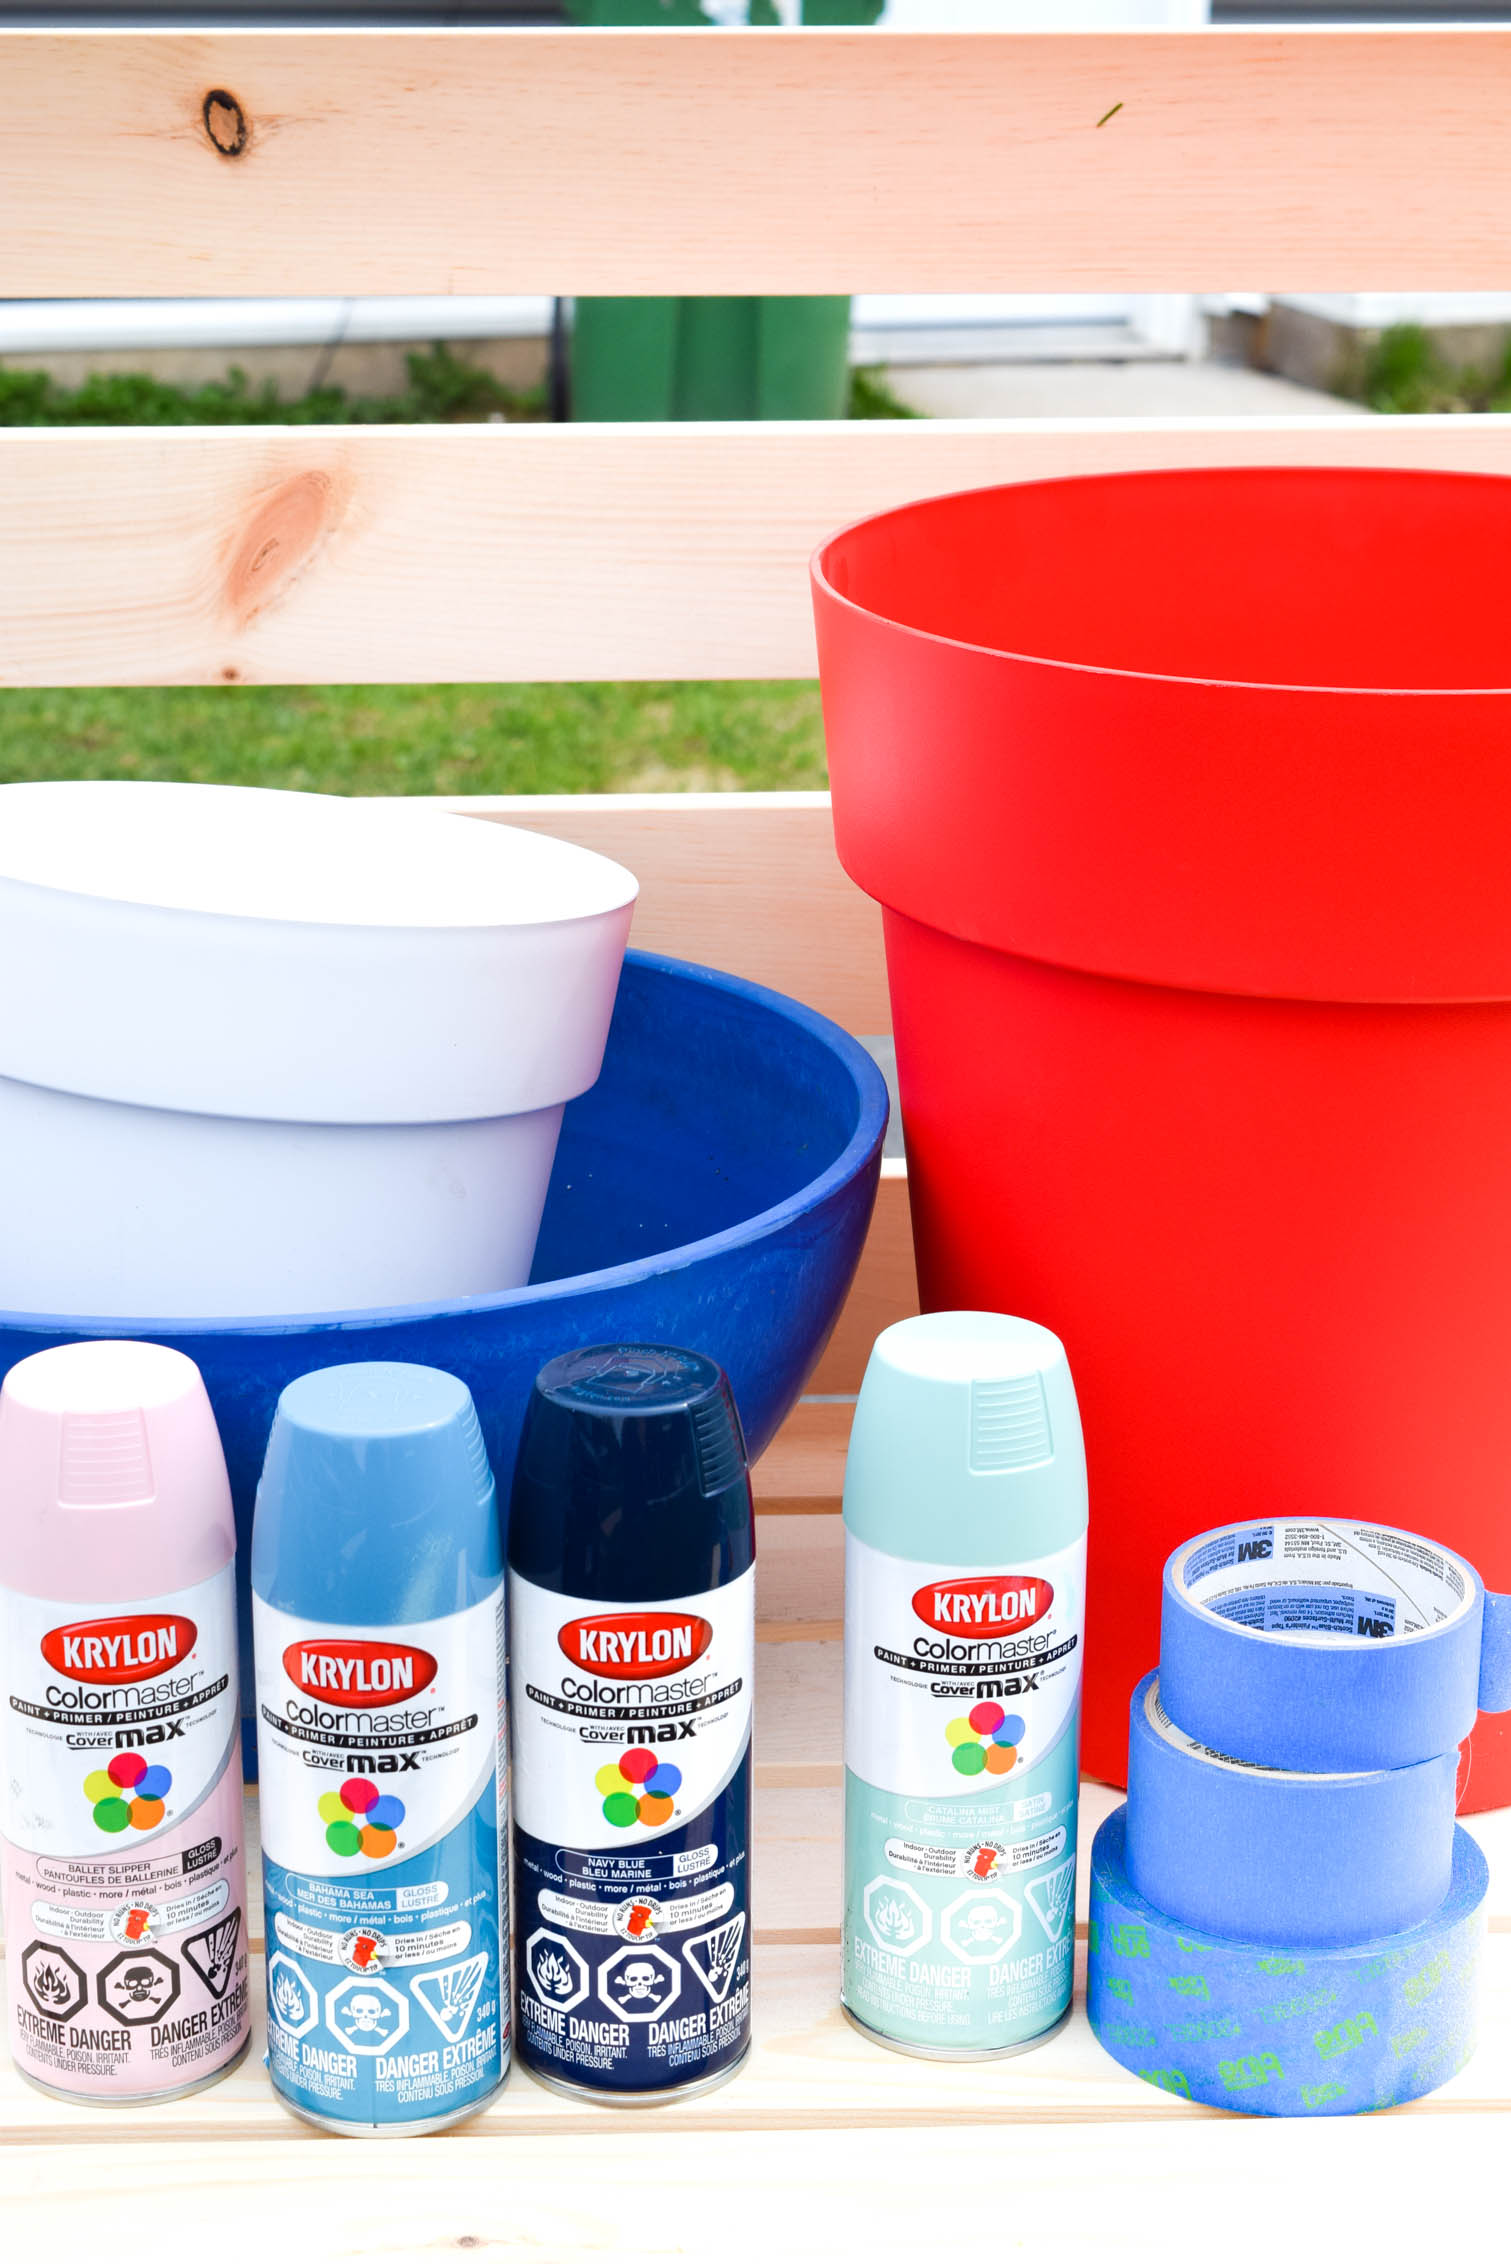
Step 1: Start by creating the stripes on the planters with the tape. It’s not as easy as on a straight flat surface, so you’ll need to take extra love and care to get your lines straight.
I basically did all my planters in stripes as a way to unify the different shapes, sizes, and colours of the planters I had on hand. I was able to dip into my collection from last summer without too much trouble.
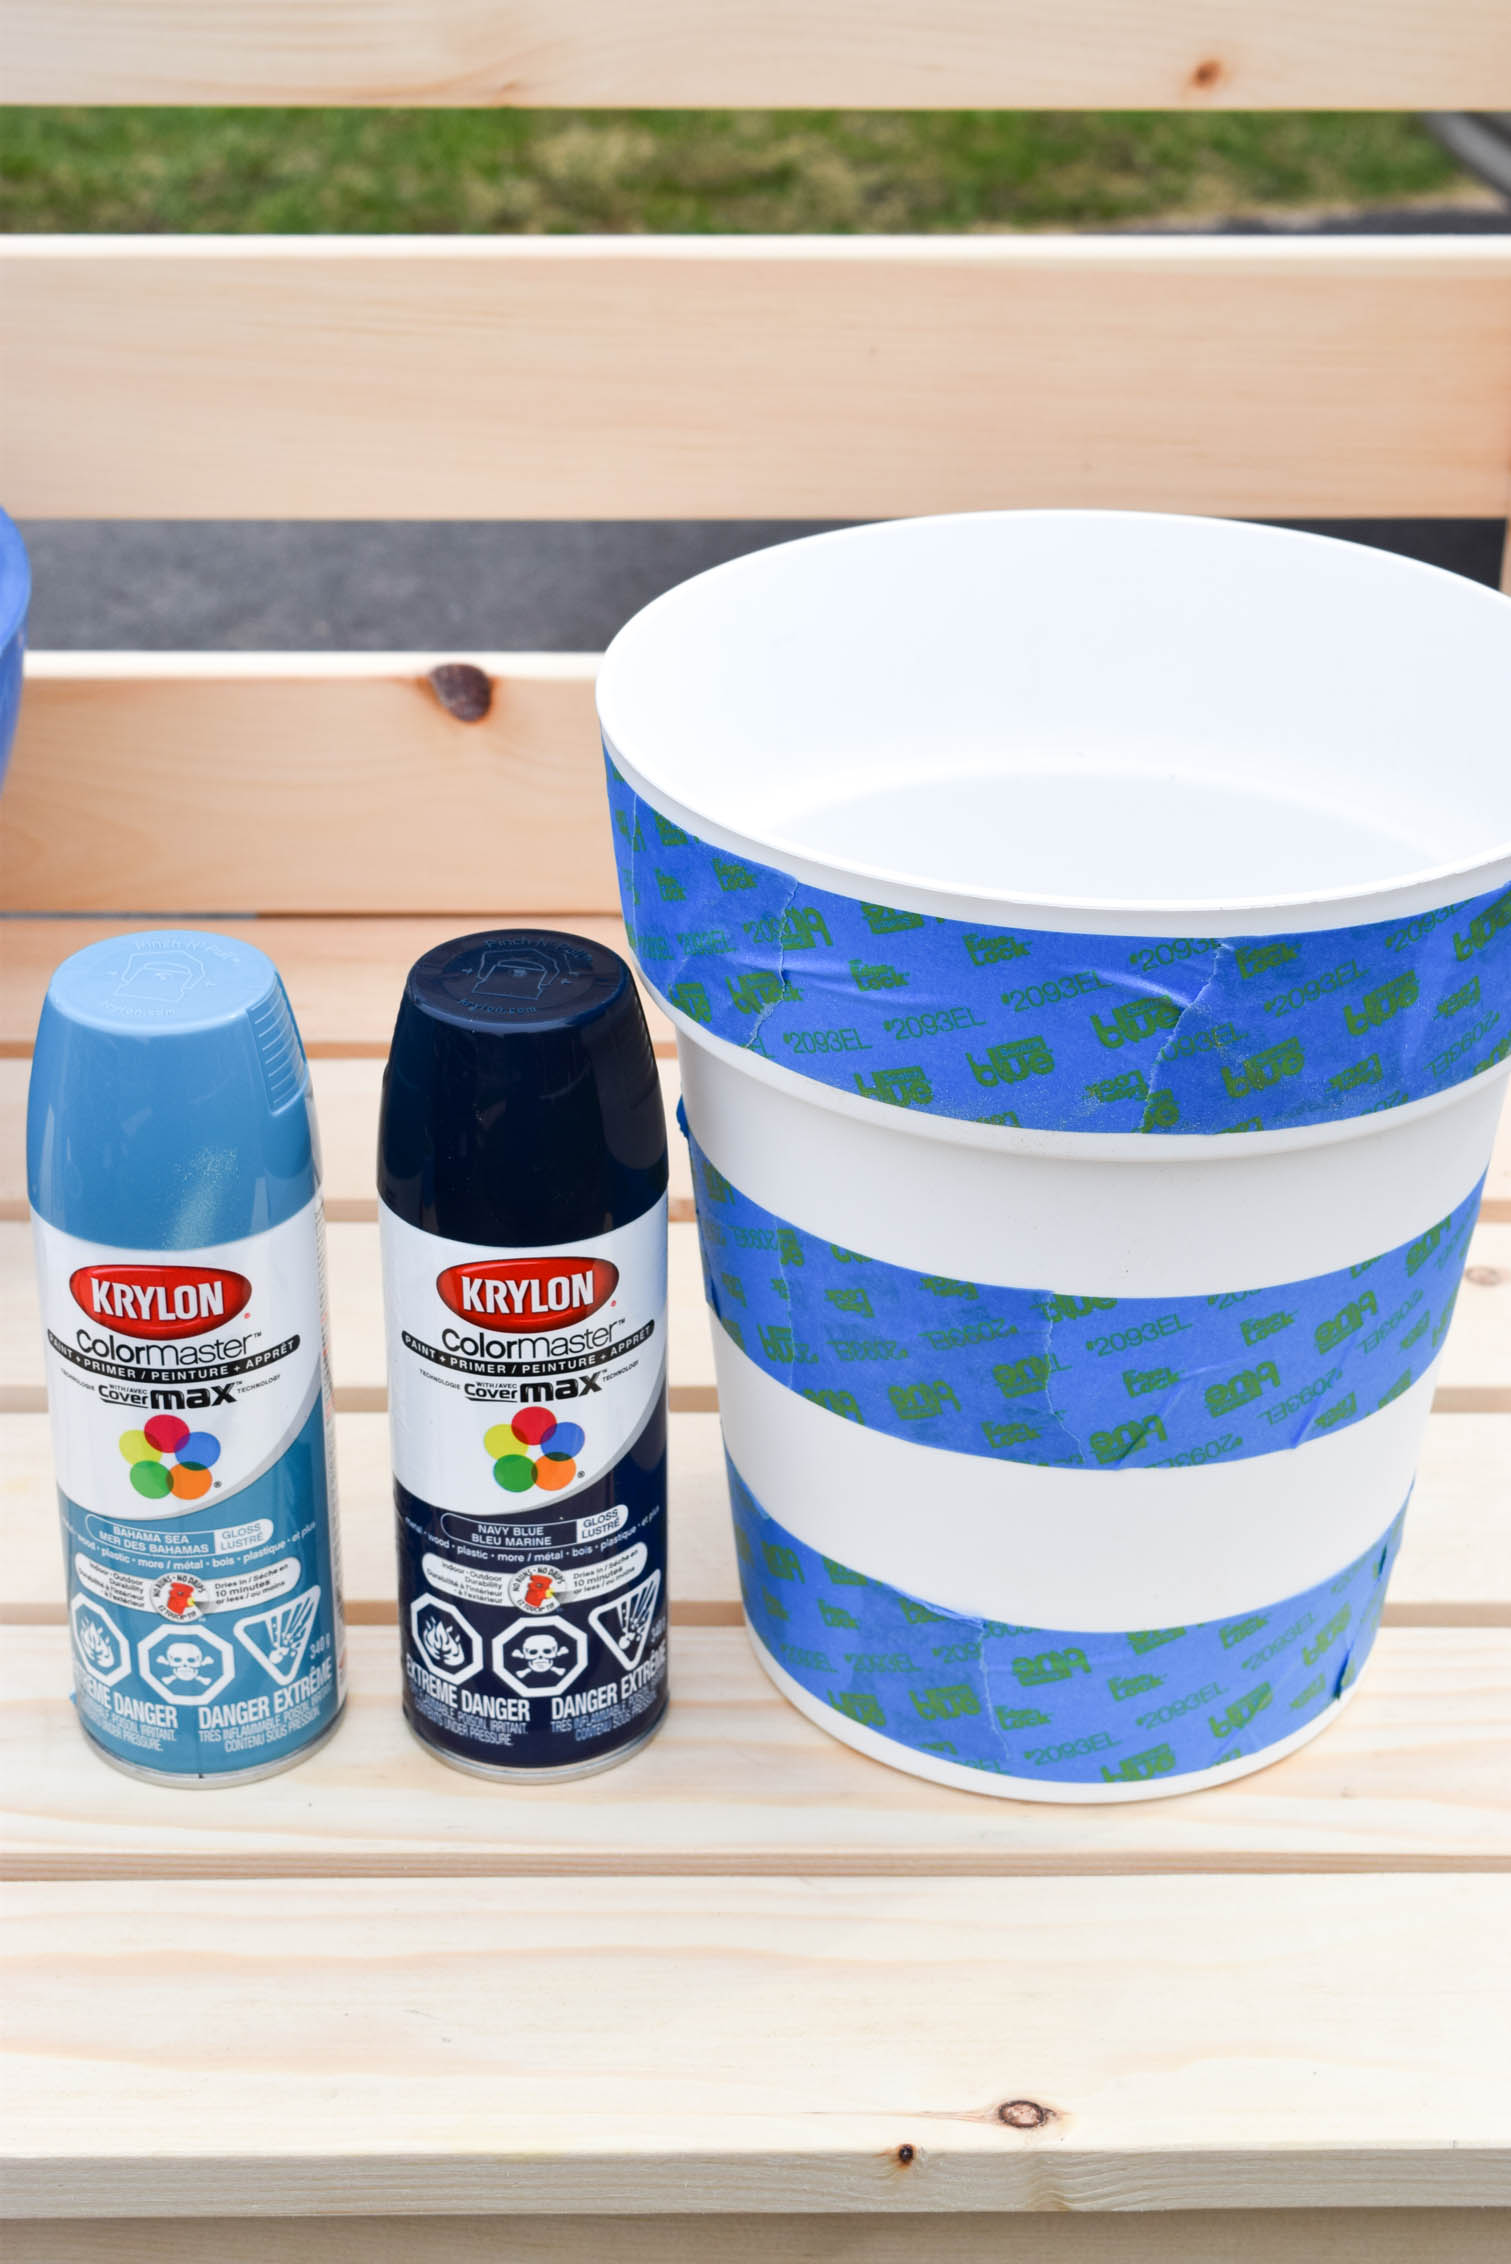
Step 2: Time to spray paint! Shake the cans for at least 10-15 secs and spray from a distance of about 20-25cm away using broad strokes. It will take several coats to get the coverage you want, and that’s how it’s intended to be. You DO NOT want to get the nozzle so close that it starts to pool and drip. If you do that, you’ve gone too far.
It took me about 10-15mins start to finish to do each planter, but that was with drying times and lots of proper ventillation.
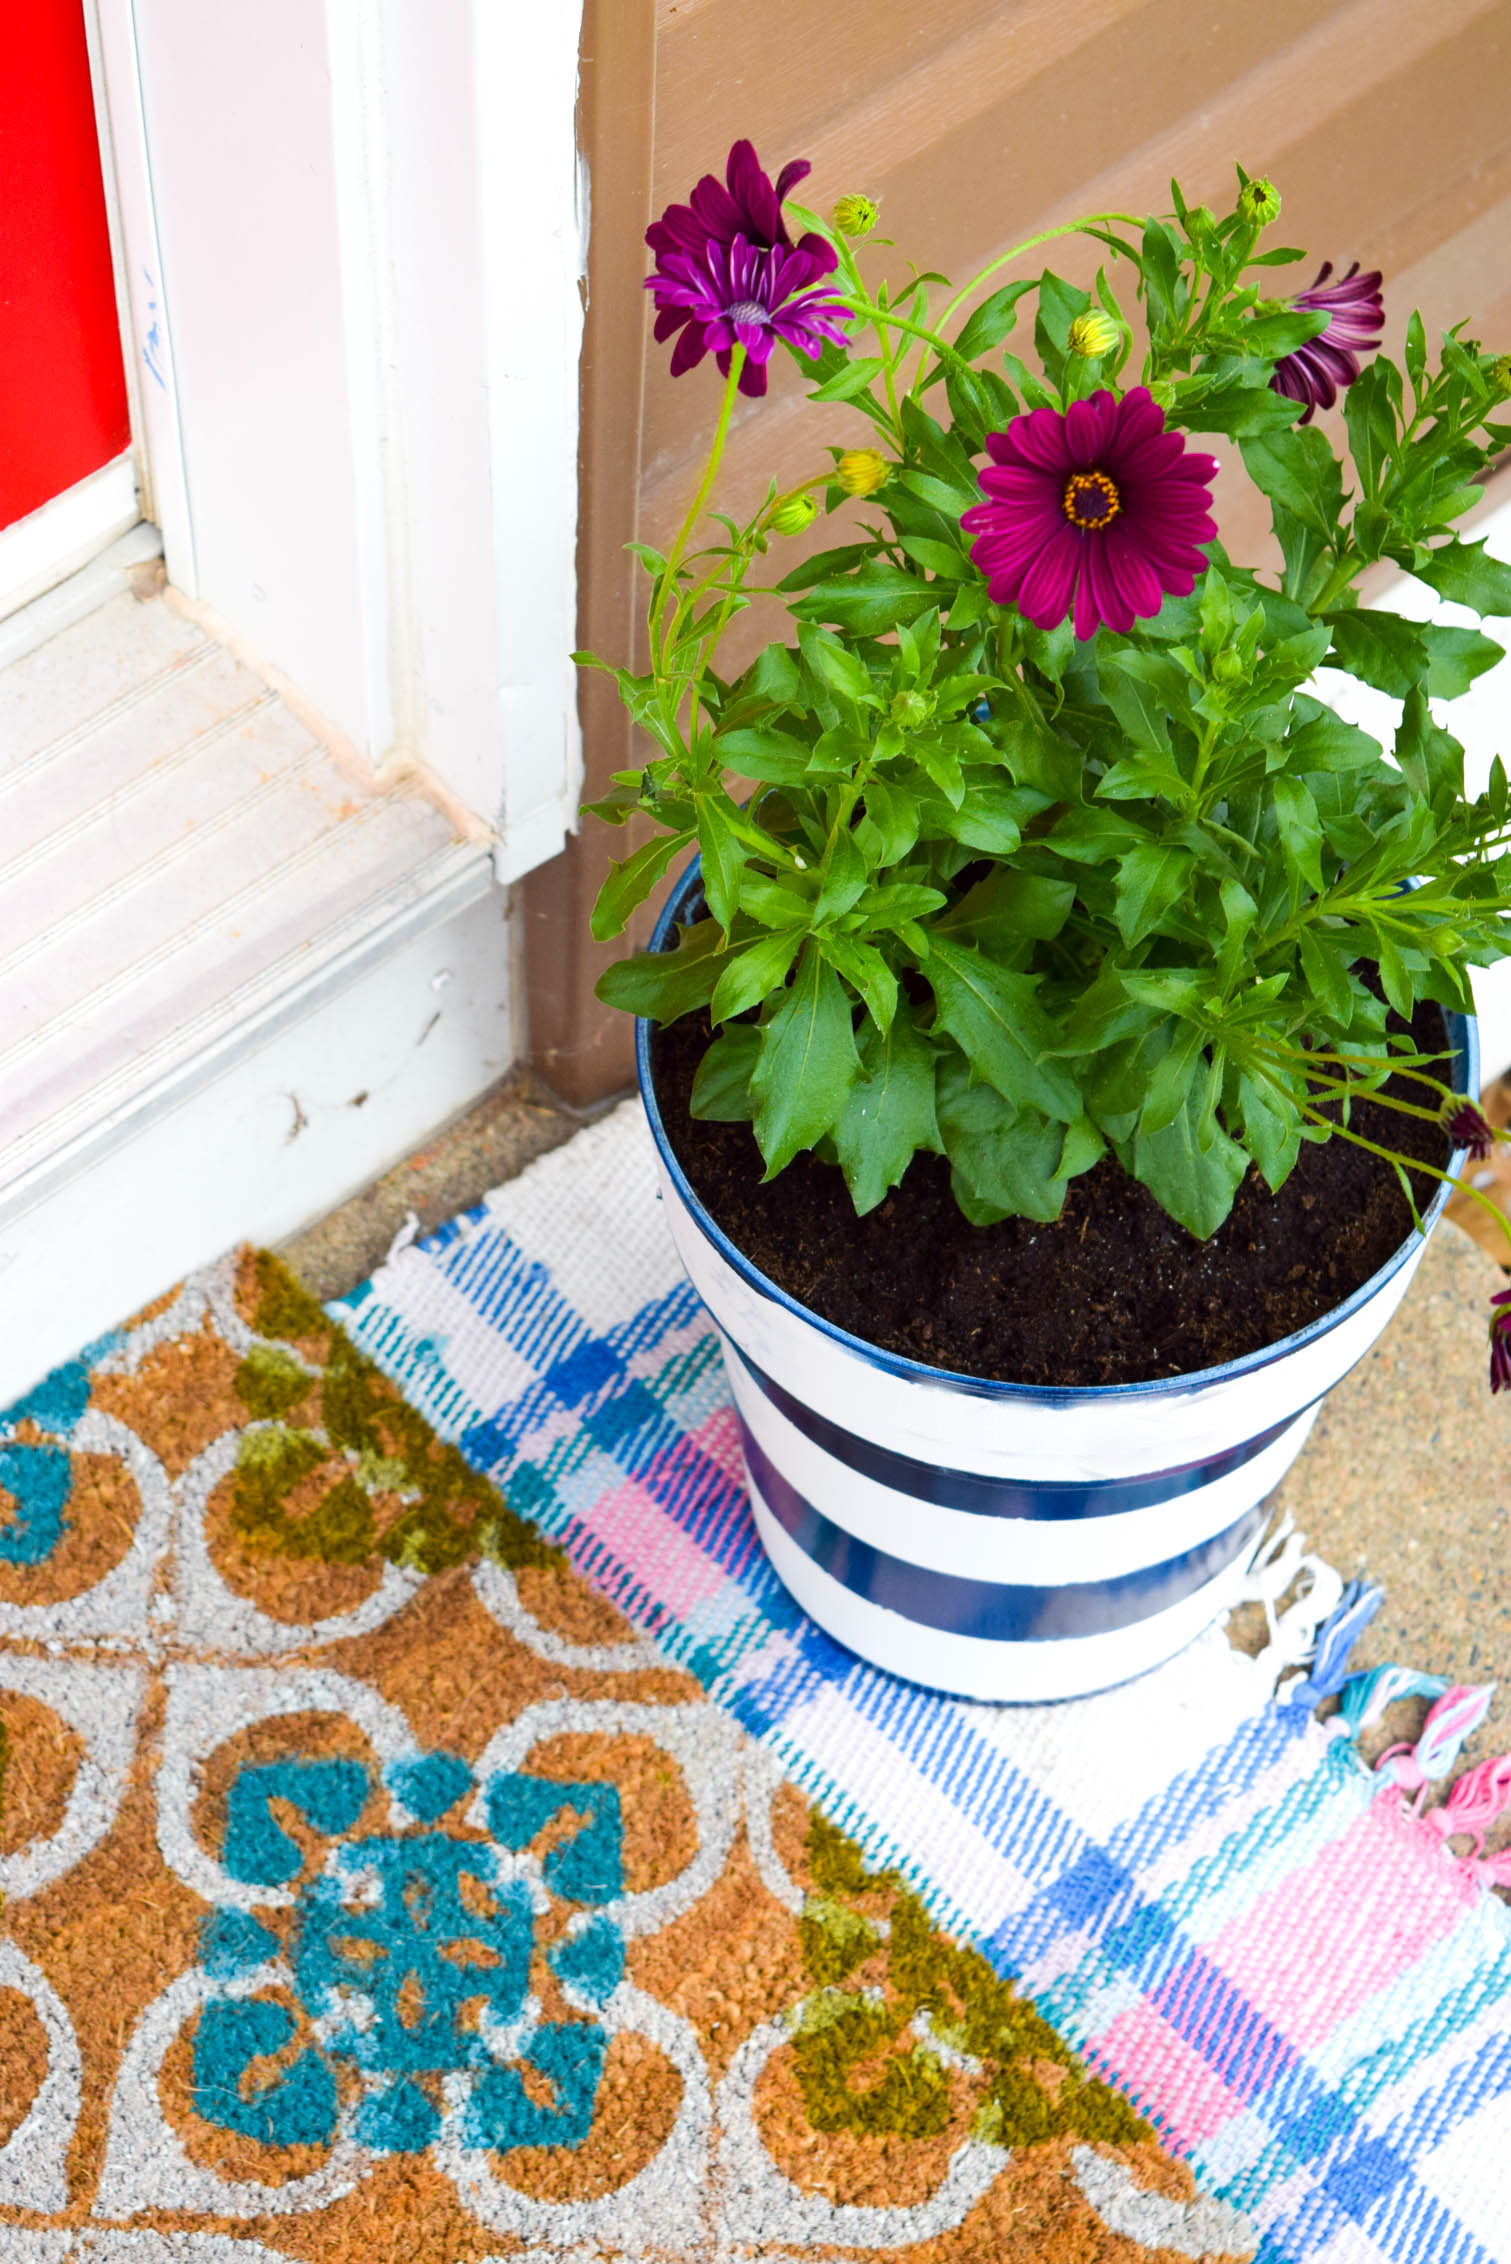
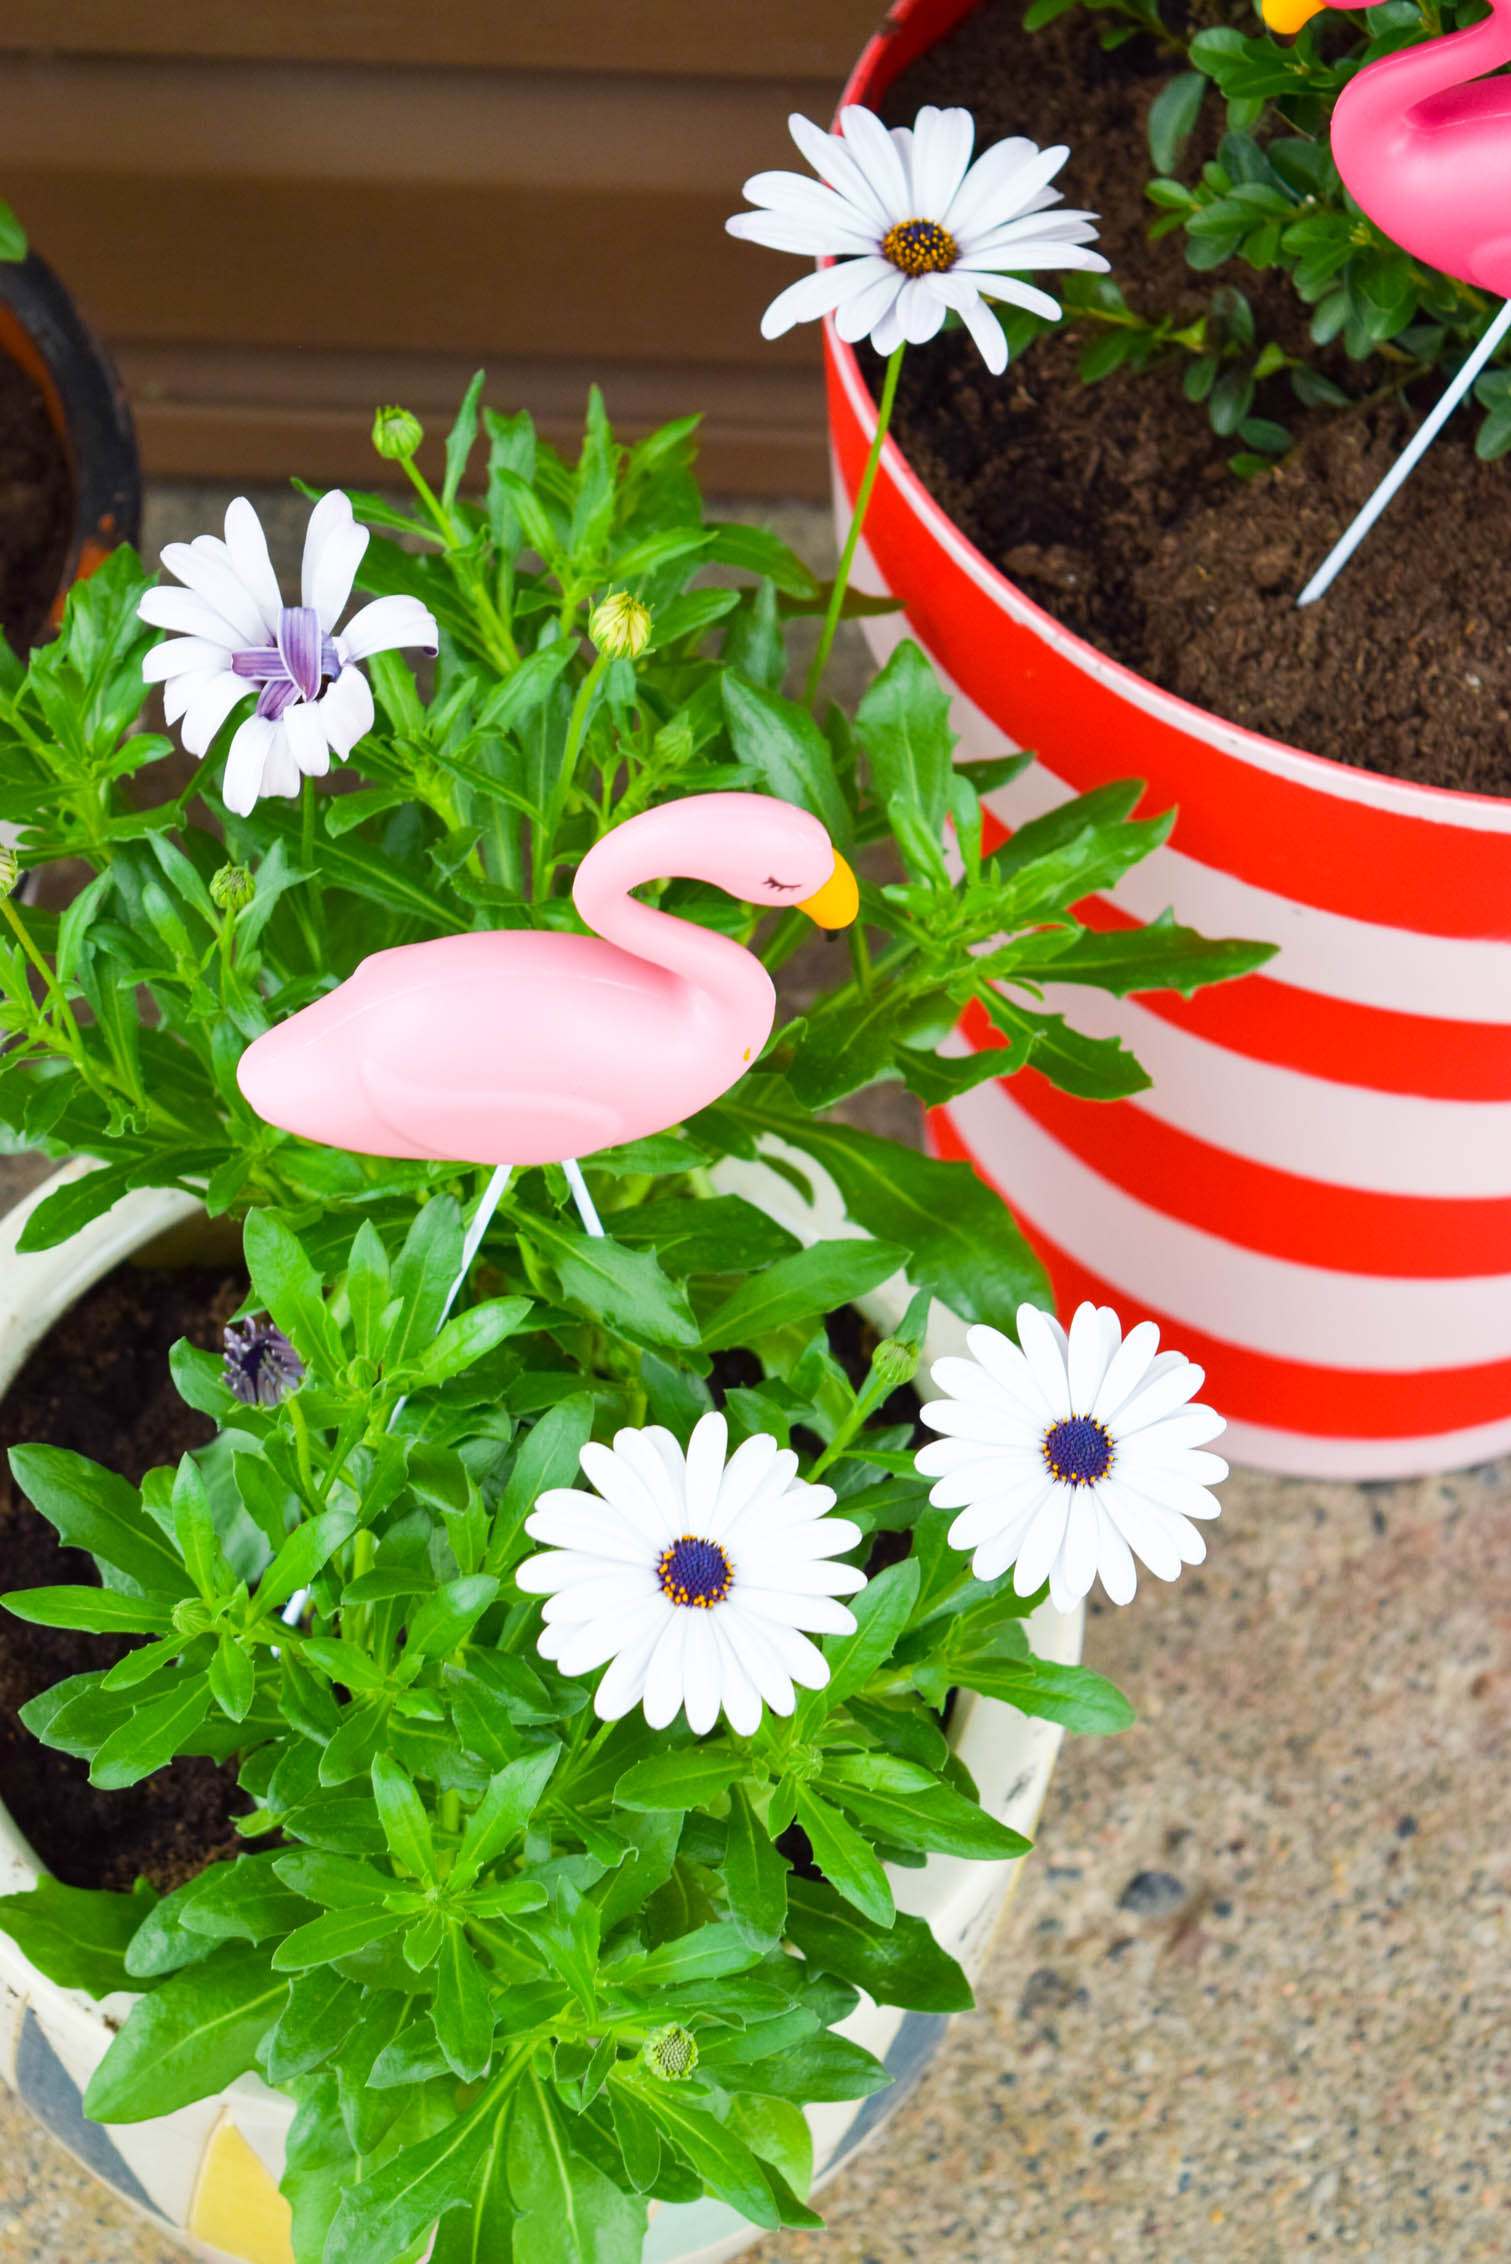
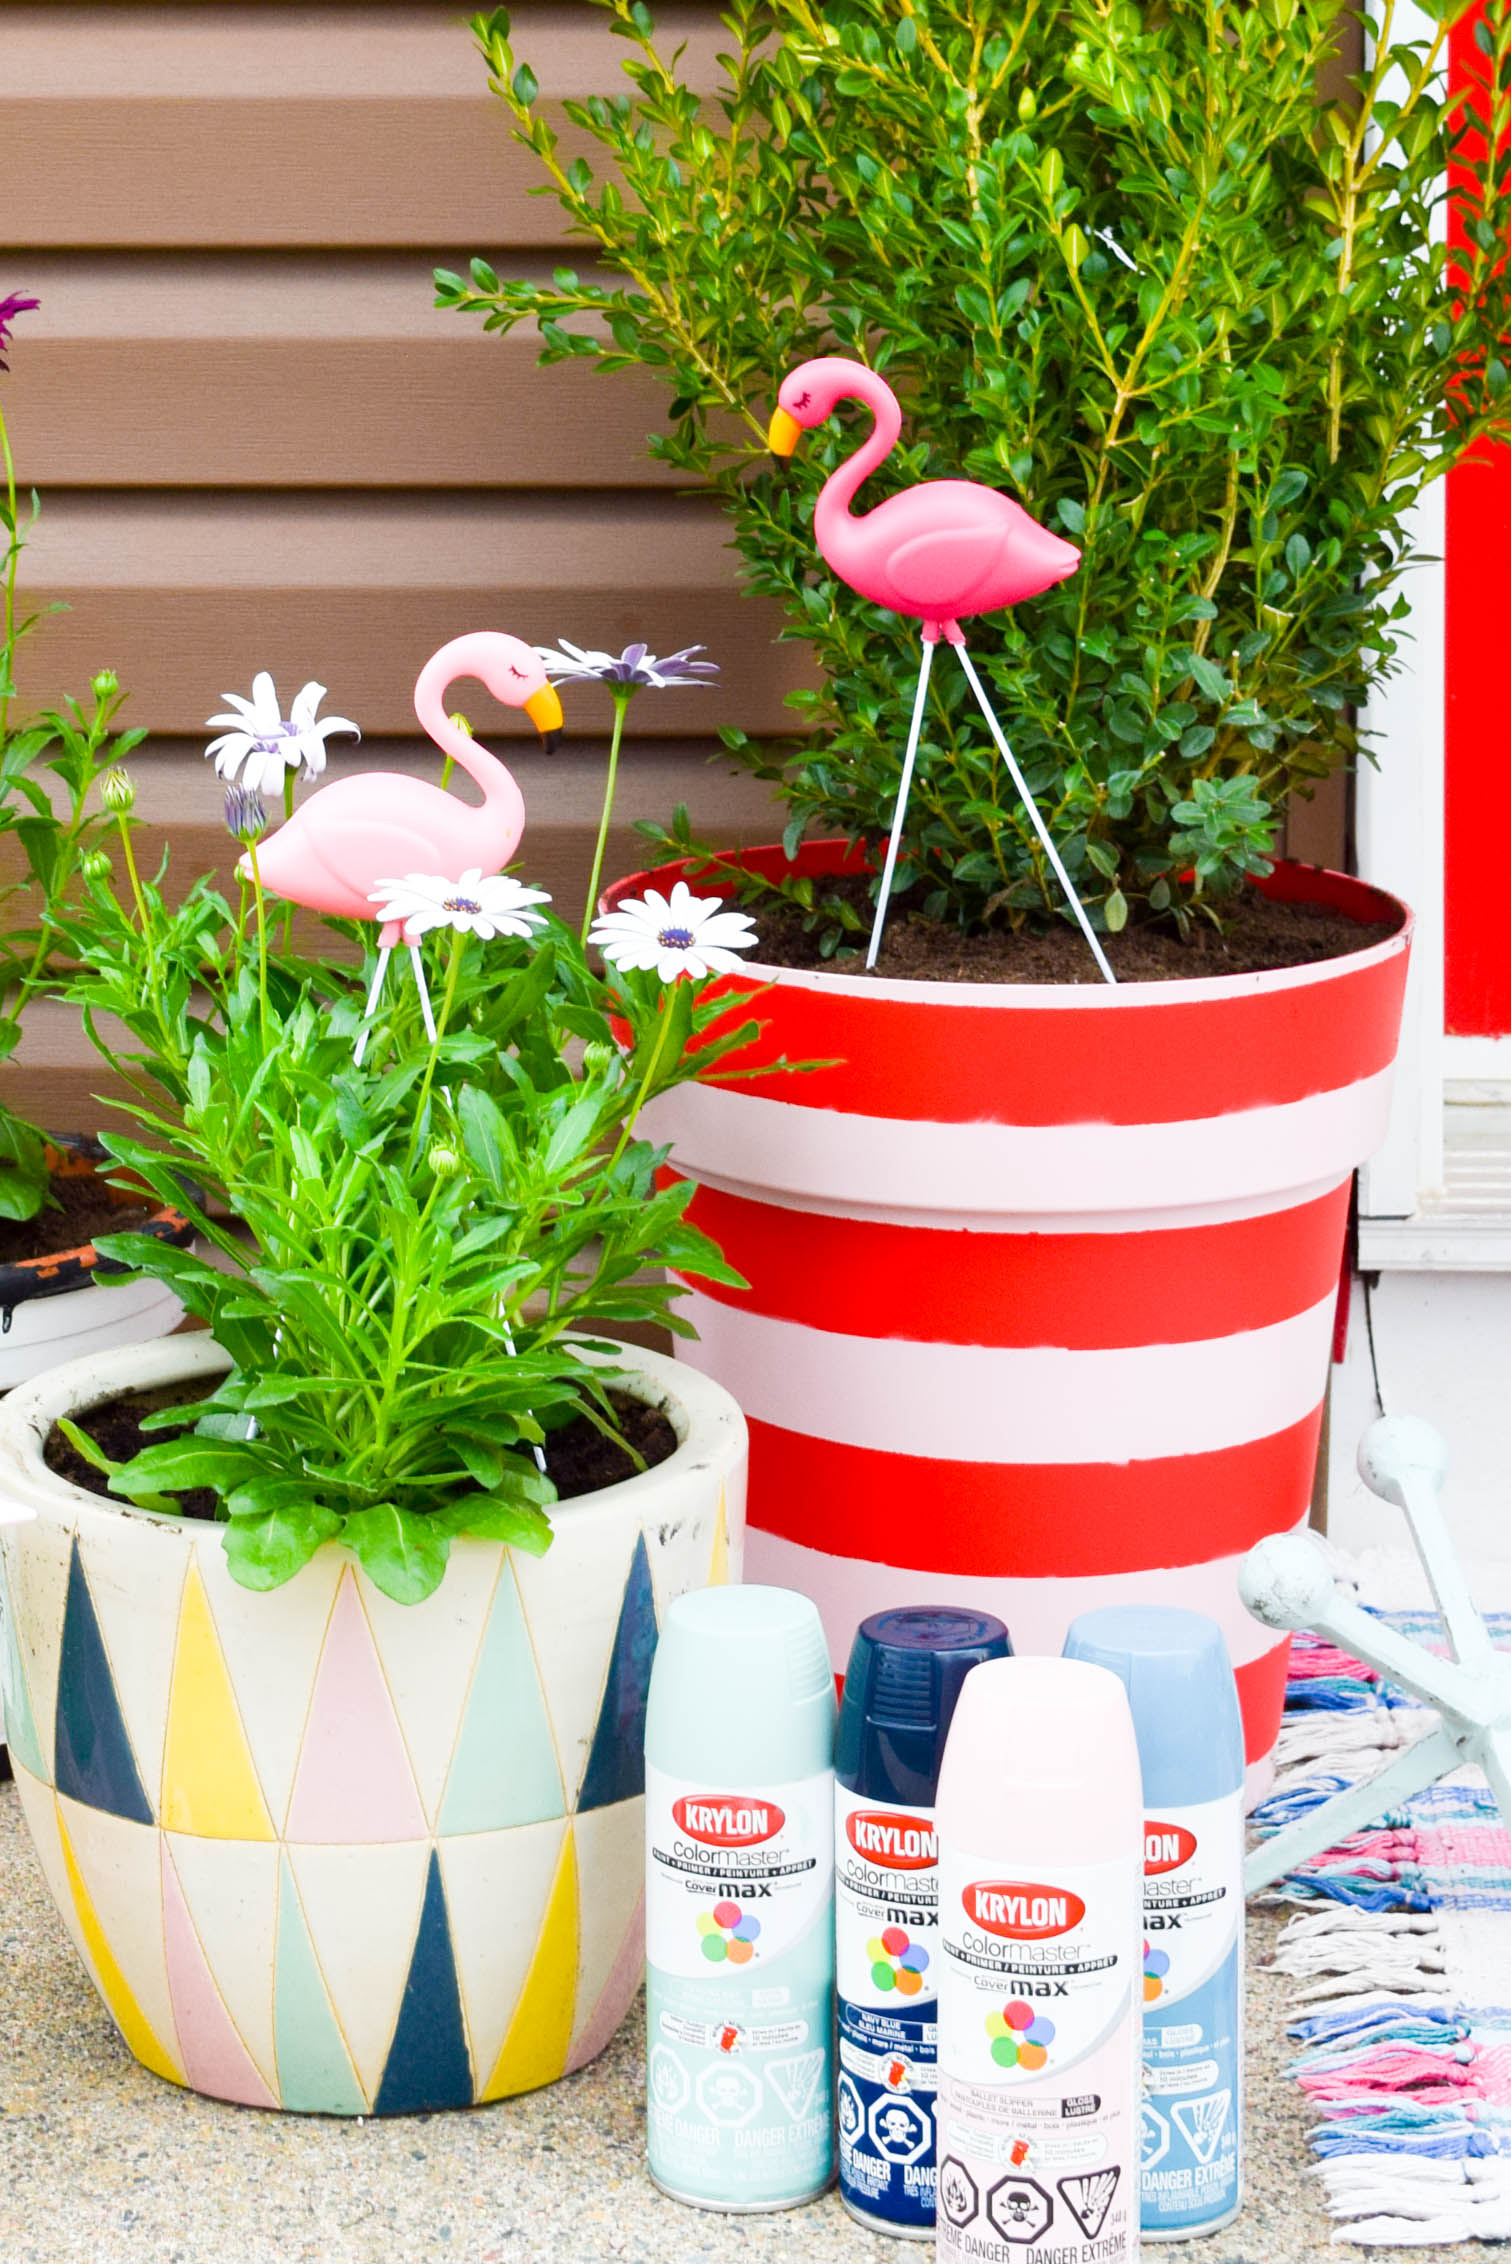
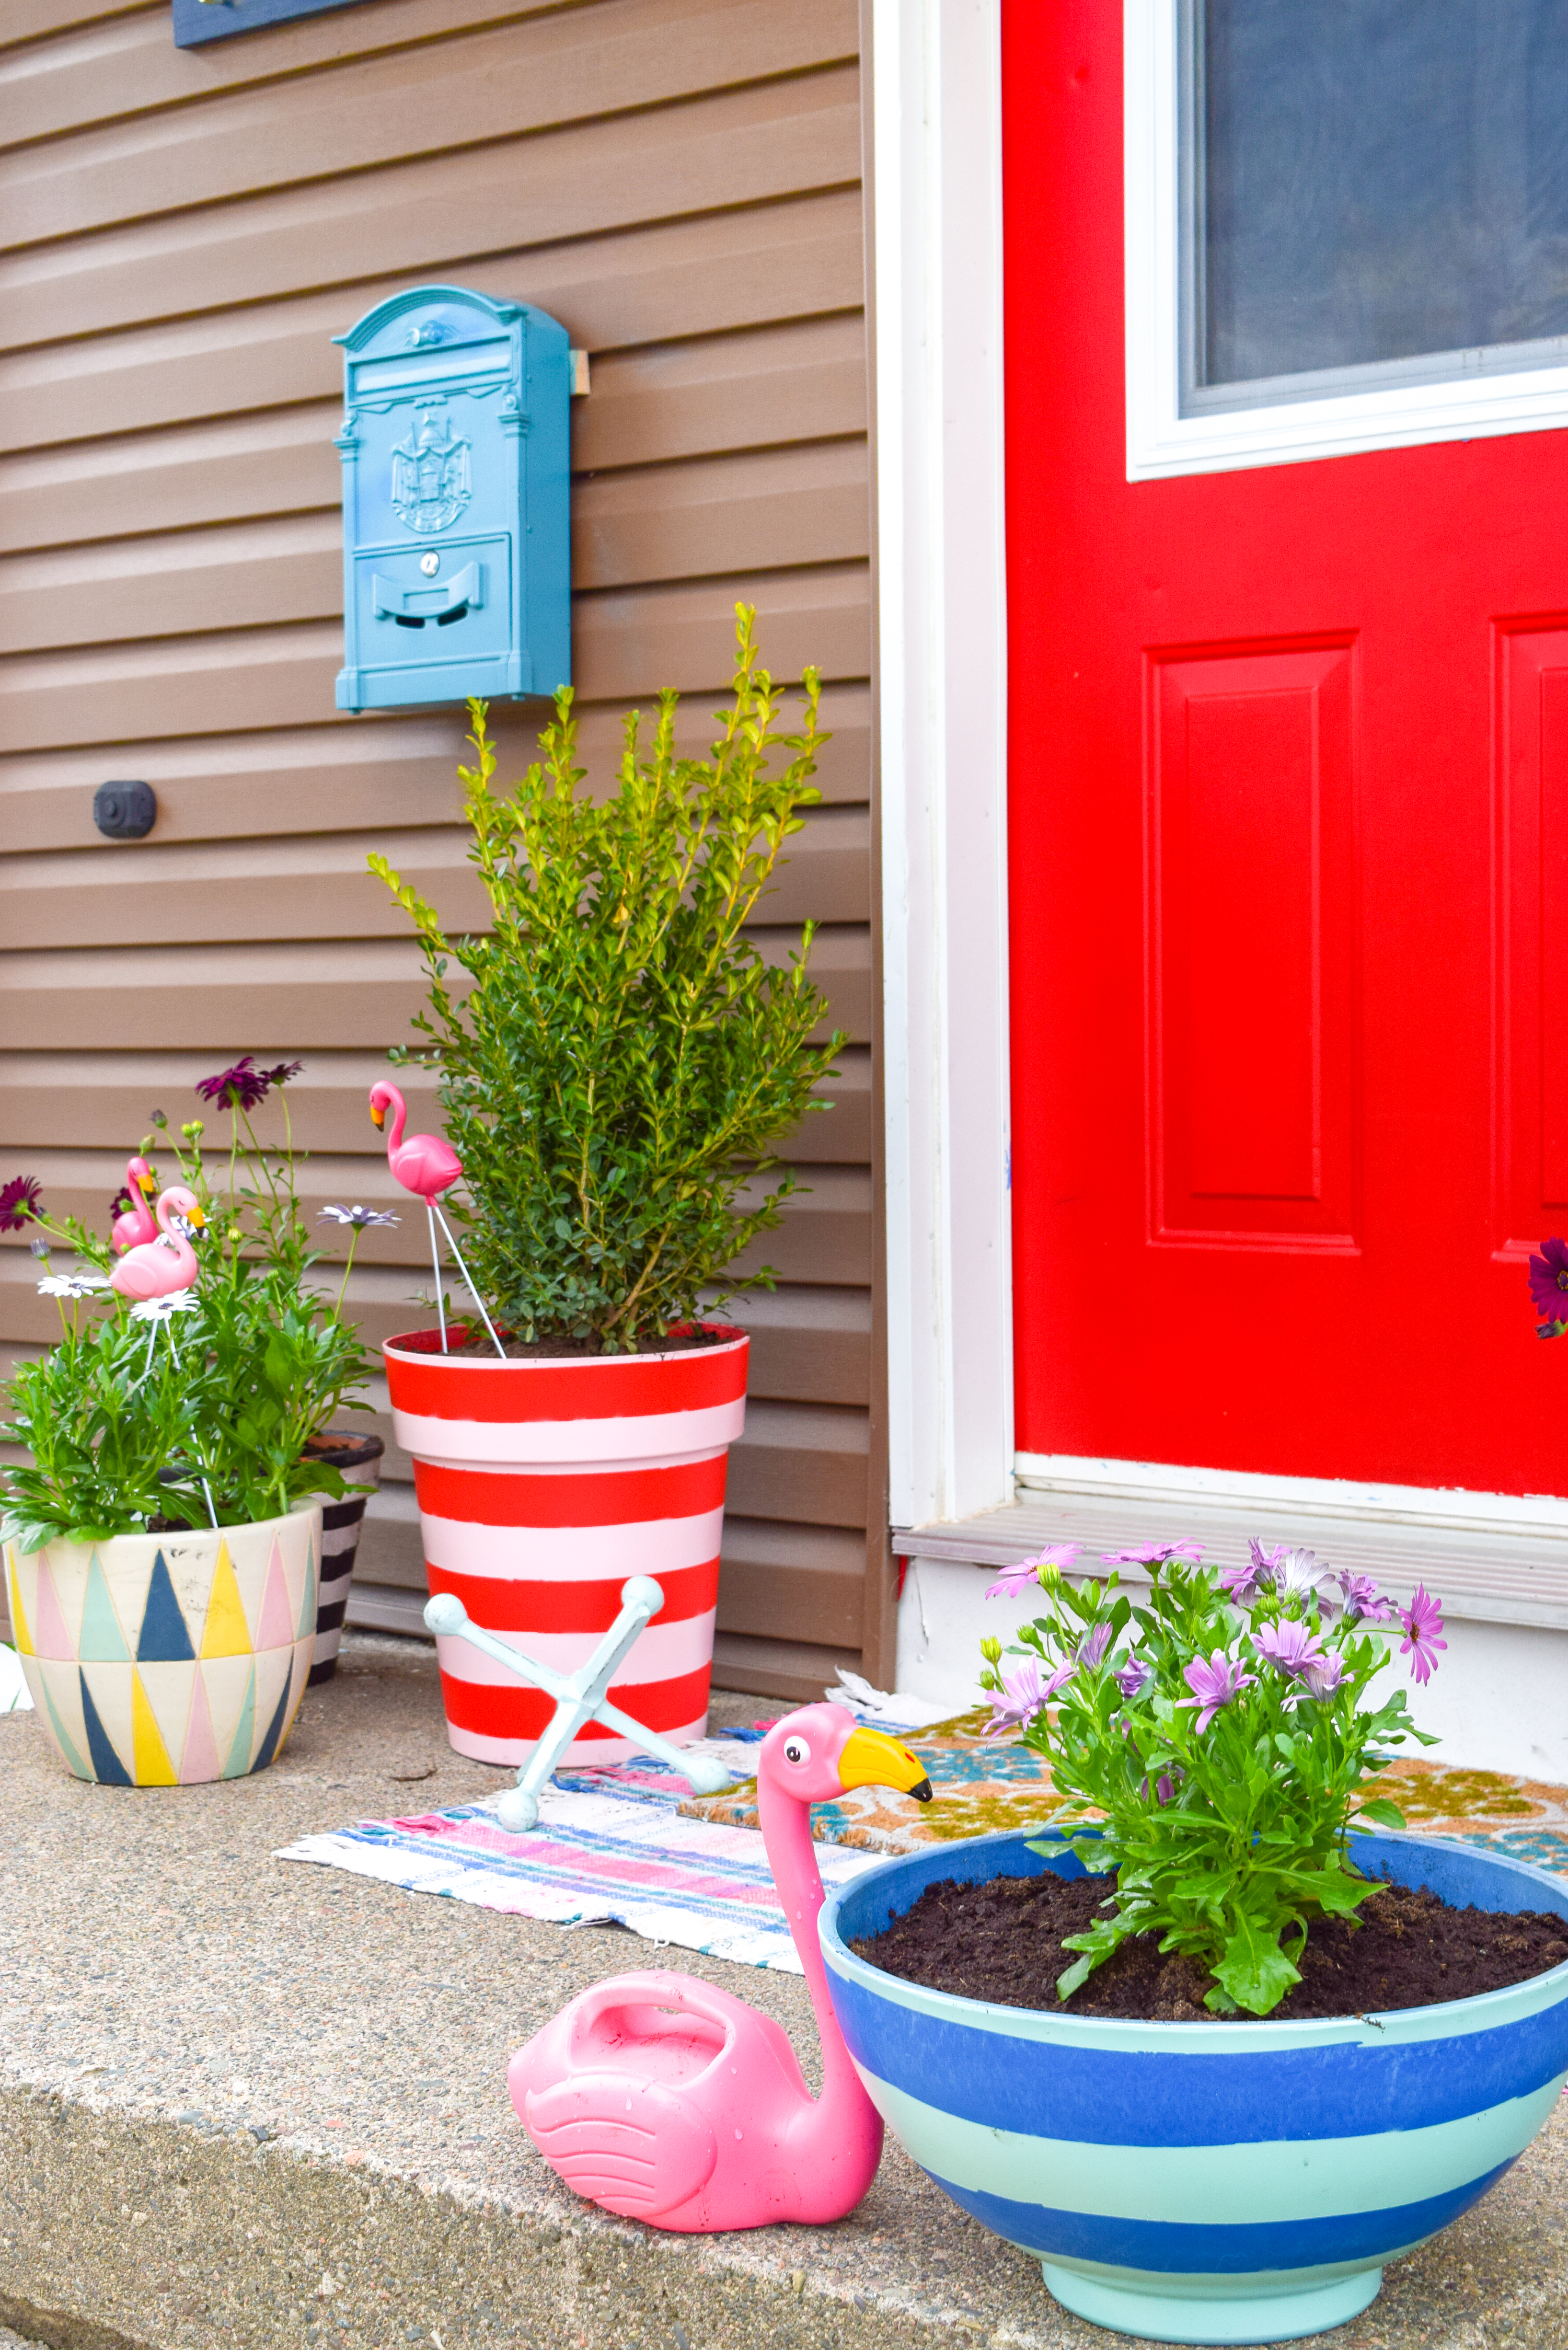
Step 3: I then filled all the planters with wet top soil, planter my annuals! Once everything was in its place I peeled off the tape, and voila!


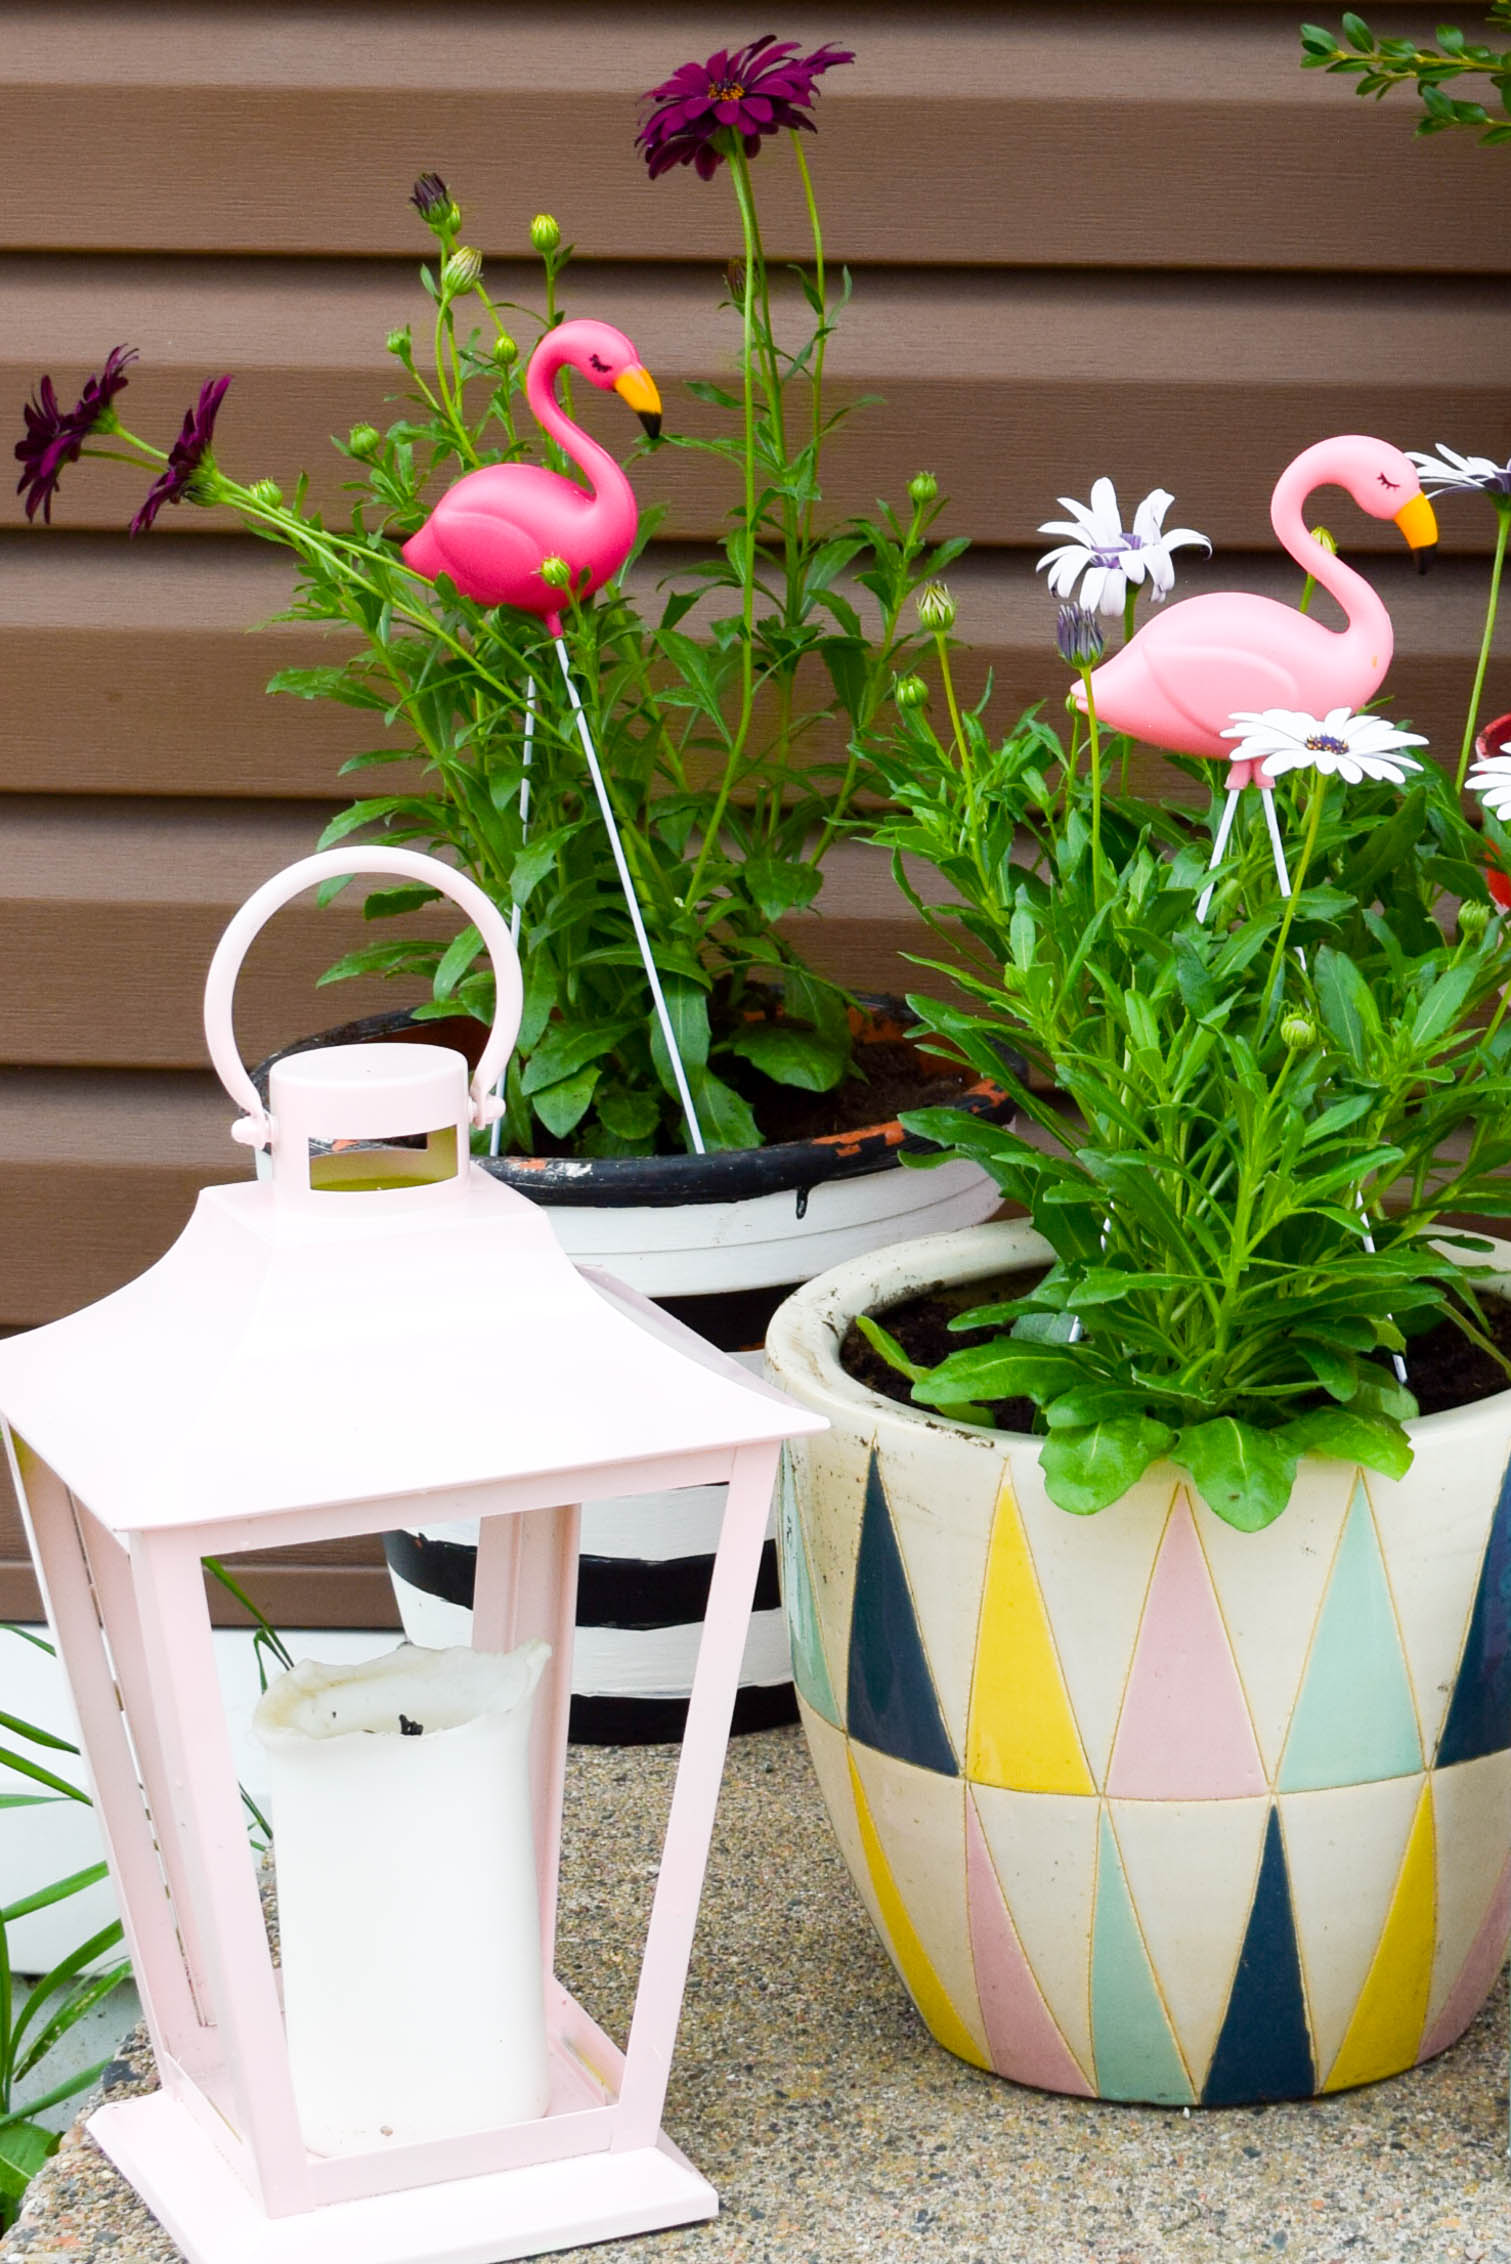
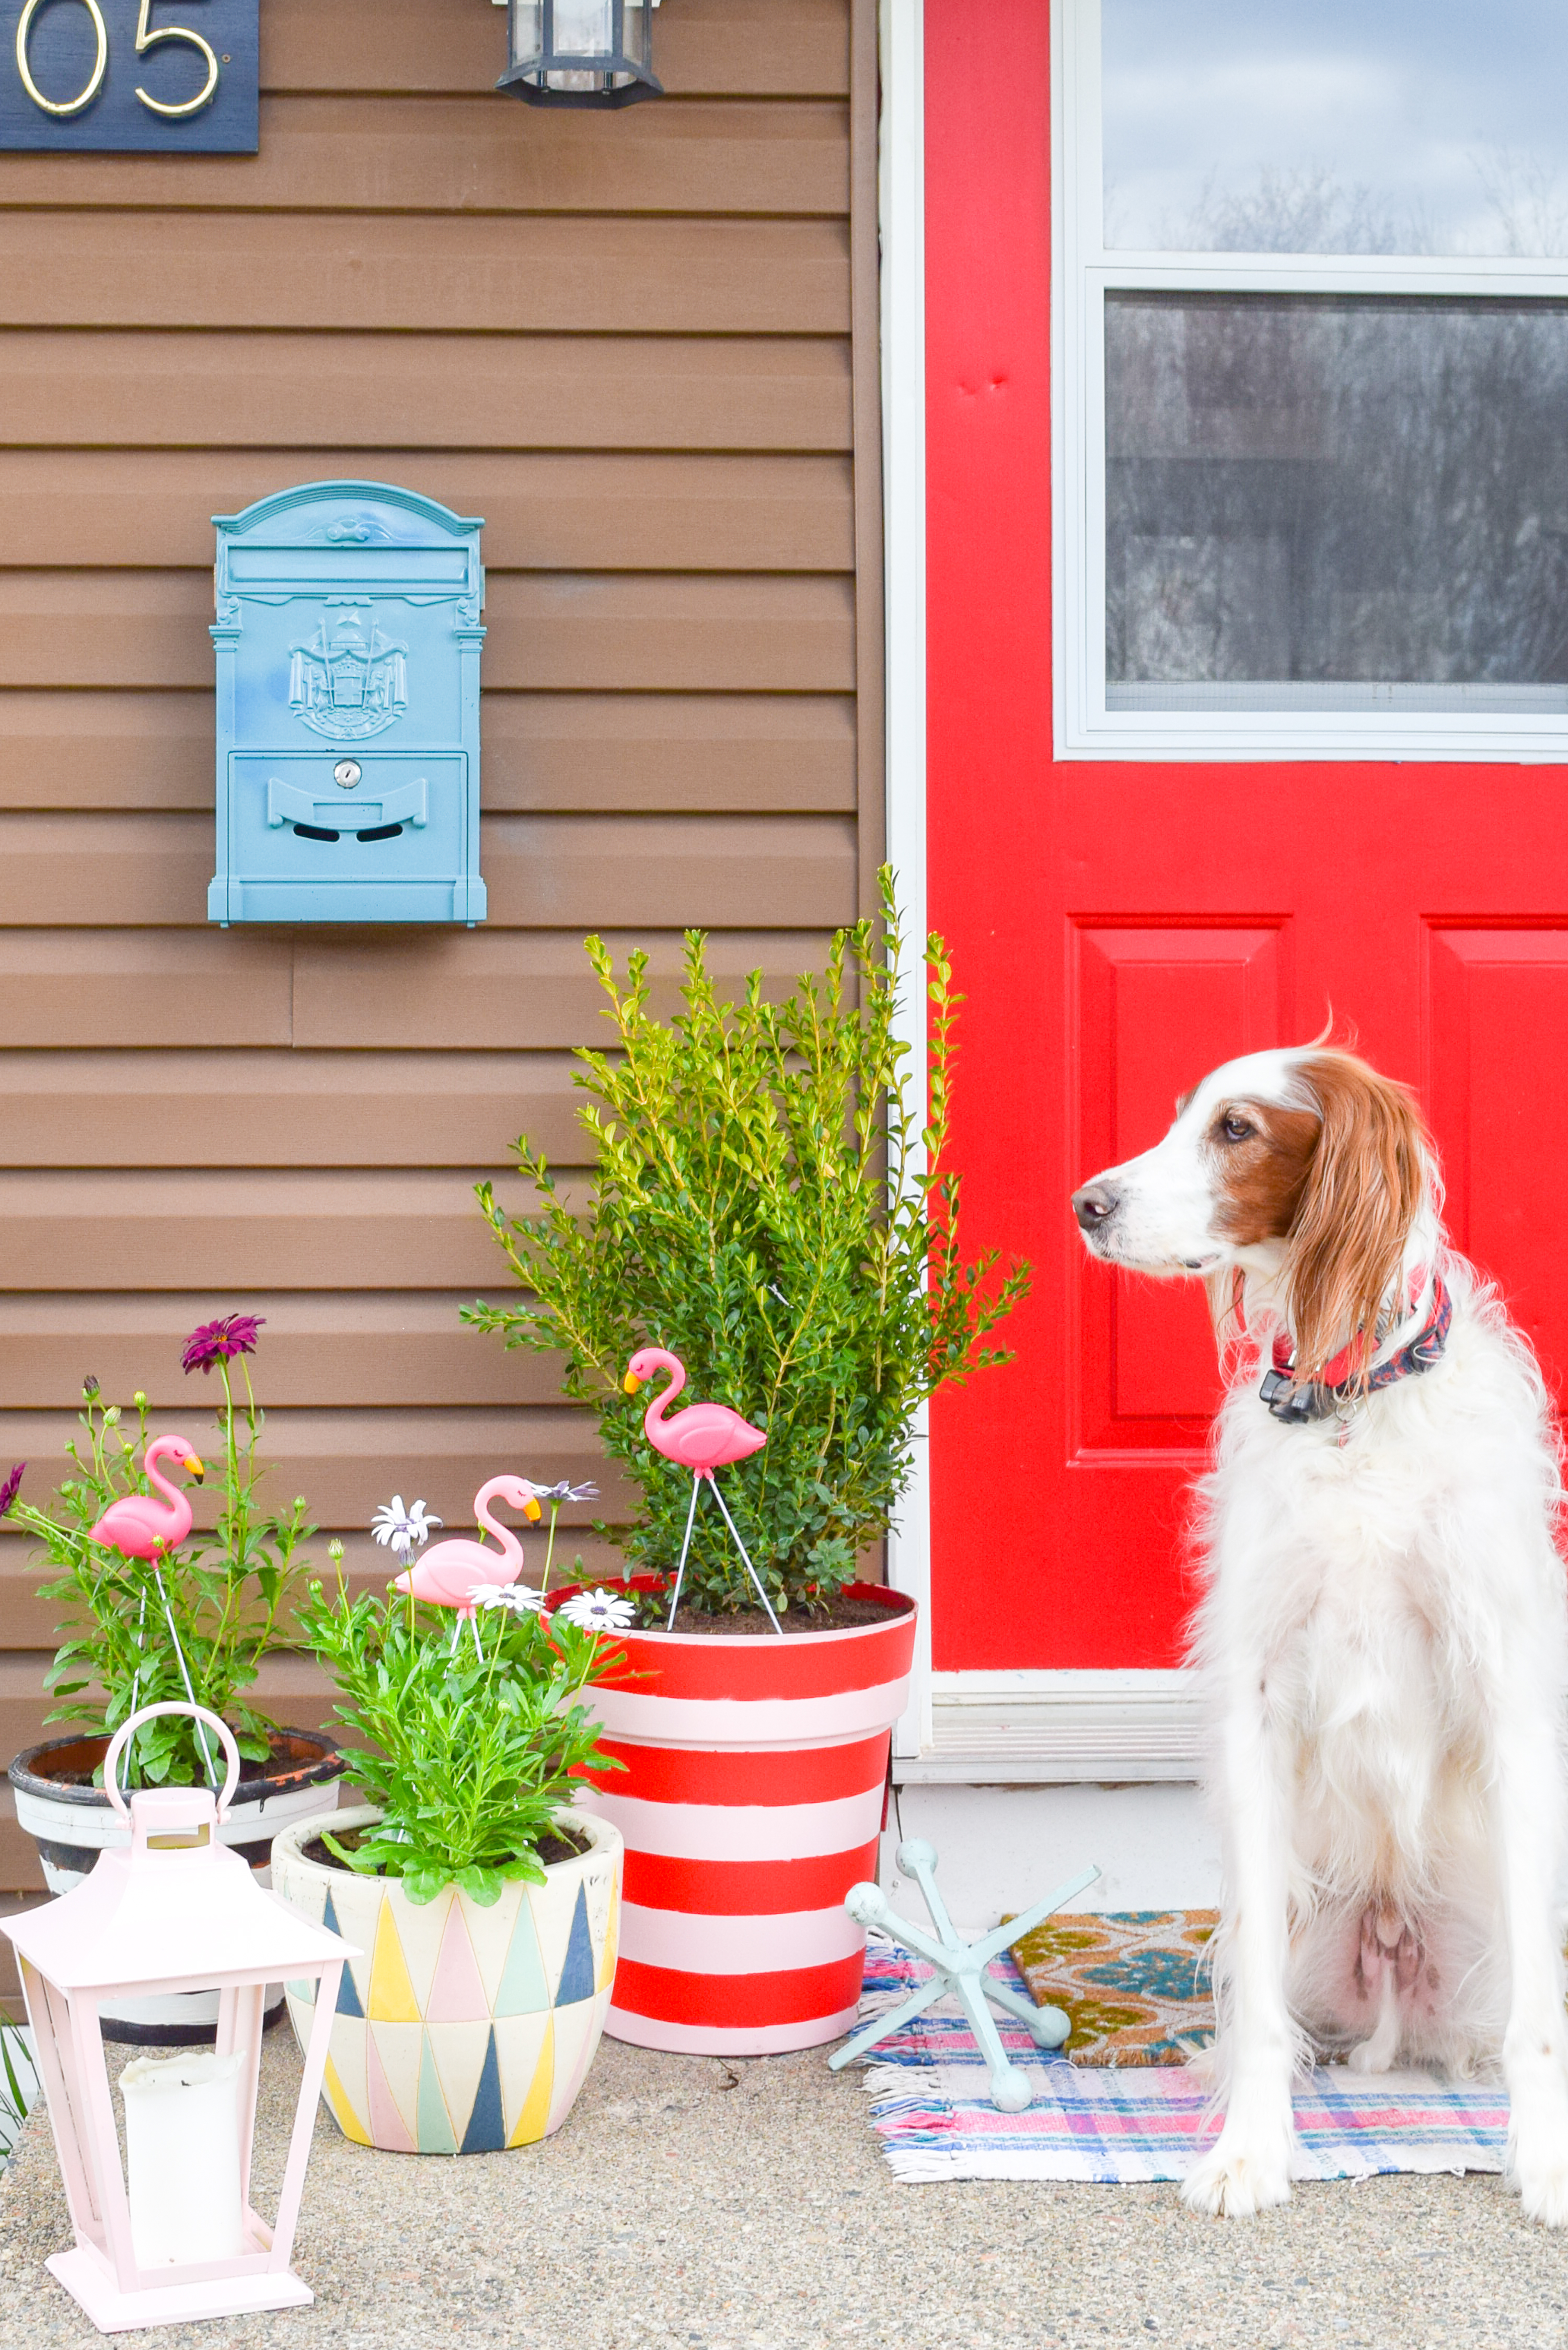
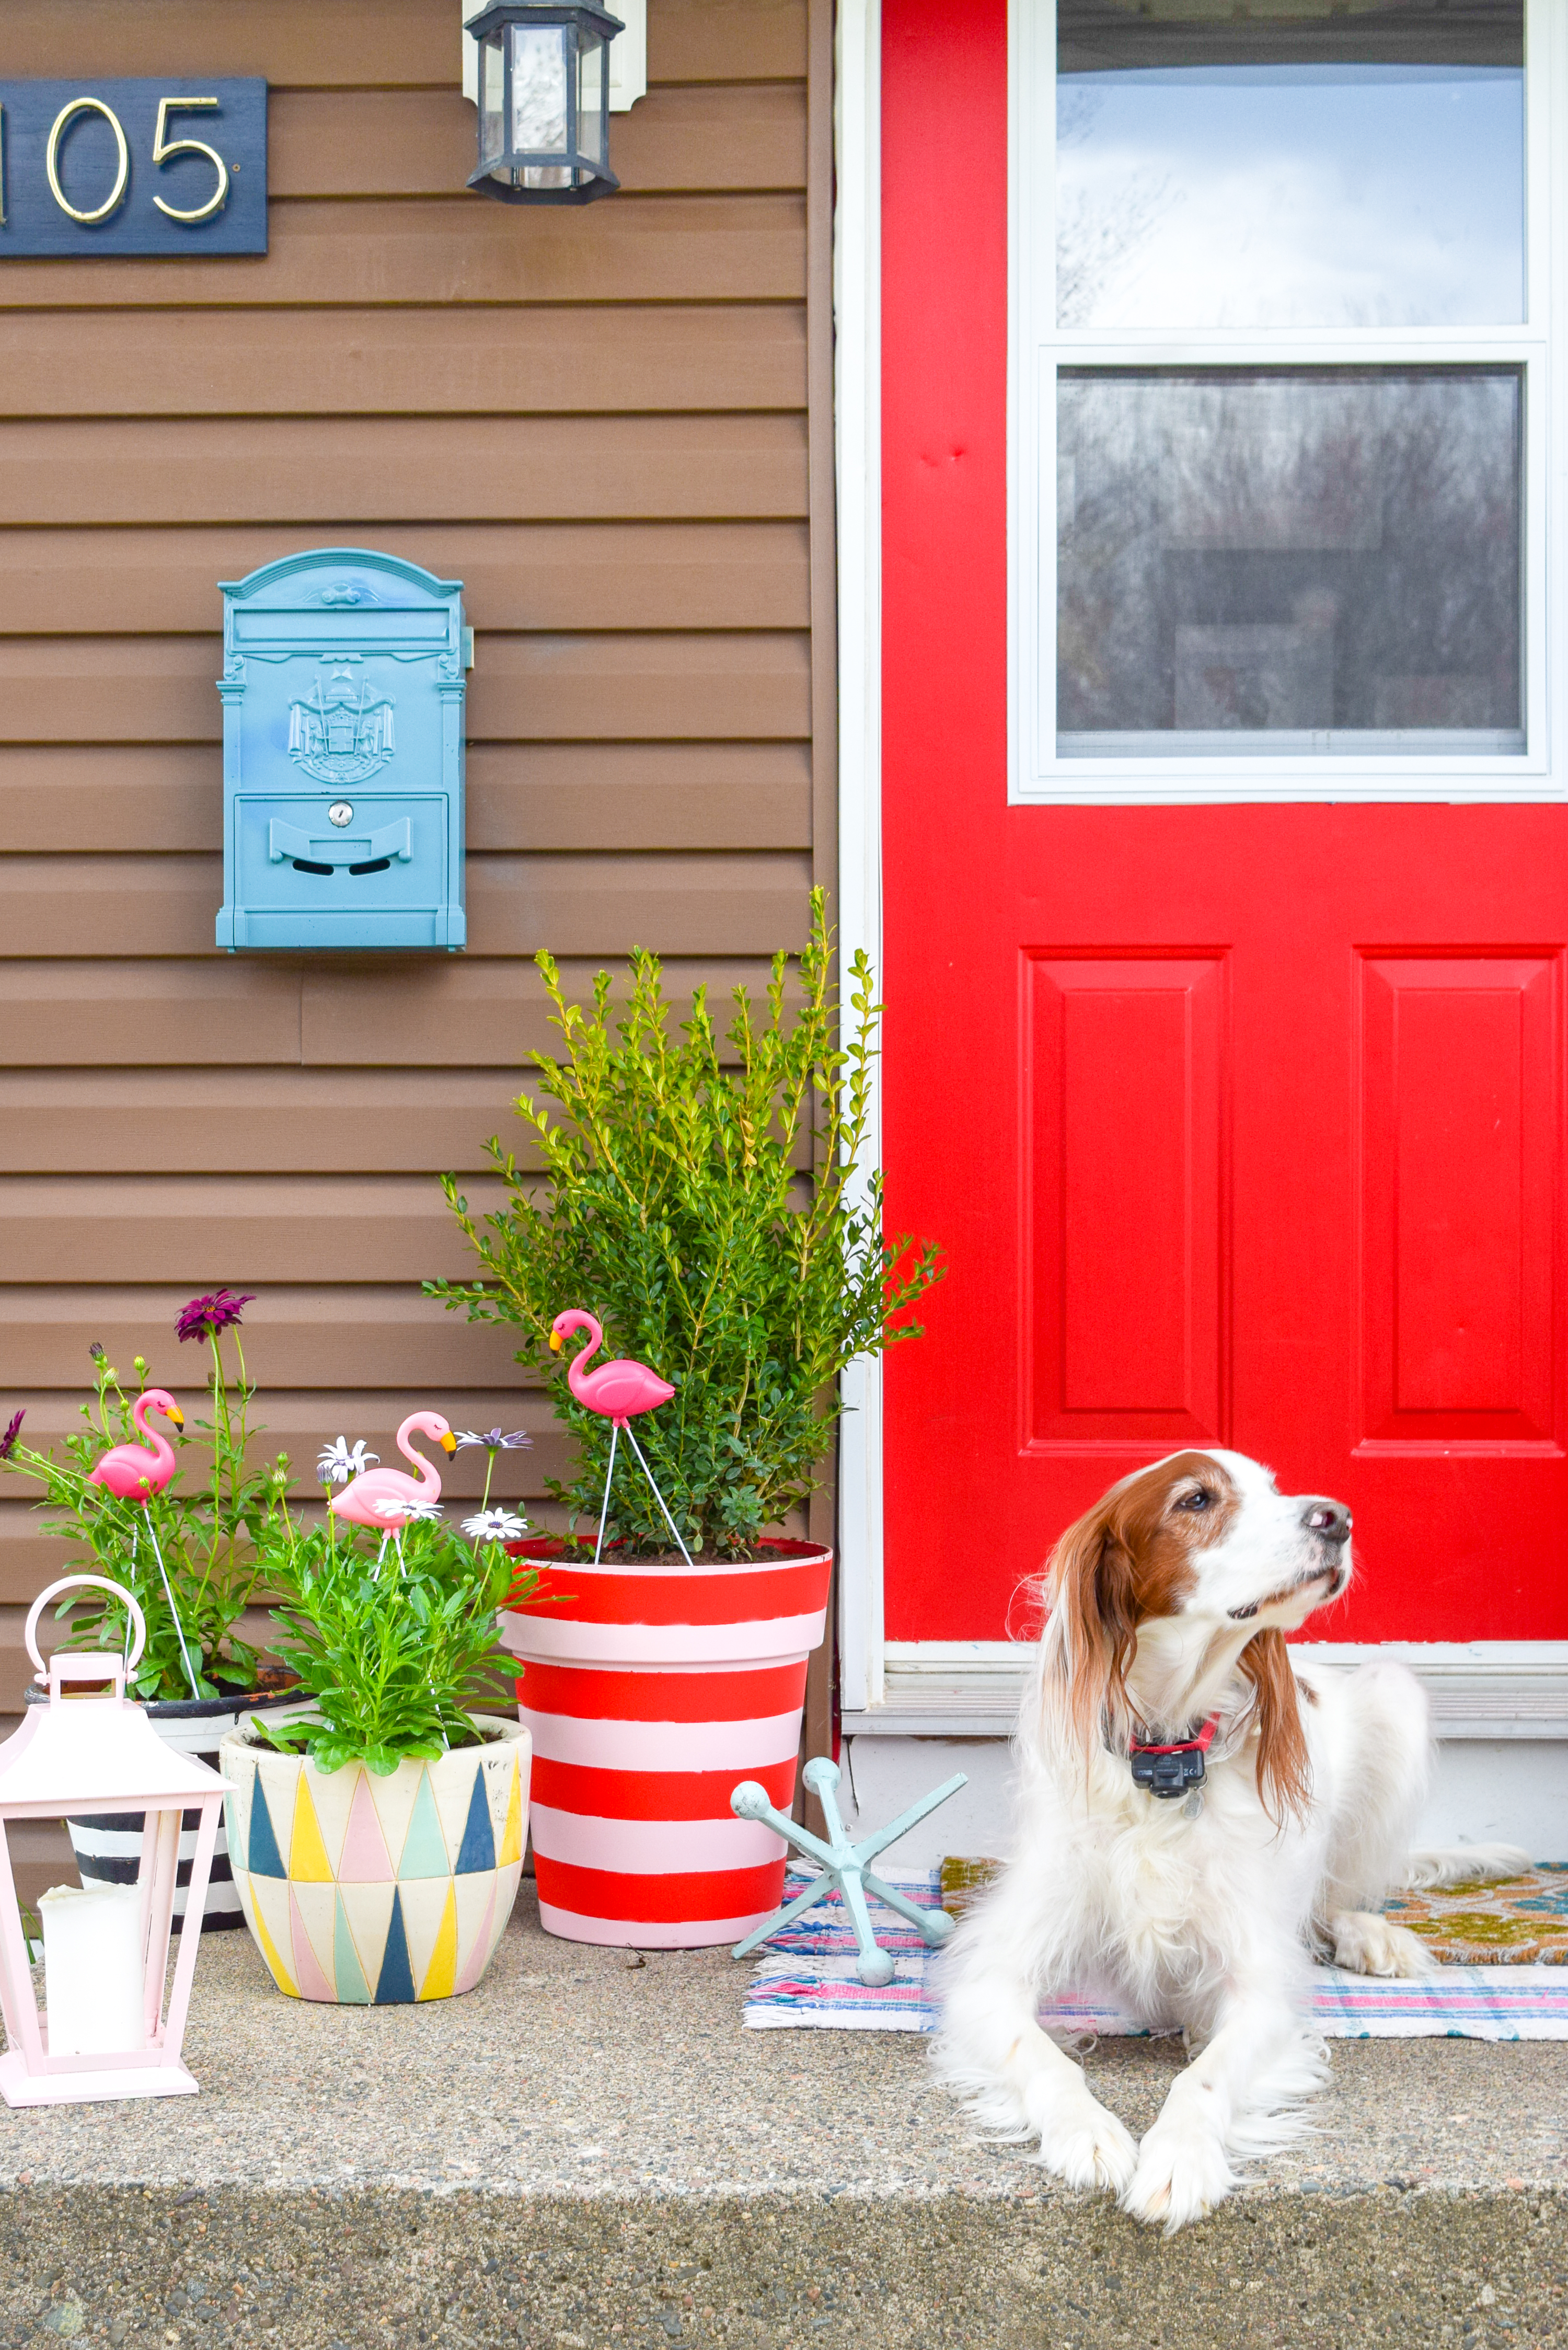
While I was it, I also spray painted a lantern from last summer that had faded. It’s now a lovely shade of Ballet Slipper. Oh and one of my existing post just happened to match the collection PERFECTLY, so you know I used it. Let’s also not forget that our mailbox was spray painted in Bahama Sea last summer, so I couldn’t have coordinated a better front step if I tried! My DIY Spray Painted Striped Planters were the perfect pretence to create a colour coordinated front step.
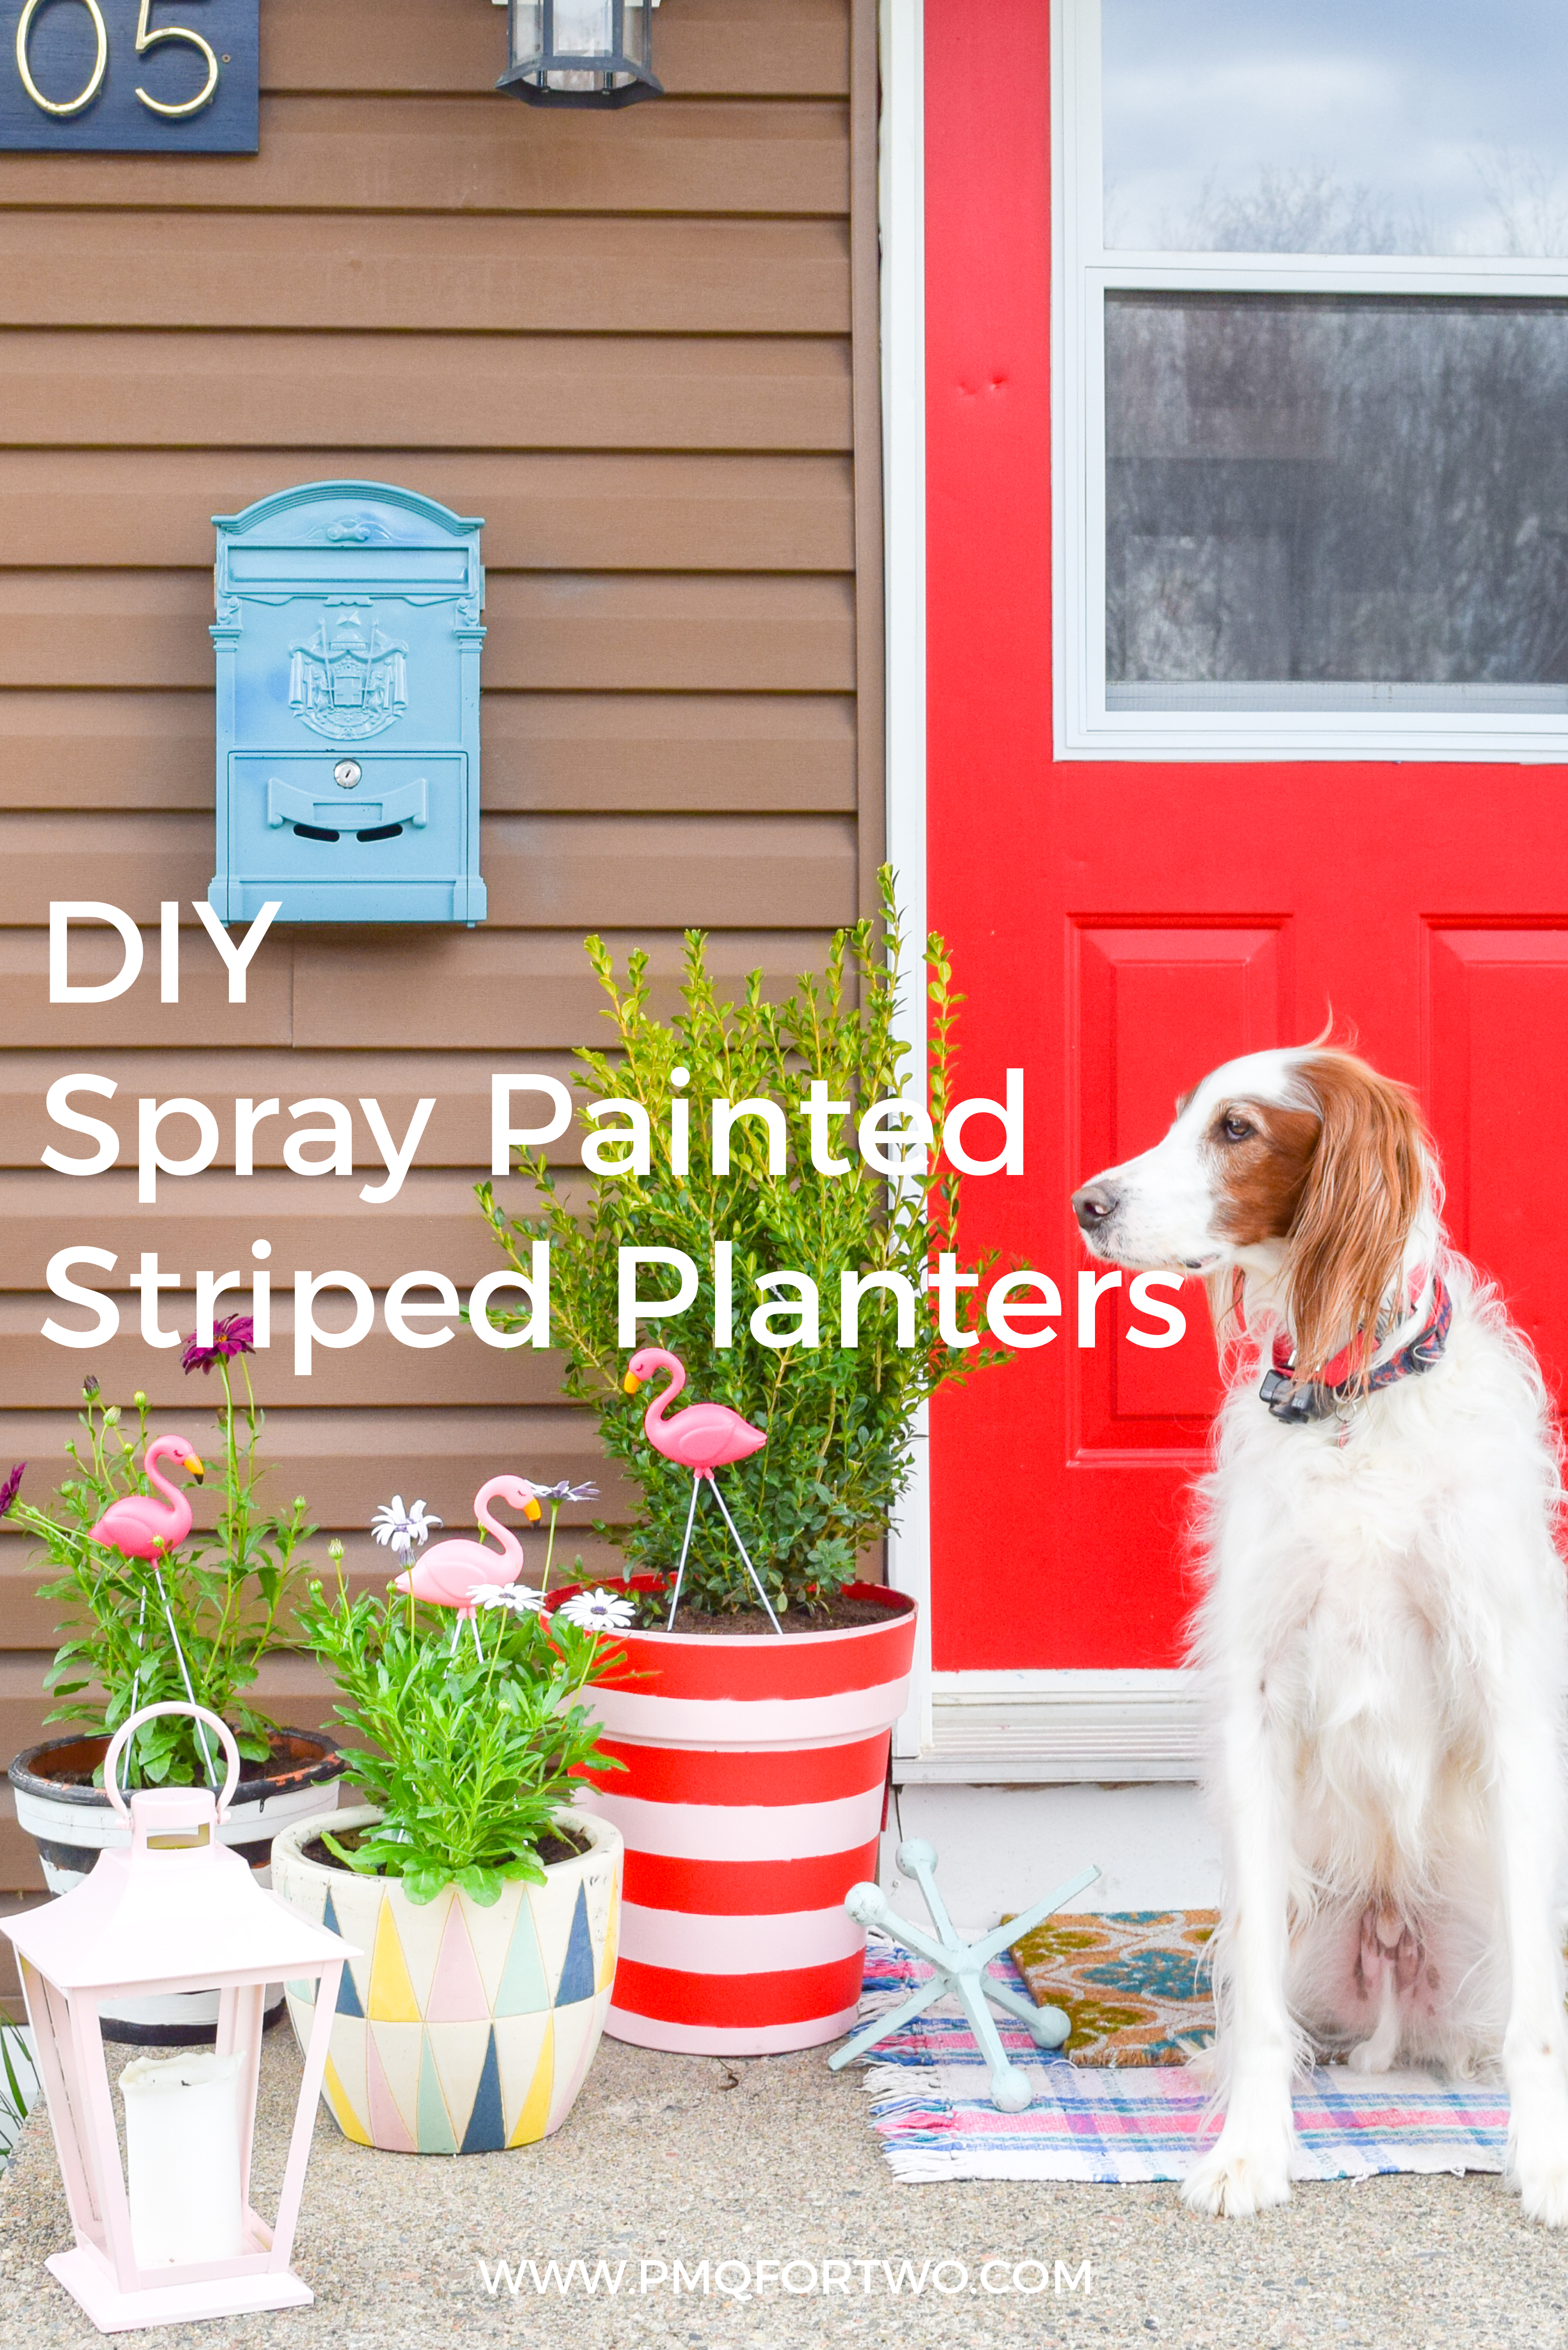
You know that Bruce couldn’t resist the opportunity to participate in a photo shoot as well, so without further ado, here are photos of Bruce on the front porch looking adorable.
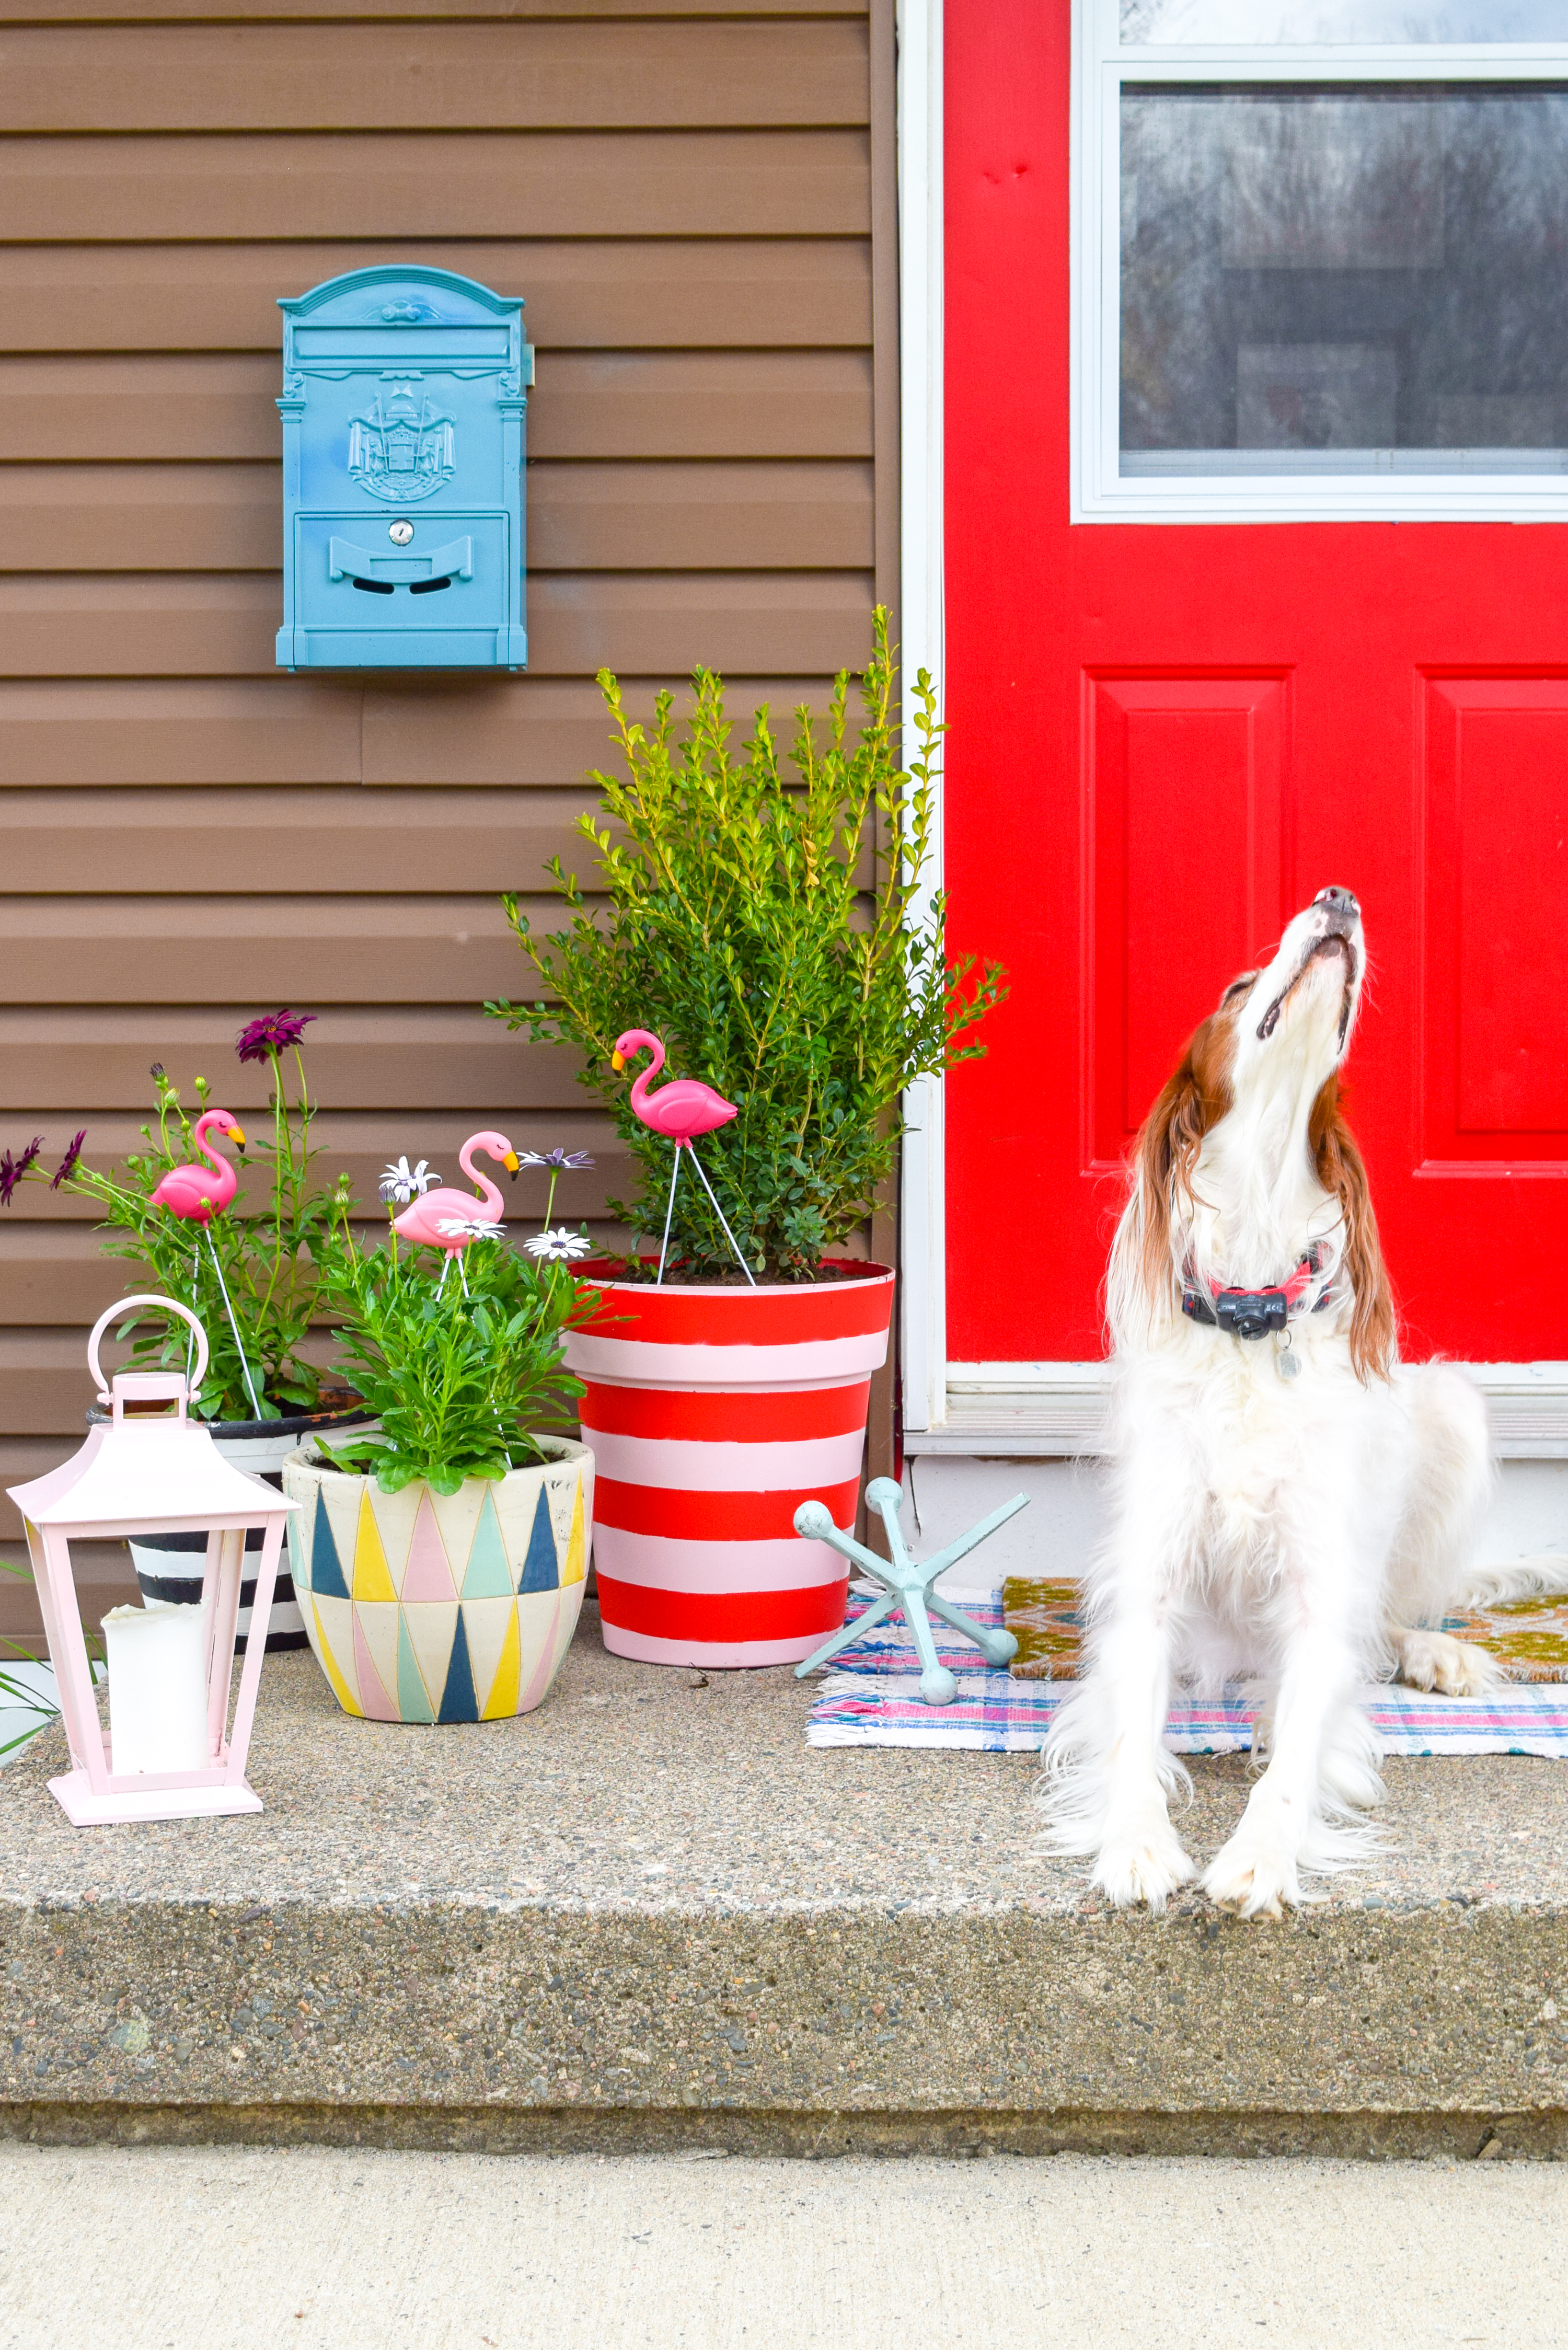
He’s caught some sort of aroma in the air, and is taking a deep sniff. Either that, or he’s getting ready to bark his fool head off at whatever dogs are doing to walk by. He does that. Someone was walking by with their dogs the other day and I complimented them on the dogs. They then pointed at the house and said “oh that’s Bruce right?”. Now, do they know it’s Bruce because they can hear us yelling “BRUCE!’ every time he barks? or do they follow me on Instagram. Questions!