As we approach August I’m going to get into more of the lifestyle posts I’ve got lined-up. It’s a natural progression for the summer, and it lets me show you guys how I express myself creatively outside of home decor and DIY. I like to think that I not only create, but that I live boldly, colourfully, creatively and eclectically. While this post isn’t a lifestyle one, it’s one that you’ll see pop up in our summer roadtrip series in September. At the end of August we’re going down to Martha’s Vineyard and we’re bringing our bikes with us! But before can do that, we had to perform a DIY spray paint bicycle makeover. We made over Dan’s bike as well as mine, but I’ve broken them up into a “his” and “hers” style post.
*Krylon & Canadian Tire sponsored this post, but all thoughts are my own. Thank you for supporting the brands that make PMQ for two possible.

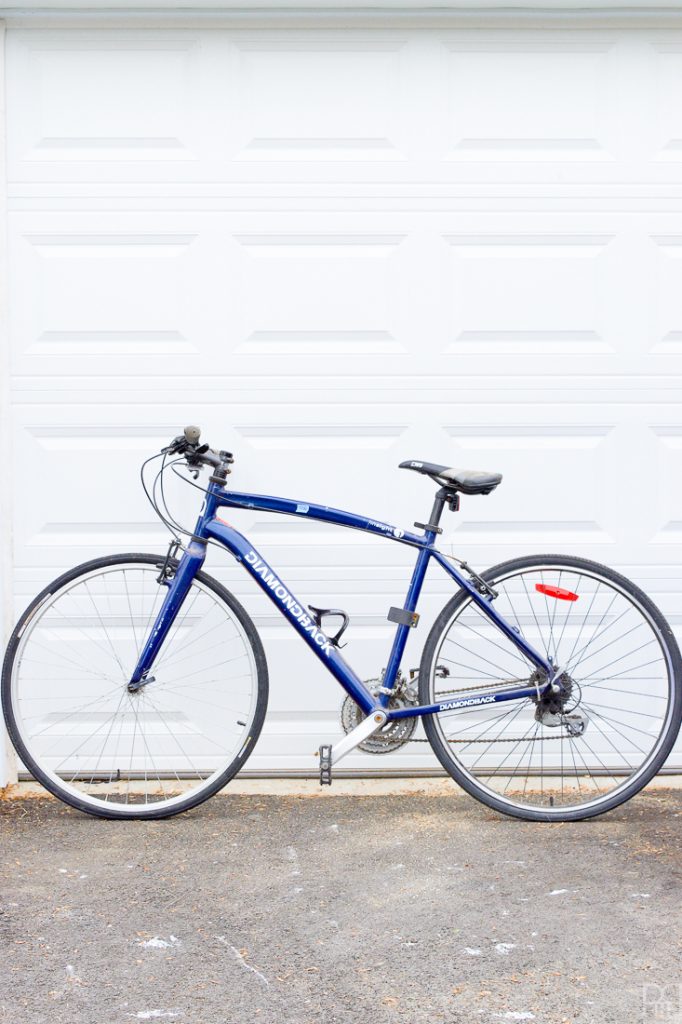
With the help of Krylon and Canadian Tire, we got ourselves sorted-out and breathed some new life into the bikes. There was nothing wrong with Dan’s Diamondback bike, but it had been through a few moves and was scratched-up. A fresh coat of paint wasn’t out of order. Did you know you can spray paint bicycles? It’s not a willy-nilly process, but if you’ve got the time you can create something beautiful.
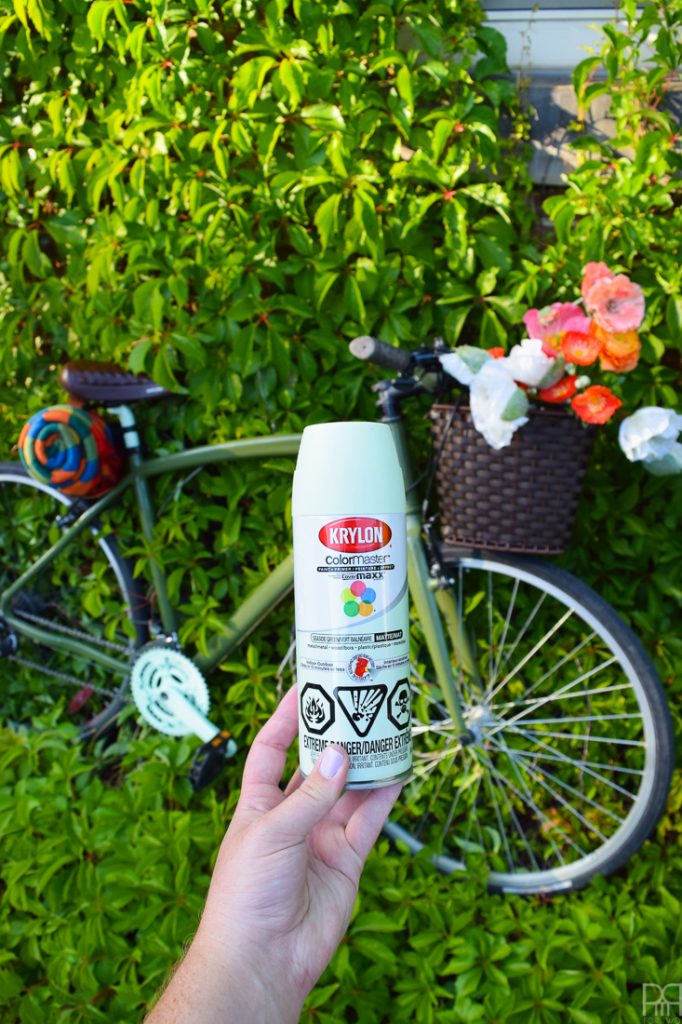
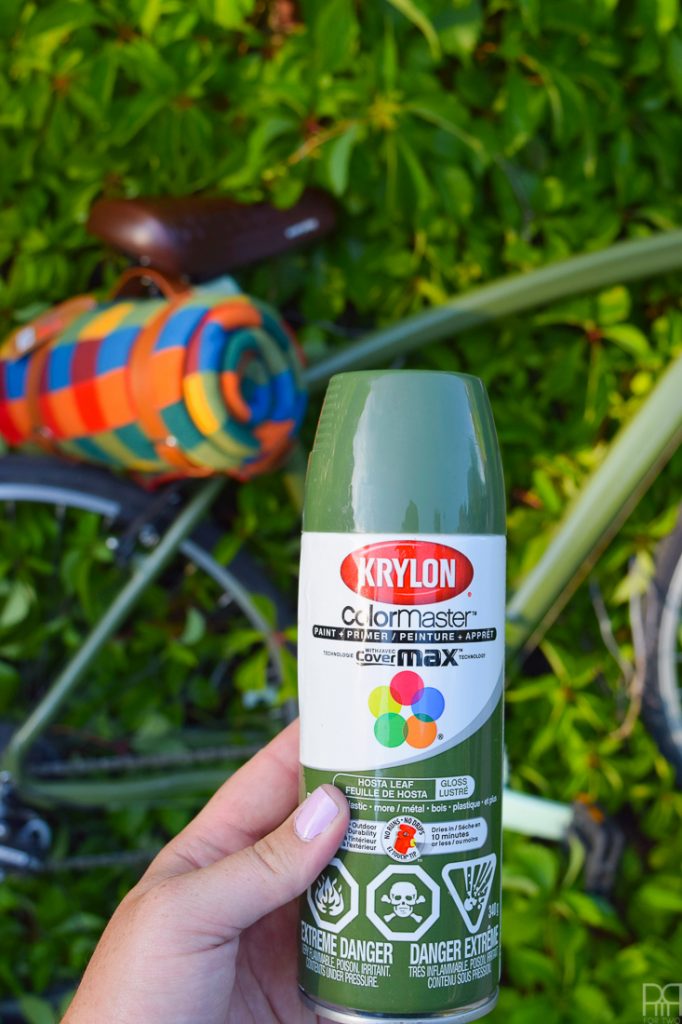
When Krylon told me that Tiffany Pratt was curating a collection of her favourite colours and finishes using Krylon’s products, I took a look and fell in love with Hosta Leaf Green and Seaside Green. I knew that they’d make the perfect colour combination for Dan’s bike, and that mixed-in with some warm brown accents from Canadian Tire, that we’d have a slick looking bike.

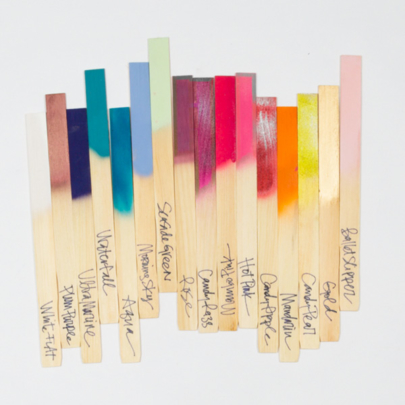
view the full collection at the link above
Materials
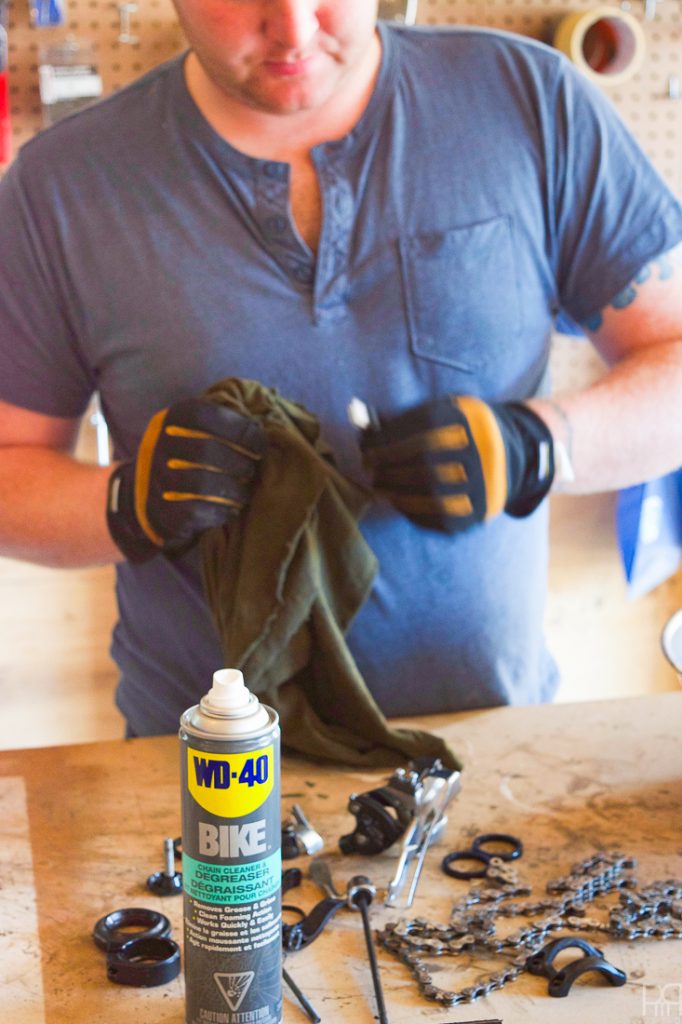
- WD40 Bike degreaser (available at Canadian Tire)
- WD40 Bike chain lubricant
- Big metal bowl for parts
- Cord to hang all your parts from the rafters
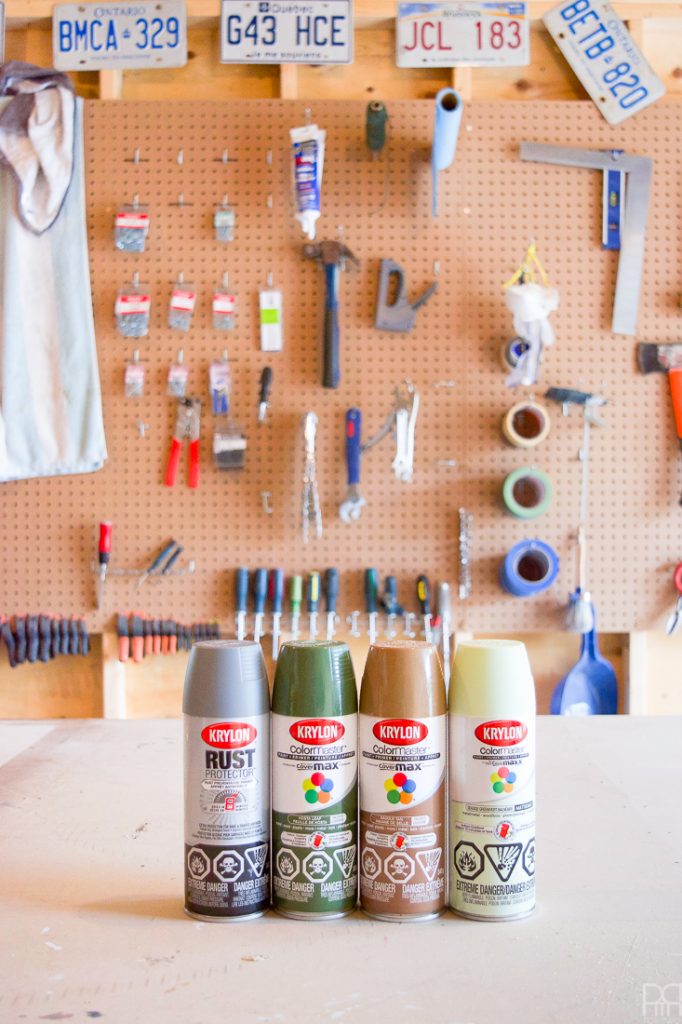
- 2 cans of Krylon Rust Protector in grey
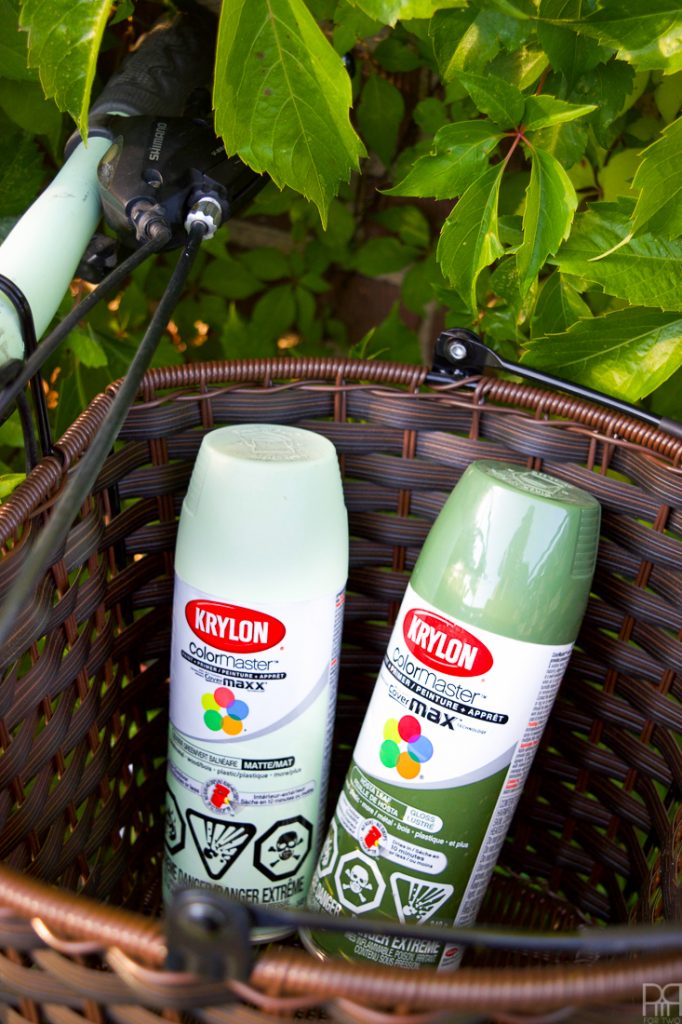
- 2 cans of Krylon Paint + Primer Enamel Gloss Hosta Leaf 453541
- 1 can of Krylon Paint + Primer Enamel Gloss Seaside Green
- 2 cans of Krylon Rust Protector clear 469019 x2
- Bike chain rivet extractor – to get the chain off if you want to paint the gear and pedals.
We followed the instructions from this wiki-how commons // here // to the letter and Dan’s bike turned-out perfectly.
Step 1: Disassemble the bike – take great care to photograph the process as you take things apart unless you’re a whiz or mechanically inclined.
We put all his parts in a big bowl to make it easier to clean them.
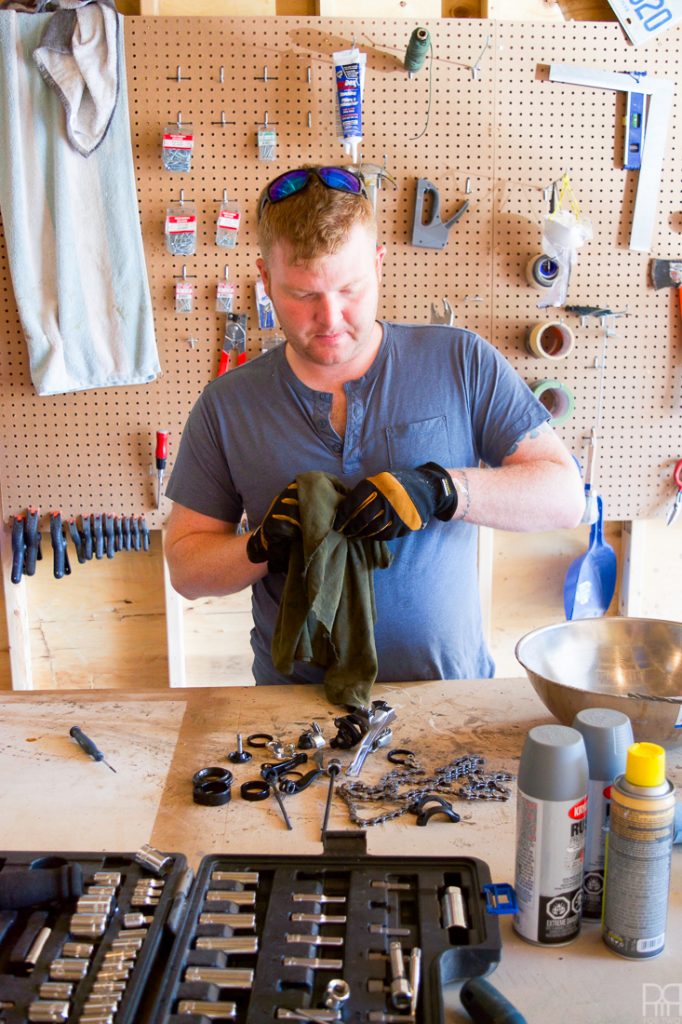
Step 2: While down the bike and any parts using the WD40 bike degreaser. Make sure there is no grease or dirt left.
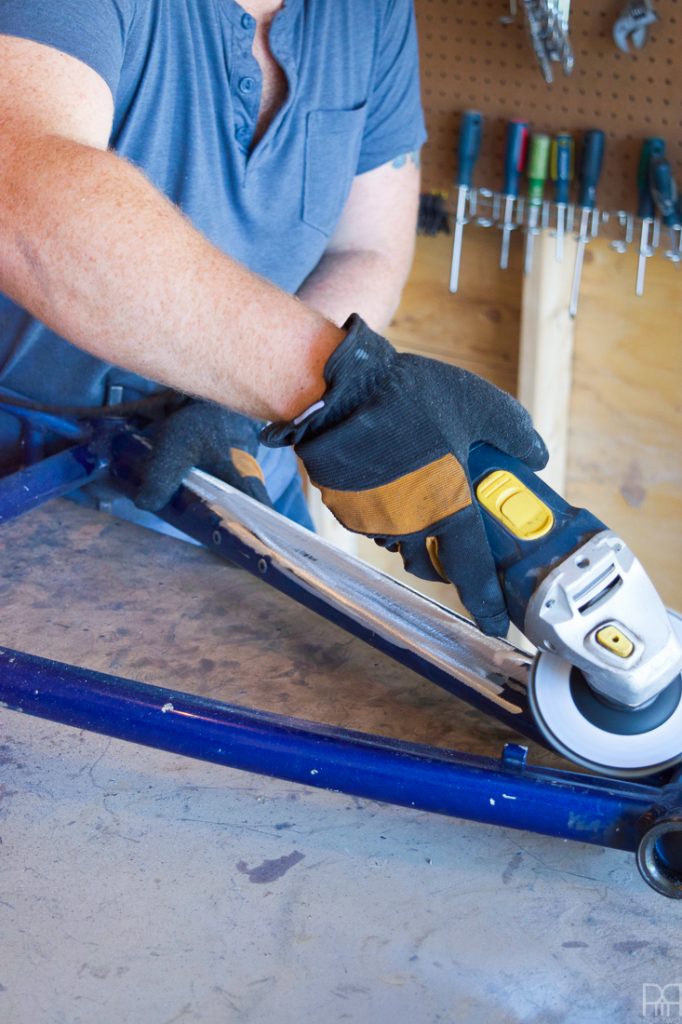
Step 3: Sand the bike frame and parts. We started by sanding – and although effective, it was taking too long- so Dan moved to the grinder and that’s when everything came off as it should.
He even threw the small parts in a sand blaster for good measure.
Step 4: Do one more pass at the parts to make sure there’s no grease or dirt. The spray paint will not adhere properly where there are any traces of grease.
Step 5: String all the bike parts up and hang them from the rafters. You’ll find there are lots of shafts and holes to thread cord though, so you shouldn’t have any problem hanging the pieces to allow for even coverage.
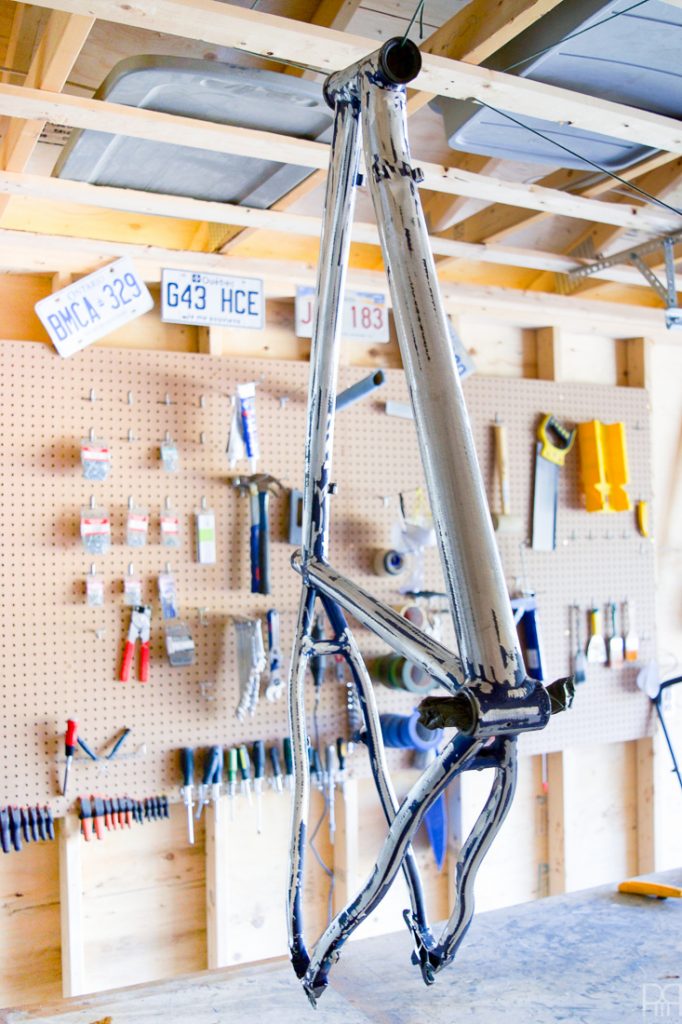
Step 6: Start applying a base coat with the Rust Proof Primer in Grey. It may take 2 cans like it did for Dan’s bike, but that ensure 100% coverage that was even and complete.
Wait 24hrs before applying the first coat of colour.
Step 7: Apply the coats of colour much like you would to any other project: with good ventilation, spraying about 25cm away from the object while doing sweeping passes. It’ll take what feels like forever, but it will look pristine.
Wait 24hrs before applying the sealant.
Step 8: Apply the sealing coat in the finish of your choice. We opted for a matt finish because Dan is just not a glossy kinda guy. This is also an instance where you want rust-proof.
Once you’re happy with the coverage, then wait 5 days + before re-assembling the pieces. Like with all aerosols, it takes a few days for the moisture to complete transcend the barrier. With something that has a lot of moving parts like a bicycle, you don’t want things to start keep releasing moisture once they’re tightly assembled.
Step 9: Re-assemble – GOOD LUCK AMIGOS. Dan did not take photos while he disassembled his bike (I took video – like a pro) and he spent a good afternoon putting it back together.


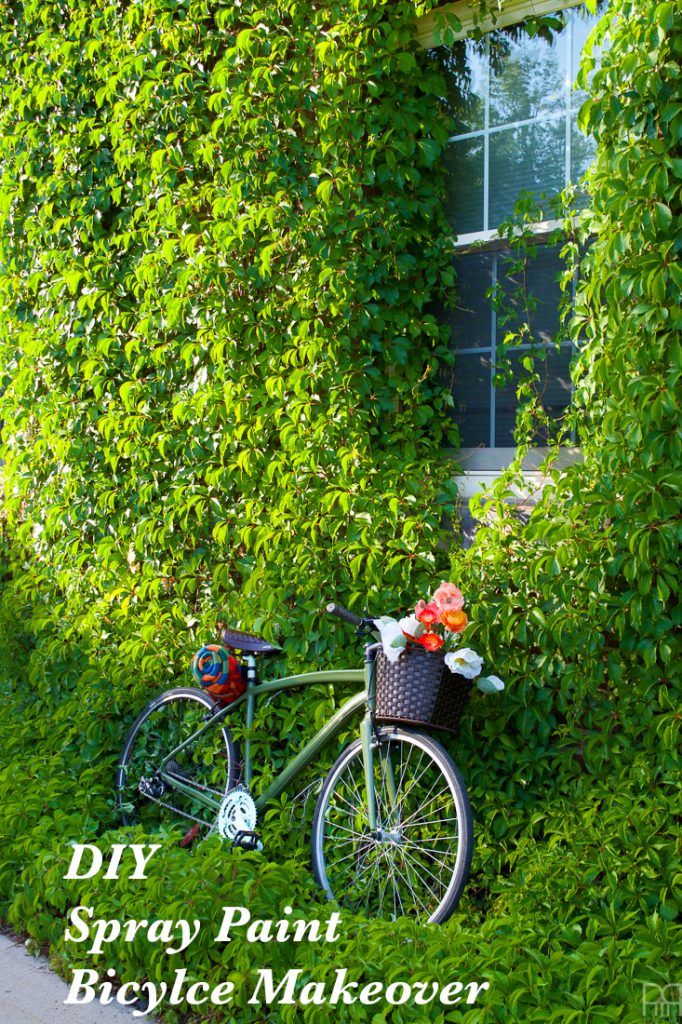
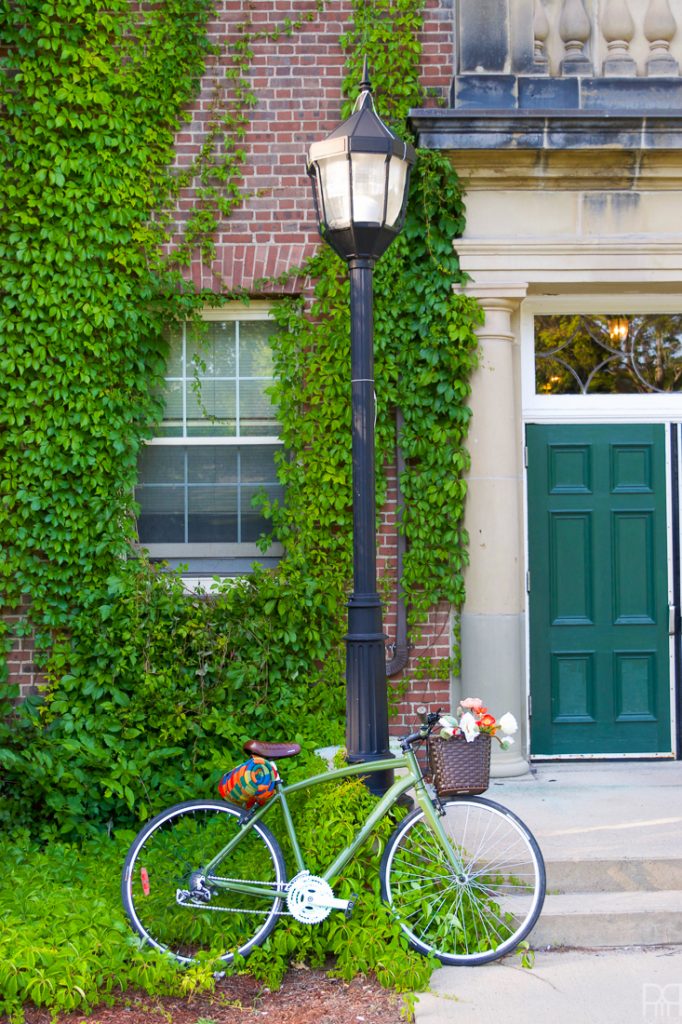
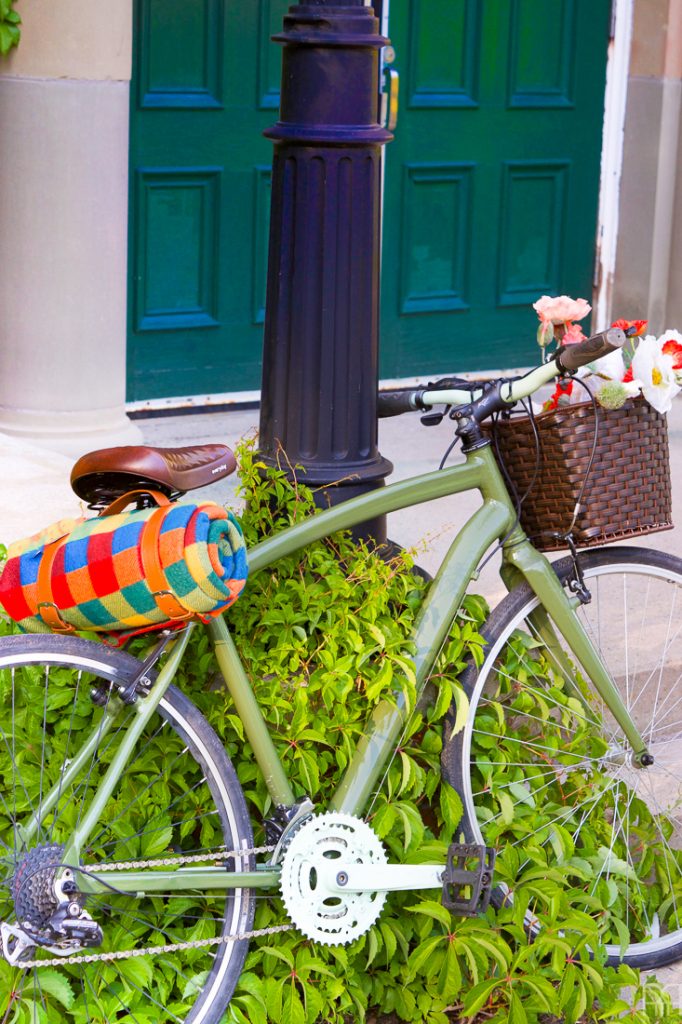
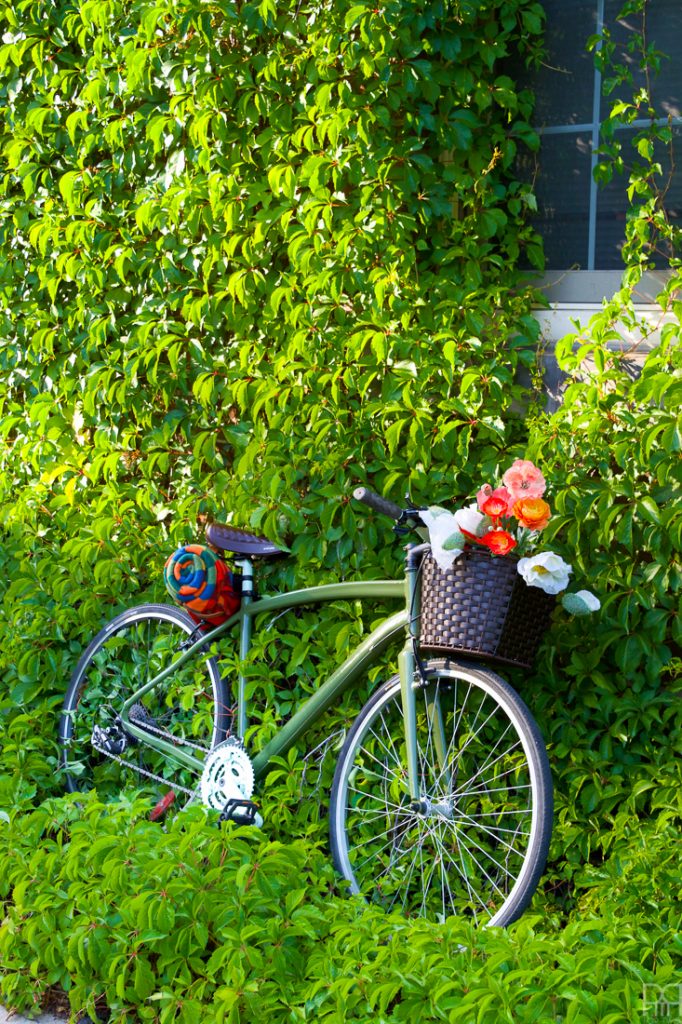
Now I know this is Dan’s aka the “his” in a “his & hers” bike makeover, so why would he have a basket full of flowers? Well, because in this fictitious scenario he has purchased them for me! Duh. Don’t mock a man who knows how to bring home flowers.
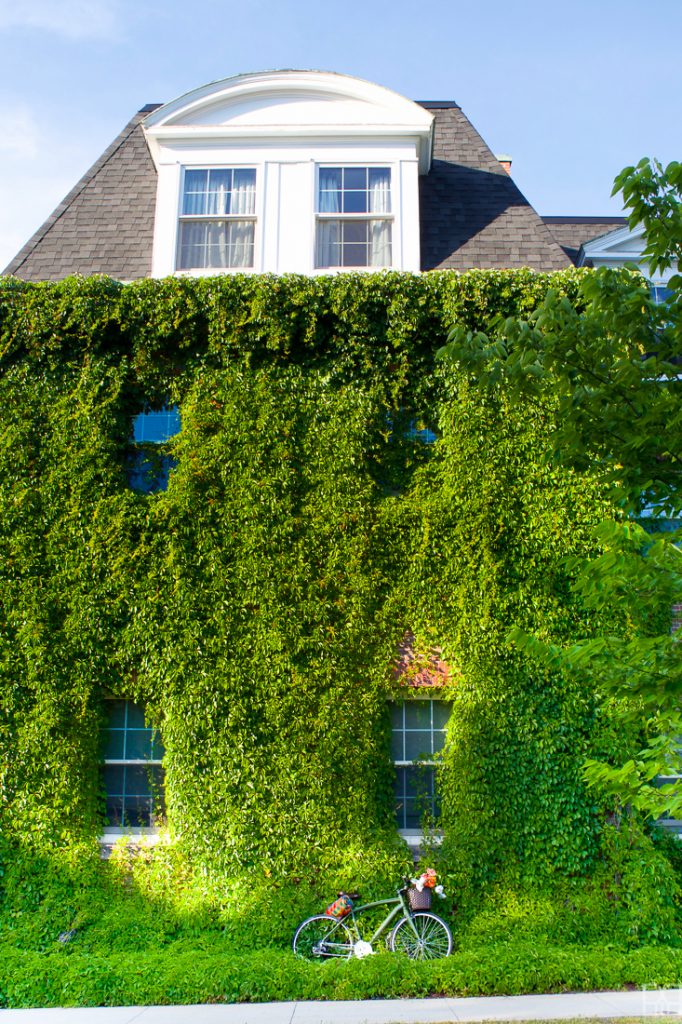
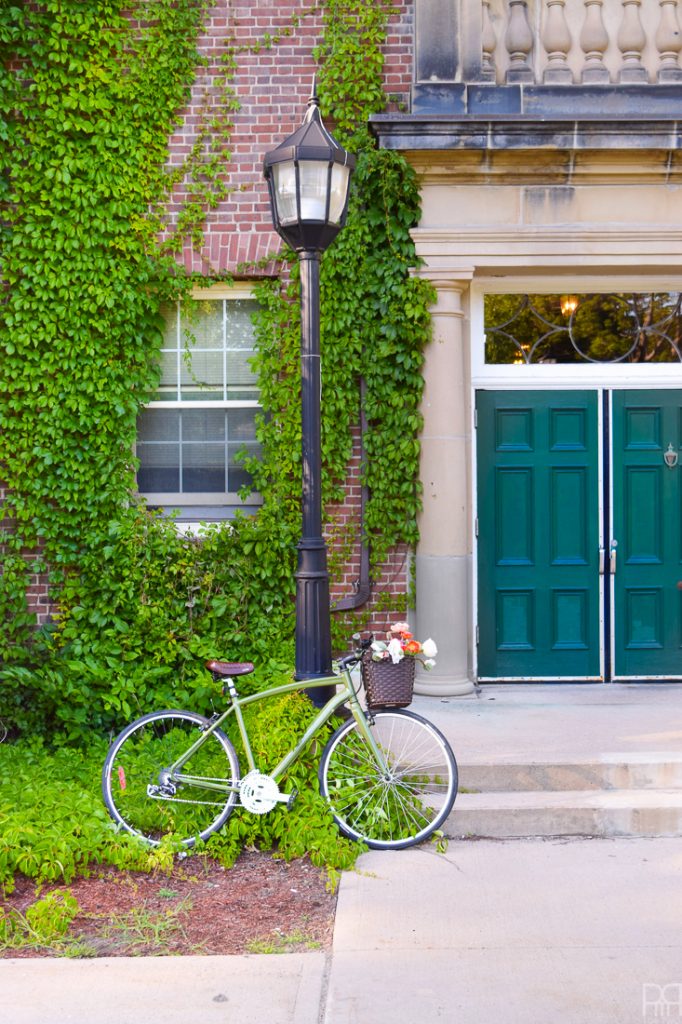
I took a trip down to the university campus in town to find the perfect backdrop and couldn’t be happier with the results. The bike’s greens pop against the wall of foliage and look oh-so appropriate in this setting. Very collegiate no?
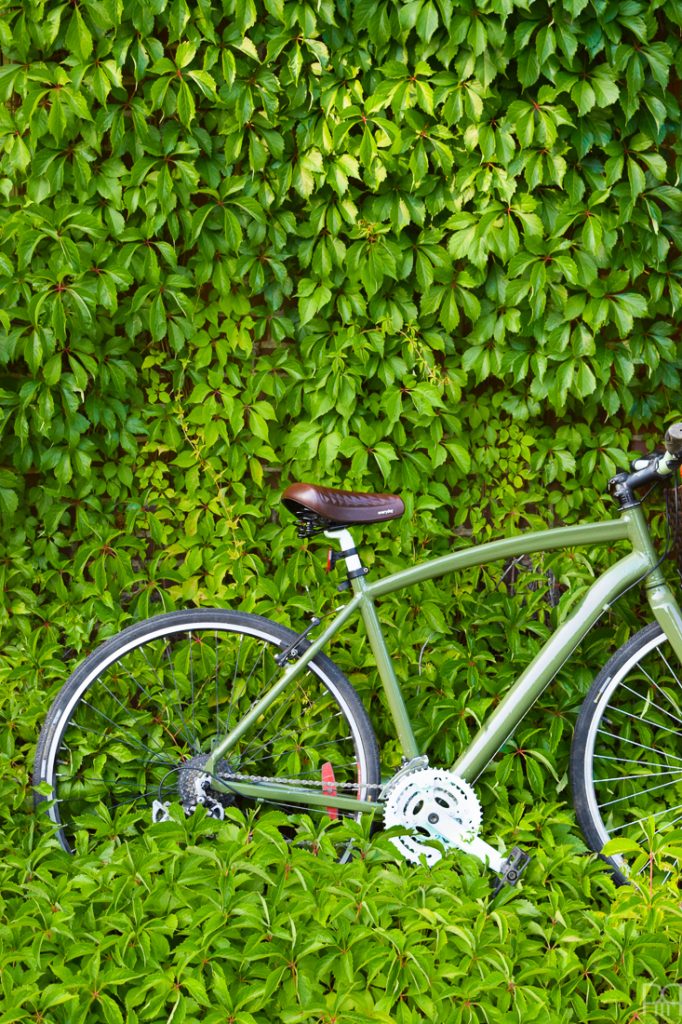

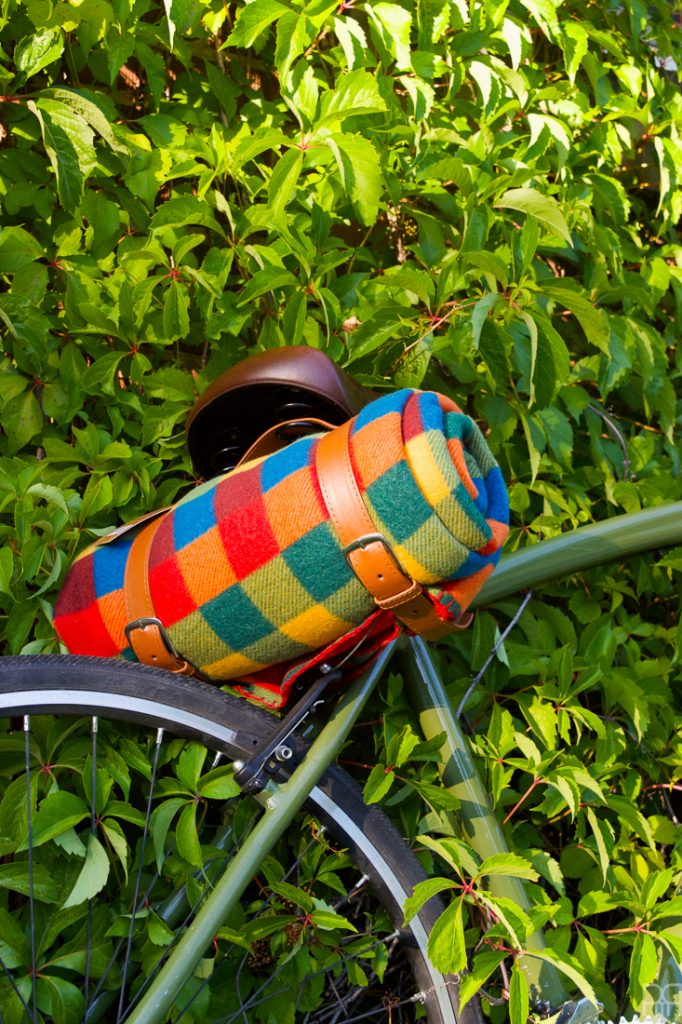
Isn’t that bike seat something fun? It’s a version of this bike seat // here //. We bought one for my bike and one for Dan’s.
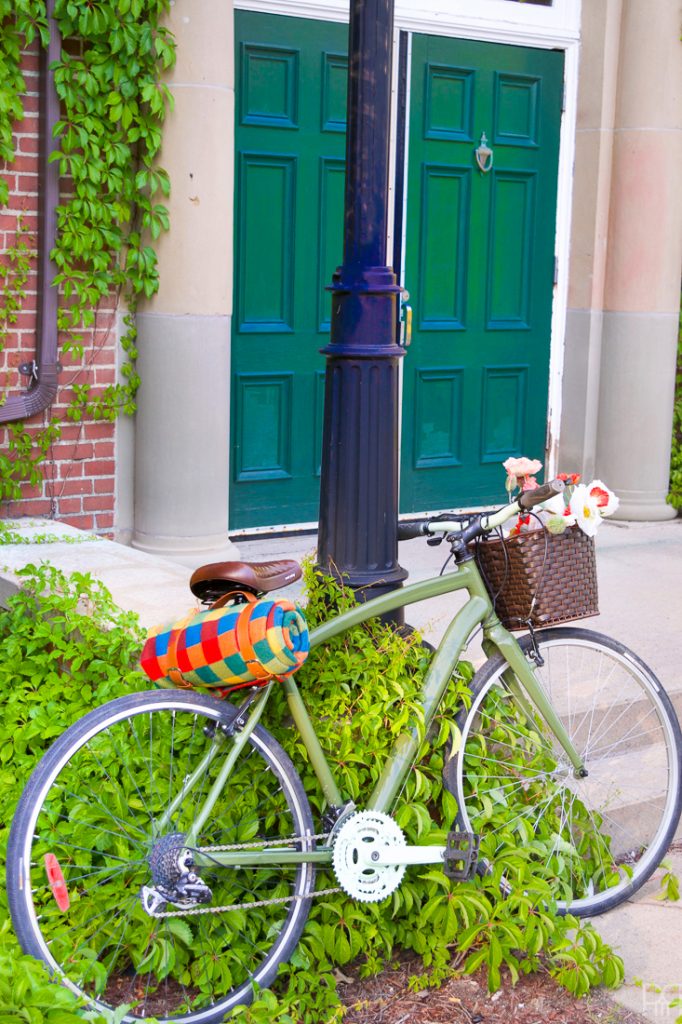
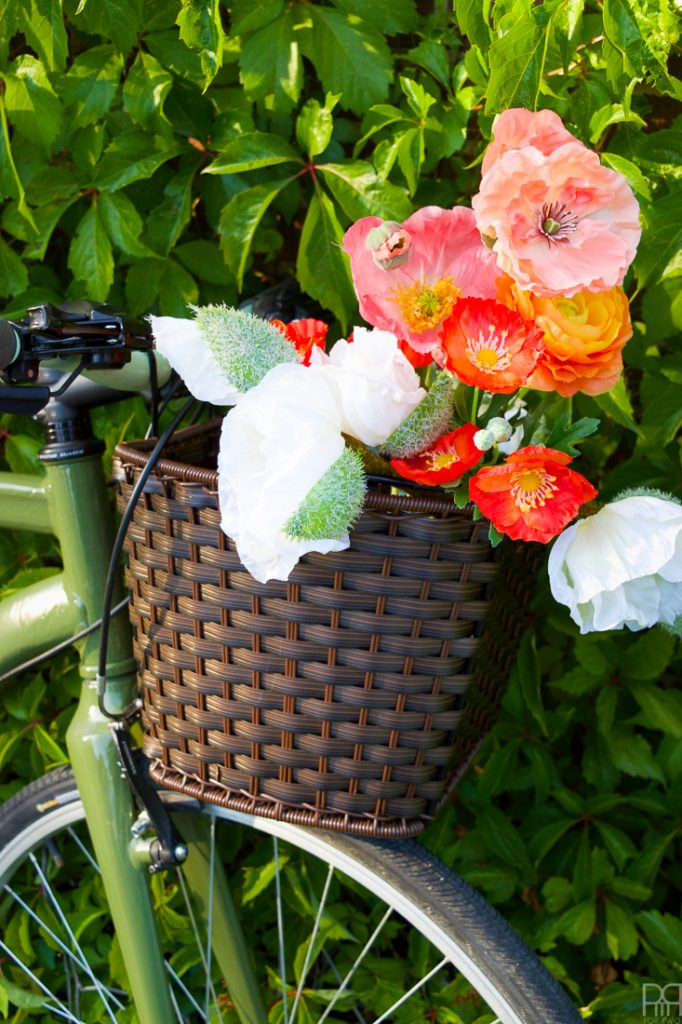
The basket // here // is also from Canadian Tire. We chose it because it matched the brown bike seat and was a classic look for a classic bike.