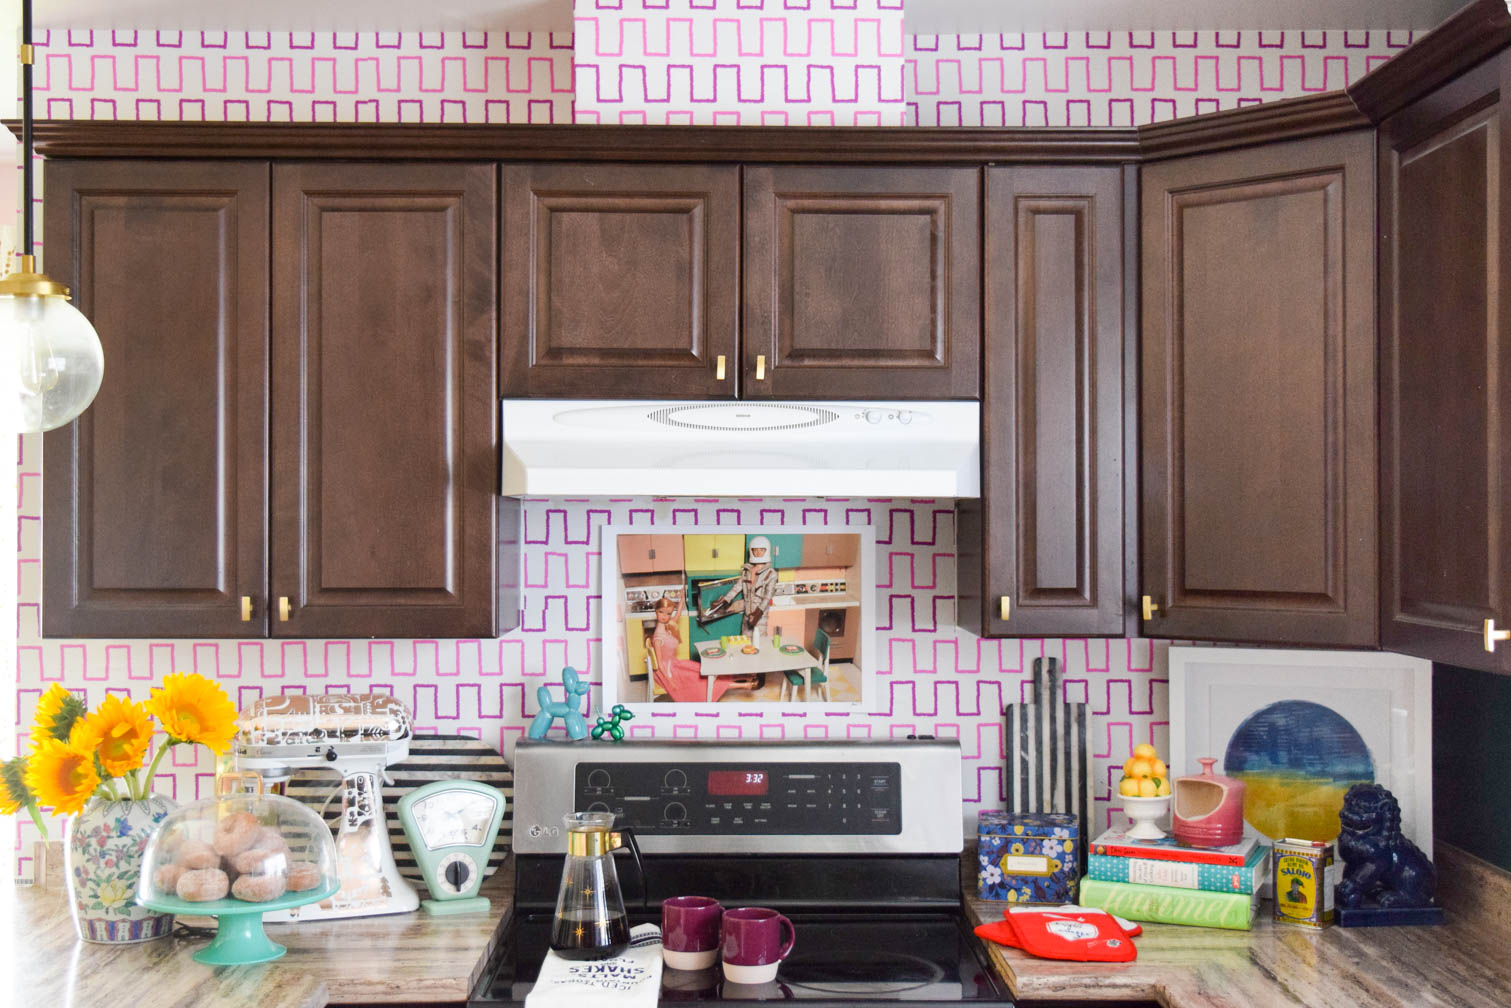
I figured it was time I finally get around to doing my Removable Kitchen Wallpaper Backsplash. Last year we gave our kitchen a renter friendly paint makeover, but after a year of living with it, I could tell we were missing something. We were missing more colour and pattern. I took to Spoonflower for vibrant pattern, and then applied it.
See my Bar Cart / Sideboard Wallpaper Hack
*Spoonflower sponsored this post, but all thoughts are my own. Thank you for supporting the brands that make PMQ for two possible.

How to make a Removable Kitchen Wallpaper Backsplash
As far as projects go, this one relatively easy to do, but you’ll do it in stages. You start by measuring the surface, and then ordering the appropriate amount of rolls.
Peel & Stick Wallpaper for a kitchen Backsplash
BOOM! This pink & purple stripe motif is just what the space needed. It’s called Stepped in Magenta & Plum by Danika Herrick.You can buy is at a fabric, a removable wallpaper, or a regular wallpaper, and even gift wrap! How cool is that, gotta love when you get customized options to suite your needs.
A nice feature of the Spoonflower site, is that you can order custom sized rolls based on the size of the wall/surface you’re trying to cover. That means you’re not stuck with one giant roll, trying match-up the pattern across a short surface like a backsplash.
I ordered as many short rolls as I needed to completely cover the surface beneath the cupboards, as well as above the cupboards.
Applying removable wallpaper as a backsplash
Just like with wallpapered rolling bar cart our removable kitchen wallpaper backsplash was applied in sheets, using an applicator tool. But before I got down to actually applying the wallpaper, I removed the switch plates etc. and gave the walls a quick wipe to remove any gunk, dirt and oil.
In the kitchen you can only imagine how much dirt and grease accumulates over time, so a good wash never hurt anyone.
Applying Peel & Stick Wallpaper
You’ll receive an applicator with your order, but in a pinch a credit card does the trick. Start by applying the top of the sheet under the cupboards (one straight line against another), and then slowly peel off the backing, while using the applicator down the middle of the sheet until it’s completely unfurled.
Using a wallpaper applicator
Then use the applicator to smooth the rest down so that there are no air bubbles. Once you get going it’s pretty quick. I did the entire backsplash, and above the cupboards, in about an hour. But that was with a lot of cleaning in between. Who knew my kitchen counters were so dirty?
Completed Removable Kitchen Wallpaper Backsplash
After a very frustrating 5 mins trying to get our oven back into place (I moved it to apply the larger sheets behind it), I was able to clean (it never ends!) and put things back into place.
The removable wallpaper backsplash totally changes the look and feel of the kitchen nook, so I added a few things, moved others around, and of course got some fresh flowers. Unfortunately the donuts are for show only (they were given away) since they’re not exactly Keto friendly…not even for a lazy girl.
Don’t you just love my poodle hair? That’s what I call my freshly washed hair with bangs. I recently had a salon appointment, because it had been 8 months since I last cut or coloured my hair. It was time.
The Stepped in Magenta & Plum by Danika Herrick adds movement, colour, and helps distract from the very small and very dark little kitchen. Don’t let my excellent photo editing skills fool you, this place is like a tomb in full sunshine.
My DIY Kitchen Aid decal still looks slick, and this photo should prove it. In fact, I think it looks way better against the wallpaper pattern – the squiggles – as I’m calling them.
With such little countertop space, I’m always struggling to arrange and style what space I do have. I’m happy with the current split of art, cook books, utility pieces and more. I hope to one day have a kitchen space big enough to not have to concentrate them all.
HOW amazing is this art print? It’s from Vintage Barbie & Ken Photos, and I’ve got another one up my sleeve for later. My little Koons dogs are an adorable little extra addition
So yeah, what are you waiting for? A DIY removable wallpaper backsplash is exactly what you need in your home (rental or not), and the best part is that you can switch it up when you’re ready for something new! How perfect is that.
Choosing a Wallpaper Pattern for a Backsplash
These are some other patterns I considered for the removable wallpaper backsplash: Zebra Hi5 it Green, Harlequin Diamonds, Inklblot Stripe G11, and Watercolor Green Tile 2. In the end I think the purple and pinks are much more appropriate for the space.
When choosing a backsplash pattern, you can go one of two ways: pick a pattern that looks like regular tile, or pick a crazy pattern that you woudn’t expect to see there, and use it anyways.
