Since last summer’s One Room Challenge // here // I’ve had an abundance of planters and plants, but I’ve sorely lacked a potting bench. I need a place to keep my planters and dirt when not in use, but even more than that, I need a place to do all my transfers and potting. Our lovely harvest table // here // has been a handy dandy substitute, but it’s time to for a DIY Potting Bench, just in time for spring!
*The Home Depot sponsored this post, but all thoughts are my own. Thank you for supporting the brands that make PMQ for two possible.
*originally publish April 3rd 2018

I made this one using plans on the Ryobi Nation site // here // and since Ryobi is a Home Depot brand, I thought I’d bust-out all my Ryobi One+ tools to complete the job. Surprise! It all worked beautifully.
You can grab all the details on the Ryobi Nation site // here // but I thought I’d break down the essentials for you.
Materials required for a DIY Potting Bench (per these plans)
- 2 – 2×4 @ 61-1/2” (back legs)
- 2 – 2×4 @ 35-1/4” (front legs)
- 4 – 2×4 @ 22” (side aprons)
- 10 – 1×4 @ 39” (front aprons, short shelf boards, back shelf)
- 10 – 1×4 @ 42” (long shelf boards, back boards)
- 2 – 1×4 @ 24” both ends cut at 45 degrees, long point to short point measurement (cross support)
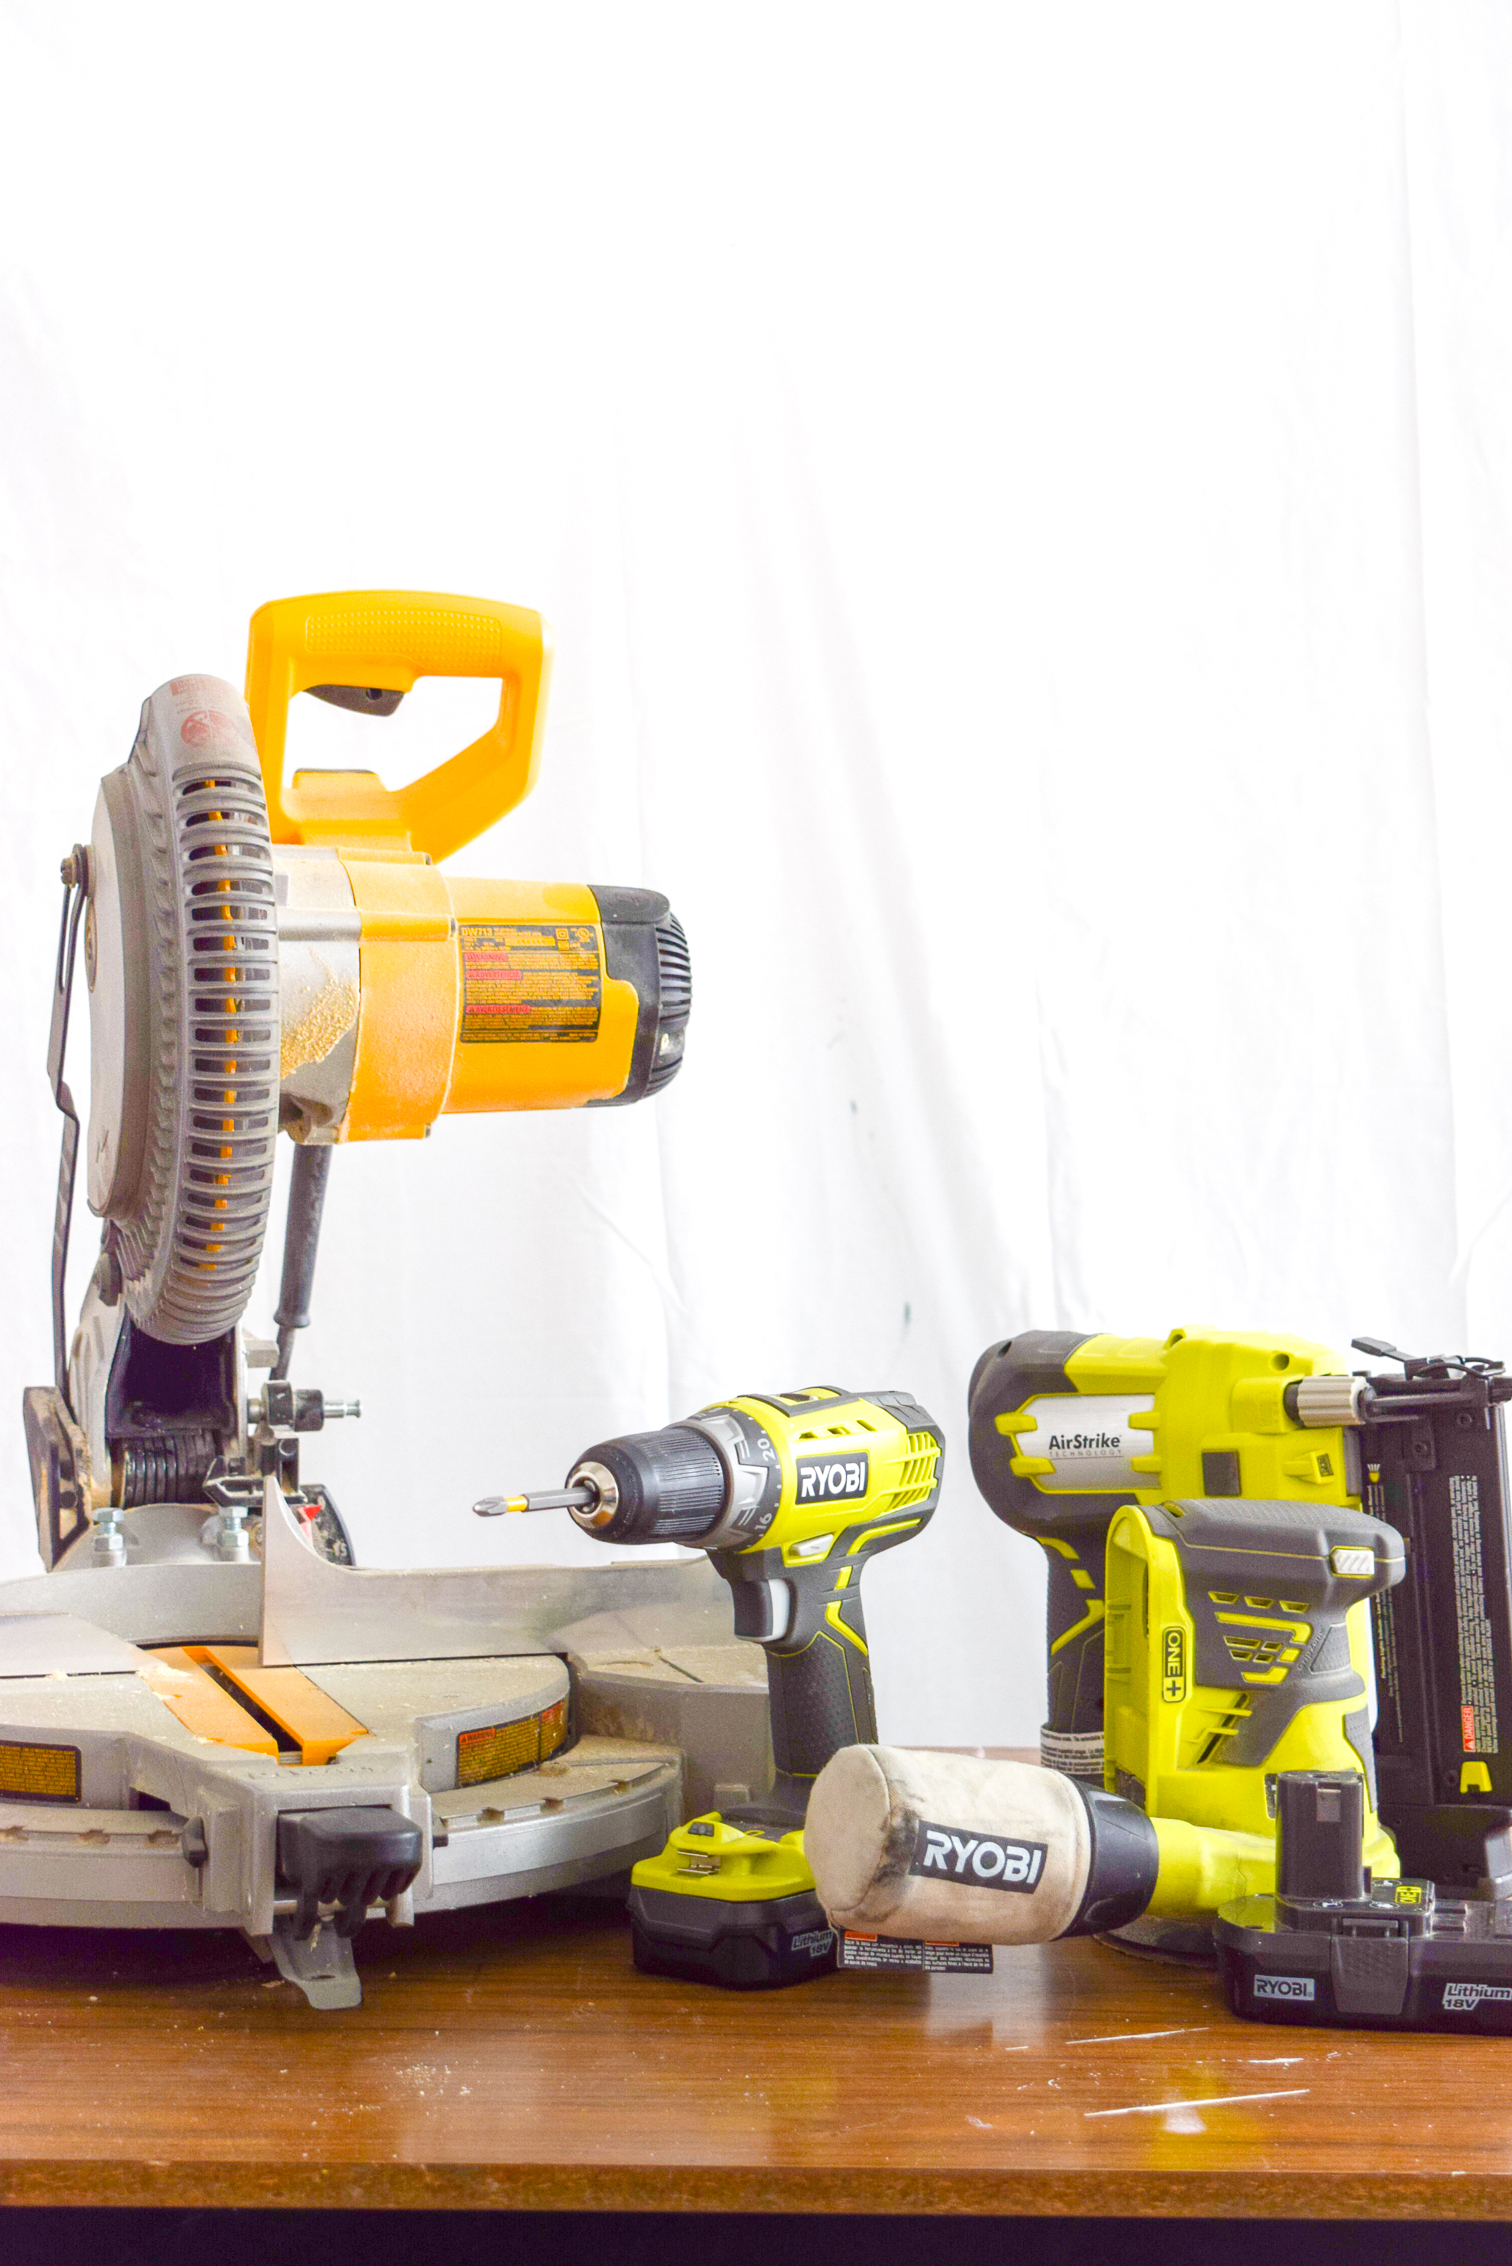
- Mitre Saw
- Ryobi AirStrike (or other nail gun)
- 1 3/4″ nail strips
- Ryobi Random Orbit Sander
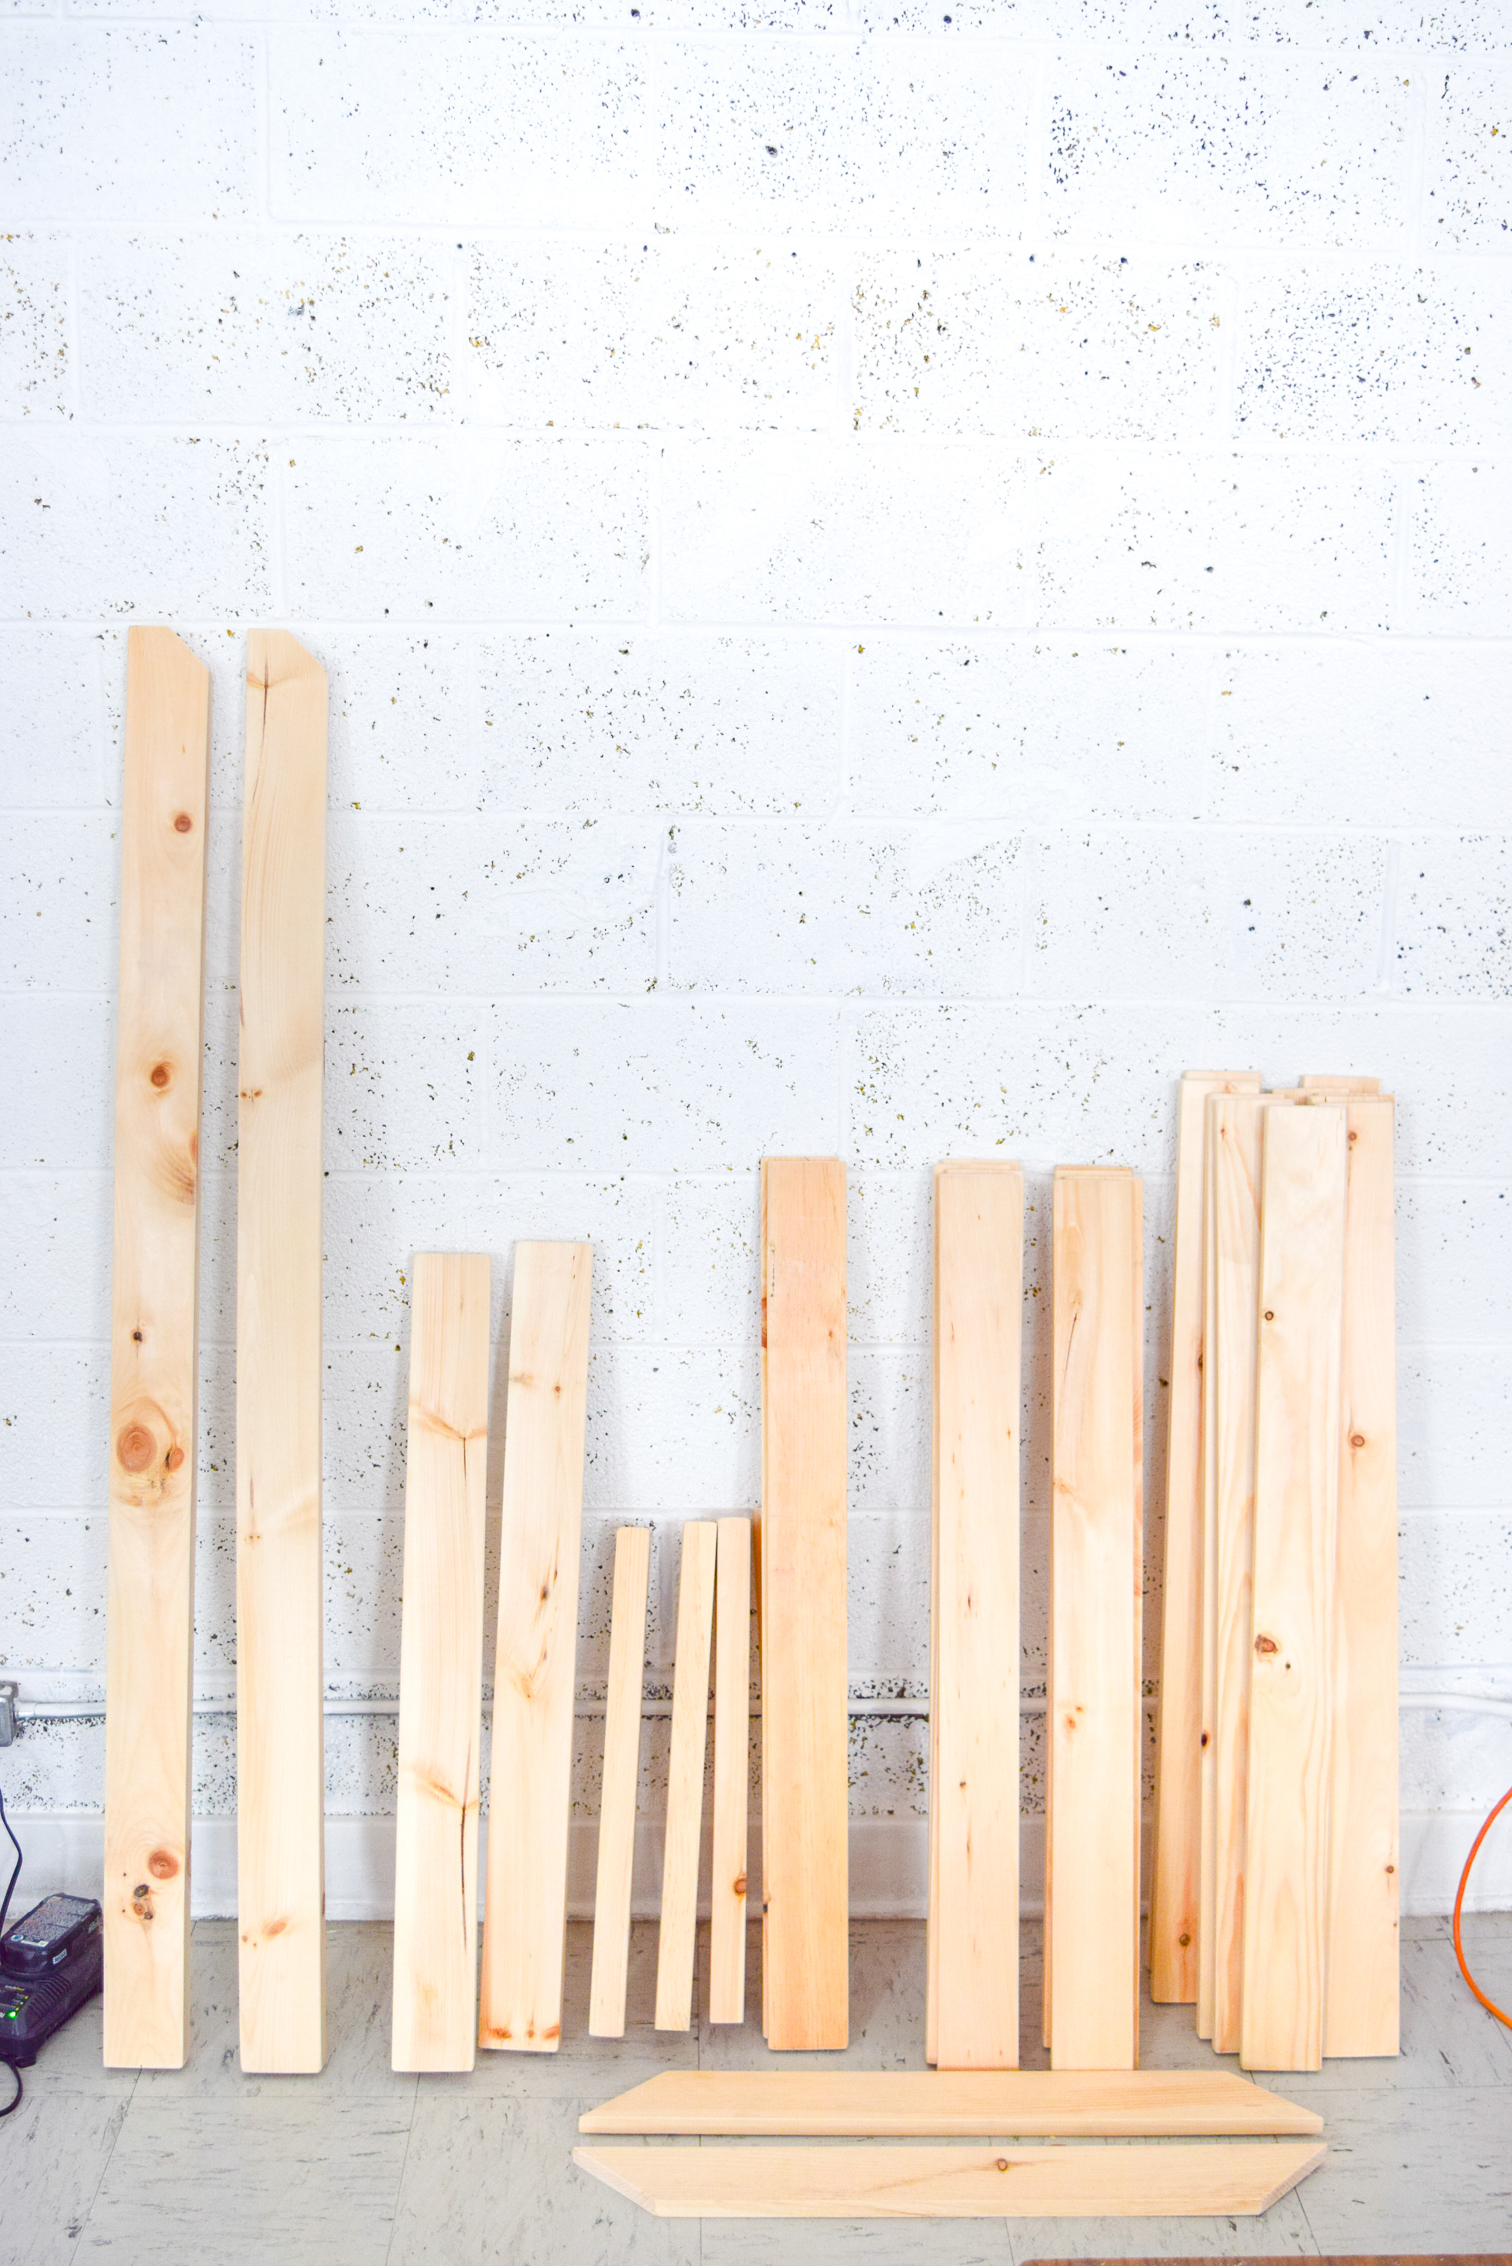
We chose the splurge on the knotty pine available at our local Home Depot. It’s a cut above the regular lumber, and you’re more likely to find straight pieces.
For process drawings and schematics, check-out the Ryobi Nation Blog // here //.
Step 1: Make all the cuts per the list above. We used our big DeWalt saw for the job (also available at Home Depot), and attached the shop vac to make sure if sucked up all the sawdust. Once everything was cut, we were left with this.
Step 2: Sand everything! The Ryobi palm sander is great for this because it works on the One+ battery system, and it attaches to our shop vac, which made doing this in the studio much easier.
Step 3: Mark the back legs from the bottom at 11-1/4” and 35-1/4”. Attach a side apron below each mark using nailgun. Repeat on the front leg. Do the same for the other set of front and back legs.
Step 4: Attach front aprons to the side aprons with nailgun and glue.
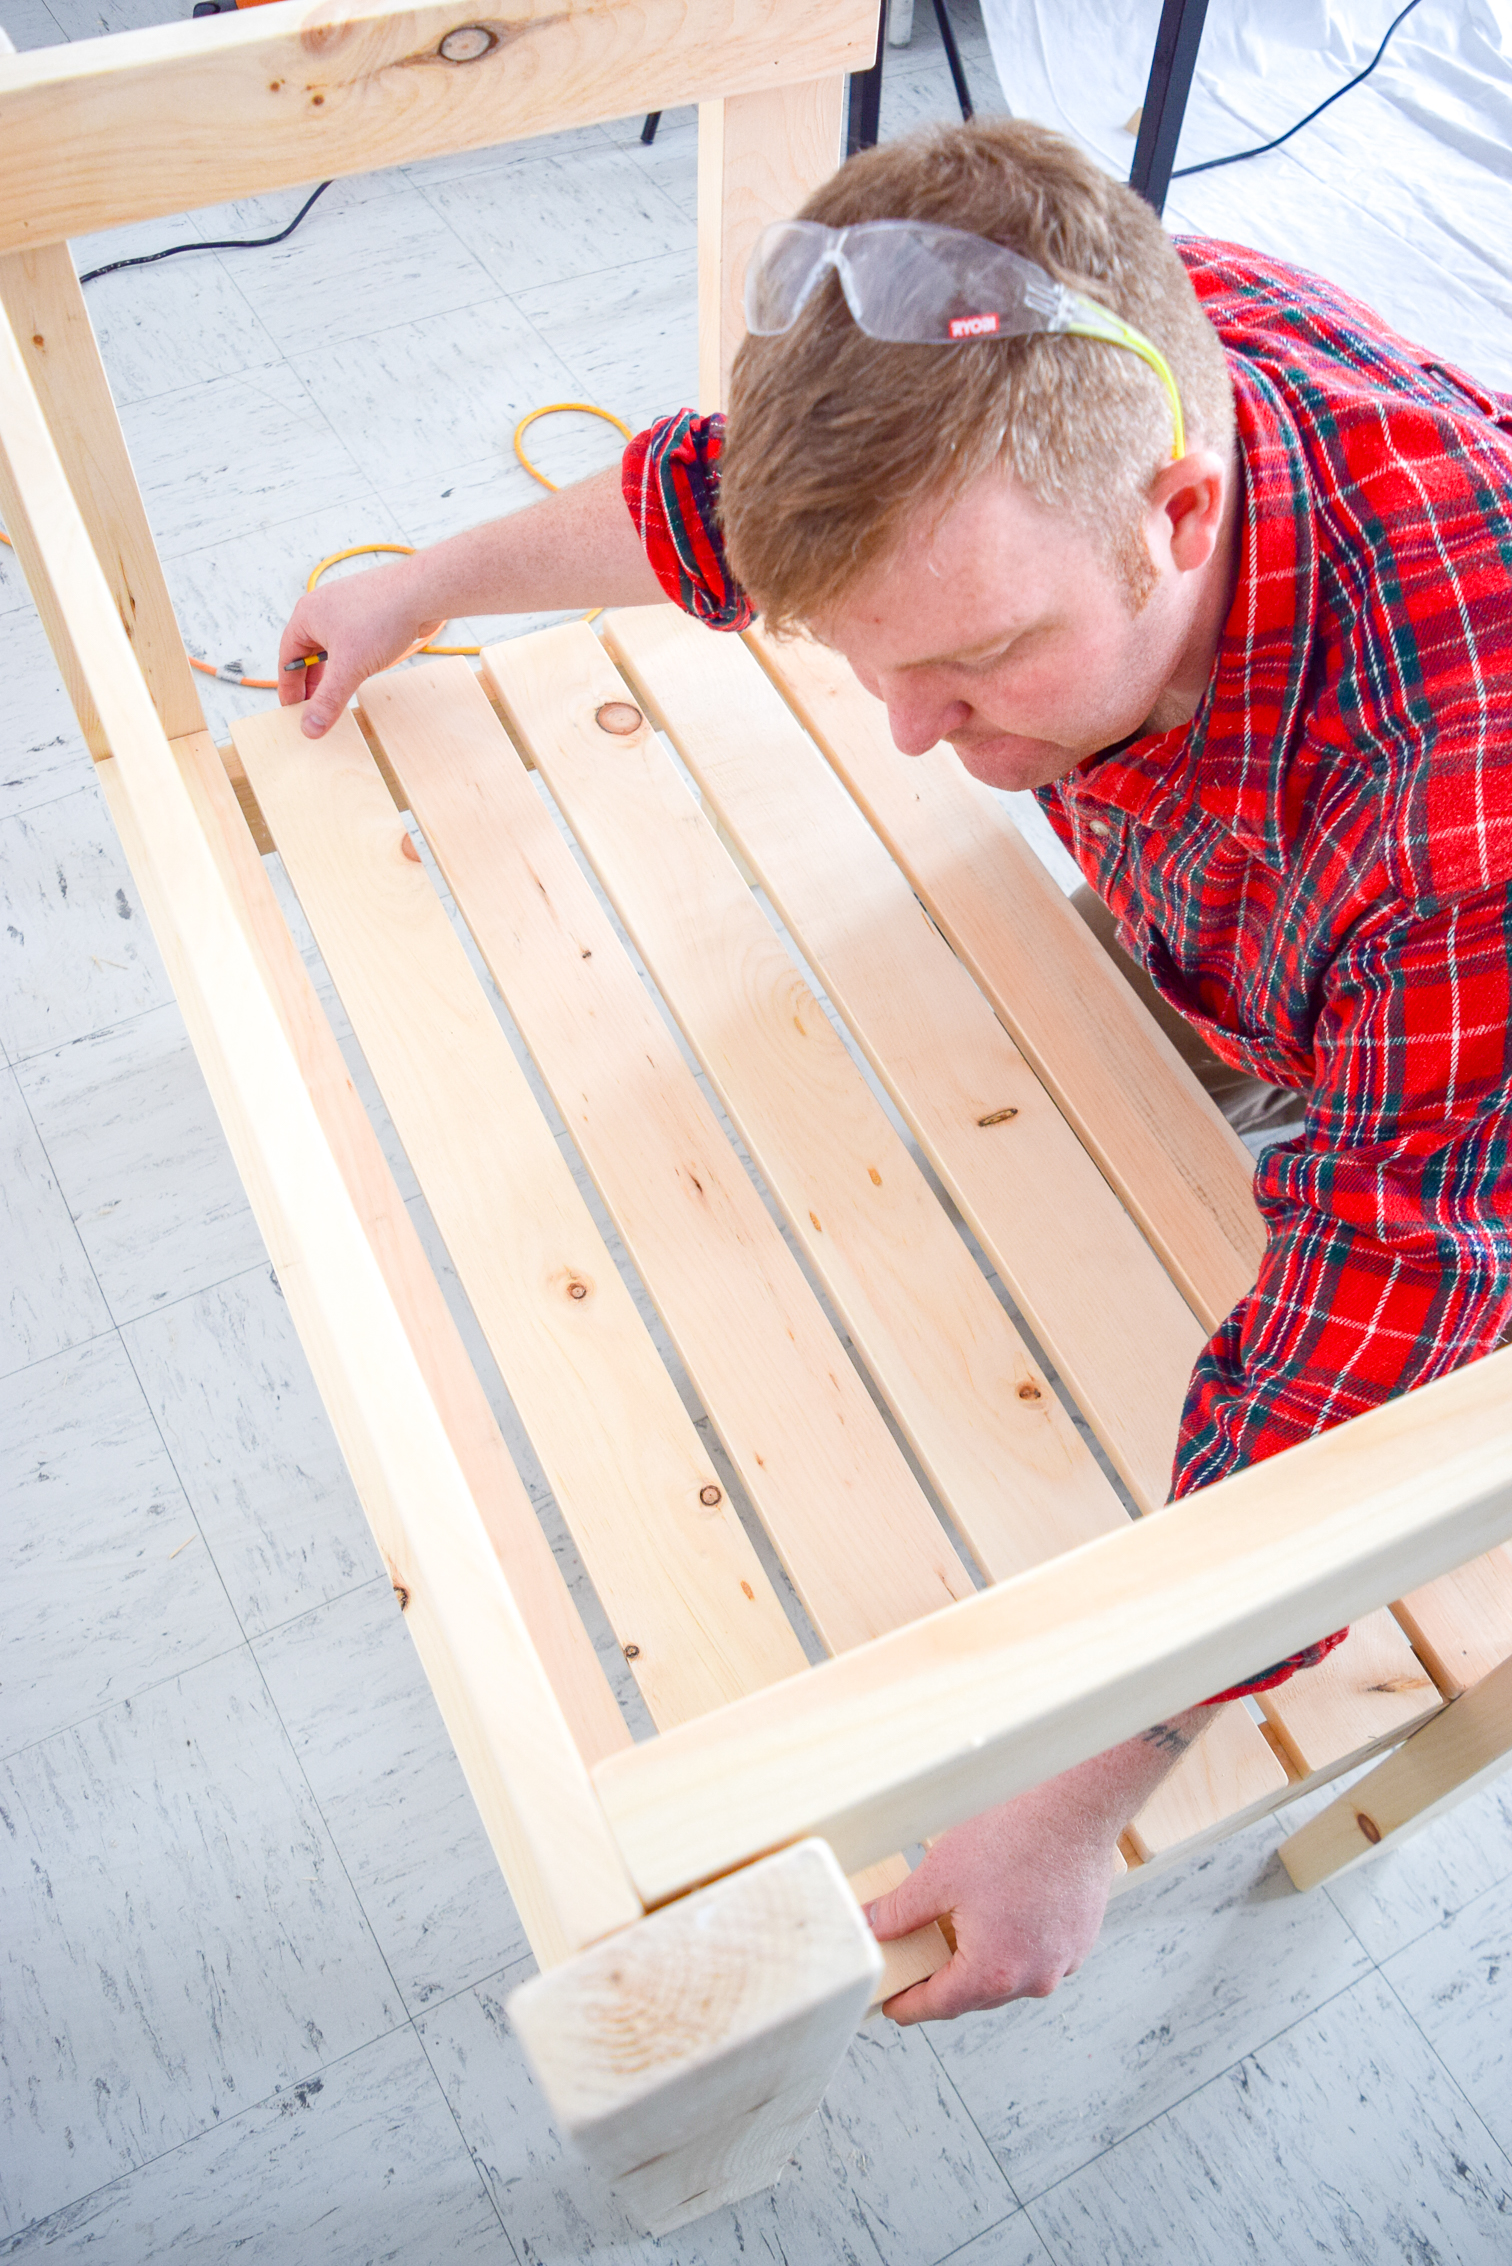
Step 5: Shelving – Place shelving boards on bottom shelf. Attach with about a ½” gap in between shelf boards with nailgun. Repeat for top shelf.
Step 6: Cross bracing – cut cross bracing at 45 degree angles on ends. Attach to back legs and the back shelf board with nailgun and glue.

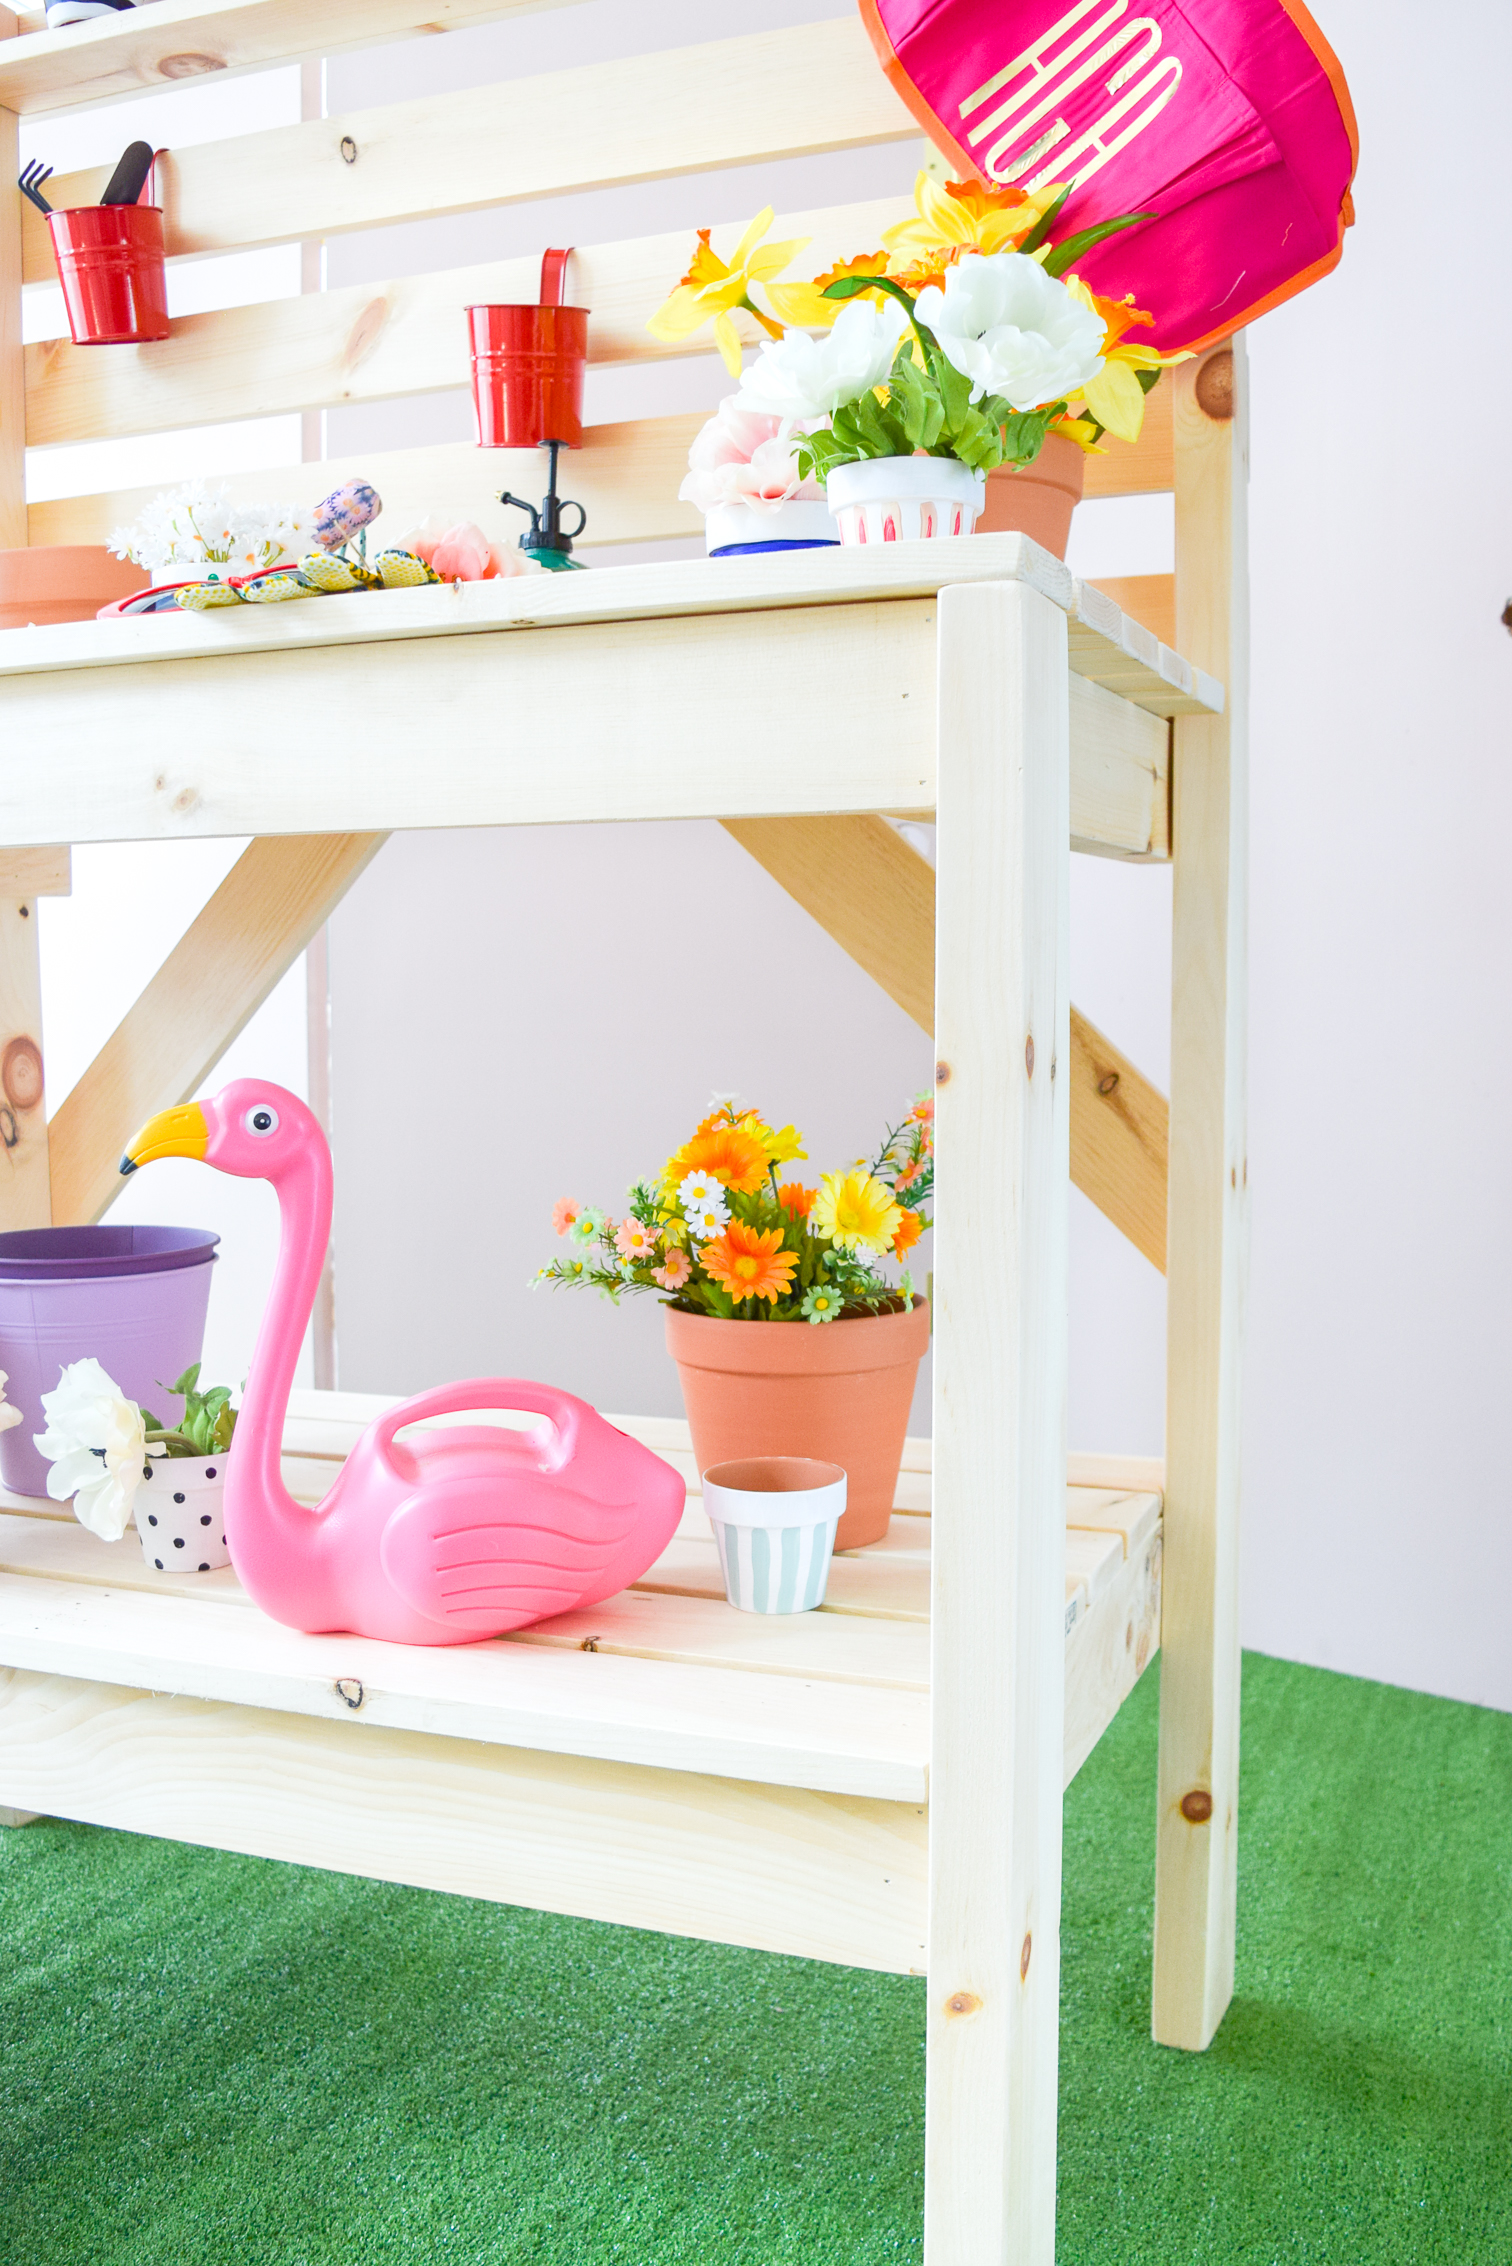
Step 7: Attach hutch back boards to back legs with nailgun, leaving about 2” gap in between boards.
Step 8: Hutch Shelf – Screw through back boards and back legs into the hutch shelf board sides and back to attach with nailgun.
Once again, if you want more illustrated drawing or schematics check out the Ryobi Nation blog // here //
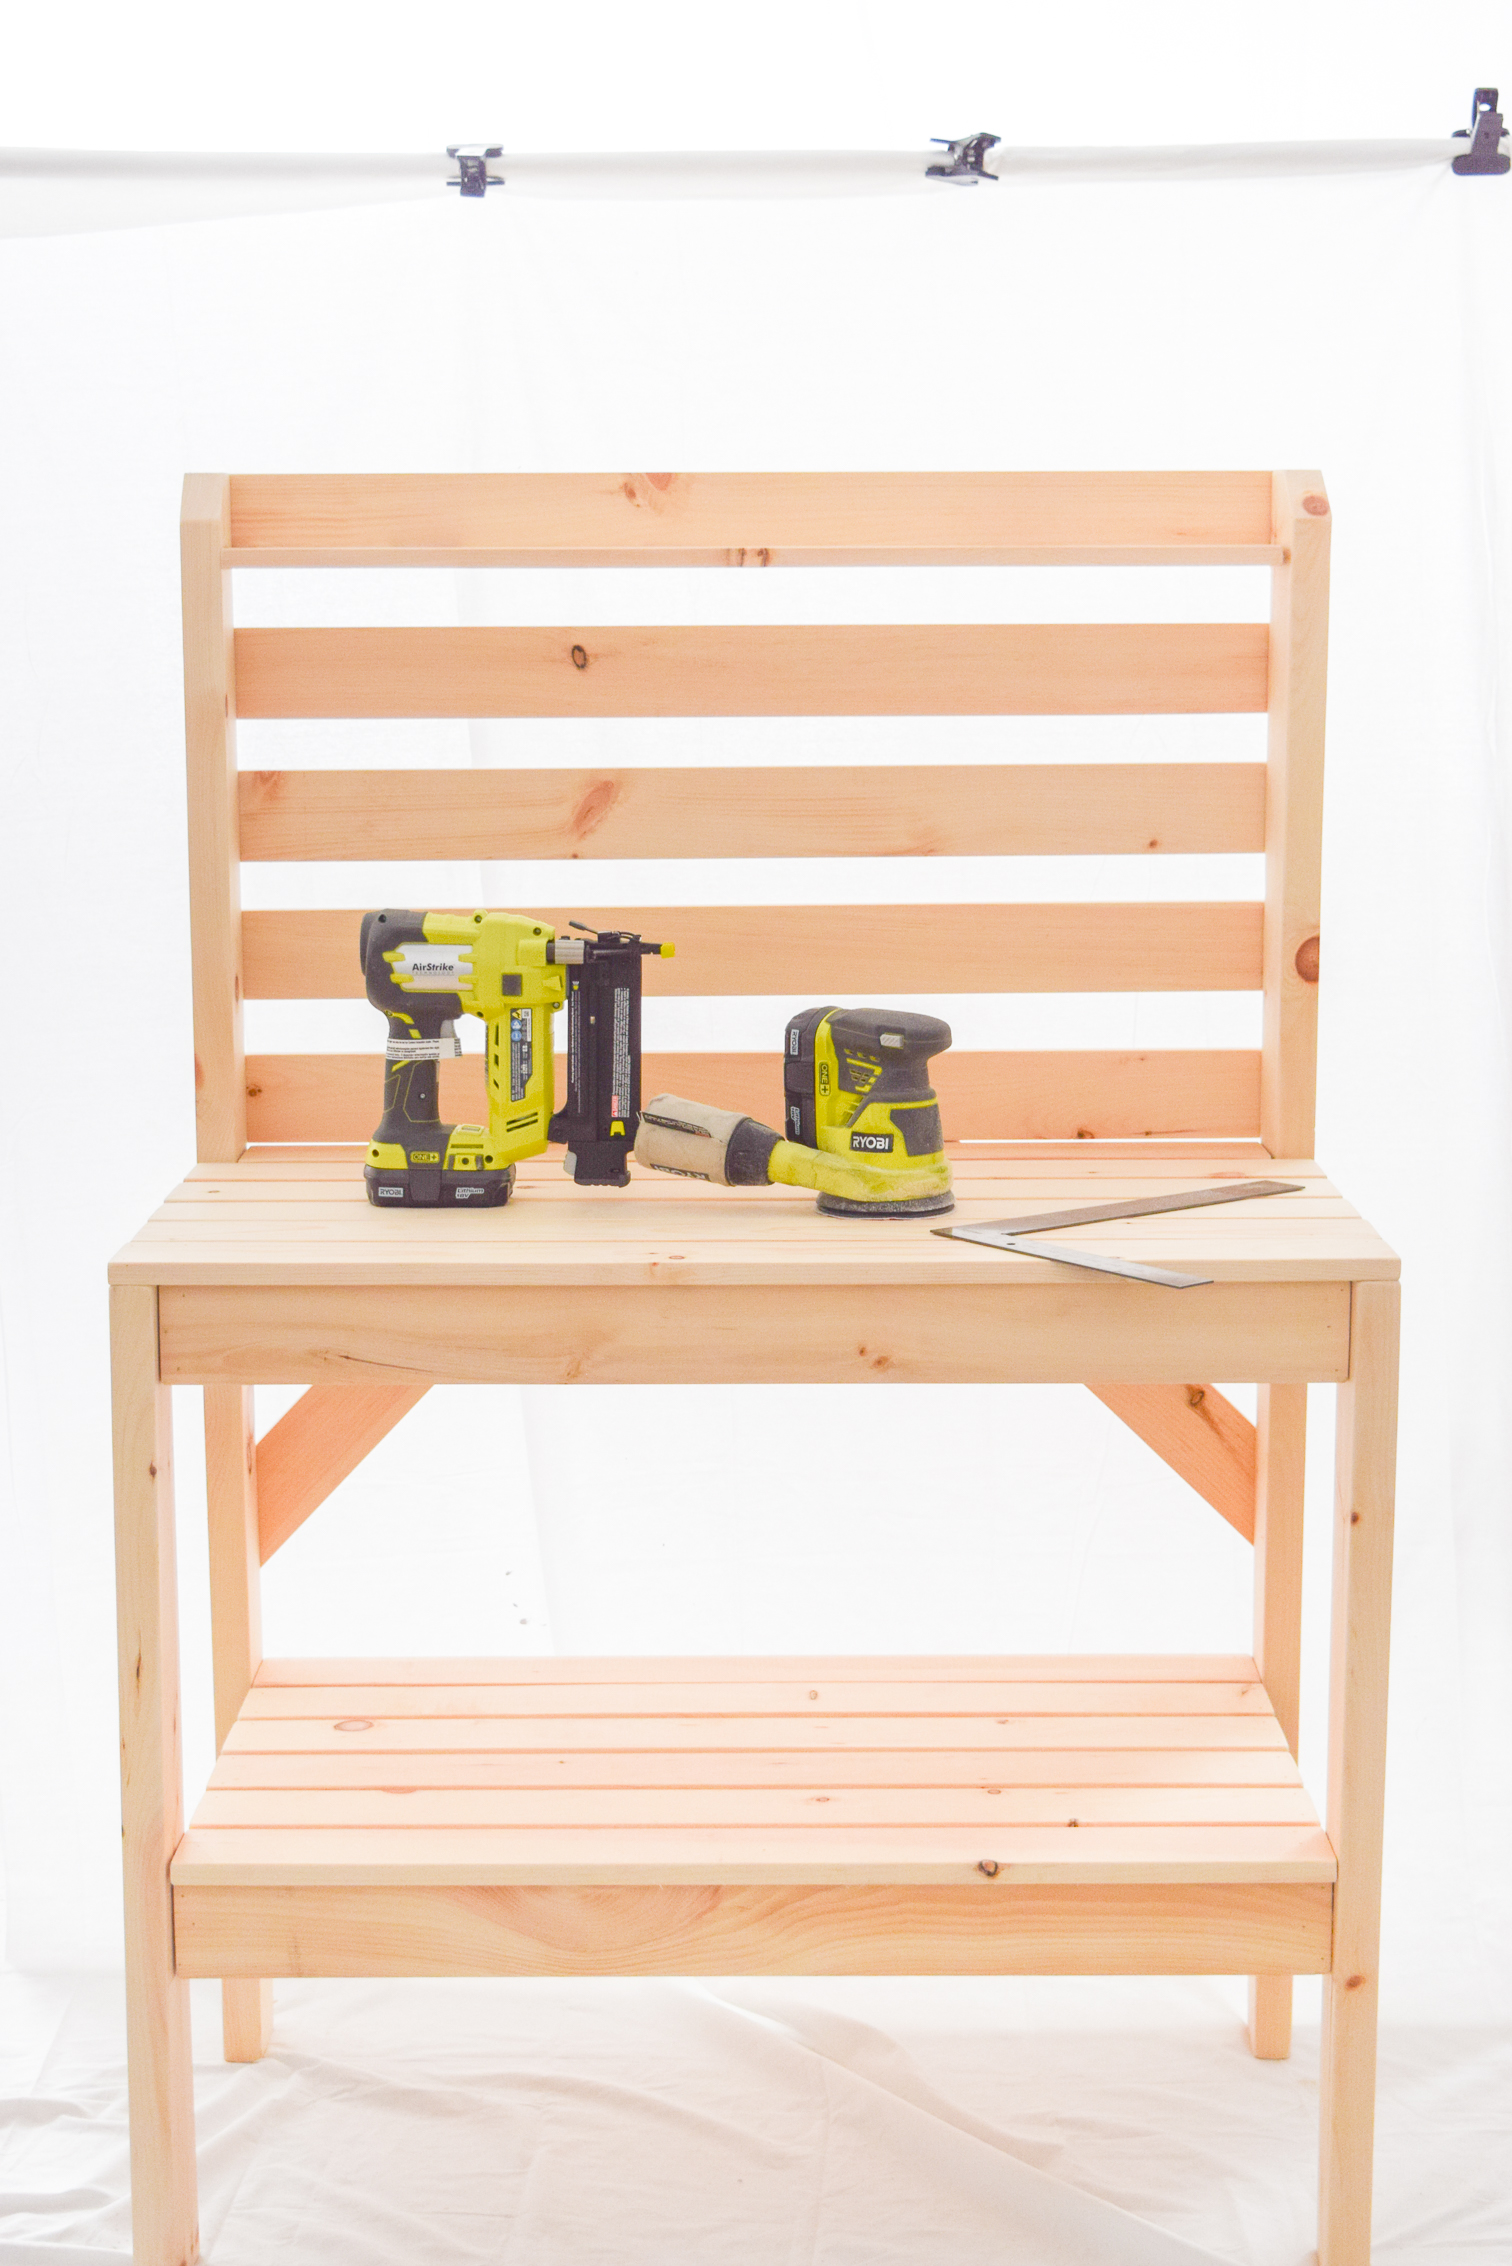
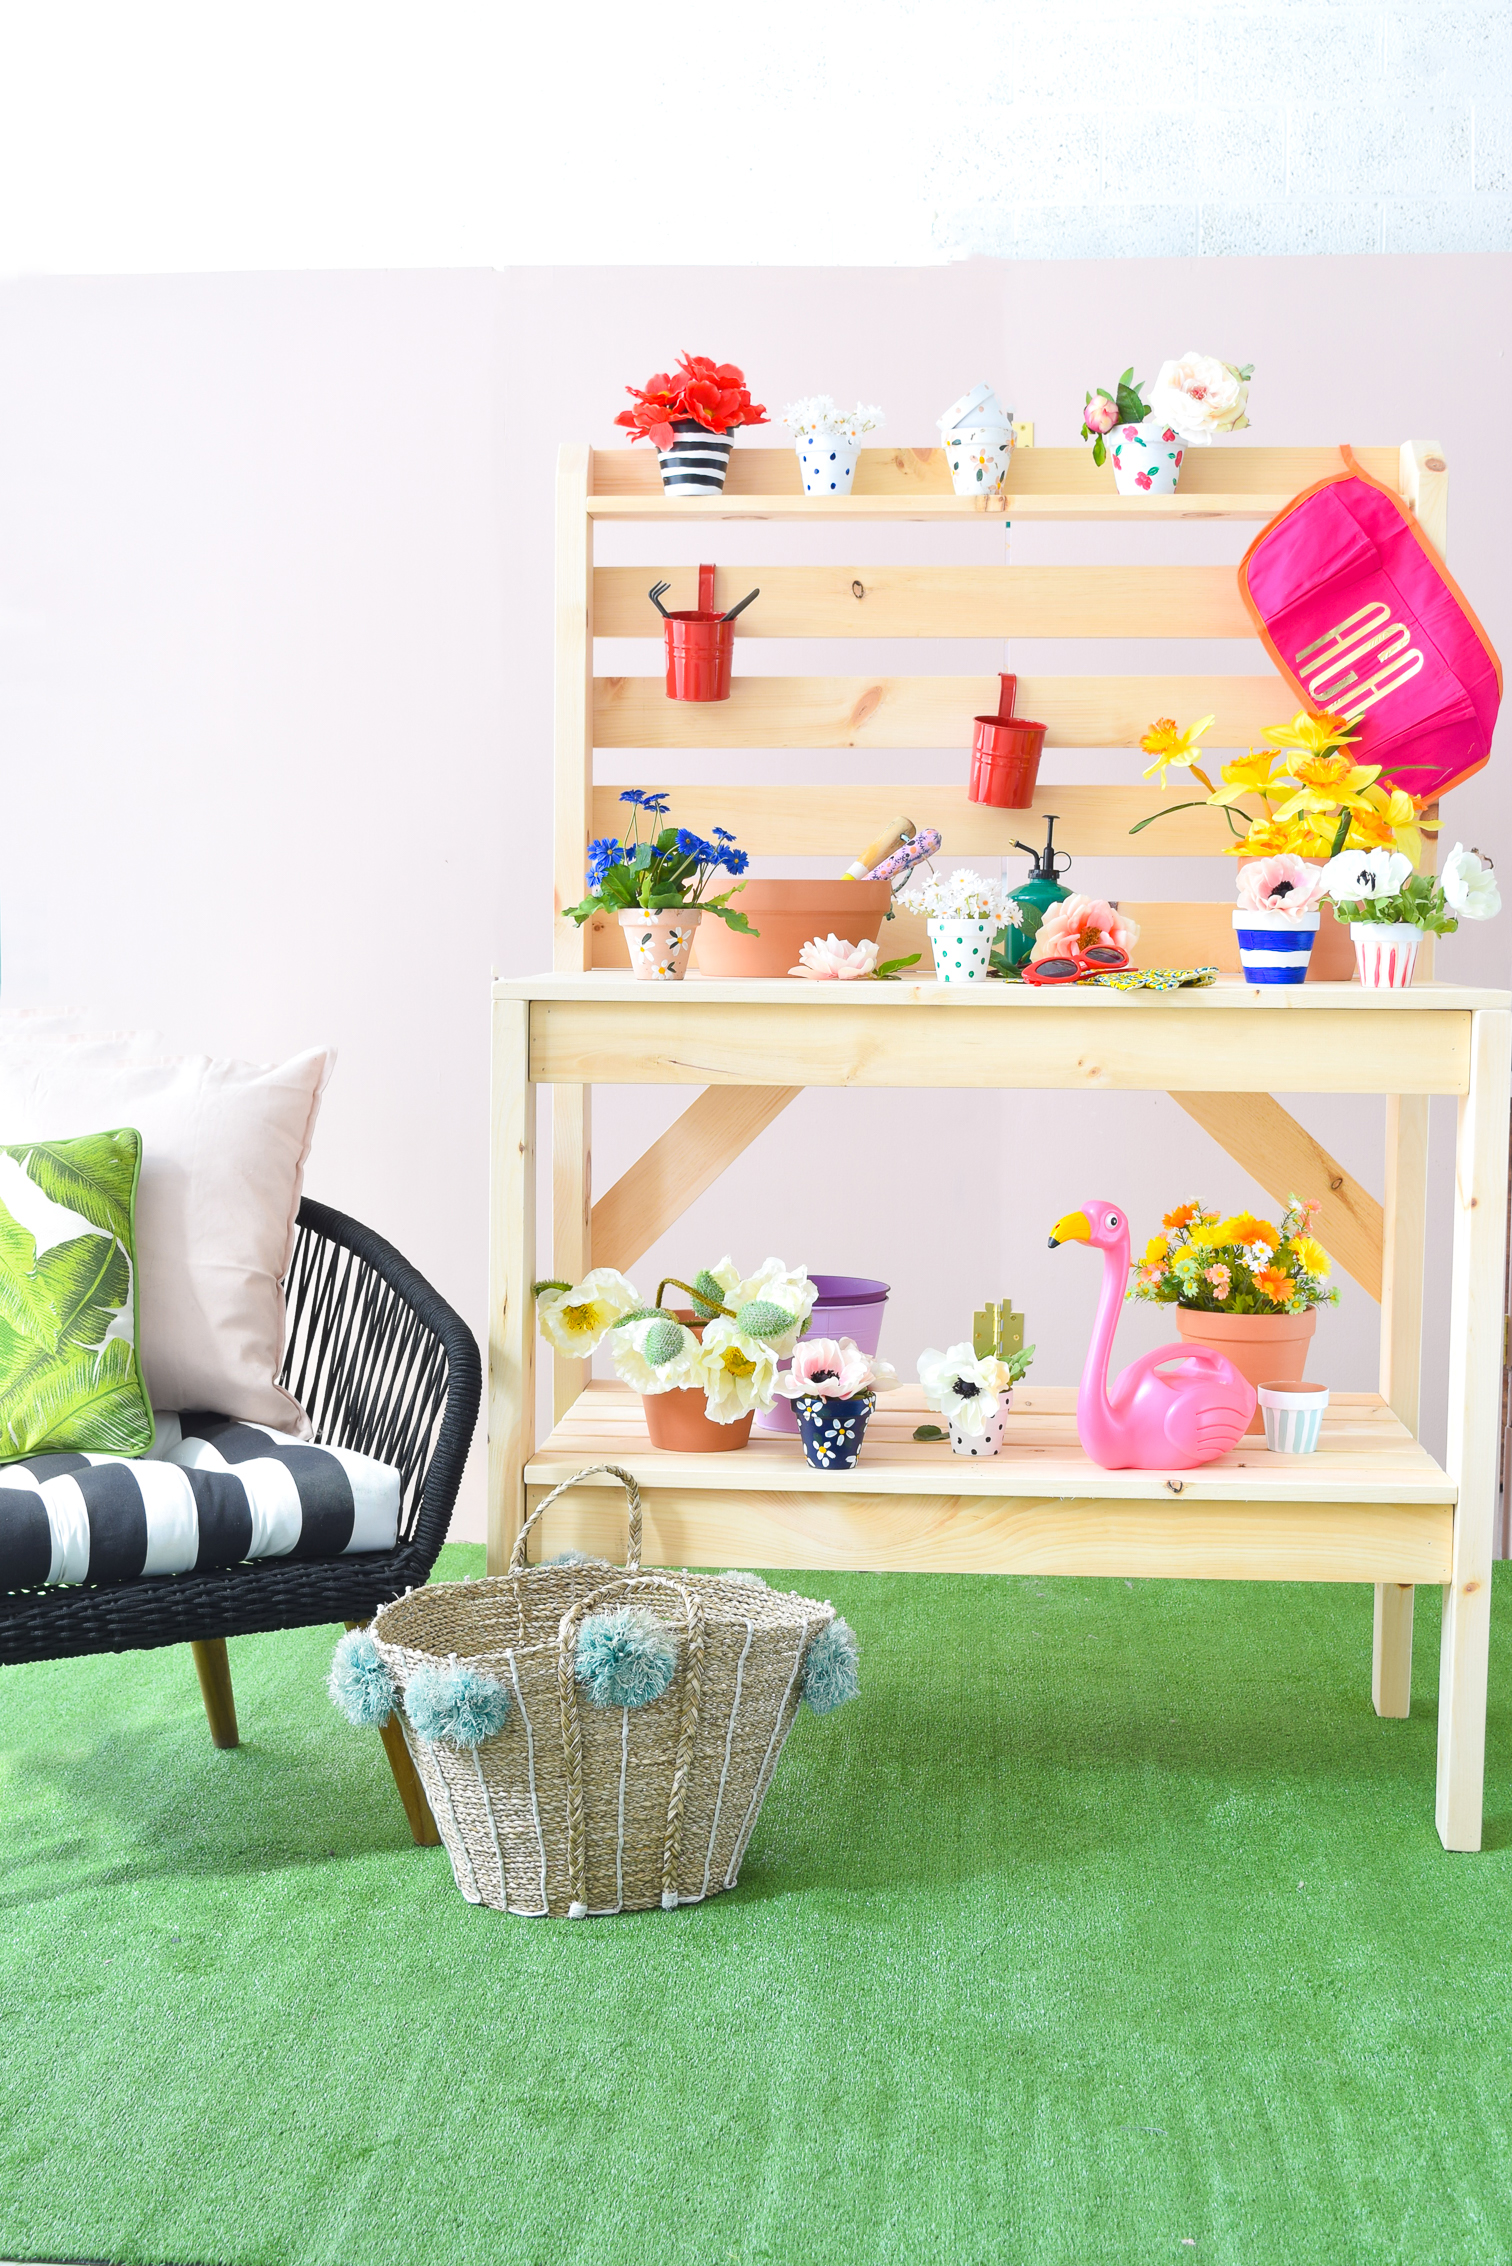
There it is folks! It took Dan about 1hr30 to do from start to finish, and that was with me taking photos as we went. I would have done it myself and had him take photos – but he I was multitasking another project so he agreed to help me out with the build.


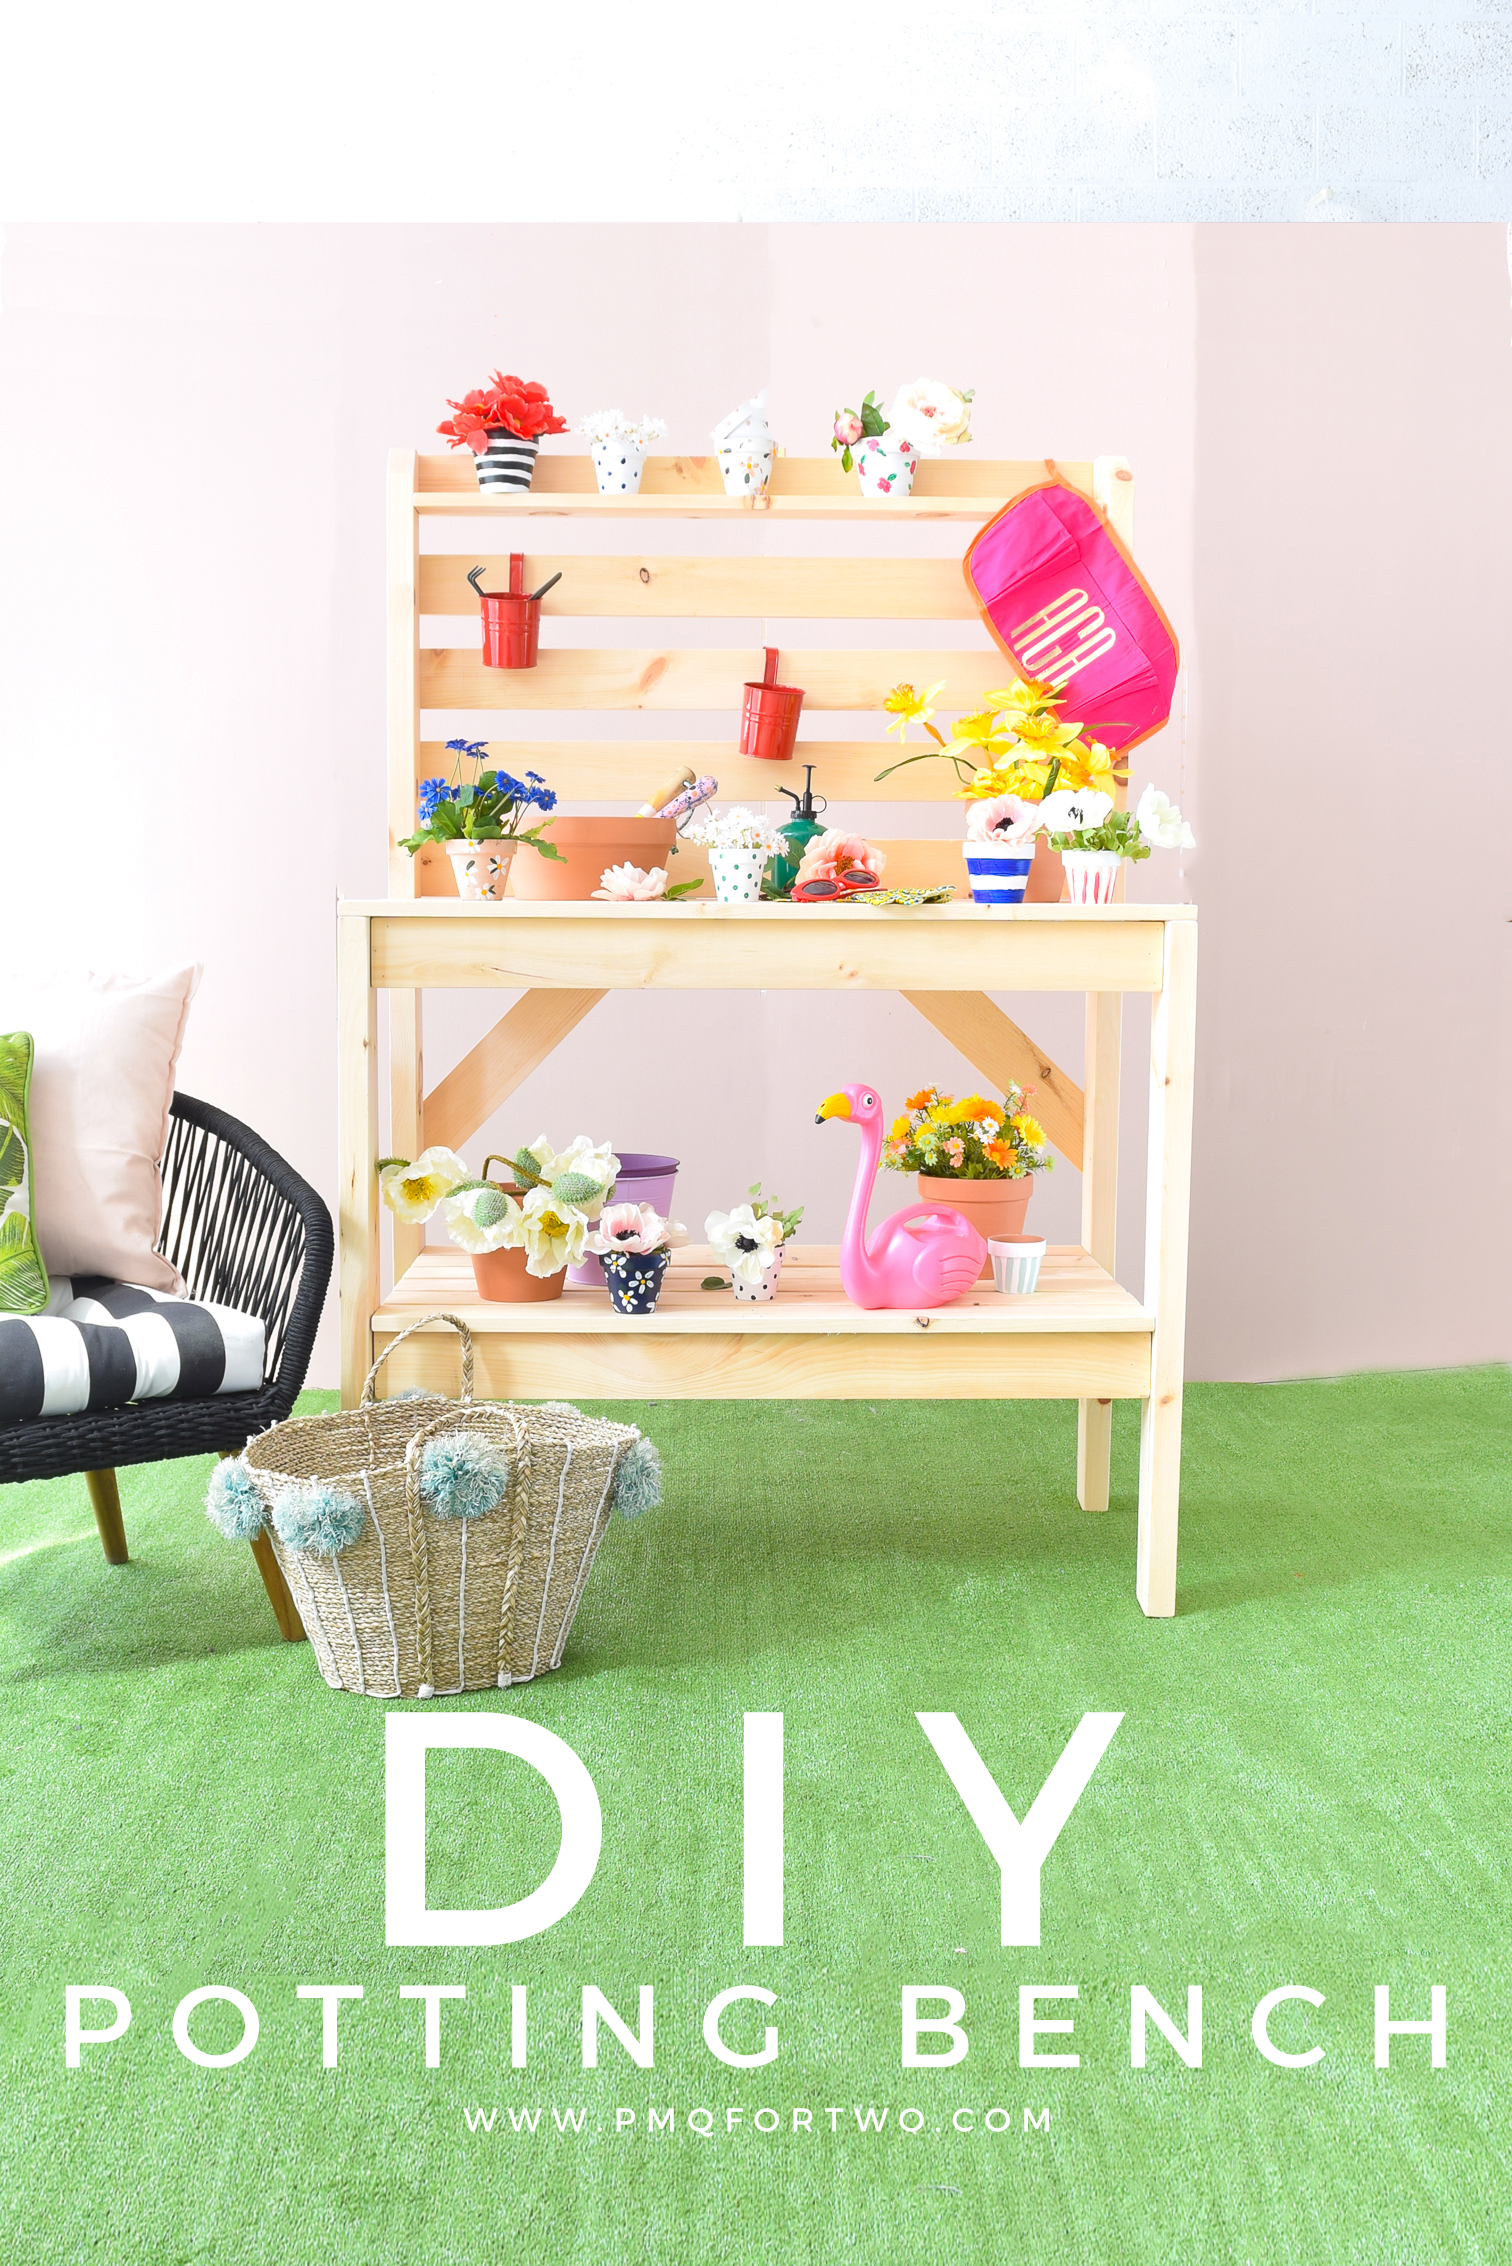
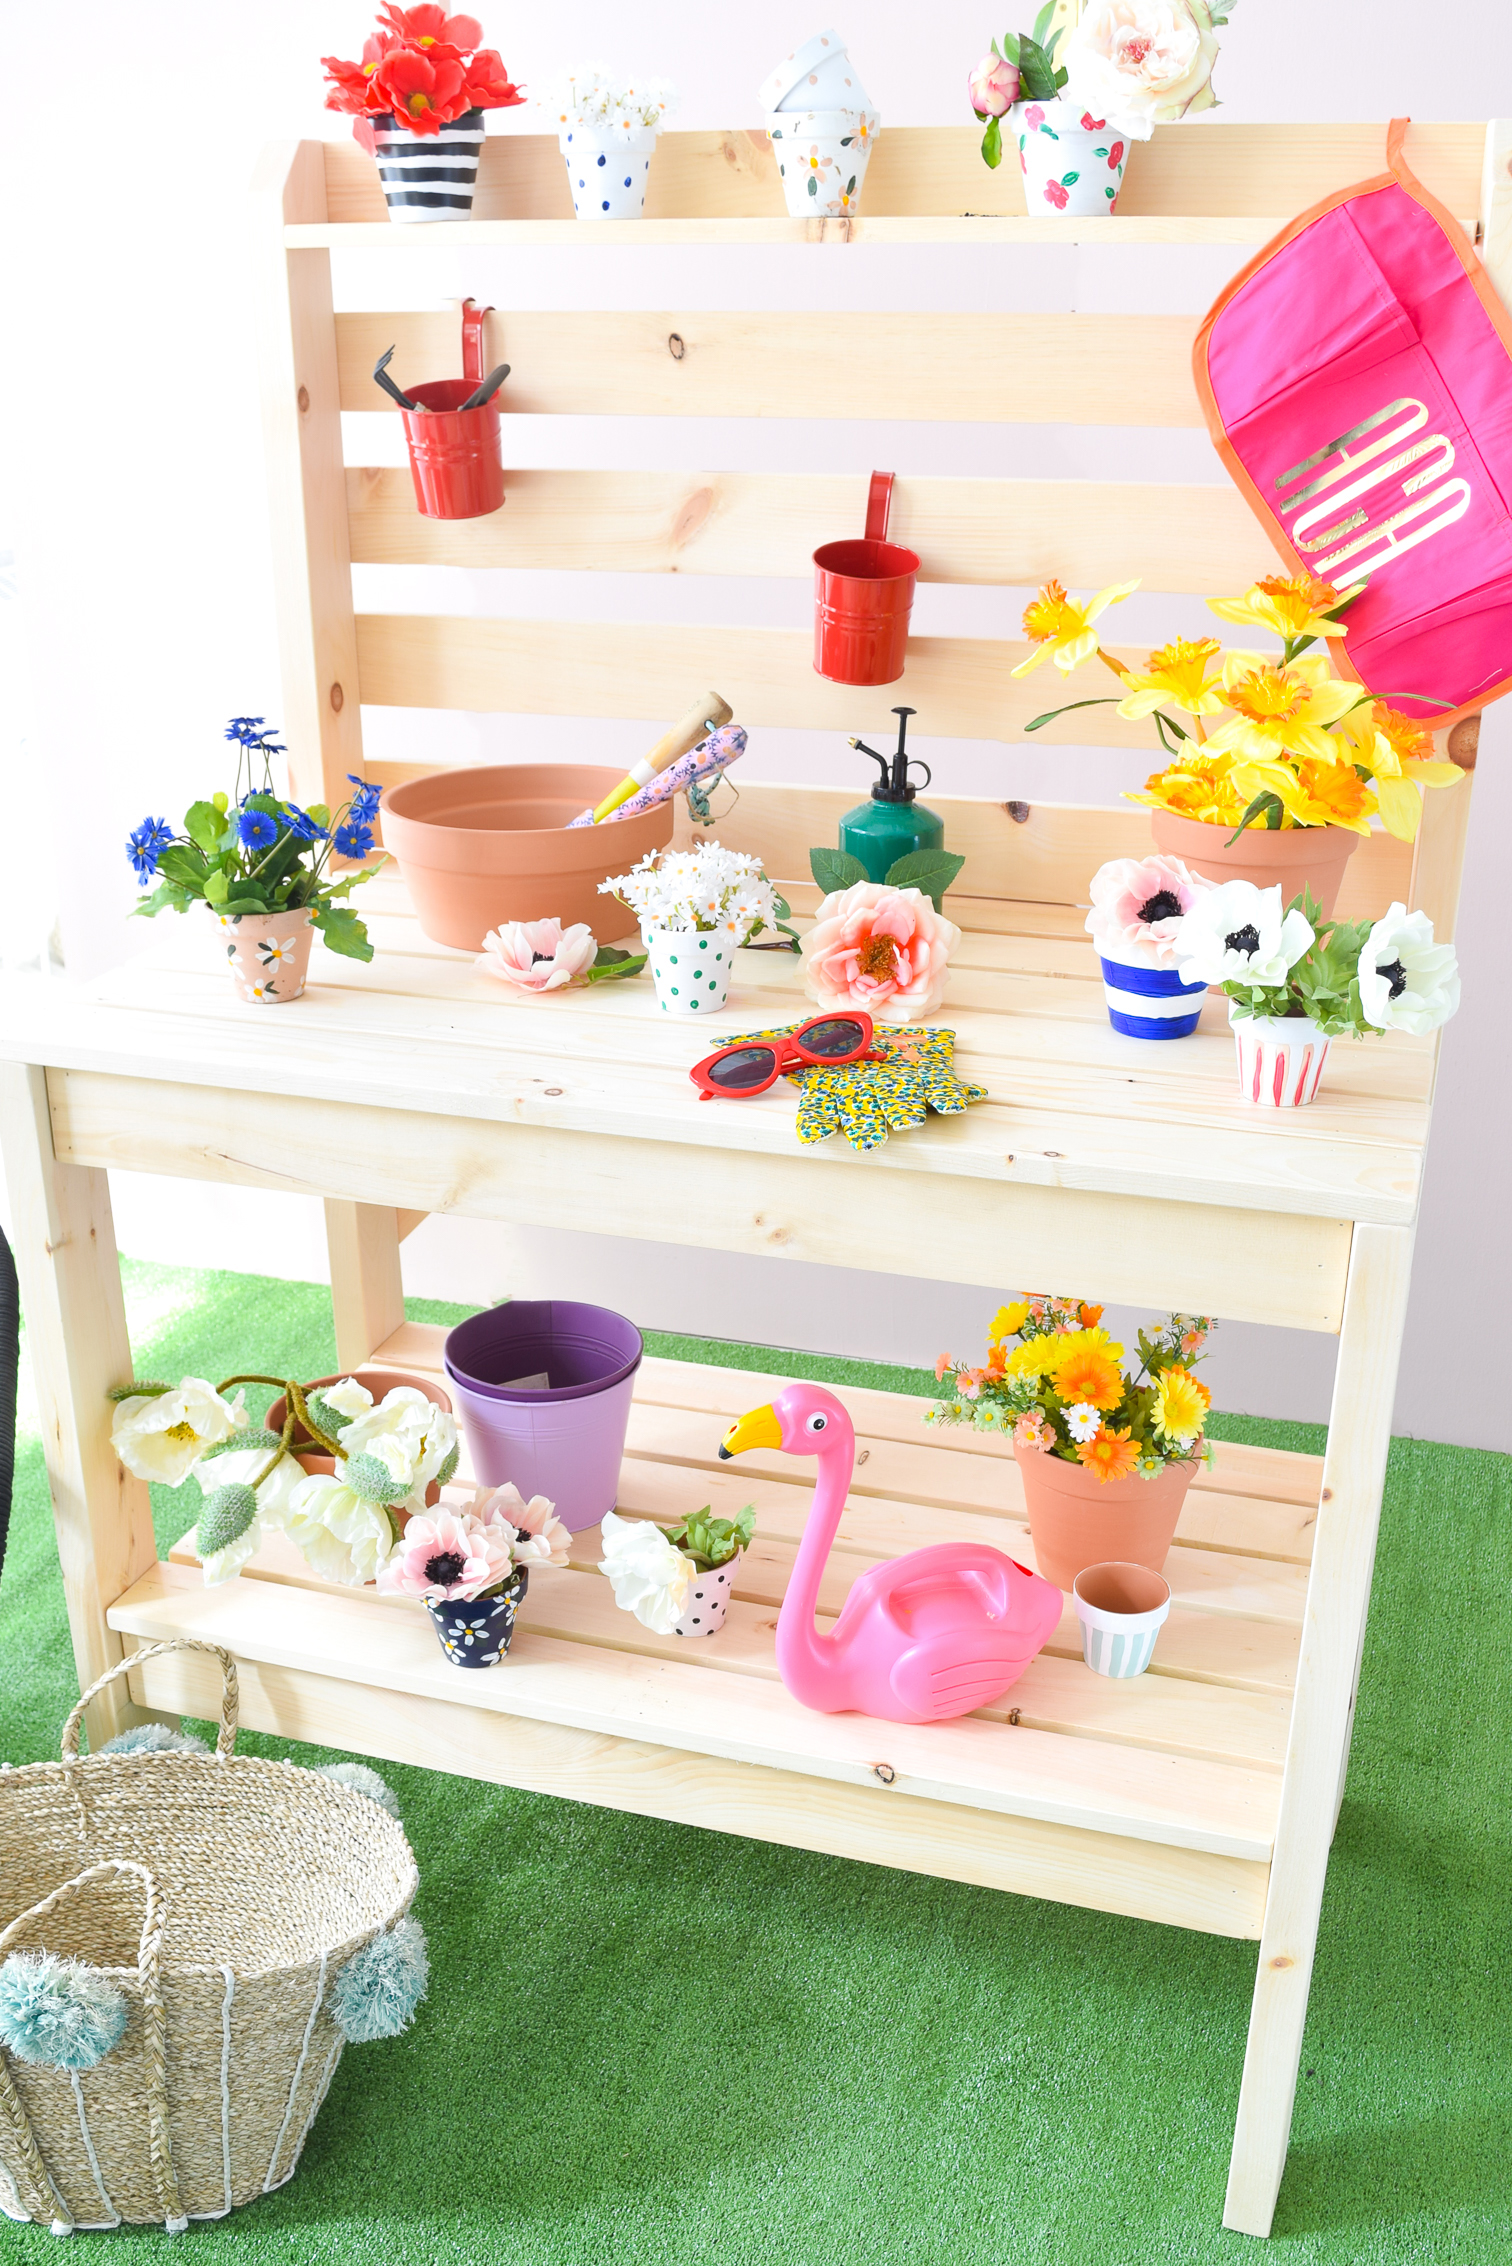
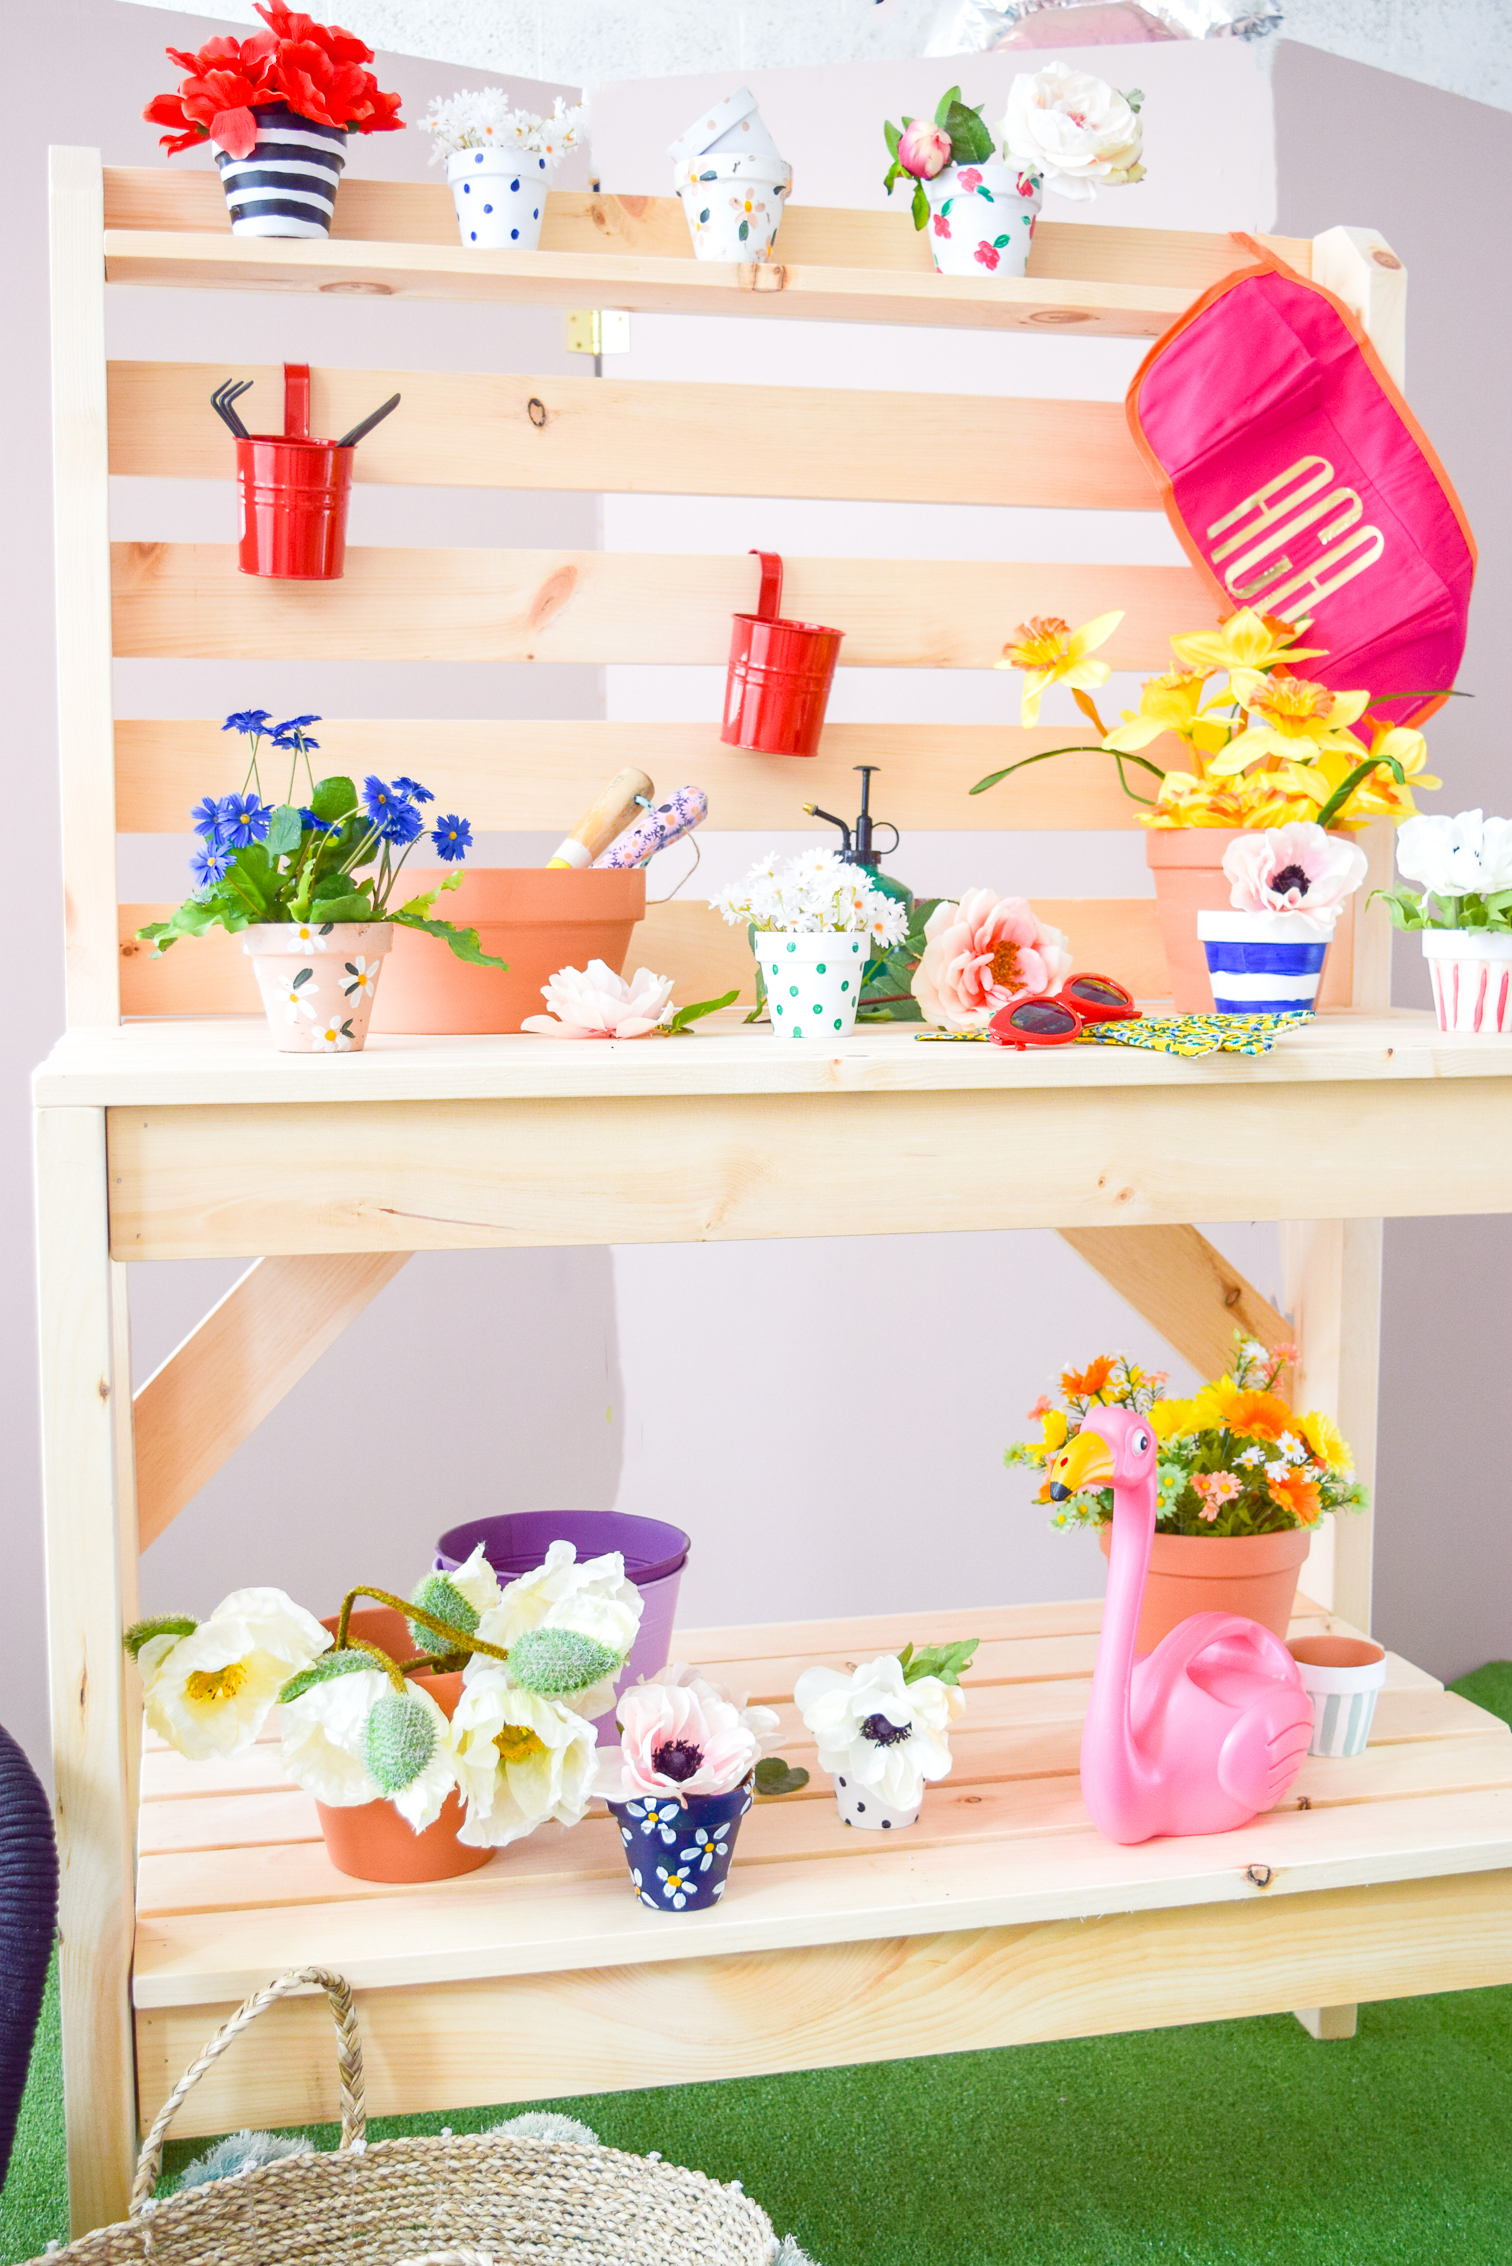
OK so can we talk about flipping cool this looks in the studio?! I took the plunge and snatched-up on an astro turf carpet from the Home Depot while we were shopping for the knotty pine, and haven’t looked back! Ya see, here in Canada, spring takes a while to appear and sometimes we just jump straight into summer. This means it’s really hard to take photos outside during the seasonal transition from melting snow to mud, and there are no cute bushes or budding leaves – just dog poop.
One of the reasons I am beyond happy to have the studio, is that I can stage spring to look the way I want it to, without having to compromise because of the weather.
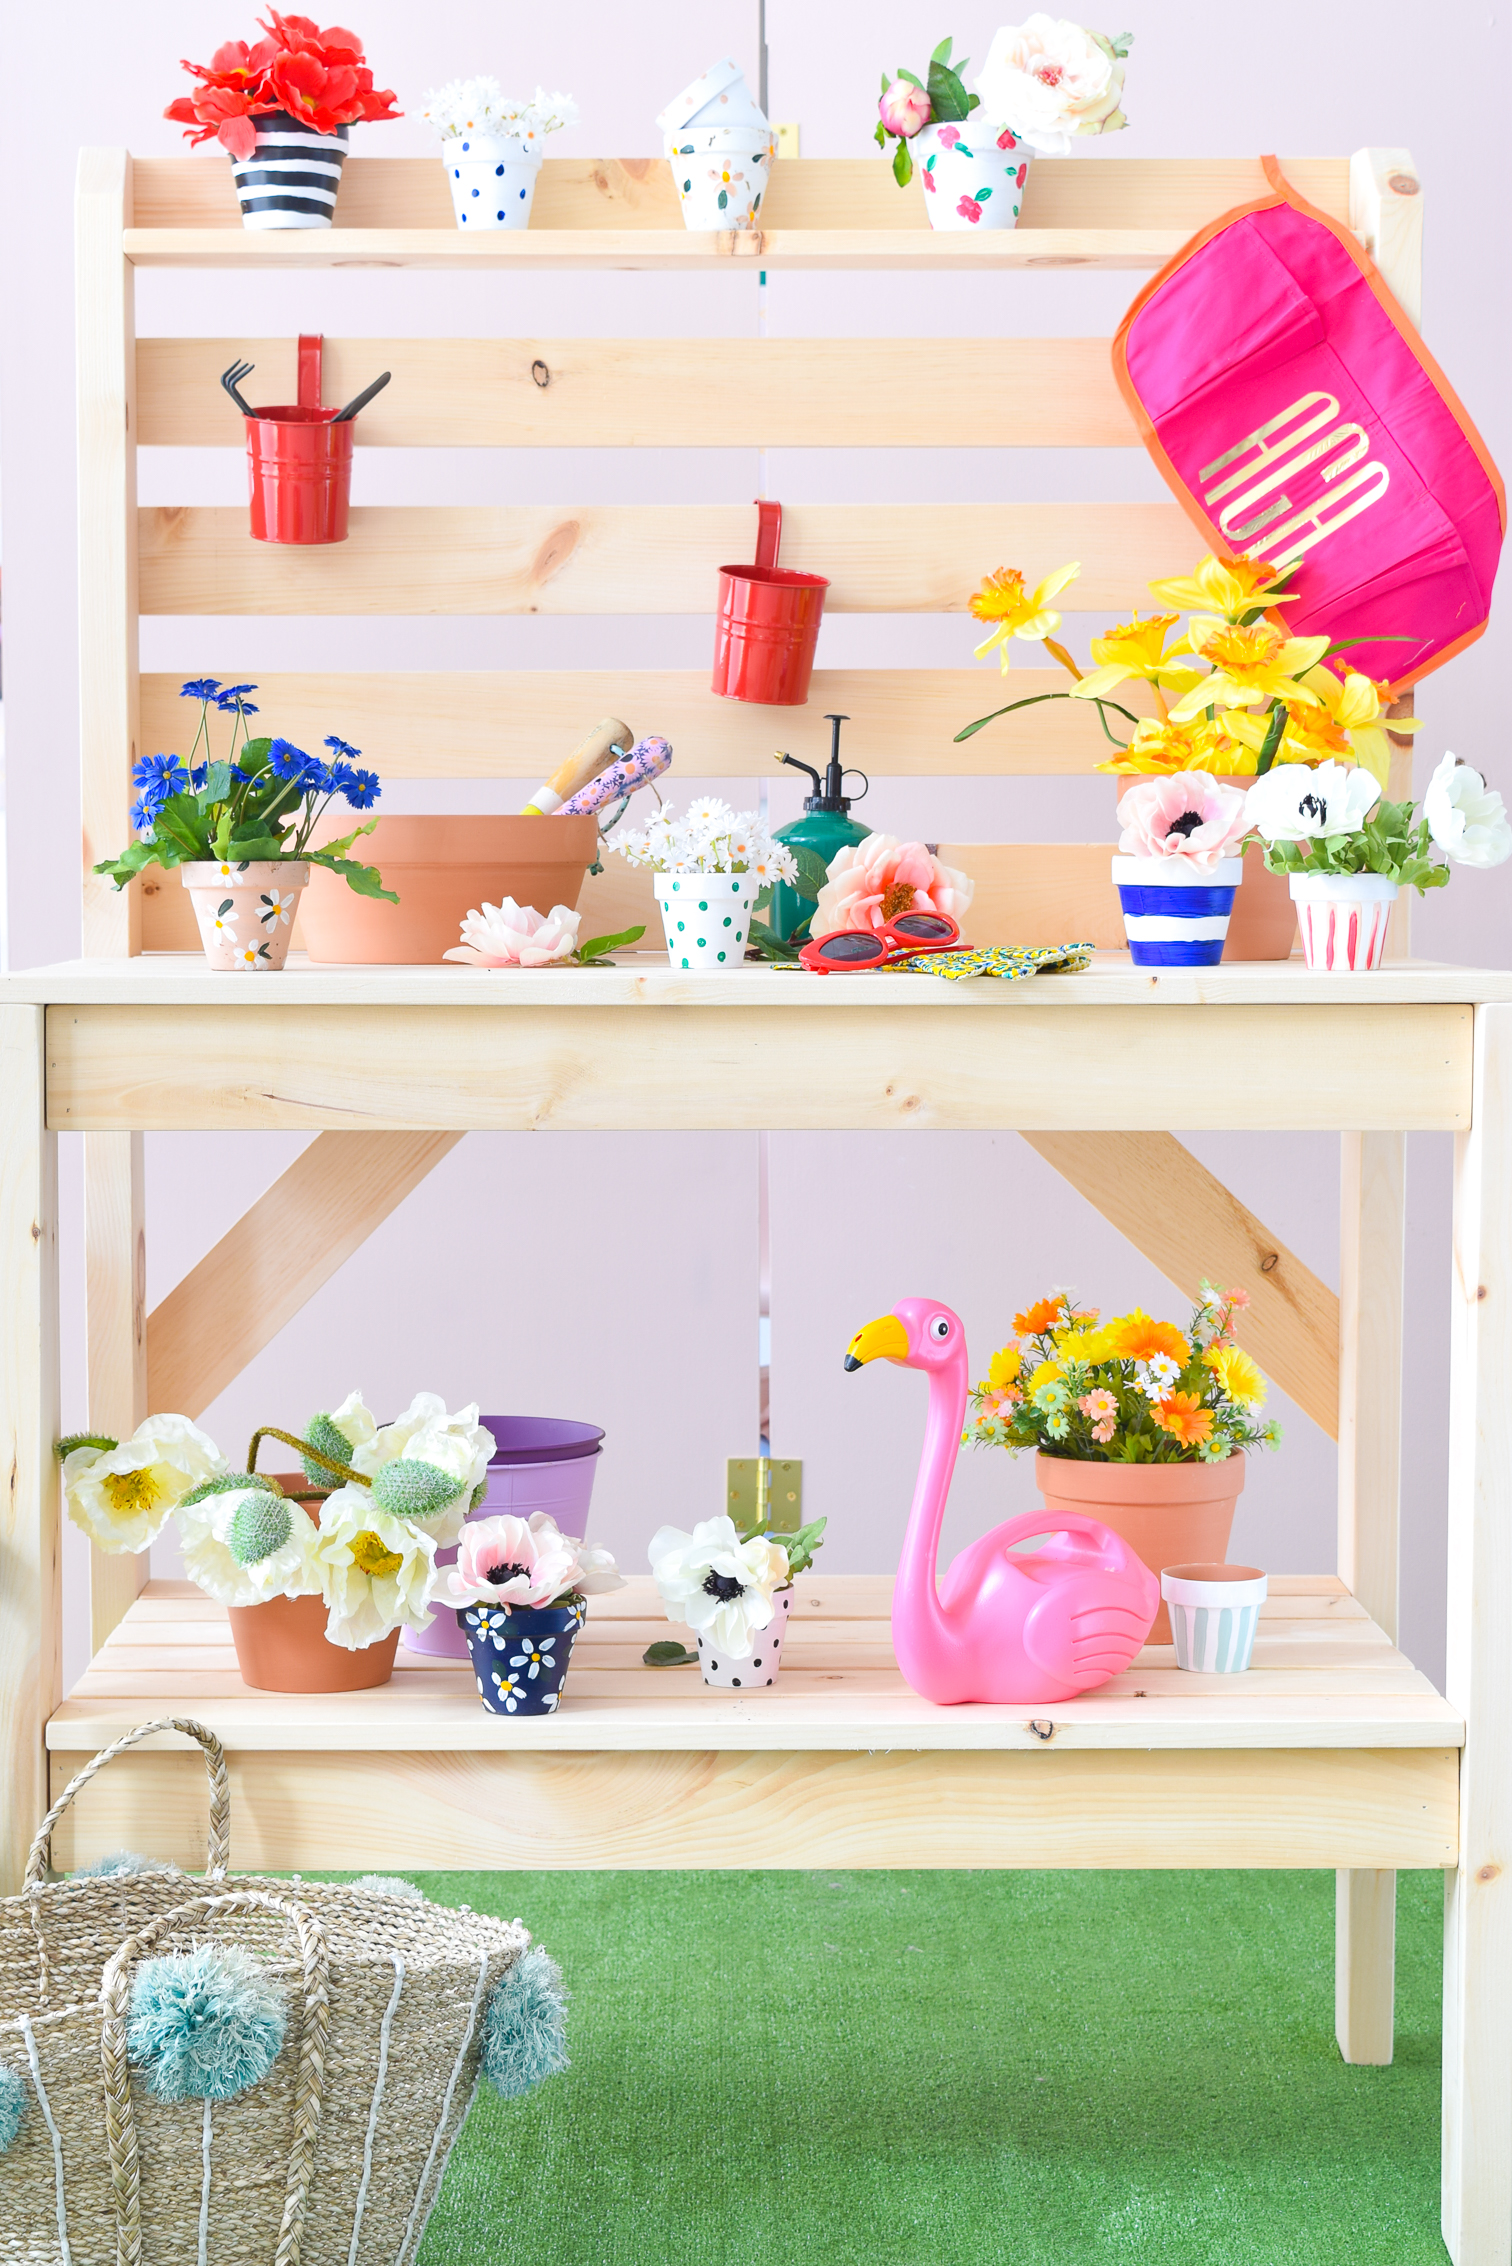
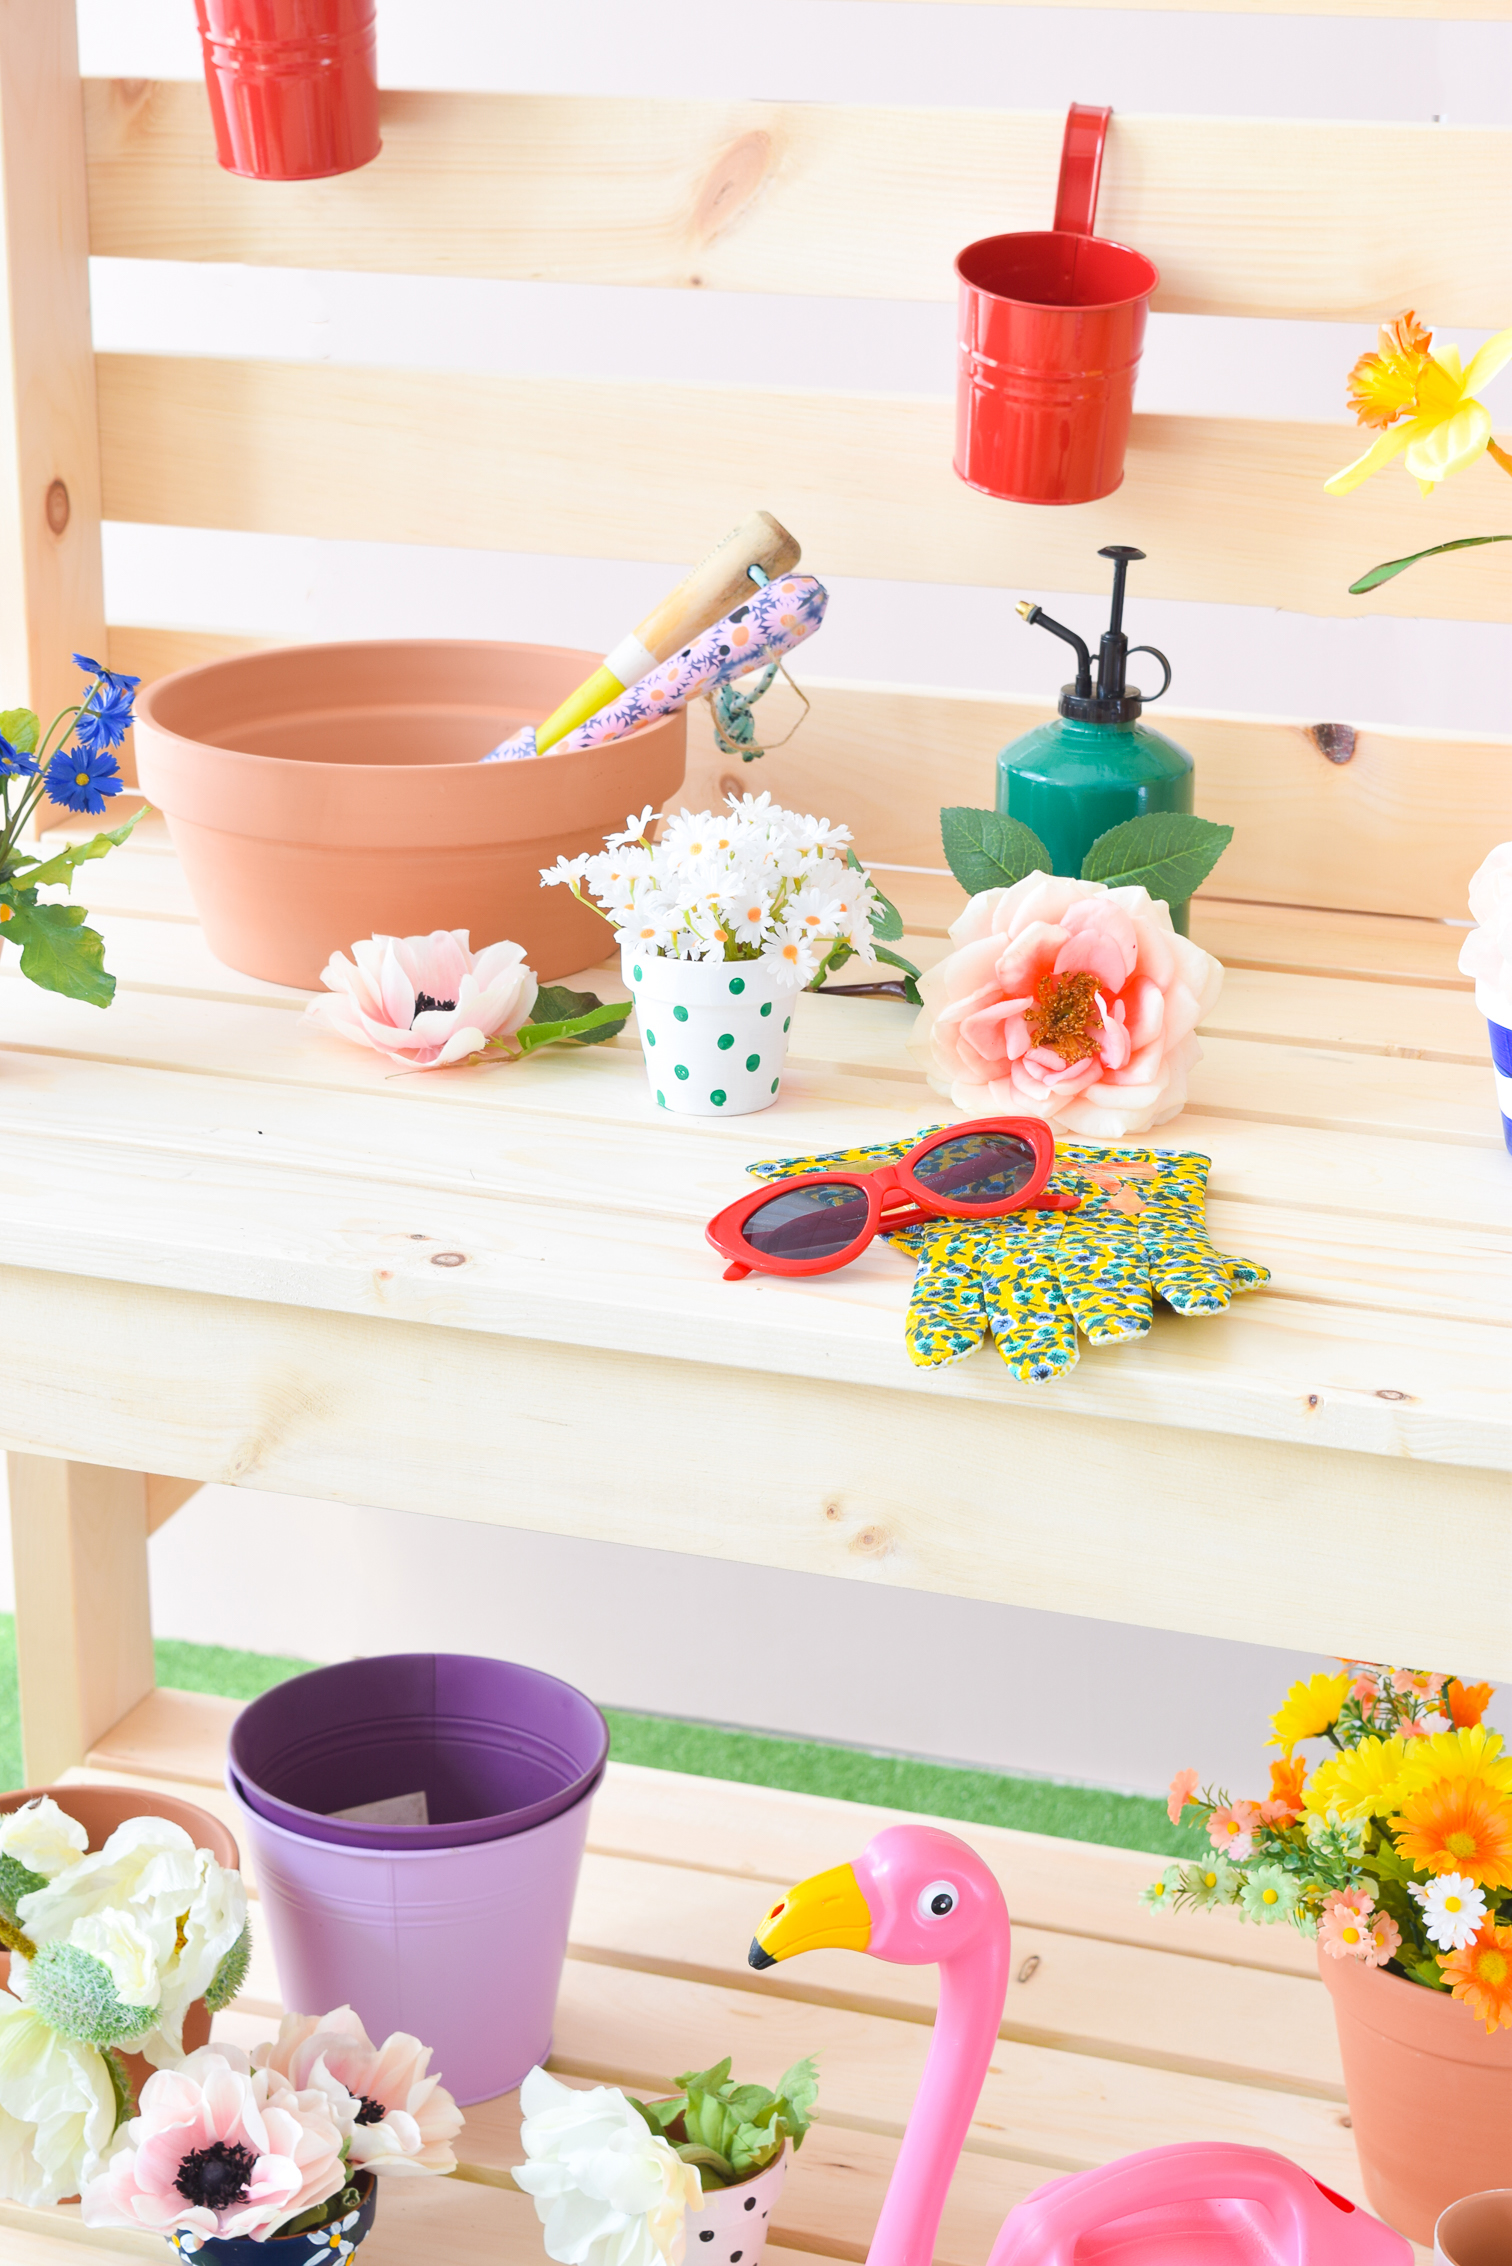
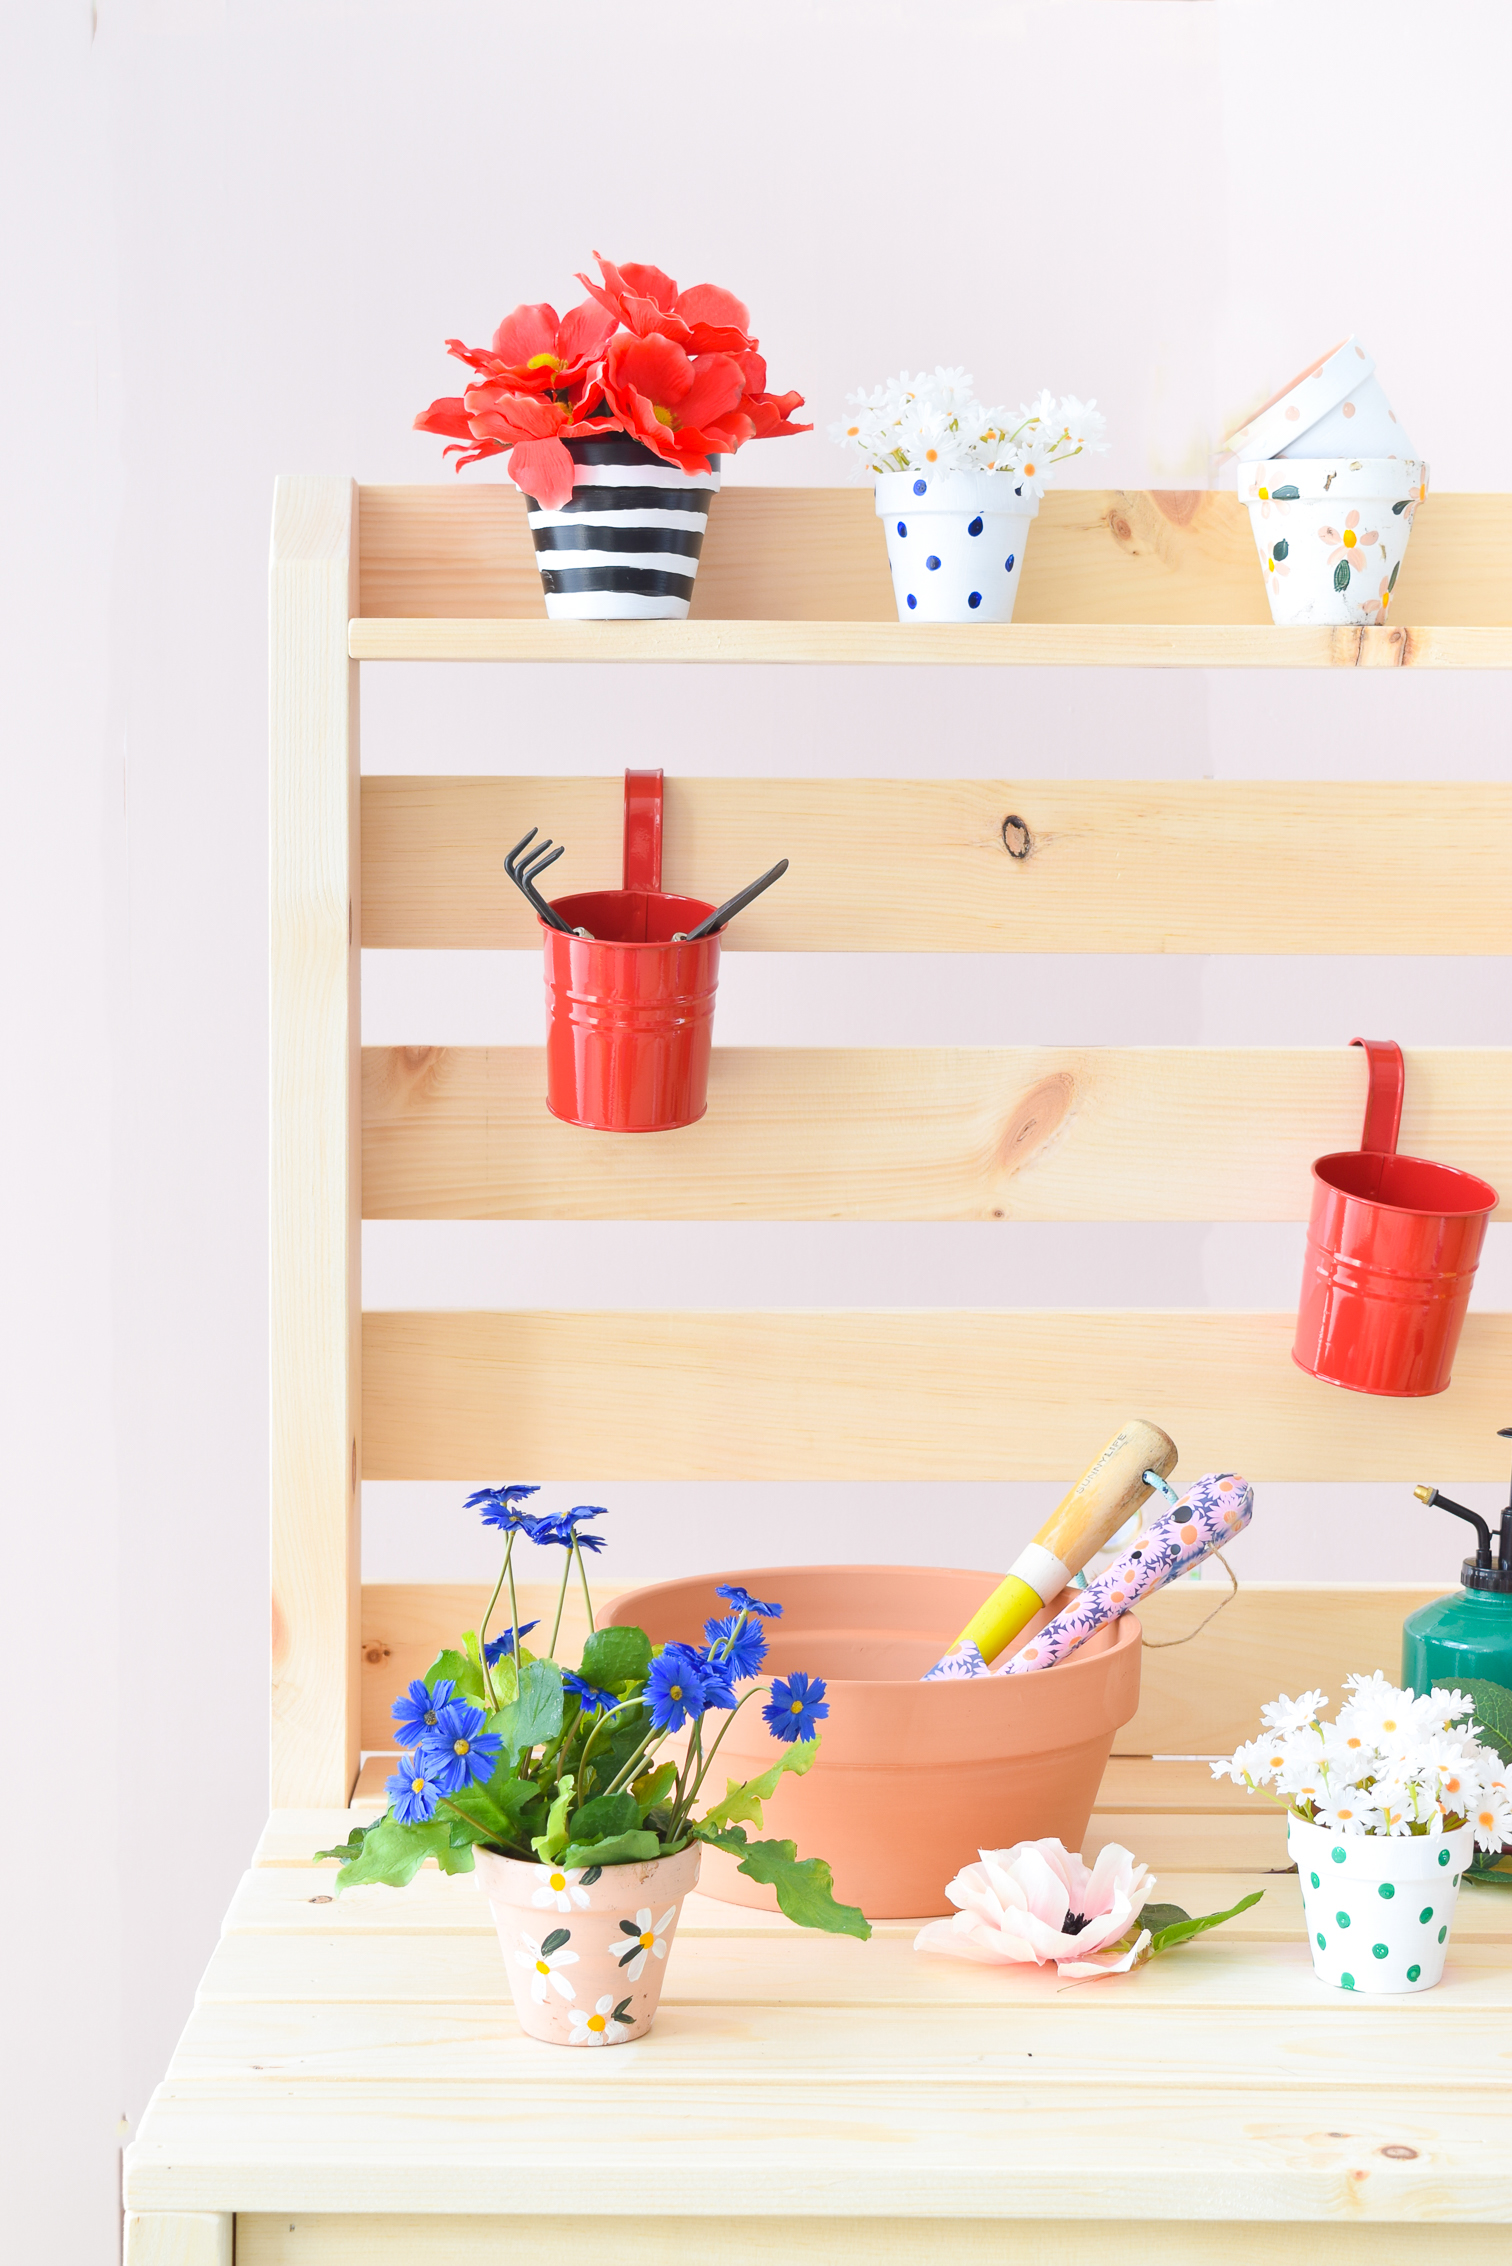
If you’re busy gagging over these painted planters – don’t worry! I’ve got a post planned with those, so stay tuned. The daisy planters are from last year // here //, but everything else is new – so don’t worry! I got ‘chu.
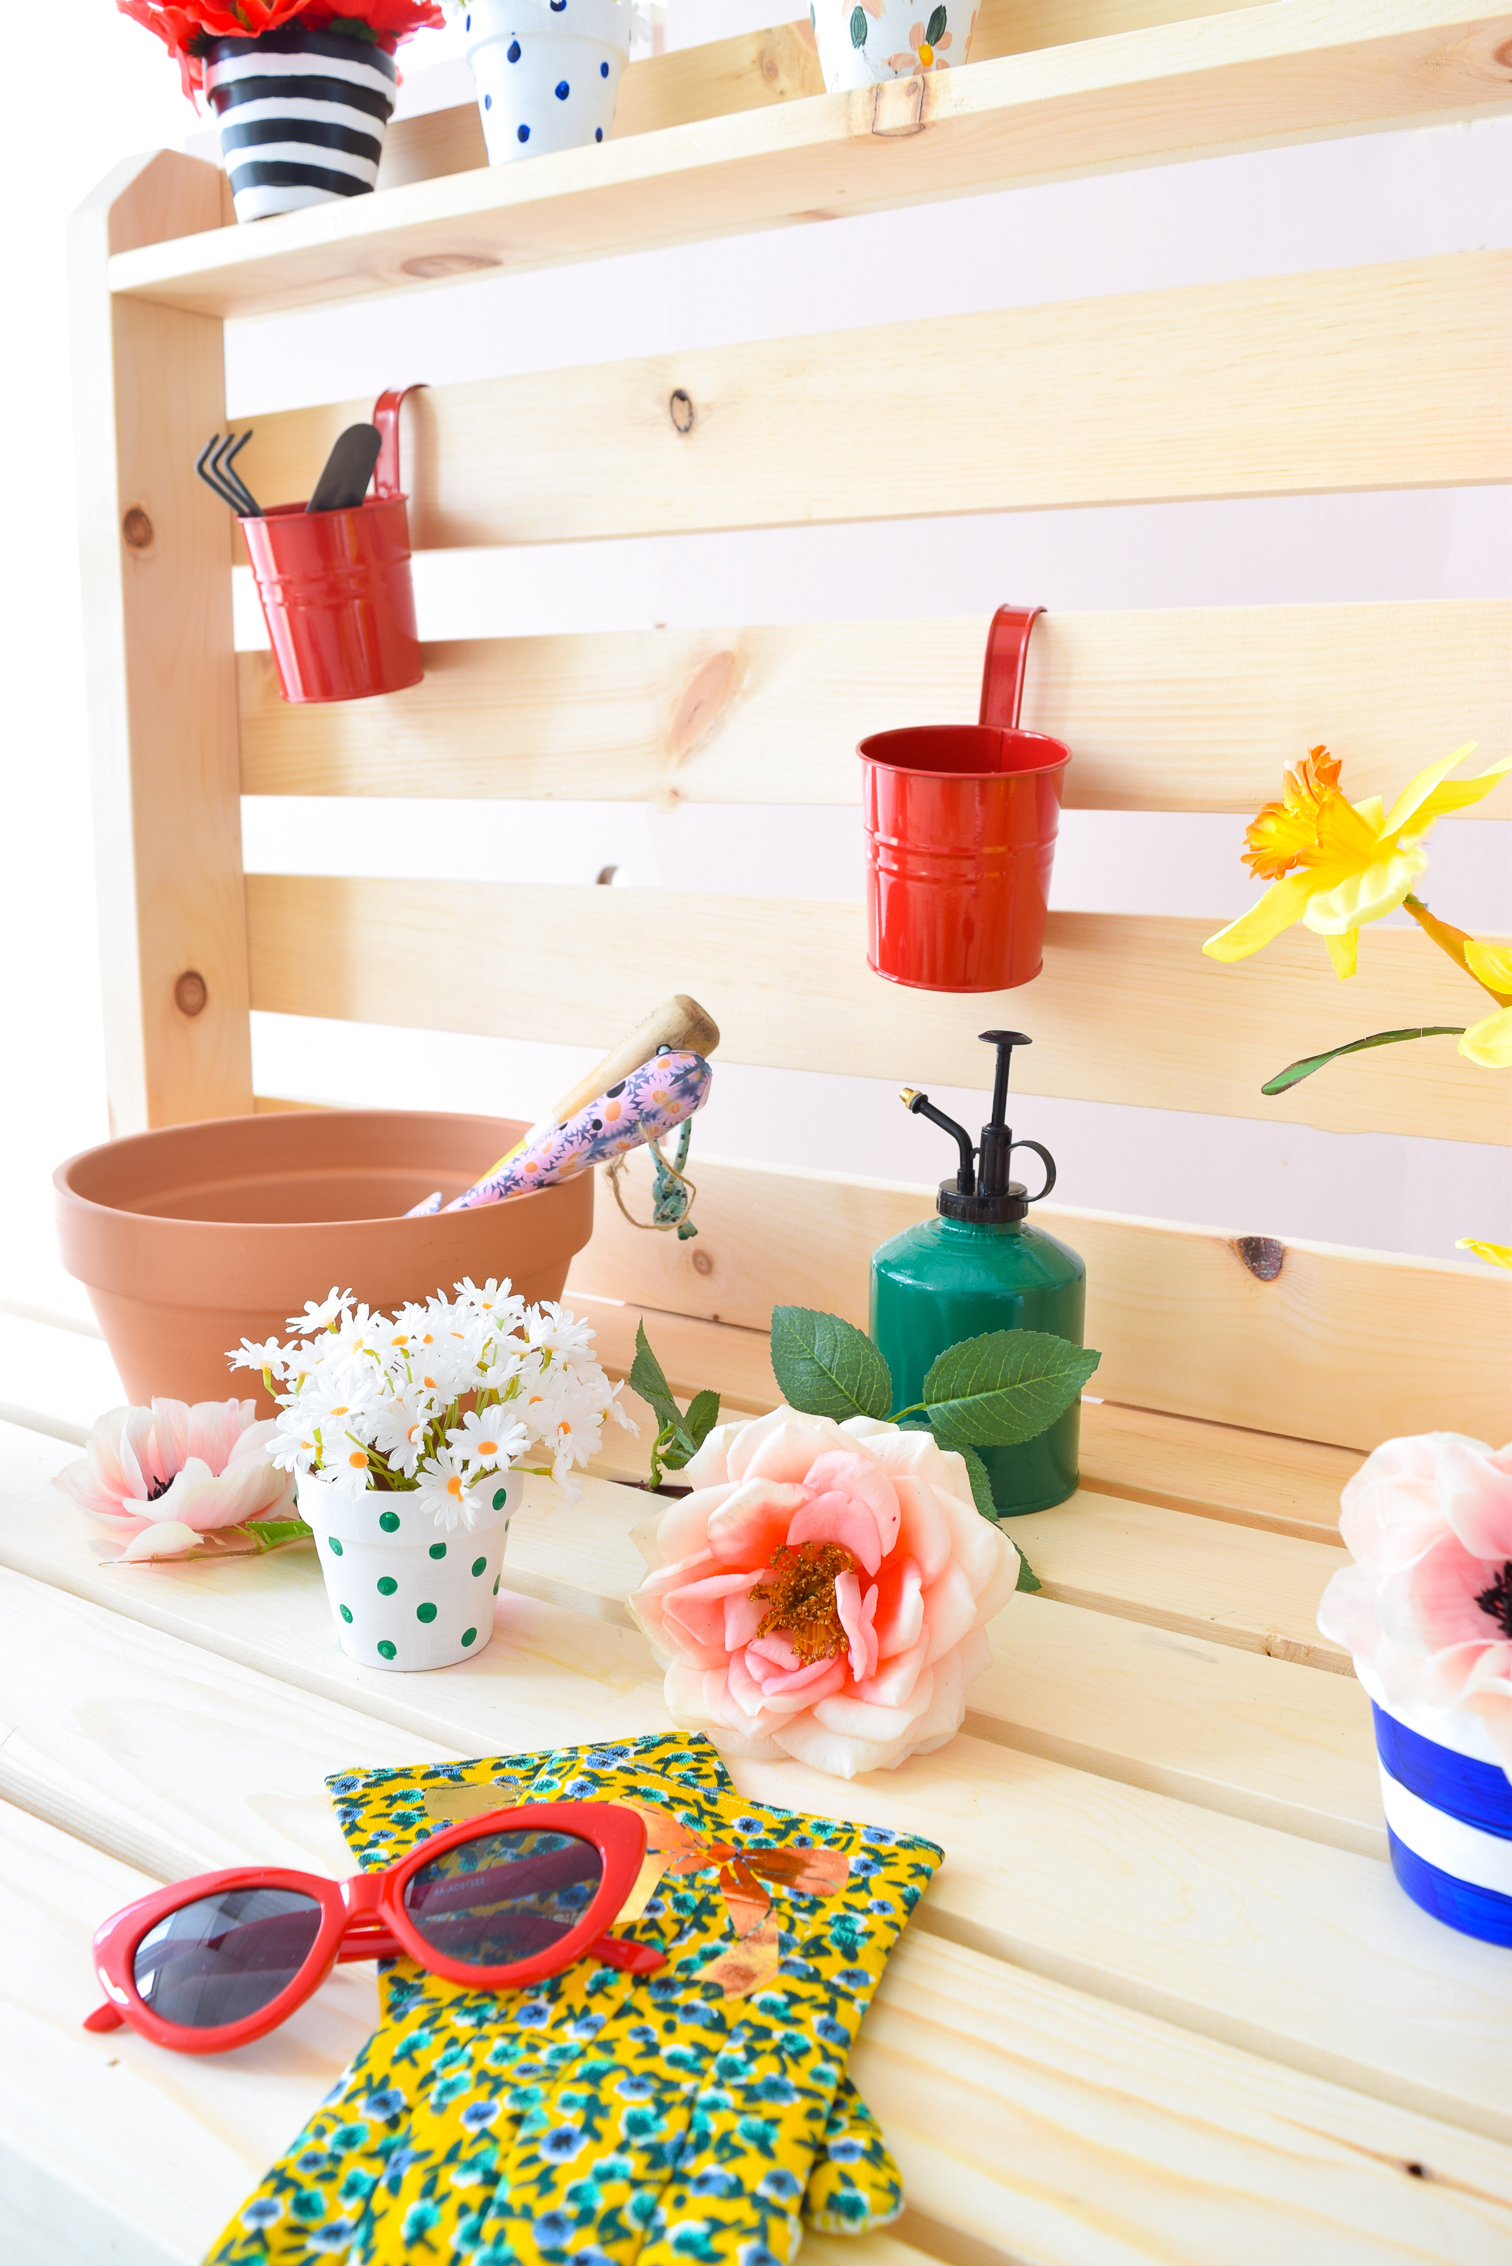
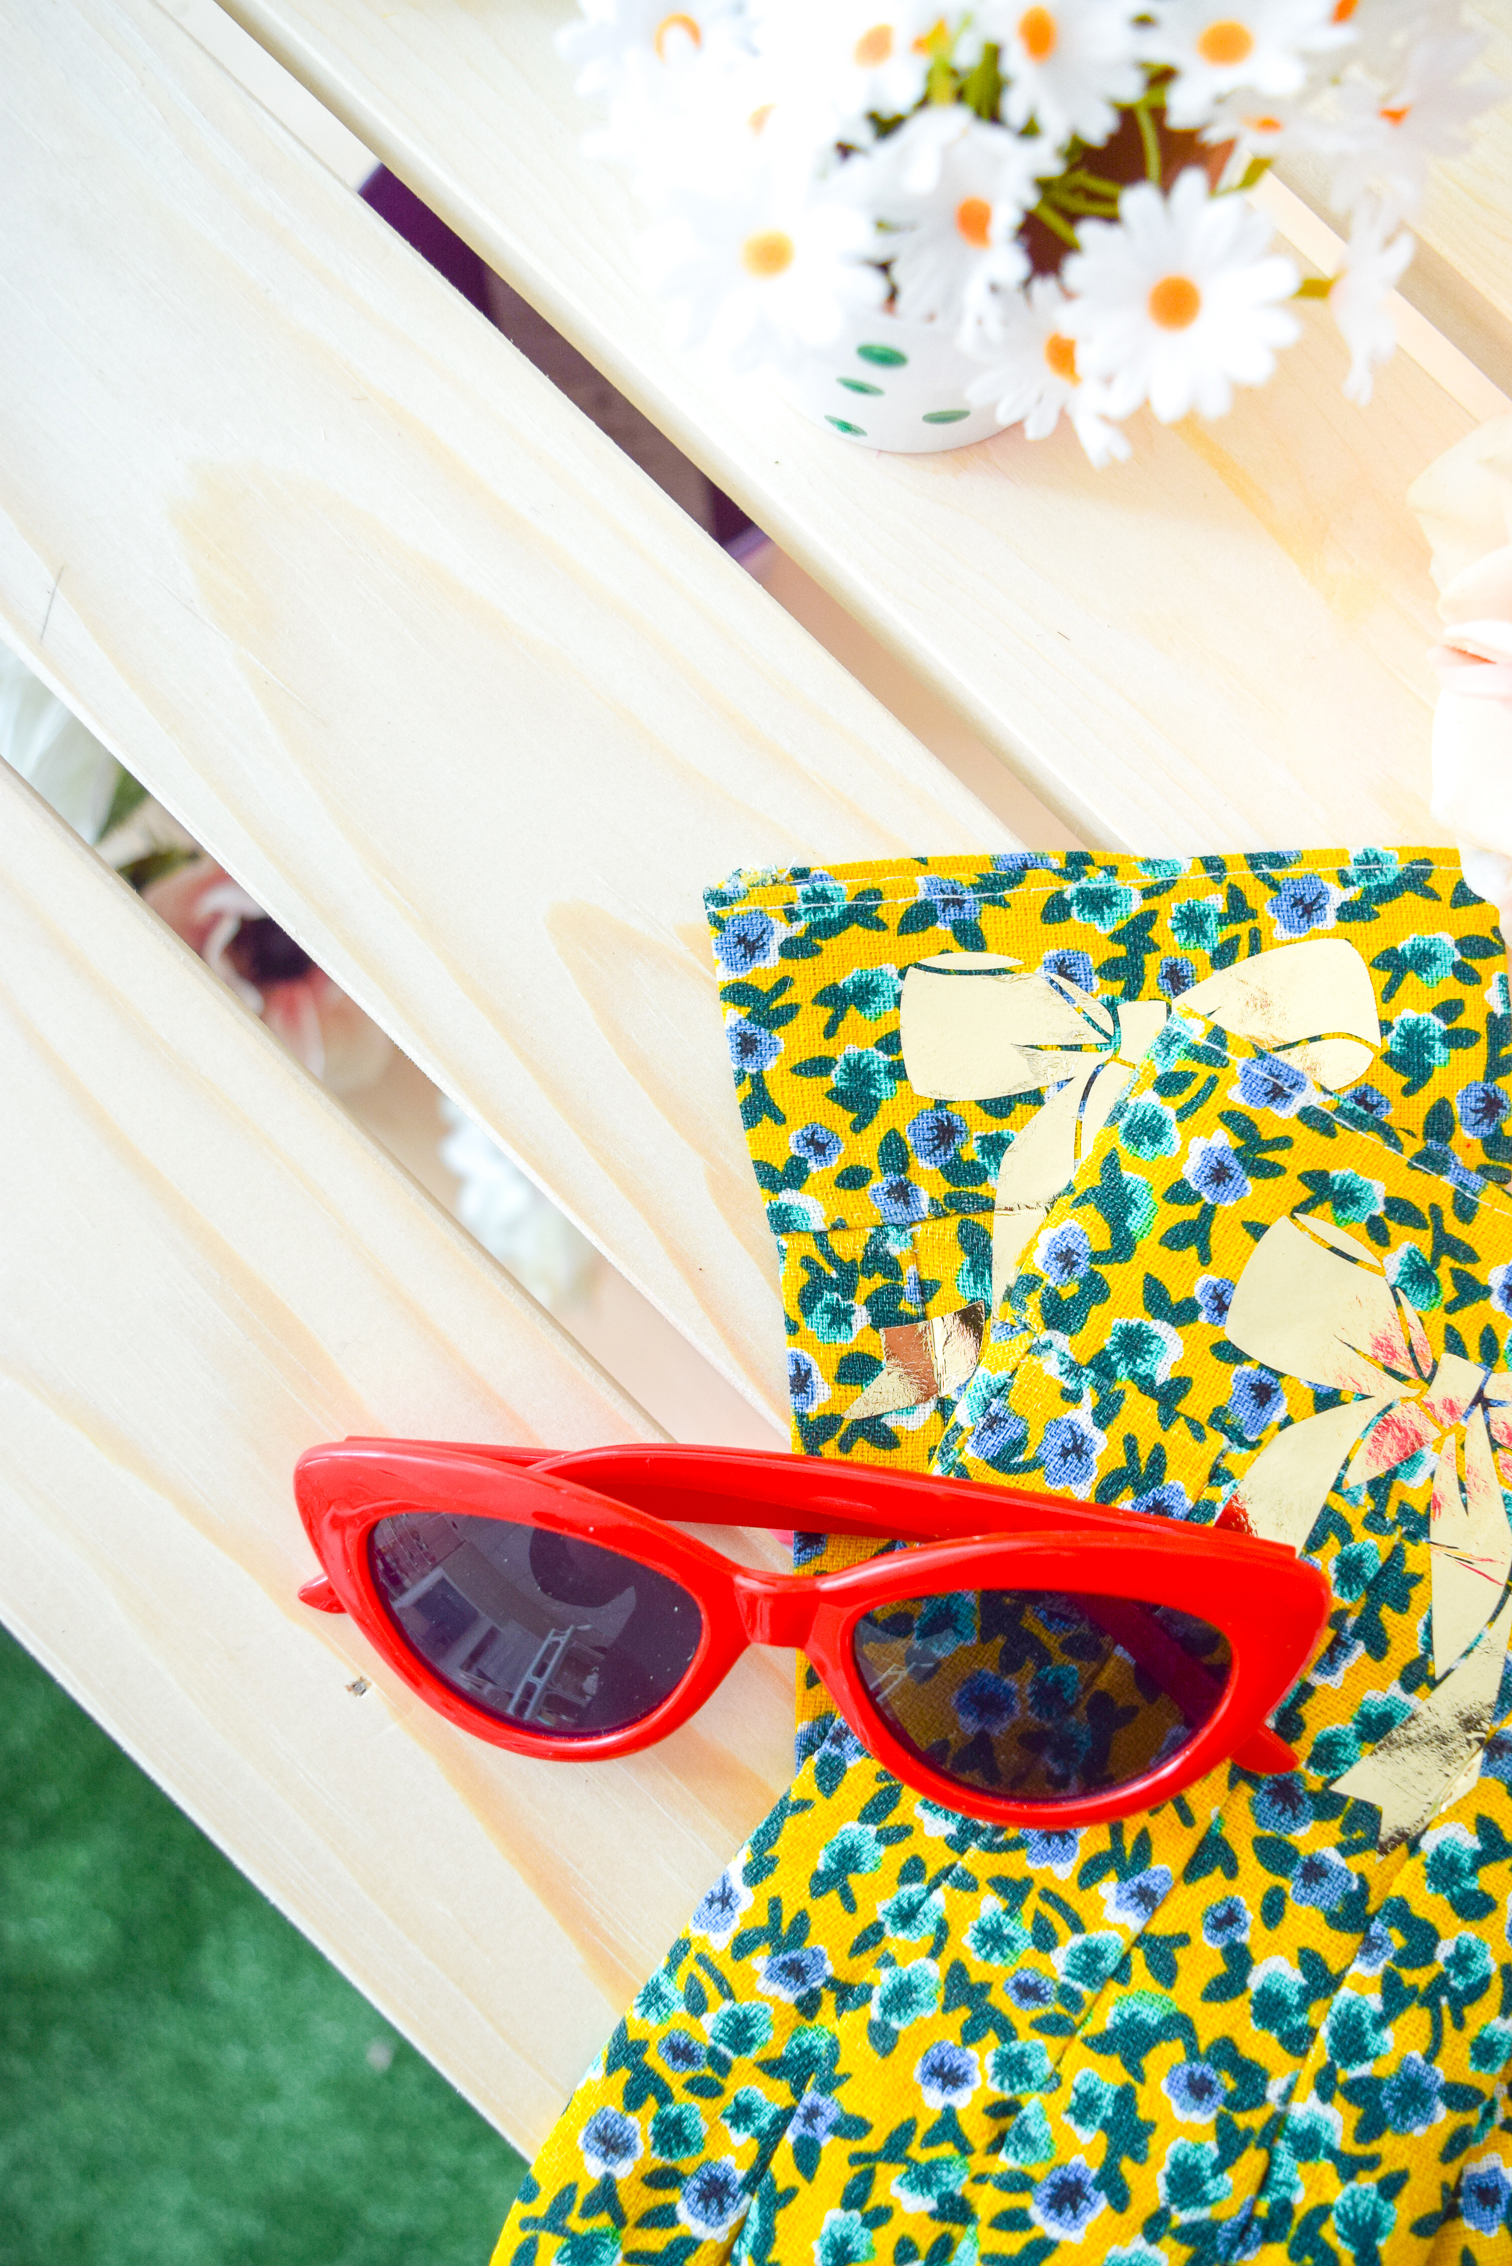
I had been looking for little hooked bins to hang on the slats but couldn’t seem to find what I wanted. Low and behold, Dollarama had these fiery red versions for a buck each and I was sold.
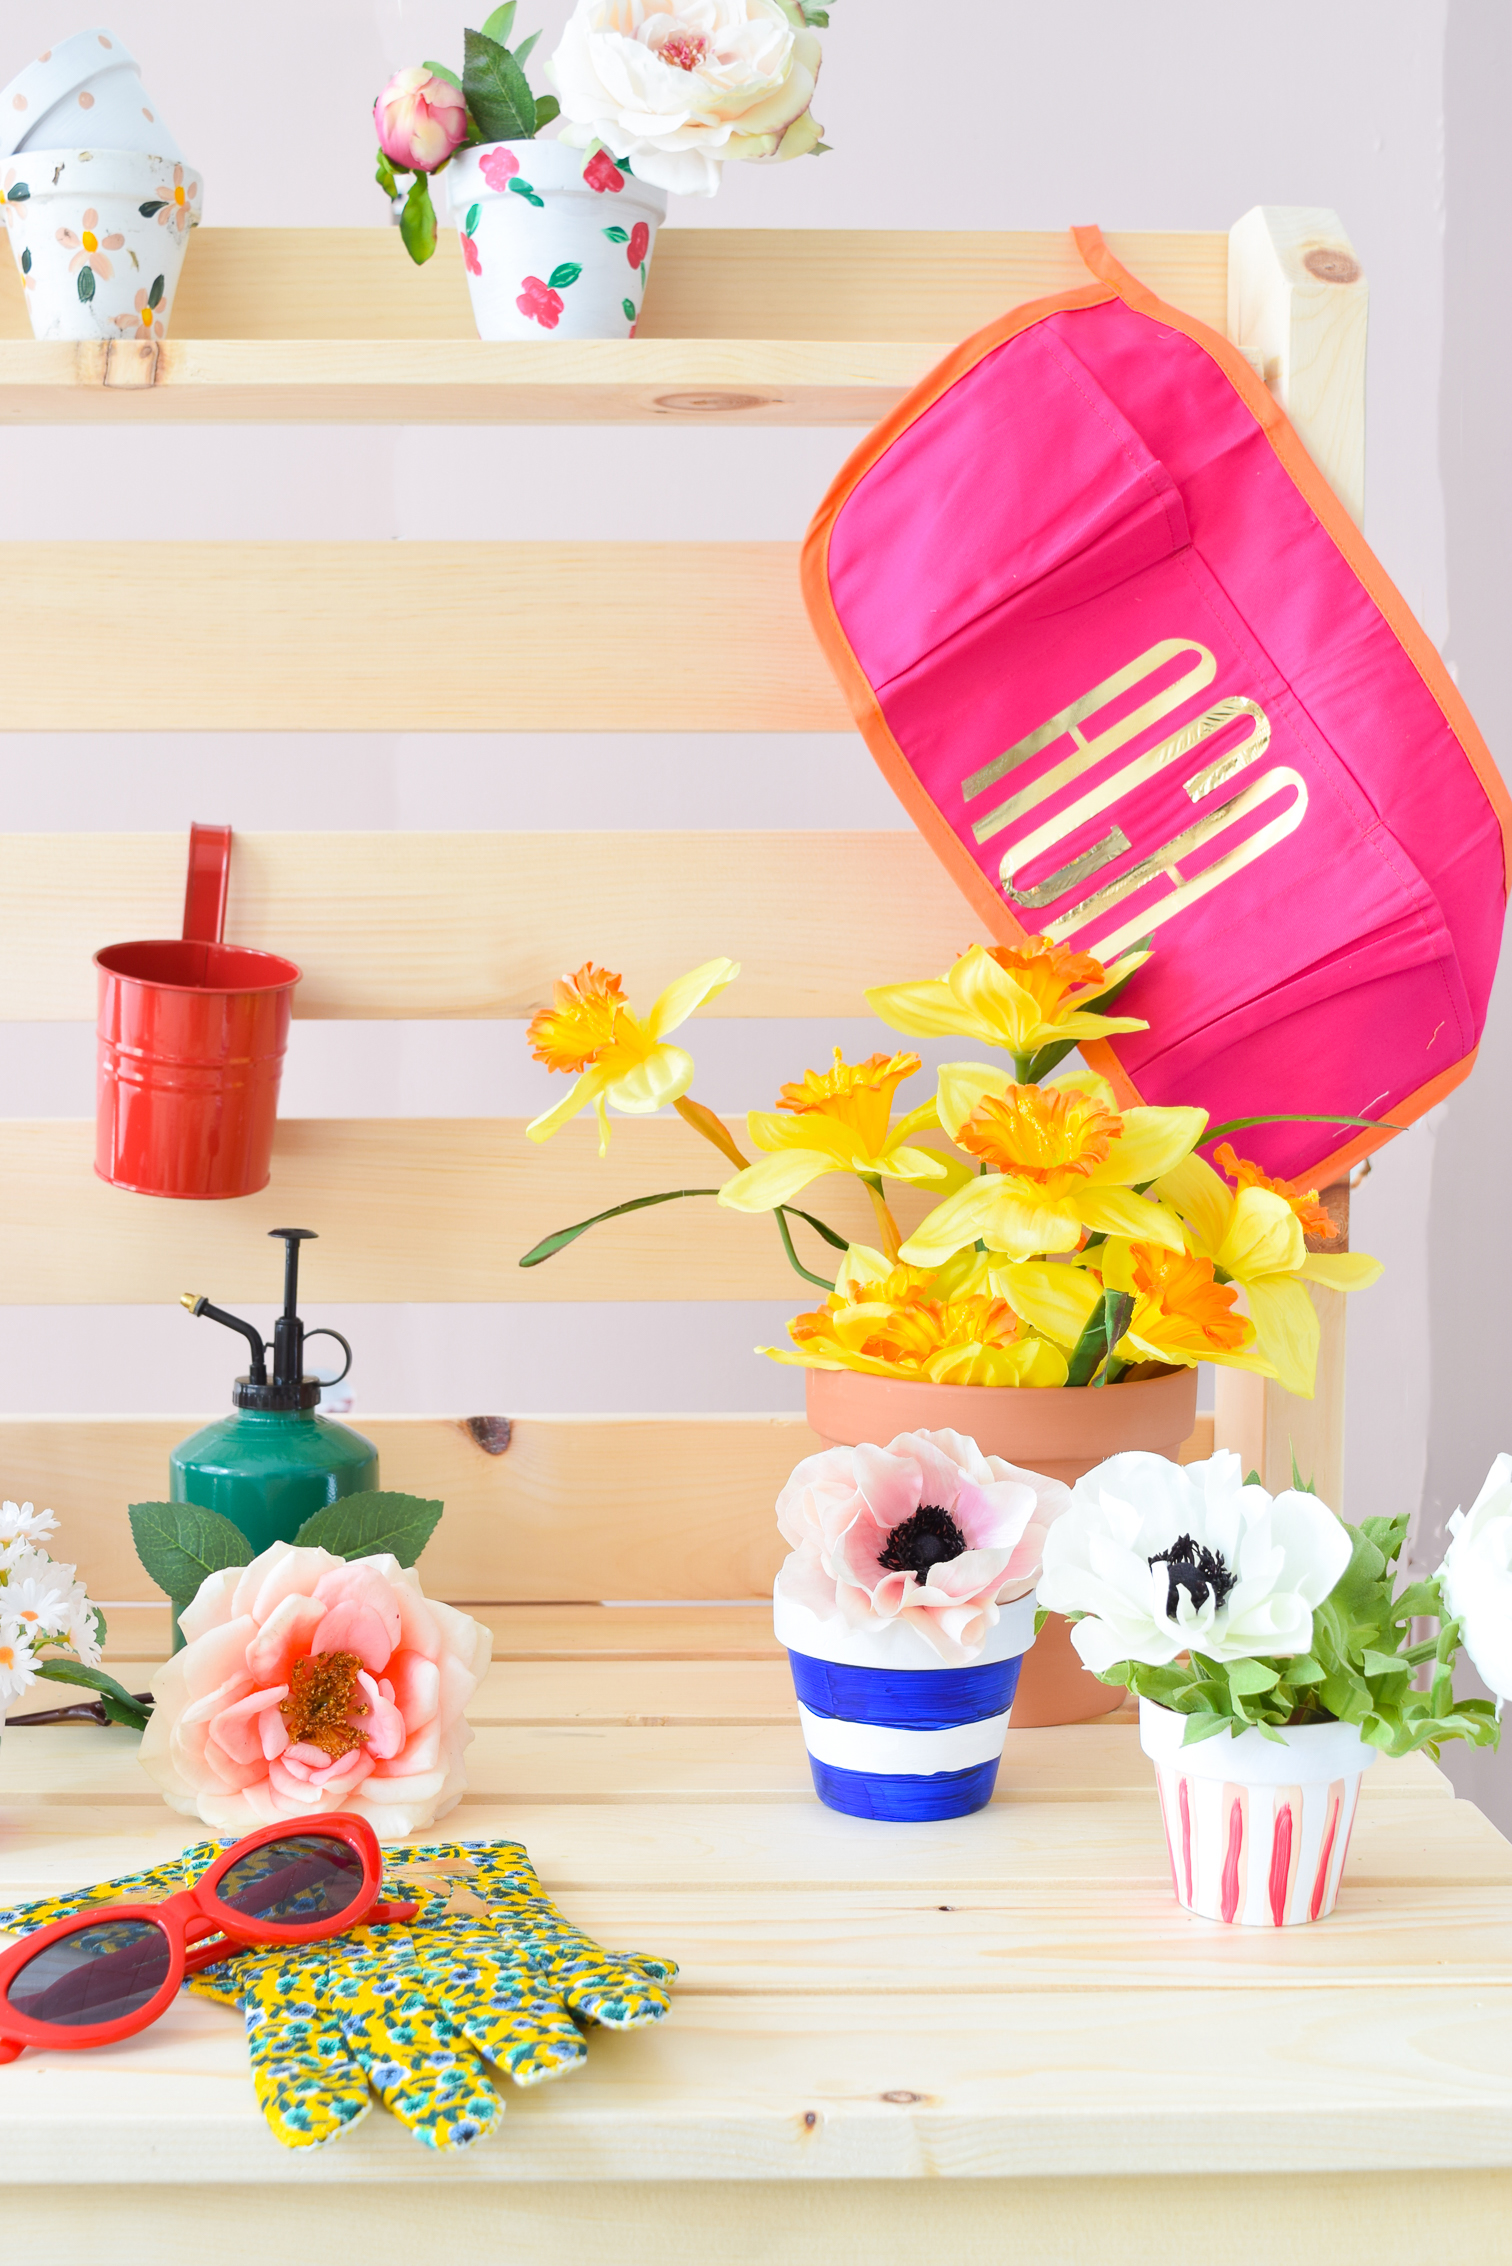
PLUS, they match my cat eye shades for the summer. You may also be noticing all these fun foil vinyl details on my gardening gear – that’s also being saved for another post down the road.
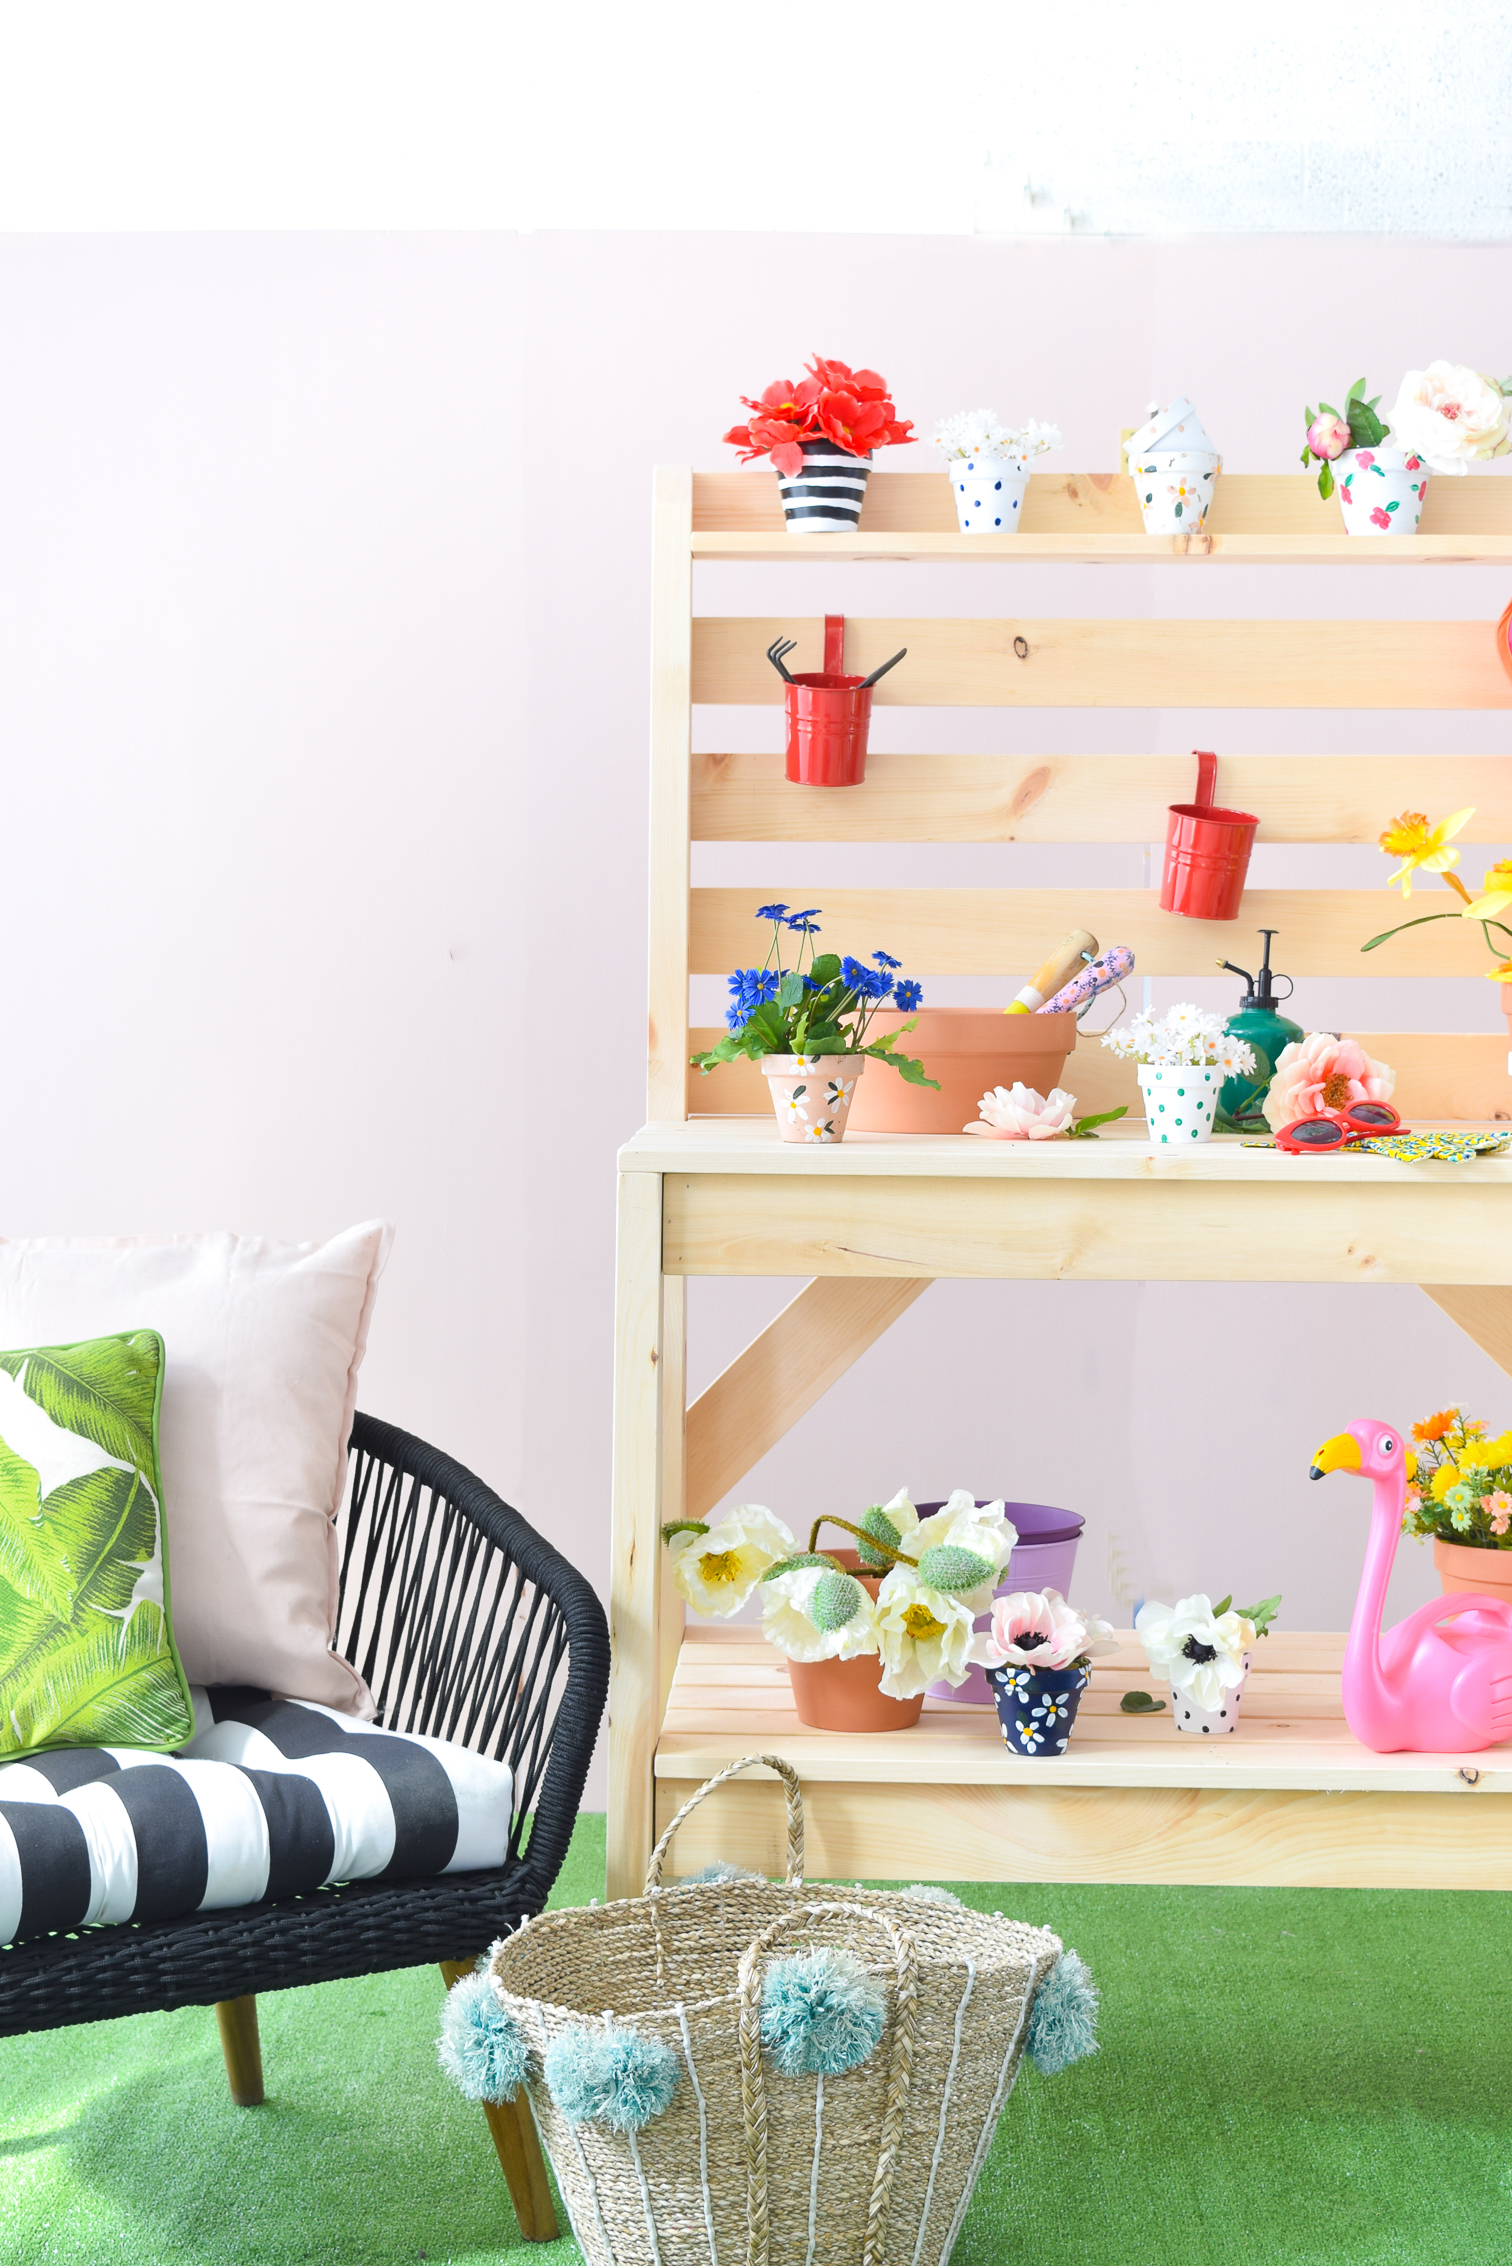
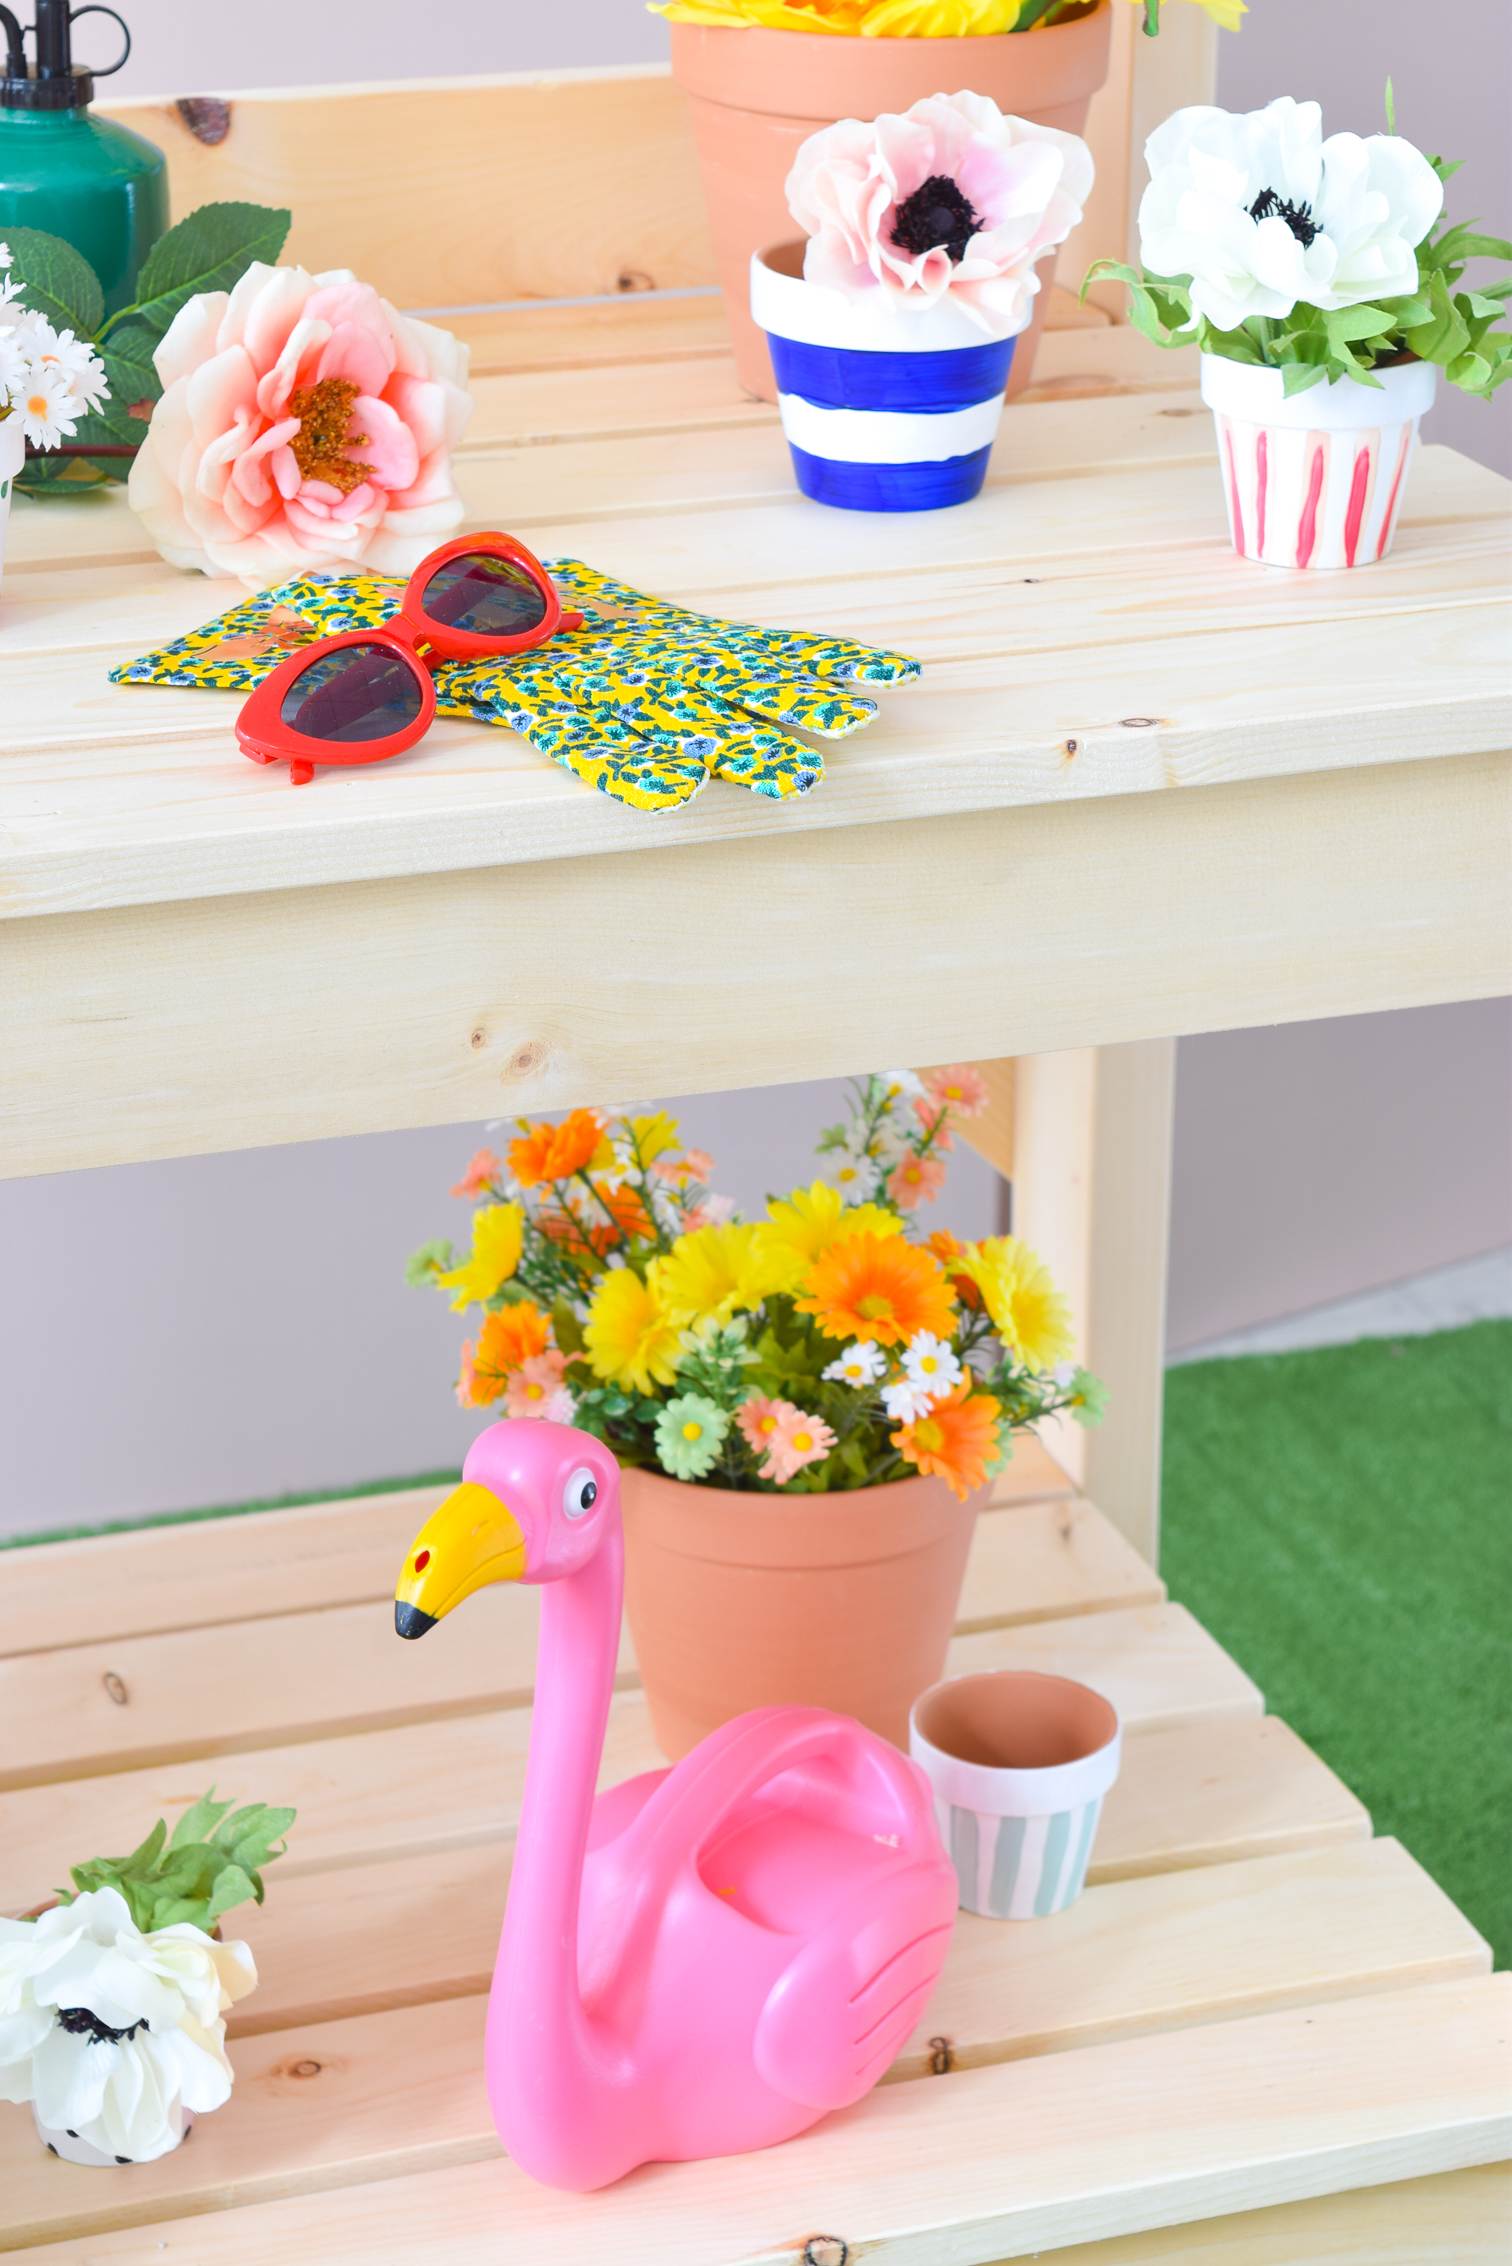
If you’ve been following along on my Instagram stories you’ll know that Bruce (the dog) has a stuffed flamingo toy. His name is Frank and he loves it so very much. When I brought home the flamingo watering can, not was Bruce quick to snatch it and run with it, but he then went to put it in his toy bin (that’s a first!). Needless to say, he was shattered when I brought the watering can to the studio.
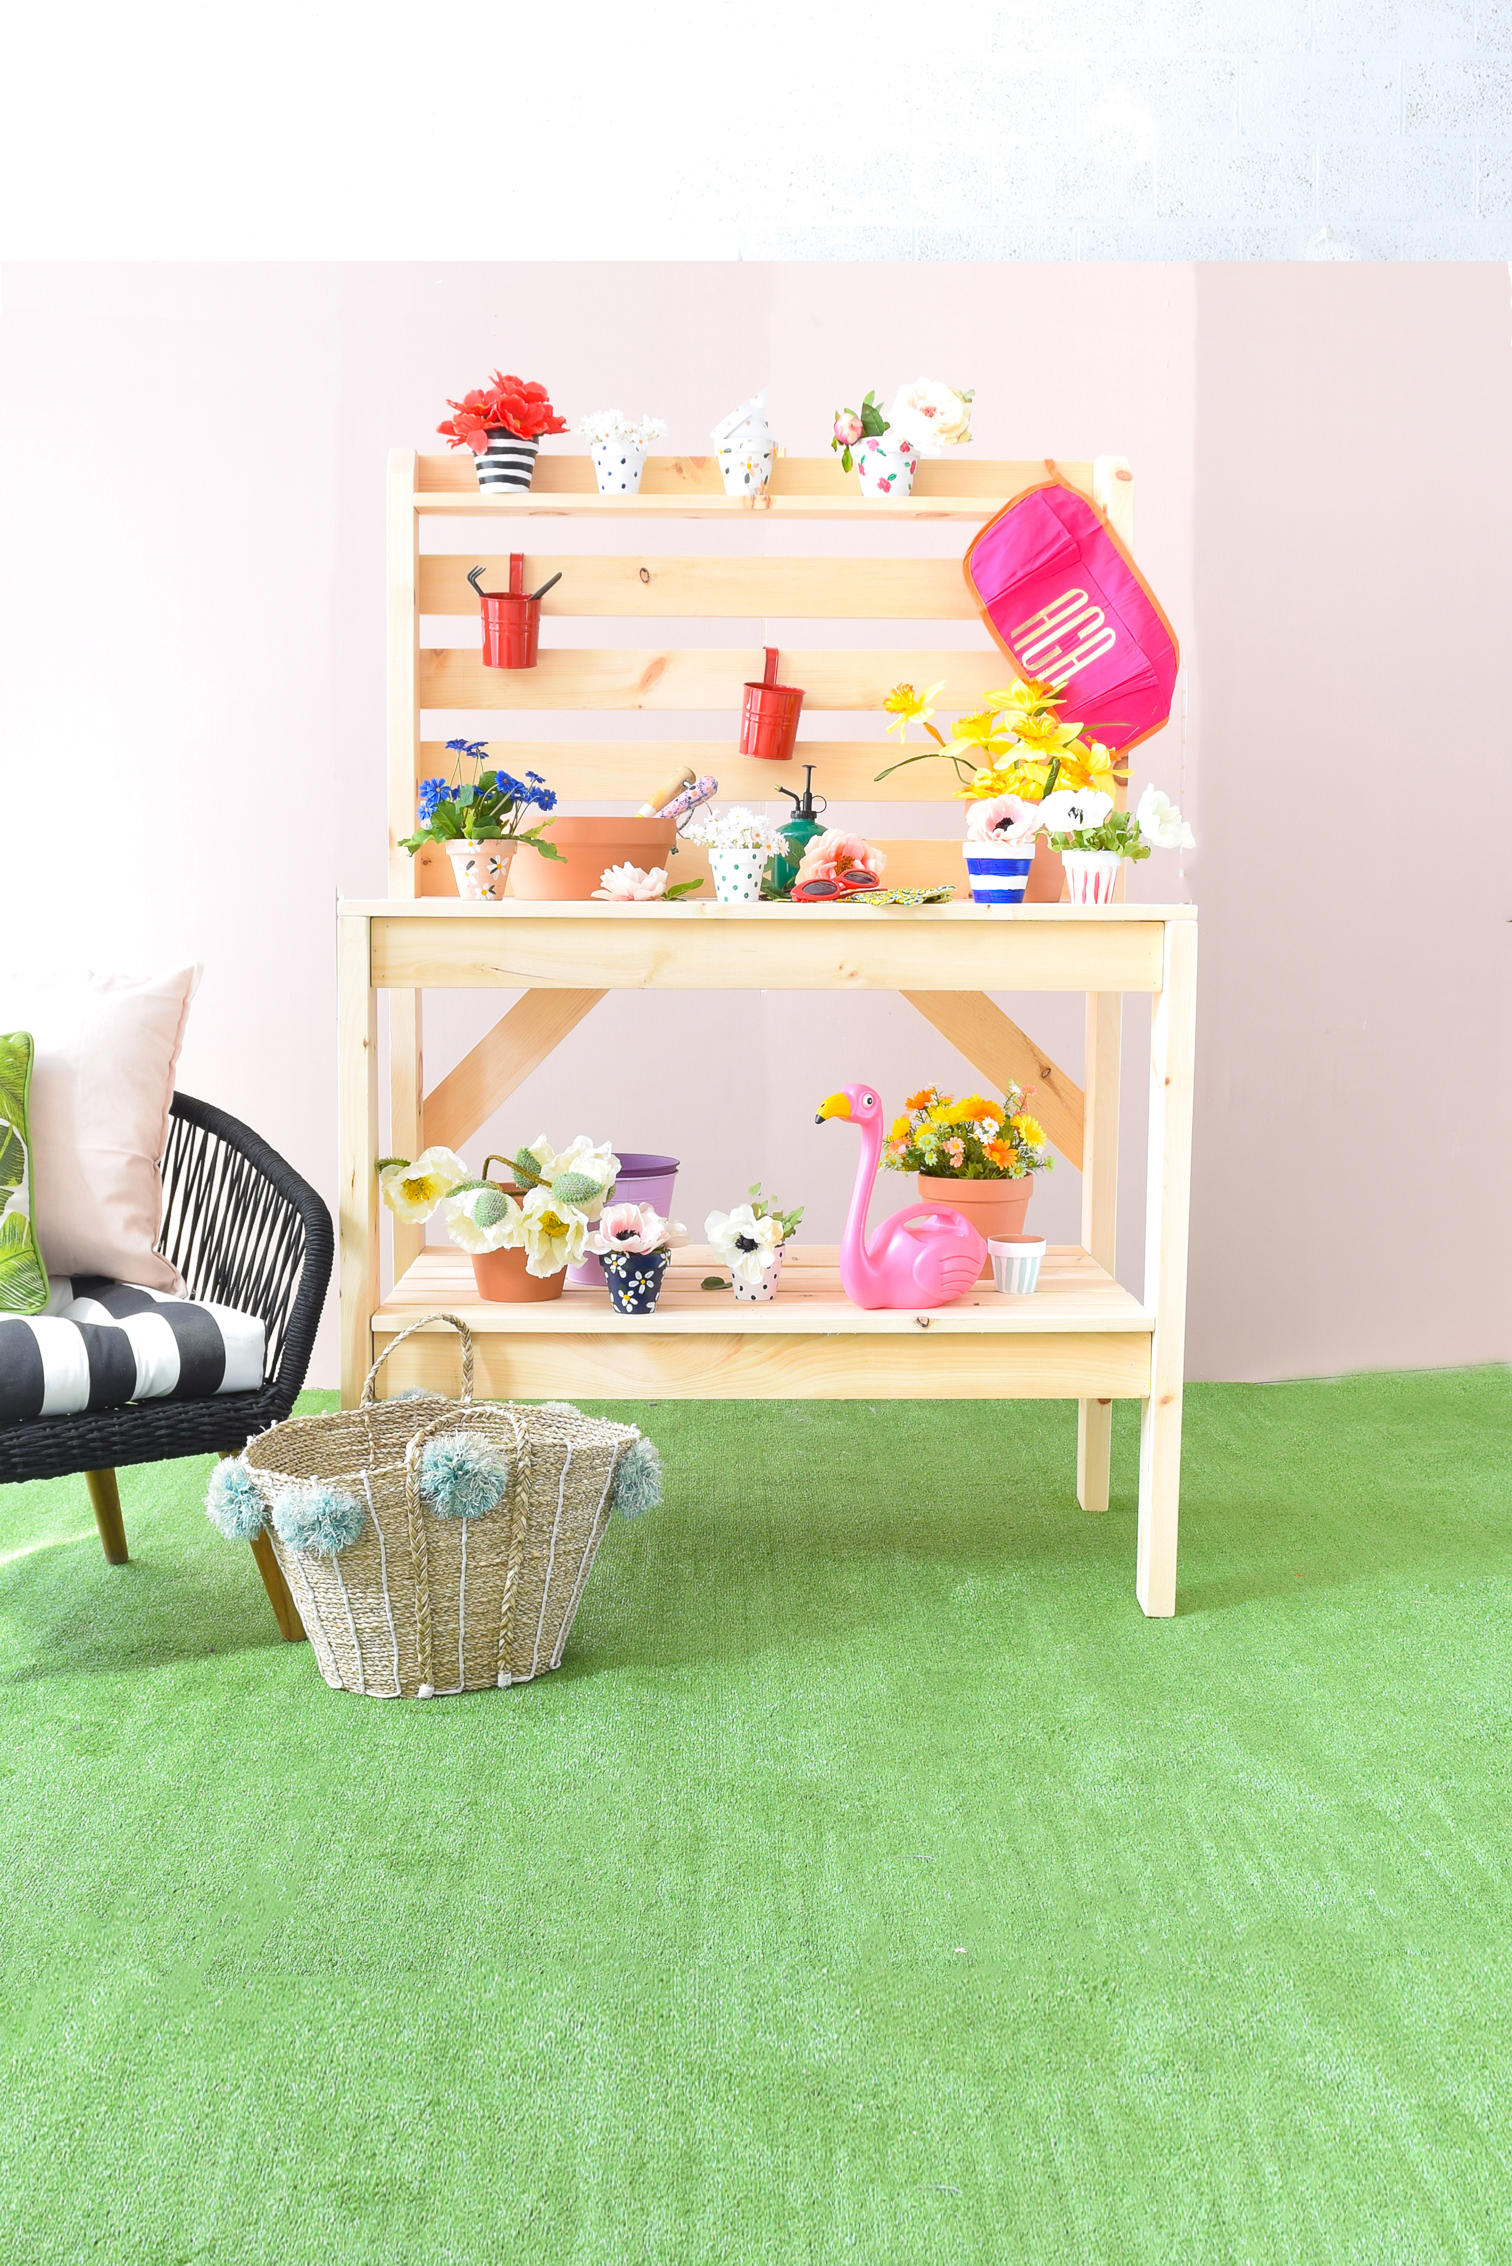
That being said, it looks fabulous on the lower shelf on my DIY potting bench. I’m hoping to stain it to match the rest of our outdoor furniture, so watch for an update post about that.
Once we get my DIY Potting Bench into the yard, it’s going to see some serious action. I’ve got some ambitious plans for the yard this season, and will be building on the marvellous base we created last summer with the One Room Challenge. A lot is staying the same, but I’ll be making a few little changes that wil complete it as a fully functional living space.