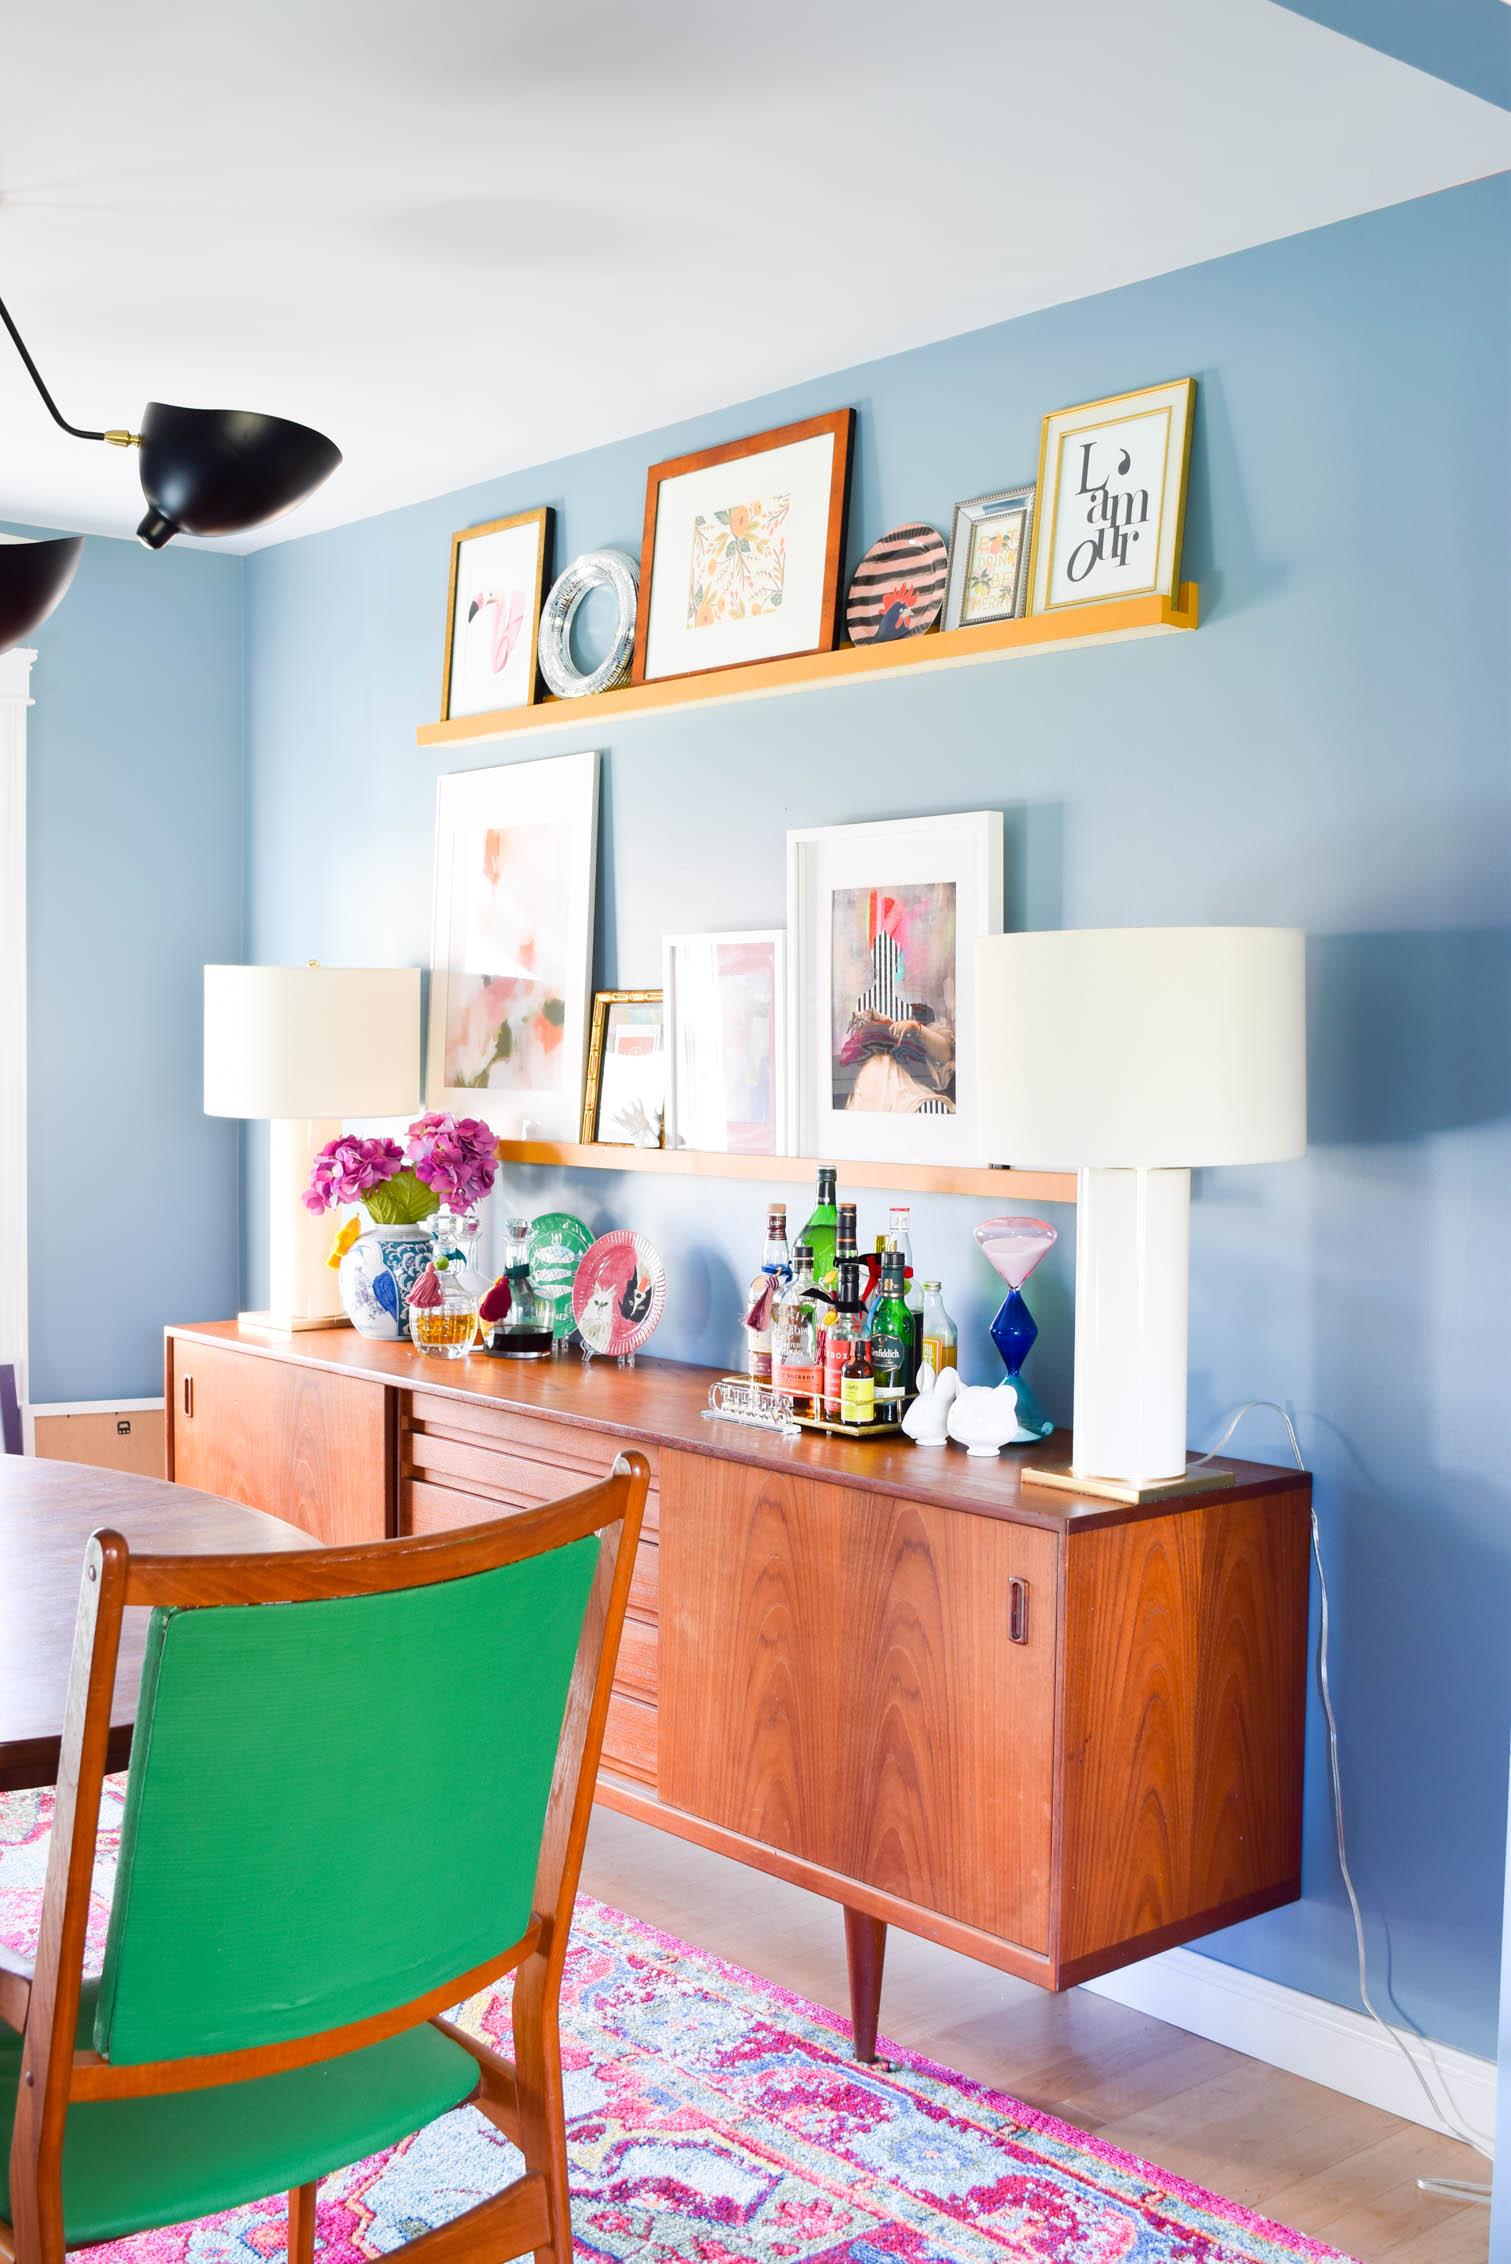
With all the One Room Challenge reveals this week, I decided to revisit the dining room that I completed this fall // here //. When I completed the space I thought that leaning all the art agaisnt the wall, atop the sideboard, would be cool and eclectic. It was, but it made for a very crowded sideboard, which therefore isn’t much use. I had originally planned on doing some picture rails for the space, but I couldn’t wrap my head around the art collection that would go there at the time, so I let it be. I’m trying to be more deliberate with my design (especially now that I have the studio), so I figured I could do them later. Well, this week I decided to try my hand at a DIY Picture Rail this week.
*Diedododa sponsored this post, but all thoughts are my own. Thank you for supporting the brands that make PMQ for two possible.


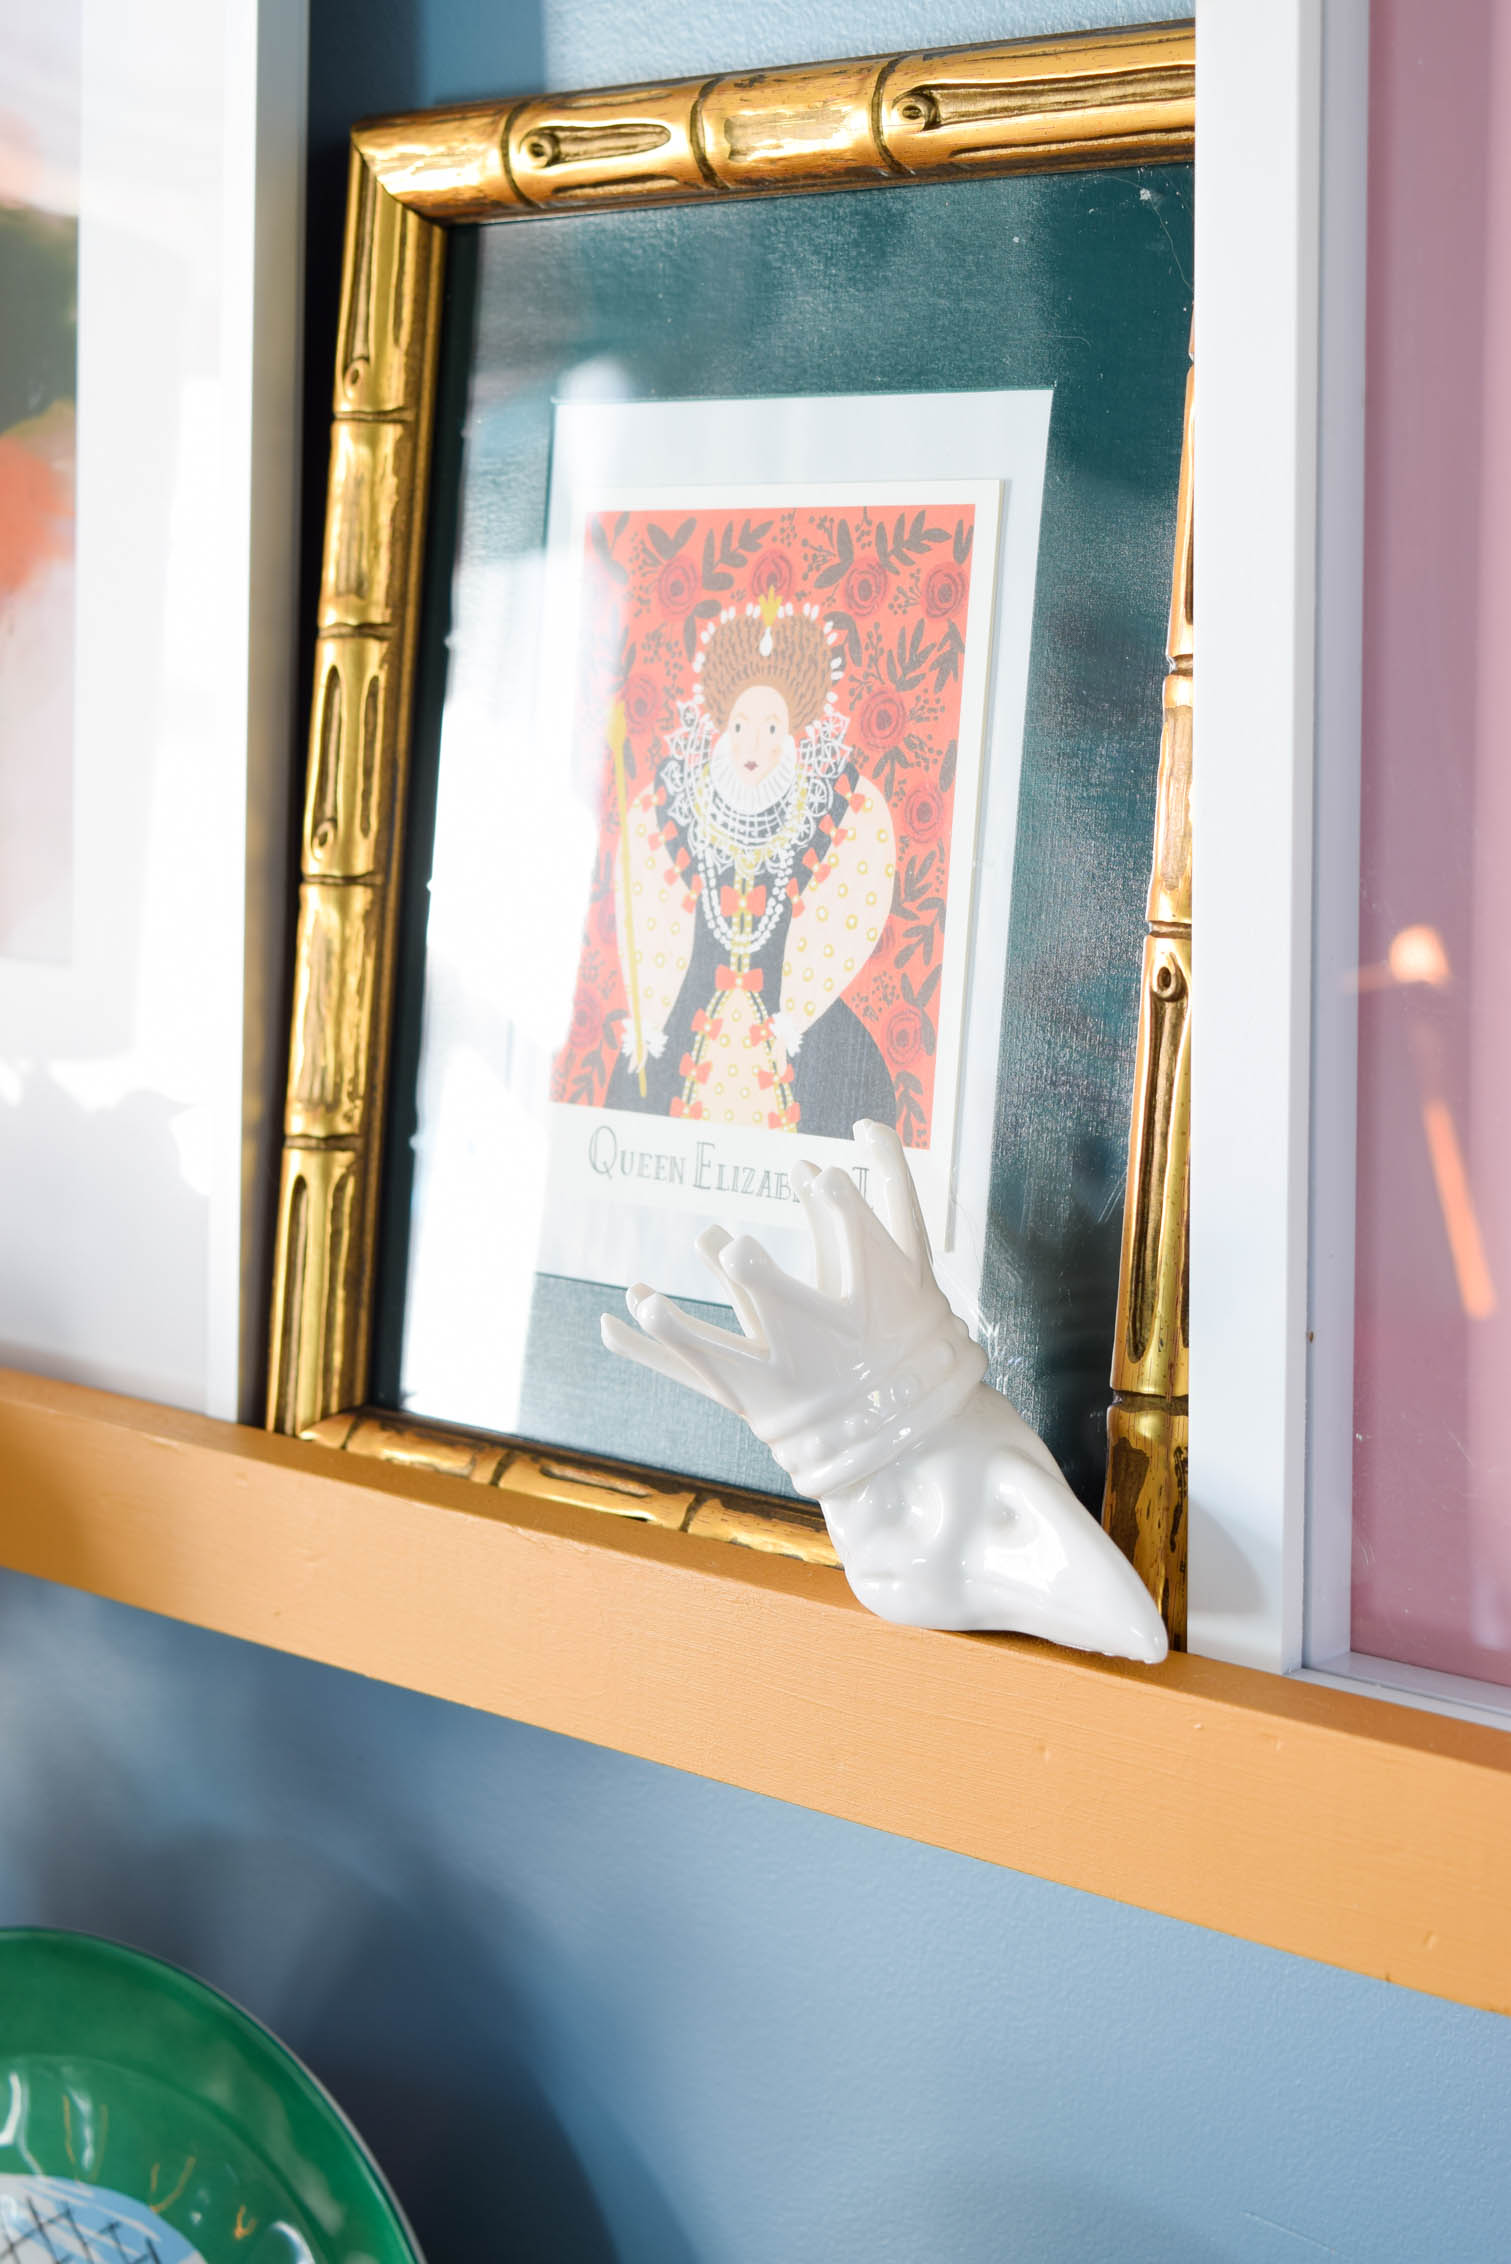
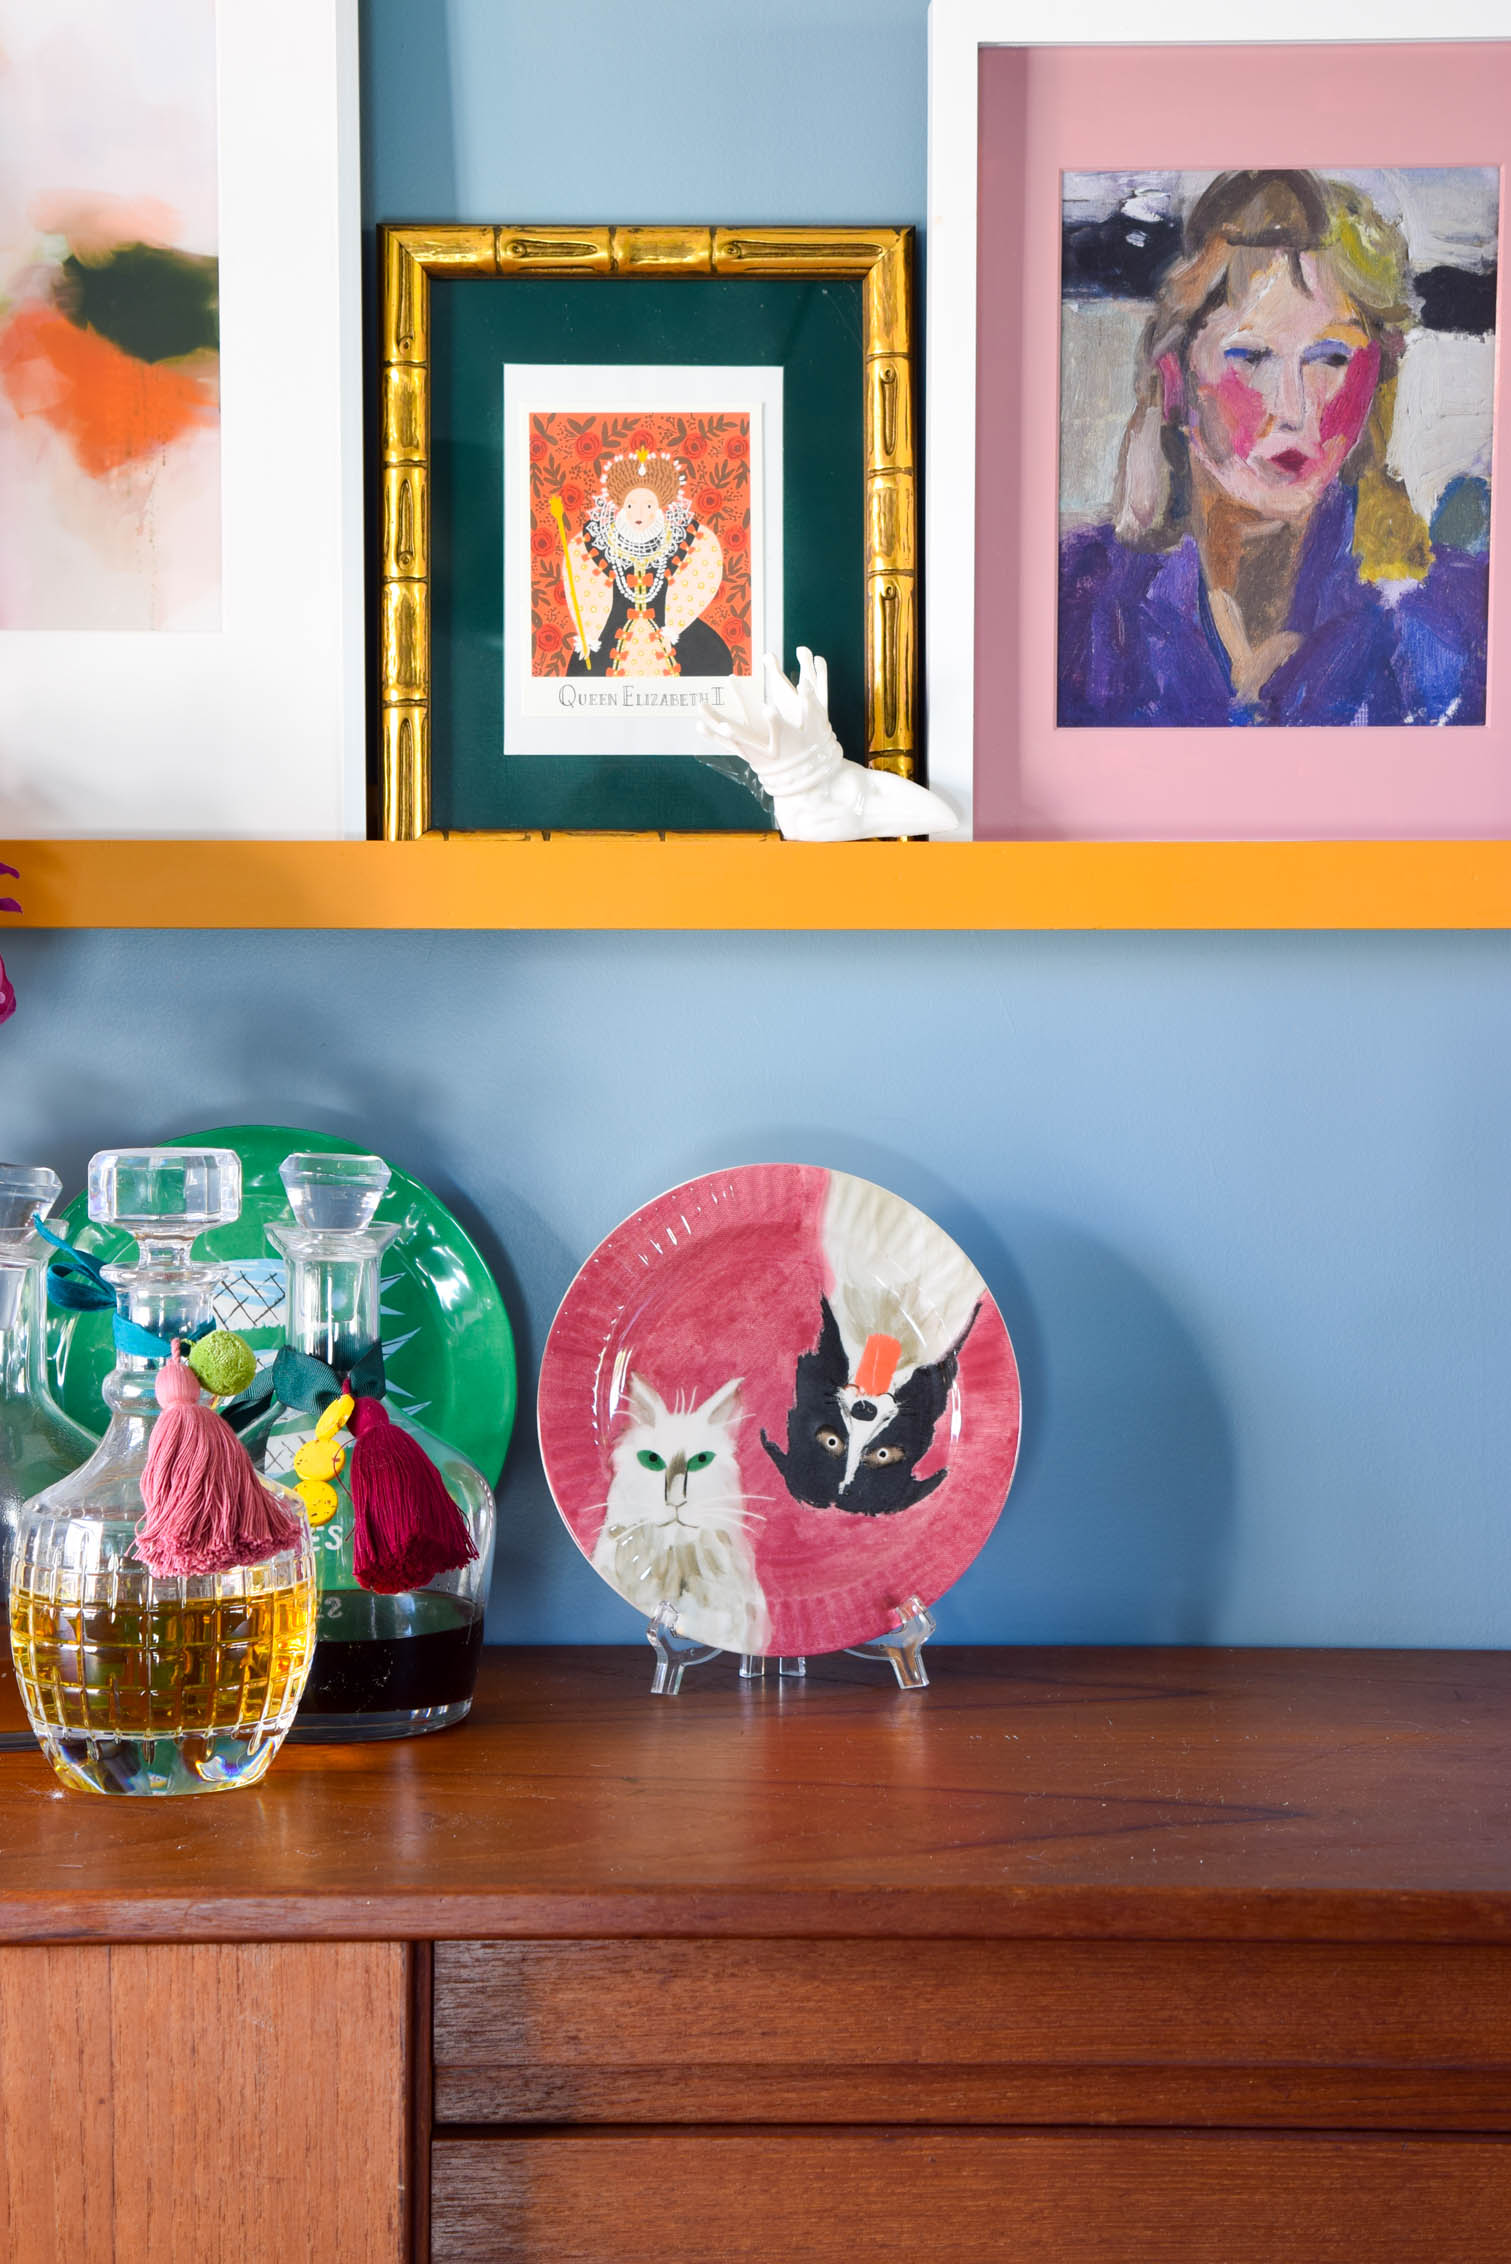
I also happened to have been offered some prints from this charming print shop in the UK — Diedododa — so I figured I’d kill two birds with one stone. They initially reached-out to me a few weeks ago about some of their prints, and I fell in love! They’ve got just the kind of funky, cool, patterned stuff I’m into.
I’m sure you guys have seen many DIYs for picture rails, but this one is simple and took me a day!
Materials for a DIY Picture Rail
- 1x 6’x1″x3″ in pine
- 2x 6’x1″x2″ in pine (it’s better quality stuff, and it’s easier to paint)
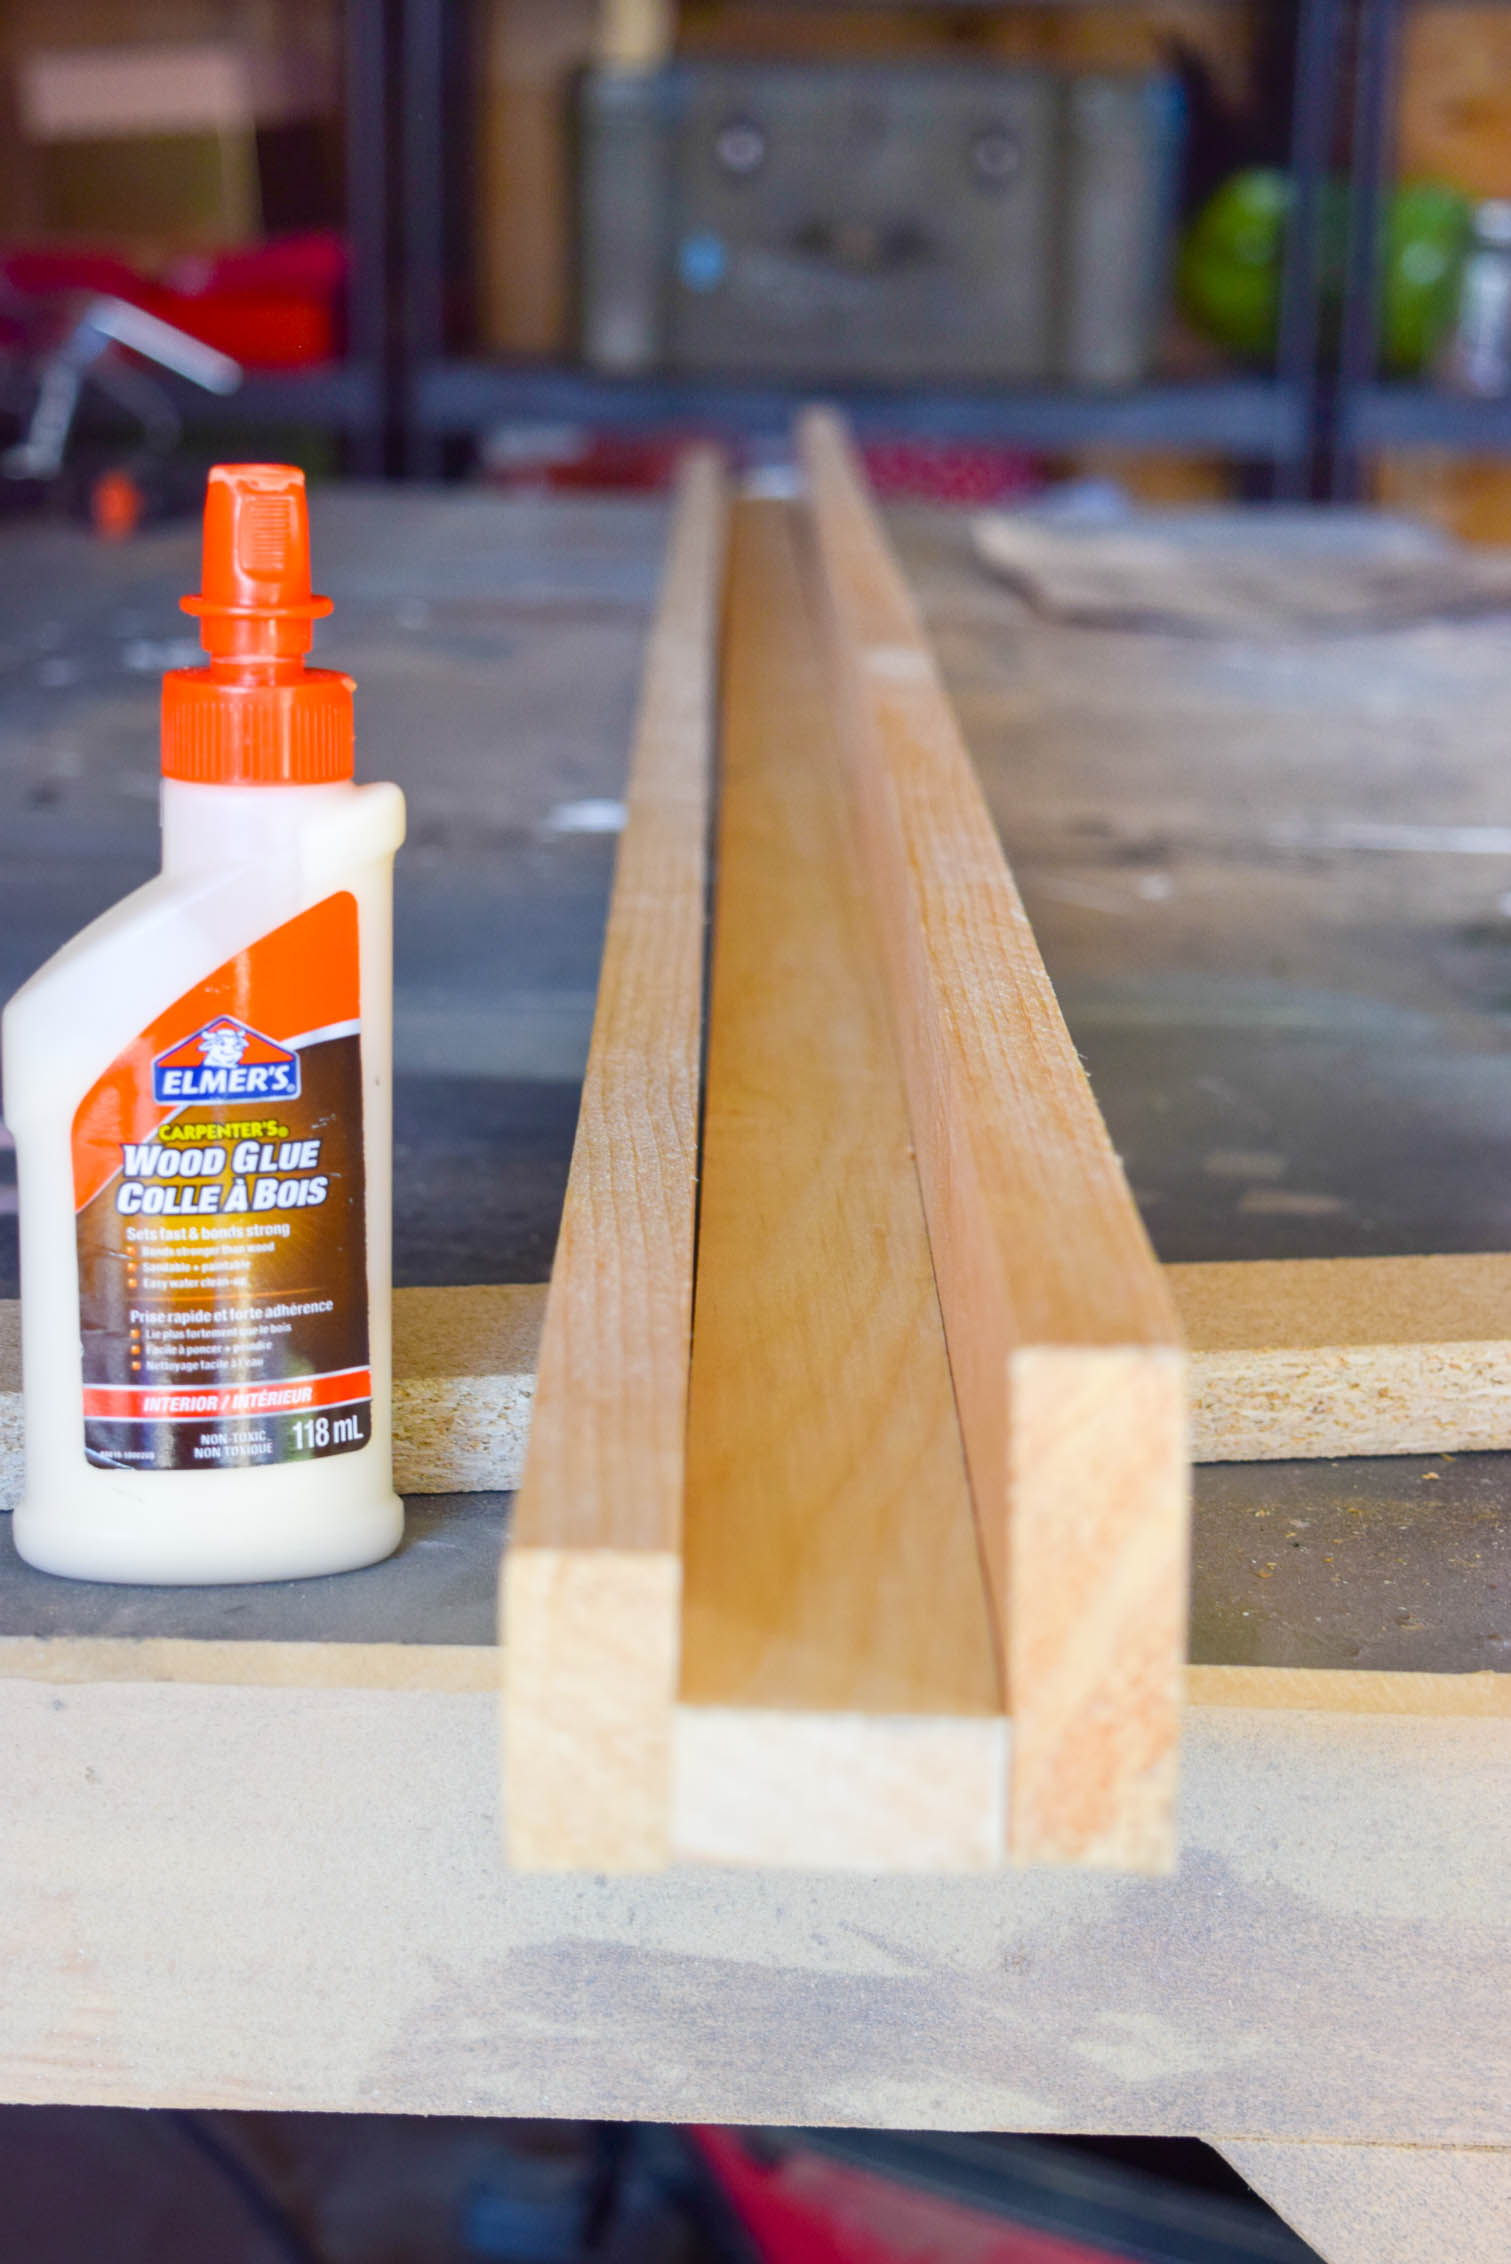
- Wood Glue
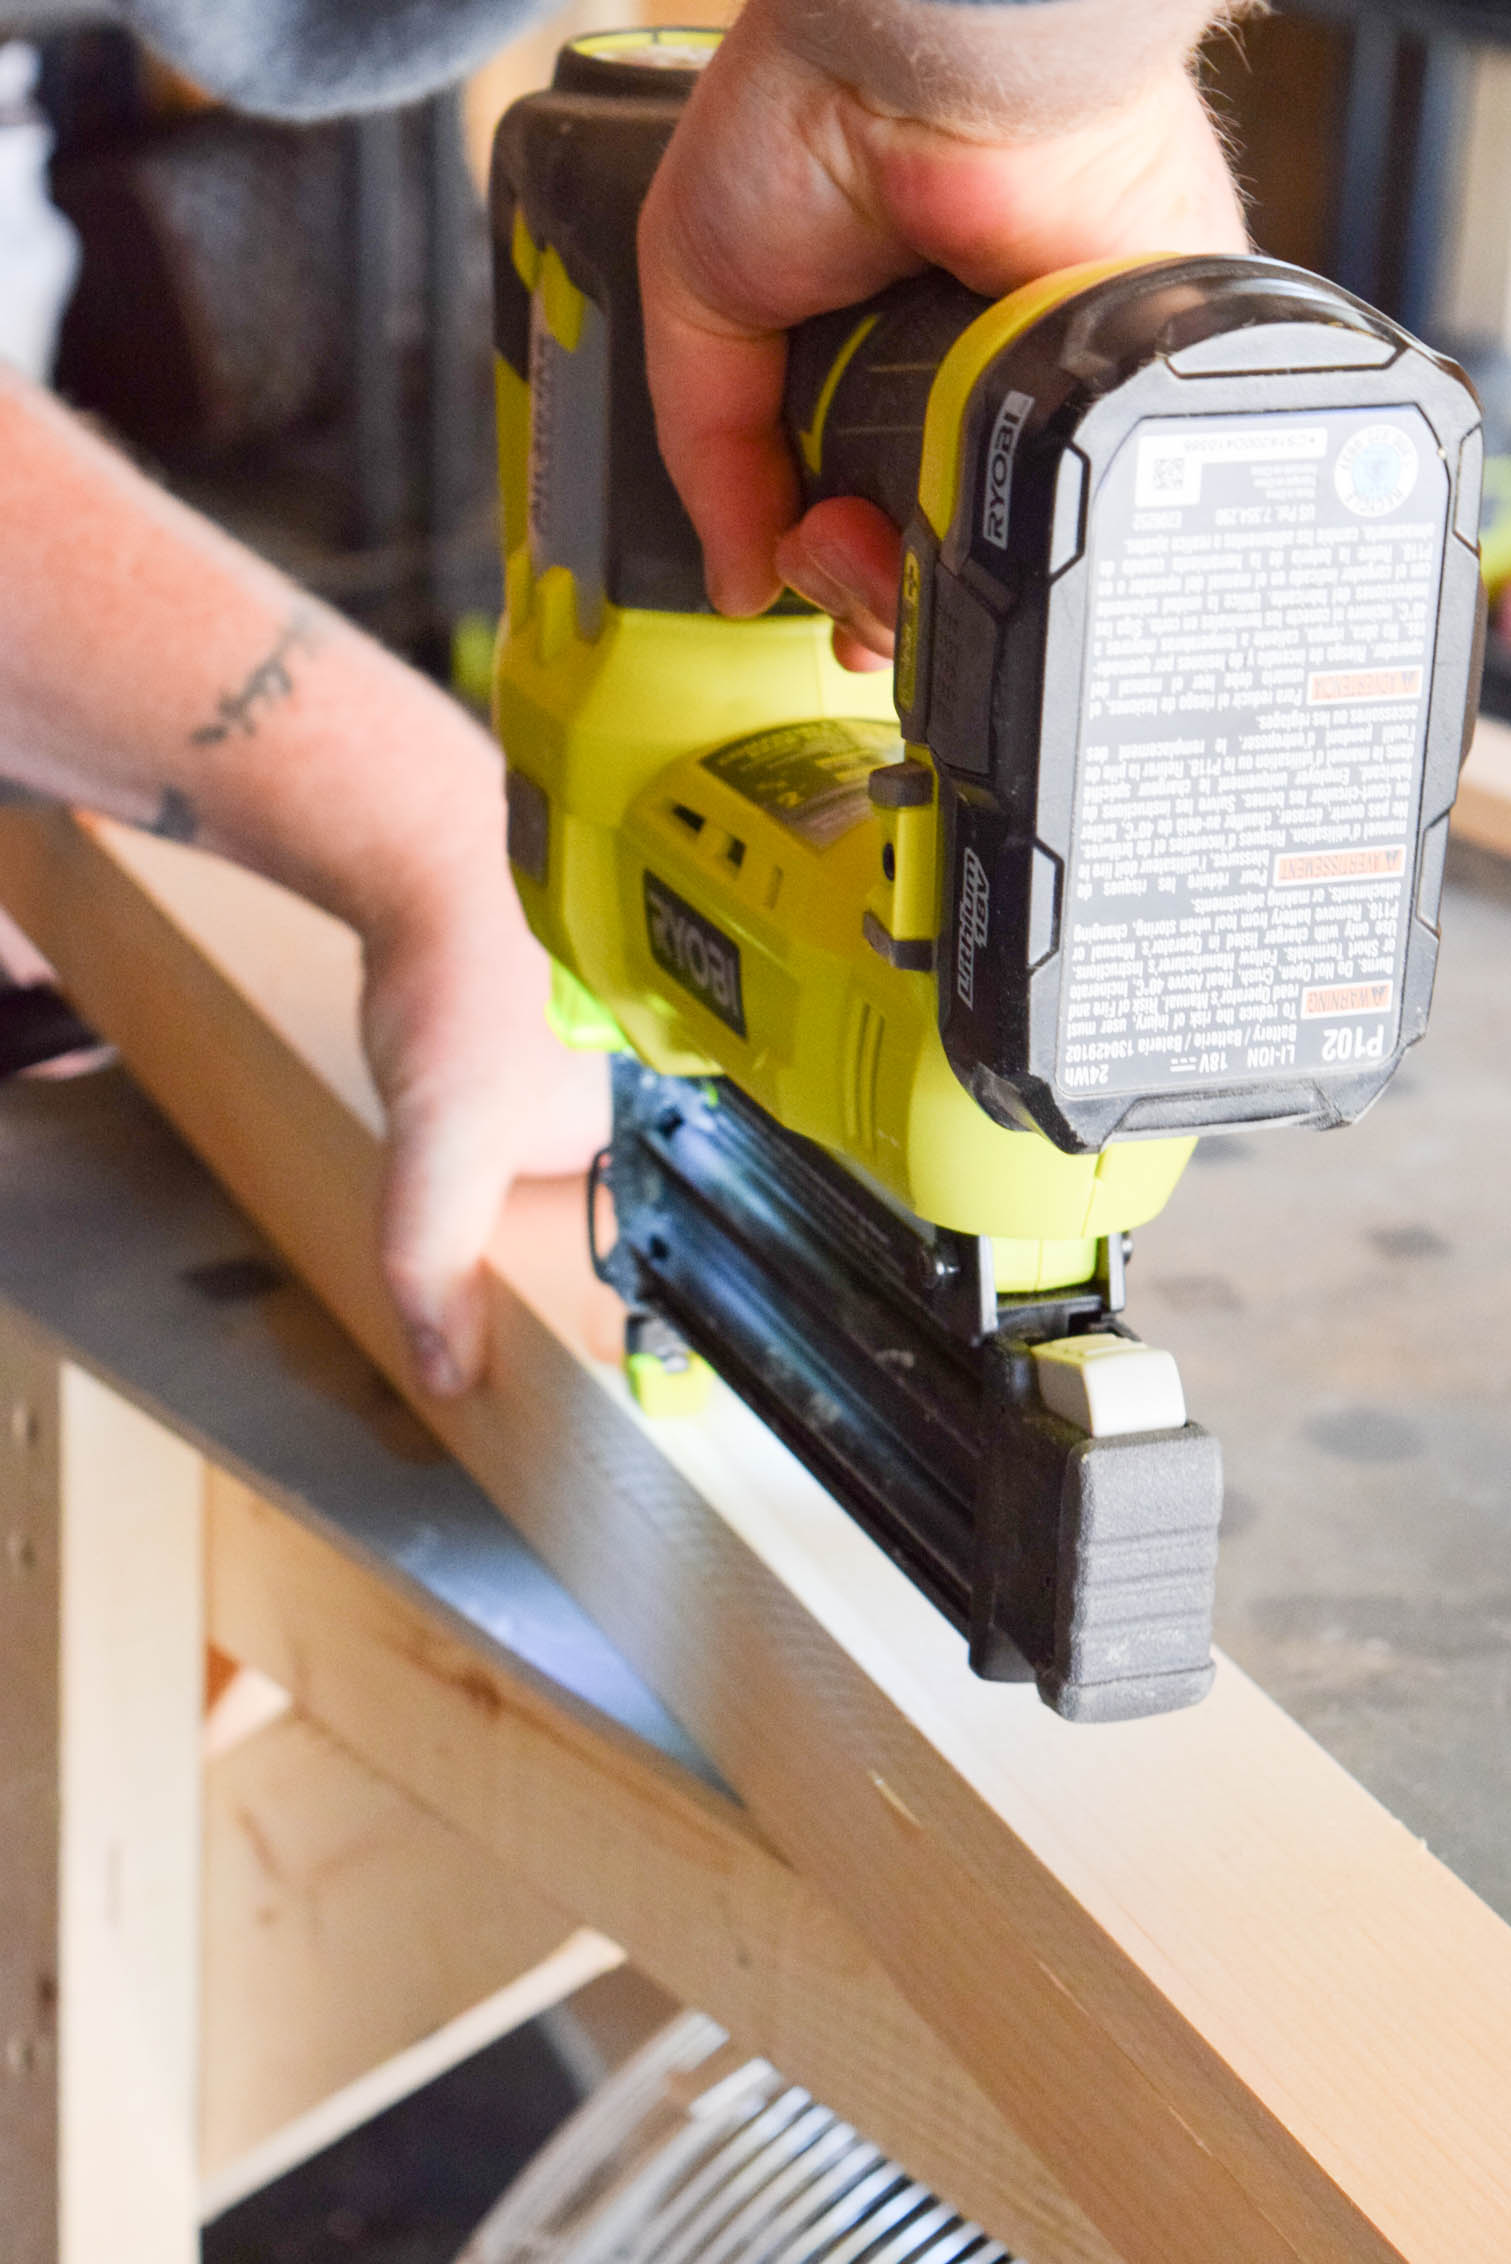
- Ryobi Air Strike
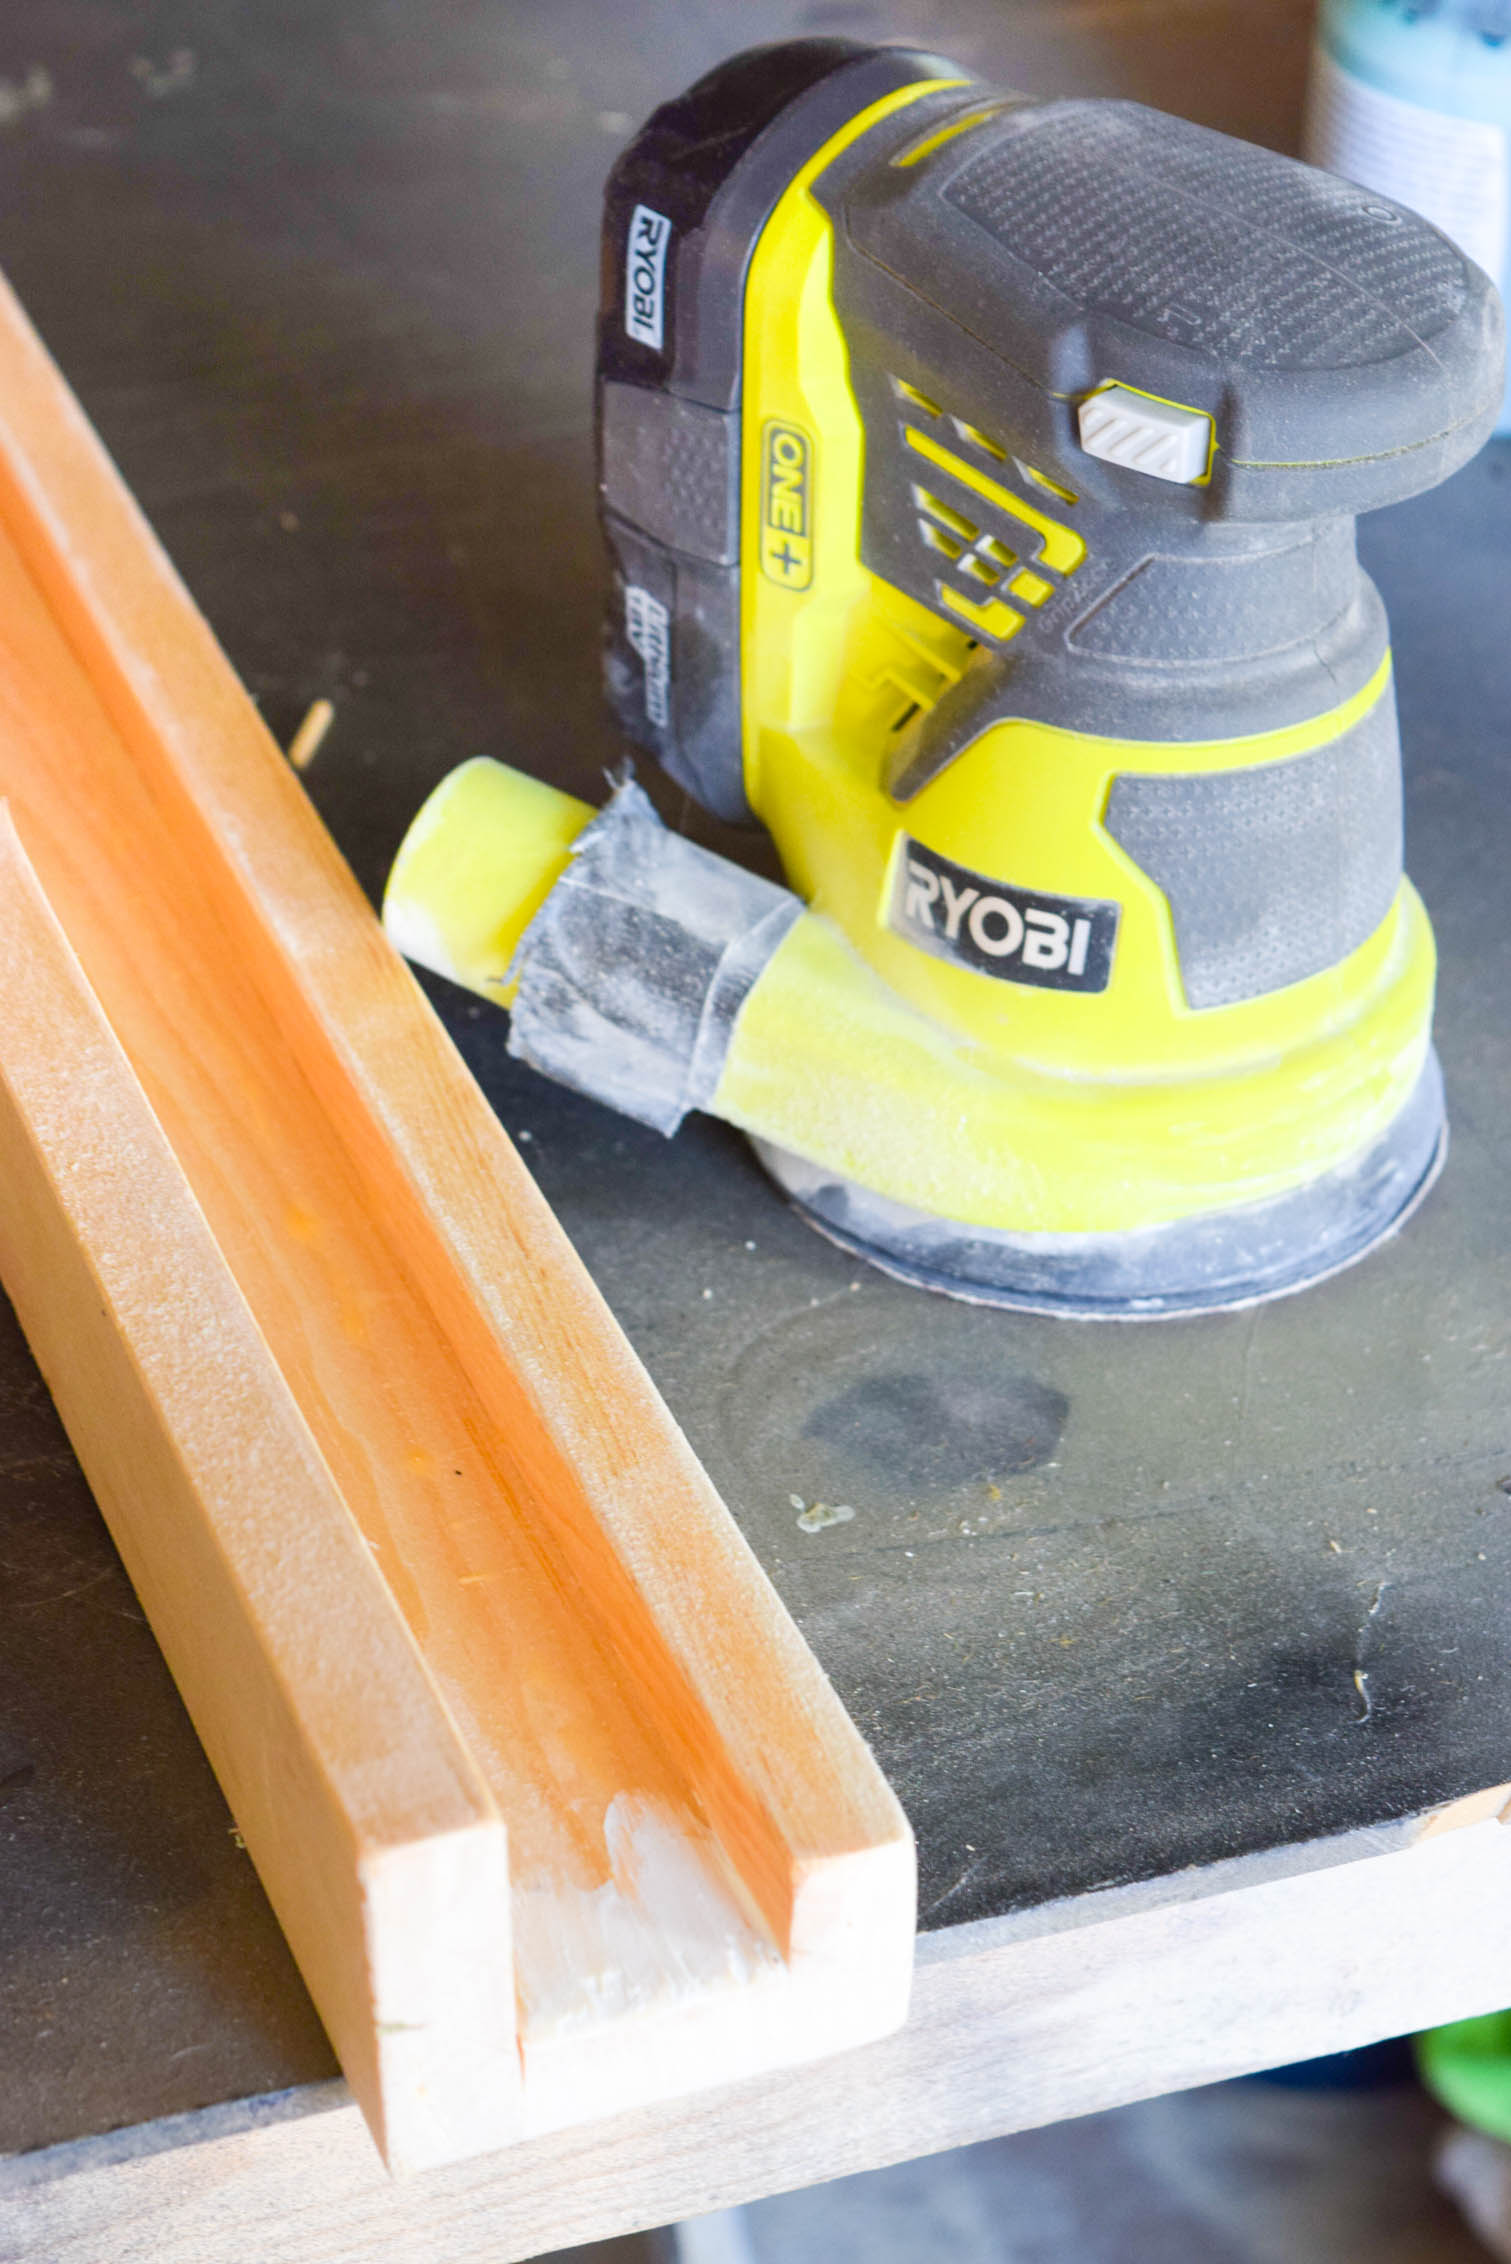
- Ryobi Orbital Sander
- Fusion mineral paint in Mustard + paint brush
(p.s don’t you love the inside of our garage?)
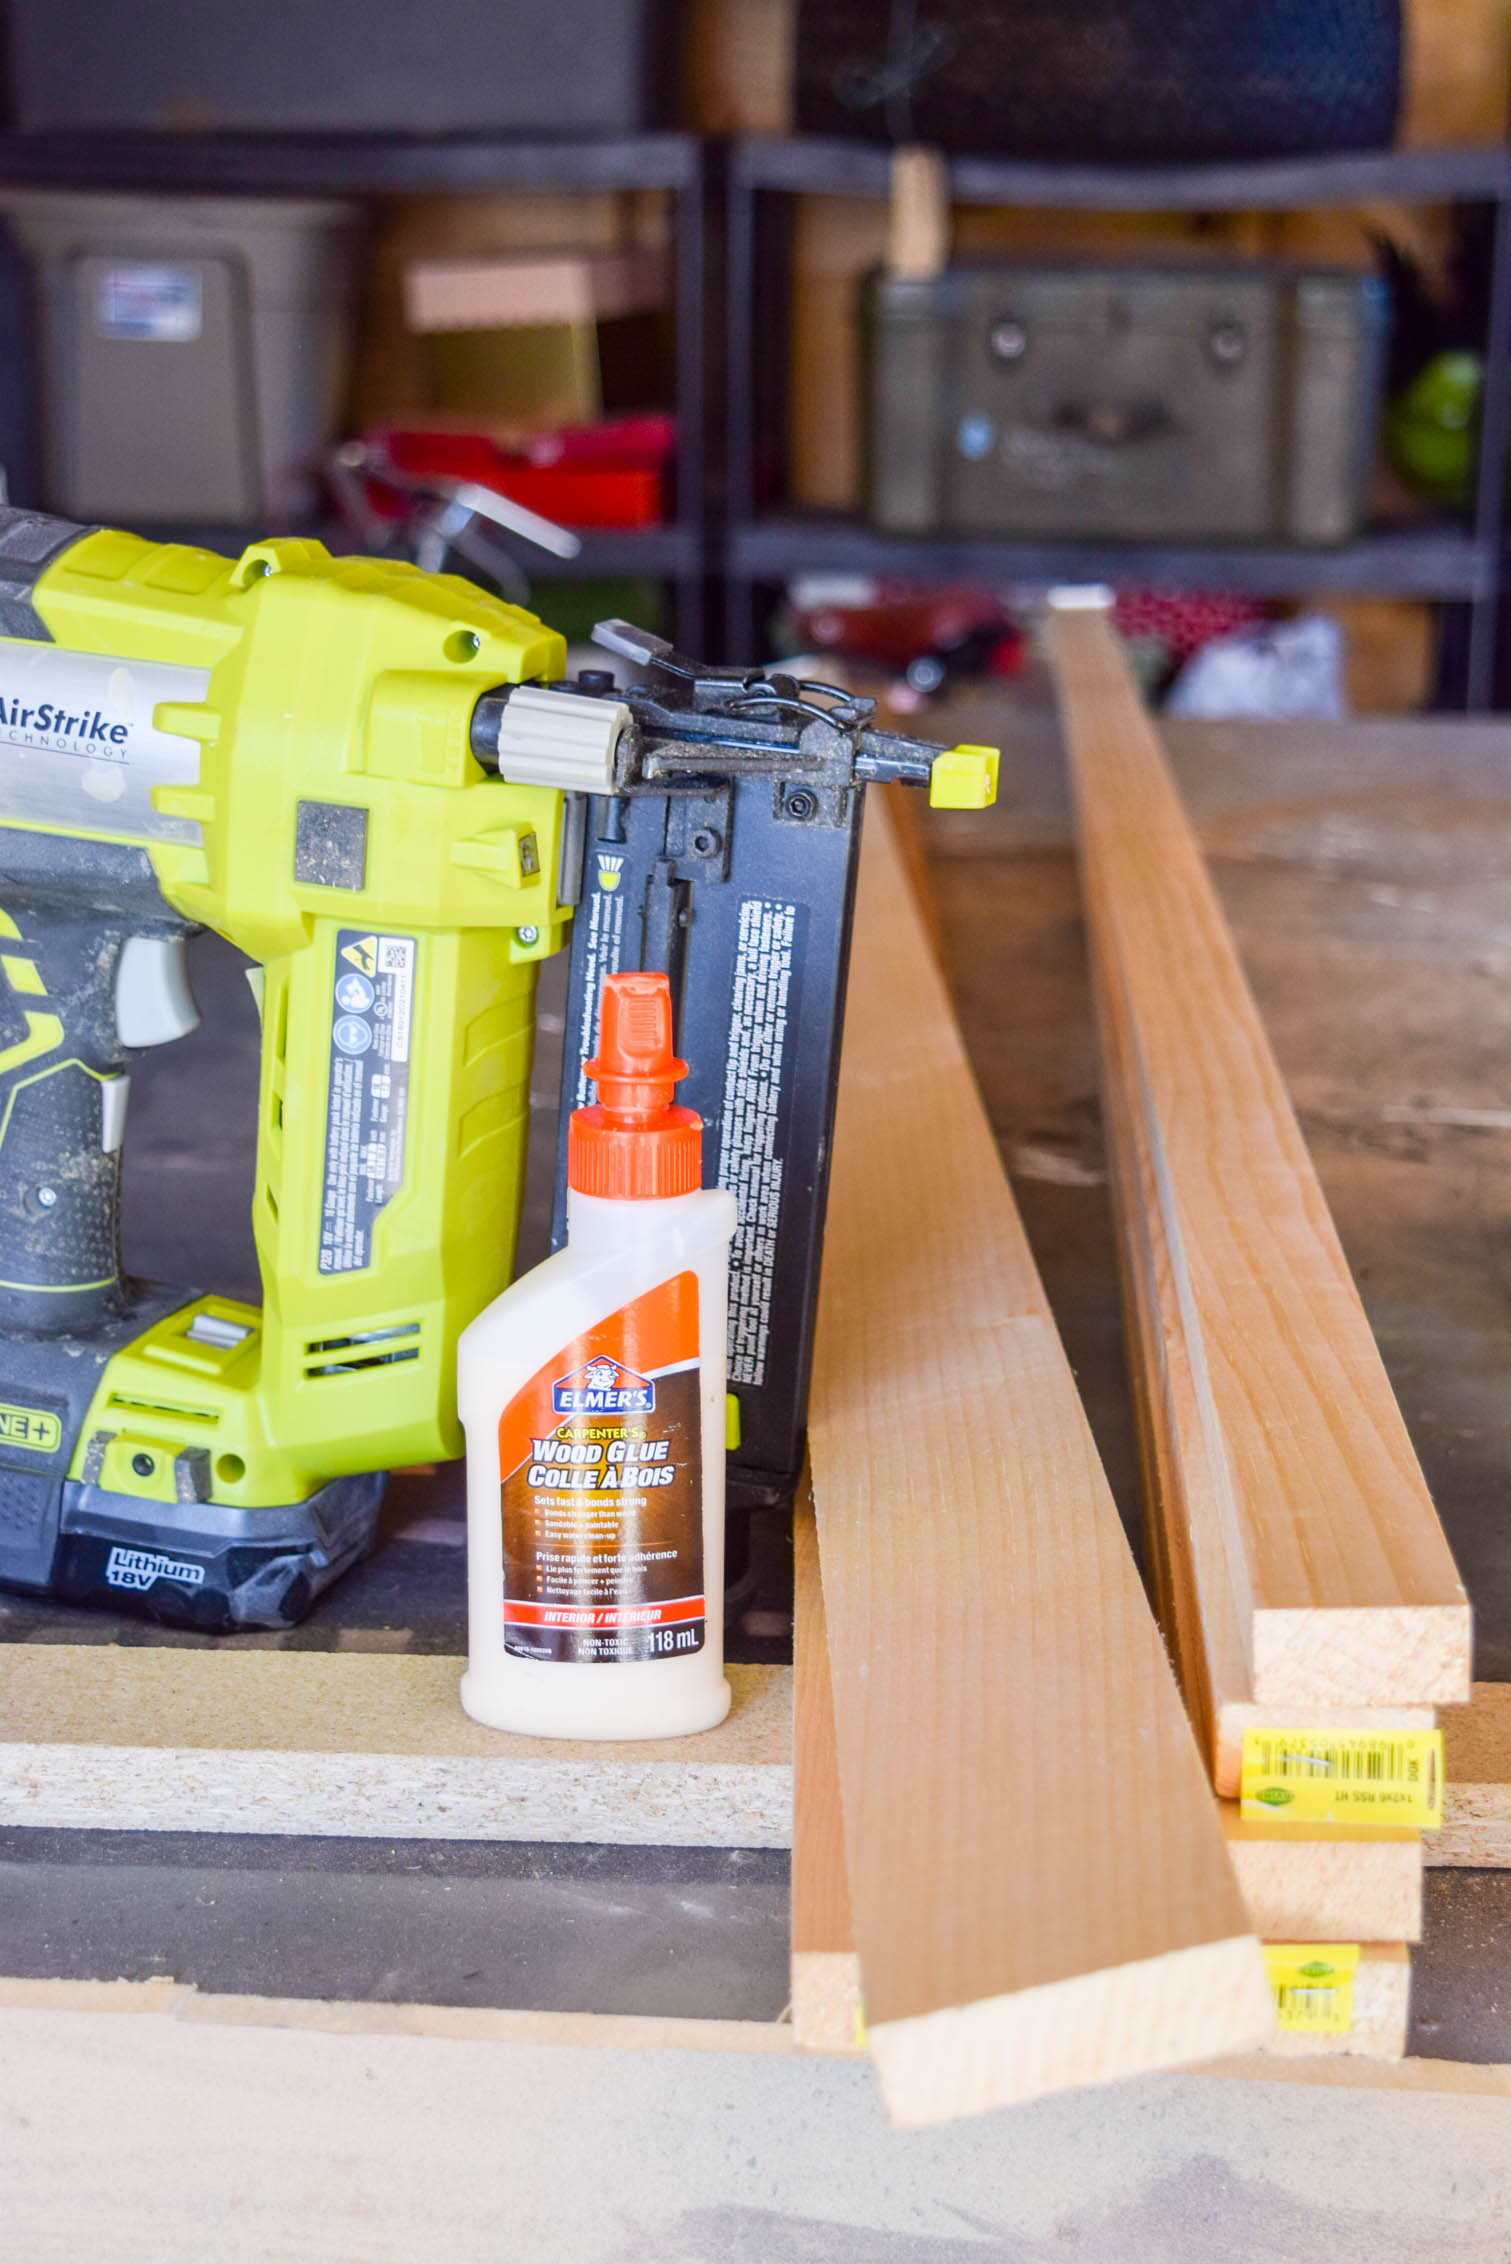
Step 1: Figure out how you’re going to set-up your rail, remove any tags, and make sure everything is the right length.
Step 2: Apply a thing bead of glue to a 1″x2″ along narrow ends, and then clamp on the other 1″x2″ and 1″x3″.
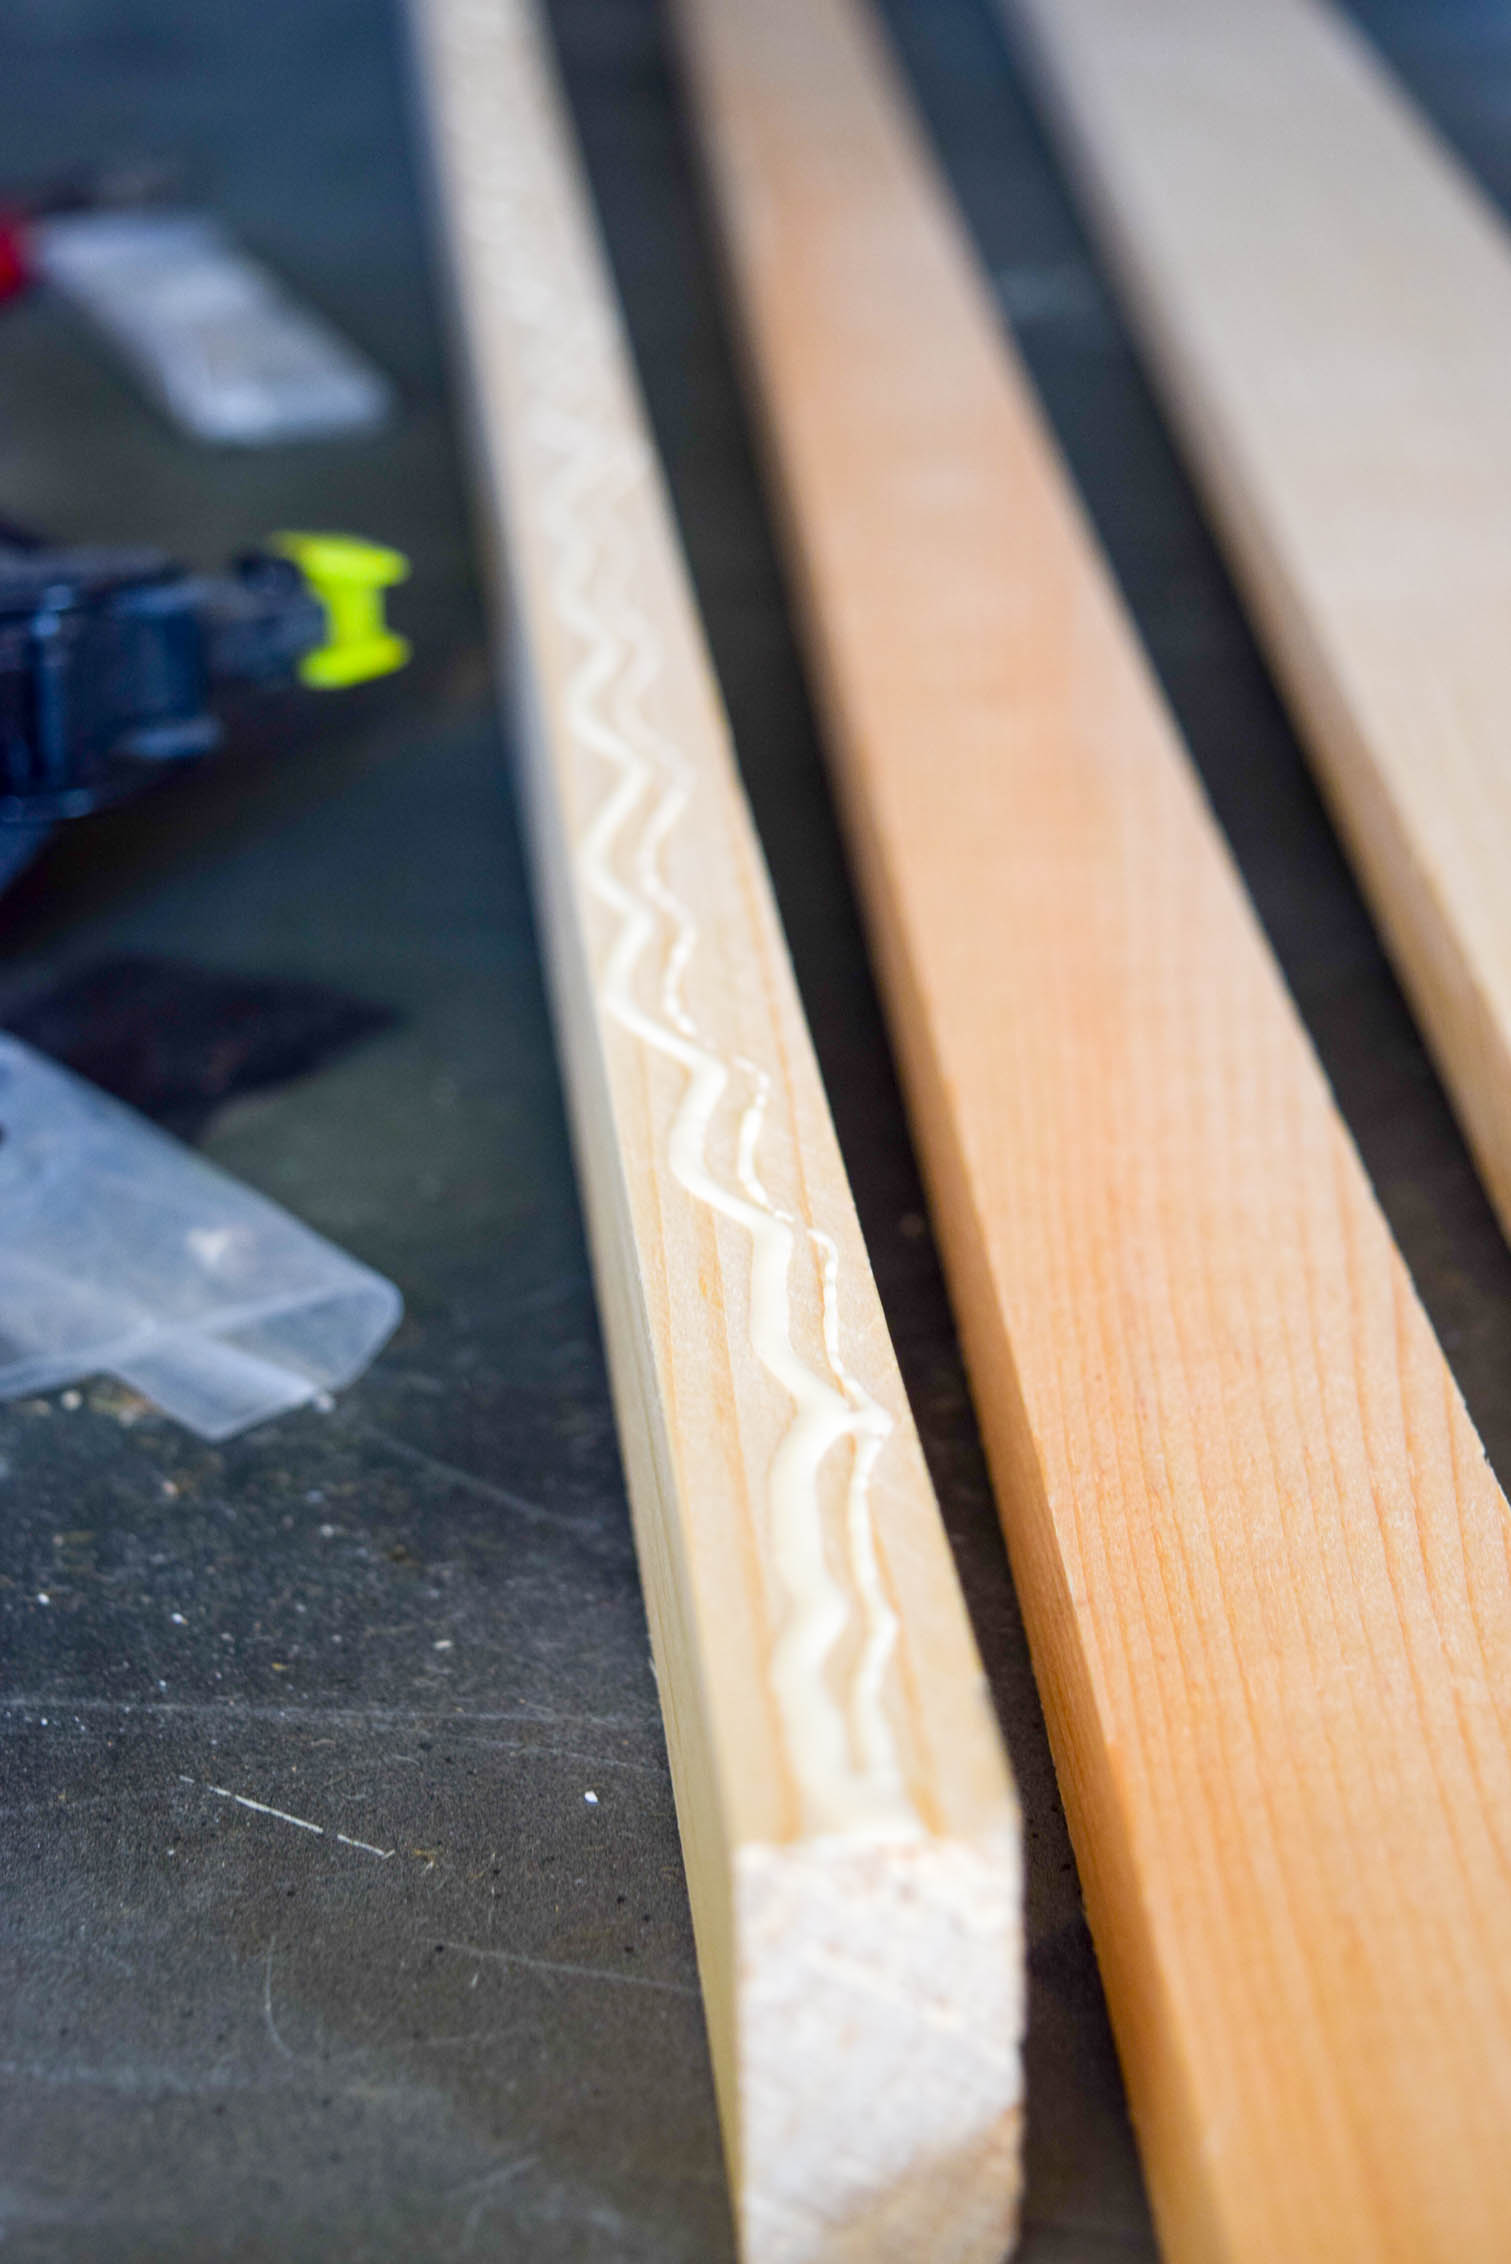
Using your nail gun, add a few well placed nails to hold the pieces together, before clamping everything until it dries solid.
Step 3: Once everything is dry, lightly sand it all using a high grit (220+) just to remove any glue or snags. If the wood is nice, there shouldn’t be many though.
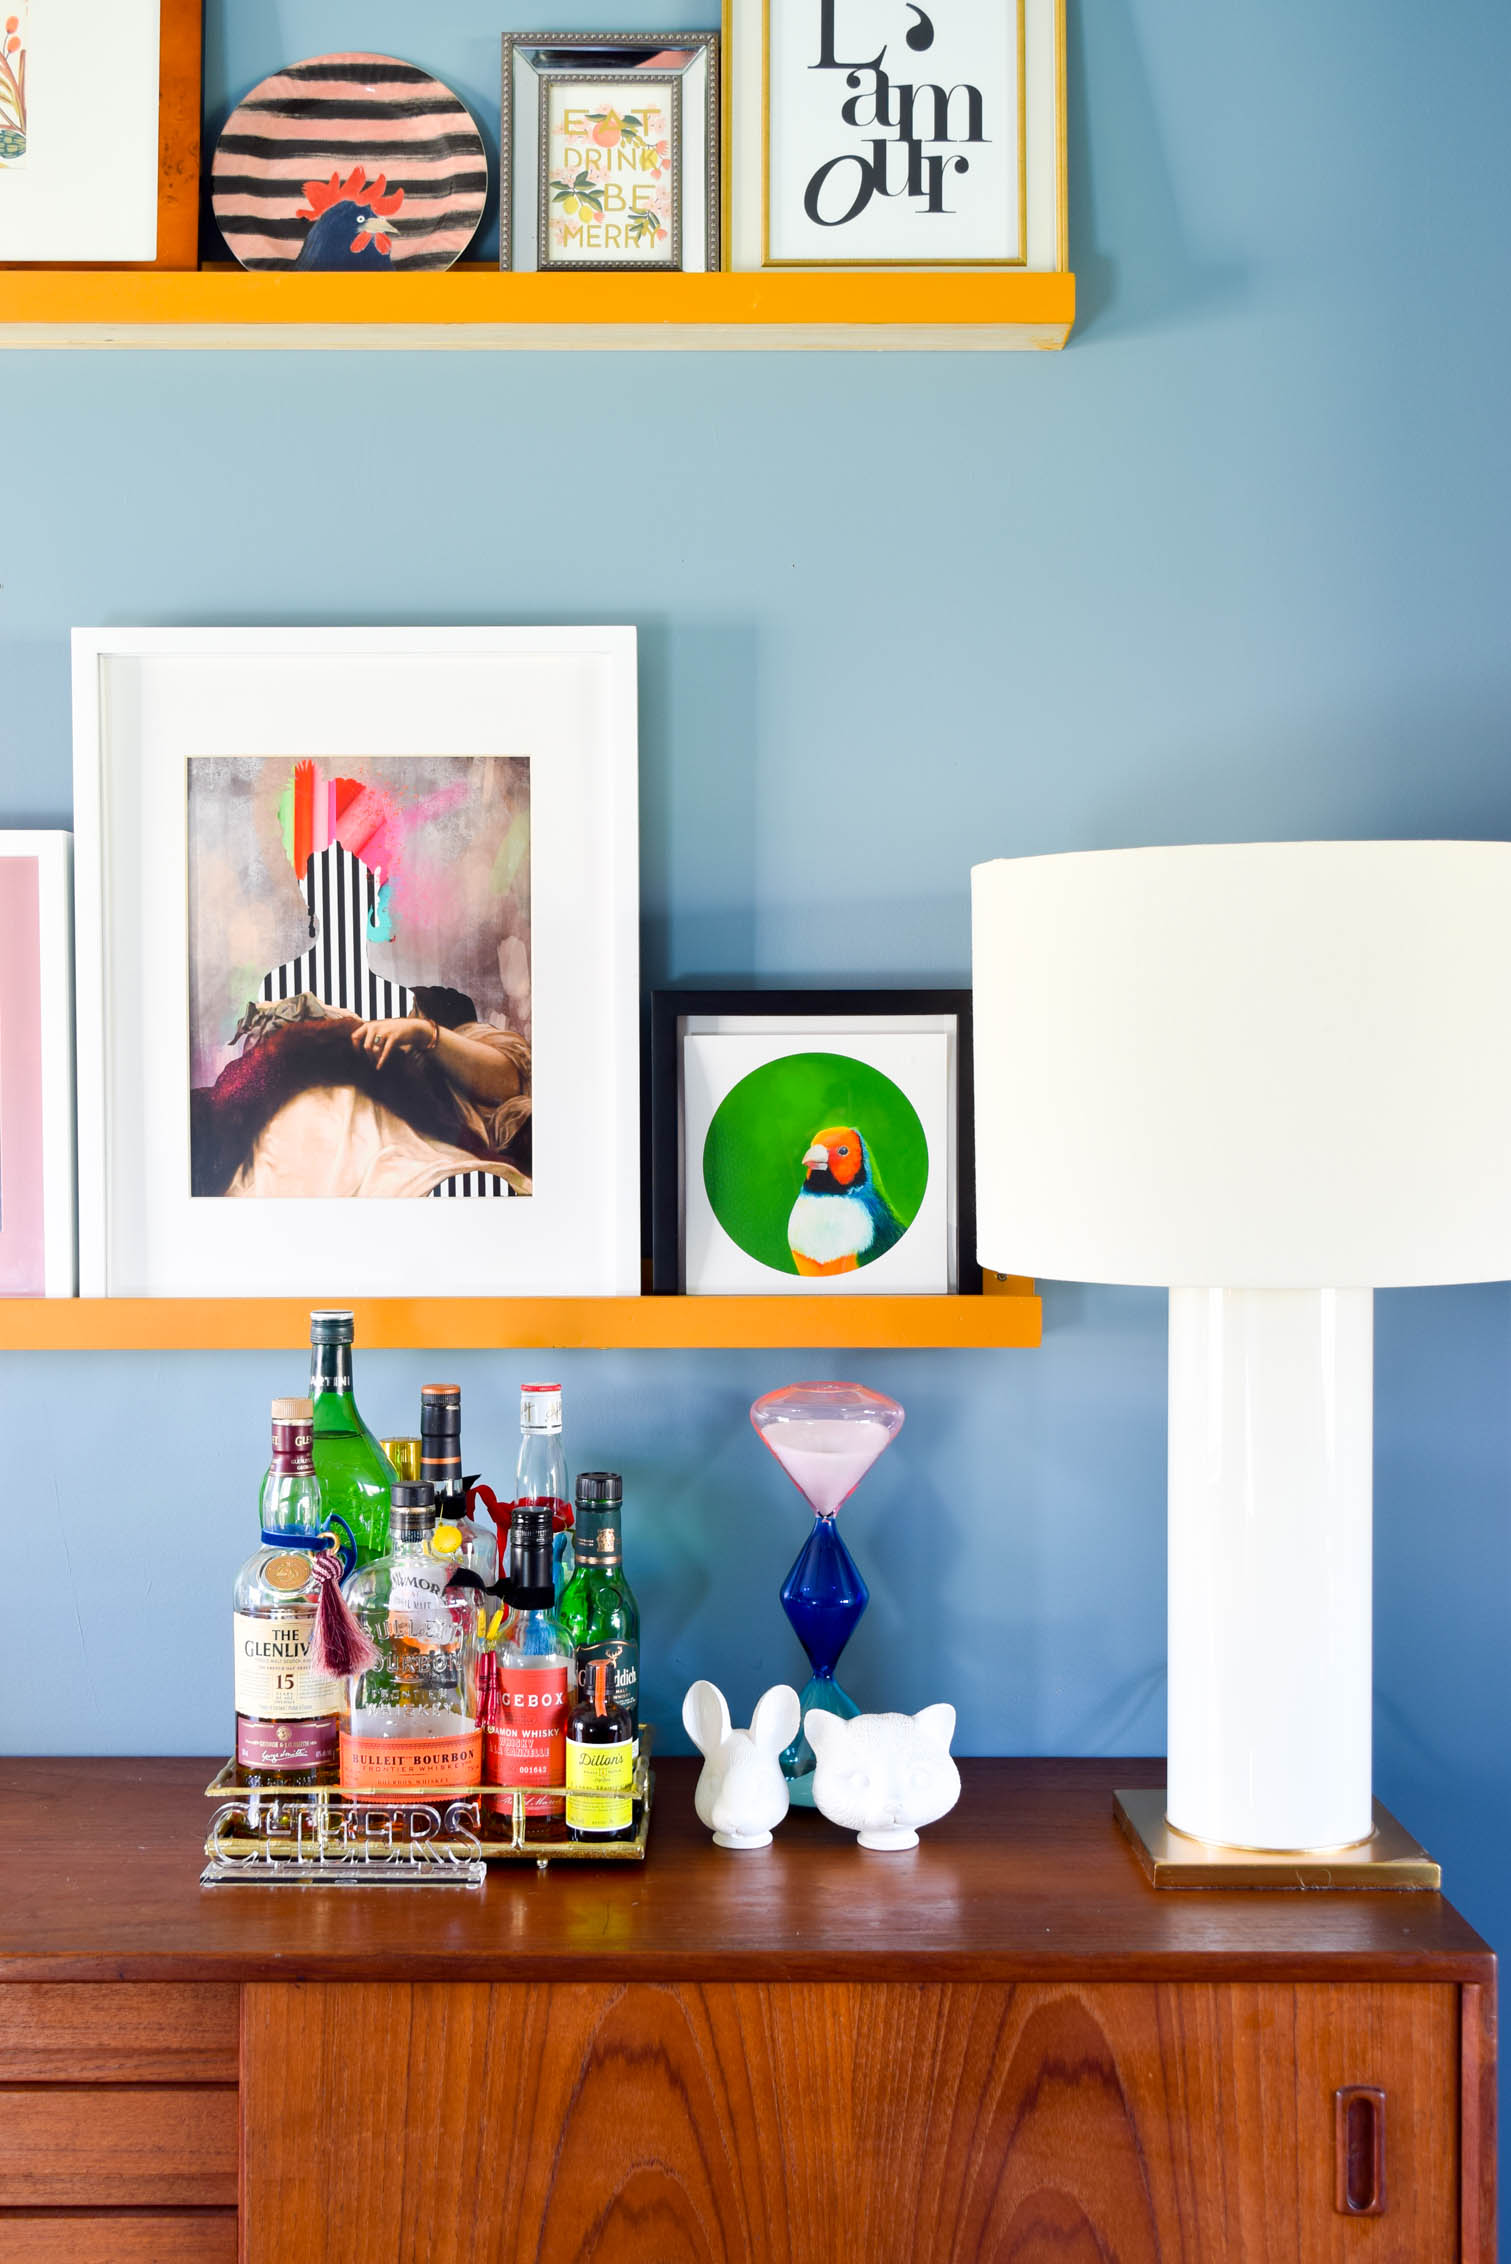
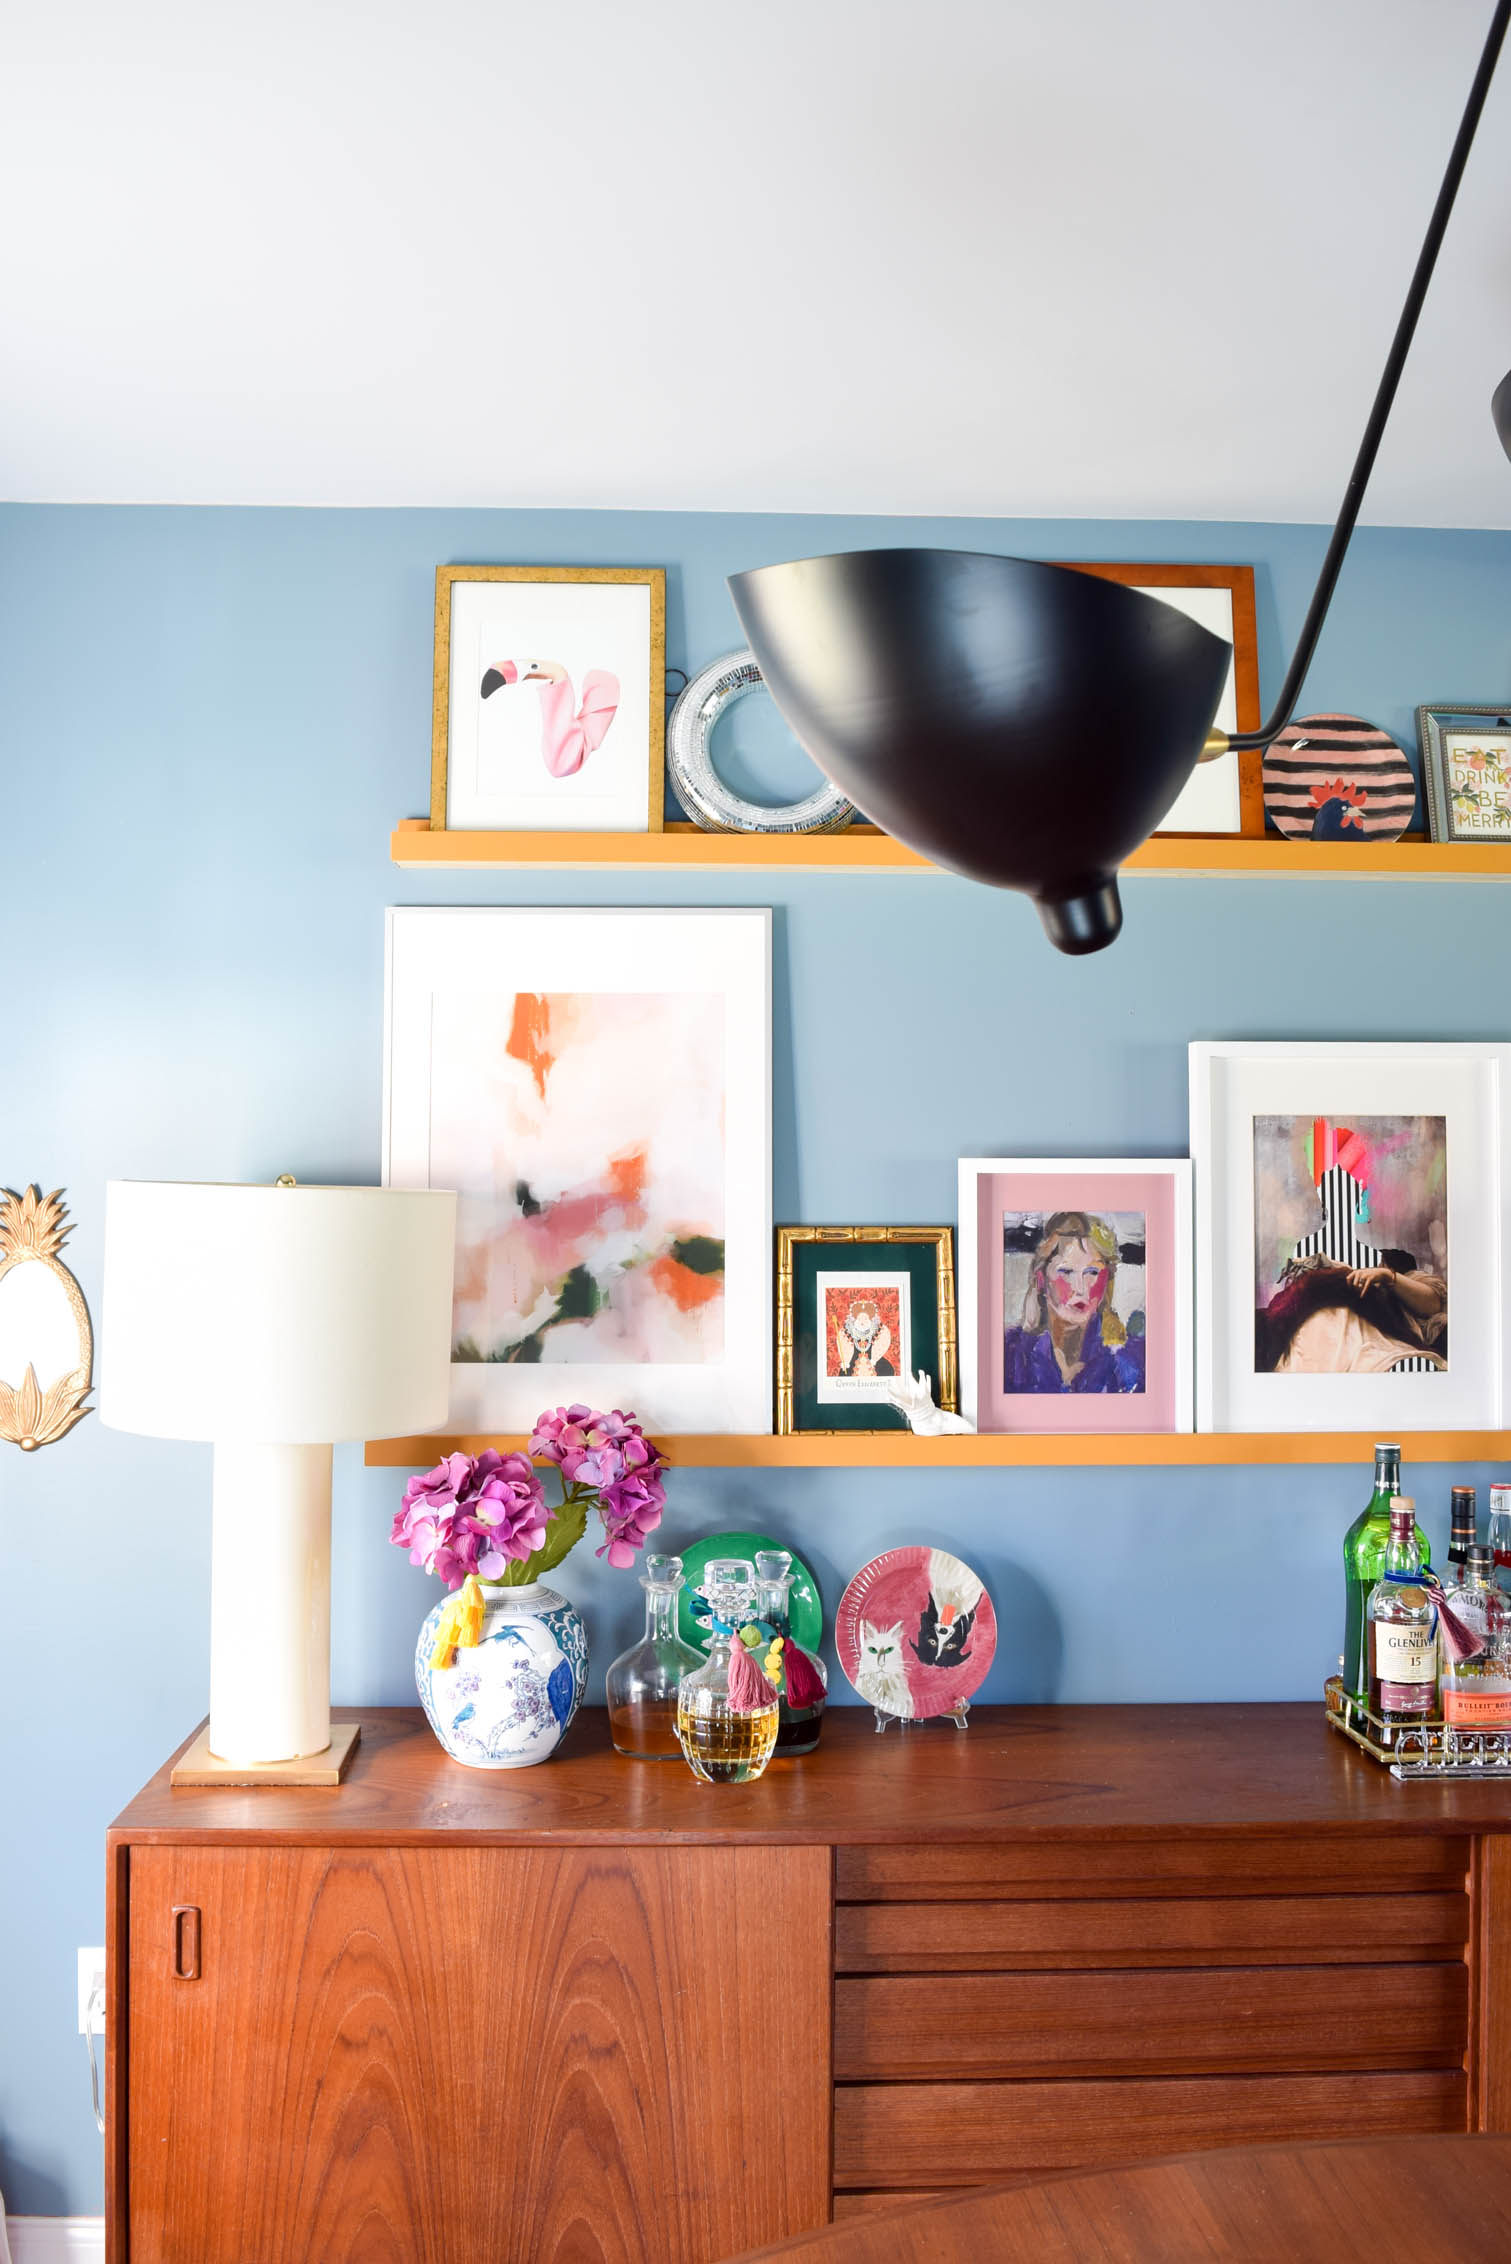
Step 4: Paint! You could also stain the wood, but I wanted so colour that would pick-up on the already very rich tones in the space. I’ve been working with Fusion’s paints a lot lately, so I thought I’d use Mustard for the rails sine it was close to the teak of the dining room set.

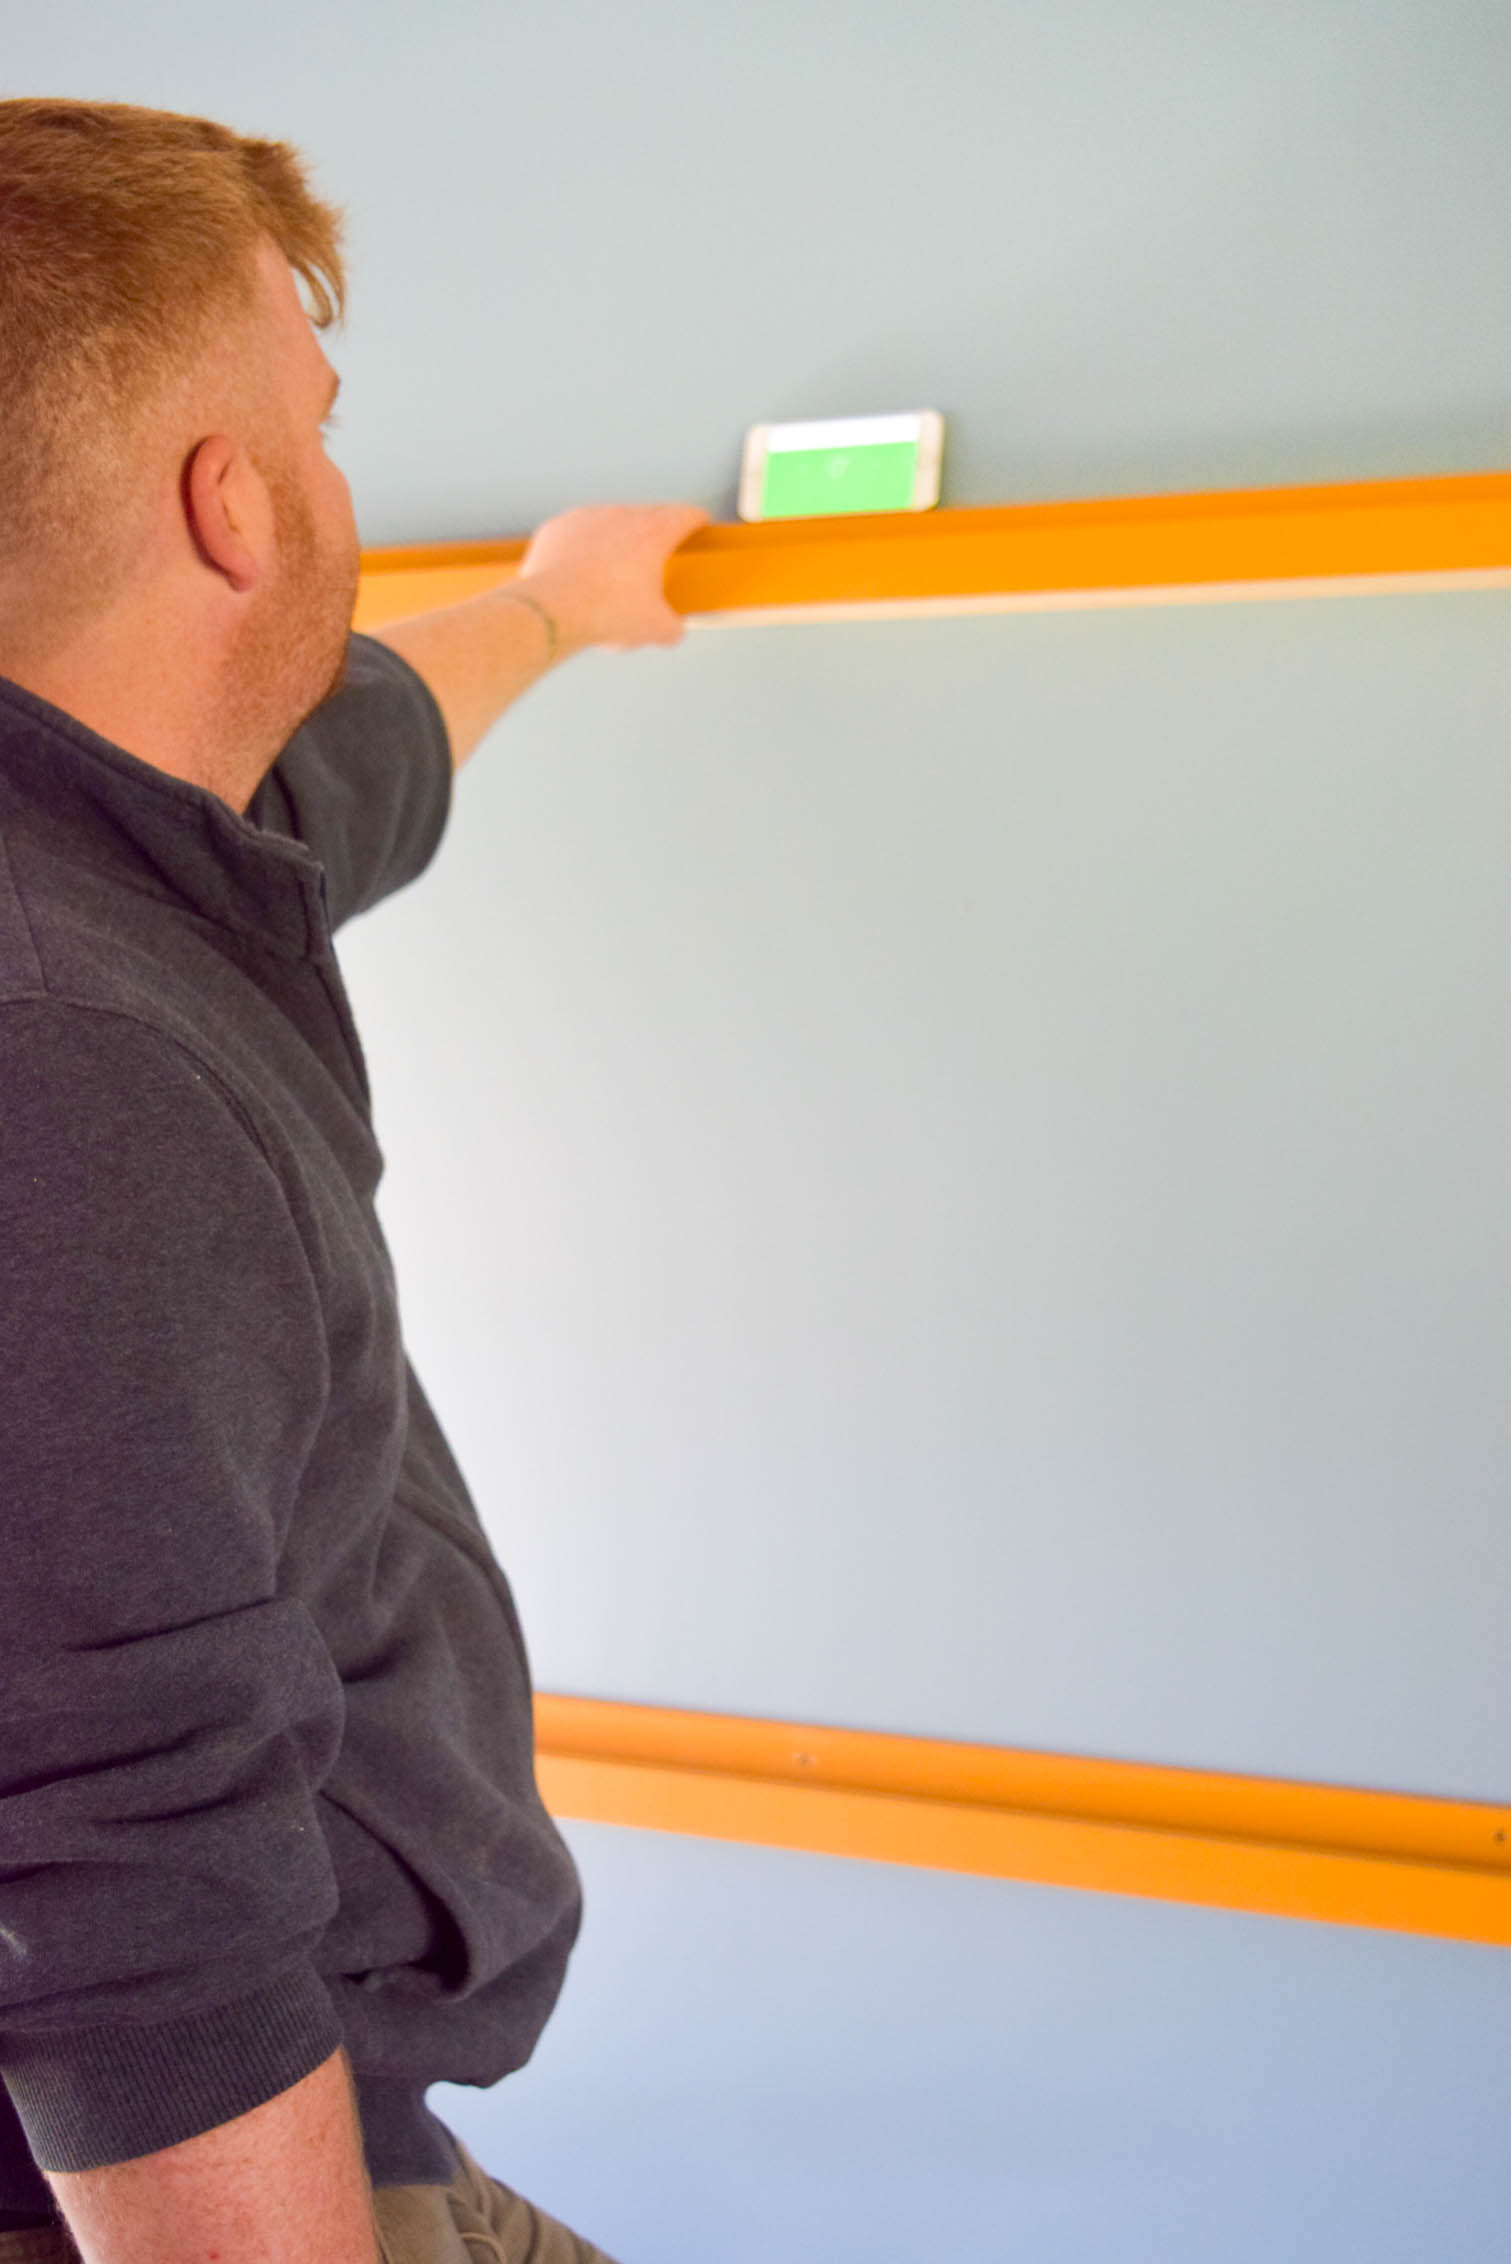
Step 5: To hang the rails once they were dry, we used a stud finder to make sure that they were safely anchored (and not likely to fall down onto the sideboard). Dan then used screws in 5 different spots to hold the rails. They’re not going anywhere.
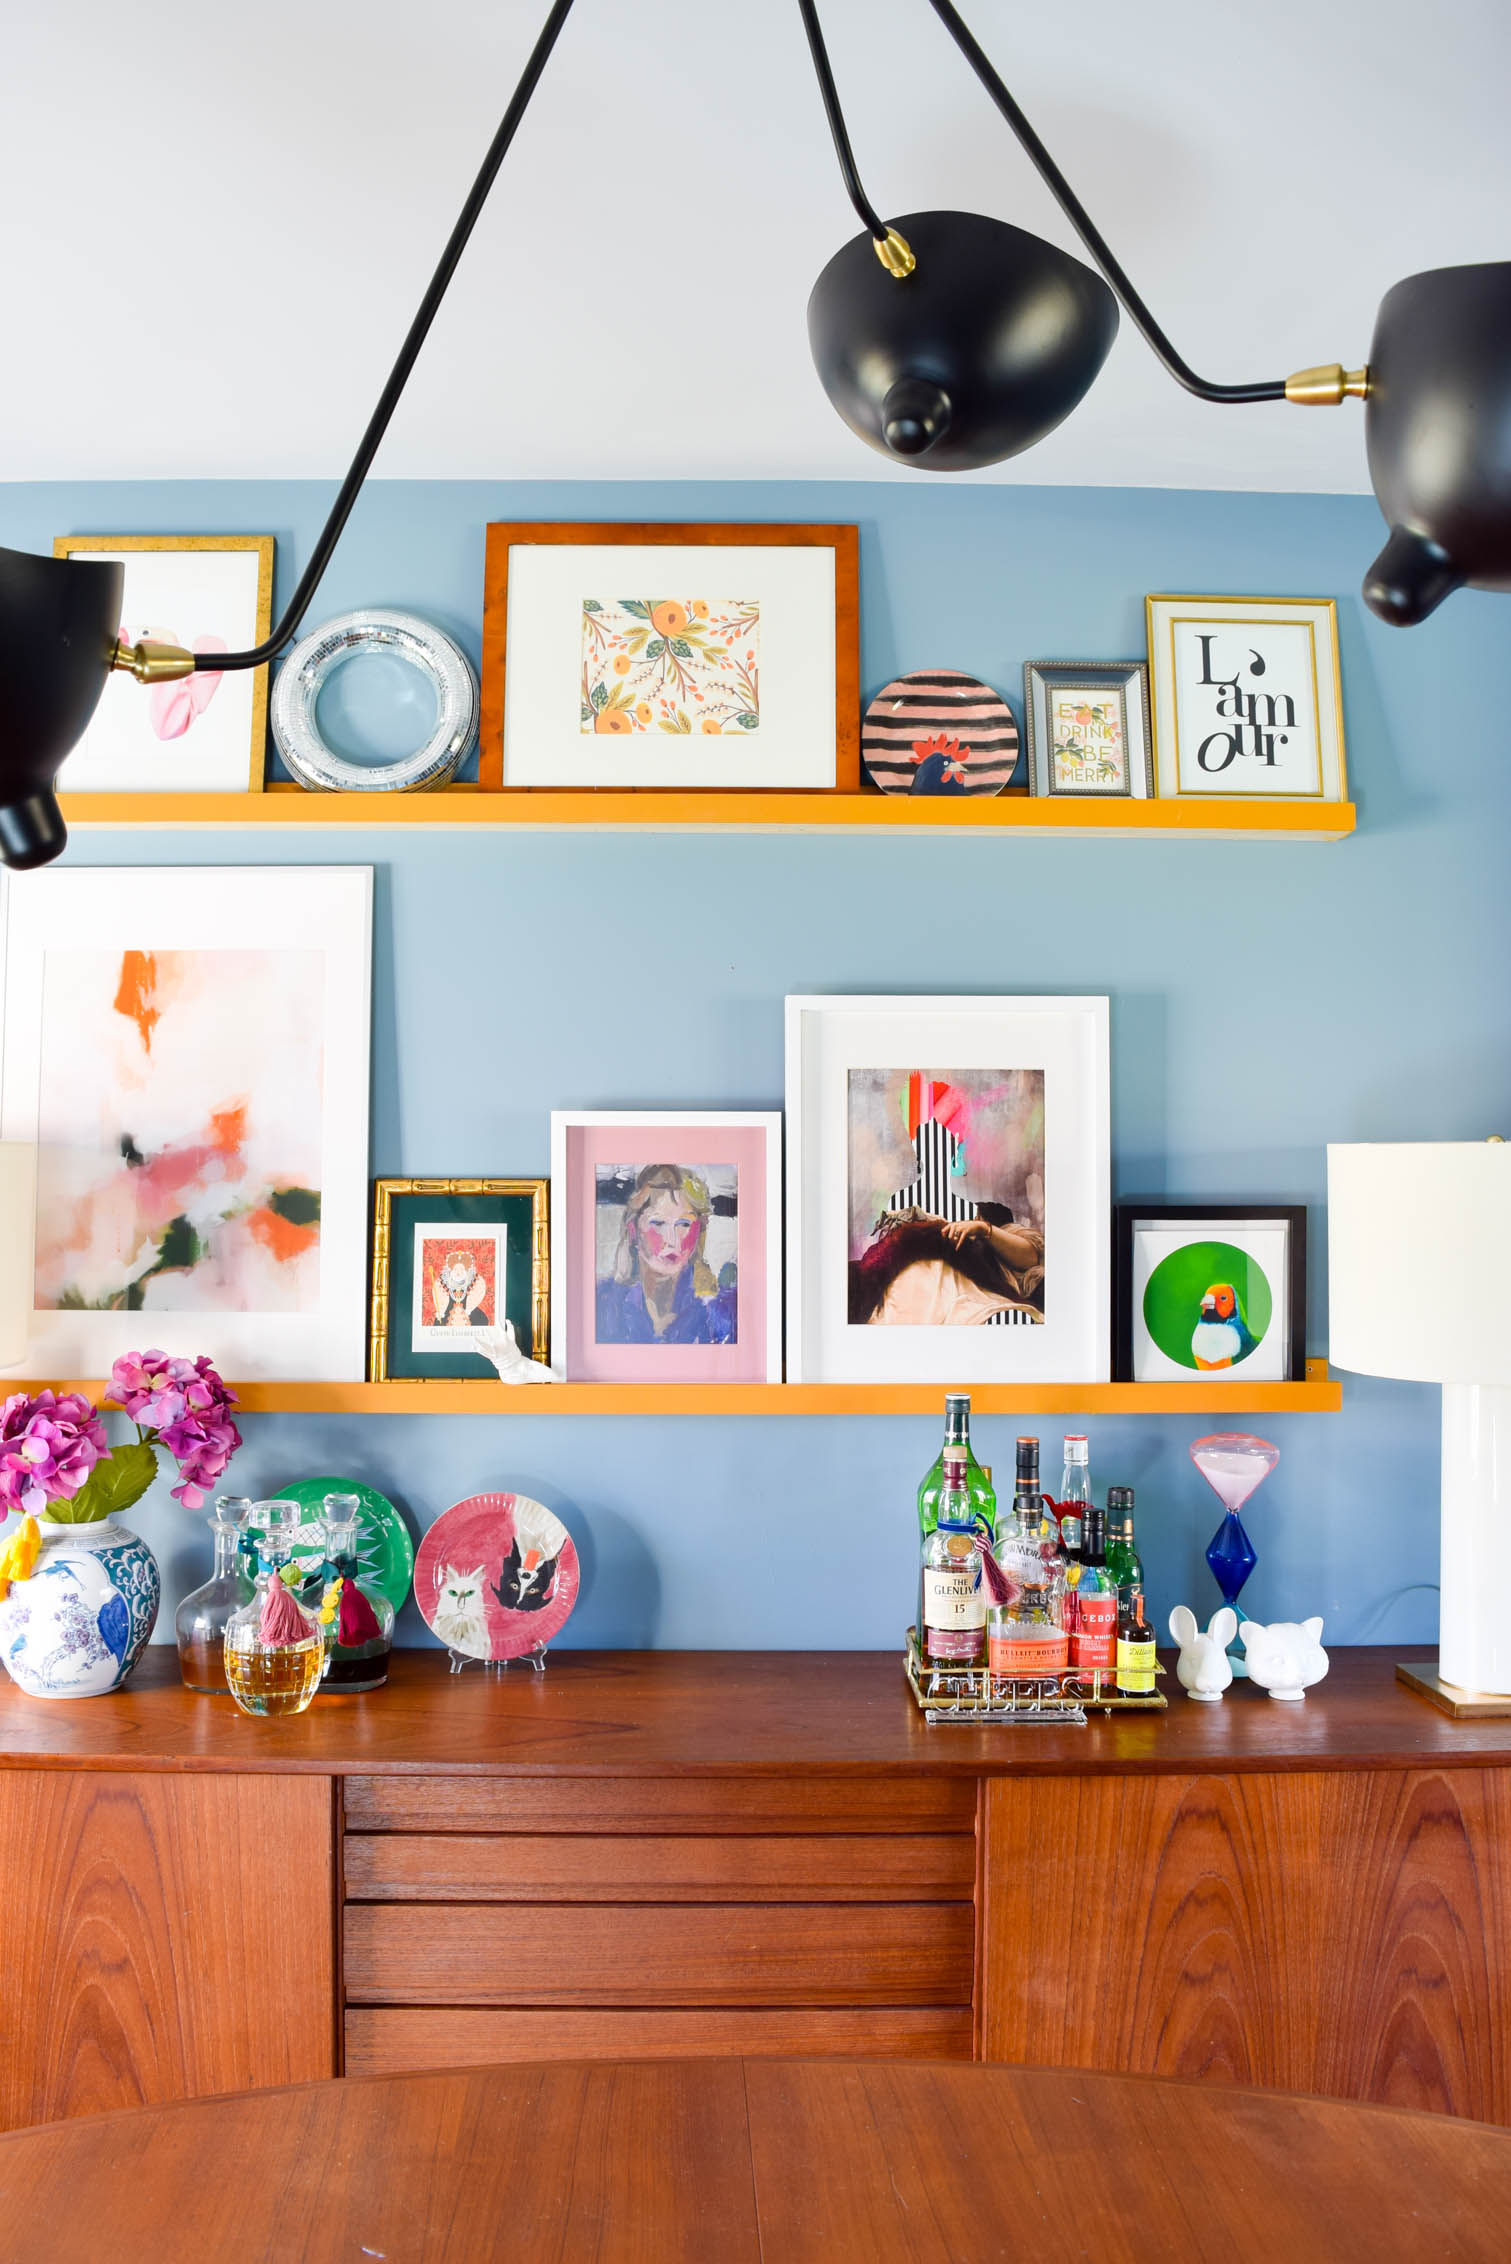
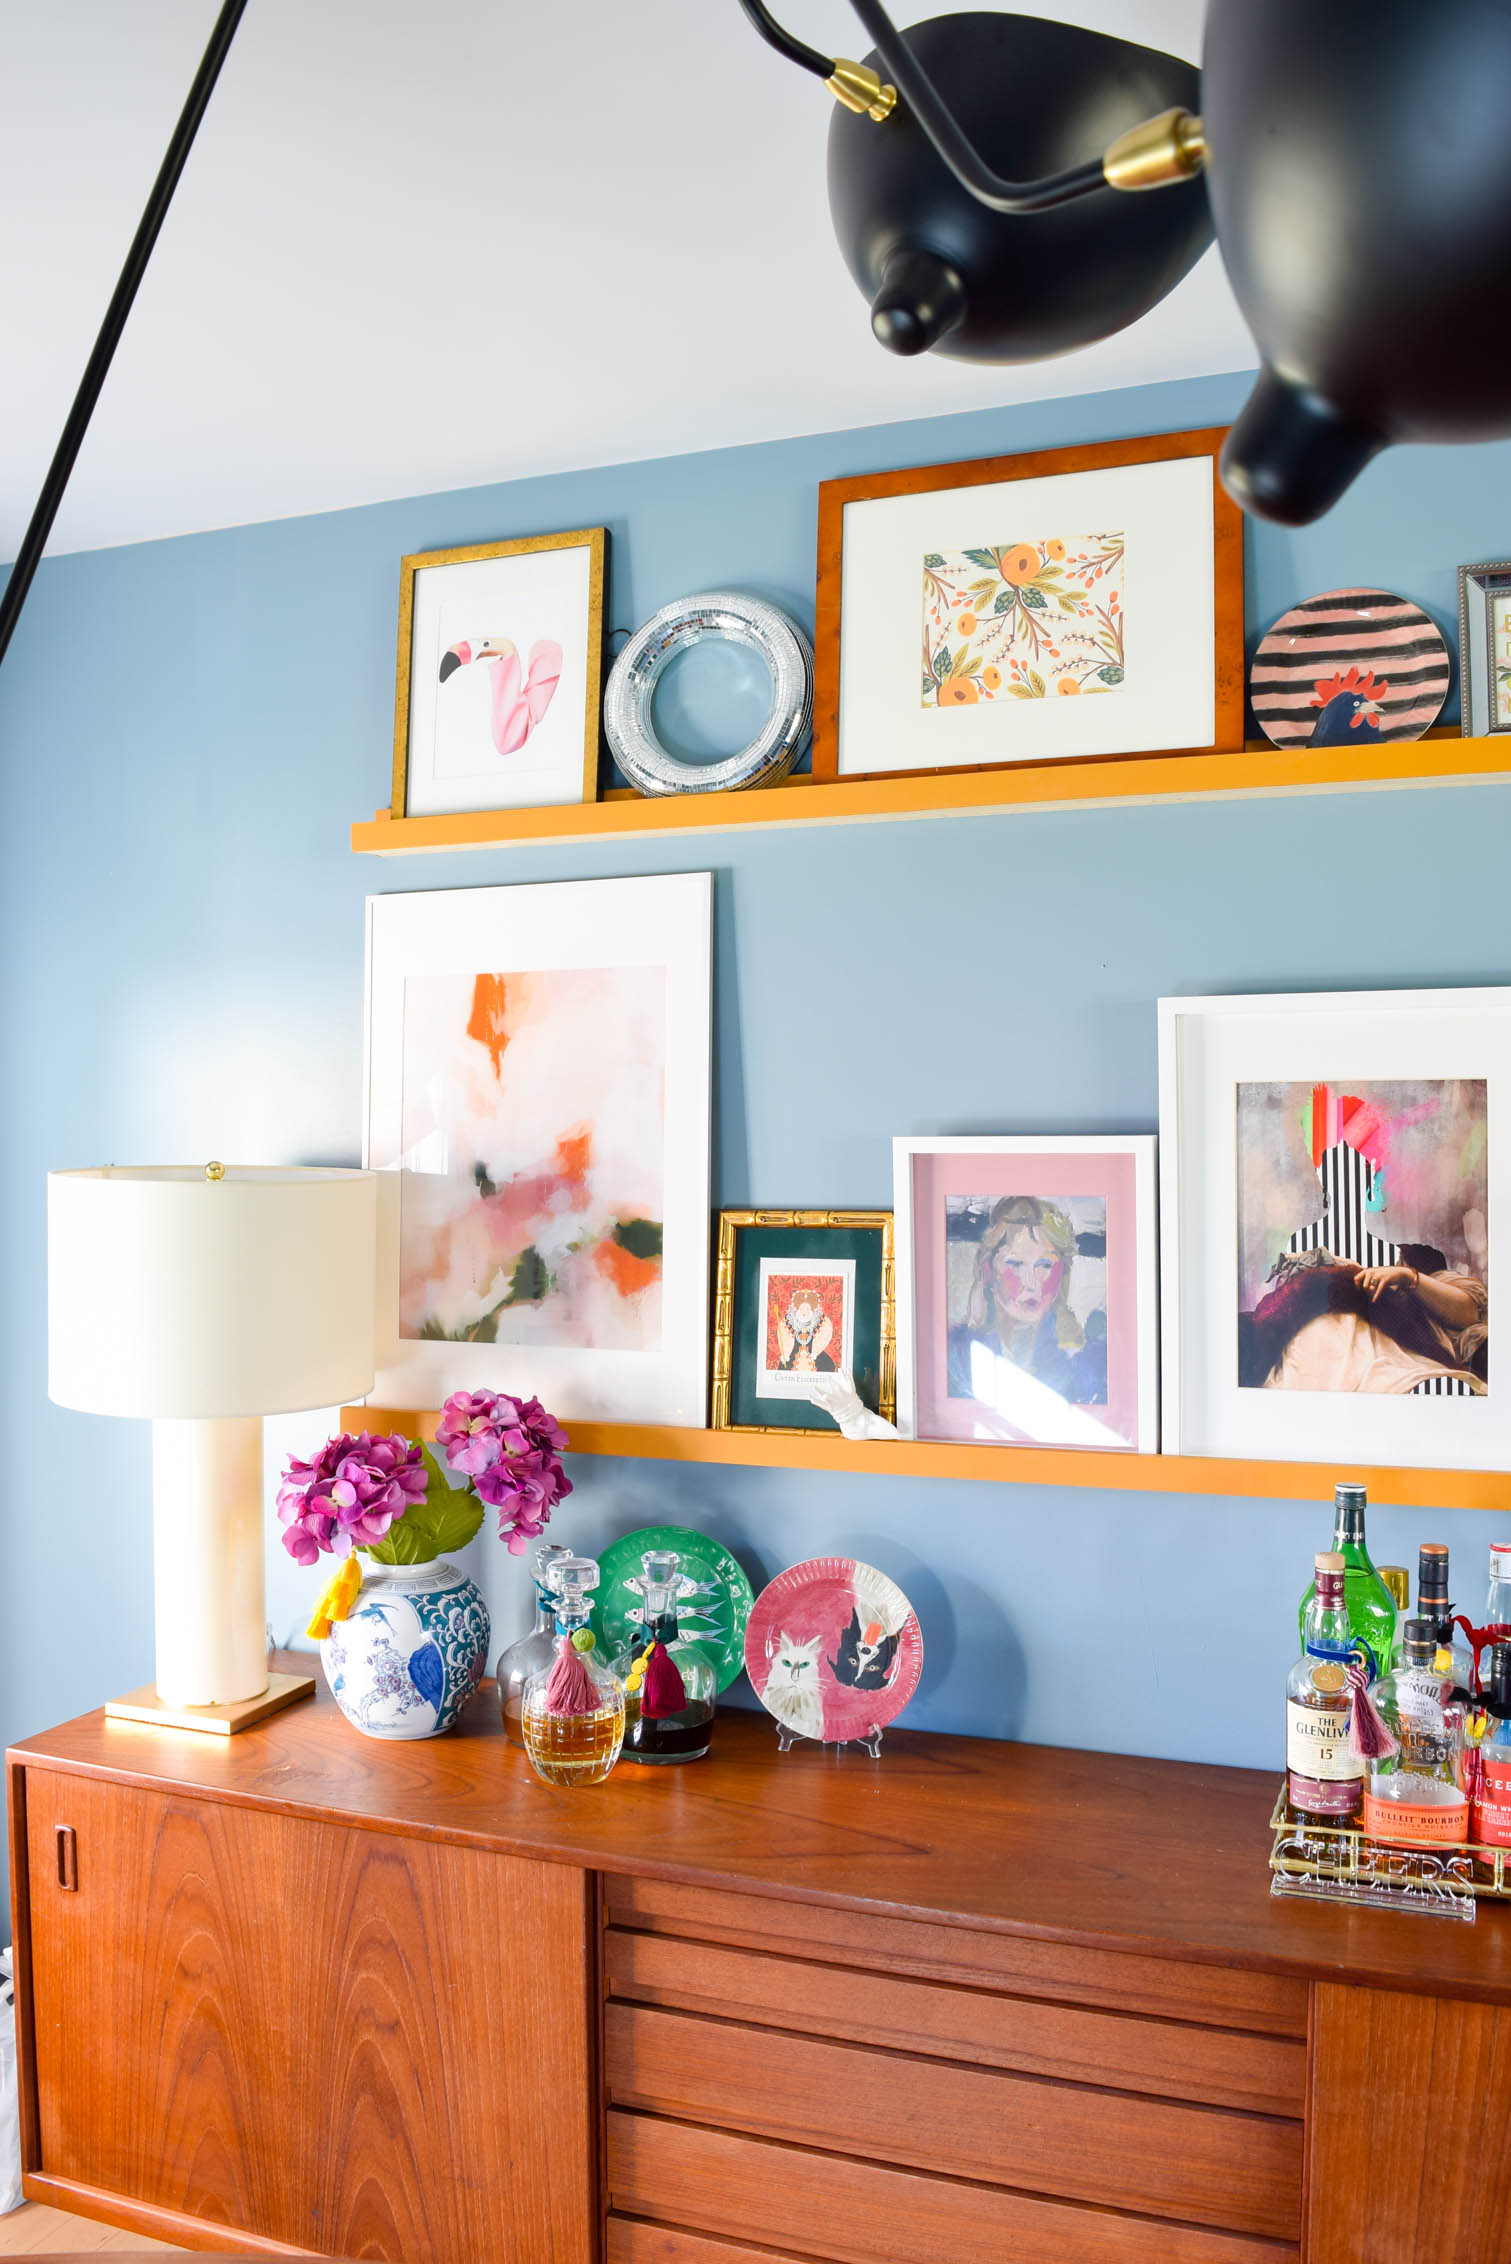
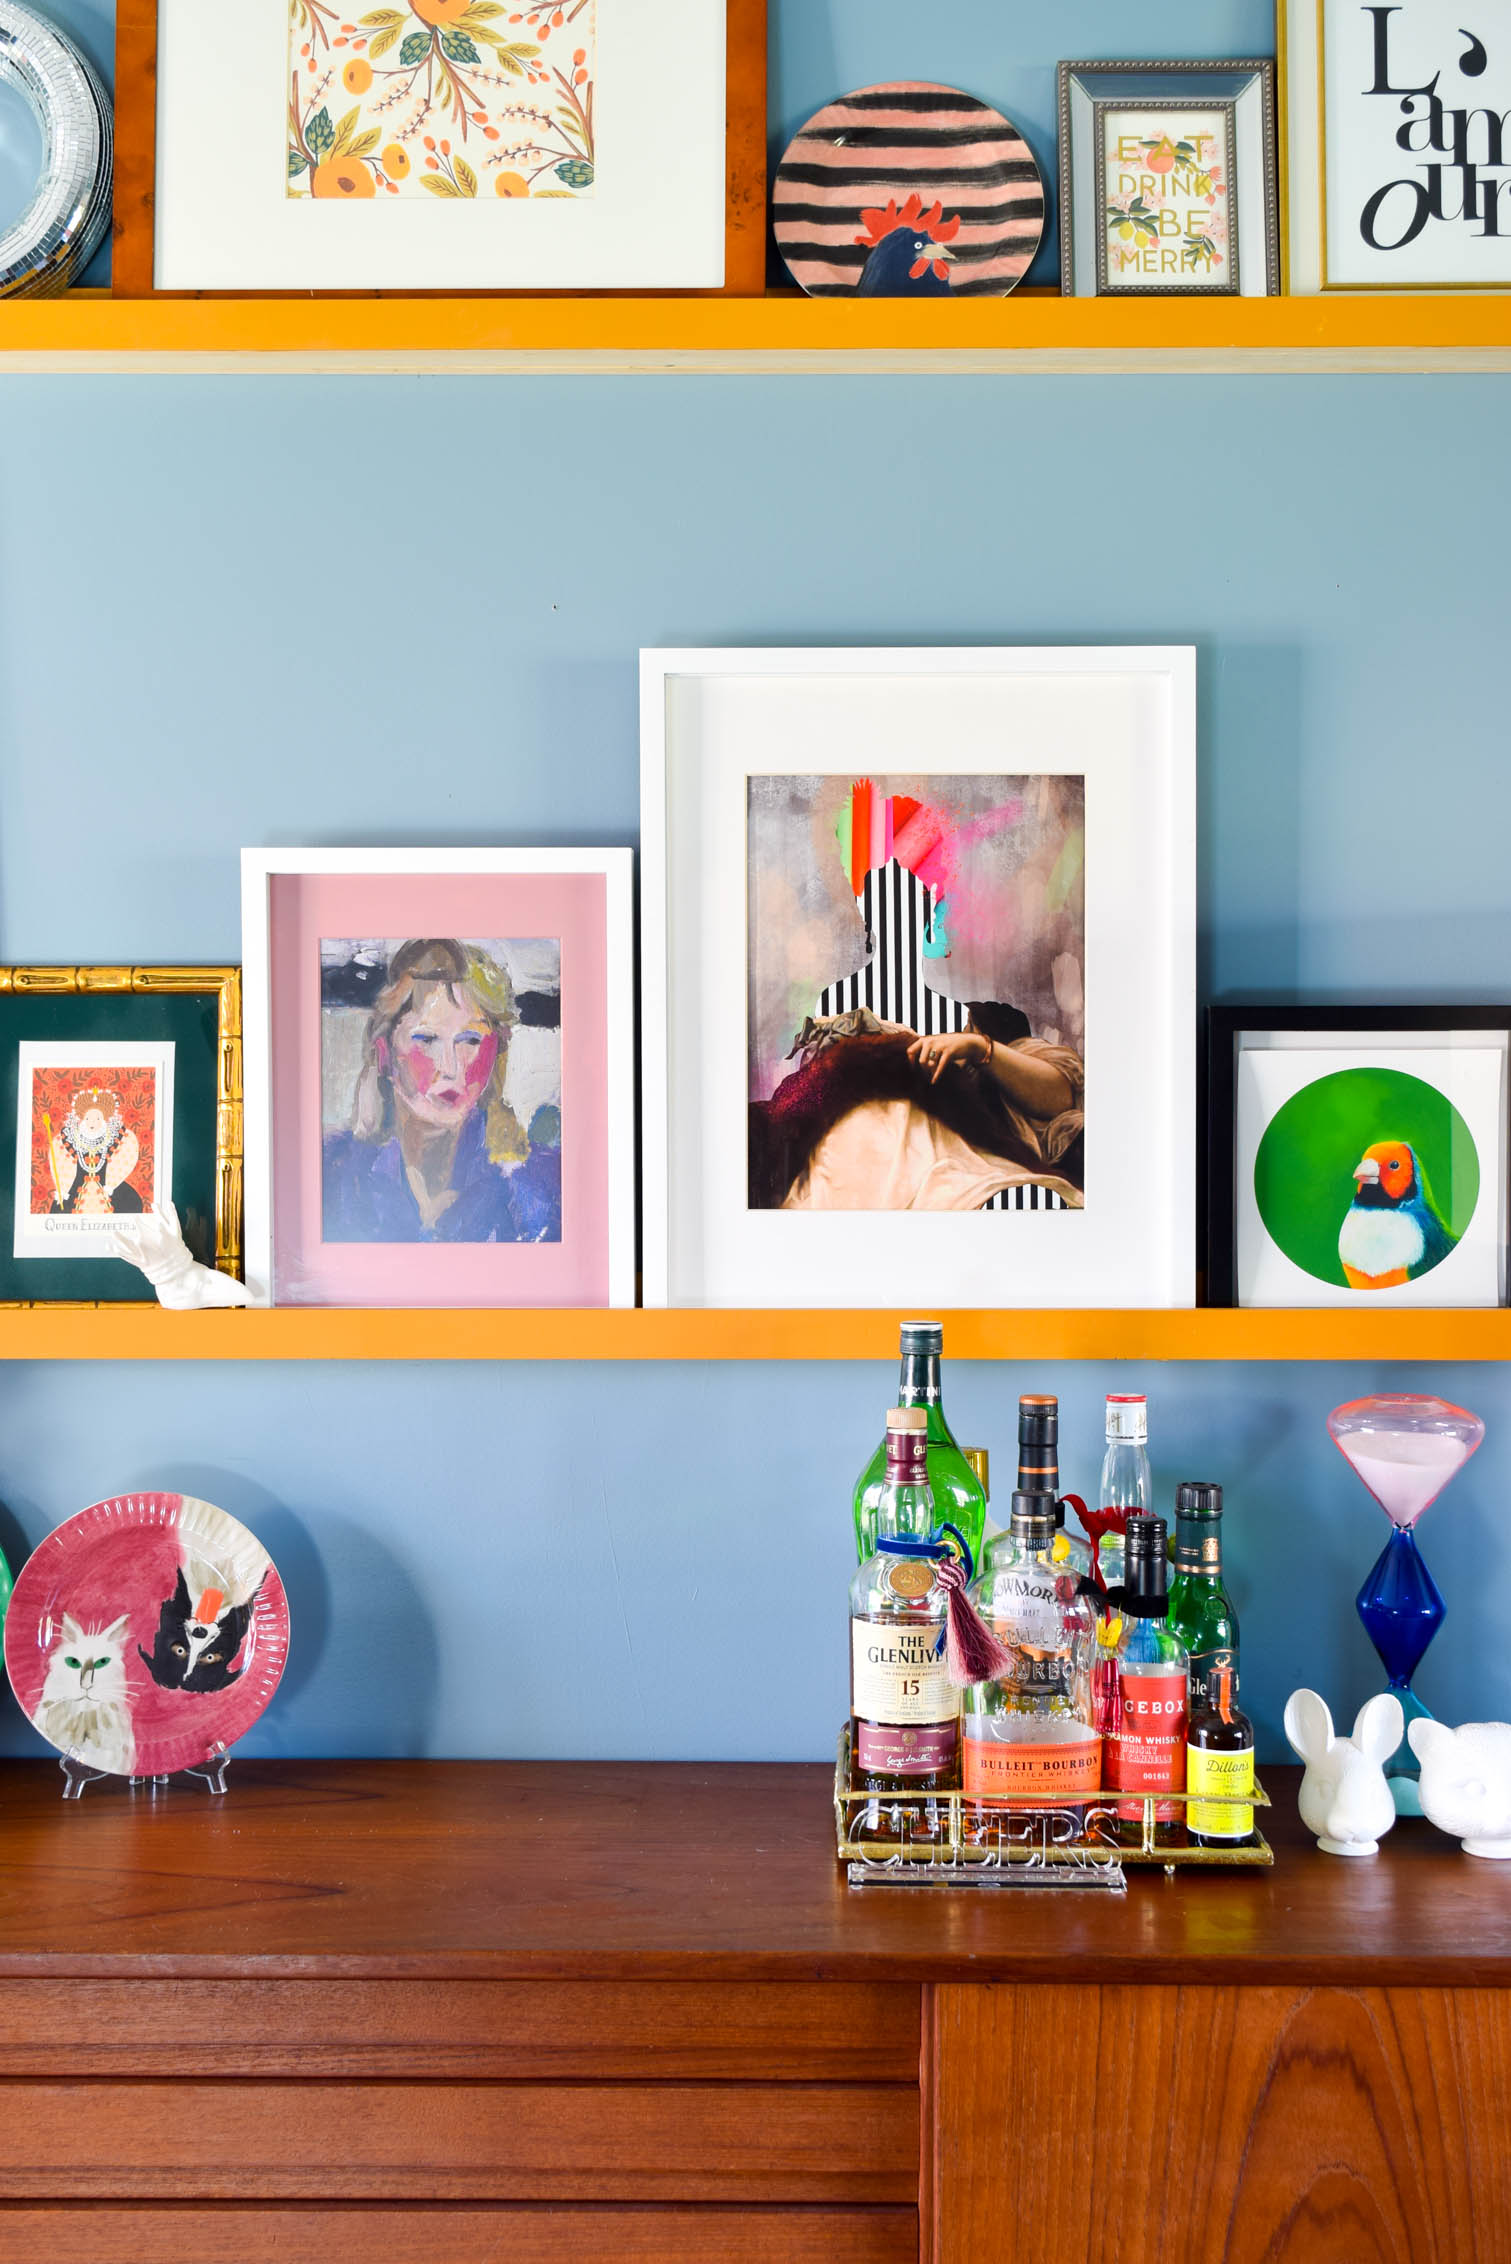
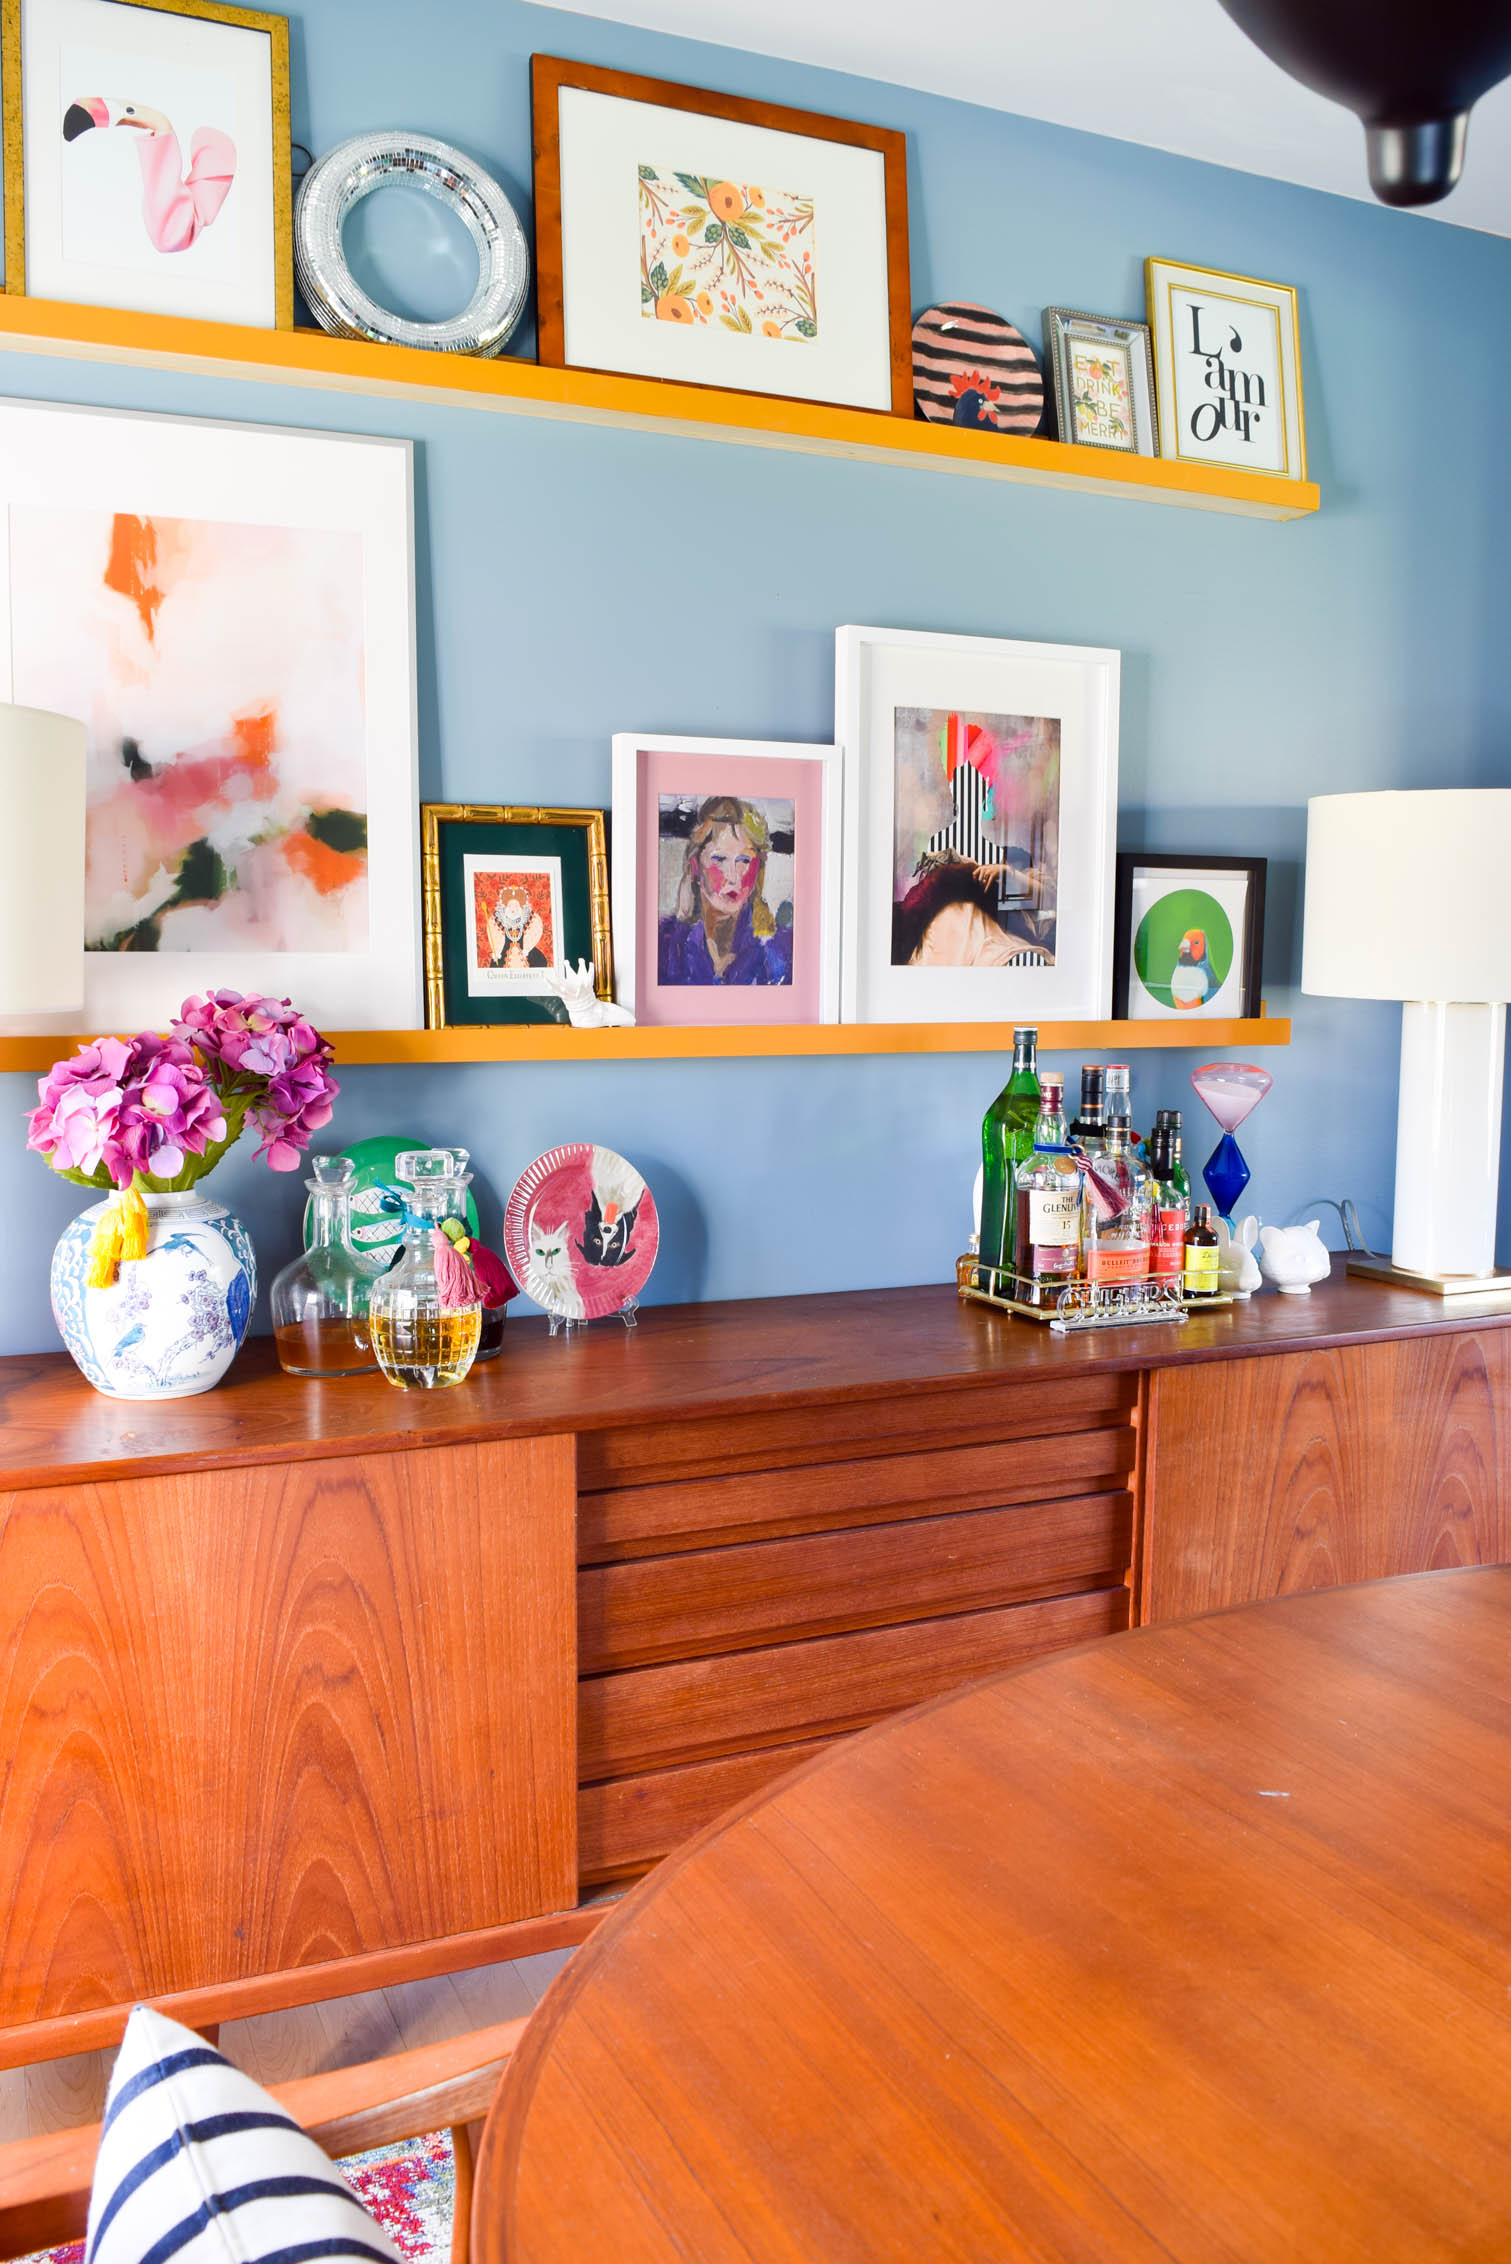
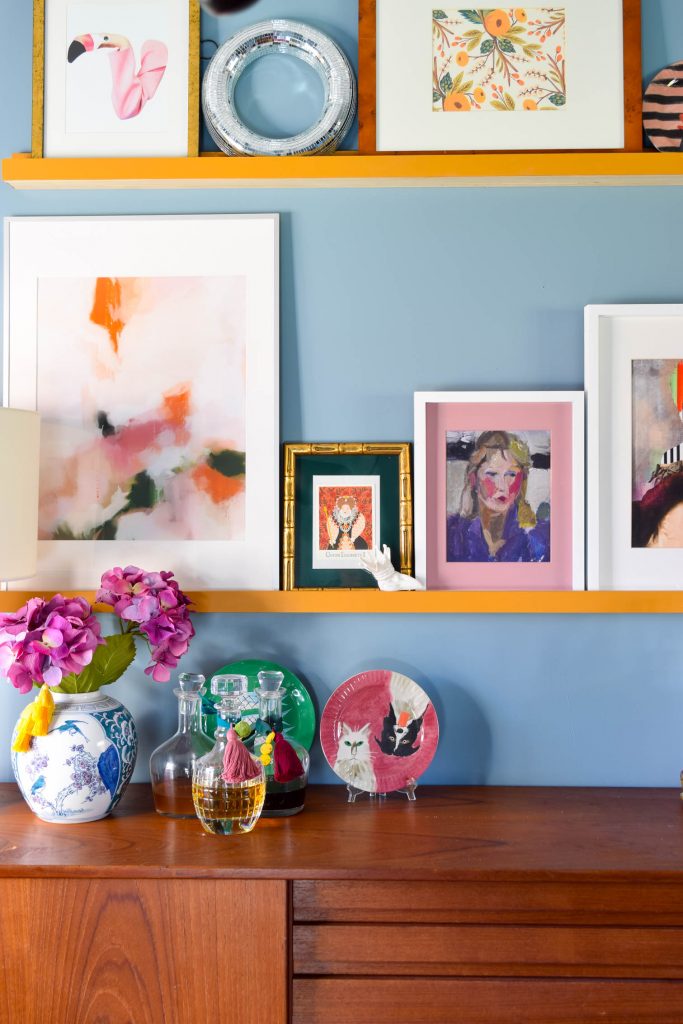
Once I ad my DIY Picture rails up, it was time to decorate! I worked in most of the existing pieces I had on the sideboard, but also a few of the new pieces from Diedododa.


I think our art collection has much more space to breathe now. Like I said before, I really like the layered look we had before, but it was starting to feel a little stuffy.
With all this vertical space though, everything has a place, and everything in its place.
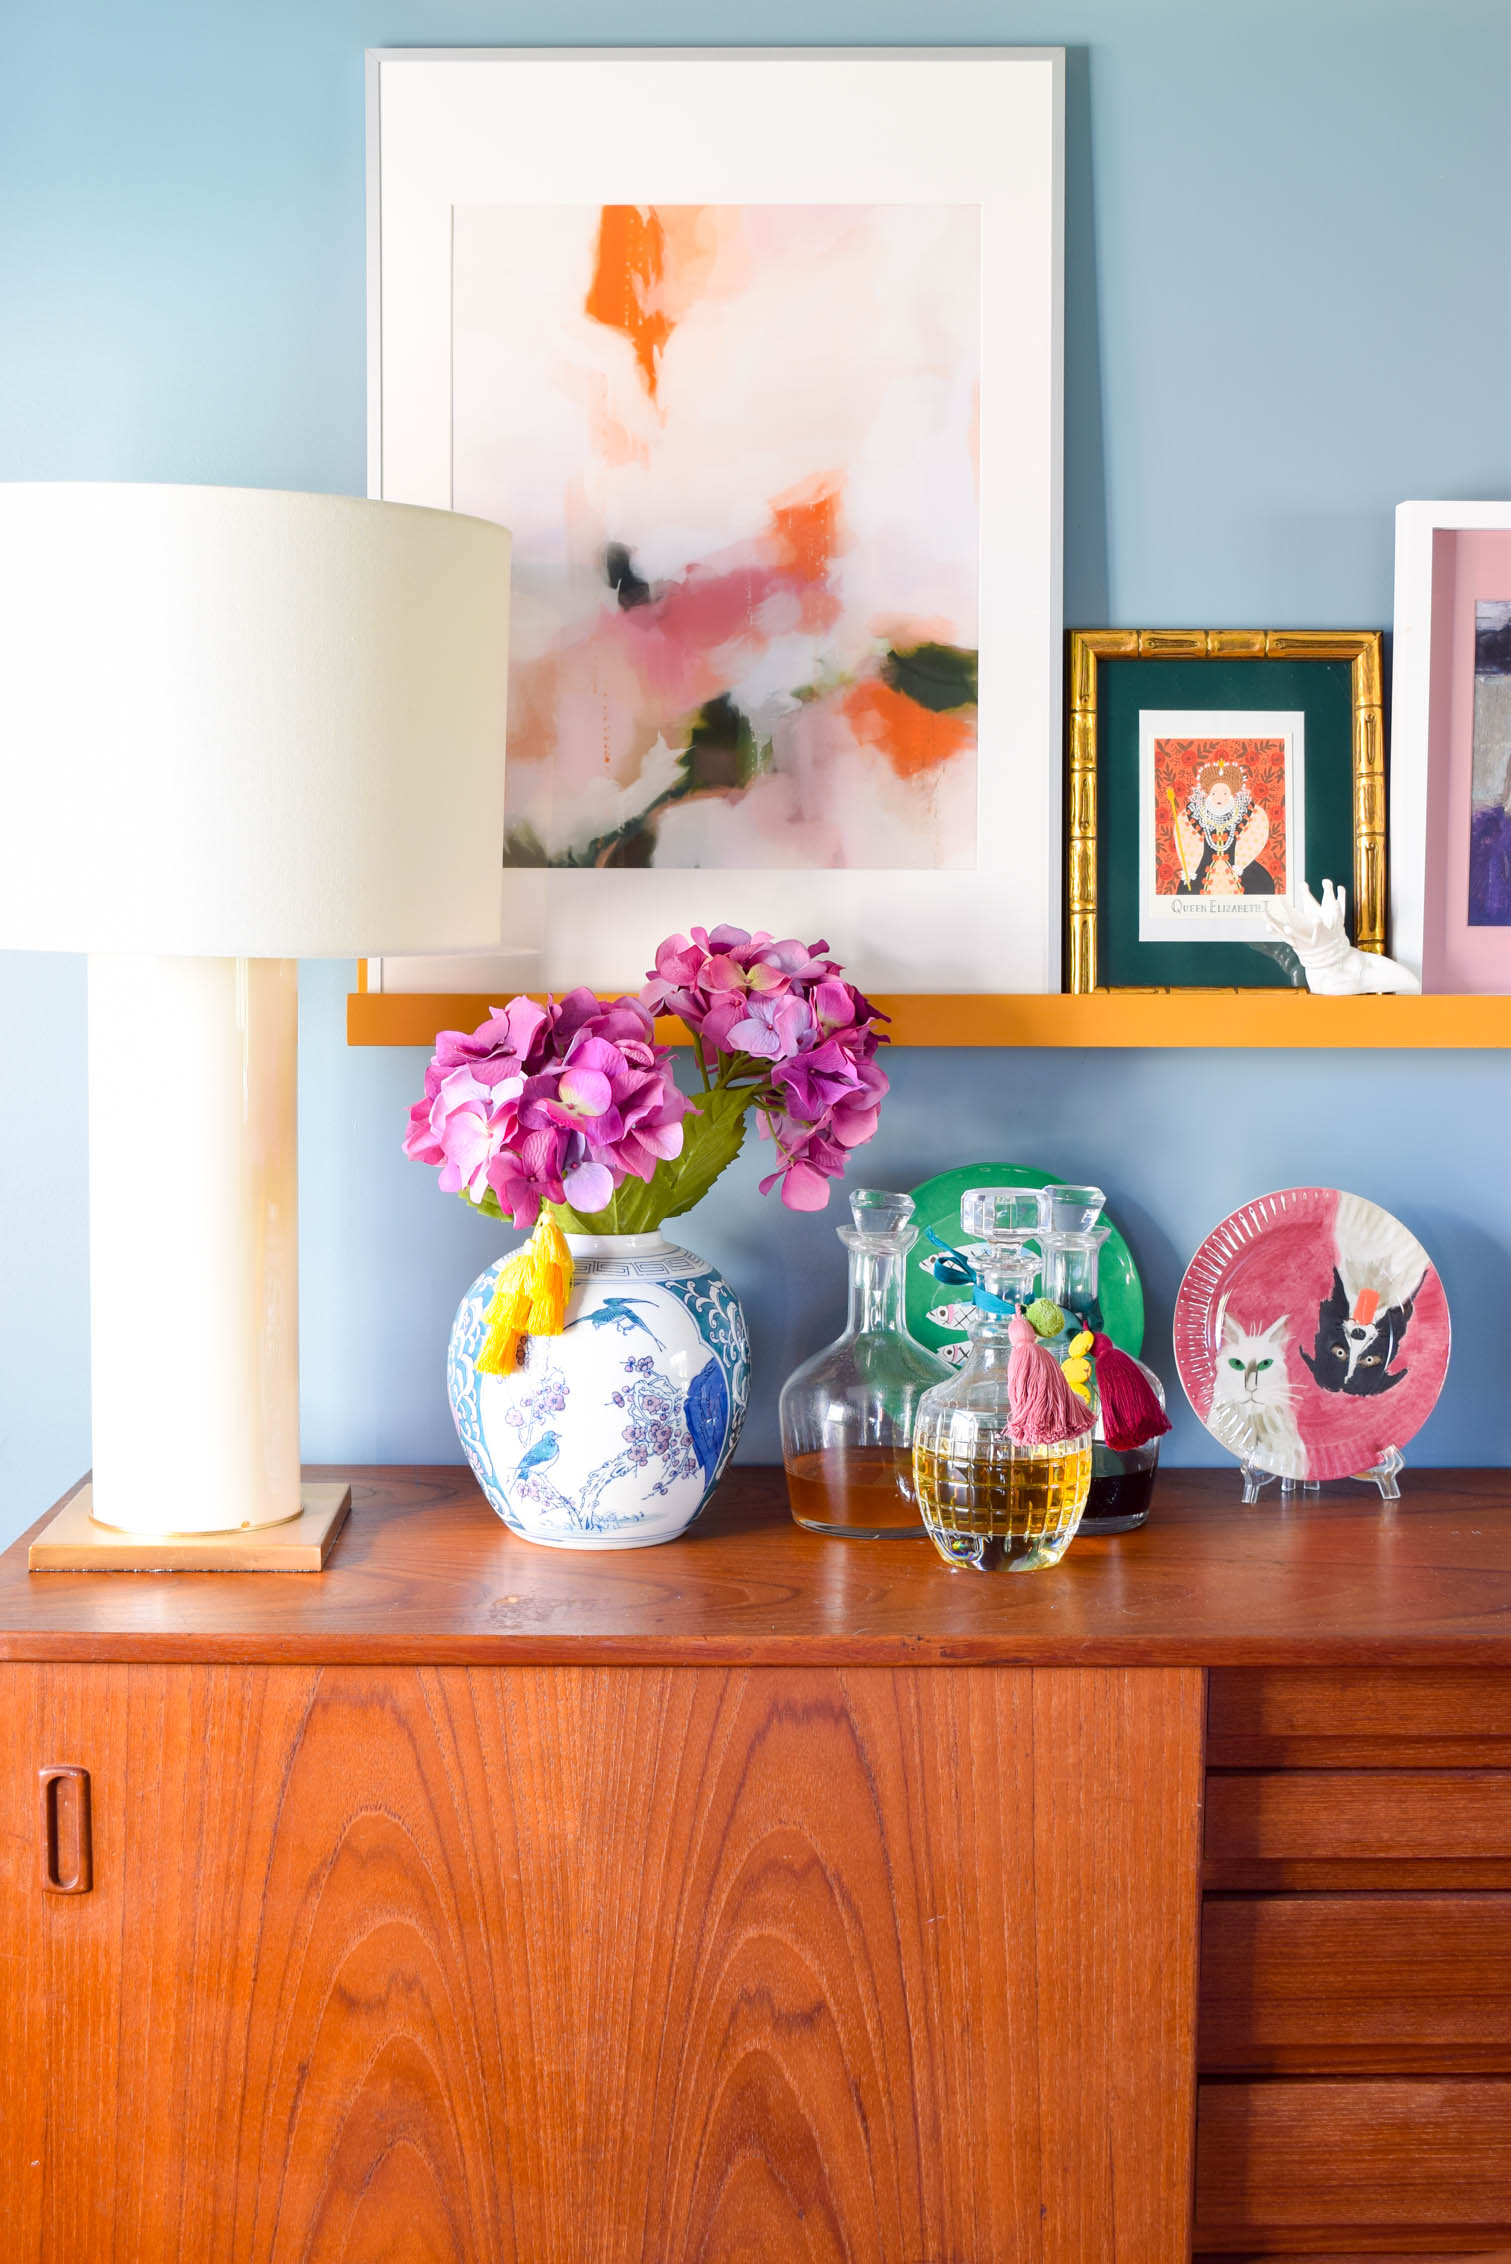
I snagged Princess Leopold, Flarmingo, and the Gouldian Finch. I’ve got a few other treasures saved for later, but these are the ones that made it into the dining room.