I have had this project in the mix for what feels like two months now. I hate when this happens, I start it, almost finish it, and then get sidetracked by more pressing deadlines. These DIY Peter Pan Collars were made using a pattern in the Cricut Design Space from the Cricut Maker projects. Ever since I got the Cricut Maker in the fall I’ve been using it for small little projects here and there, but nothing worth blogging about. So when I saw the collar patterns I figured I’d dive right into a fashion project. So bear with me, as I pose for the camera and try my hand at bringing some colour and fun to my clothing.
*Cricut sponsored this post, but all thoughts are my own. Thank you for supporting the brands that make PMQ for two possible.

So while you could probably make this one with a pattern of your own, I love that the Design Space had the proportions and instructions for assembly already loaded. It save me from trying to figure that out on my own ( because I probably would have messed it up).
I will also note that apparently the collar is made for someone with a much smaller neck than mine, so I had to make some modifications to wear them.
*The following product links contain affiliate links. Thank you for supporting the brands that make PMQ for two possible. For my full policies click // here //
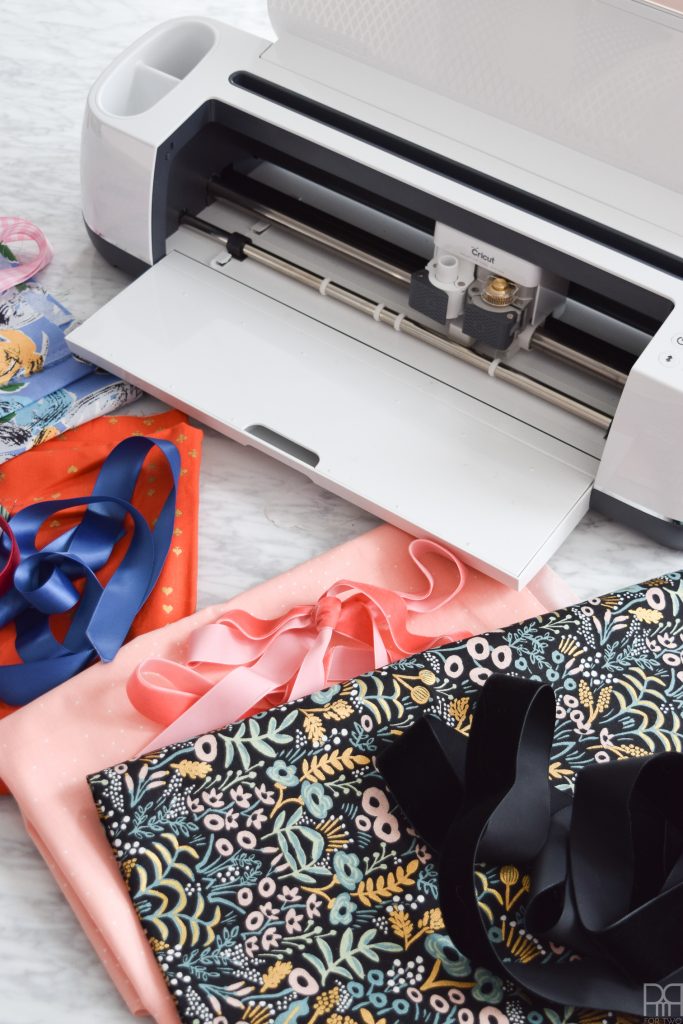
Materials for DIY Peter Pan Collars
- Fabric (1/3 yard per collar) I got mine on fabric.com Home
- Ribbons
- Sewing machine
- Cricut Maker
- Cricut 12″ x 24″ cutting mat with standard grip
- Fabric cutting wheel
- Iron-on patches, buttons, pom poms etc. Whatever you want to use to add more whimsy to them
There are super precise instructions listed with the project in the Design Space, but I’ve got a basic blow-by-blow here. This is essentially what I did, and they turned-out alright eh?
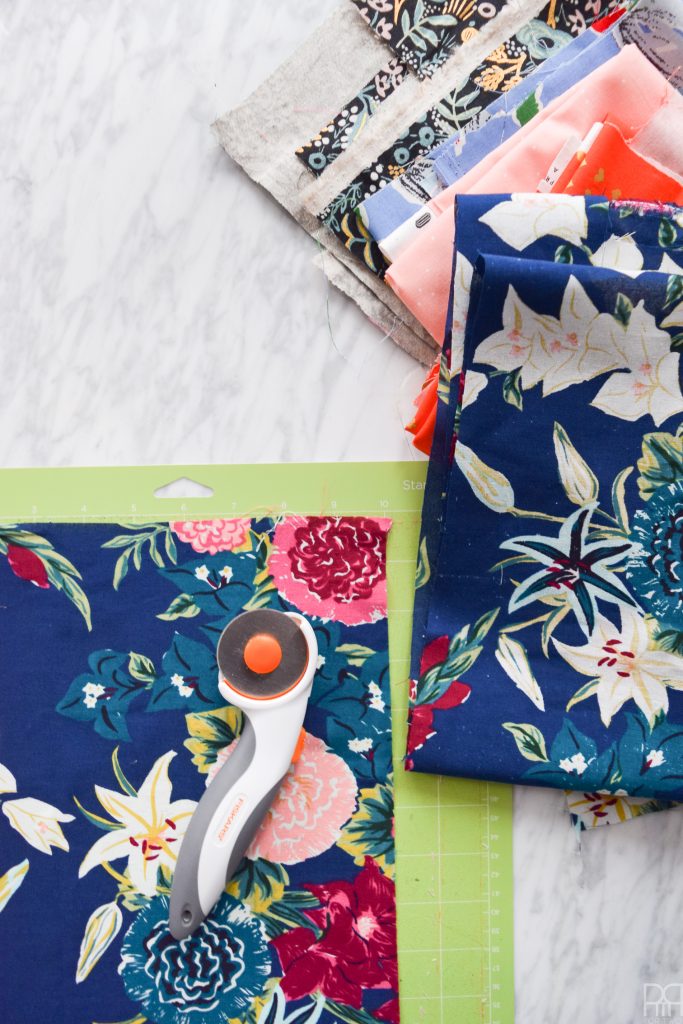
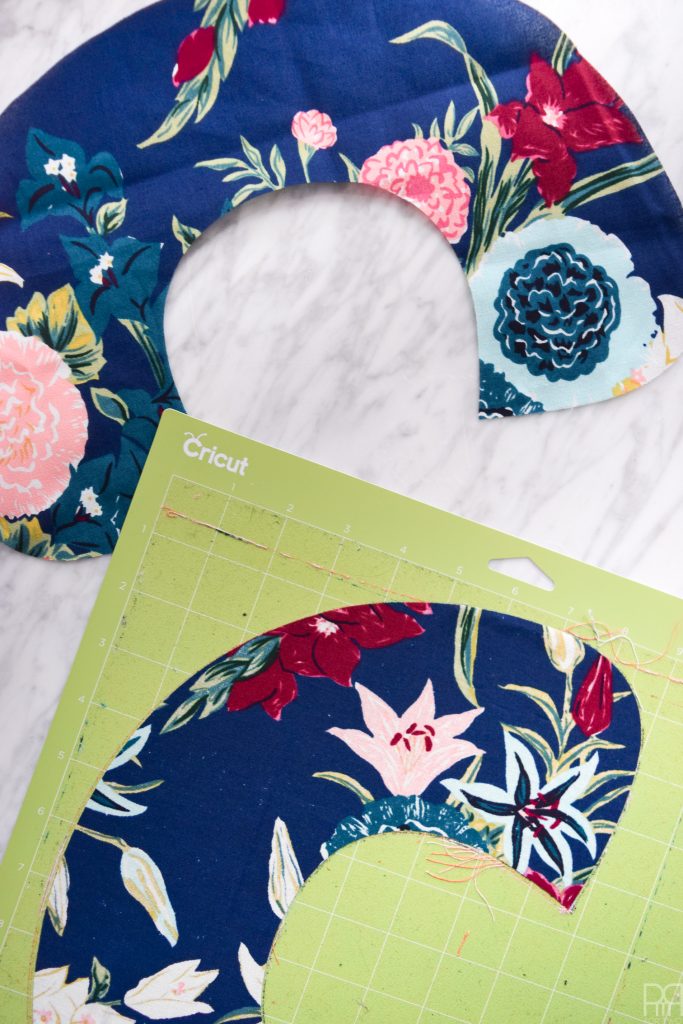
Step 1: Start by cutting two pieces of fabric that are 9″ x 14″. I used the cutting wheel on a 12″ x 24″ Cricut mat. I find the wheel so much more precise, and it’s easier to apply the fabric to the mat, and then trim around it.
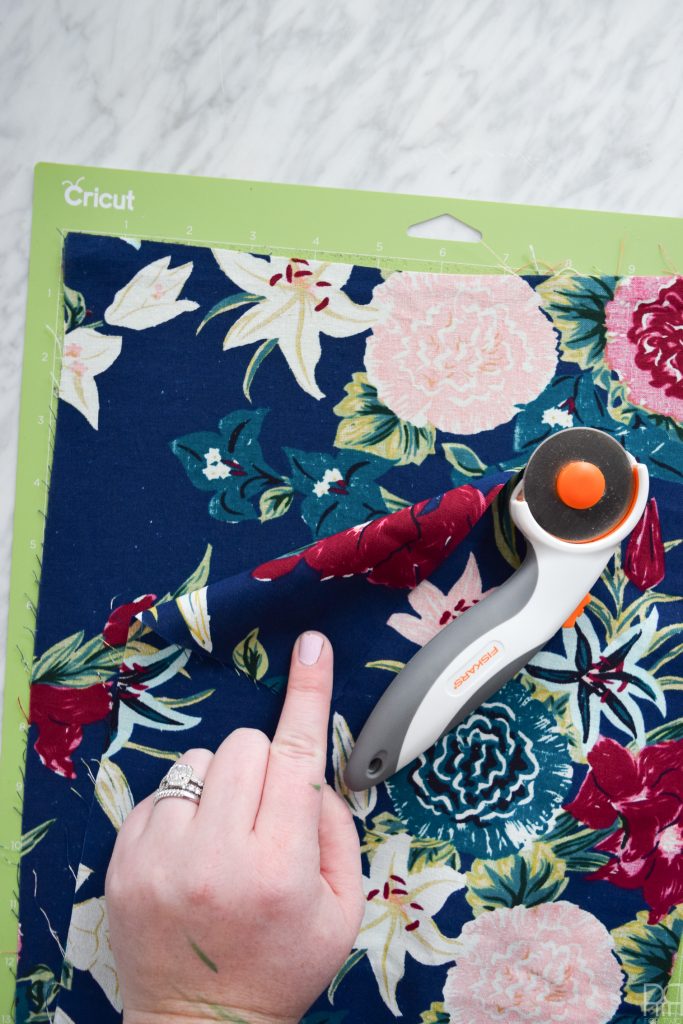
Step 2: If it isn’t applied face down, make sure that part you want to face outwards on the collar (i.e the part you see) is face down on the mat.
Step 3: Select this project // here // (aka the simplicity Collar with Tie) from the design space, and follow the design space prompts. The project calls for interfacing (?) but since I’m not a regular sewer, that’s nothing I have in my arsenal.
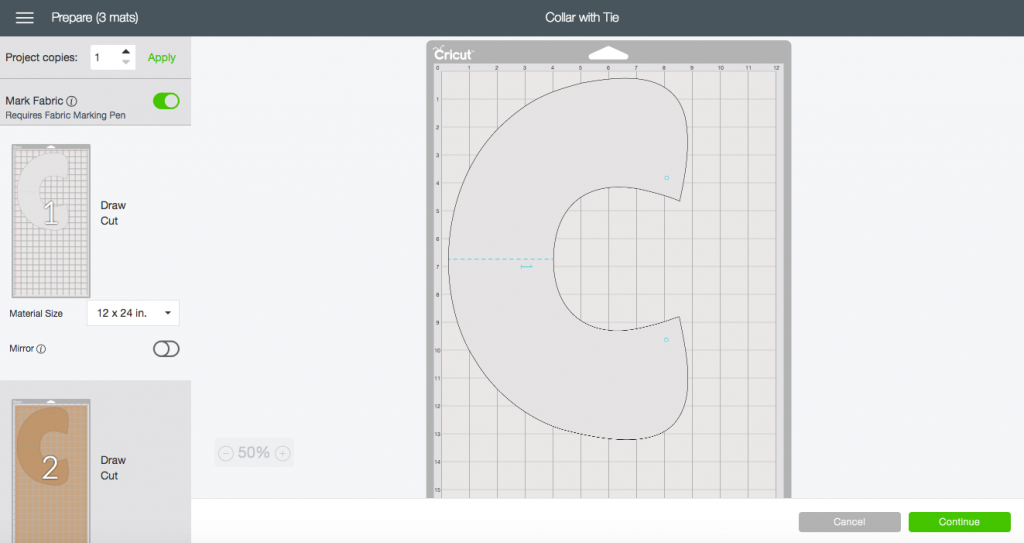

Because I’m not using the interfacing, I only need the maker to cut twice (not the 3 times it’s going to try to), so adjust accordingly.
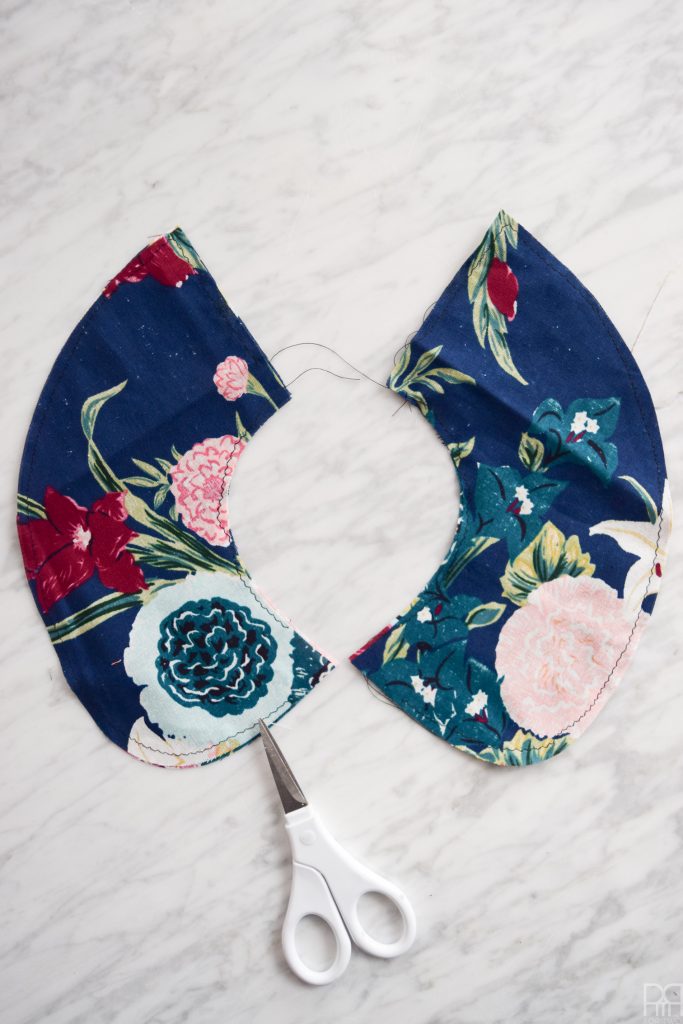
Step 3: Cut the pieces.
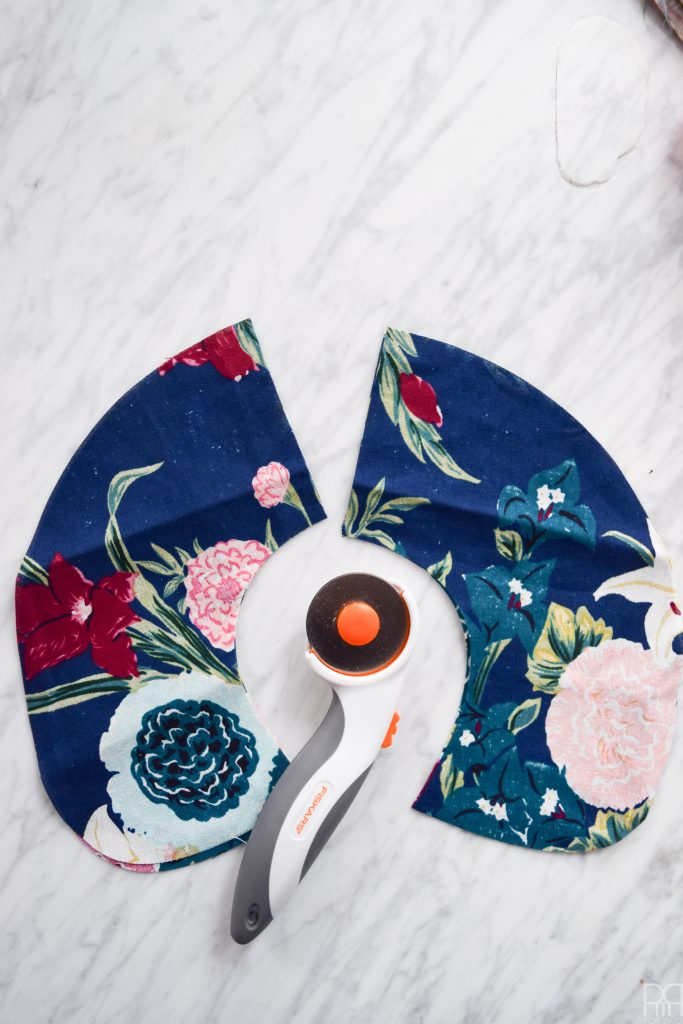
Step 4: Because I need to adjust the collar to fit my apparently huge neck, I the pieces in half down the middle of the C shape. You’ll sew these together using a piece of ribbon later so stay tunned!
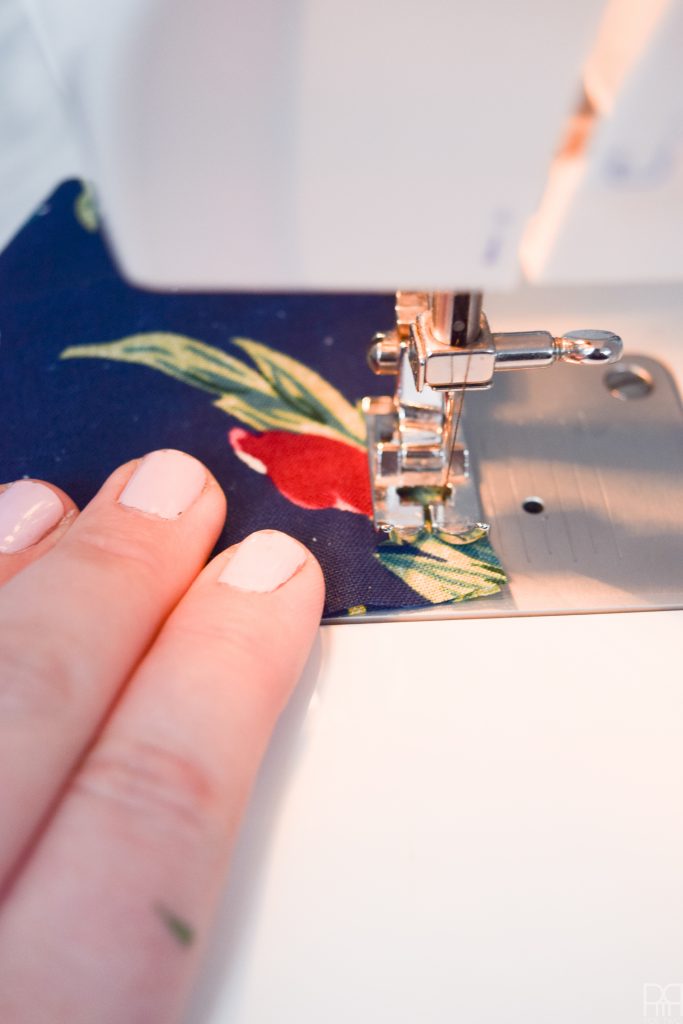
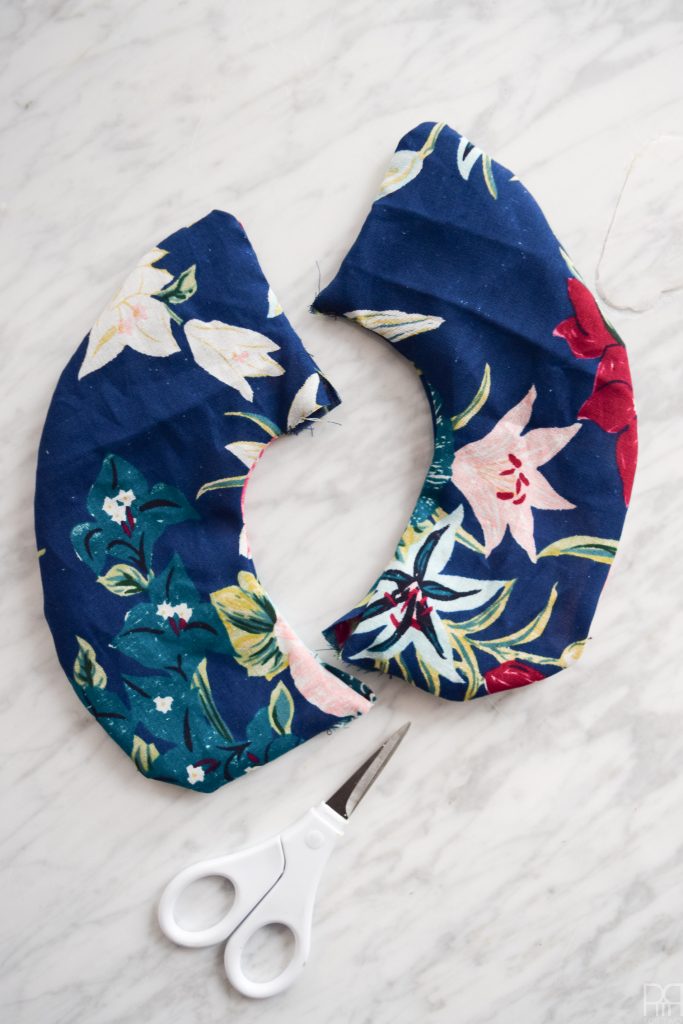
Step 5: Time to start sewing! You can pin, but I didn’t. You’ll be sewing it inside out (with the outwards facing in) and then you’ll invert it before adding the ribbons.
The important thing is that you need to leave a gap between the two pieces, at the point where you’ll feed in a ribbon to tie – AND – at the top of the collar, where you’ll feed more ribbon to hold it together (since you cut it in half and all).
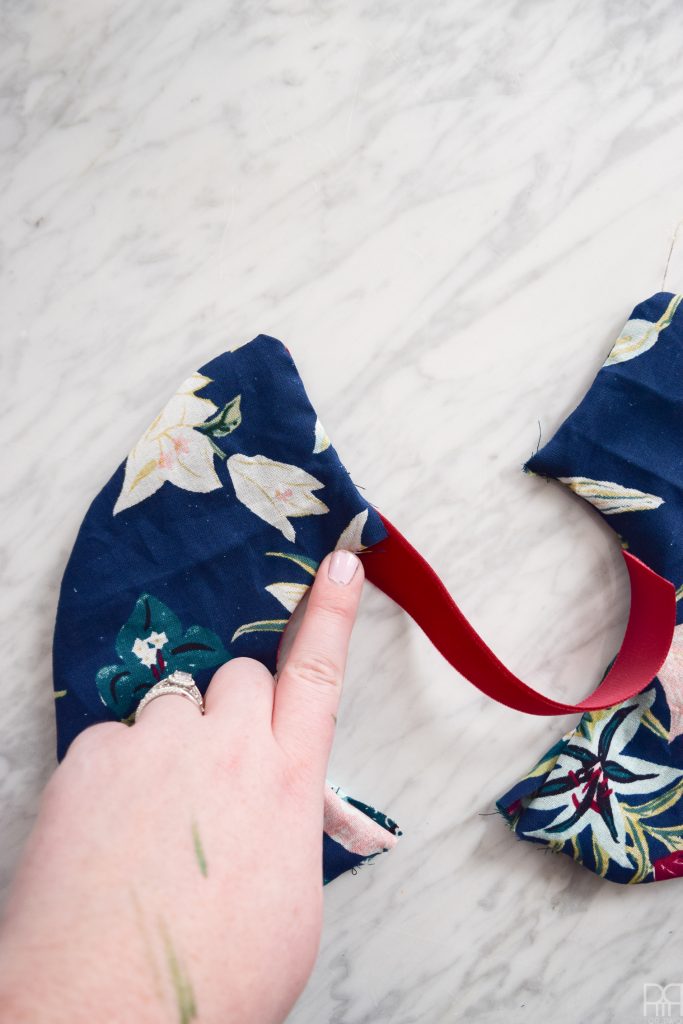
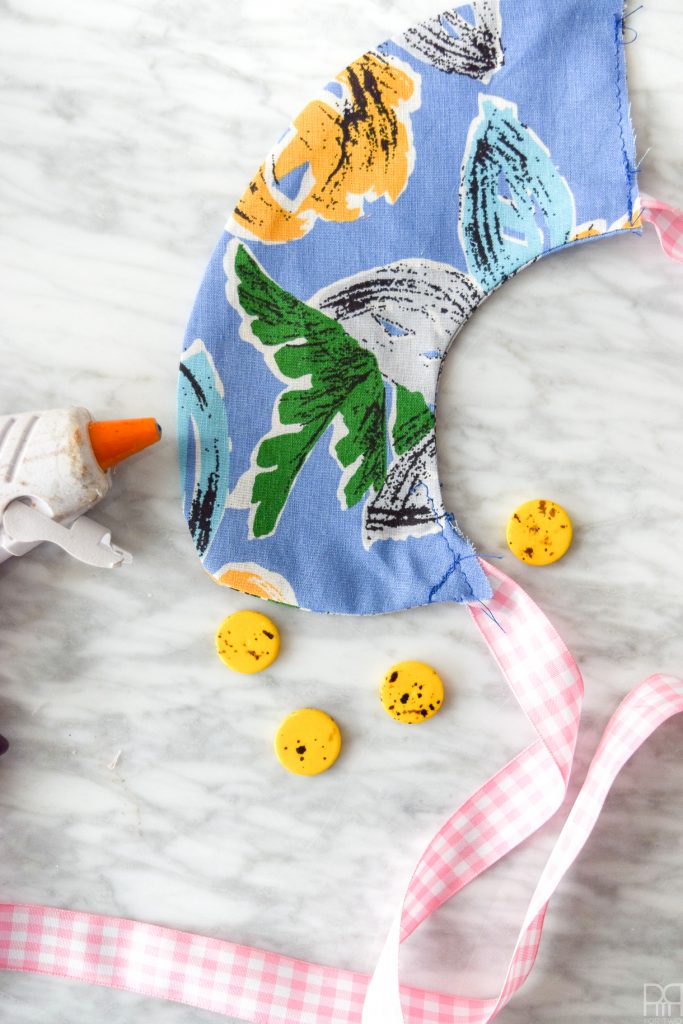
Step 6: Time to invert it so that it’s facing the right way out. Because you’ve got two gaps on each piece, you’ll pull one end through the other, kind of like inverting the slide on a shirt (if that makes sense).
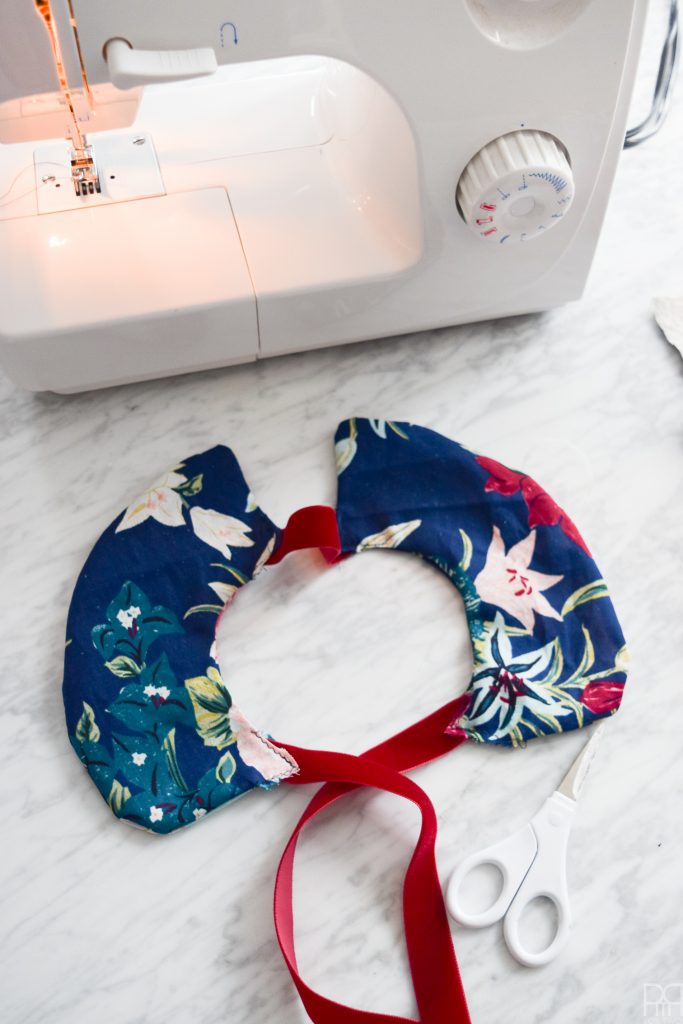
Step 7: Adding ribbon is the easiest part. At the back of the collar, measure the amount of ribbon you’ll need to bridge the gap (if you’ve got a big neck), and then put one end inside the gap, sew it in, and add the other end to the other piece and repeat.
At the front, add longer ties (for big bows) and sew closed.
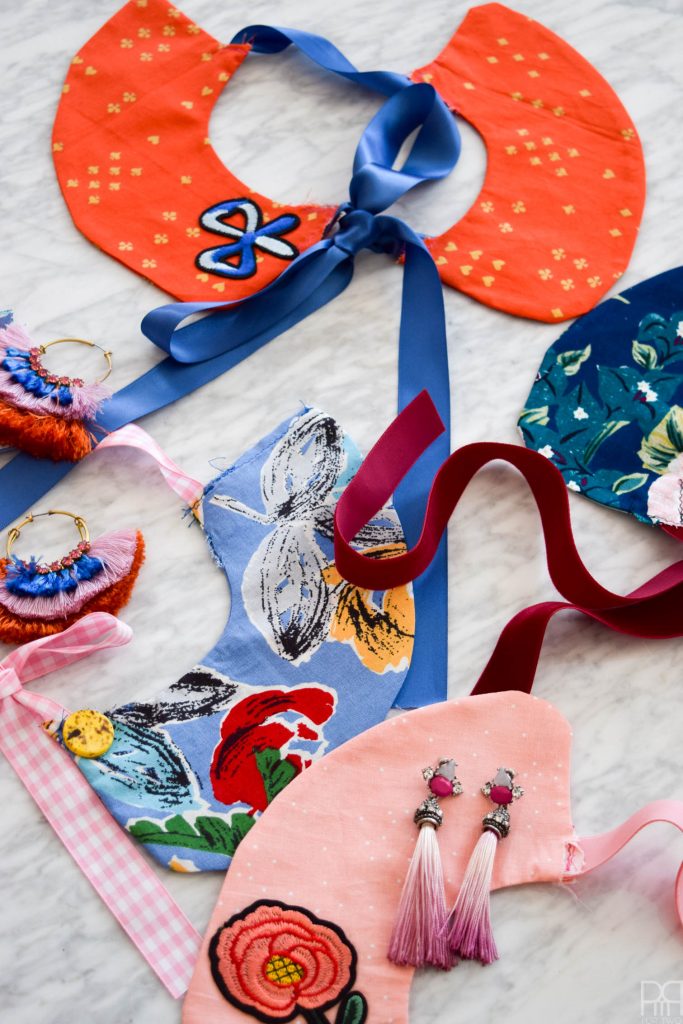
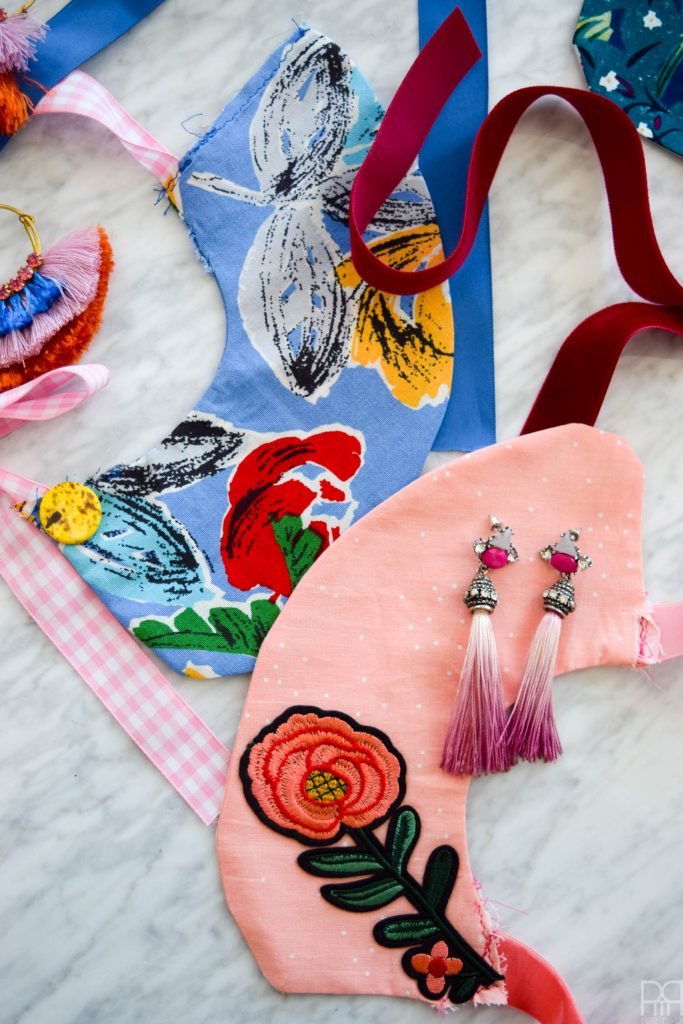
Step 8: If you’re adding any iron-on patches or beads, now’s the time, otherwise you’re done!
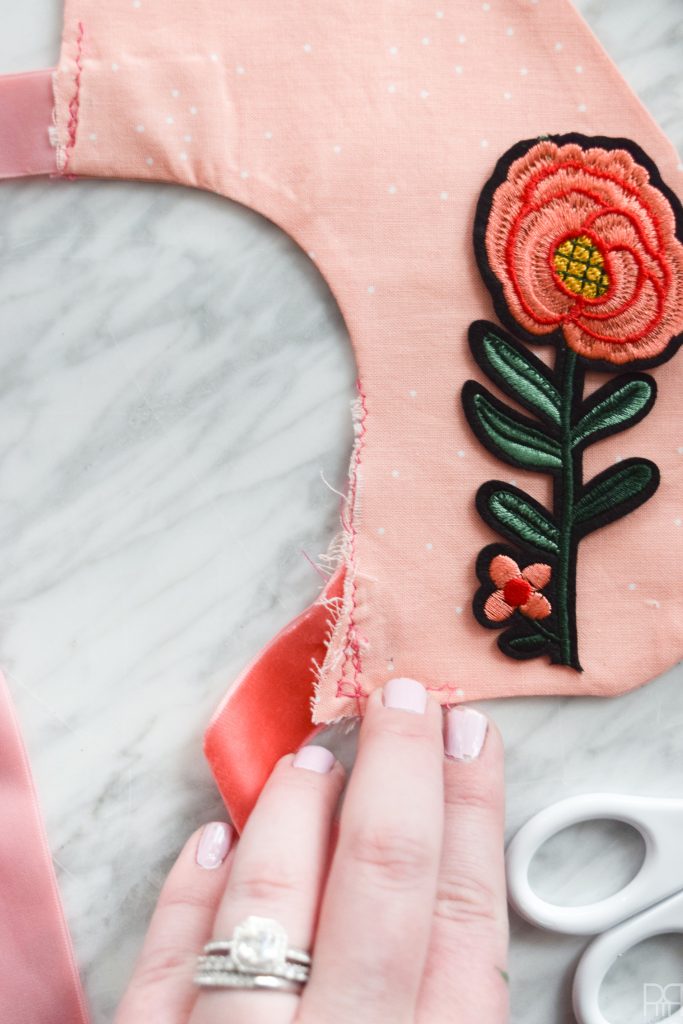
You’ll also notice my super sh*tty sewing job on the places where the ribbon goes. I’m not a pro, I’ll get better. This is why I added a lot of embellishment – to hide my stitching!


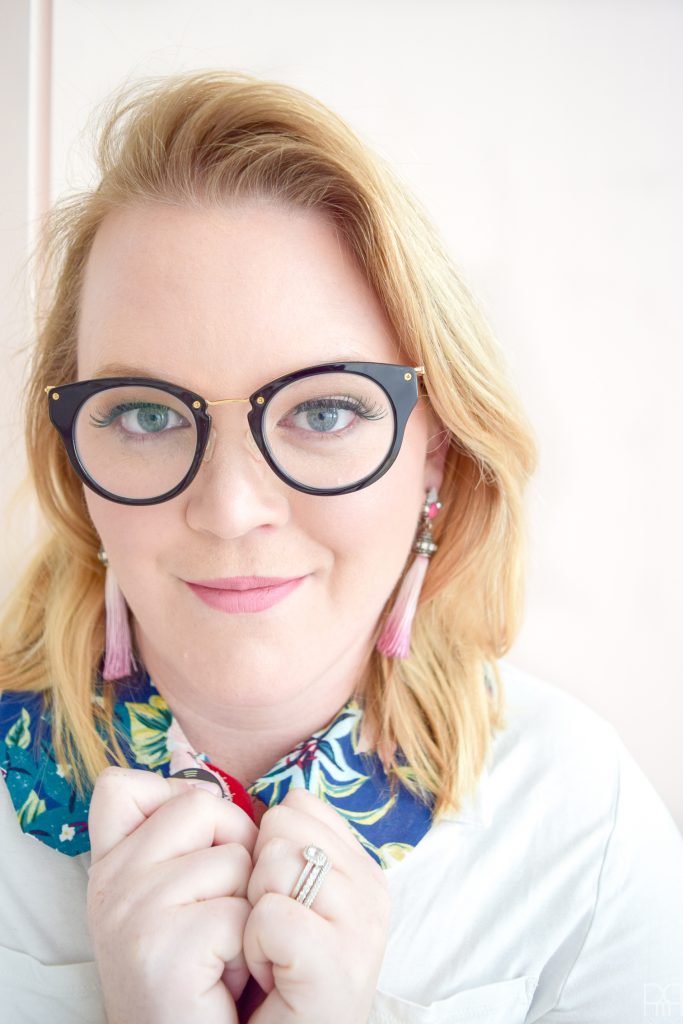
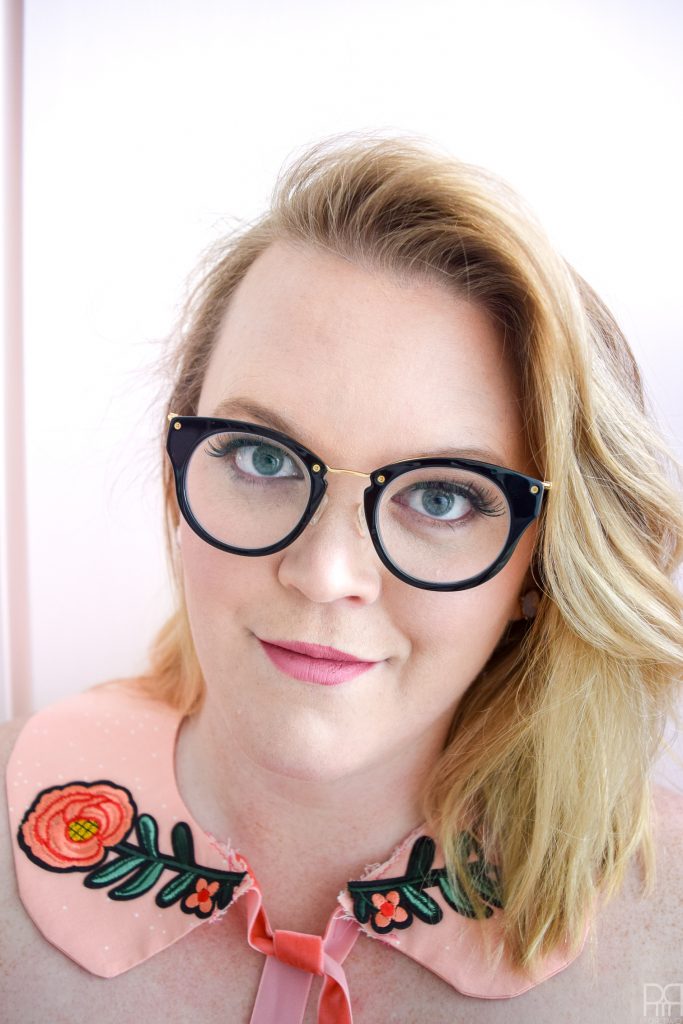
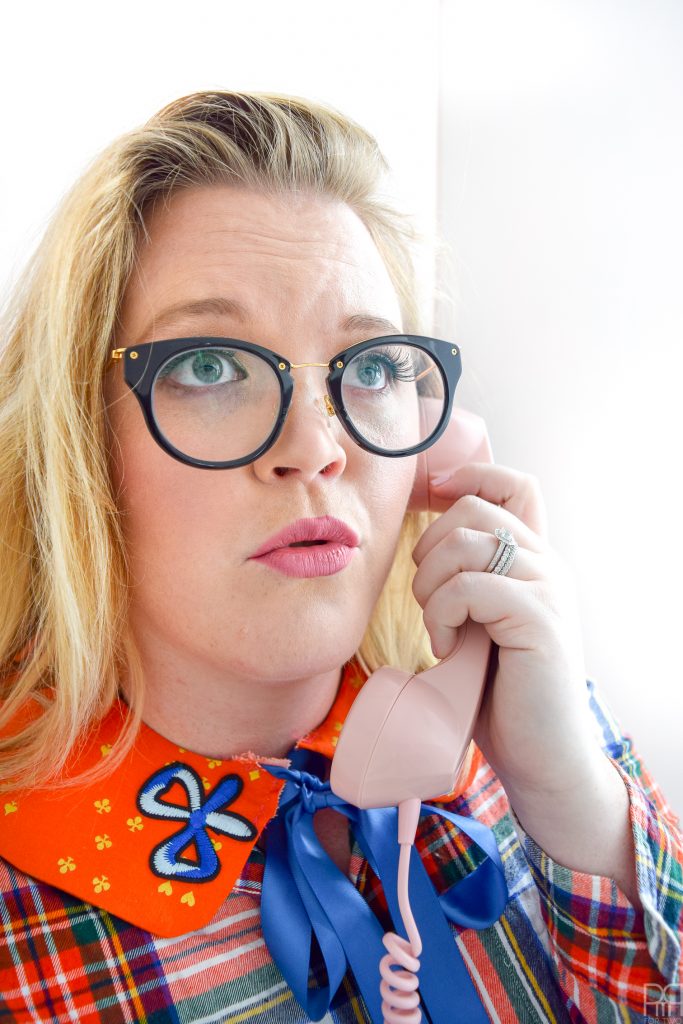
So now you’ve seen it! That’s how I made these awesome DIY Peter Pan Collars using my Cricut Maker. To mark the occasion, I had a fun photoshoot in the studio and paired them all with jewelry and tops.
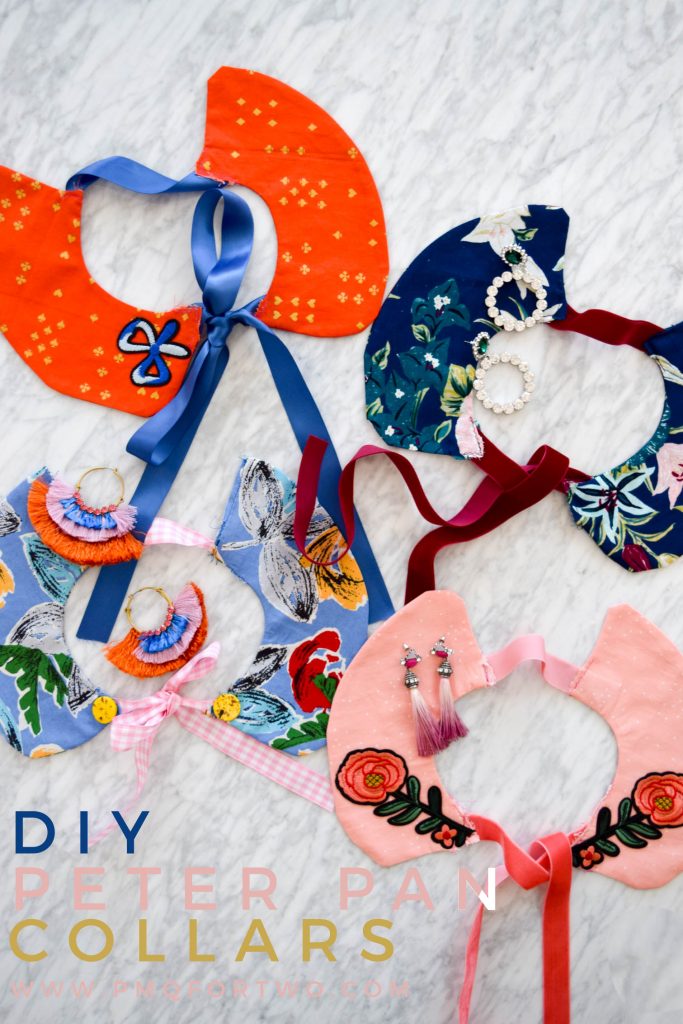
I think it’s official though, I need to wear lashes and put on foundation like every day. I got a make up artist for the shoot (because I had a FB live after – two birds, one stone) and am SO pleased with how it all came out. There are dozens of photos I didn’t use for this post, but still absolutely love.