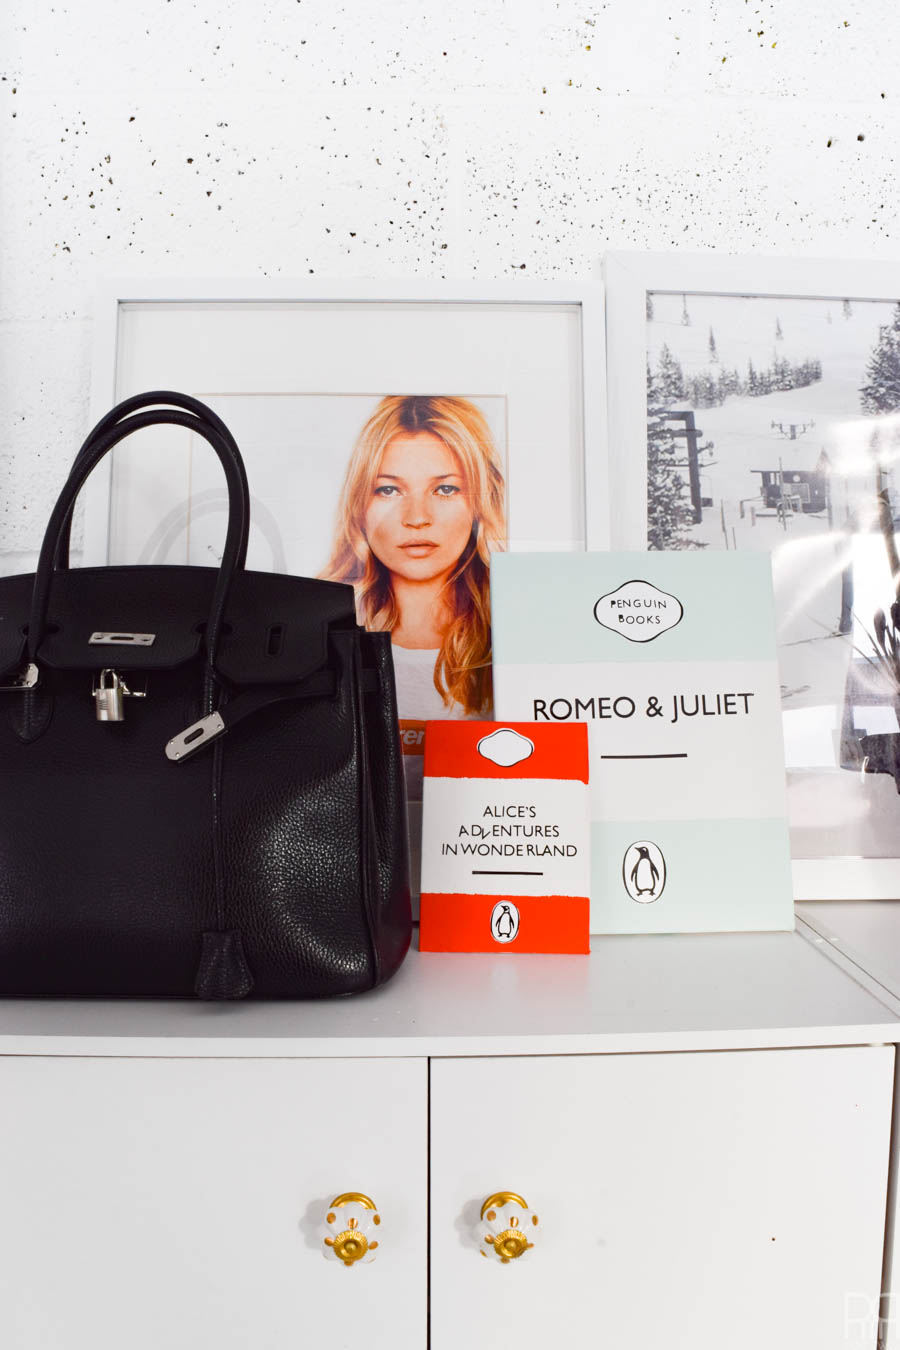
Let’s get down to business with a good ole’ DIY. This one mixes paint and vinyl and holds them in perfect harmony. I was looking for some bold pops of colour to add to the studio, but I didn’t want something abstract, so I needed something real. I’ve been thinking of working with a Penguin Classics book cover into a DIY for ages, and was tickled with the possibility of finally doing it for some art. I had considered many ways to do this, but settled on a mixed media to achieve a better realism. So without further ado, my DIY Penguin Classics Book Cover Art!
See what other projects I’ve made using my vinyl and paint: Canadian Mosaic // Christmas Advent Calendar // Advent Tree

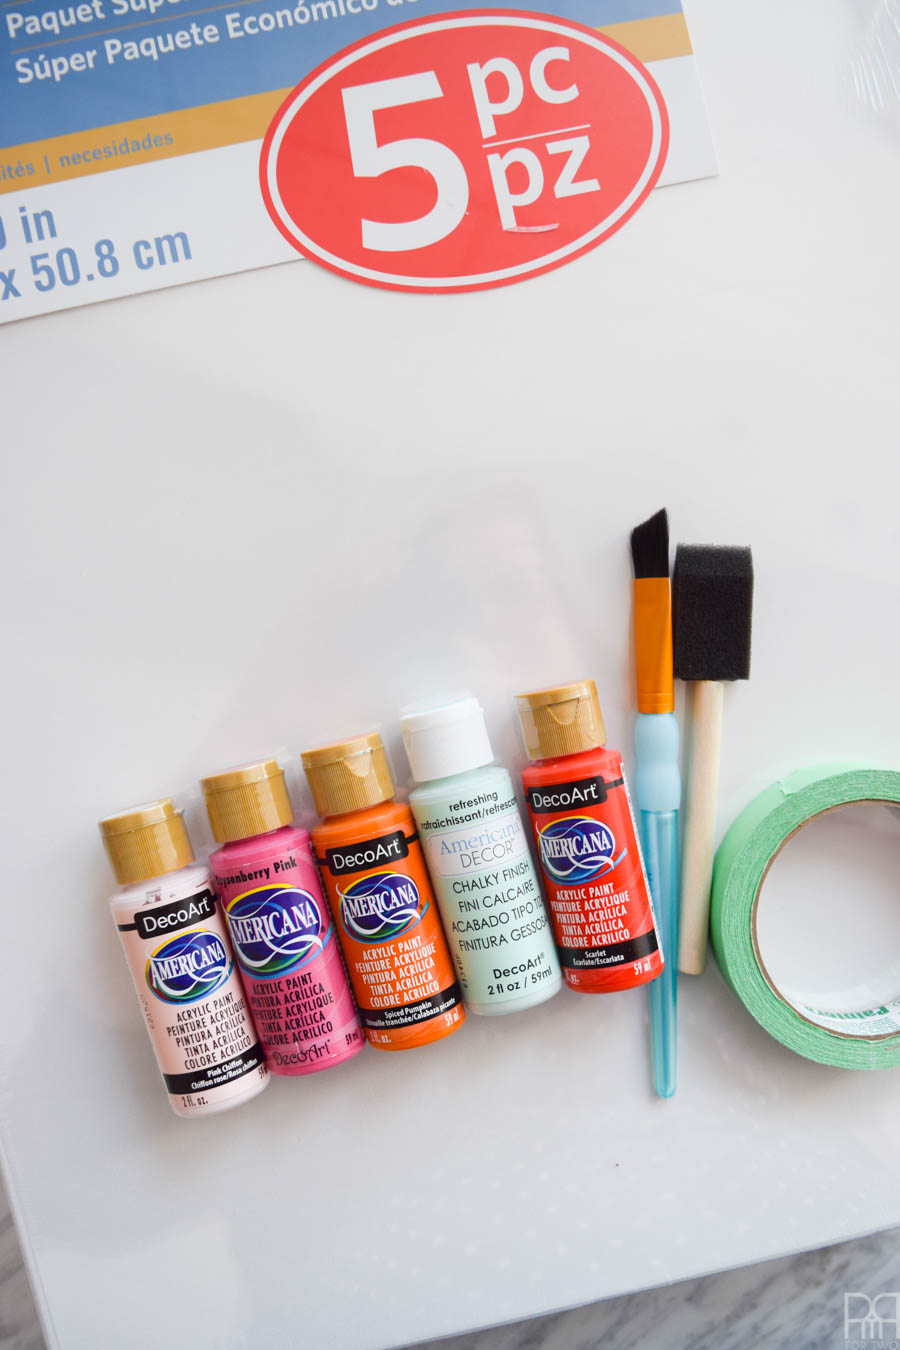
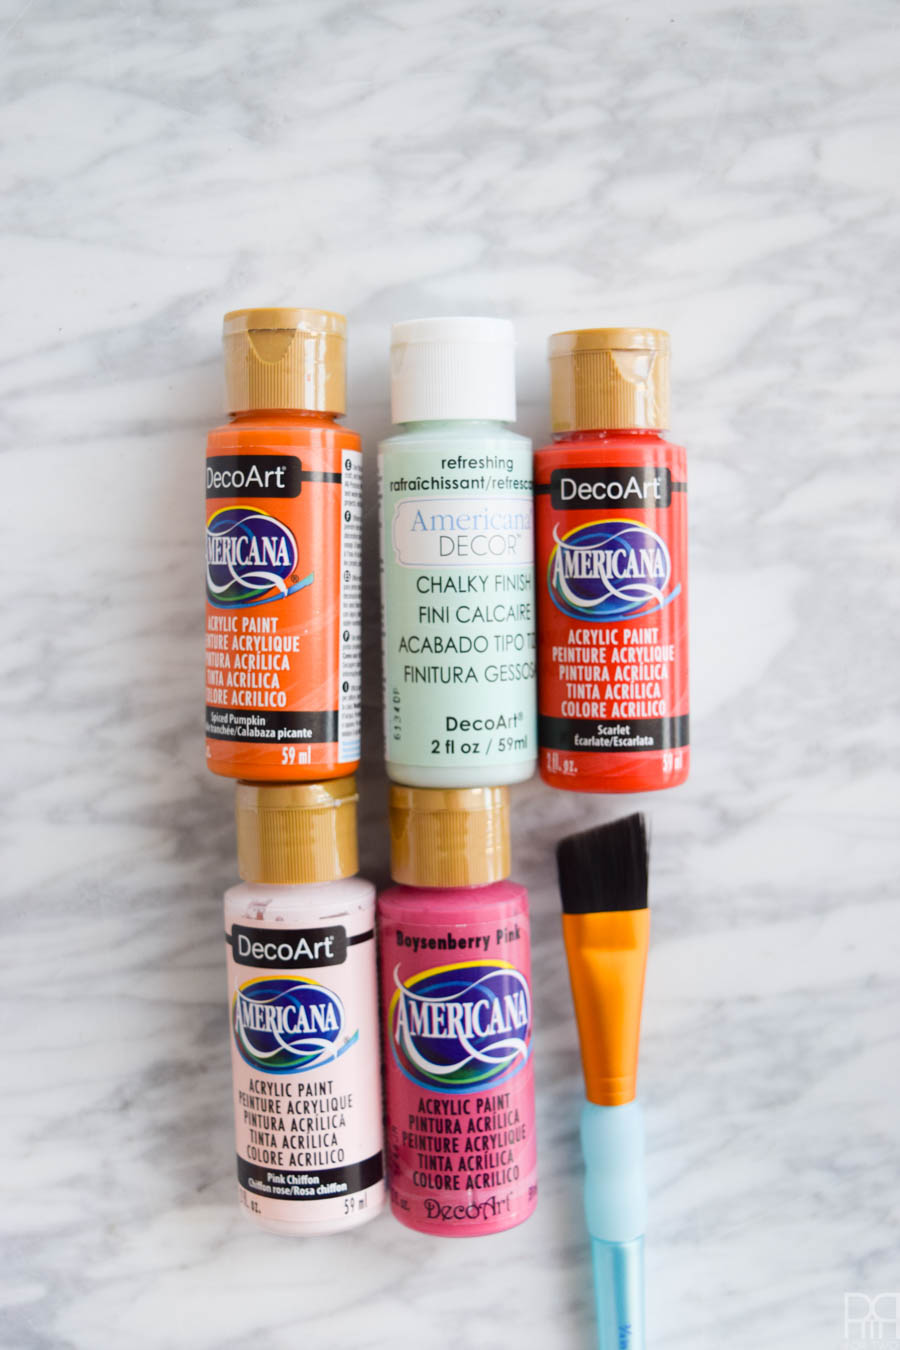
Materials for DIY Penguin Classics Book Cover Art
- Canvases
- DecoArt American Acrylic Paints
- Painter’s Tape
- Paint Brushes
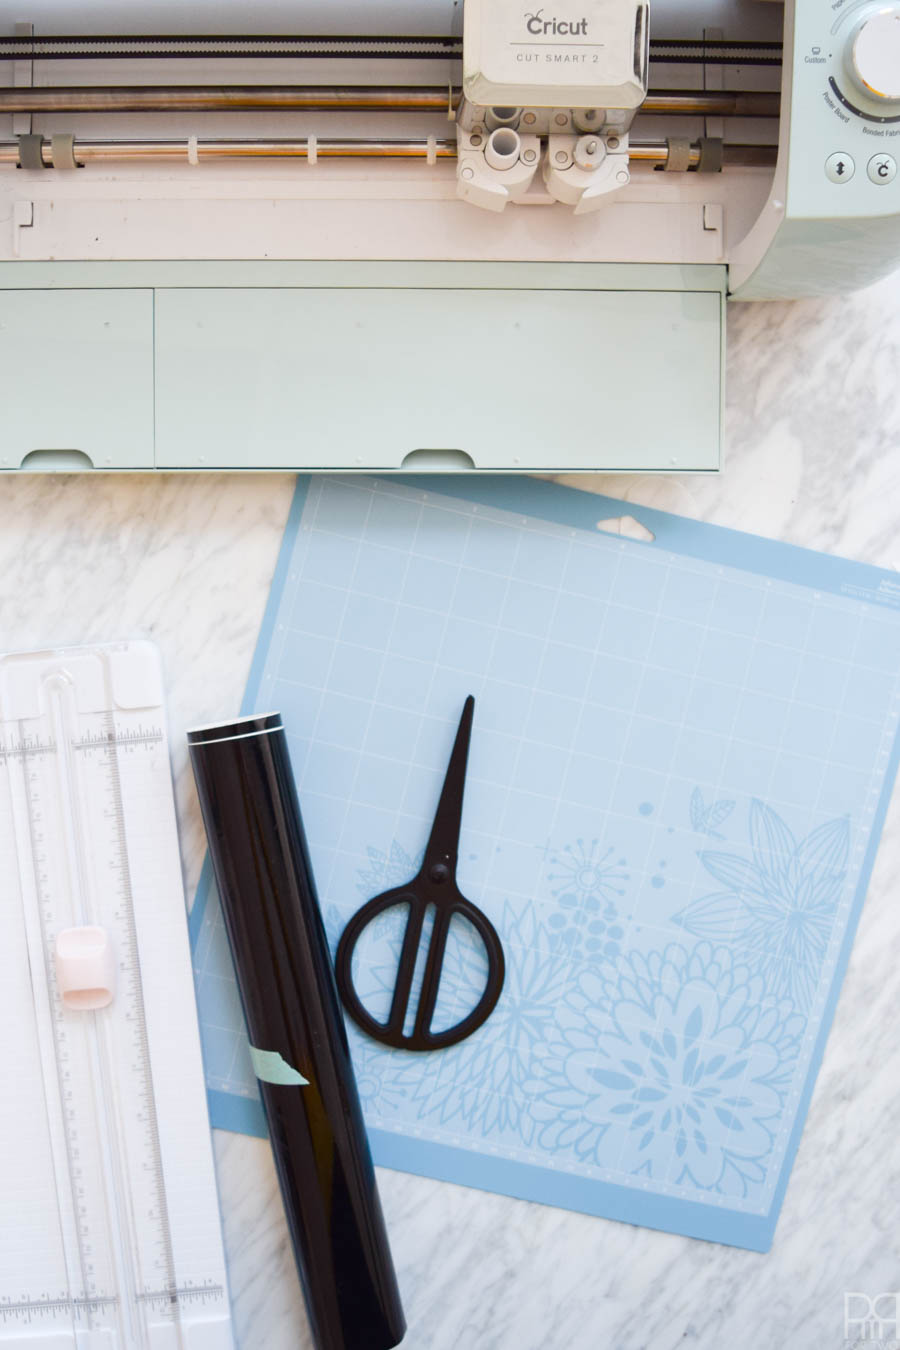
- Cricut Vinyl in black and white
- Cricut Mats + Tools
- Cricut Explore Air 2
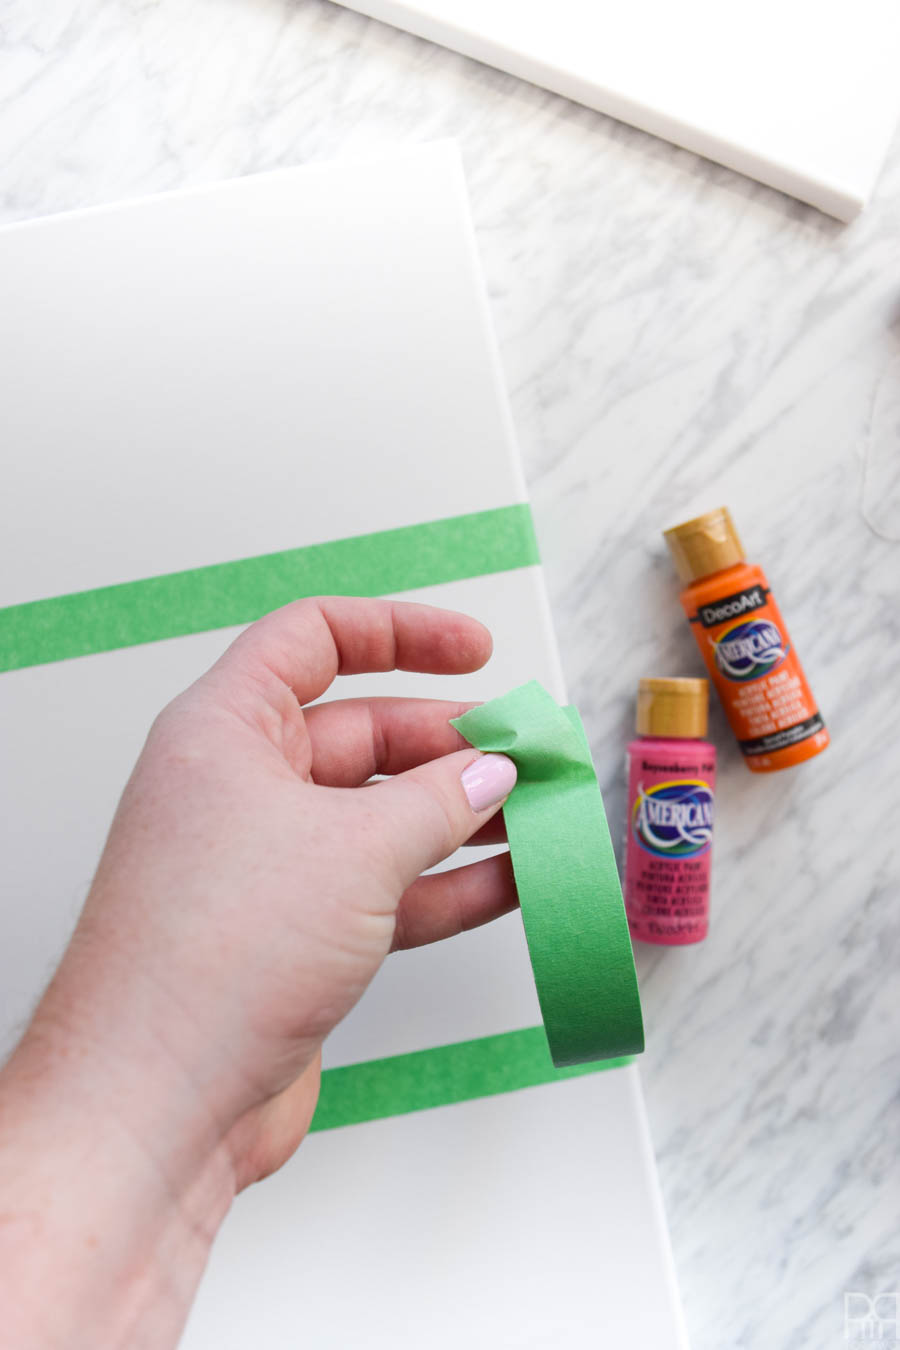
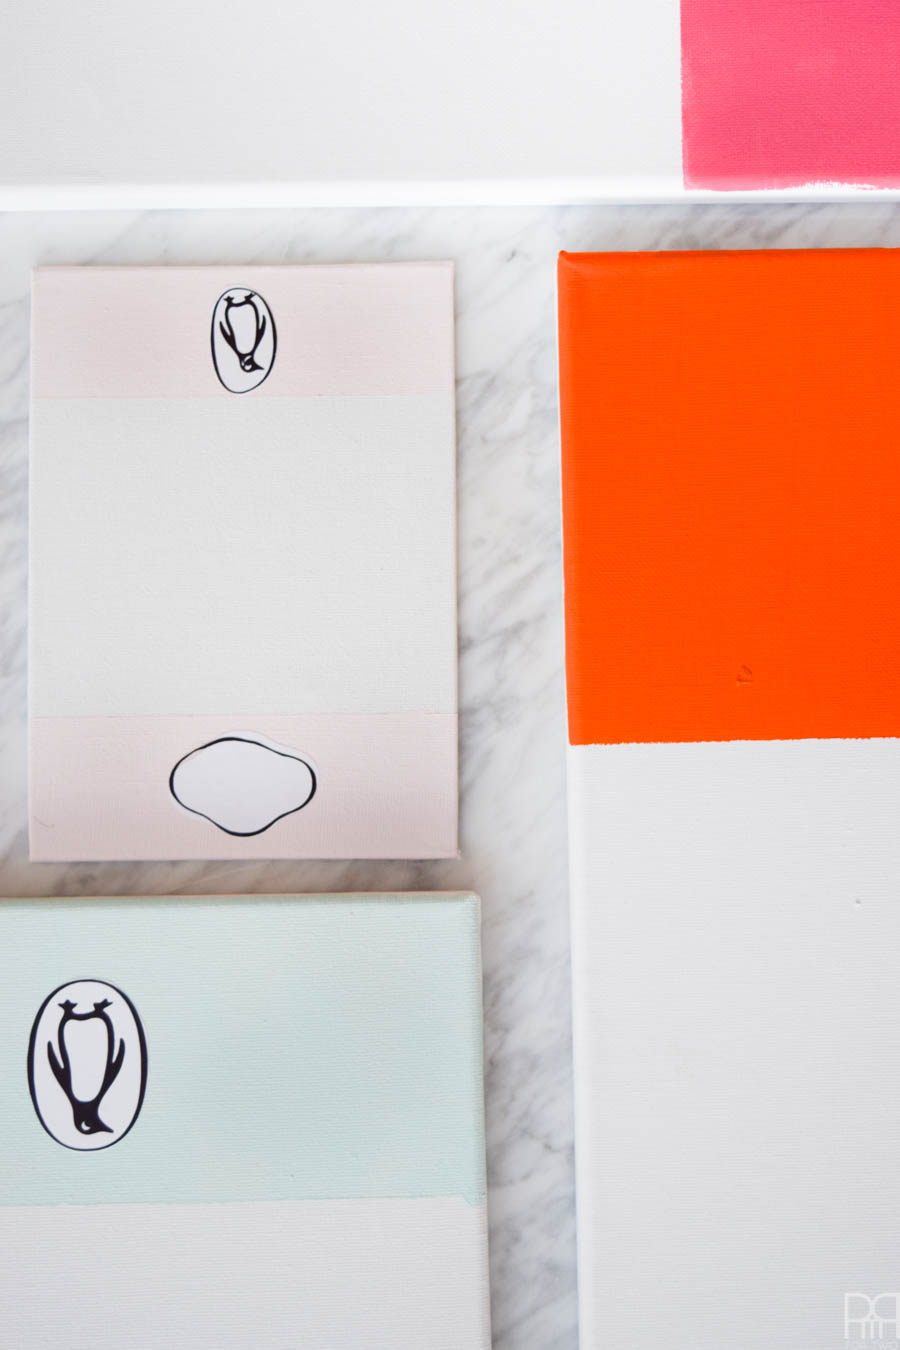
Step 1: Start by taping off each canvas into thirds. You’ll be painting the outer thirds and leaving the middle white. I use painters tape here.
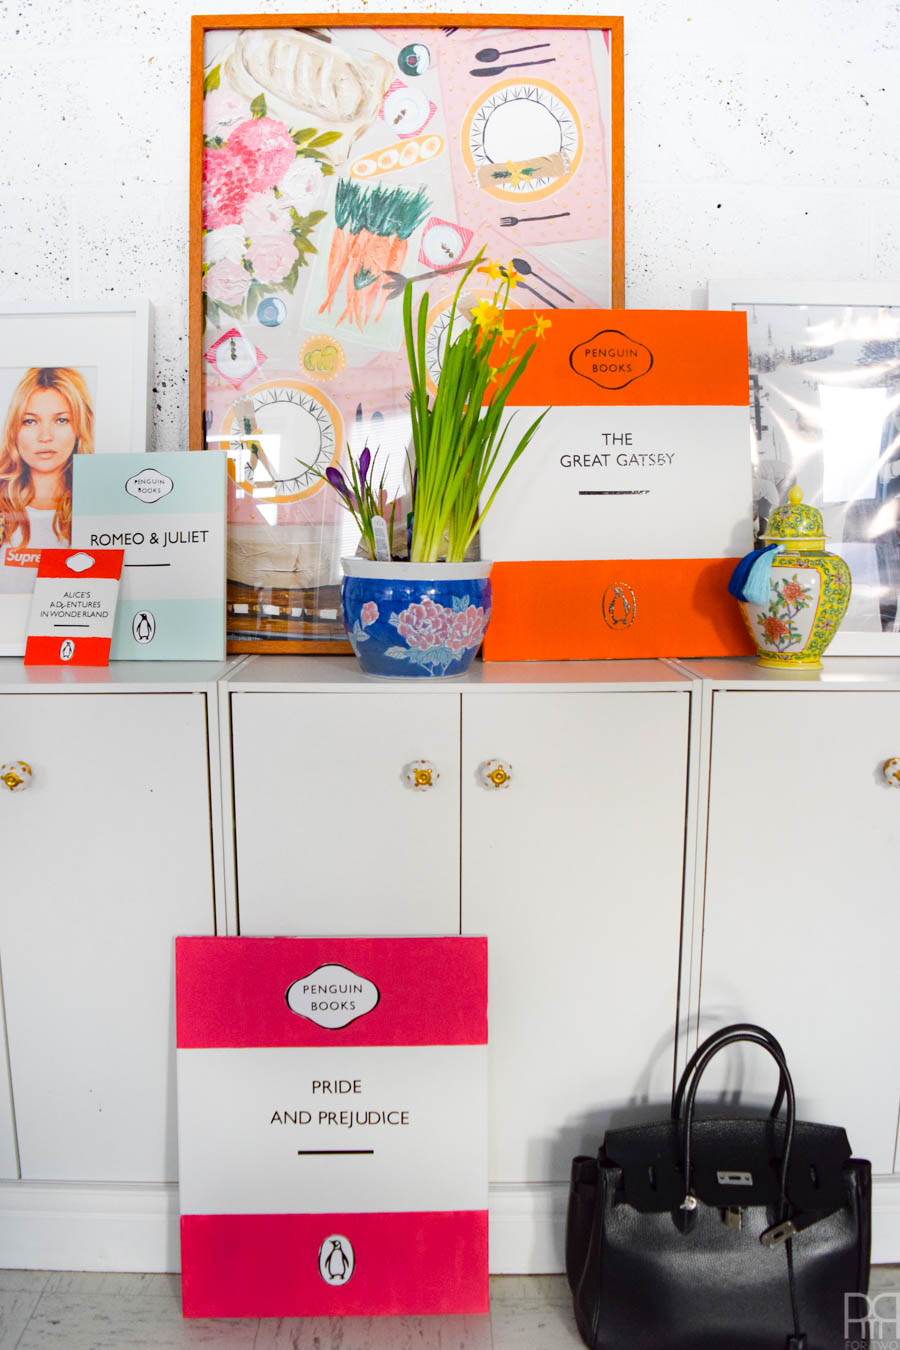
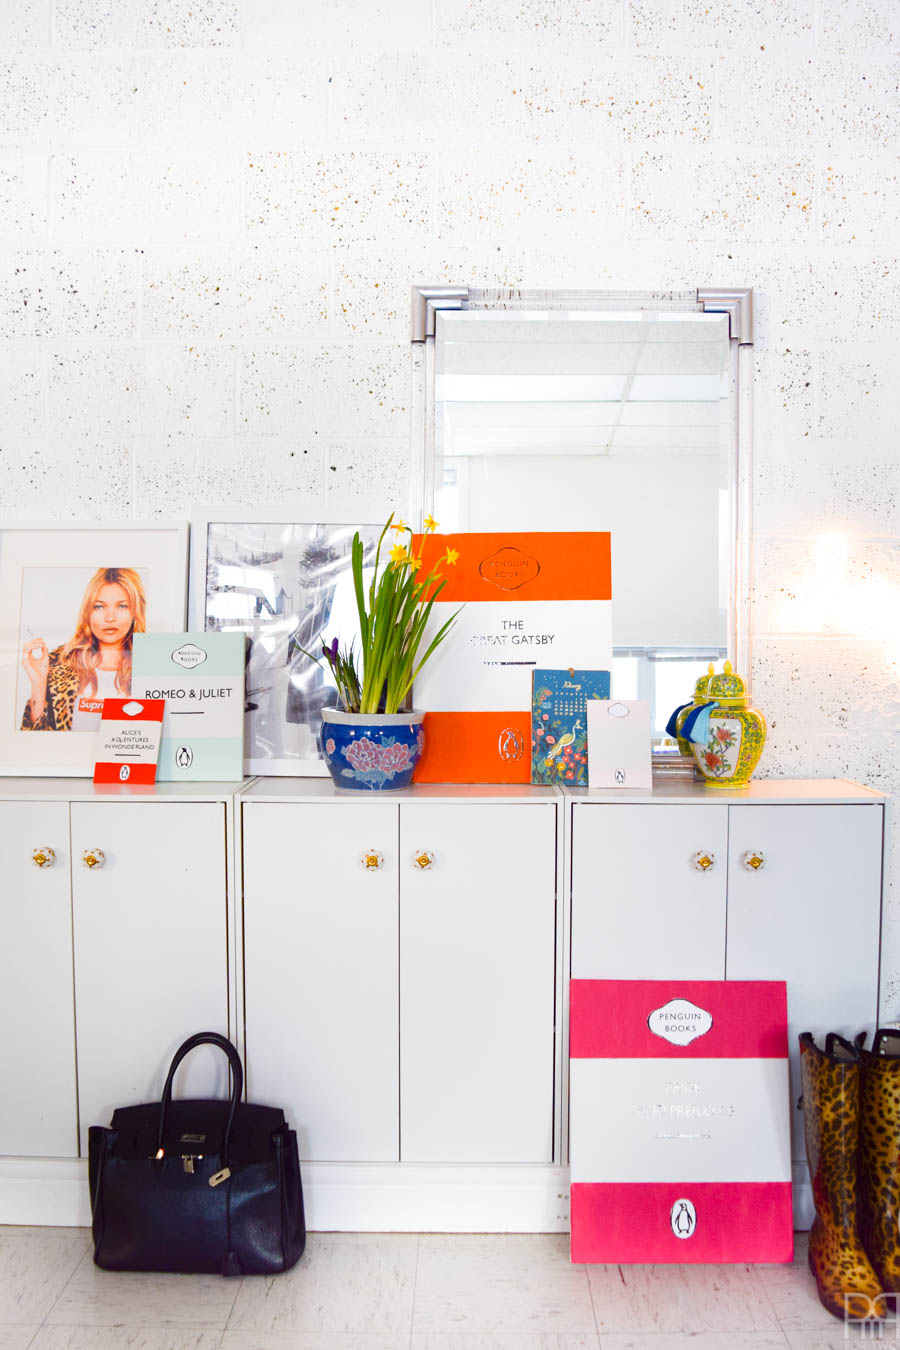
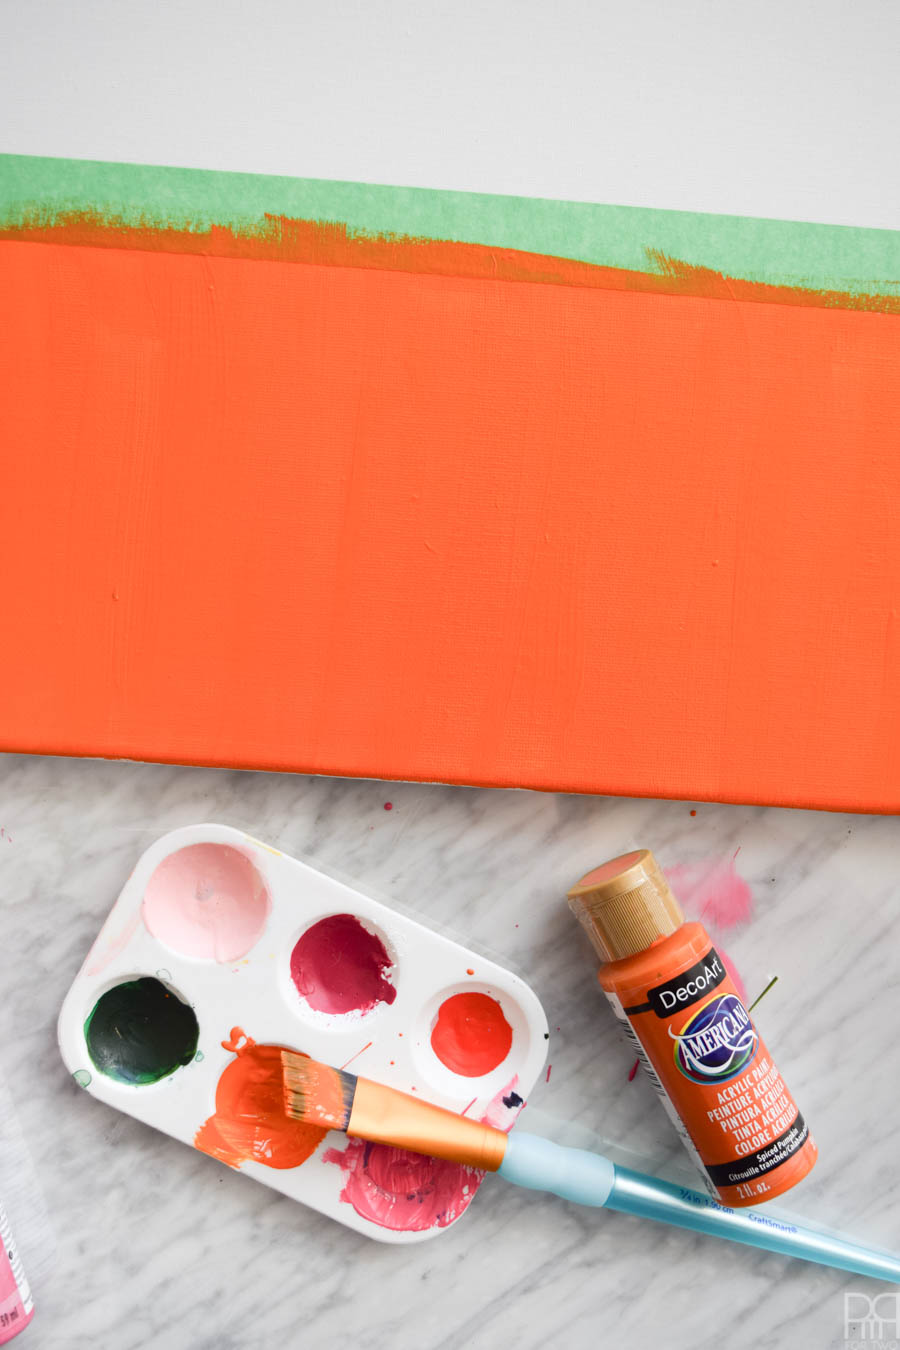
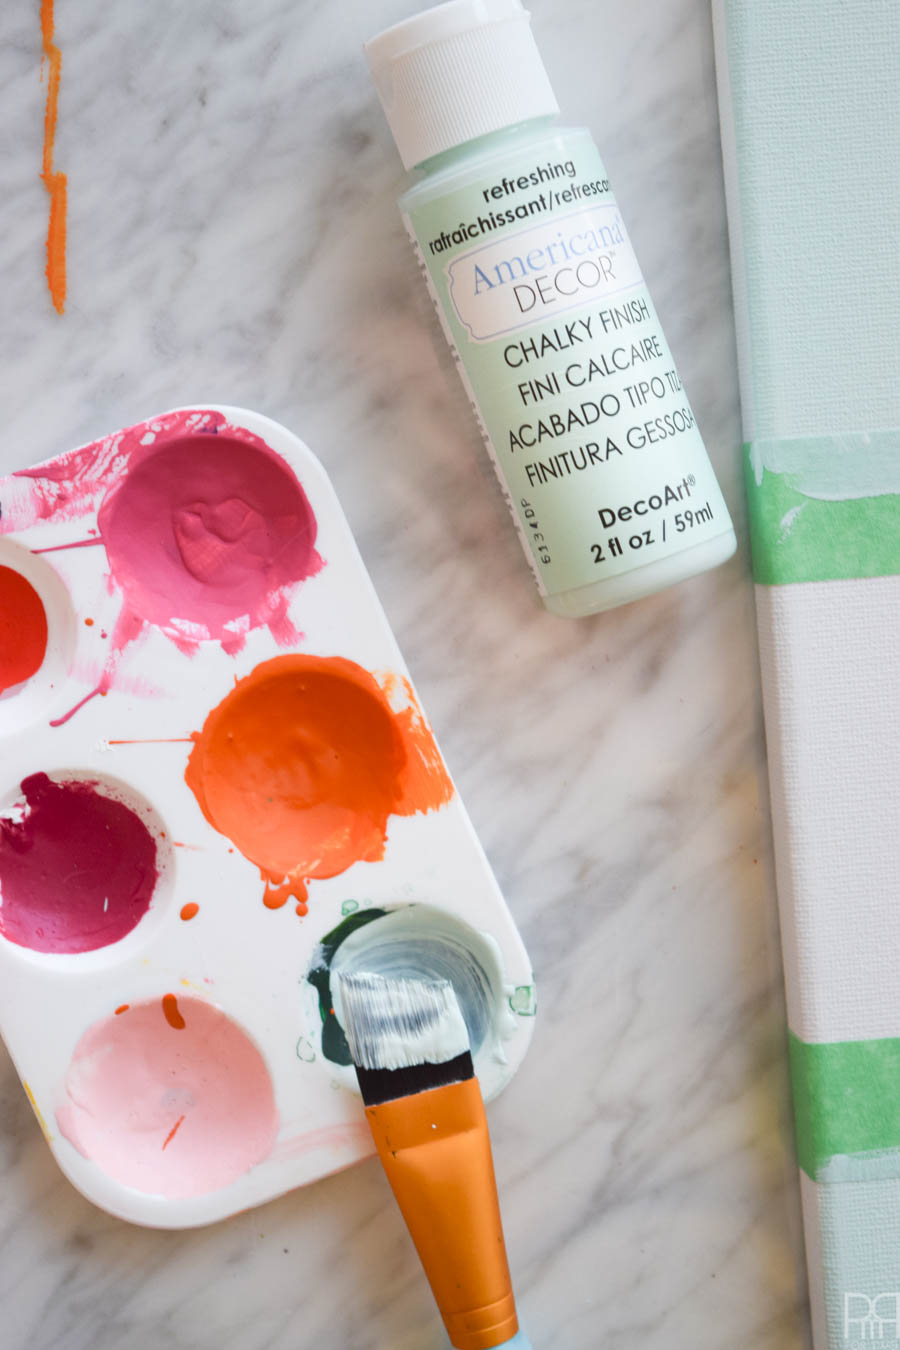
Step 2: Paint your canvases! I went for a collection of 5 to create more of an impact and allow greater mobility when styling them around the studio.
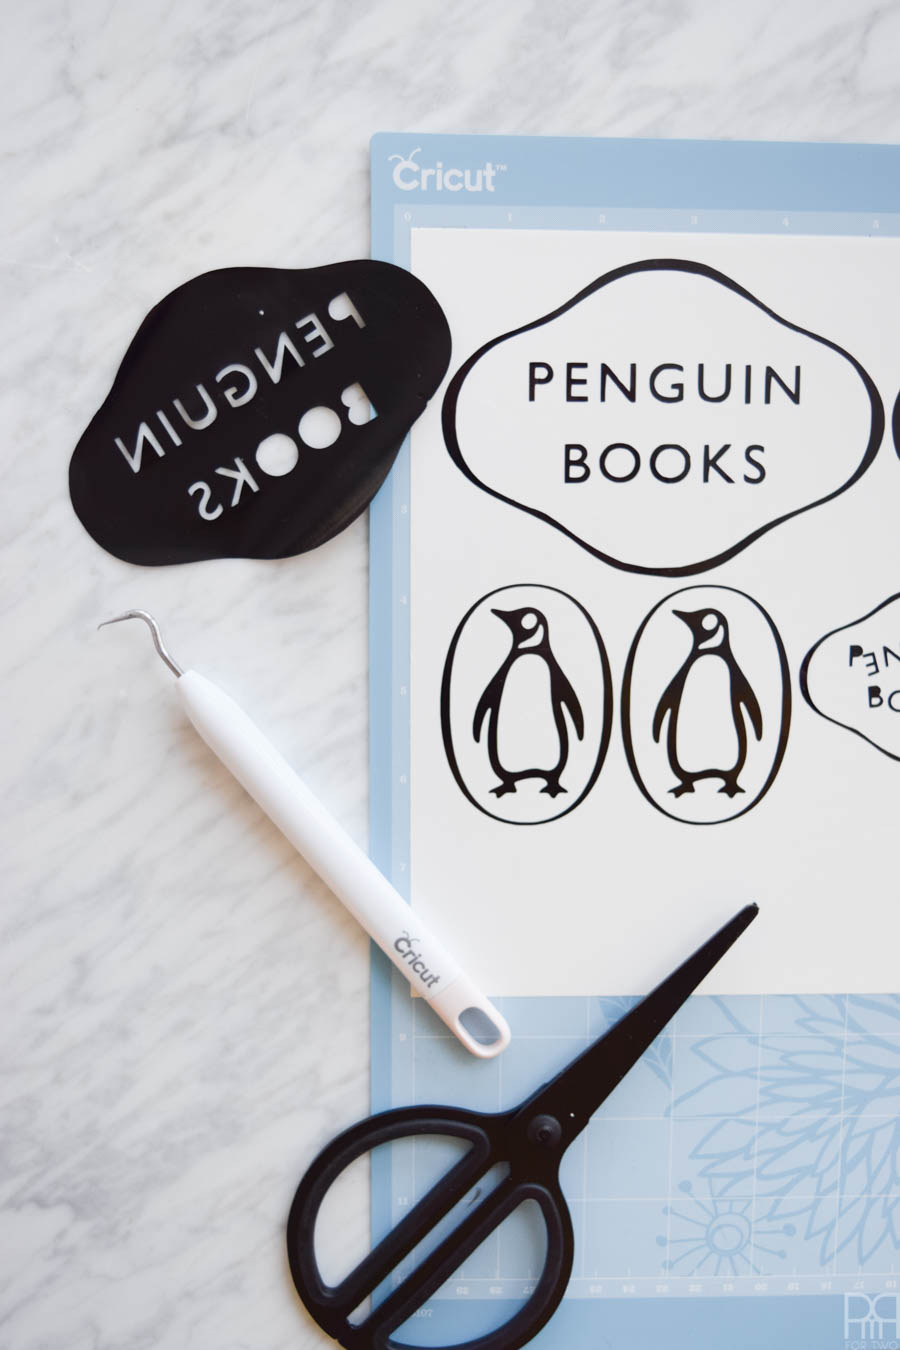
Step 3: While the coats of paint are drying, upload the various components of the Penguin logo and header to the Cricut Design Space as cut files. You can find my files available // here //
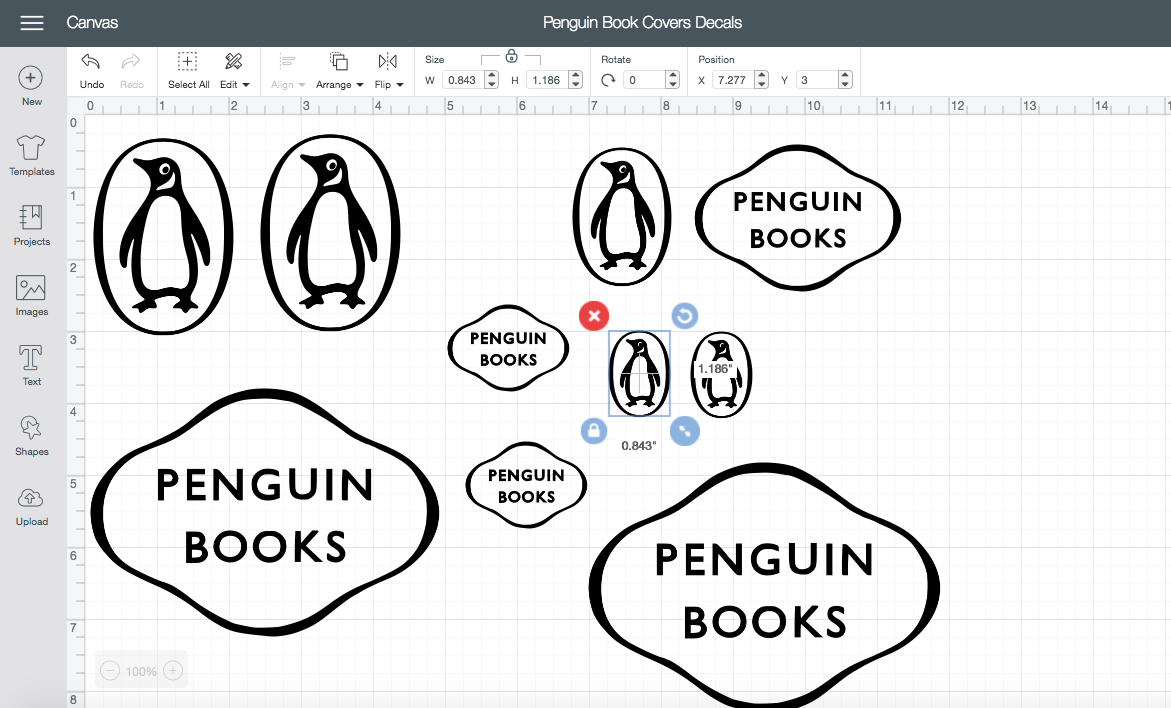

I also cut the outline of the two components out of white vinyl.
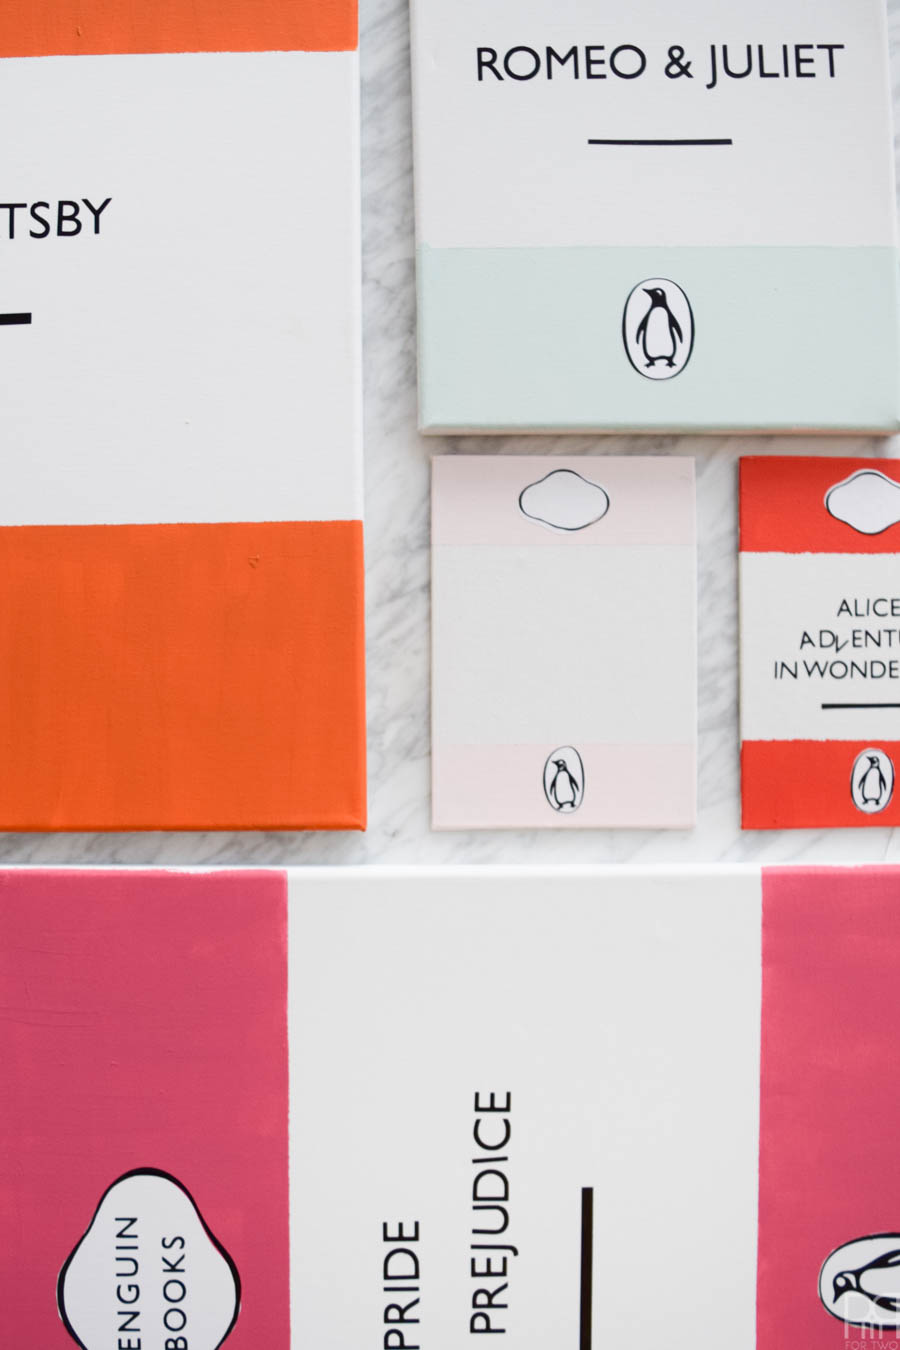
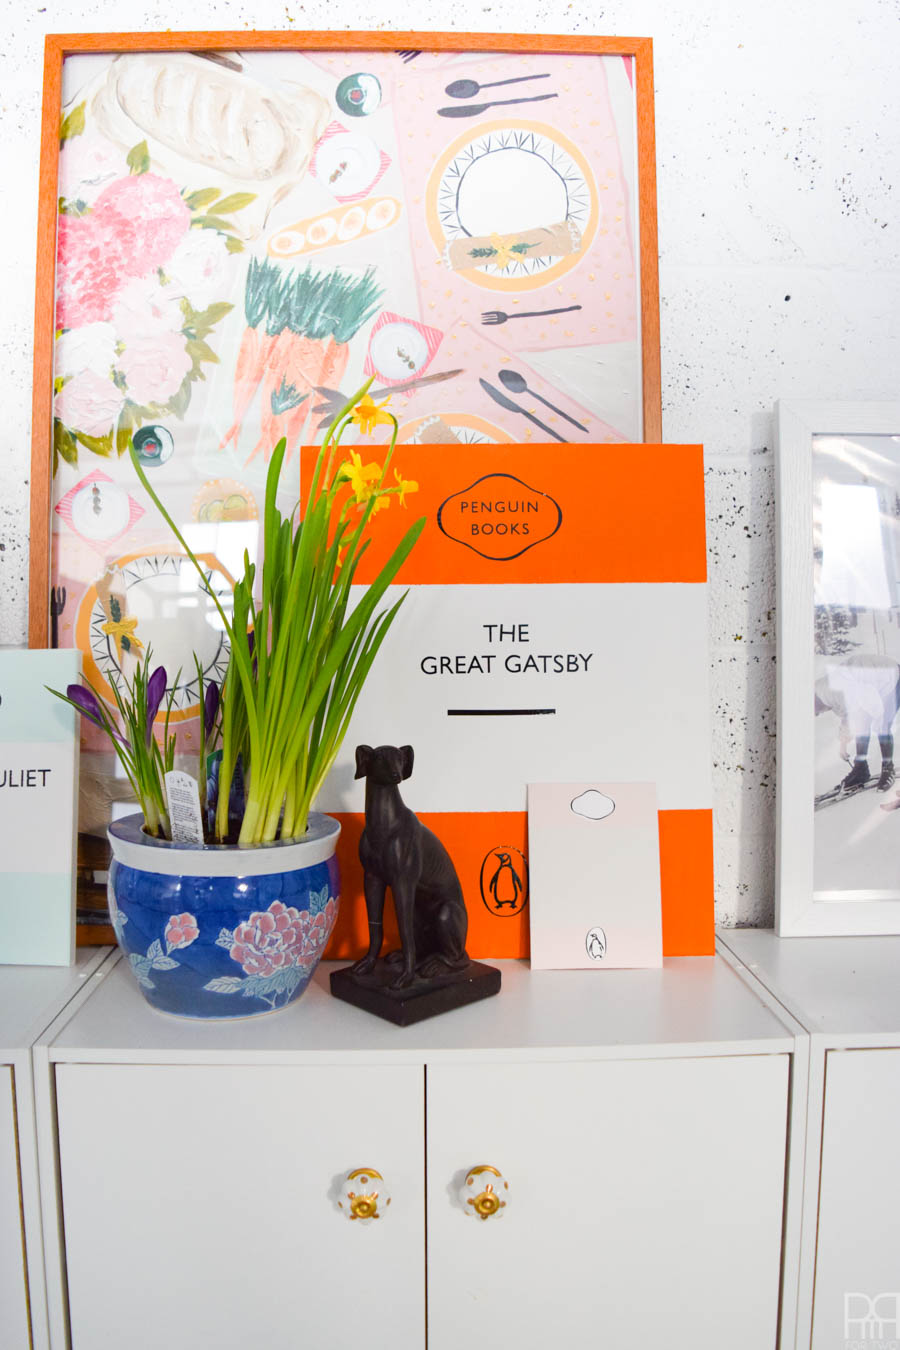
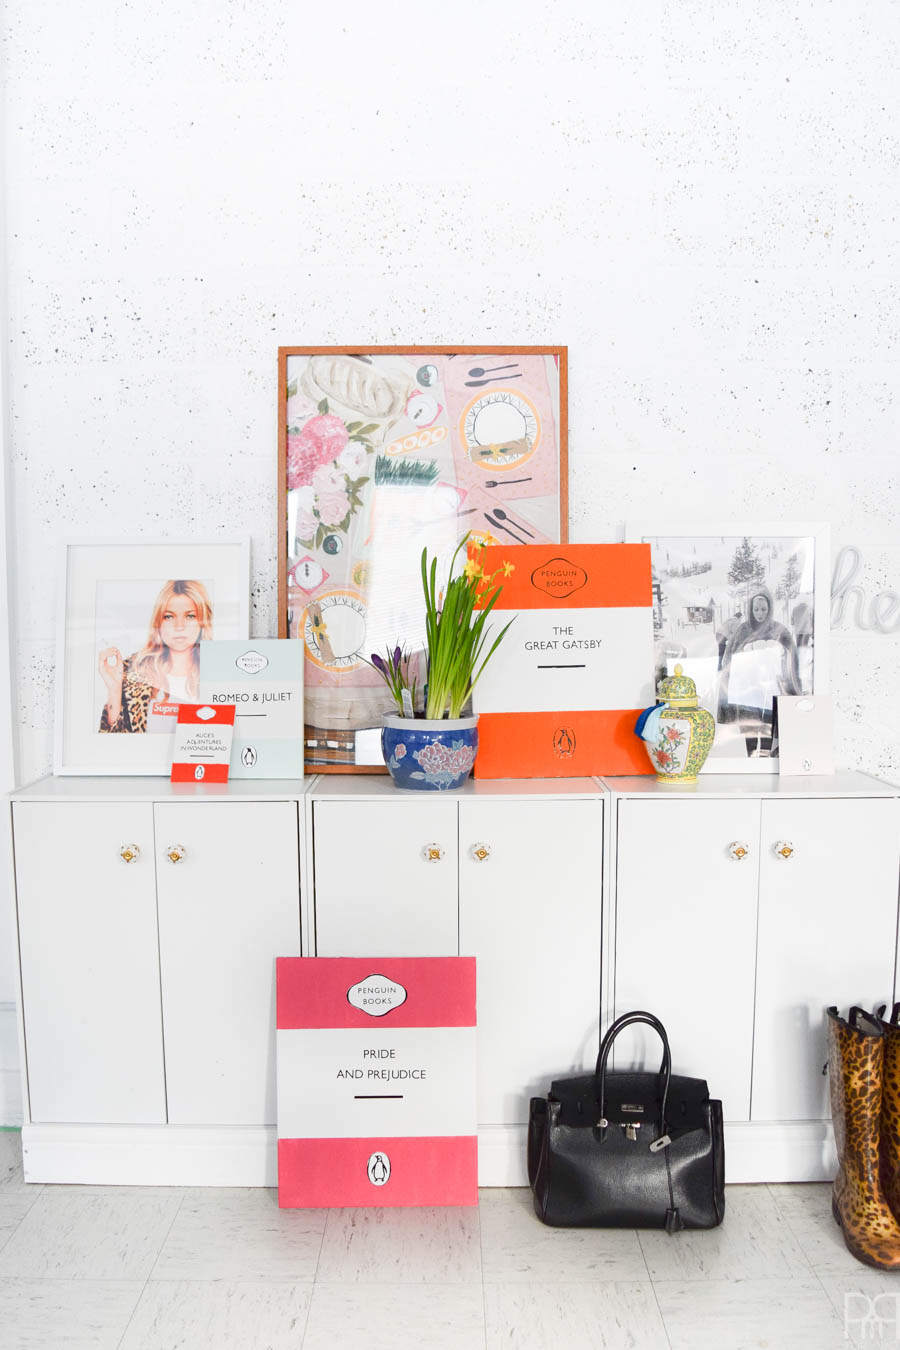
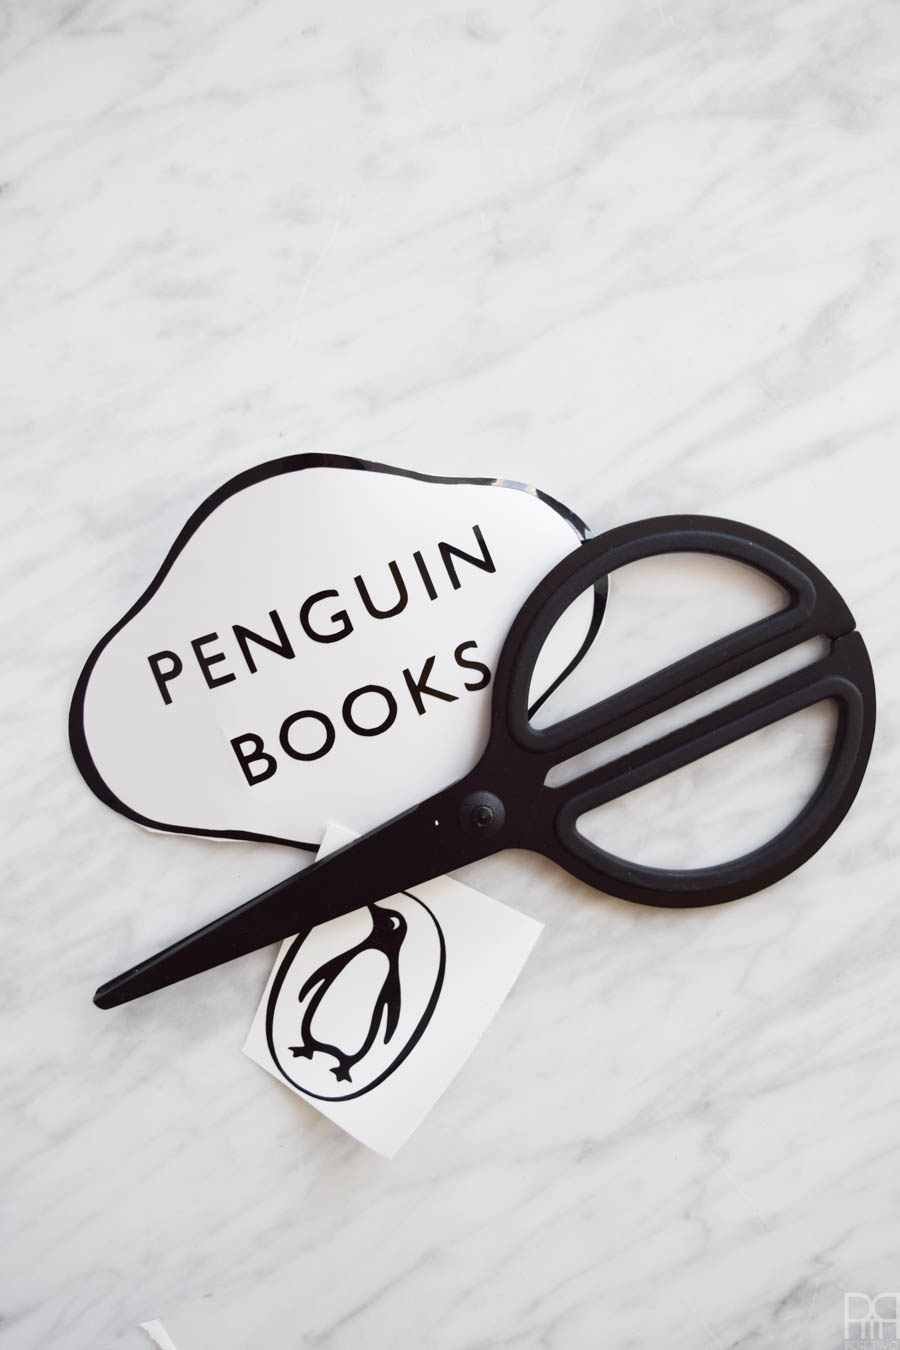
Step 4: Cut all of the files and then apply the black cuts to the white outlines. You’re essentially creating giant stickers that you will then stick to the canvas. I created the first one (in orange) without the white backing, and found it less impactful. You’ll see it throughout the final photos, but I opted to leave it as is and do white for the others.
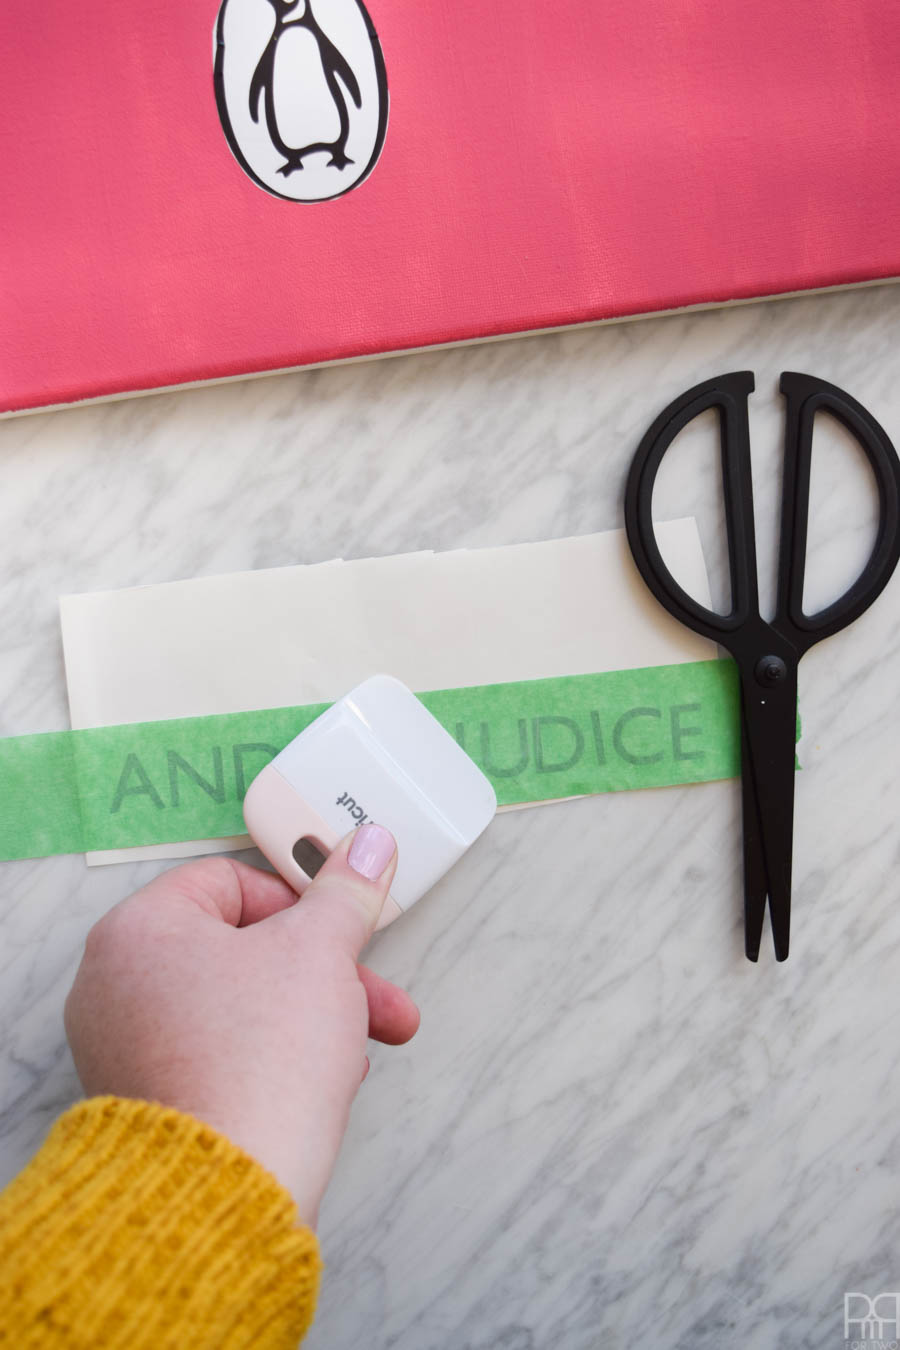
Step 5: Once the canvases are dry, and your stickers are ready, apply them to the canvases. I happened to run out of transfer tape and used painters tape instead. It worked beautifully! Make note in case you’re even crafting on a budget.
Step 6: Repeat steps 3-4 using the words you’ve chosen for the book titles. I went with works currently in the collection, but I know you can just as easily make them whatever you want. The font that comes closest to the one they use is Gill Sans, and you can find it online for free // here //
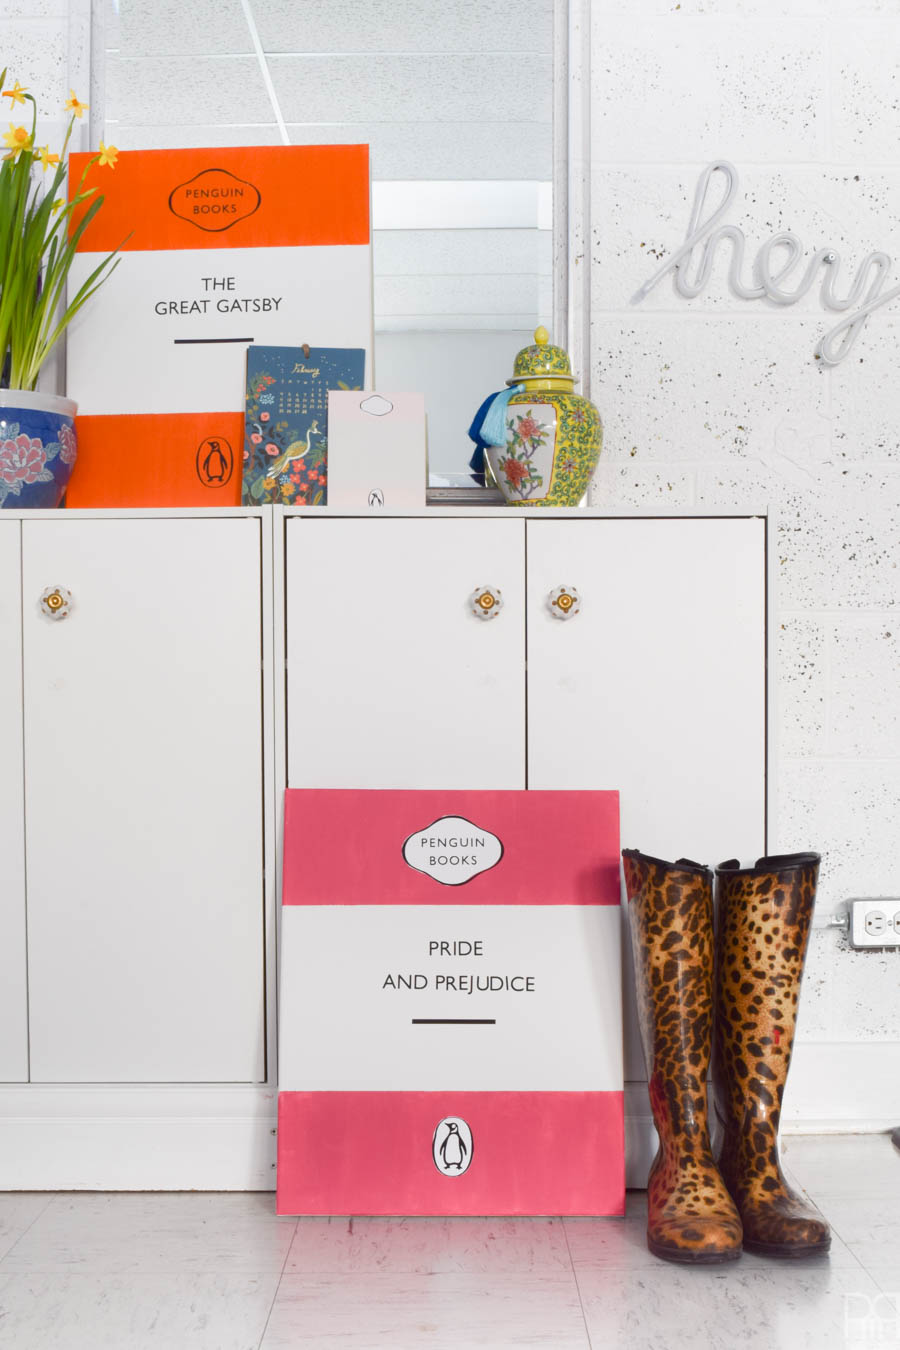
Step 7: Voila! If I was just doing one it would take me about 30 minutes, but because I was doing 5 it took me just over an hour start to finish. Economies of scale eh?
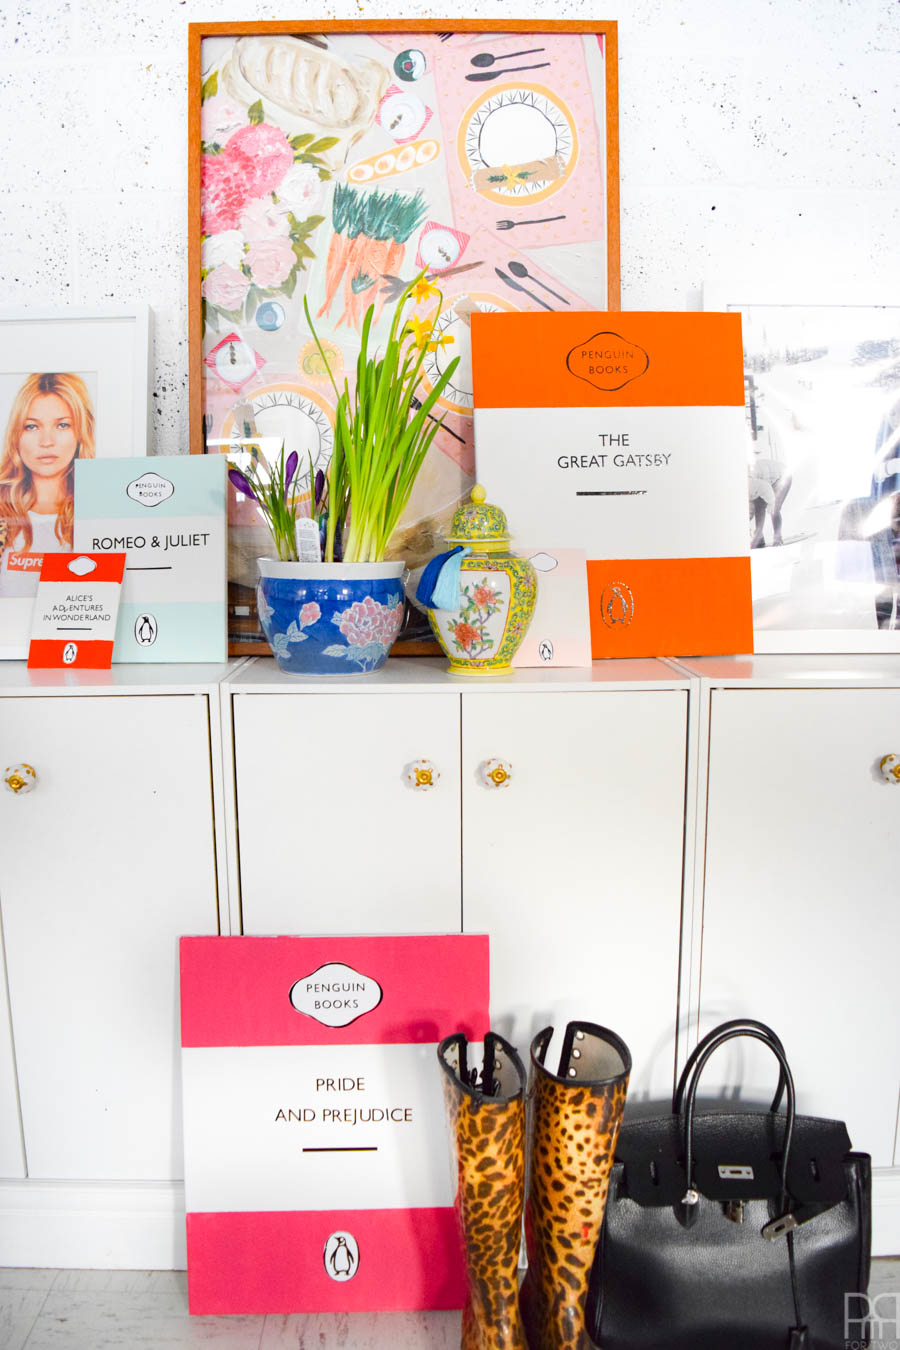
Like I said above, I really wanted some colour for the space because the walls are white, so these beautiful DIY Penguin Classics Book Cover Art pieces are a genius pop. I may have to make more, and maybe a really big one!


So when I was peeling the vinyl for the Alice title, a few of the letters ended up a little wonky. I thought about re-cutting it or trying to fix it, but decided that the whimsical and playful jumble was more true to the book itself, so I left it as is!
You’ll notice I also opted not to add authors, but that was mainly an aesthetic choice. I wanted something clean and simple, and the extra line of text was going to be more of a headache than I wanted.