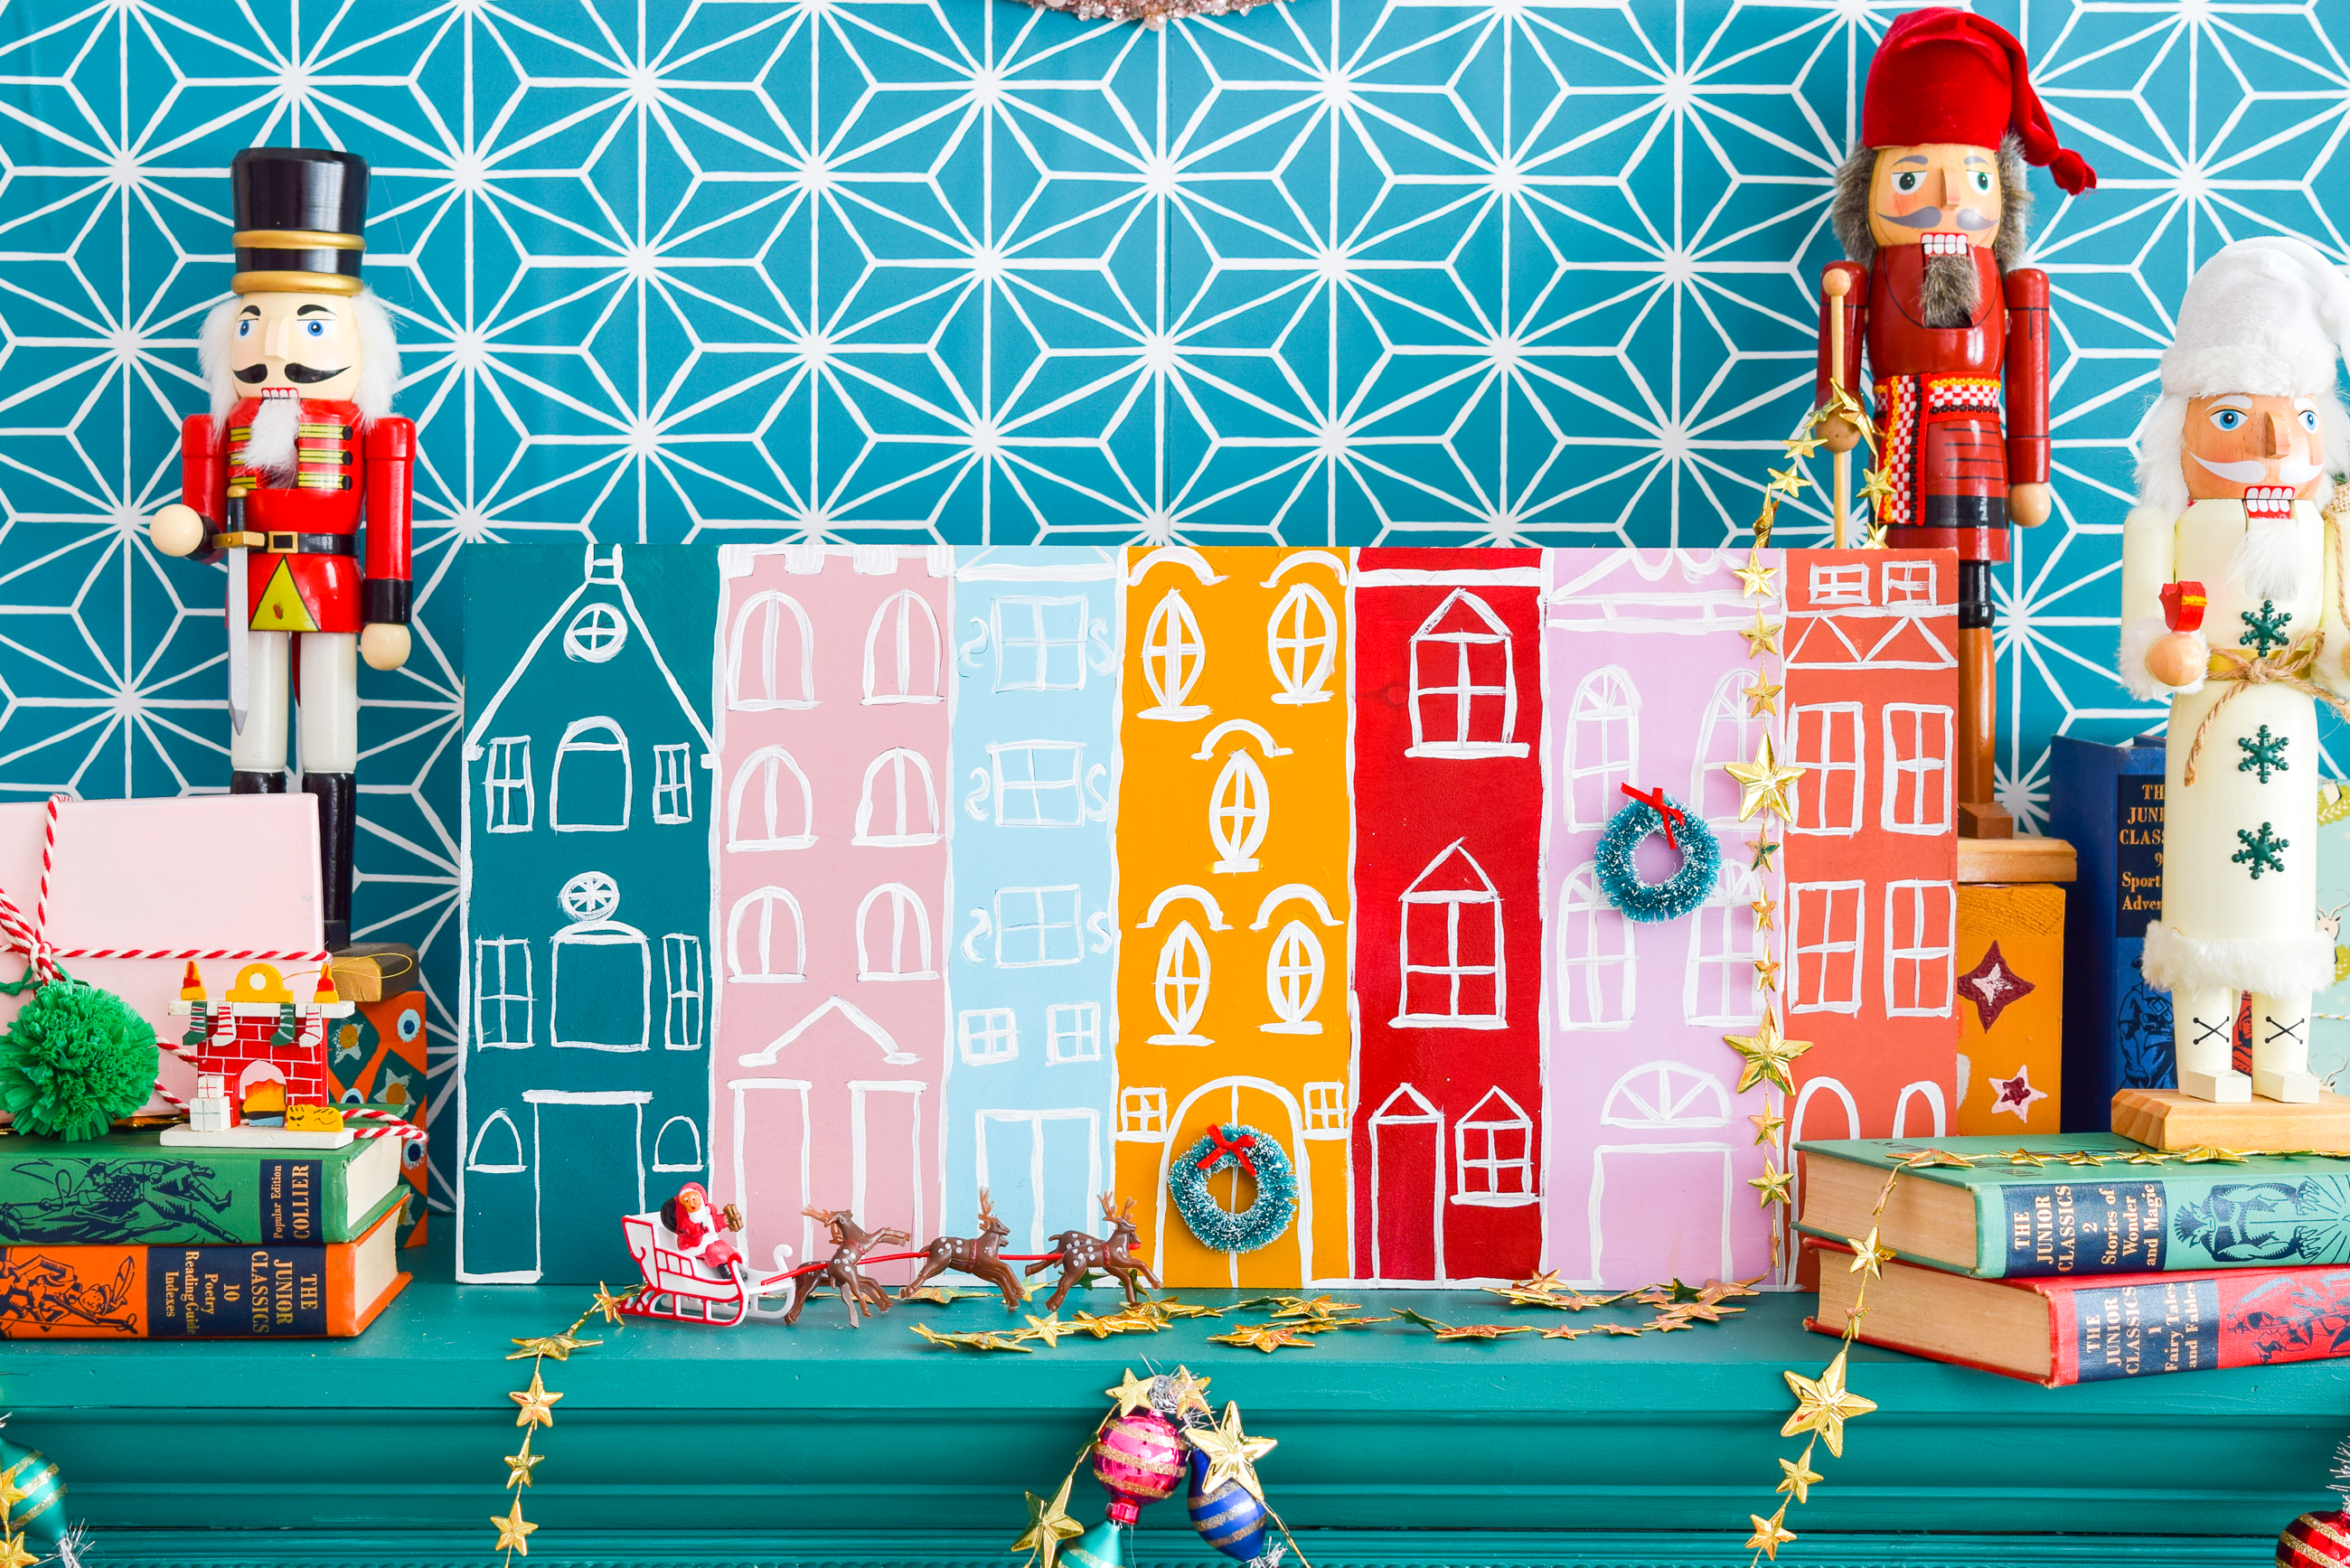
I’ve been totally intrigued by the idea of a painted Christmas gingerbread village, ever since falling in love with Mandi’s Simple Winter Village on A Beautiful Mess. The simplicity of design and colours truly inspired me, so even though I took it and ran with it in a slightly different direction, my painted Christmas village is 100% inspired by hers! And although this one doesn’t light up, it easily could if you wanted to drill holes (which isn’t that hard).
Check out my Painted Floral Christmas Ornaments, and my Felt Ornament Advent Calendar & my Painted Nutcrackers.
*DecoArt sponsored this post, but all thoughts are my own. Thank you for supporting the brands that make PMQ for two possible.

Painting a Christmas Village
*Insert puns along the lines of “it takes a village”* Kidding, it just takes a bit of paint, some tape, and smidge of creativity. You’ve got all of those right? If I could find them in the middle of my holiday madness, so can you!
You’ll need DecoArt’s line of Americana acrylic paints, as well as their new line of Dazzling Metallics! I used White Pearl because when applied over white paint, it looks like icing with shimmer in it! Before you do any of that you need a piece of plywood cut to the size of your village.
I bought a standard size piece at Home depot, had them cut it in half, and then again for one of those pieces. I was left with 3 pieces, and I used the smaller two, to bolster the big one by gluing them to the back (so that the village can stand on its own.)
Once that was done, I used painter’s tape to divide the large piece into 7 “houses” for painting. You can do as many or as few as you’d like, it just depends on how many colours you want to use. Each slice of colour will take on a different architecture and characteristic, so chose colours that are complimentary but contrasting.
I used light orchid, Dried Clay, true ochre, brilliant red, winter blue & the dark green/blue is a mix of greens, blues, and a hint of yellow! I chose the colours for their warmth, boldness, and their overall cheeriness. What better reason to pick colours!
Don’t forget a white for the house outline details, and of course the Dazzling Metallics in white pearl.
Drawing The Houses In Your Village
Once all the house are dry, it’s time to rough-in the house details! I didn’t feel comfortable just painting them, so I used a pencil to draw the outlines for all the windows and doors. That way I could get the spacing just right, and make sure I wasn’t just replicating the same details from house to house.
If you’re uncomfortable doing that, use the templates that Mandi has included in her post with ABM.
As you can see, I’ve kept it fairly simple and very informal. Nothing is straight — or super sharp — and I love the look of it! You could easily get really precious with this, or you can have some fun, understanding that the second you add the paint brush to the mix, that your straight lines will go out the window.
I just used Snow White from their acrylic collection for the base, and then layered the Dazzling Metallics’ Pearl white overtop for a shimmer. Cute eh? After that, a few touch-ups if necessary, I hot glue on some wreaths (because why not?!) and VOILA!
Displaying your Painted Christmas Village
While this painted Christmas village would look lovely on a sideboard, in this case I set it up on the mantel! I thought the colours worked together well, and it allowed me to trot out my nutcrackers!
