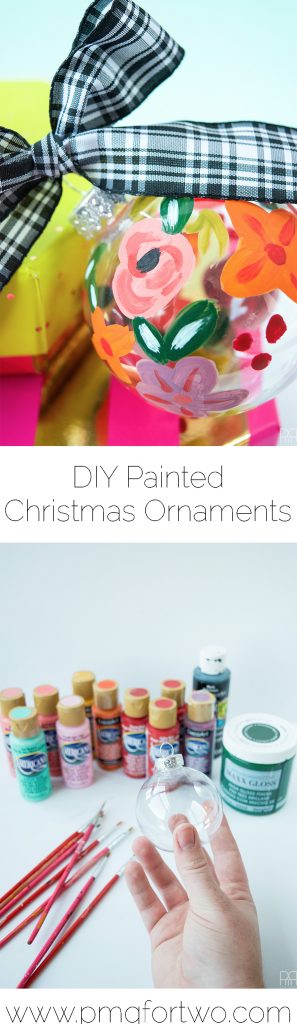
This year I’ve decided to participate in two craft fairs. I’ve never done this sort of thing, and since Canada Post charges an arm and a leg to ship anything within Canada, I’ve never really made products to sell. BUT, after the success of my // DIY Painted Pumpkins // I thought I’d try my hand at some Rifle Paper Co. inspired DIY Painted Christmas Ornaments.
If you’re interested in purchasing one please contact me

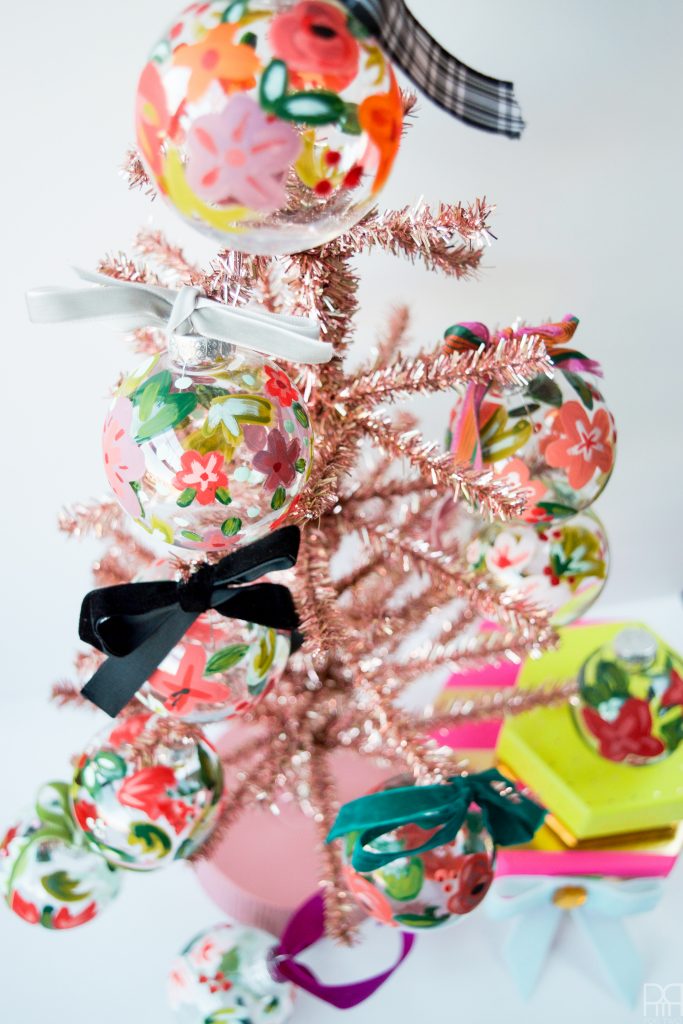
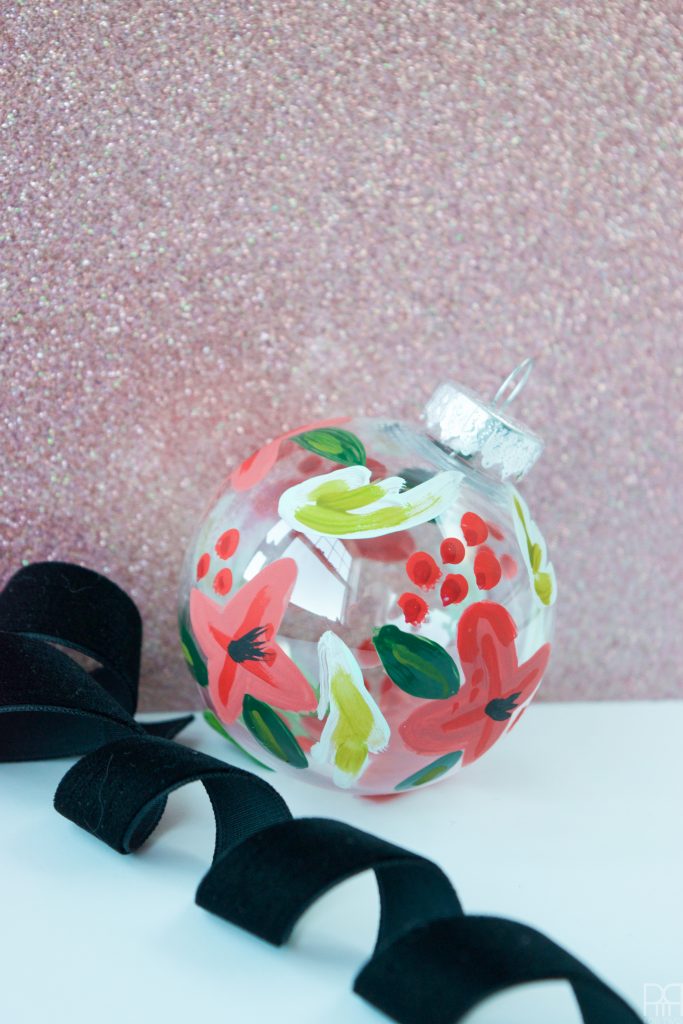
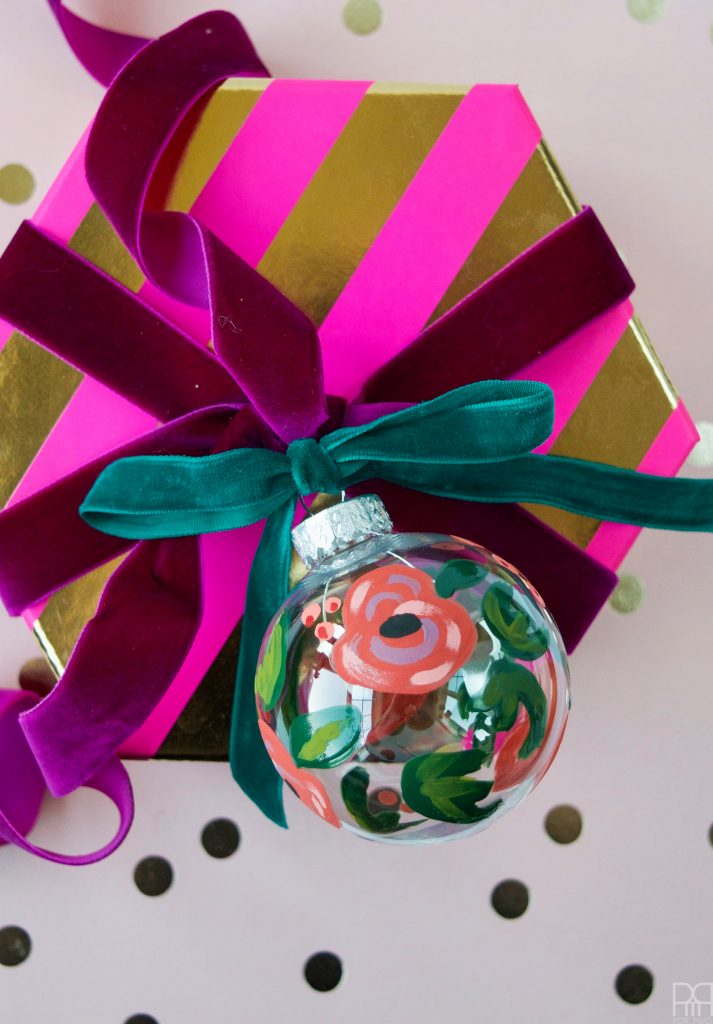
I think we can all agree that these DIY Painted Christmas Ornaments are perfectly cheery, colourful, and with some velvet ribbon you can’t go wrong! That’s right, I’m carving up my ribbon stash for these bad boys, so you know they’ll be good.

*The following product links contain affiliate links. Thank you for supporting the brands that make PMQ for two possible. For my full policies click // here //
*DecoArt sponsored this post, but all thoughts are my own. Thank you for supporting the brands that make PMQ for two possible.
Materials
- Clear Plastic Acrylic Fillable Ball Ornament
- Paint Brush Set
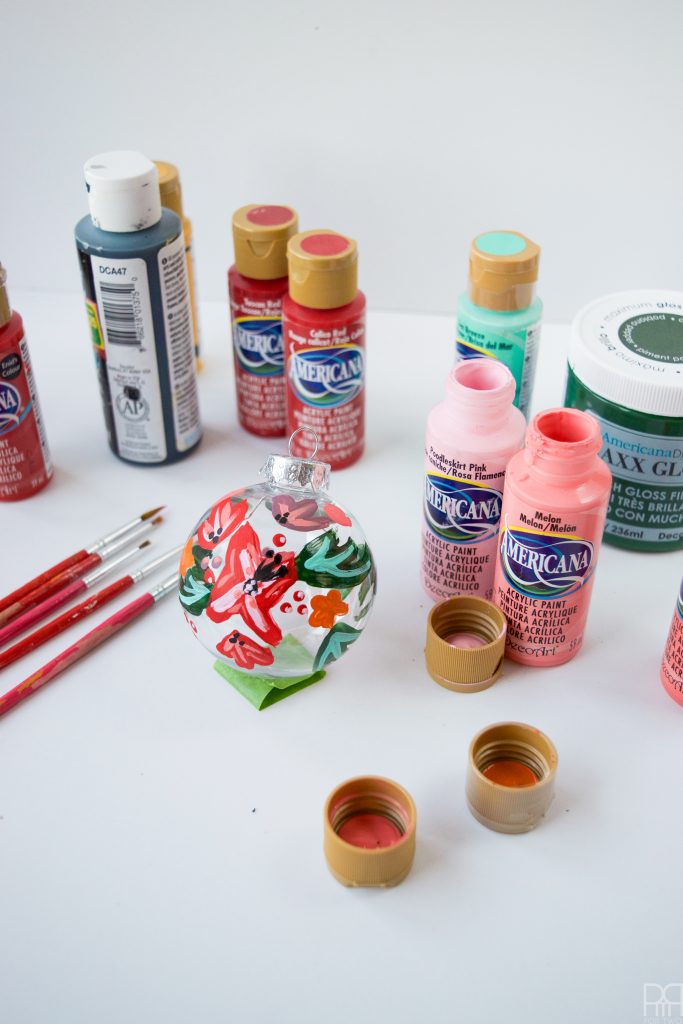
- DecoArt Americana paints: Frosted Plum
- Velvet Ribbon: Aubergine, Black, Moss Green, Christmas green, Black and White Plaid, Baby Pink.

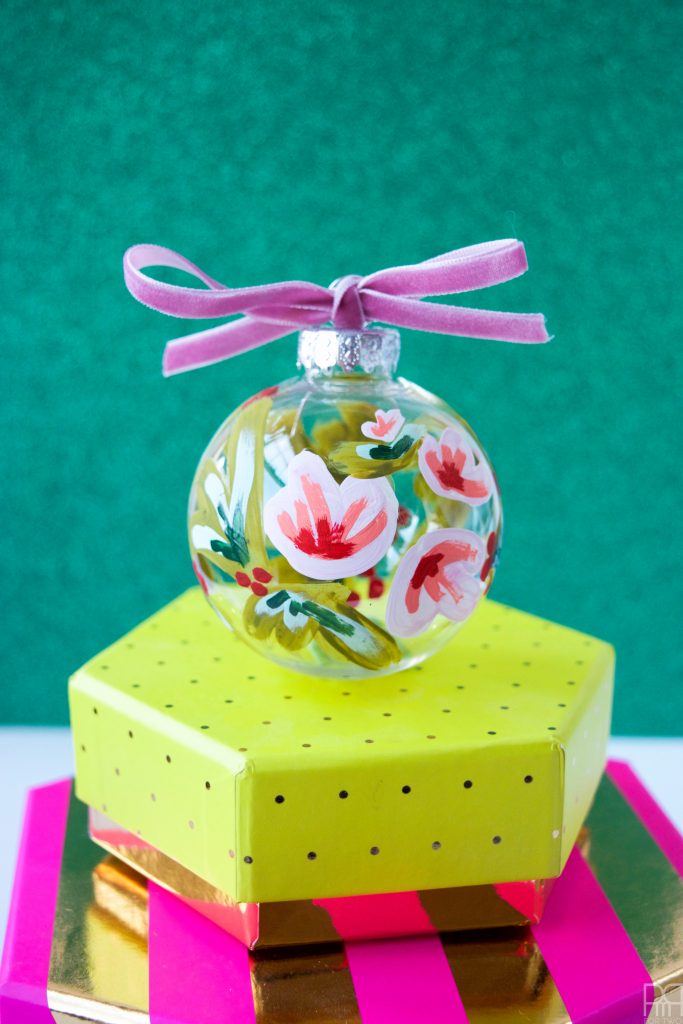
I can’t do a DIY for each type of ornament I painted, so instead I’m doing a simple medallion ornament with an Amarylis or Poinsettie (depends how many petals you add)
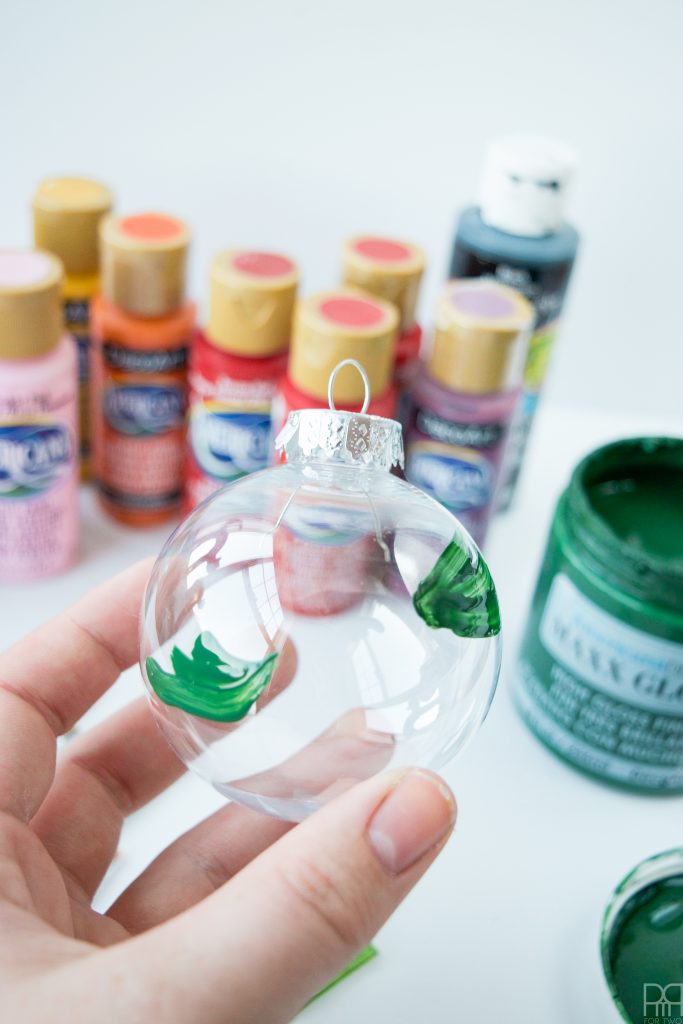
Step 1: Starting with a clean ornament (free of smudges, pet hair and so on), start by applying green pine sprigs. You’re doing three big swooshes with the brush, that all connect and share a “stem.”
Step 2: Now that you have your framing, add your flower using four big triangular petals, in the middle of the pine sprigs.
You can always add more smaller versions of the flower, but I opt to add different types of flowers to get a mixture of colour.
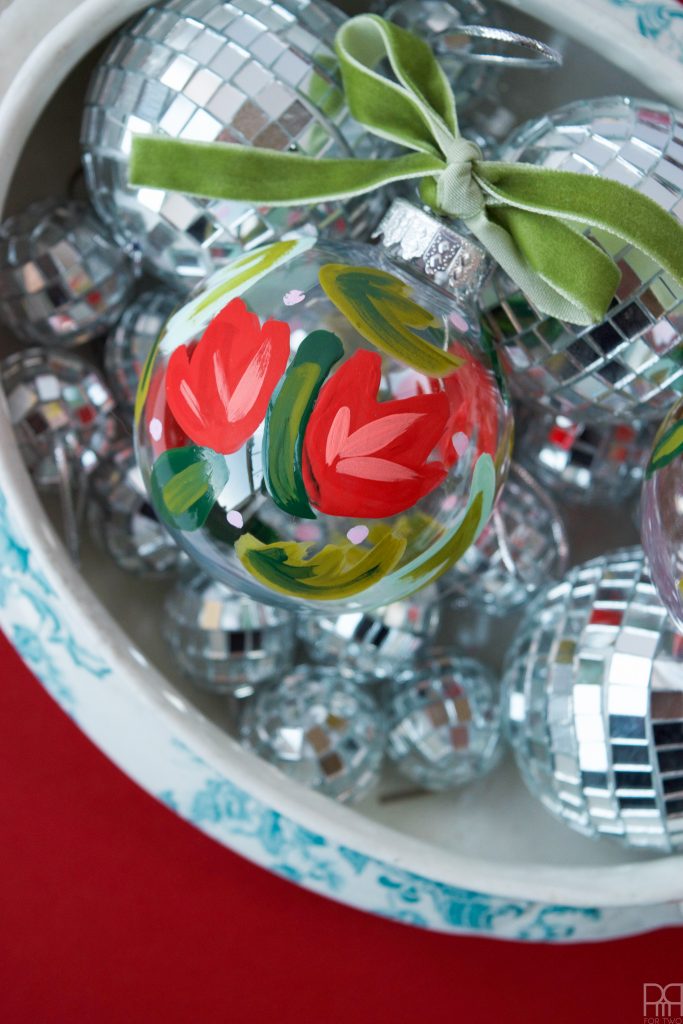
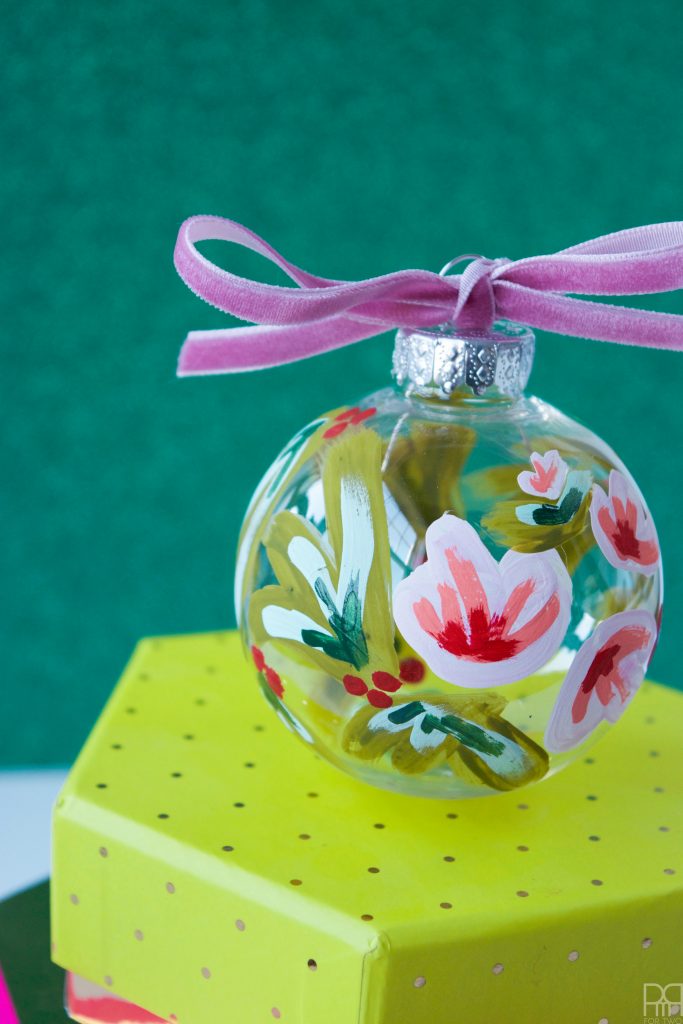
Step 3: Add an extra flower or two. I added tulips in red and mauve.
Step 4: While the first coats dry, I added some little polka dots to fill-up any dead space, and then create more pine sprigs around the back of the ornament.
Step 5: Apply a second or third coat of everything! You don’t want to see streaks or plastic beneath.
Step 6: Time for details! This where we add a contrasting colour to add dimension and depth to our otherwise very boring ornament.
Using Sea Breeze, create a new focal point on all the pine sprigs by painting down the middle.
On the flowers, pick a lighter pink like Poodleskirt pink to do the same, adding creases and a centre.

On the purple tulips, use coral or melon to do the same.
Step 7: I then added black sprigs, more dots and berries, as well as some more flourishes.
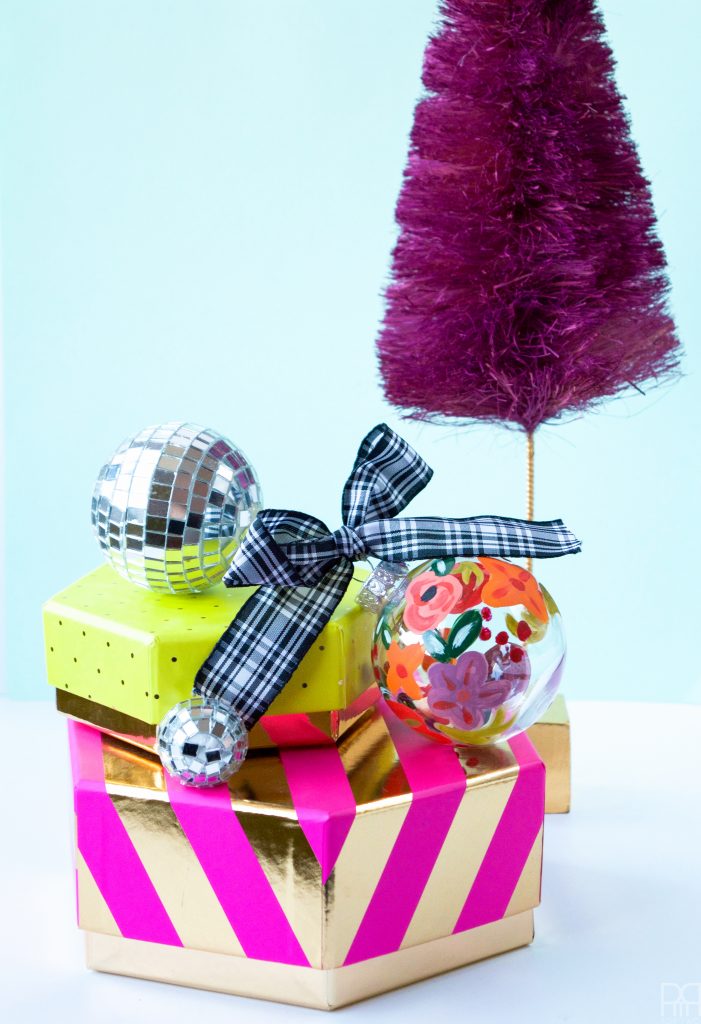
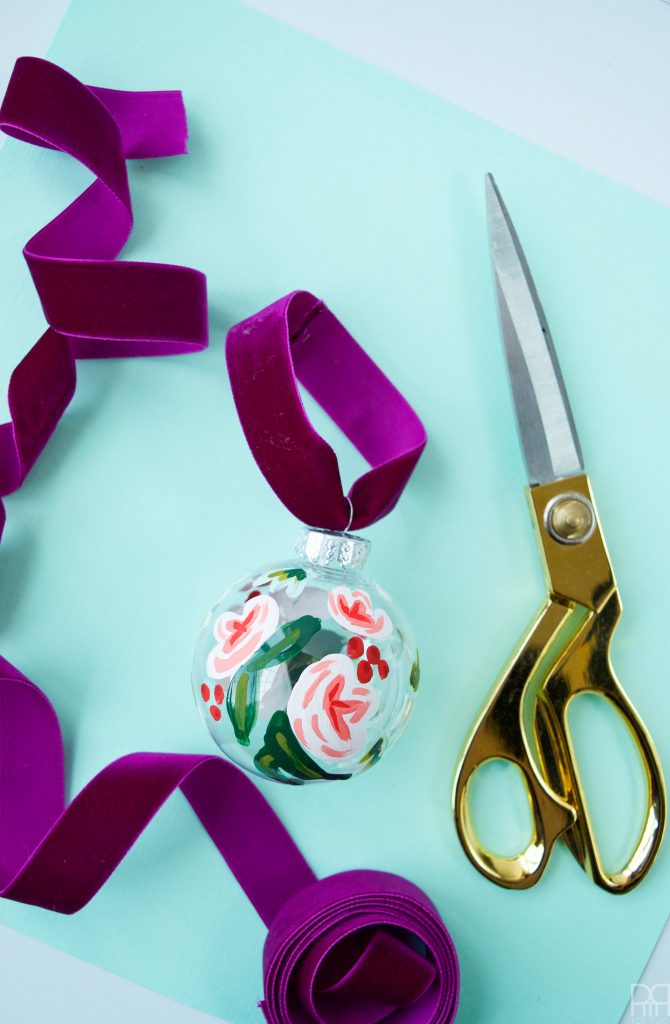
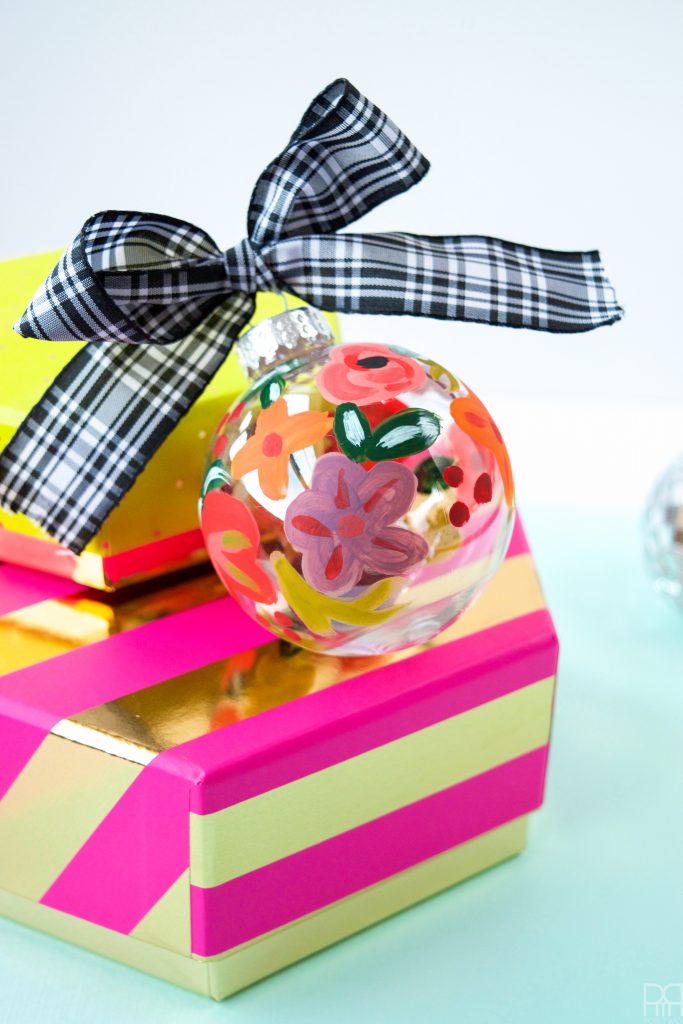
Step 8: Add a contrasting yet complimentary coloured ribbon through the hoop for an extra touch. I think it amplifies the colours and really makes things pop. Don’t you agree?
DIY Painted Christmas Ornaments – easy as 1-2-3
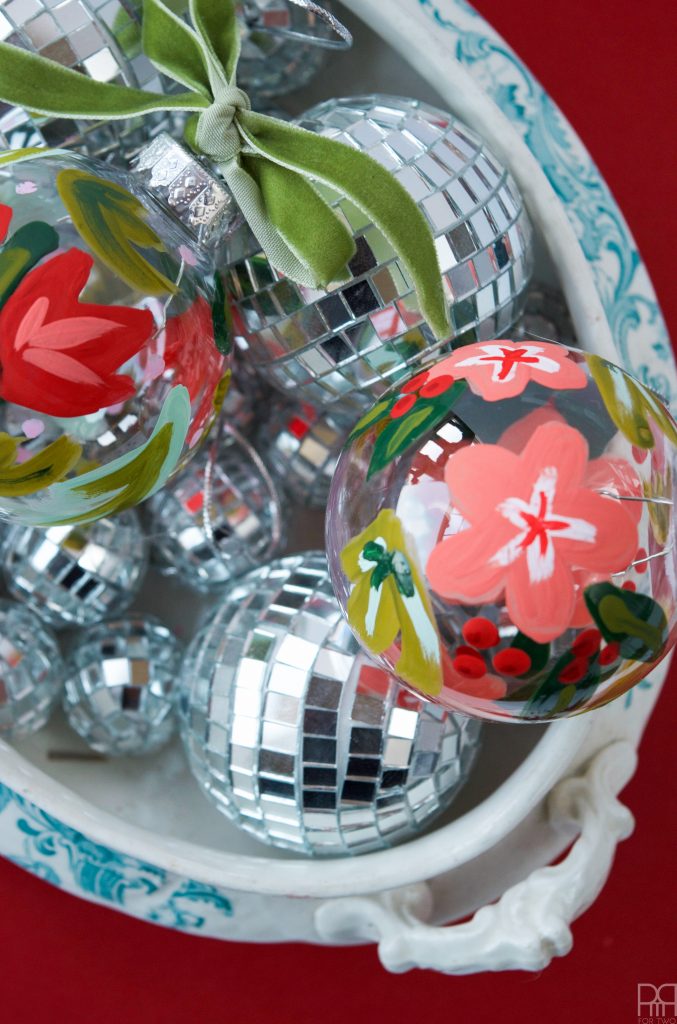
And now for some beauty shots!