*Updated November 5th 2019
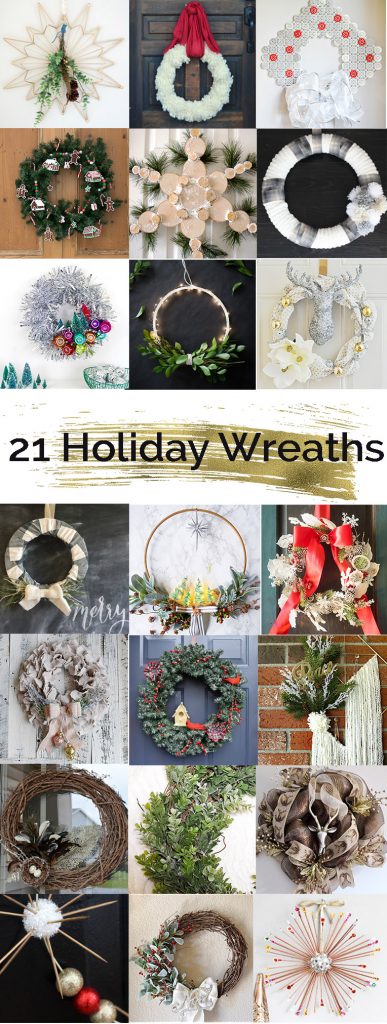
We’re off to the races! And just like that, the holiday season is begun. To kick things off right, I’m sassing my DIY Minty & Cool Holiday Wreath, along with 20 other kick-ass wreathes to help get you started on the crafting and seasonal madness.
Check out all my other wreath tutorials


Retro Mint Hoop Wreath
That’s right, this year’s wreath involves deer, bottle brush trees, mini LED wire lights and florals. Could you ask for more? Who knows! This wreath was a blast to make, and super easy. I love that it will contrast nicely with all the pink, reds and purples I’ve got planned for the season.
Speaking of which, my DIY Minty & Cool Wreath will be one of many posts this month running-up to Christmas. So enjoy! As always, I love the feedback, so make sure you leave a comment.
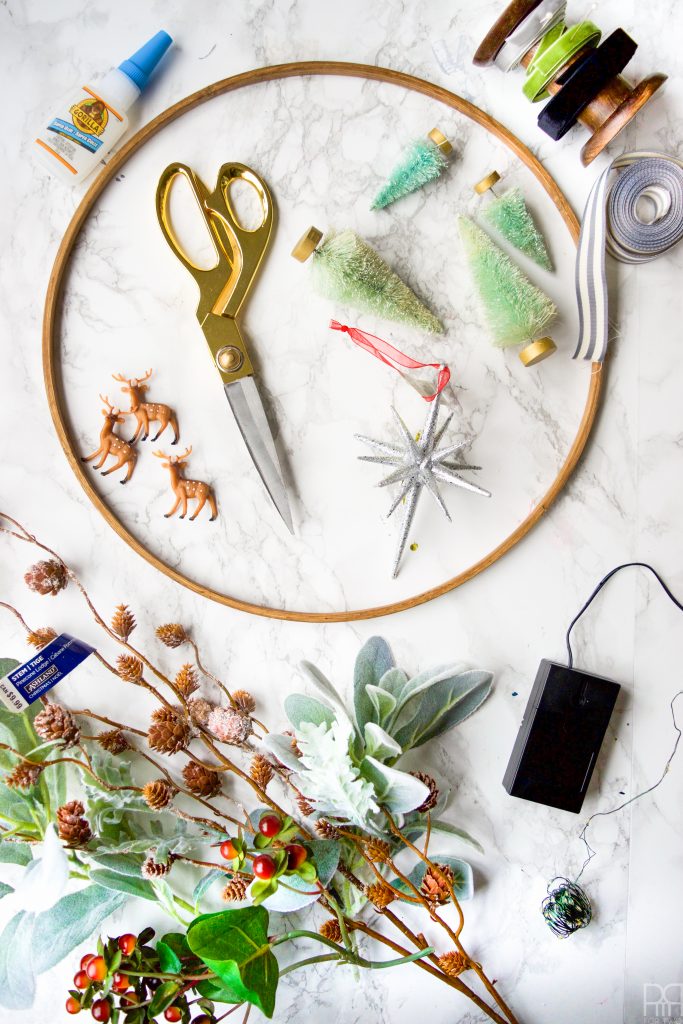

What you need to make a Retro Hoop Wreath
*The following product links contain affiliate links. Thank you for supporting the brands that make PMQ for two possible.
- Minty Forest Bottle Brush Trees from Smile Mercantile
- Deer from Smile Mercantile
- Darice Quilting Hoops, 14-Inch
- Lambs ear spray 29″, Dusty miller bush in green and gray 9″, Hypericum Berry Spray in two tone, Frosted Pinecones (from Michaels)
- Oasis Aluminum Wire – Pink – 12-gauge – Decorative Wire
- RTGS 2 Sets 15 Warm White Color Micro LED String Lights Battery Operated on 6 Feet Silver Wire
- Atomic Star Ornament (purchased at Michaels)
- eZthings® Professional 8″ Heavy Duty Gold Scissors for Leather arts and crafts
- Gorilla Super Glue, 15 g
- Ribbon! All the ribbon you can think of! I like to buy mine // here //

How to Make a Retro Hoop Wreath
Stain your embroidery hoop. I chose from one of the many colours in our garage/workshop. I wanted something warm, but not too dark that it would overpower the soft hues in the rest of the wreath.
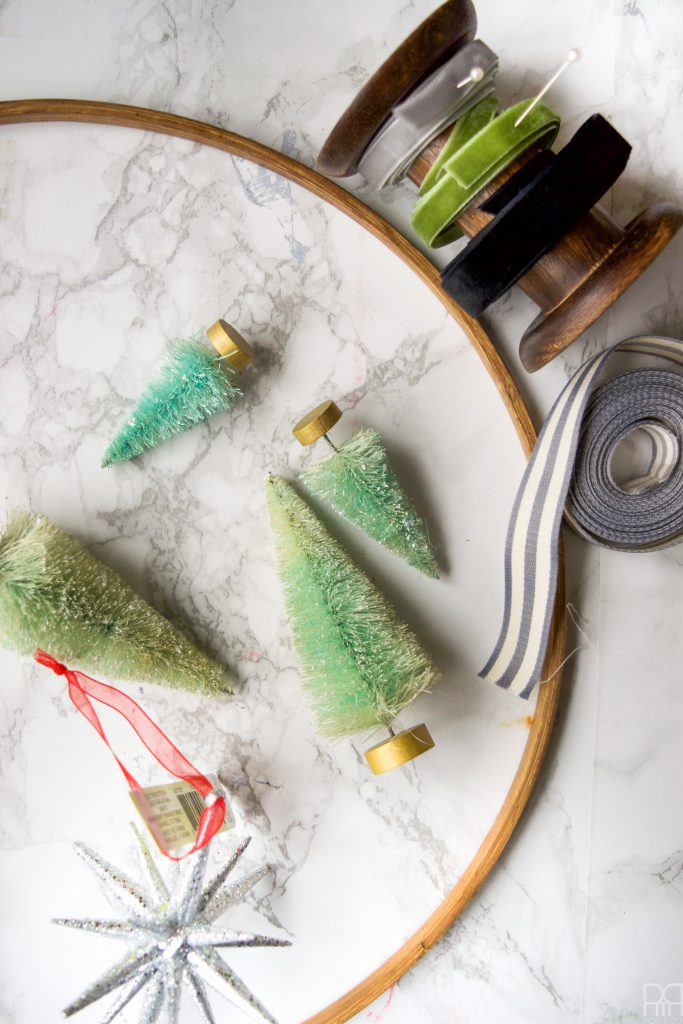
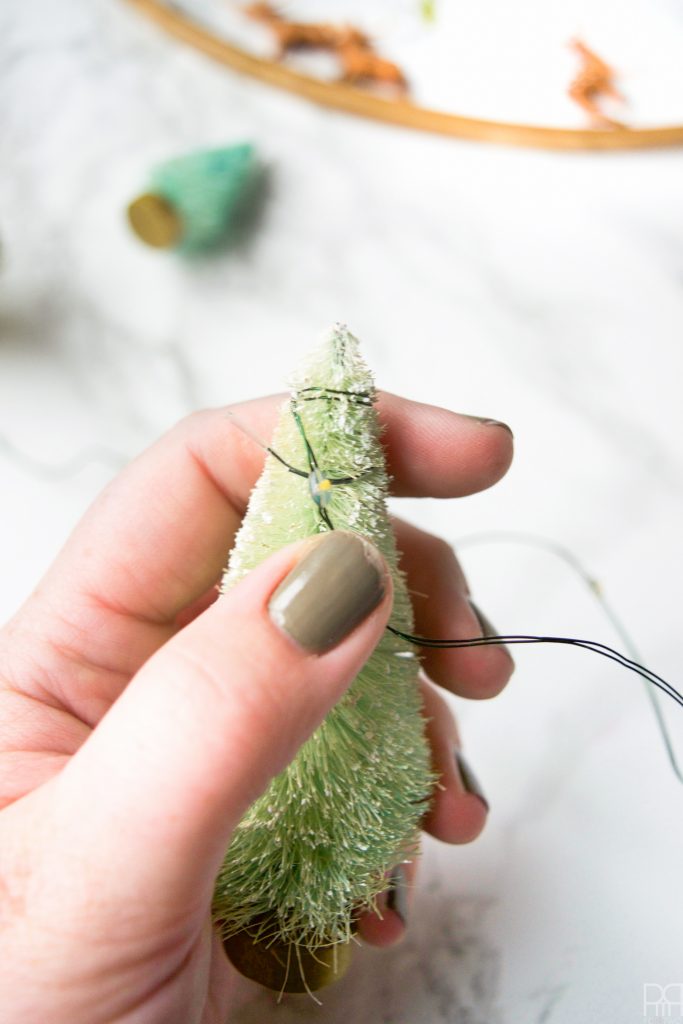
Lit Bottle Brush Trees
Wrap the lights around your bottle brush trees. I started with the un-tethered end and wound my way back from there. That way there wouldn’t be a stray end of the wire that I would have to secure at the end.
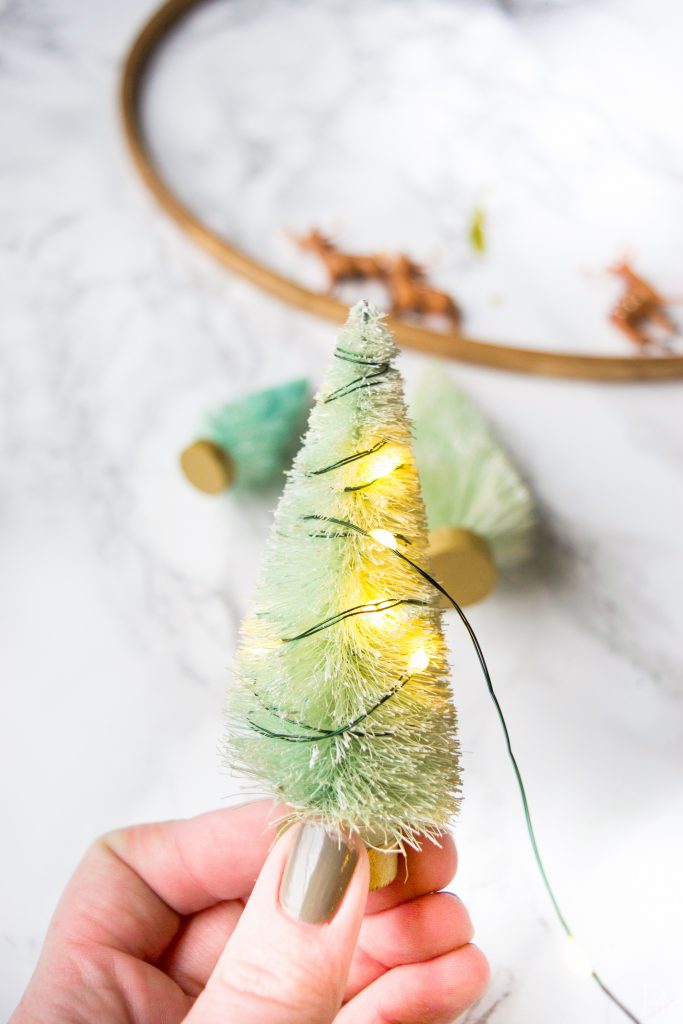
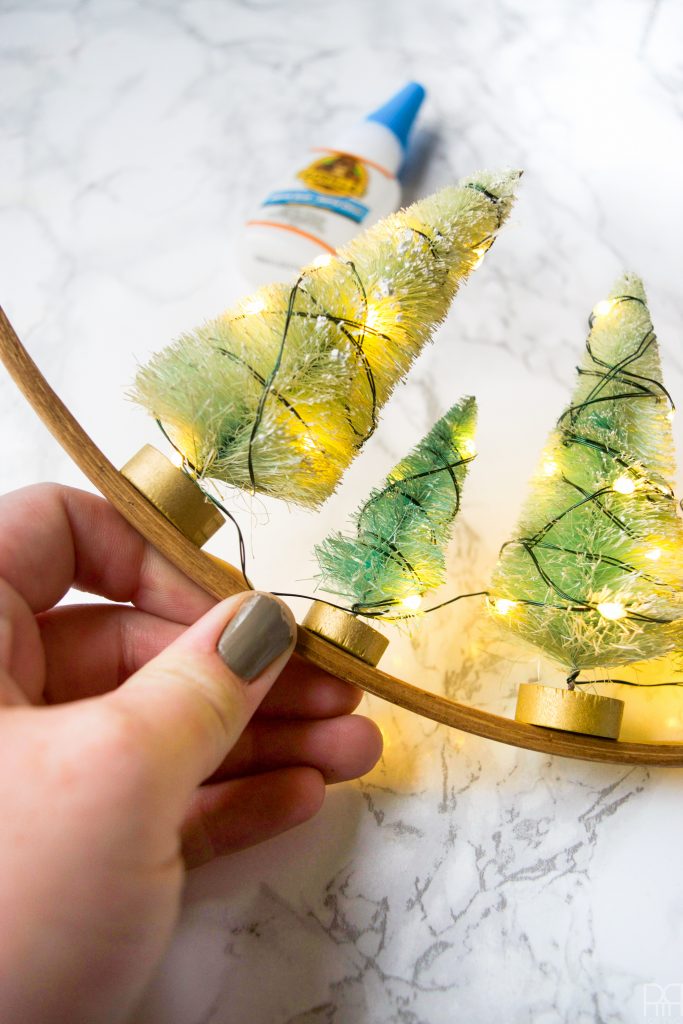
Once your lights are wound, glue the pedestals for the bottle brush trees to the inside of the hoop. It doesn’t matter where for the moment, since everything else is being added around those.
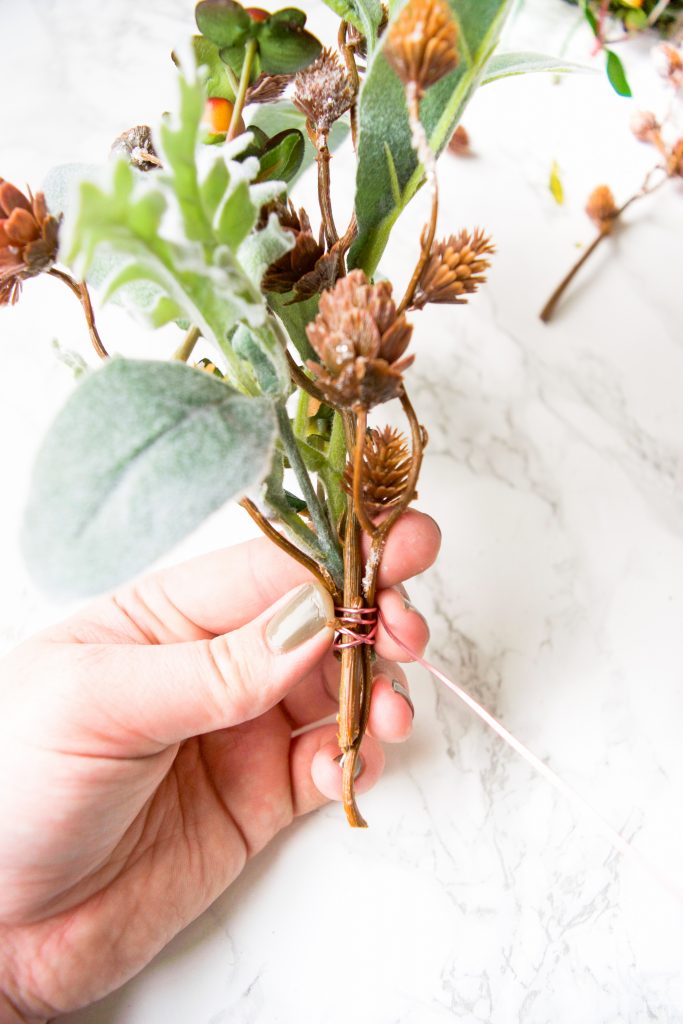
Boho Winter Florals
Prep the foliage for clusters. I chose remnants from my DIY Fall Centerpiece with Afloral, for this wreath. I thought the silvery/green of the dusty miller and lamb’s ear was almost minty green, and the berries added a nice pop of seasonal red.
Meanwhile. the frosted pinecones are nice and long, but also kind of droopy, so they add the perfect “bounce” to the cluster of foliage beneath. I laid-them out so that I could see how I would layer them.


Much like with the DIY Modern & Moody Fall Wreath I used some pink floral craft wire and wound the foliage in layers and bunches.


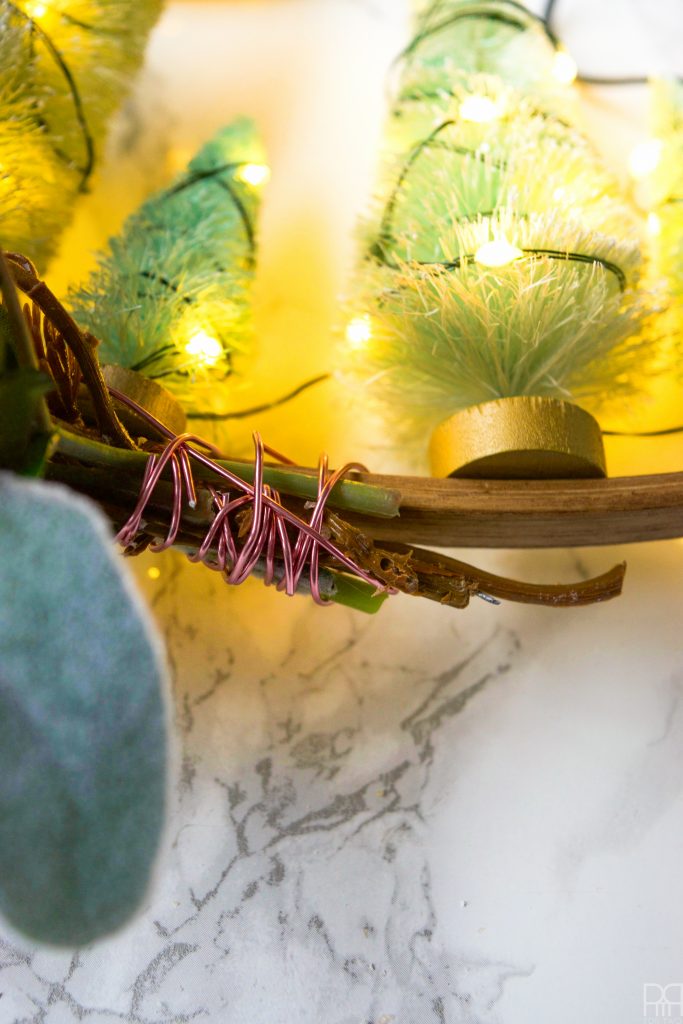
Assembling the retro hoop wreath
Once the foliage is complete, time to wrap them to the hoop. You want to centre them beneath the bottle brush trees, as they’ll later help disguise the battery pack for the lights in the trees.
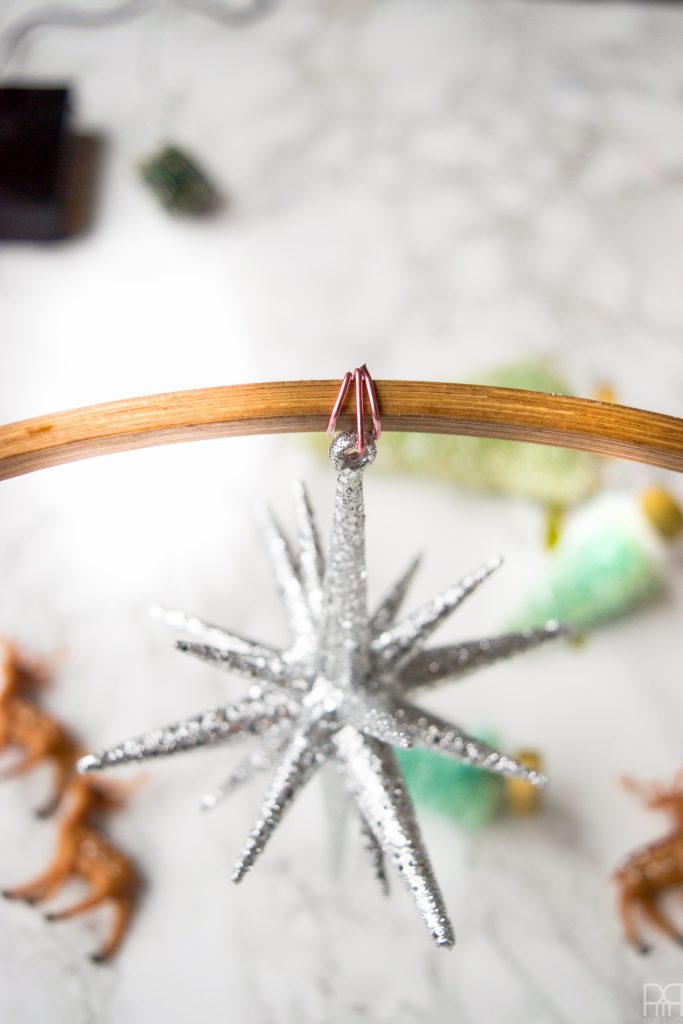
Add the Atomic starburst (or whatever kind of star you would like) to the wreath. I cut away the ribbon it came with and threaded some floral craft write through the loop to fix it to the hoop.
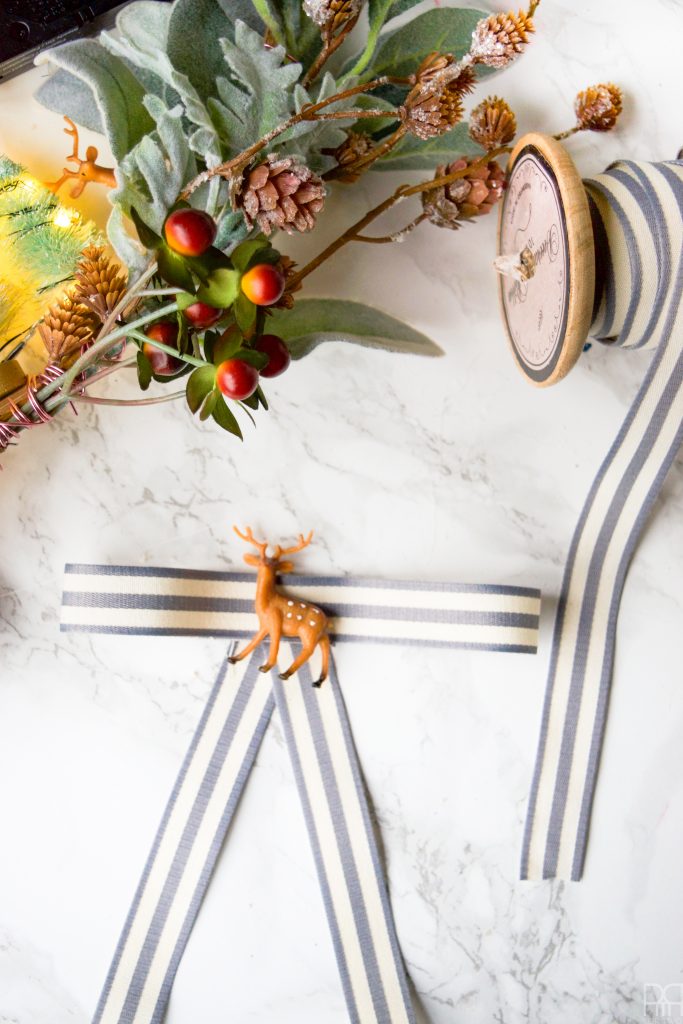
Create the bow you want. I used a cotton grey and white ribbon that I’ve had kicking around for a while. I made my favourite Col. Sanders bow (*not the correct term, but hey! that’s what I call it) and glue a deer to the front piece.
Add in any other deer into your bottle brush tree scene. I chose to hide one off to the side. I want it to be a surprise for anyone who gets close enough.


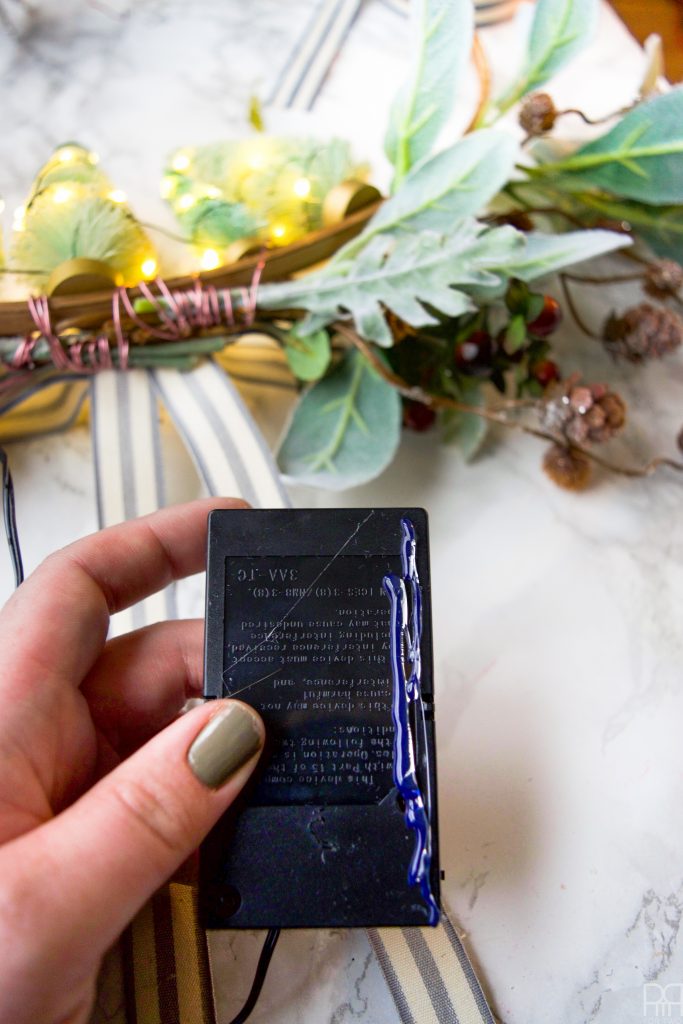
Once everything is in place, flip your wreath over. I added a bead of hot glue to the back of the battery pack **NOT THE SIDE THAT OPENS TO REPLACE THE BATTERIES** and then glue it to the hoop so that it would be hidden behind one of the foliage sprigs.
Retro Hoop Christmas Wreath
Once everything is dried and safely secure, you’ve got yourself a wreath!!! Much like with my fall wreath, I’ll reveal it in situ in one of the holiday tours I’m participating in. In the meantime, please enjoy this simple and stunning flat lay.


Up to Date Interiors // Up to Date Interiors // Cottage in the Oaks // Architecture of a Mom
Nourish & Nestle // KS Craft Shack // My Life From Home
Craft & Tell // The Uncommon Law // Monica Wants It
Twelve On Main // PMQ for two // Atta Girl Says
The DIY Mommy // Flourish and knot // Maggie Overby Studios
Hey Fitzy // Domicile 37 // Our Crafty Mom
This Is Our Bliss // Timeless Creations // PMQ for two