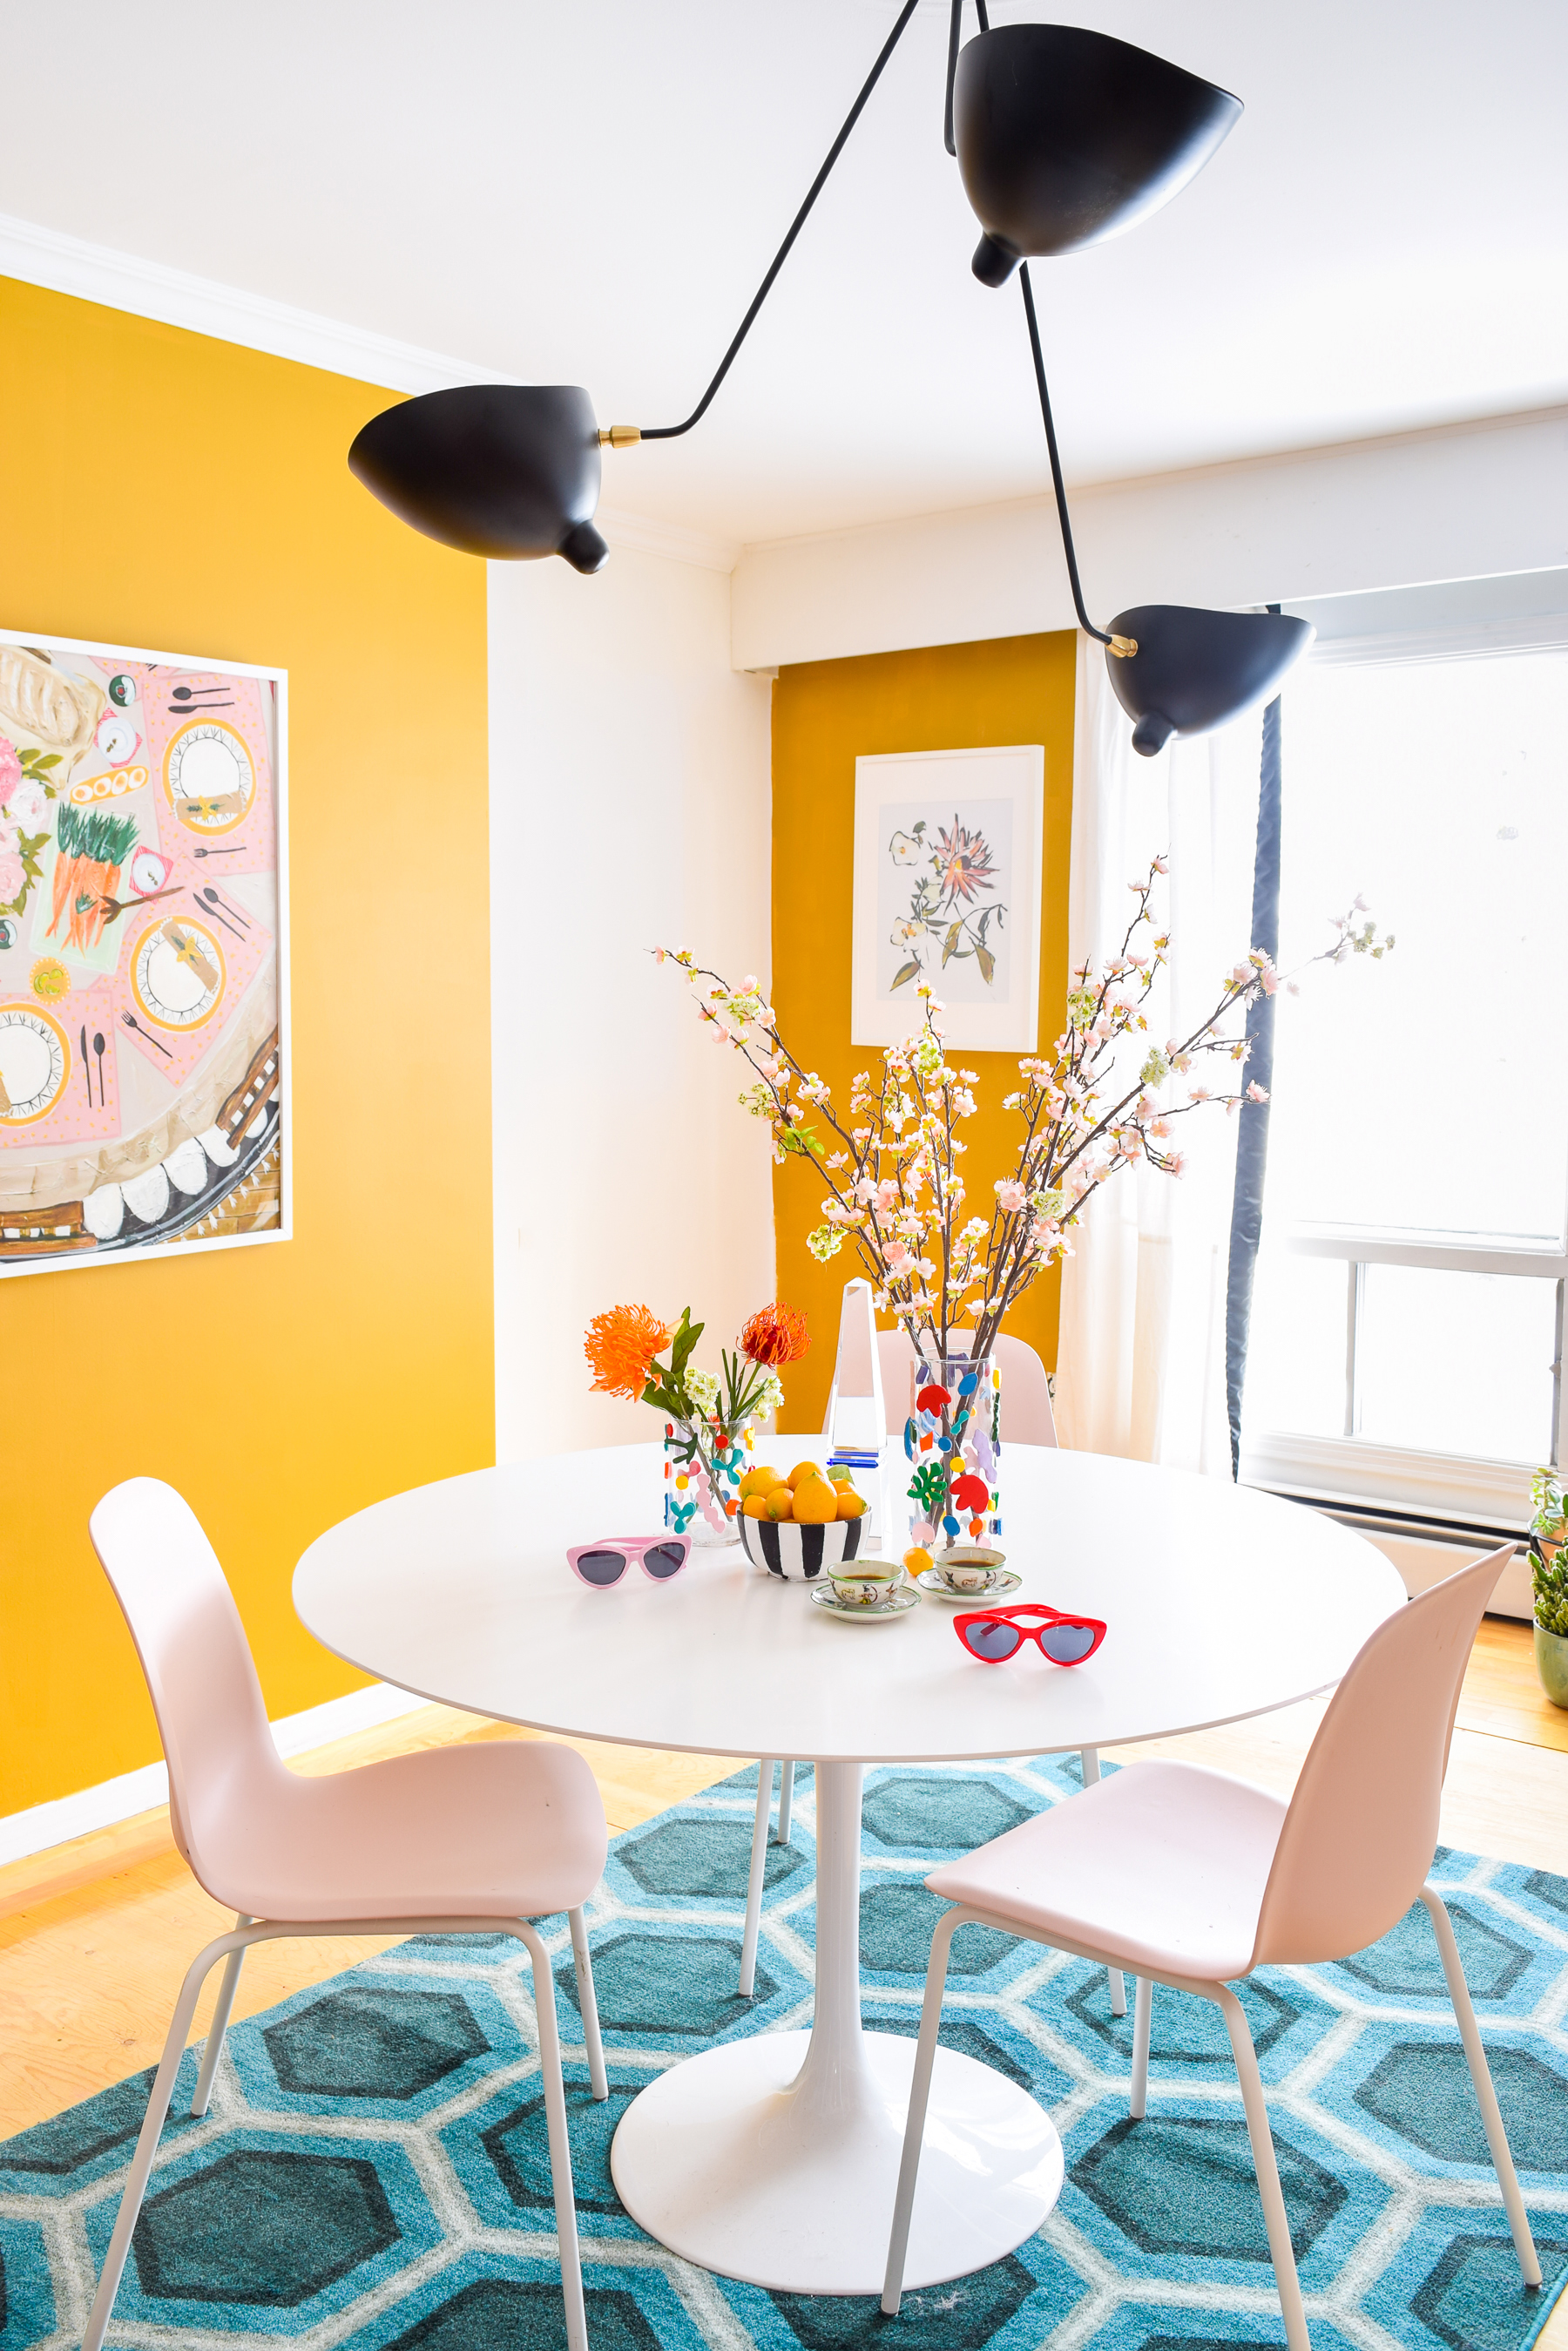
Day 5 of my 10 days of DIY brings us to a material I don’t use that often: Clay! I splurged and bought a nice palette of oven bake clay, and had a blast putting together these DIY Matisse Clay Vases using Dollar Store glass vases, and hot glue. If you’re looking for a way to incorporate bold colours and patterns in a playful way, this is for you!
Check out my beaded turquoise jewelry dish, my painted decorative dice, my 90s Gemstone Mirror, and my giant CDG Valentine.

Matisse’s abstract shapes and patterns
I mean, if you love bold colour, maximalism, and a flair for the creative, this is your guy. I’ve seen many beautiful Matisse inspired DIYs over the past year or so, which has really inspired me to try my hand at them in clay form! A lot of the other DIYs have been paper centric, but I wanted something a little more permanent and tactile, hence the clay.
Check out The House That Lars Built’s DIY Matisse Felt Board or their DIY Matisse Rug, Damask Love’s DIY Matisse Tote Bag, or Oh So Beautiful Paper’s Matisse Inspired Pumpkins.
How Do You Make Matisse Vases
I started by buying a sampler colour palette from Michael’s, or Sculpey’s oven bake clay. I went with the sampler because it had a bunch of the colours I was looking for, and was a better deal than buying each of them individually. #aintnobodygottimeforthat
Then it’s time to roll them out. I also snagged a cheap tool set so that I could get a rolling pin and little tools to make shapes without having to sacrifice any kitchen utensils.
I laid out some saran wrap on the surface first, because I didn’t want any colour transfer on my white table. It also made it easier to remove them for cutting.
When rolling, aim for a consistent thickness because it will effect how long you bake them in the oven for, and you don’t want to under bake some (or over bake others).
Next, time to cut! I pulled up images of his pieces for inspiration when it came to shapes and colouring, but ultimately you should do what feels right. The shapes should be organic, free-hand, not too perfect, and evoke movement.
Don’t be afraid to smooth them out as you go! I placed each complete piece on a baking sheet with tin foil. From there, I followed the instructions on the box for bake time and temp.
Once they were cool to the touch I used my hot glue gun to stick them onto the glass vases. It was quite fun finding a place for each piece, and mixing the colours for a harmonious look. I think this works better with simple vases, but you could experiment with shape and size for a different look.
DIY Matisse Clay Vases
Once they were complete, it gave me a chance to test them out with some lovely spring blooms in the dining room. While we wait for that space to be on the makeover list (later this spring), it’s fun to use it as a studio double.
