Remember how I said we had a crazy weekend of projects coming up?
Well.
This past weekend we made ourselves a massive harvest table and benches, as well as a marquee lights sign.
I’ve been thinking about this project in some form or another for a while now. This winter the local spouses crafting group made signs using recycled pallet wood, and I somehow ended up with two! I wasn’t able to attend the craft night but I kept my sign, and a friend who was in the same situation gave me hers.
We had a set of balloon lights kicking around and I decided to combine the lights and the sign idea and make something that could come into the backyard with us. Too bad for anyone that’s stuck ringing the doorbell!

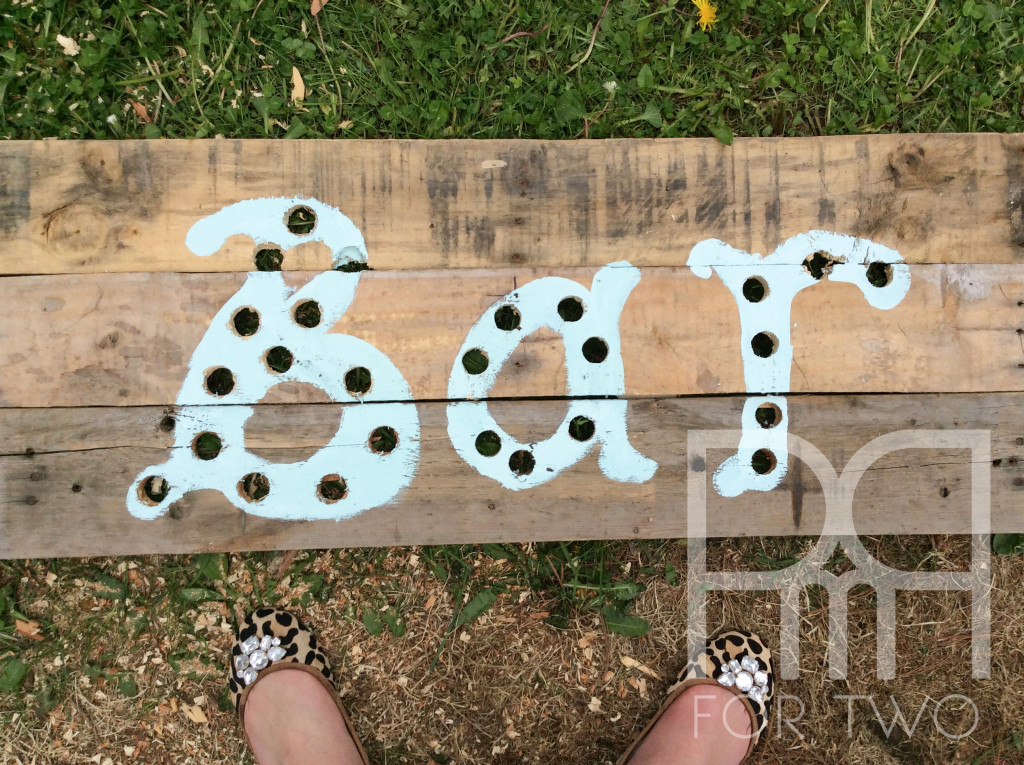
Given the size of the balloon bulbs, the sign, and letter count in most sign friendly words, I went for something short and sweet but that would still be useful for us: Bar.
Materials
- Wood pallet boards fashioned into the size of your sign
- Balloon light strand (avg. 25 lights)
- Drill
- 1 – 1 1/4 inch Drill Bit
- Paint & paint brush
- Pencil or stencil
- Sand Paper
Step 1: I started by sketching the word I wanted in pencil on the board. Then I marked out 25 spots in the letters where I would be drilling the holes for the bulbs. Why 25? Because there are 25 bulbs on the string I was using. Make sure you check before you start drilling and then space them out evenly throughout your wording.
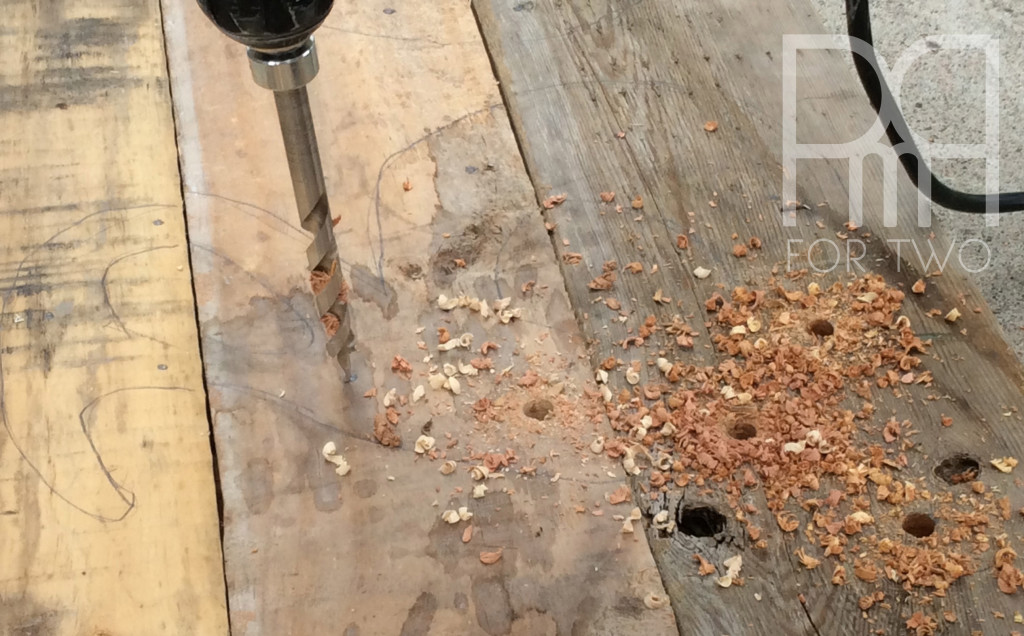

Step 2: I drilled to ensure I could fit the socket and the bulb in the hole, but also so that the bulb would sit snugly on the board once screwed in. The board was too thick for me to be able to thread the bulb without having the sucker come up to the surface. In this case I needed to use the 1 inch drill bit and got to drilling.
Here’s where I hit a snag – there were three bracing bits down the back of the boards, and the drill bit was becoming jammed when I hit the brace. I’m still unsure why this happened considering I was on the other end of a high powered drill, but hey, wood works in mysterious ways. Solution: I took the three braces off and then added them back at the end, in places where they wouldn’t interfere with the lighting.
Step 3: Once the holes were drilled and the braces were attached, I threaded all the lights into place to make sure everything fit before I started painting. Once I was sure it all looked good and I wasn’t going to run out of cord, I took the lights out of the board and got to painting!
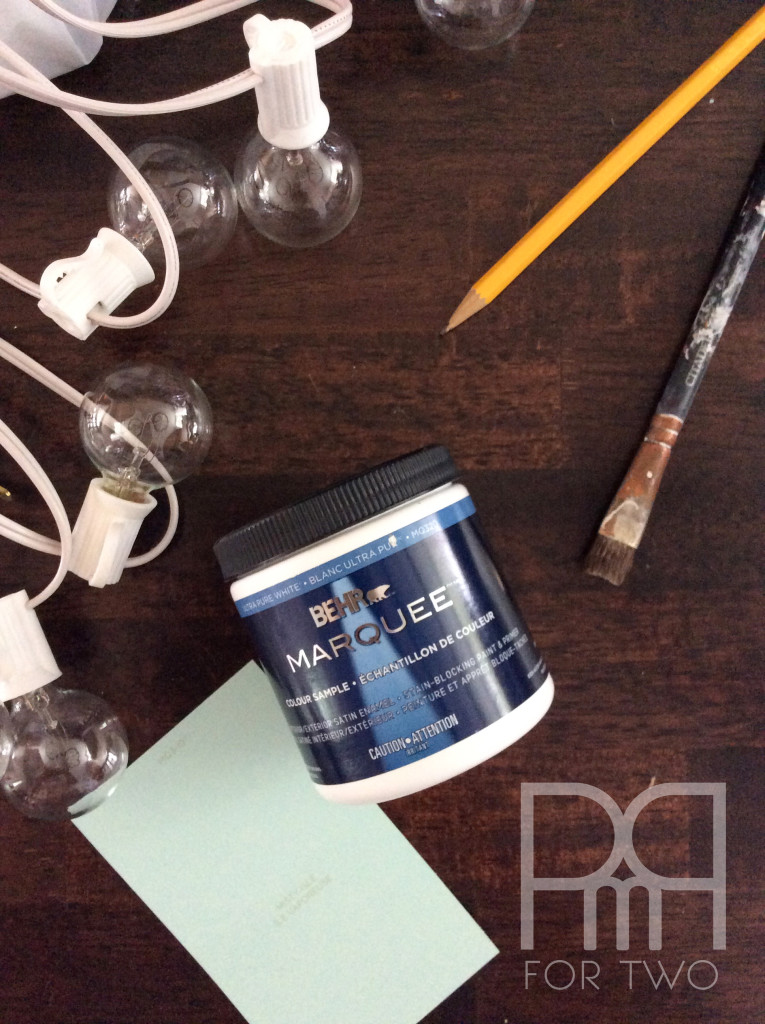
When we were at Home Depot on Friday, and then again this morning, I spotted the sample size paints on offer for $2.97. I absolutely LOVE these. Canac doesn’t offer them, and they laughed at me when I asked for them, so I think I may have to start driving the extra 10 minutes to get to Home Depot. The colours and brands on offer are hard to beat, and for $2.97 you get a lot of paint.

Step 4: I chose a colour that was similar to the one we have in the kitchen (because I love that colour) but that would still fit the theme and vibe I’m aiming for in the backyard. Because we’re trying to keep things fairly country fresh (a complete departure from inside the house), I wasn’t too worried about clean lines and exact brush strokes, so the look and feel came out perfectly.
Step 5: Once it was dry I strung the lights back into the board and lit it up!


I can’t wait to have this sign out back, gently pointing guests towards the bar. What would you do for a bar sign?