


I discovered Kelly Wearstler last year during a DIY challenge hosted by Jess of Domicile 37 for her “inspired by series.” I made a gemstone tray // here // but couldn’t shake the Linden Lamp from the back of my mind. I’ve been thinking about that lamp for too long, so I decided to re-purpose a set of lamps that I’ve got kicking around from a previous craft and DIY it. In the process I also finally found a purpose for a set of black and red lampshades that I scored this summer. I tell you, there’s a place for everything if you wait long enough. So without further ado, here’s my DIY Kelly Wearstler Lamp.


Materials for a DIY Kelly Wearstler Lamp
- Lamp + lampshade
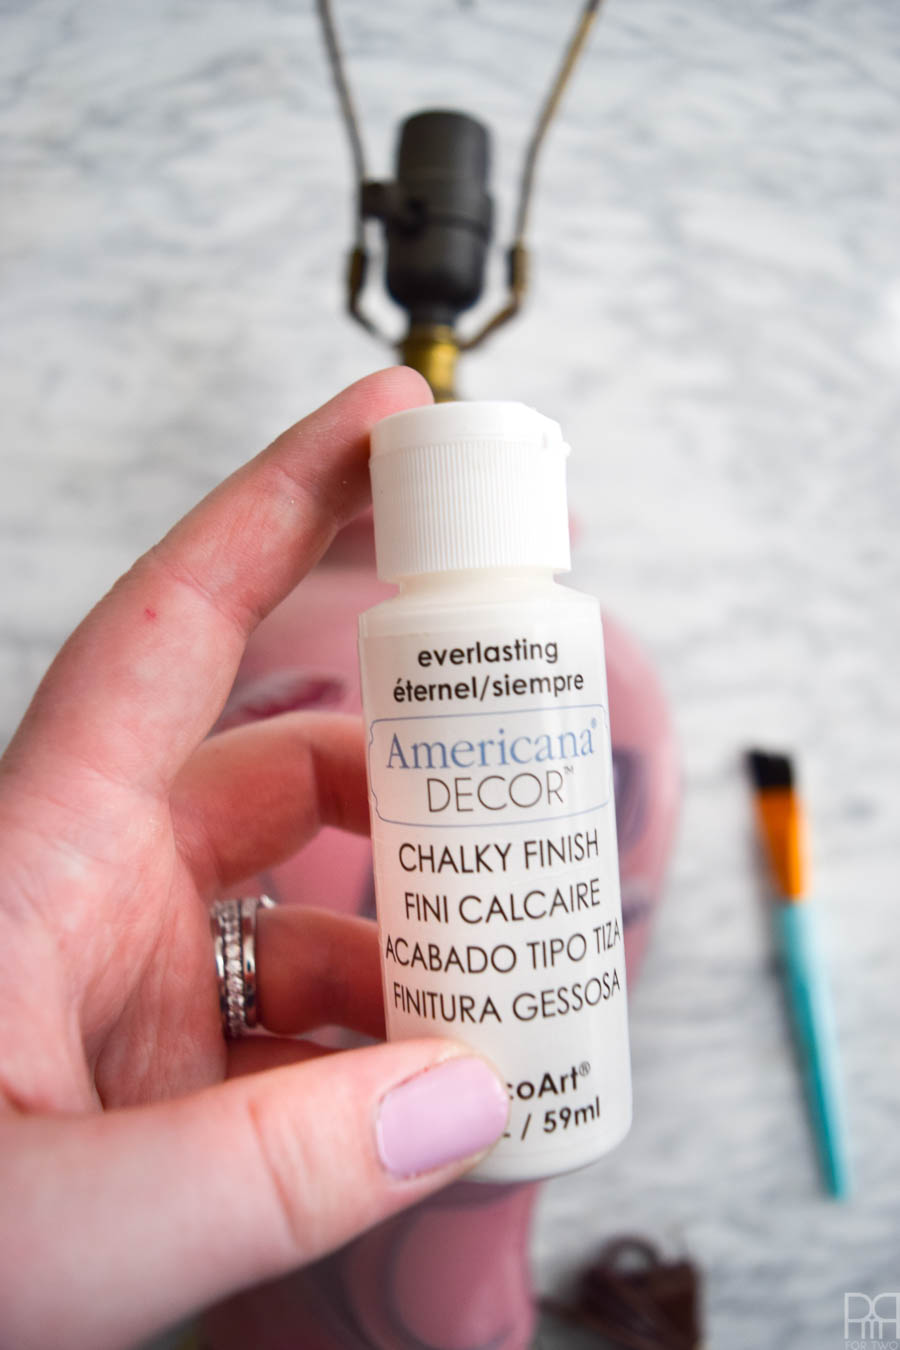
- Americana Chalky Finish Paint in White
- Paint Brushes
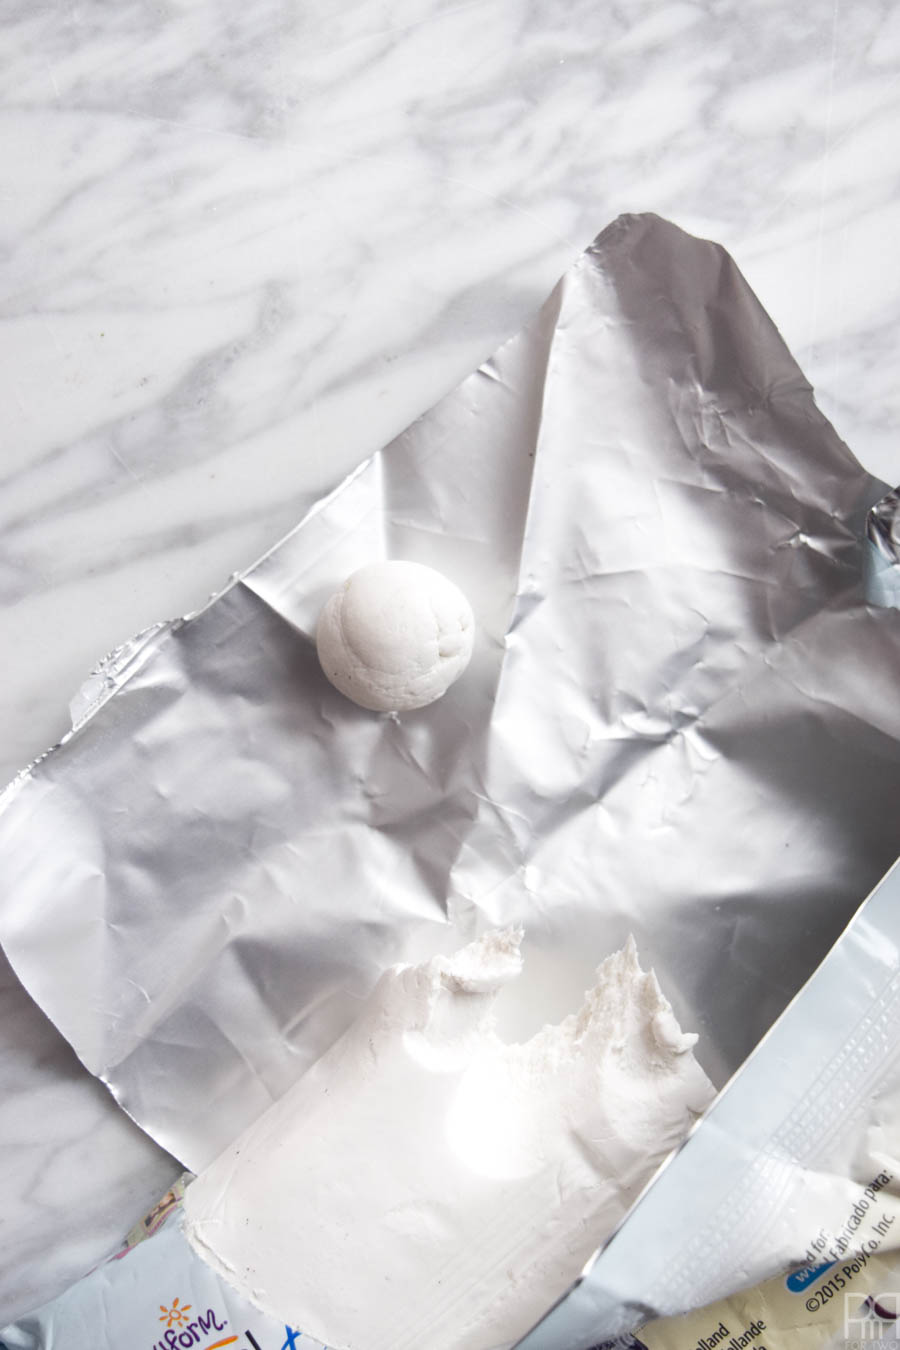
- Air Dy Clay in white
- Americana Acrylic Paint in Brilliant Red
- Hot glue gun
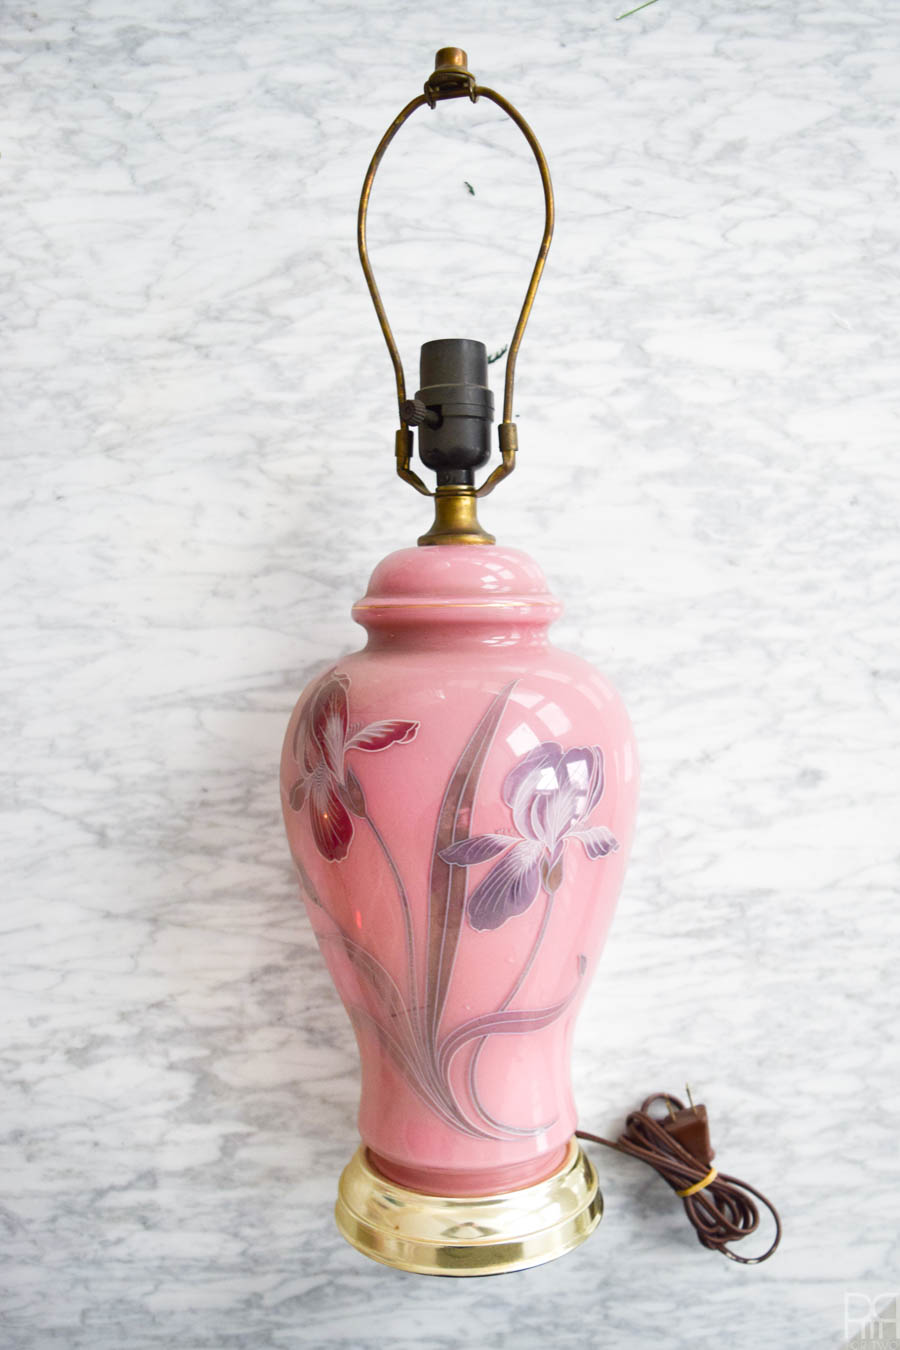
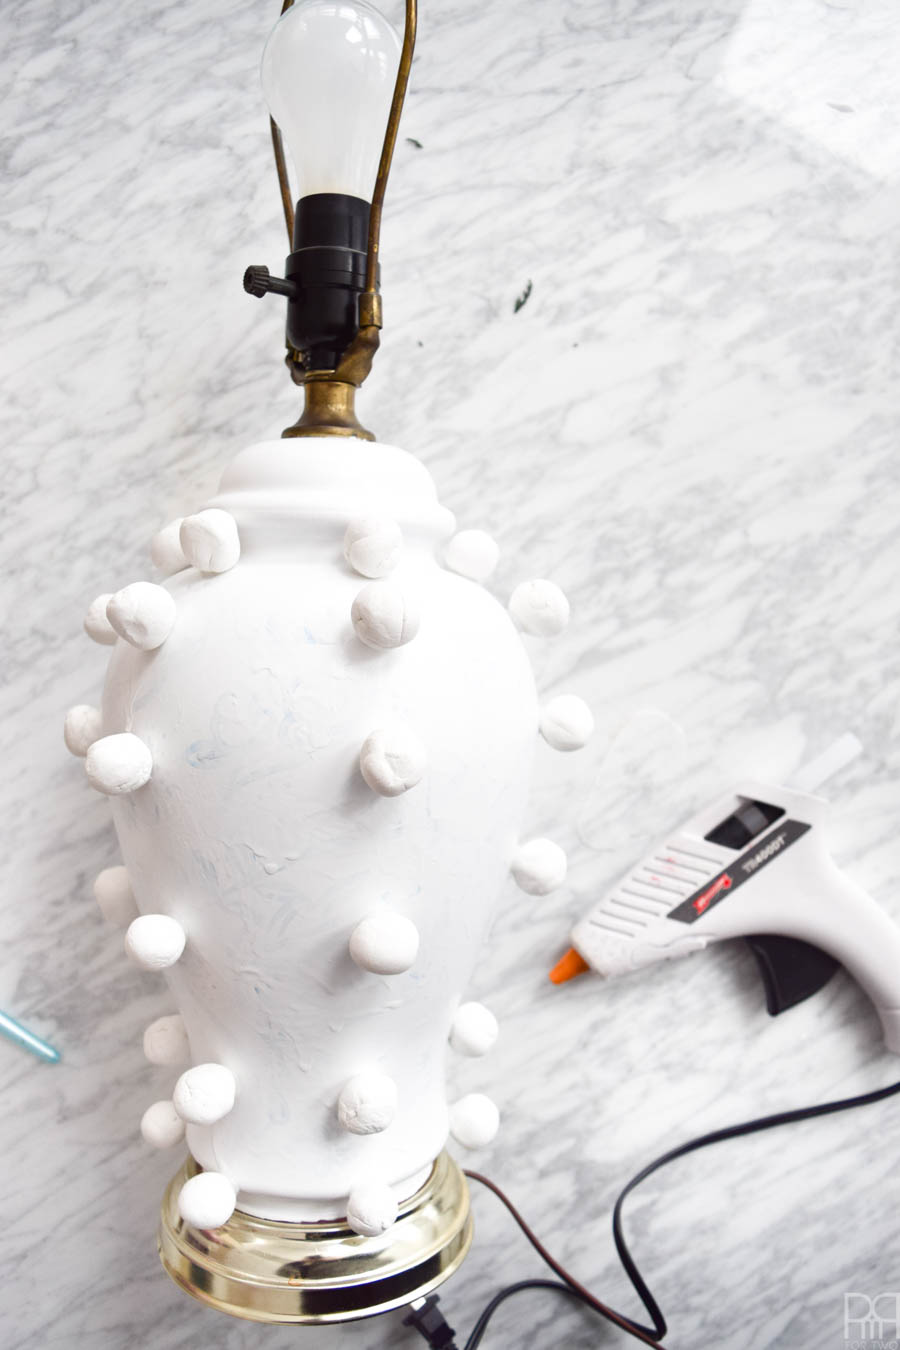
Step 1: Clean the lamp you’re going to paint. I gave mine a good wipe with a wet washcloth, and then dried it off. It was in our garage before, so I wanted to make sure I wasn’t painting over dust and dirt.

Step 2: Painting over a gloss is super tricky. You can use the Zinser primers, but for this I tried the Americana Chalky Finish paint because it stuck so well to the plastic chargers I painted in the fall // here //. It may take a few coats, but you’ll eventually get it all.
Step 3: While the lamp is drying roll the little balls out of the clay. I planned approximately how many I needed and made sure to roll-out some extra while I was at it. It will take a full 24 hrs to dry, so you’ll have to set these and come back to it tomorrow.
Step 4: This next part is pretty easy, you just hot glue the clay balls (once they’re dry) to the lamp in the pattern you’ve chosen. I decided to faithfully recreate the Linden Lamp, so I went for straight vertical rows.
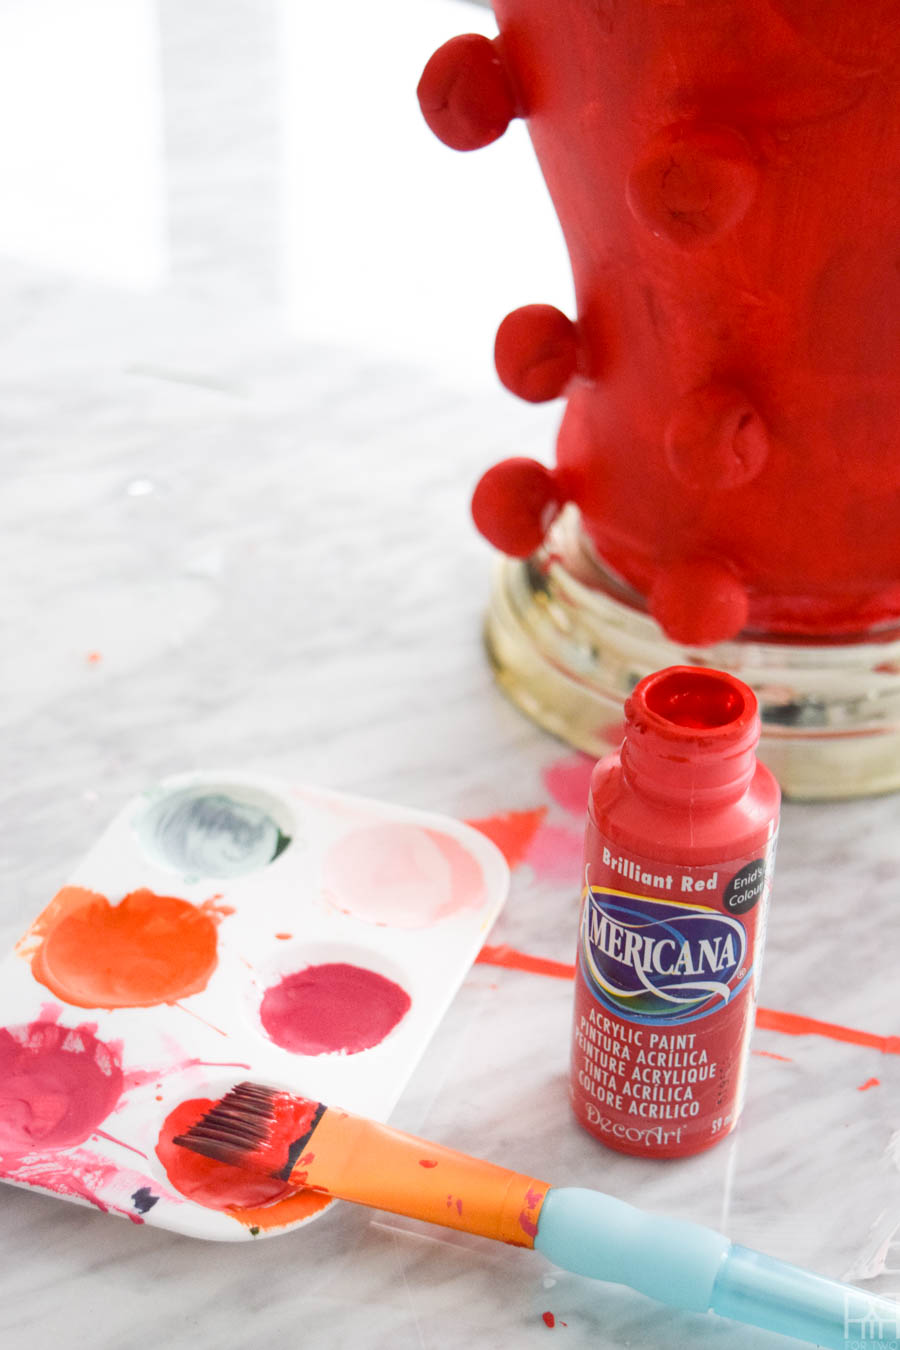
Step 5: As you can see, the bottom coat of white is kind of sloppy, but that’s because I just wanted to get some coverage. The real fun comes when you apply your top coat of colour. I wanted to match the red of the lampshade I had, so I tried out a variety of shades my collection and settled on brilliant red.
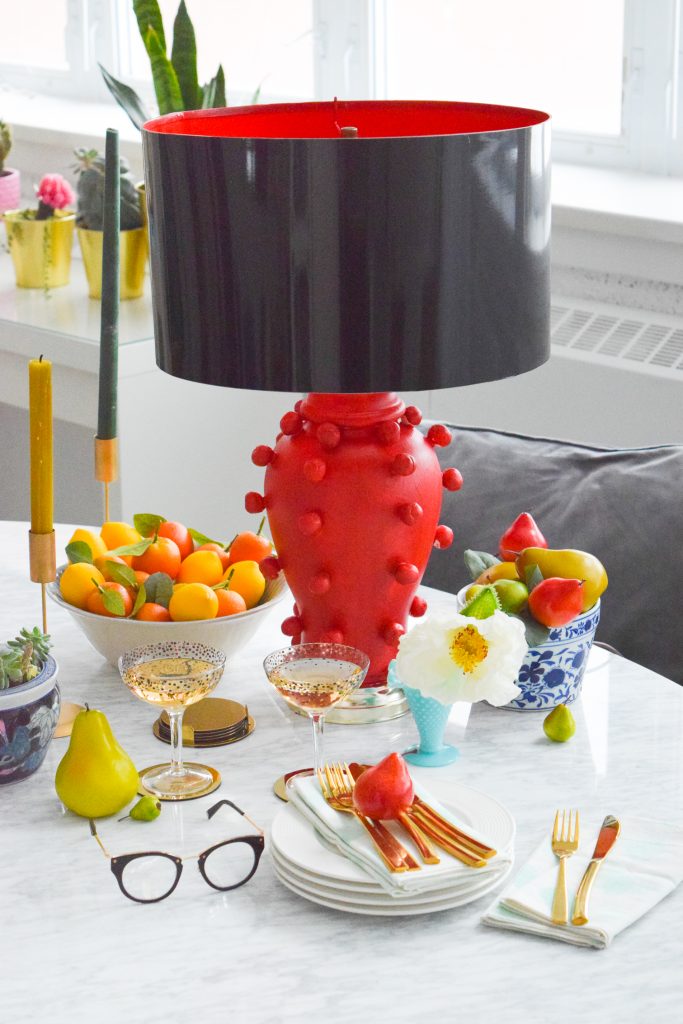
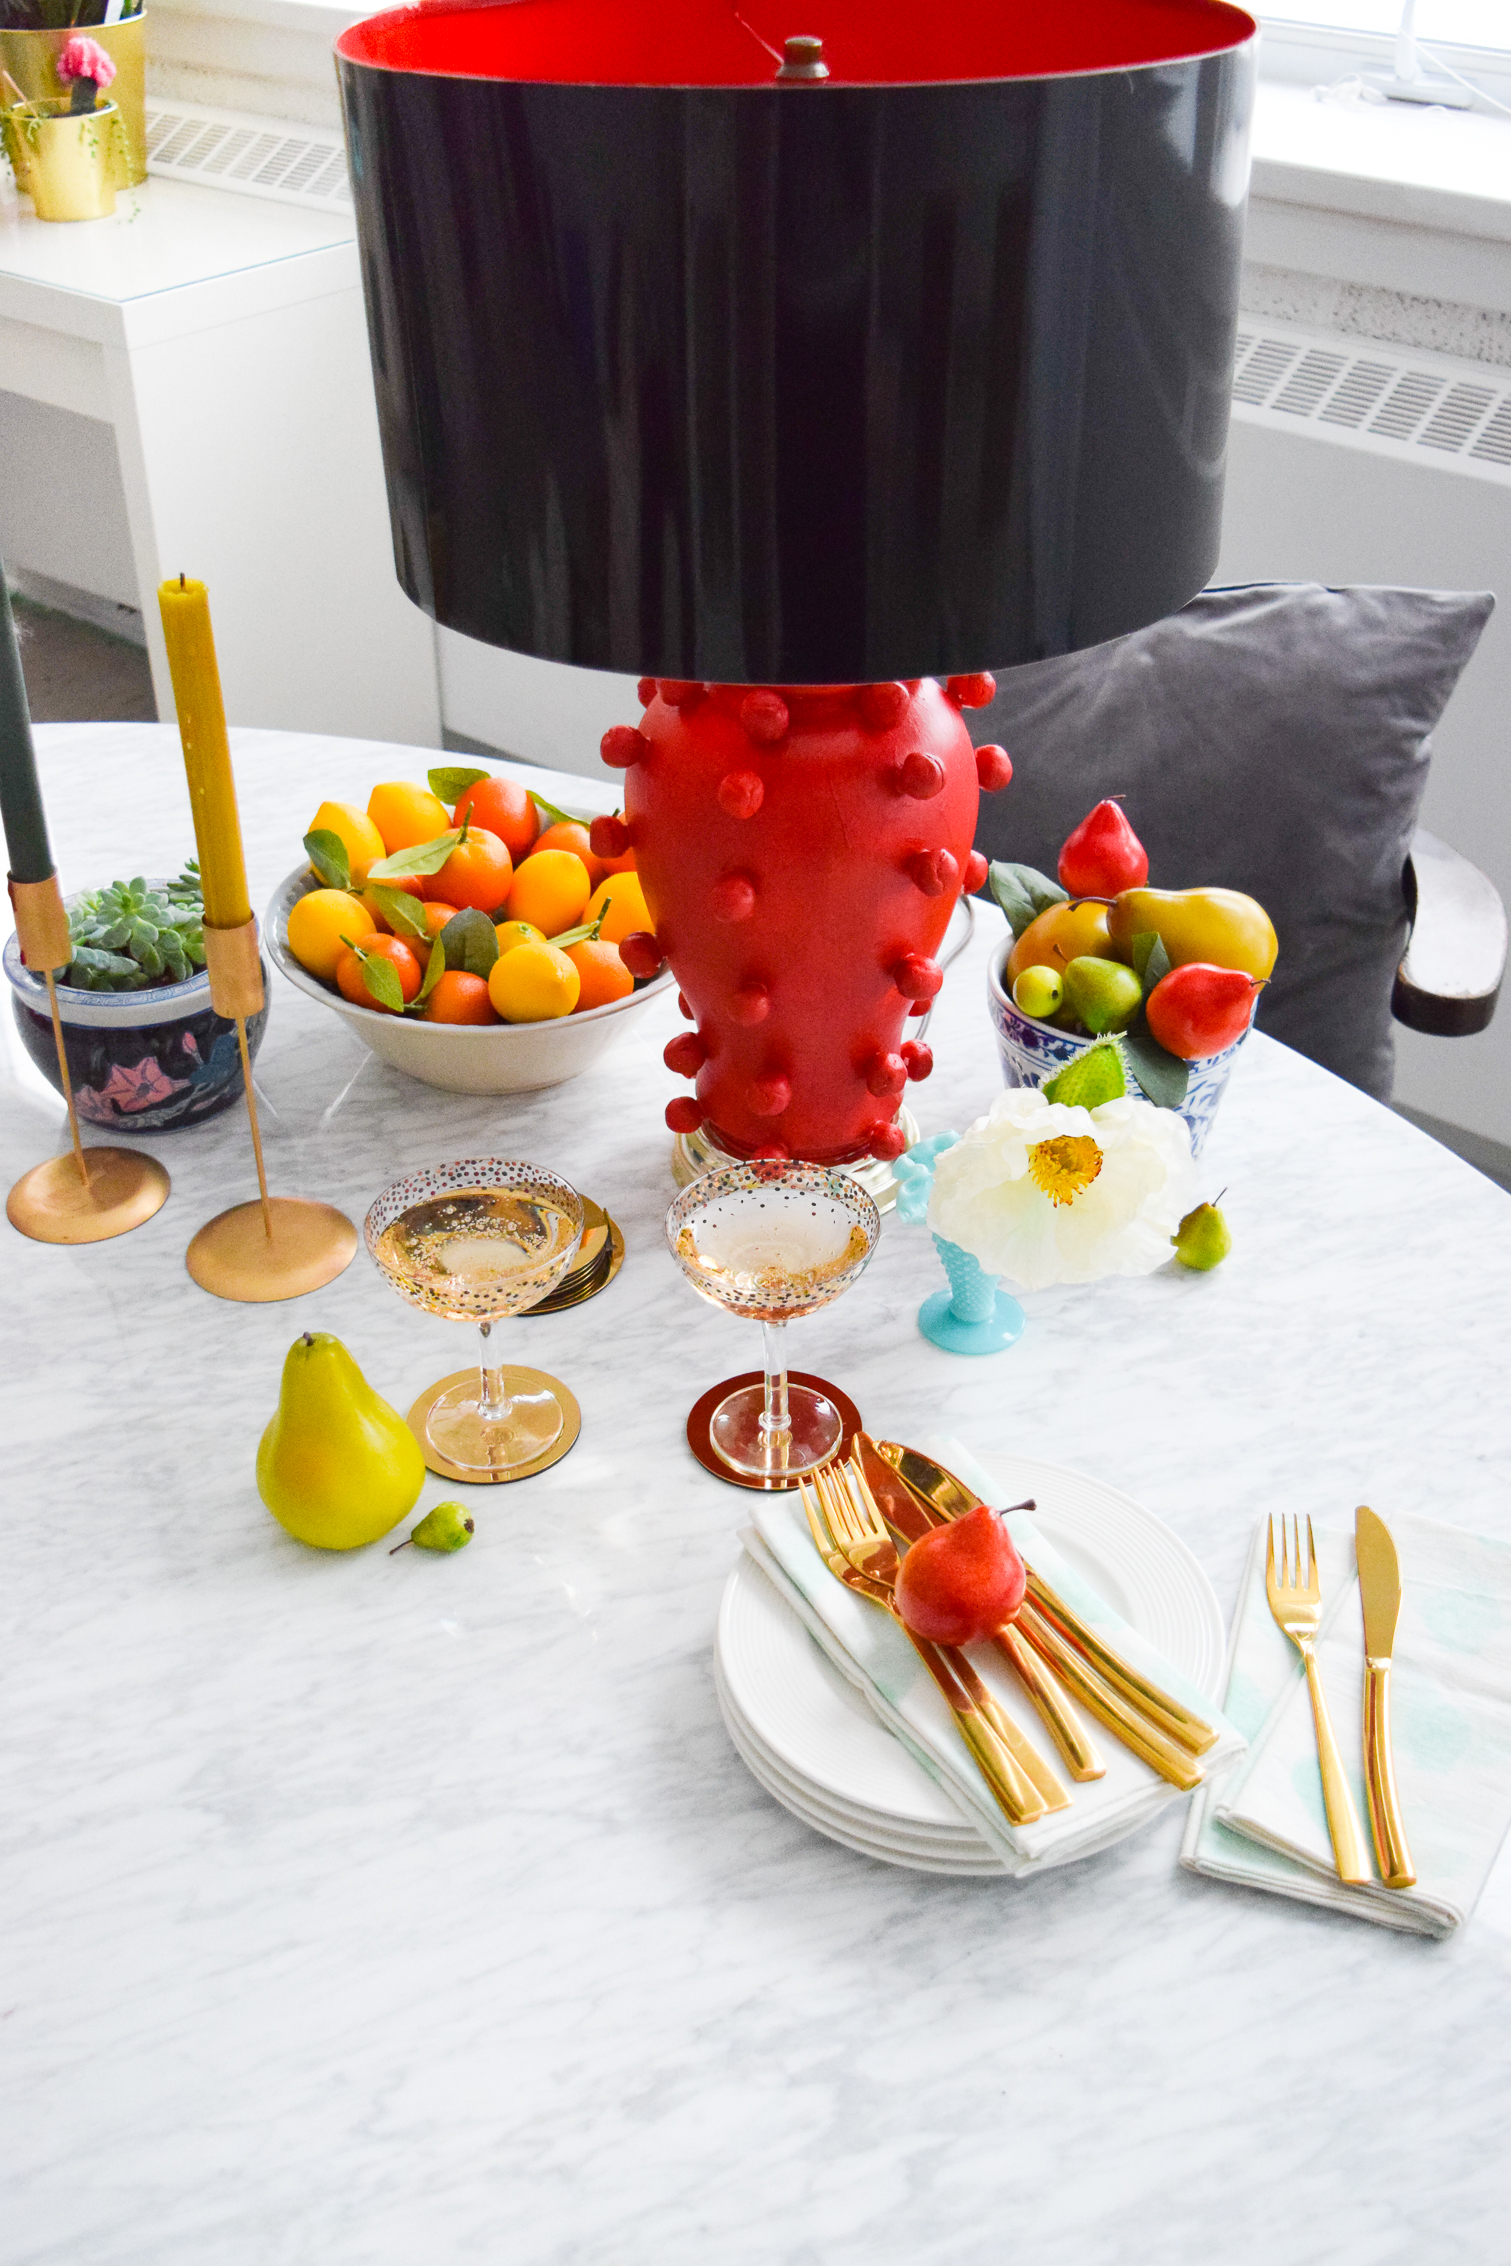
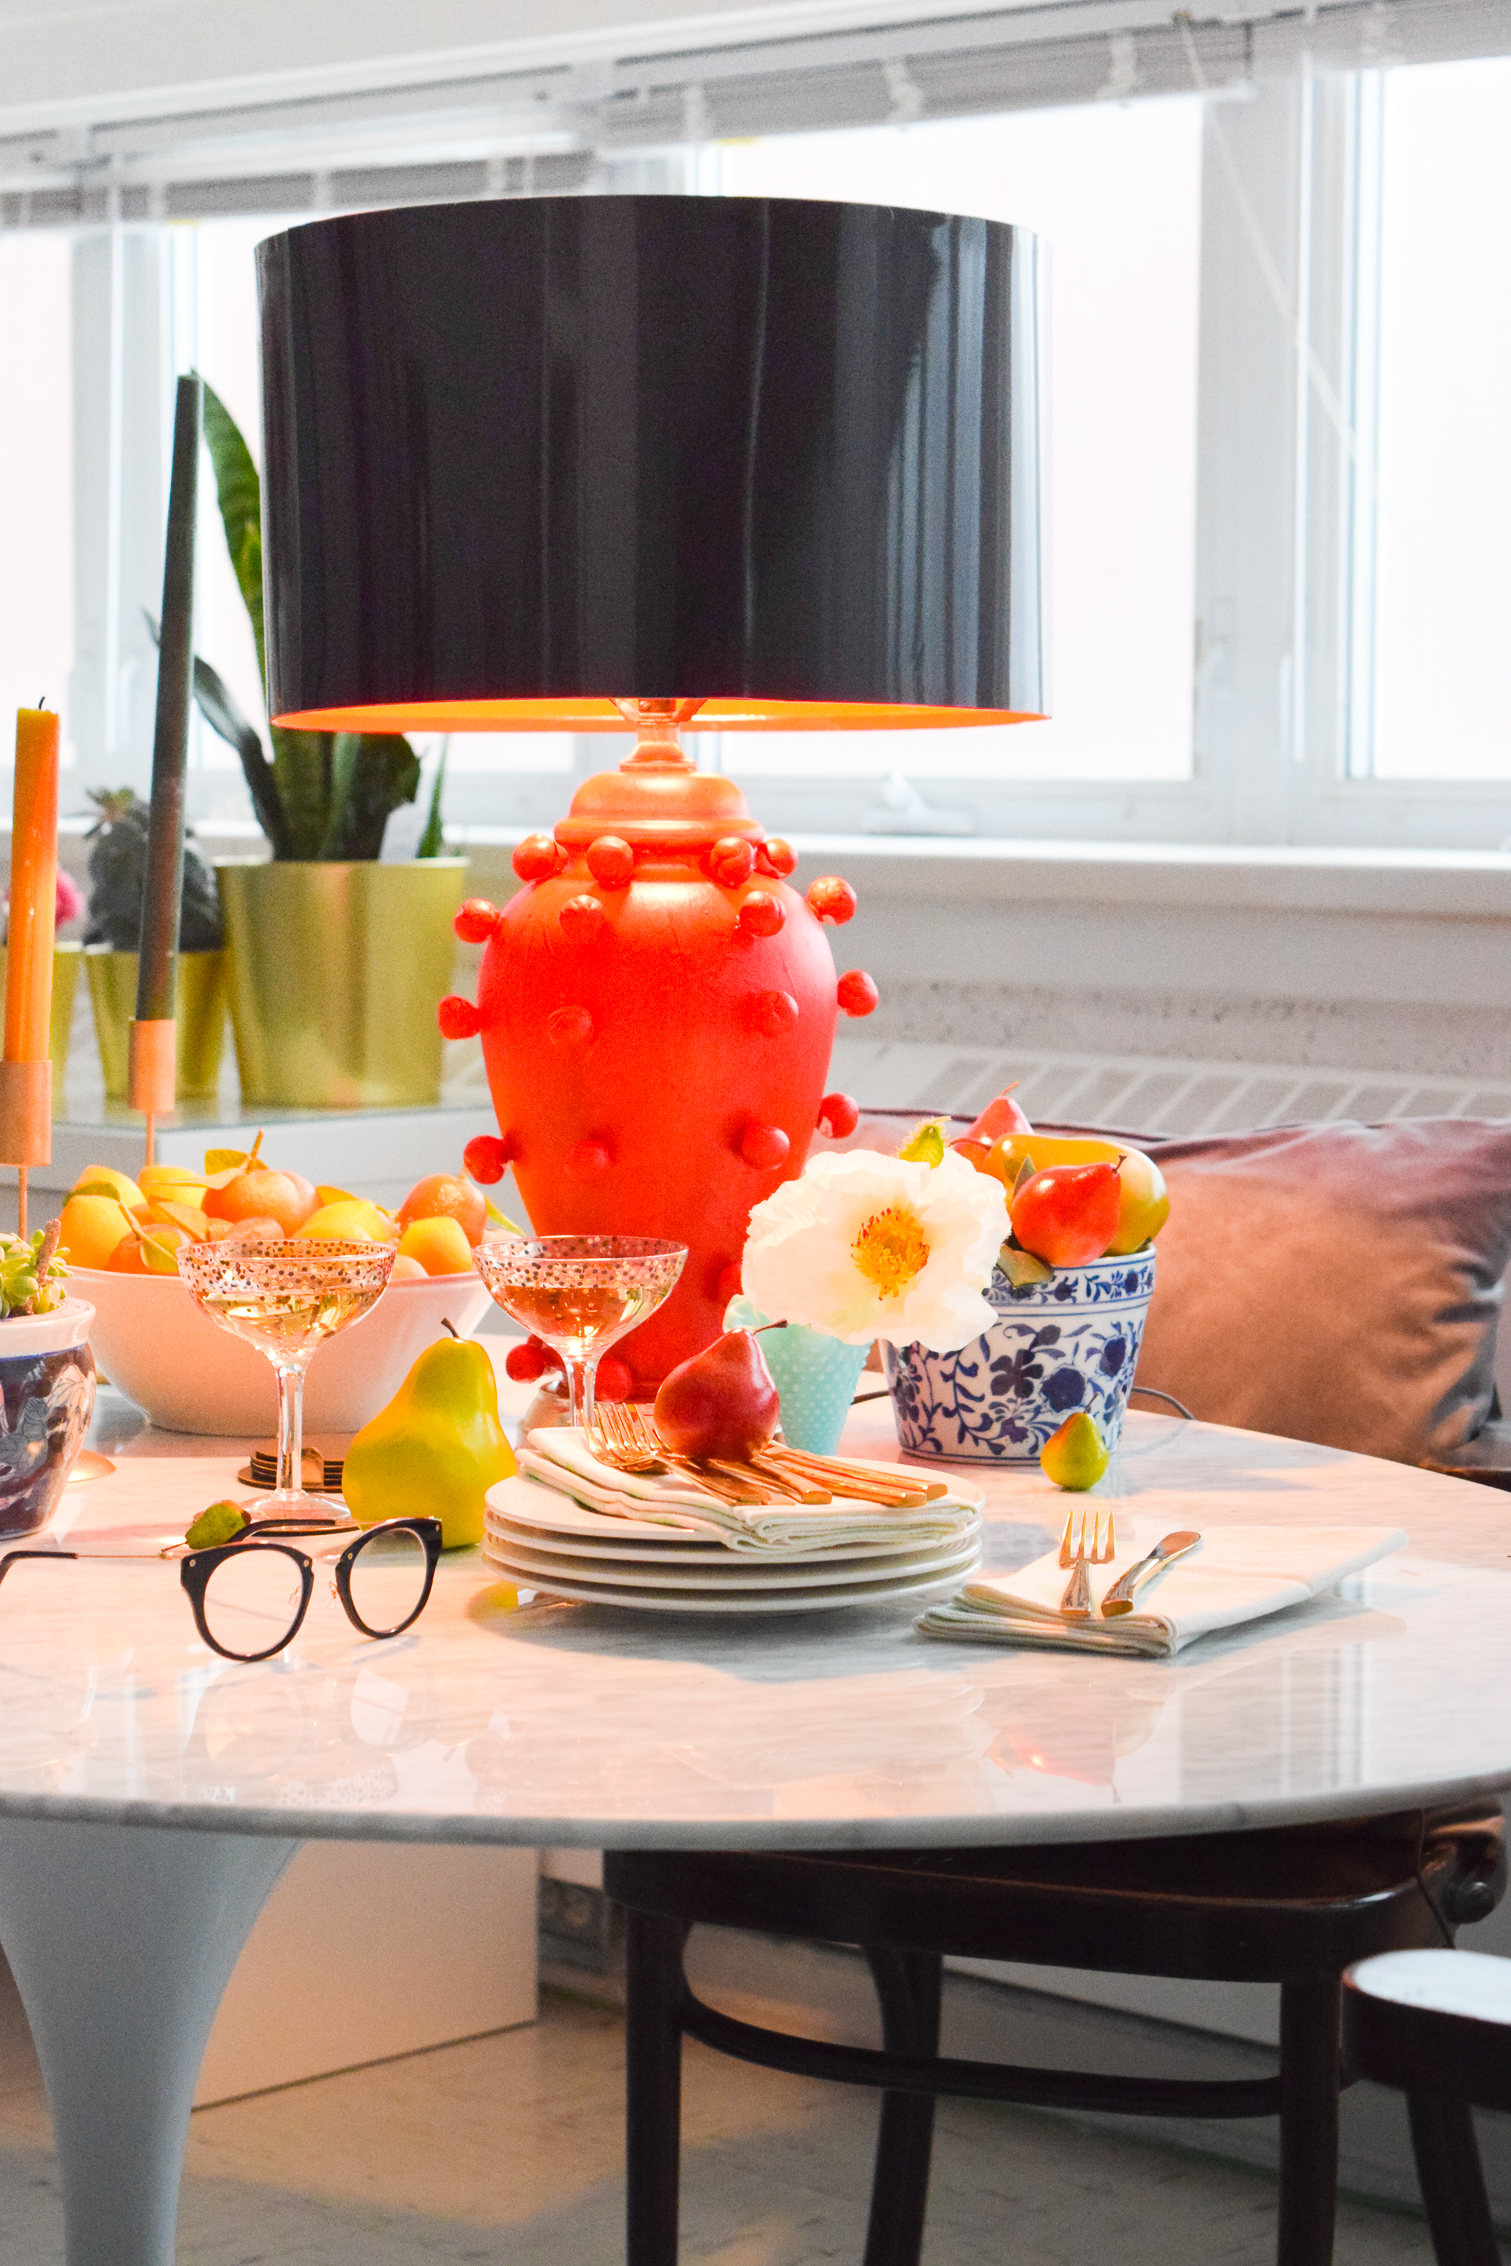
Step 6: Wait for the last coat of paint to dry, add the lampshade, and voila! You now have a DIY Kelly Wearstler Lamp that you can enjoy in a variety of settings and styles.


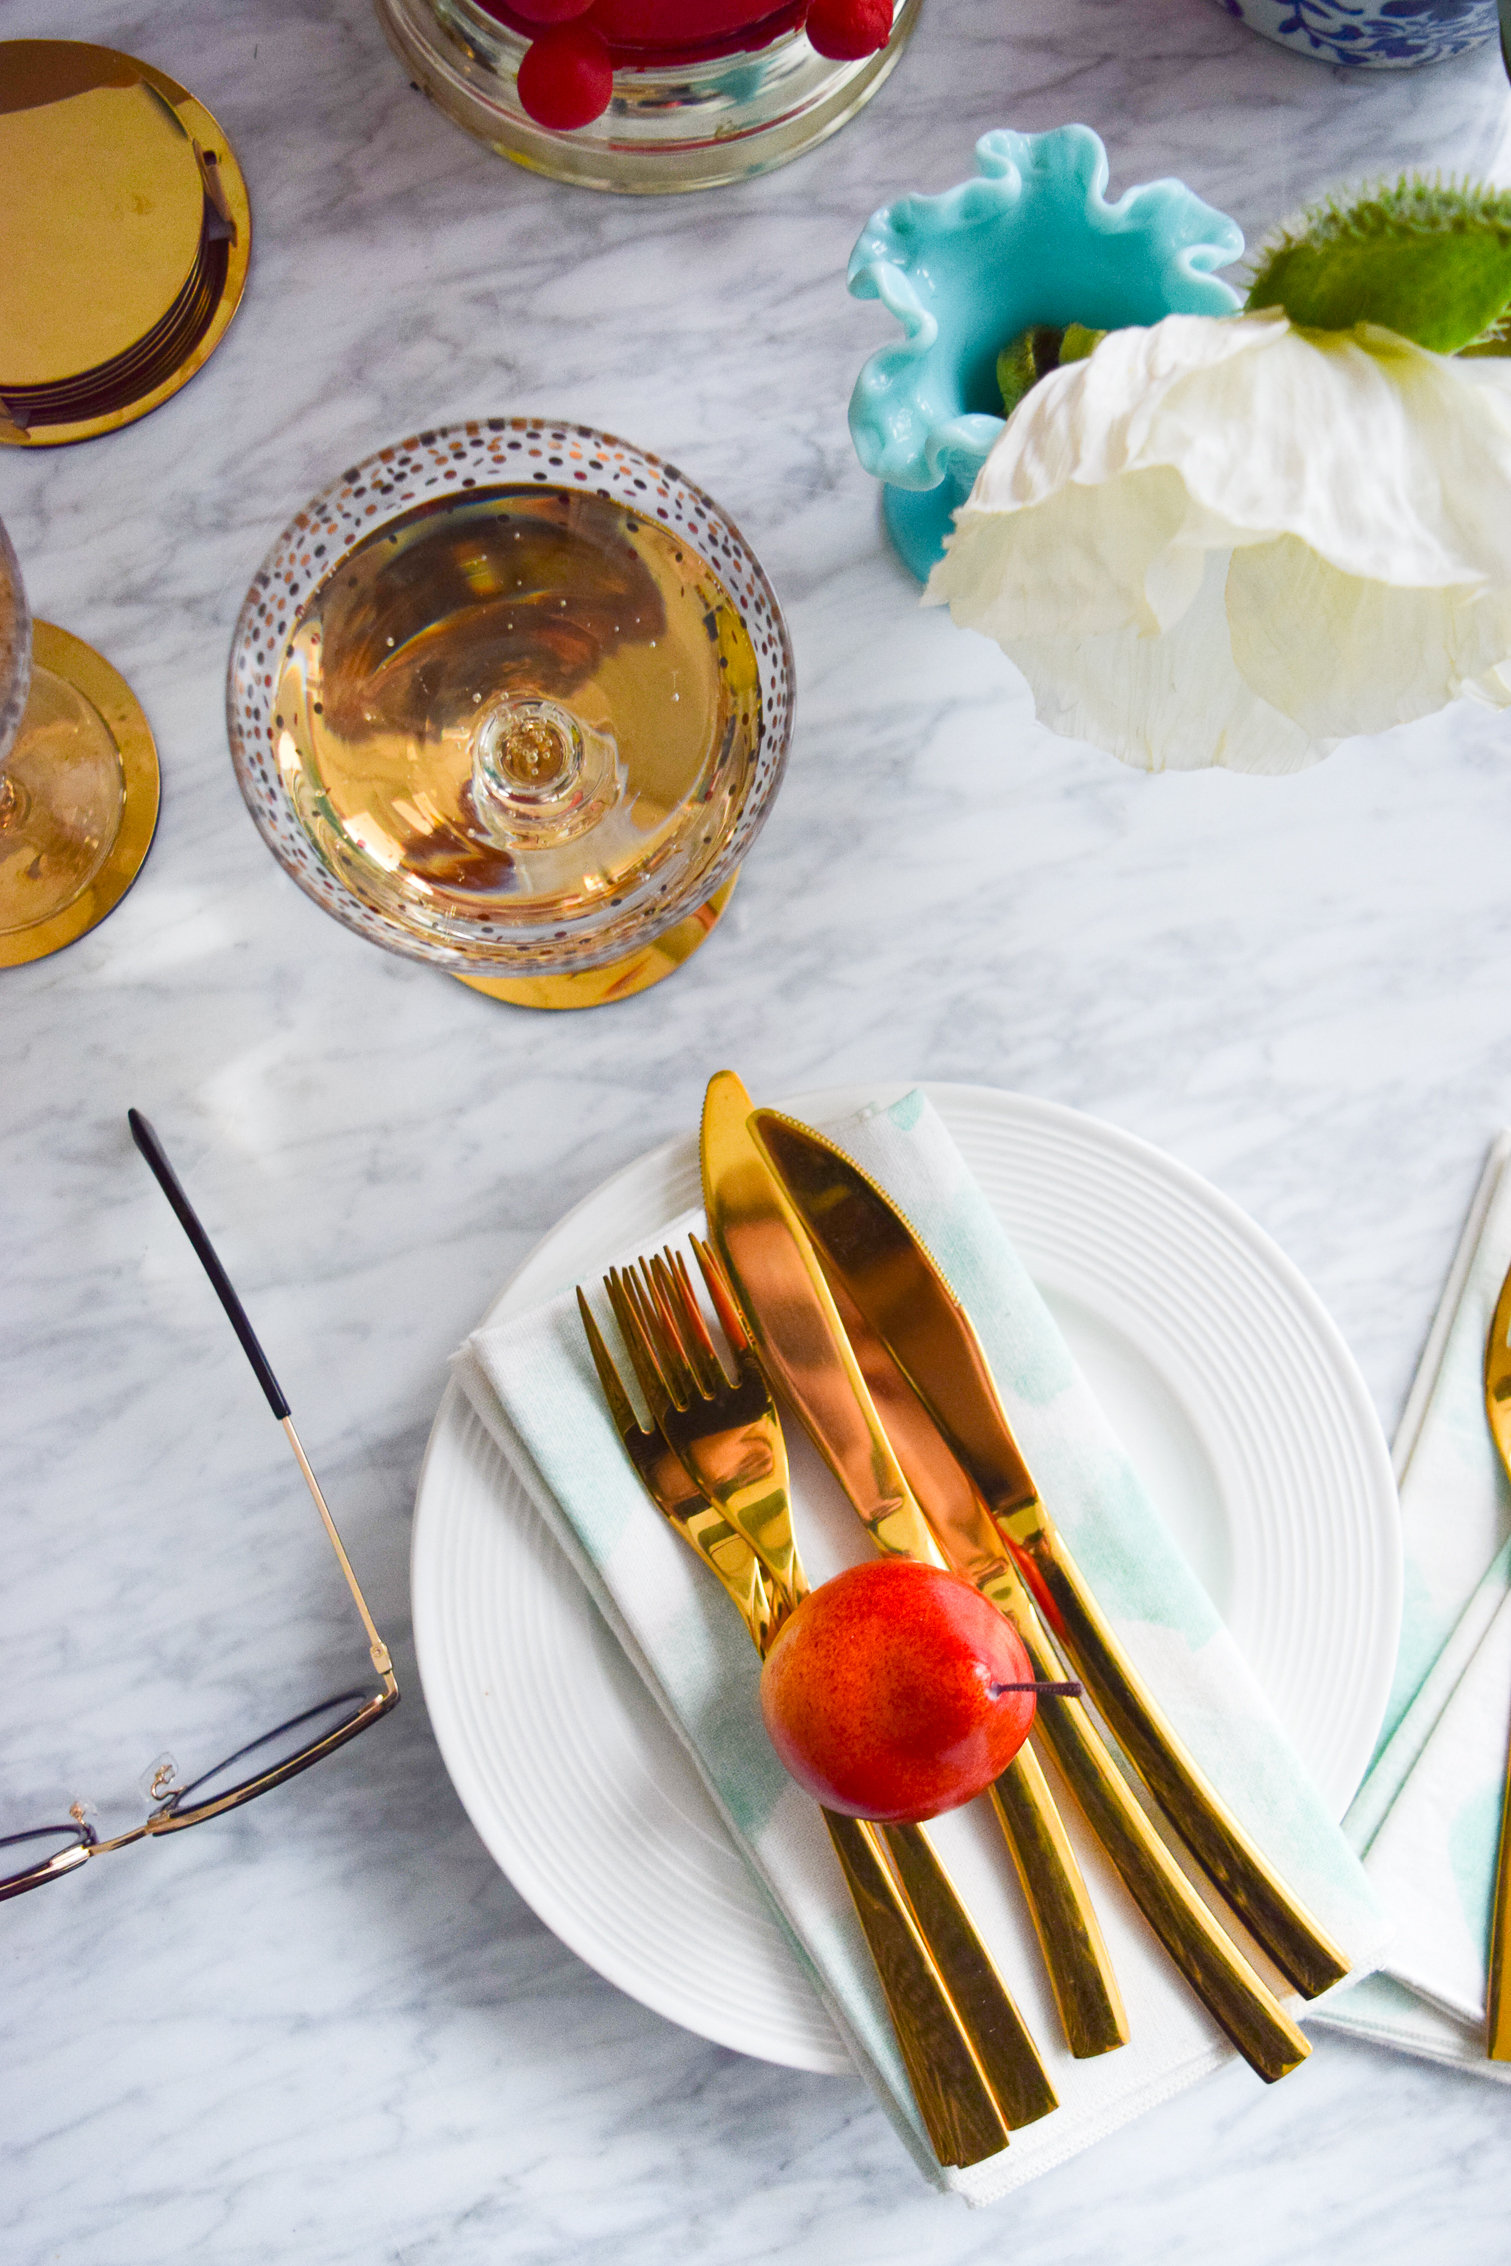
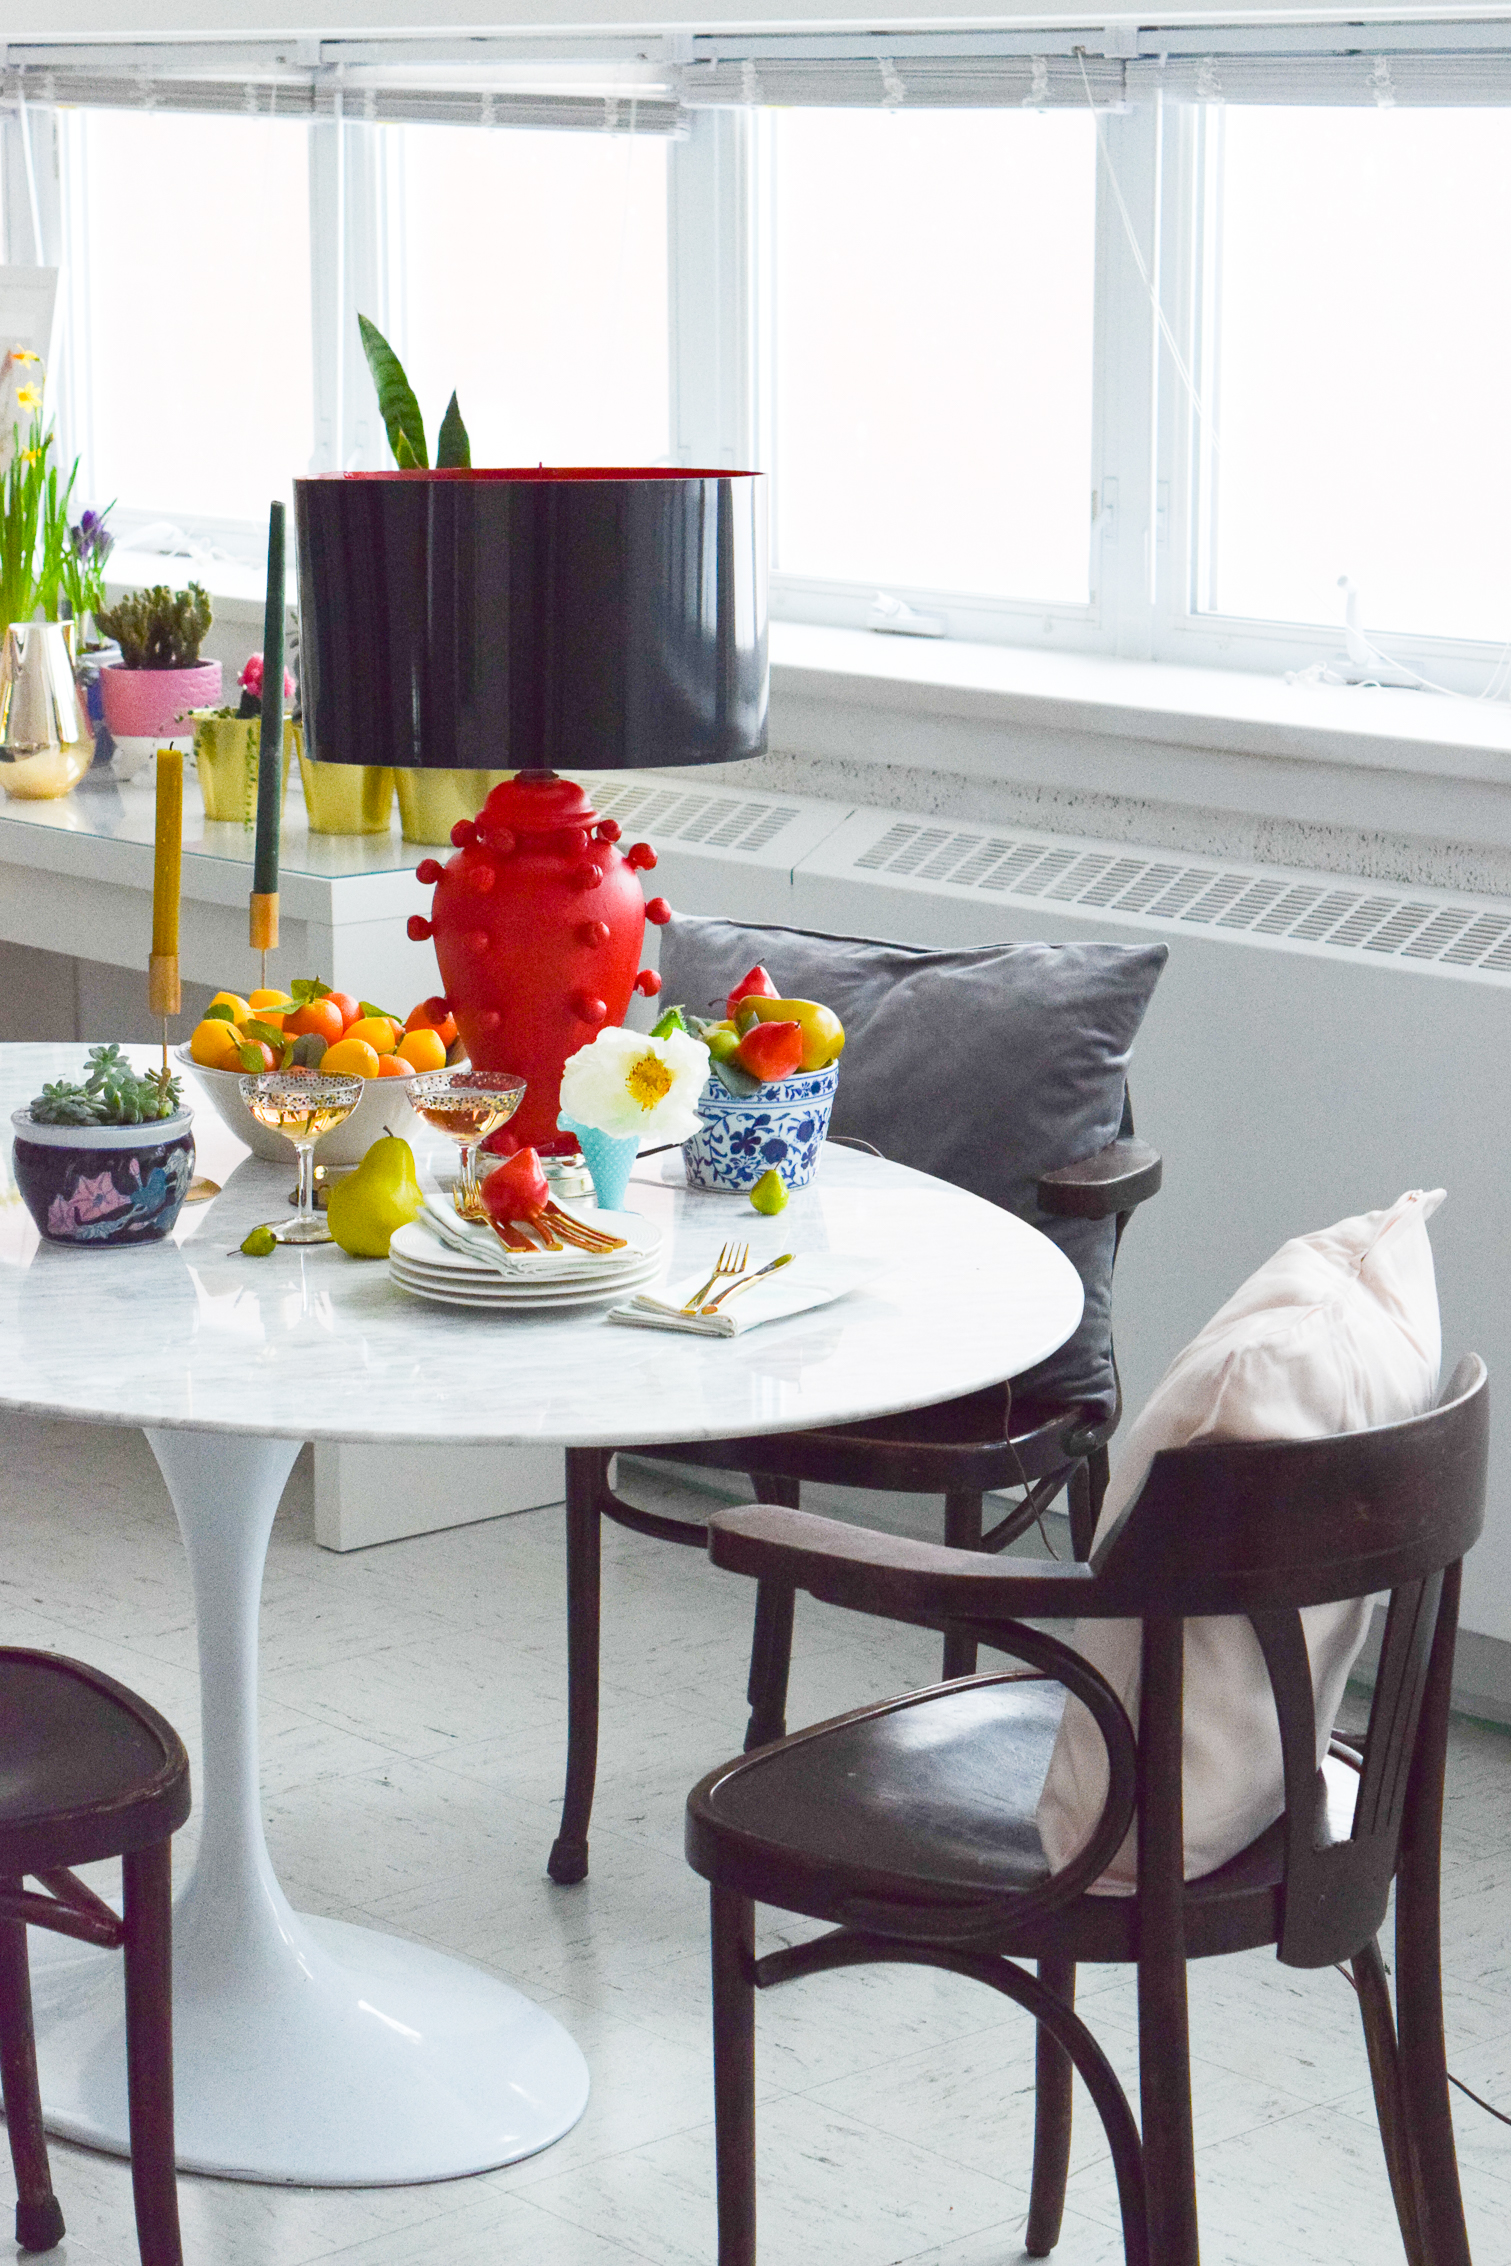
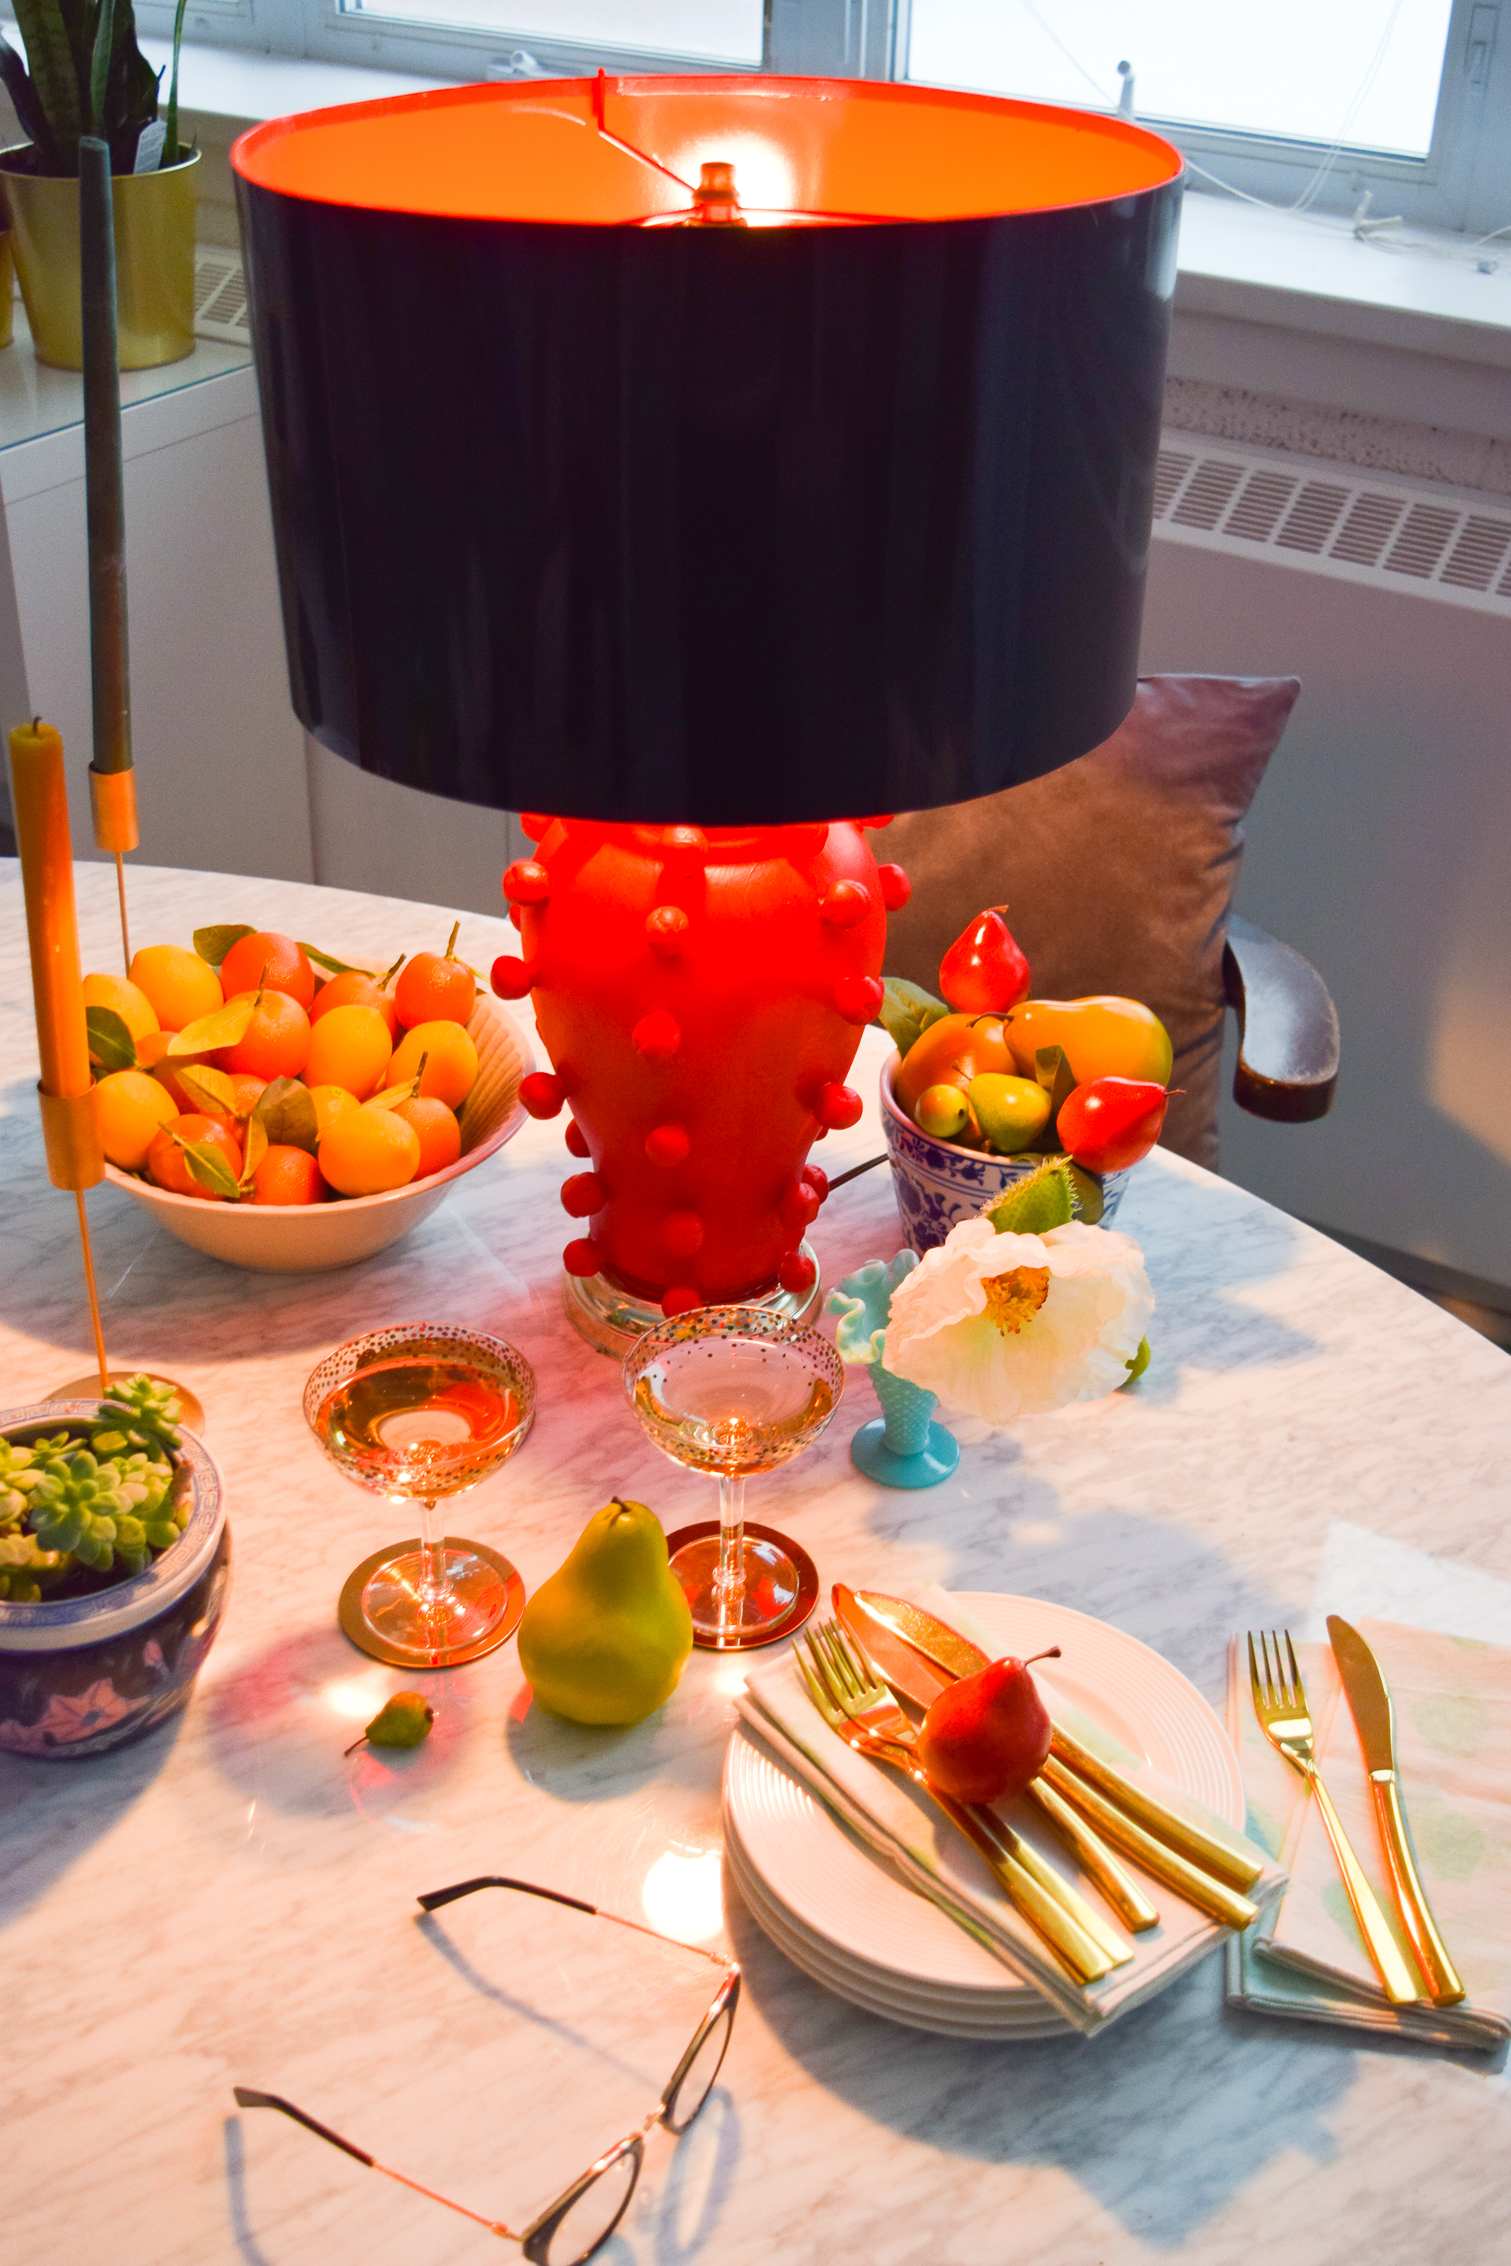
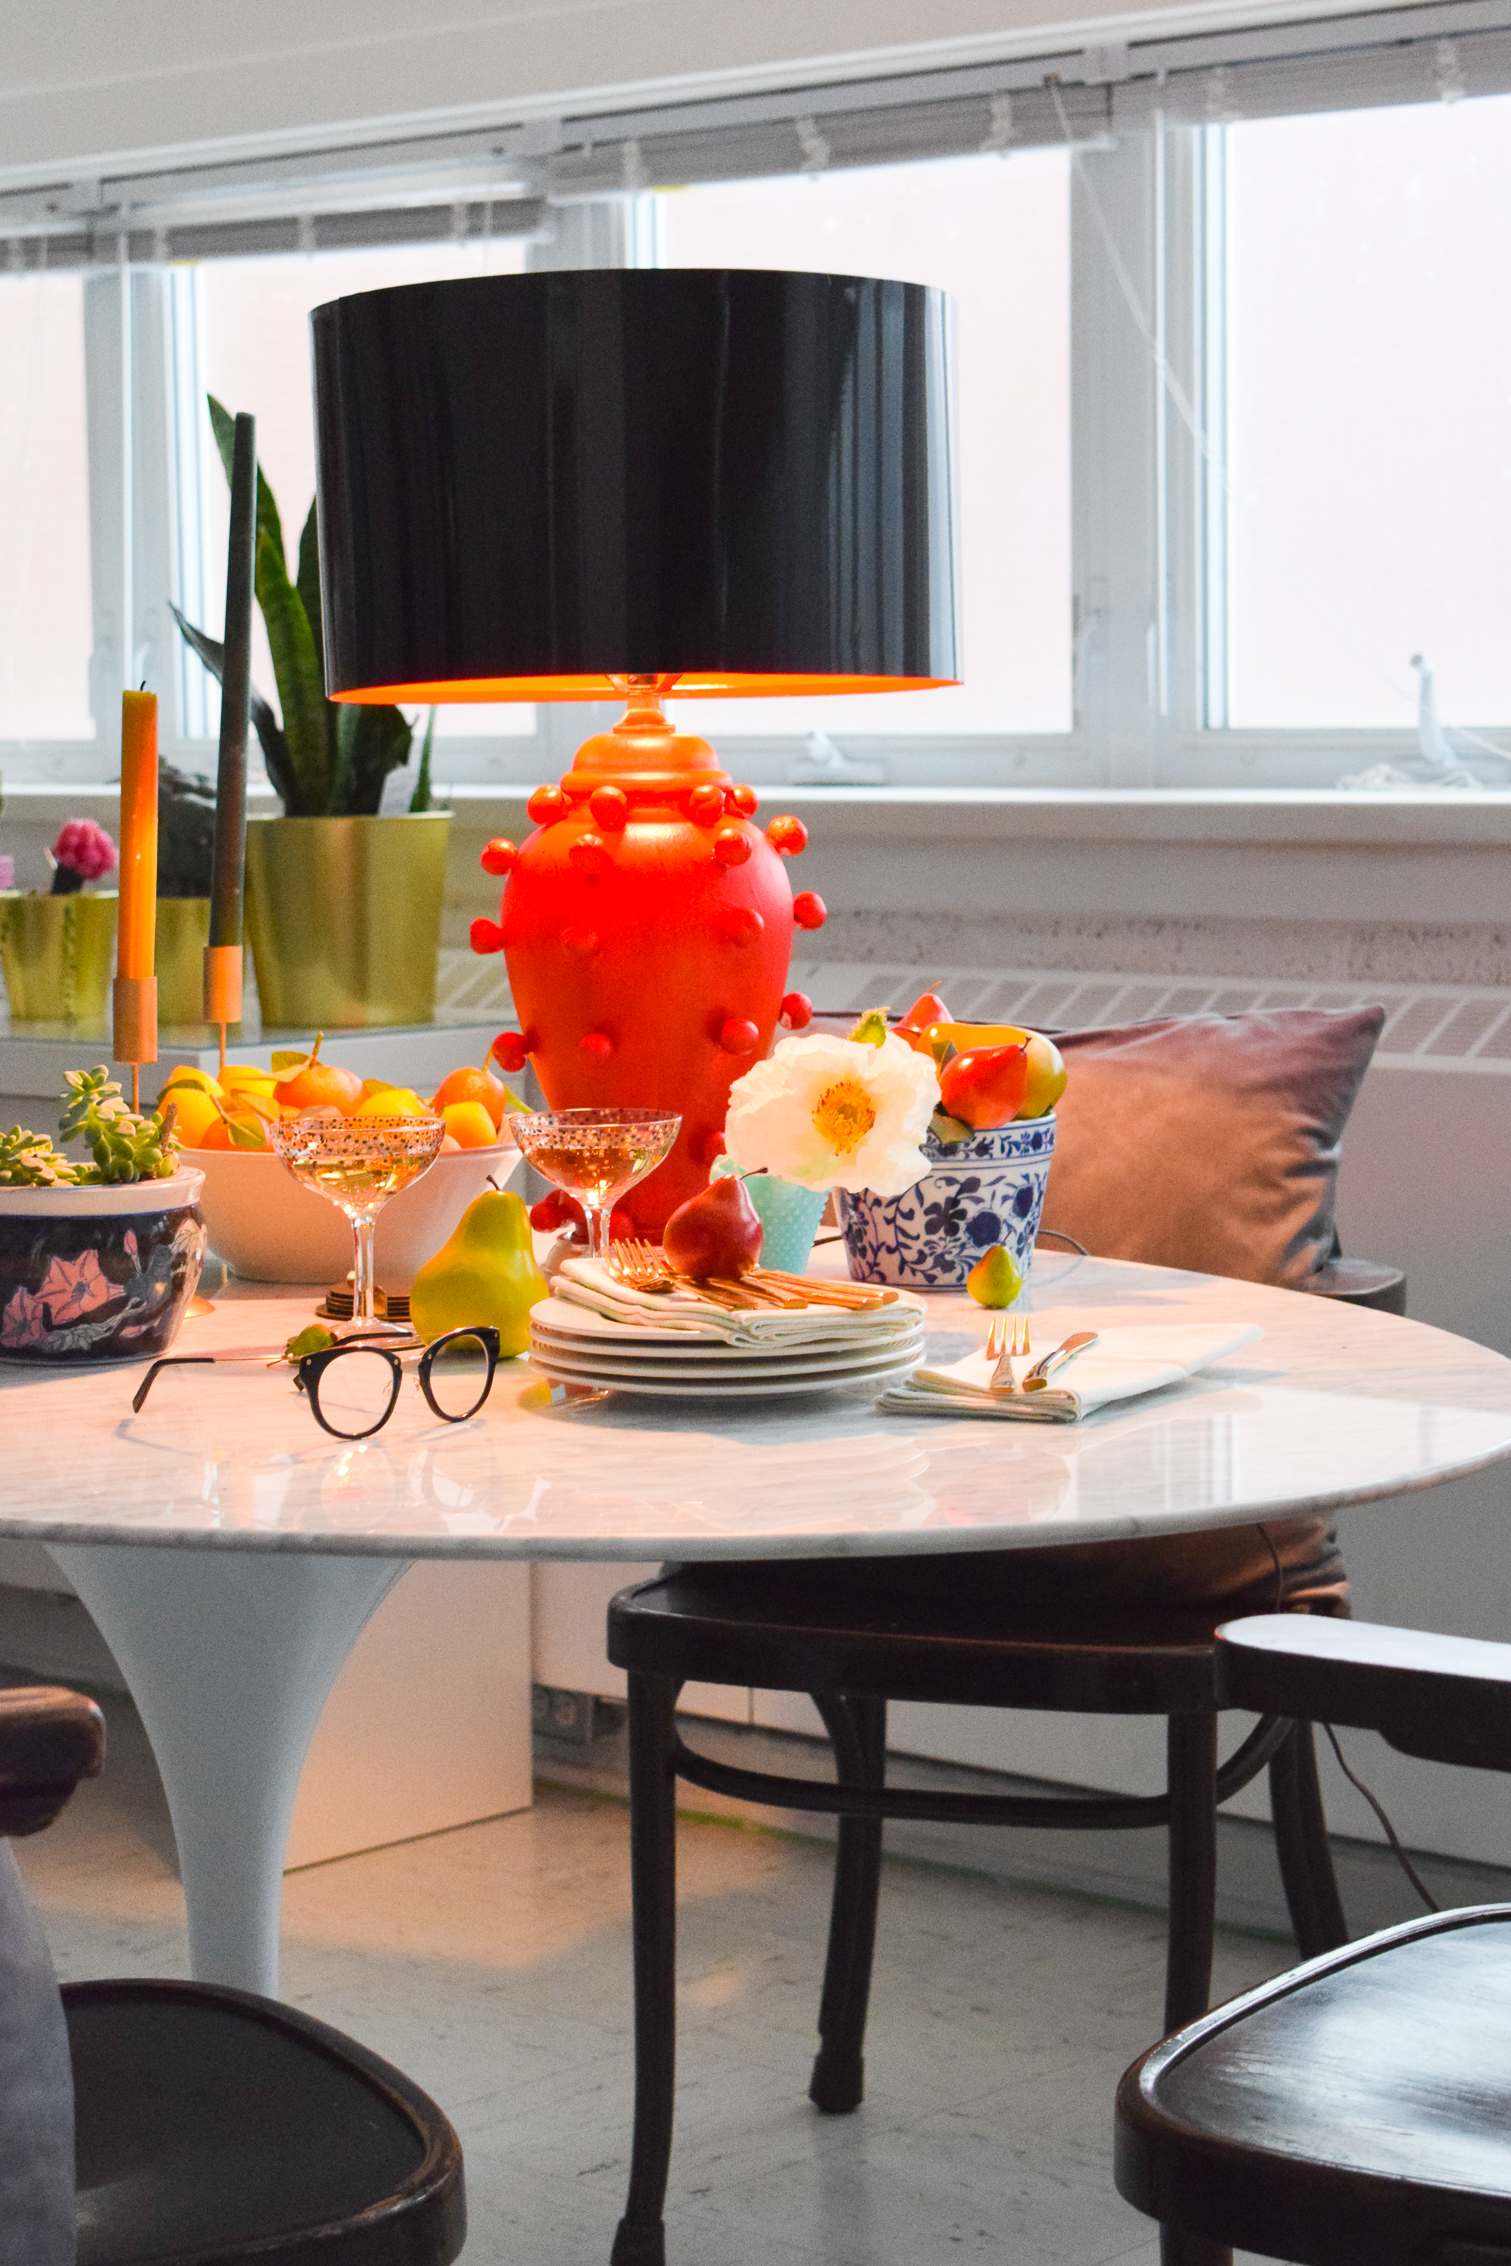
I’m not sure if the DIY Kelly Wearstler Lamp is going to stay in the studio, but I do think it looks fantastic with the marble for a table setting. Maybe I’ll do the second lamp and use them as lighting for our home office. We shall see!
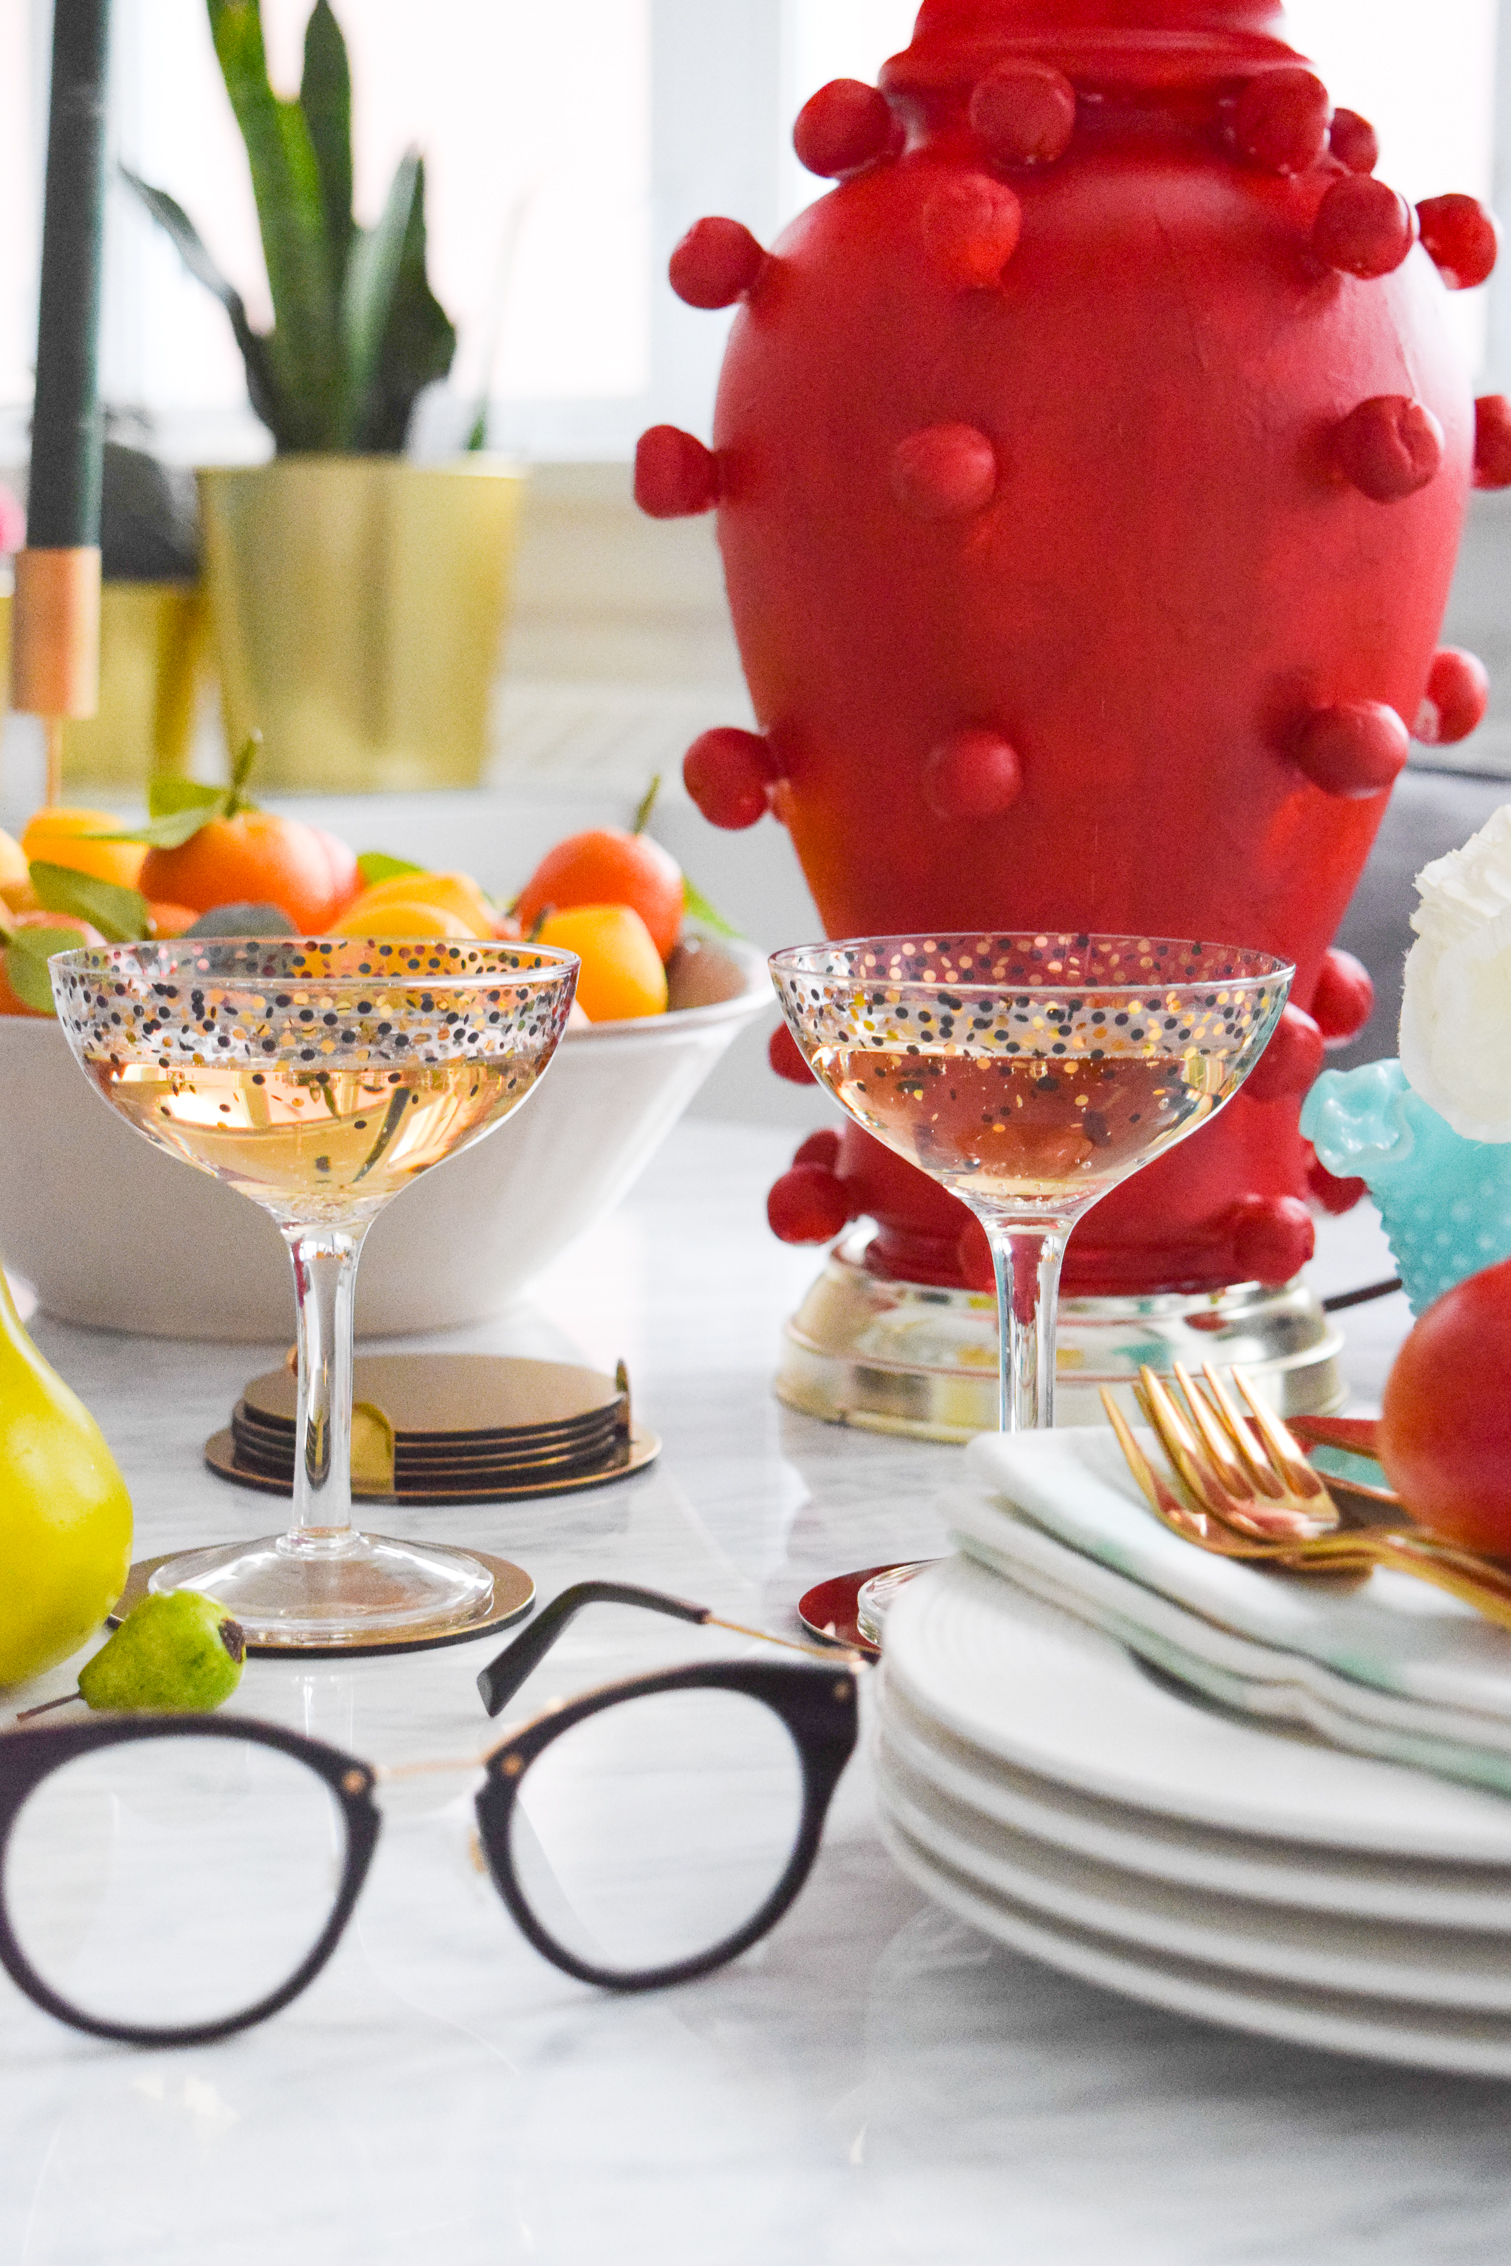

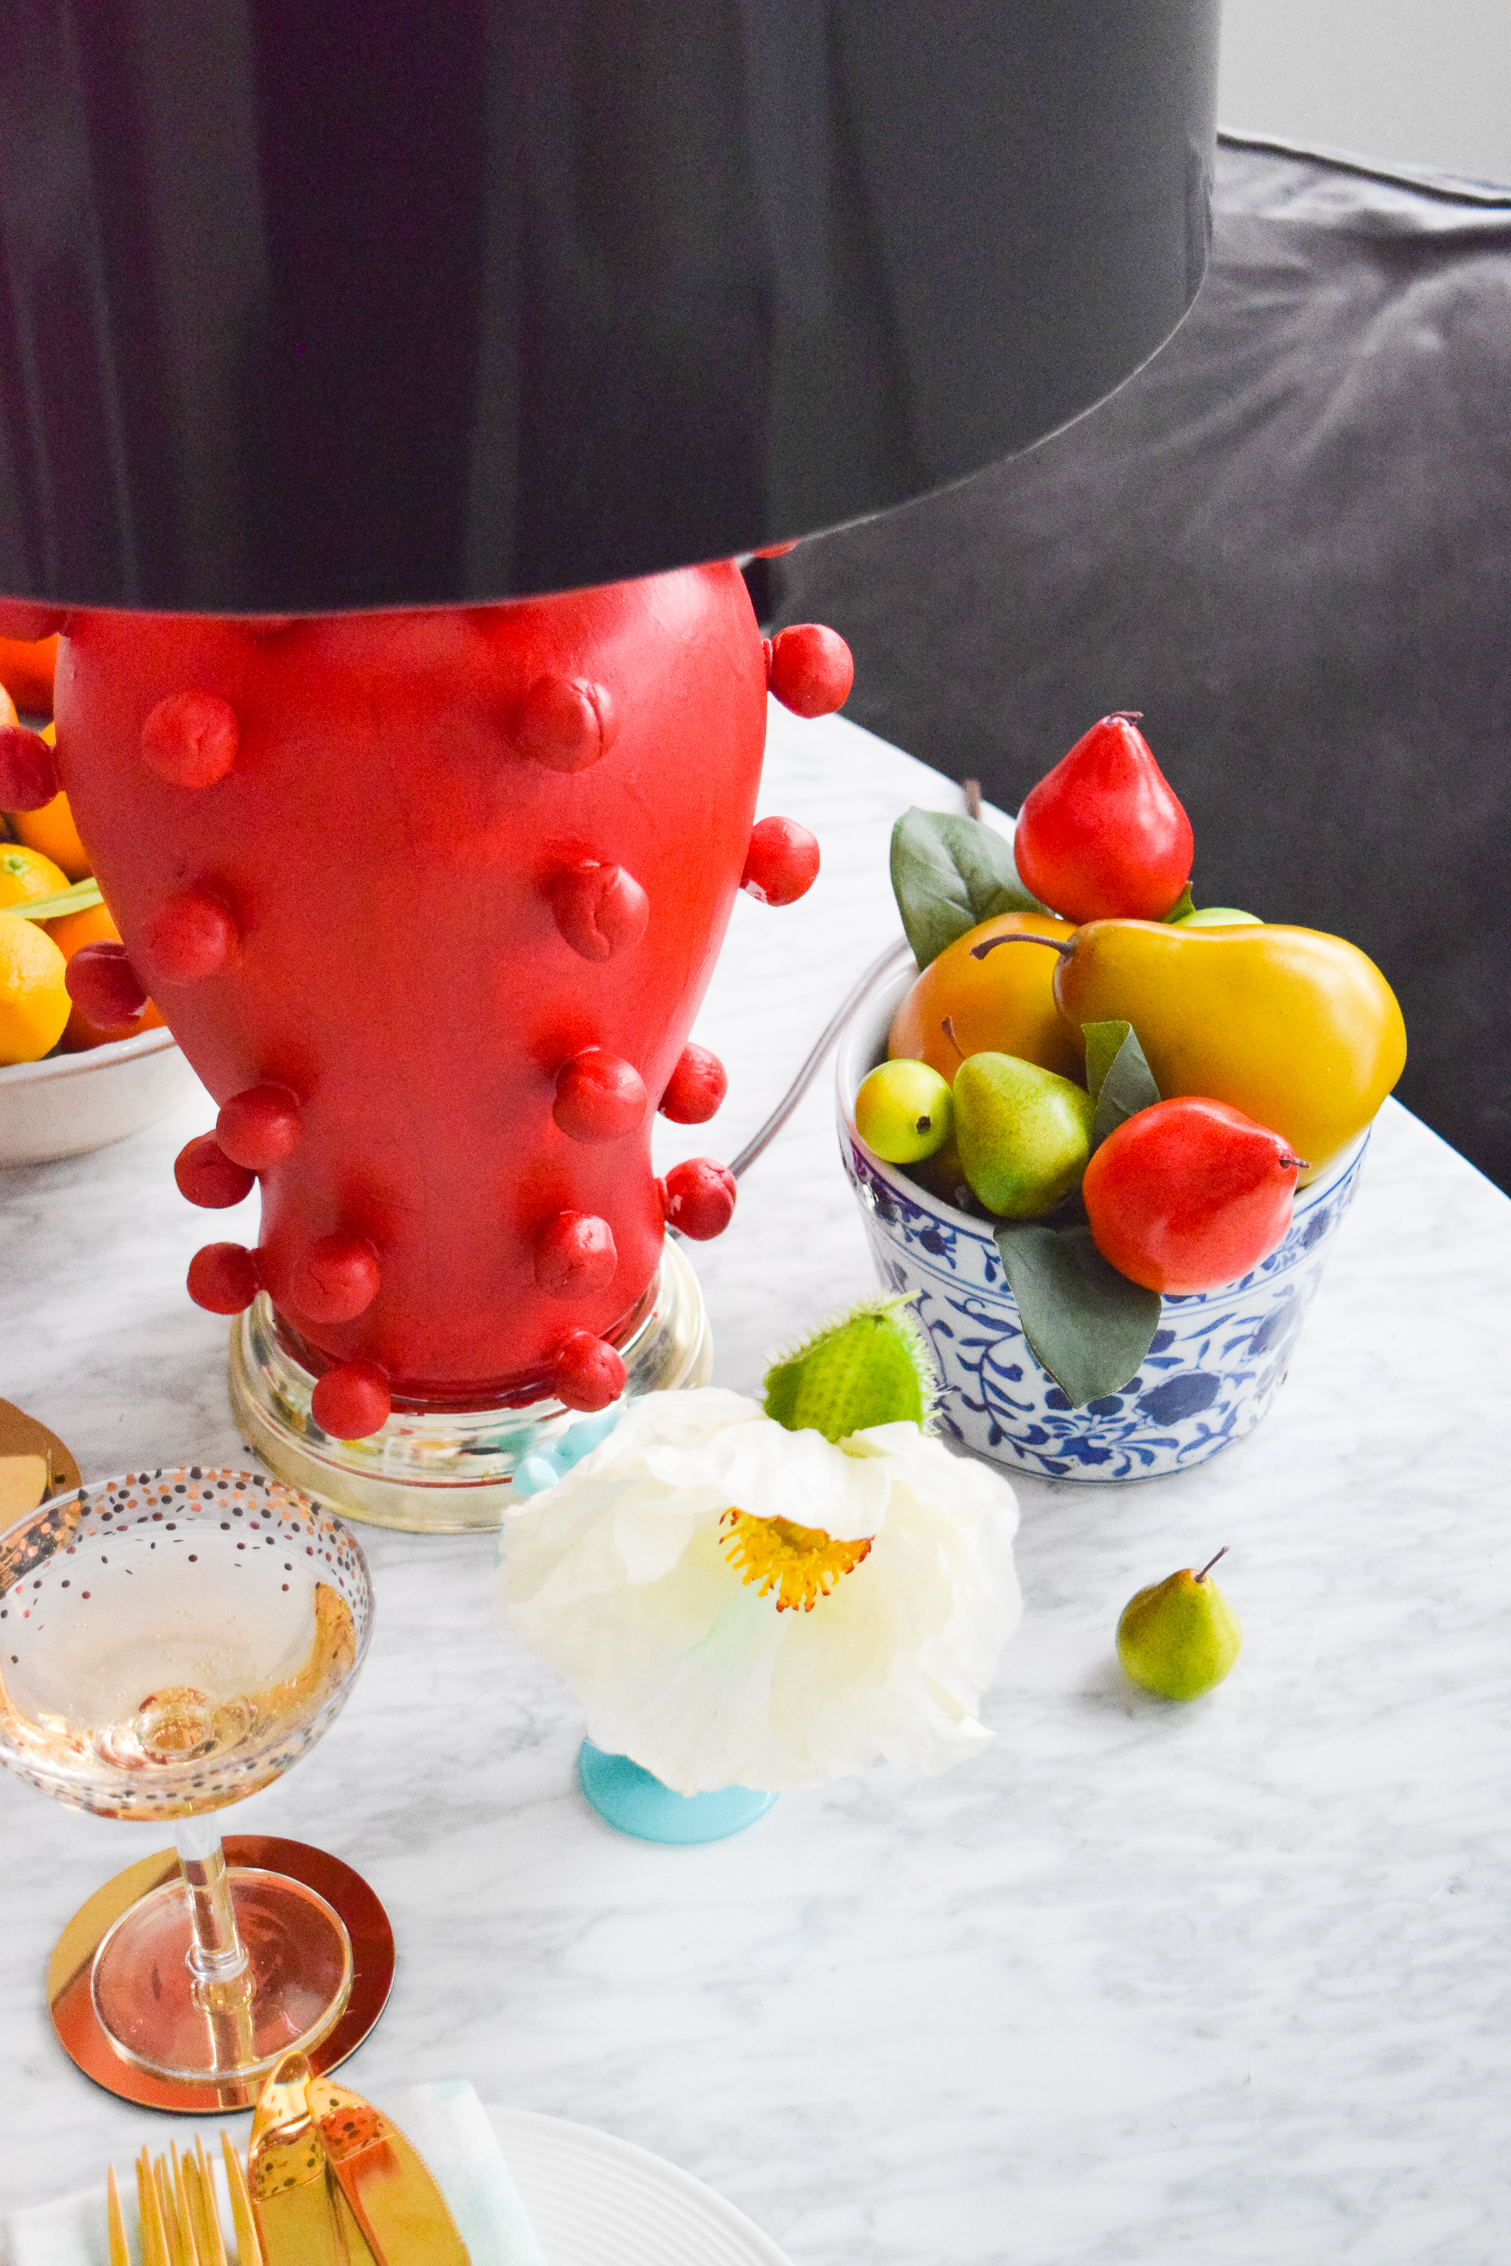
I don’t normally photograph lamps with the light on because I hate the glow it gives, but in this case the red-ish glow is perfect.
There’s something so exotic about how it all looks, it feels like a luxe little Chinese restaurant where there are no fried chicken balls and everything is authentic schezuan. Hmmm, my happy place.
DIY Kelly Wearstler Lamp


Make a stylish DIY Kelly Wearstler Lamp using a thrift store lamp and lamp shade.
Materials
- Lamp + lampshade
- Americana Chalky Finish Paint in White
- Paint Brushes
- Air Dy Clay in white
- Americana Acrylic Paint in Brilliant Red
Tools
- Hot glue gun
Instructions
- Clean the lamp to remove any dust and dirt.
- Paint the lamp with primer or chalk paint in white.
- Roll the little balls out of the clay.
- Allow to dry for 24 hours.
- Hot glue the clay balls to the lamp in the pattern of your choice.
- Apply your top coat of colour applying 2-3 coats.
- Allow to dry fully.

