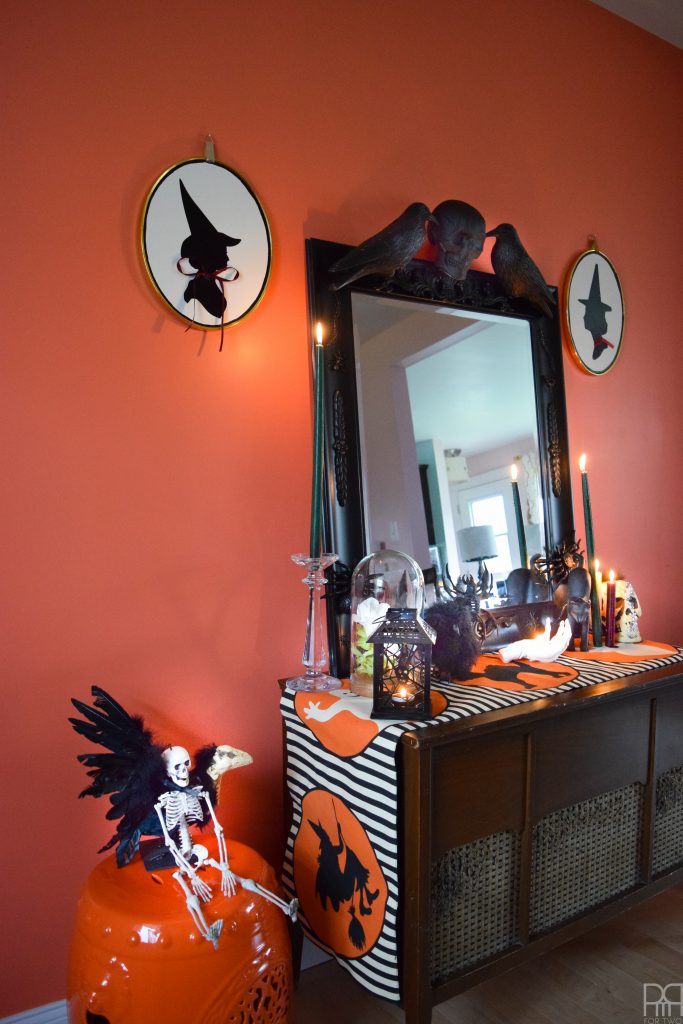
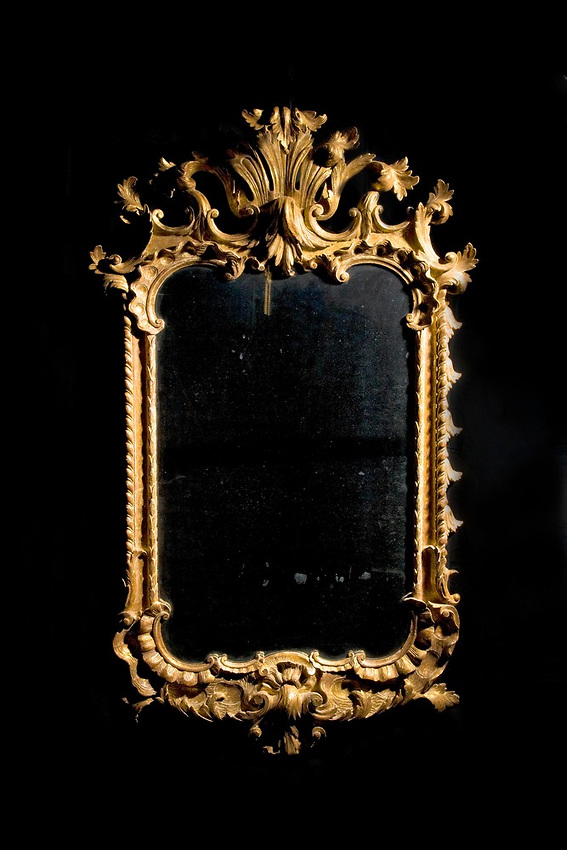
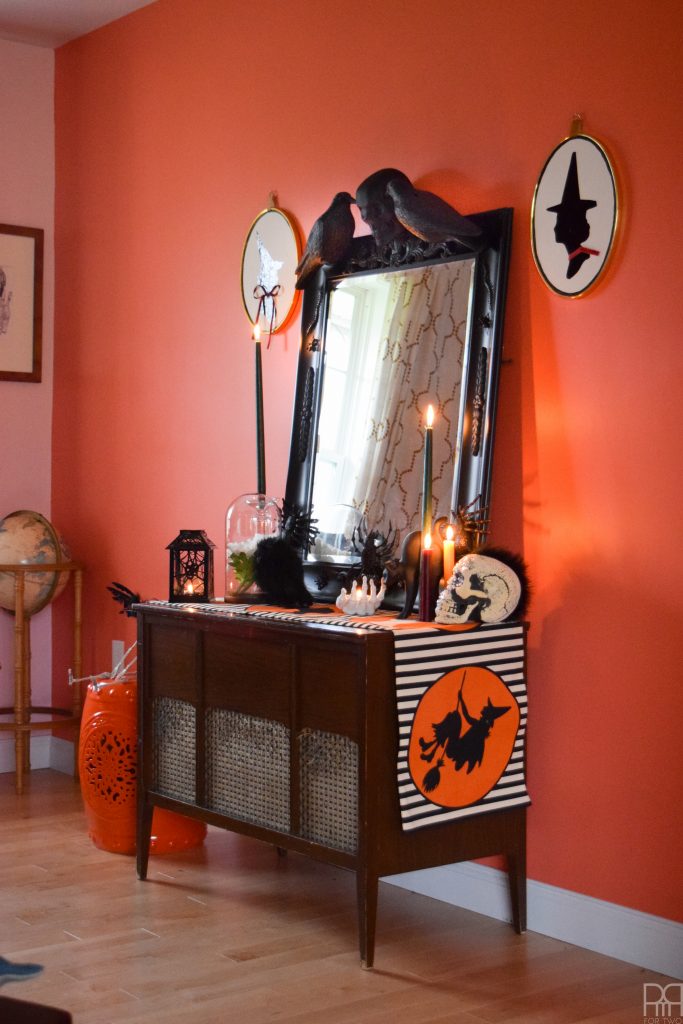
For this year’s Halloween decor I wanted to kick things up a notch. Not just with extra cobwebs or kick-ass pumpkins, but with a large statement piece, something that would last through the years, something that I could haul-out from under a tarp and have it look kick-ass. Enter – the DIY Halloween Mirror.
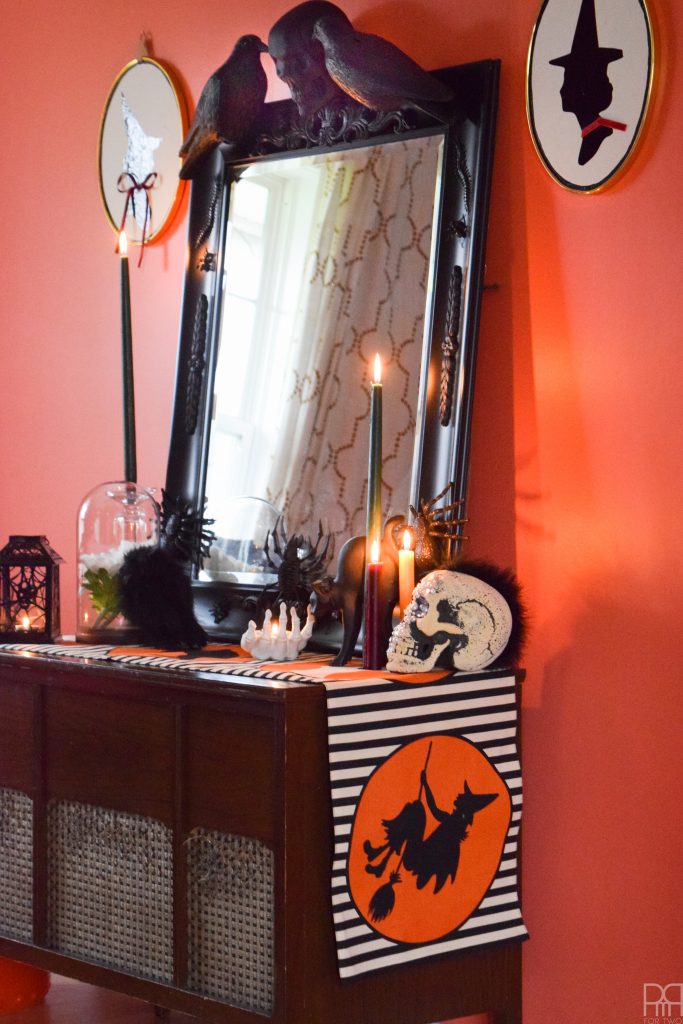

Inspired by Gothic and Baroque mirrors of old, I gave a square black one a little lovin’. You may remember it from our dining room in our last pmt // here // but it hasn’t found a place in our current Q. I’ve had it in hiding in the garage since we moved in. I’m glad I saved it!

// 1 //
For this DIY, I was able to pull from our existing Halloween stash, and made a few purchases at the dollar store for extra items. This project could definitely be done at any price-point, so keep that in mind if you’re looking for something fun to do last minute!
The materials list is also for the exact version I made, you can obviously add or subtract as you see fit.
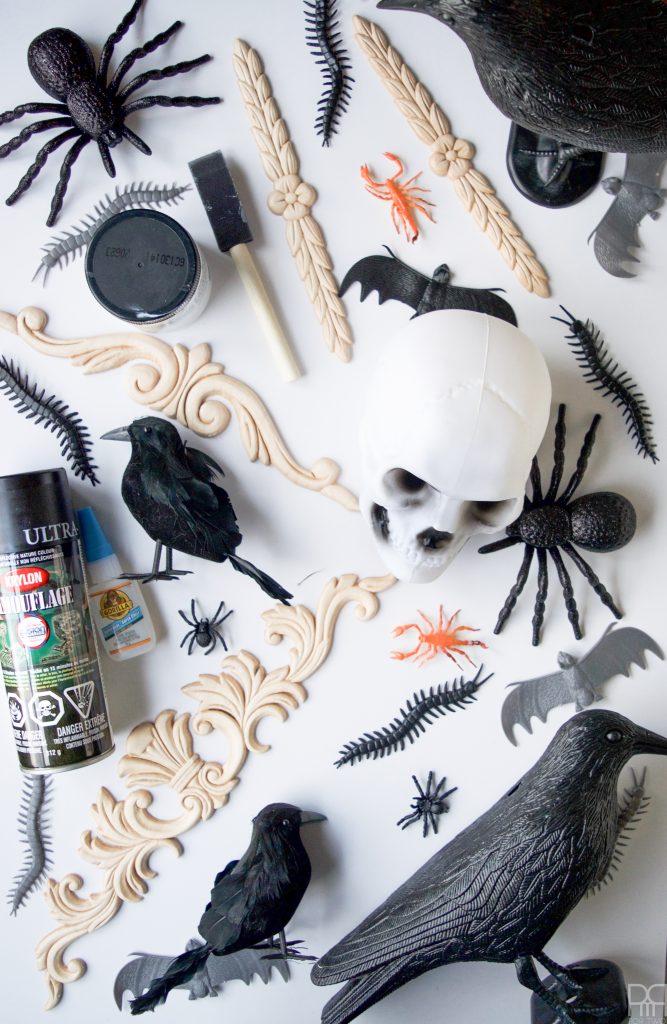

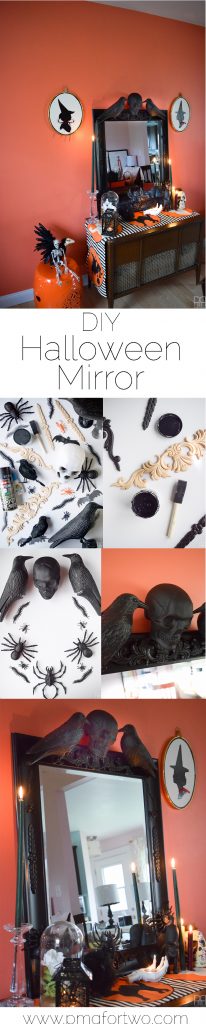
Materials
- Mirror
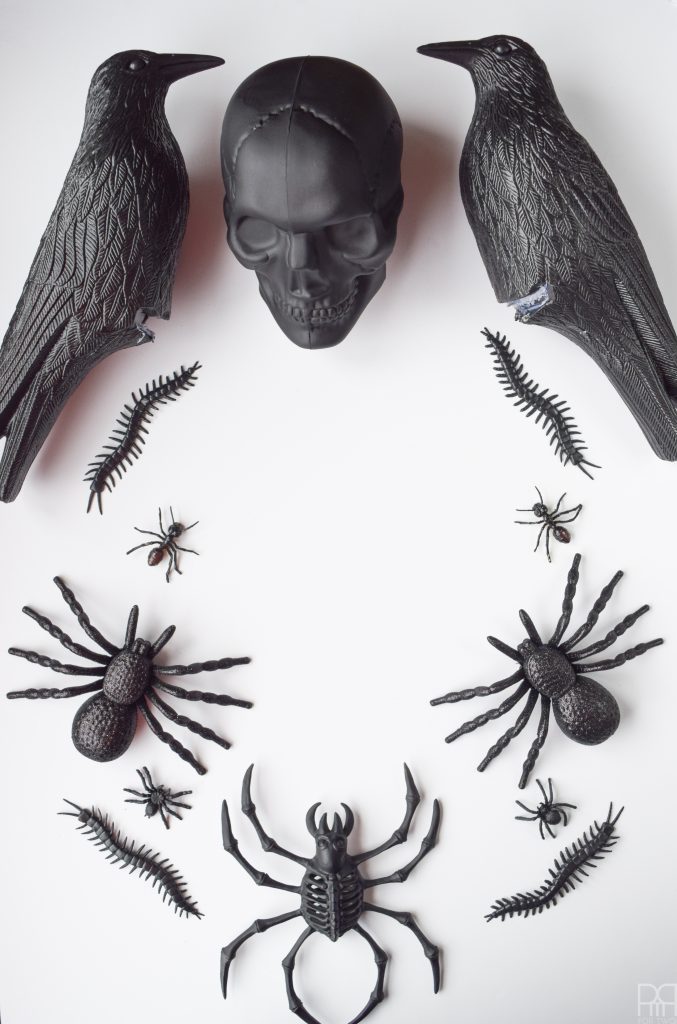
- Plastic skull
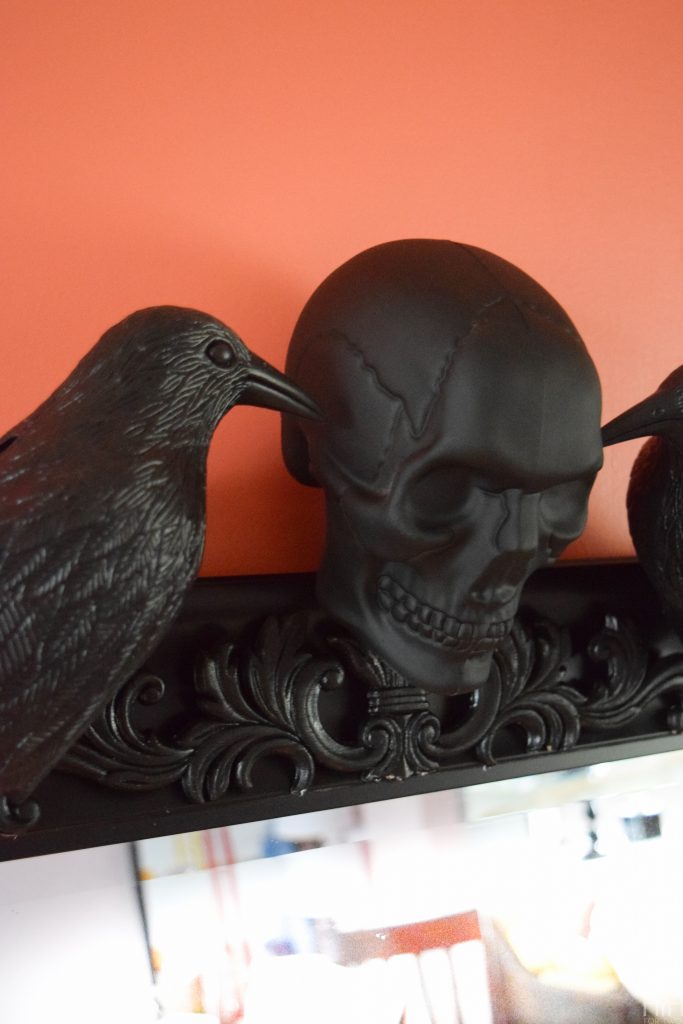
- Two plastic Crows
- Four types of plastic spiders in various sizes (2 of each)
- Four plastic centipedes
- Hot Glue Gun / Super Glue
- Black paint
- Black Spray paint
- Three types or pine cornice pieces (Purchased at Home Depot in the specialty lumber section)
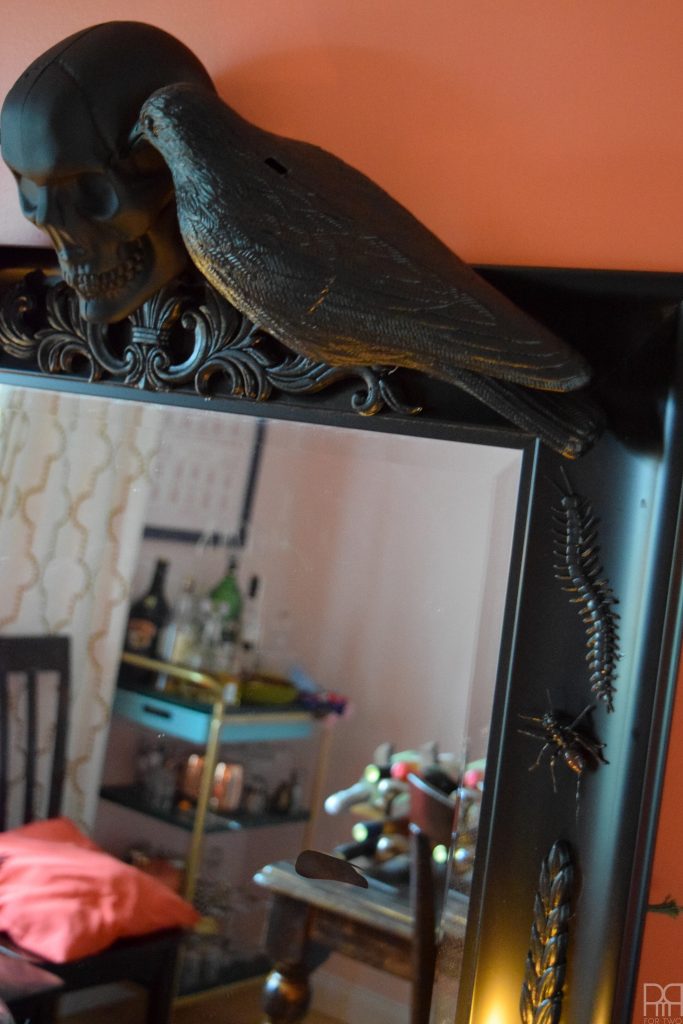
Step 1: Paint your cornices black, and spray-paint anything that is not already black i.e that white skull and any little creepy crawlers.

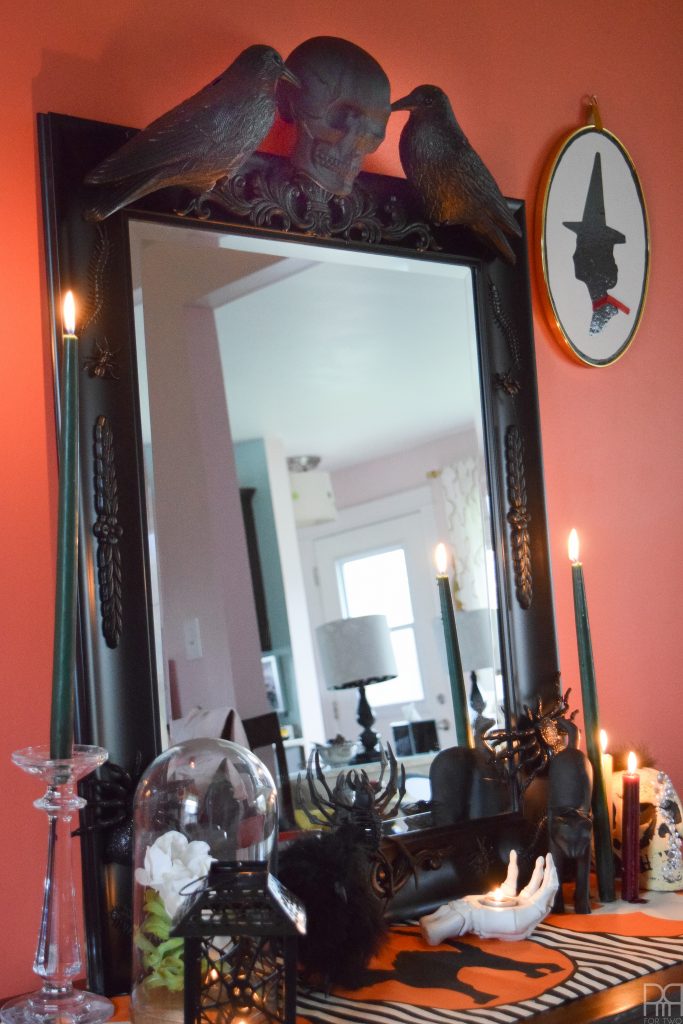
Step 2: Lay out your items in the design you’d like. Now is a good time to figure out how you’re going to mount those crows and the skull, not once you’ve applied glue and it’s drying fast.

I opted for a design up top that added height, and a more intricate design starting from a large spider medallion at the bottom.
The creepy crawlers add texture in between cornices.
Step 3: Glue the pieces to the frame, mirroring your design from step 2.
Keep in mind that the mirror will lay flat against the wall, so mount items on the front side of the frame as much as you can.
Step 4: Mount the sucker! Or in this case, gently lean it against the wall in the dining room our mid-century radio that the cat has been scratching at.
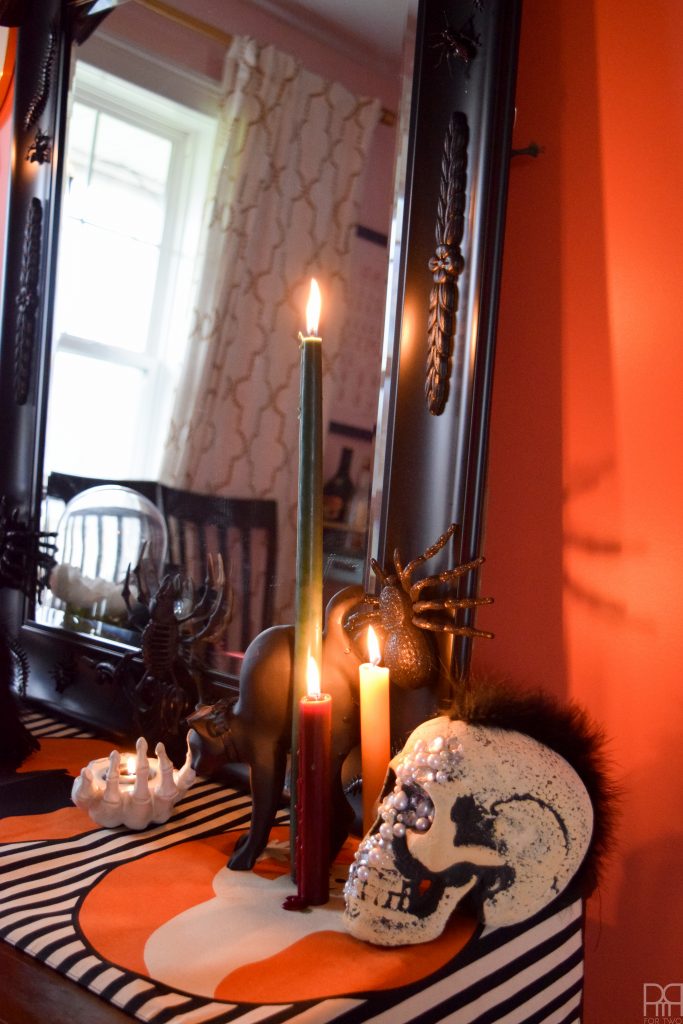
This is just a small peek at our Halloween decor. I’ll hopefully be unveiling another post with the skinny on how that’s going down. But in the meantime, you can peep last year’s entryway table // here // and you can see the DIY for the Witch Silhouette Decor // here // and the jewelled skull // here // Don’t forget you can add some DIY Grave Robbed Hands // here //
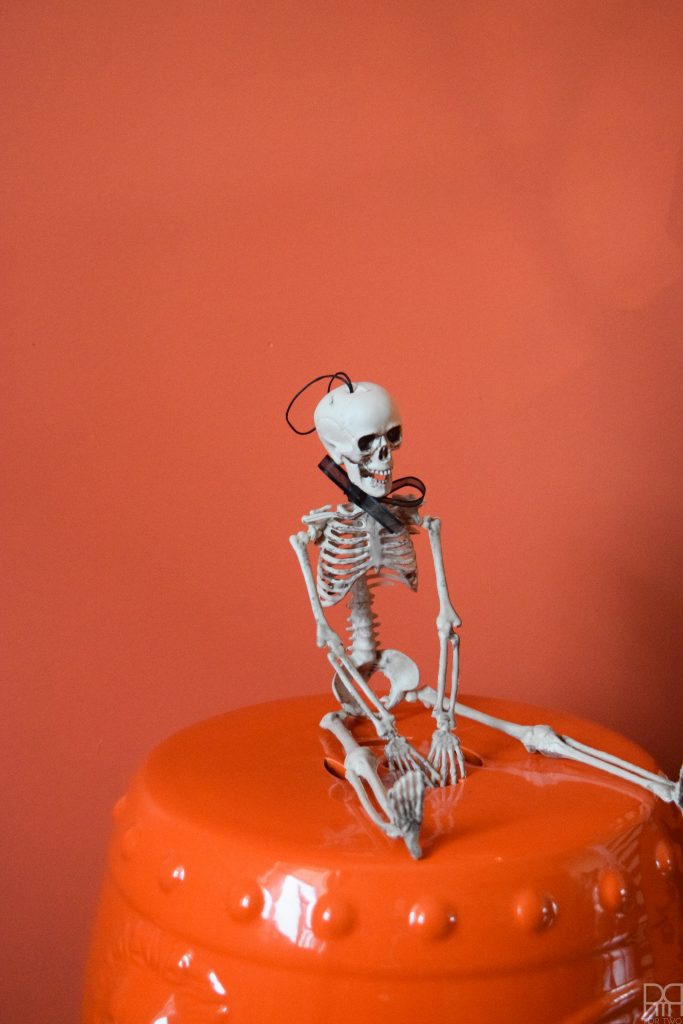
** this guy is all of us.