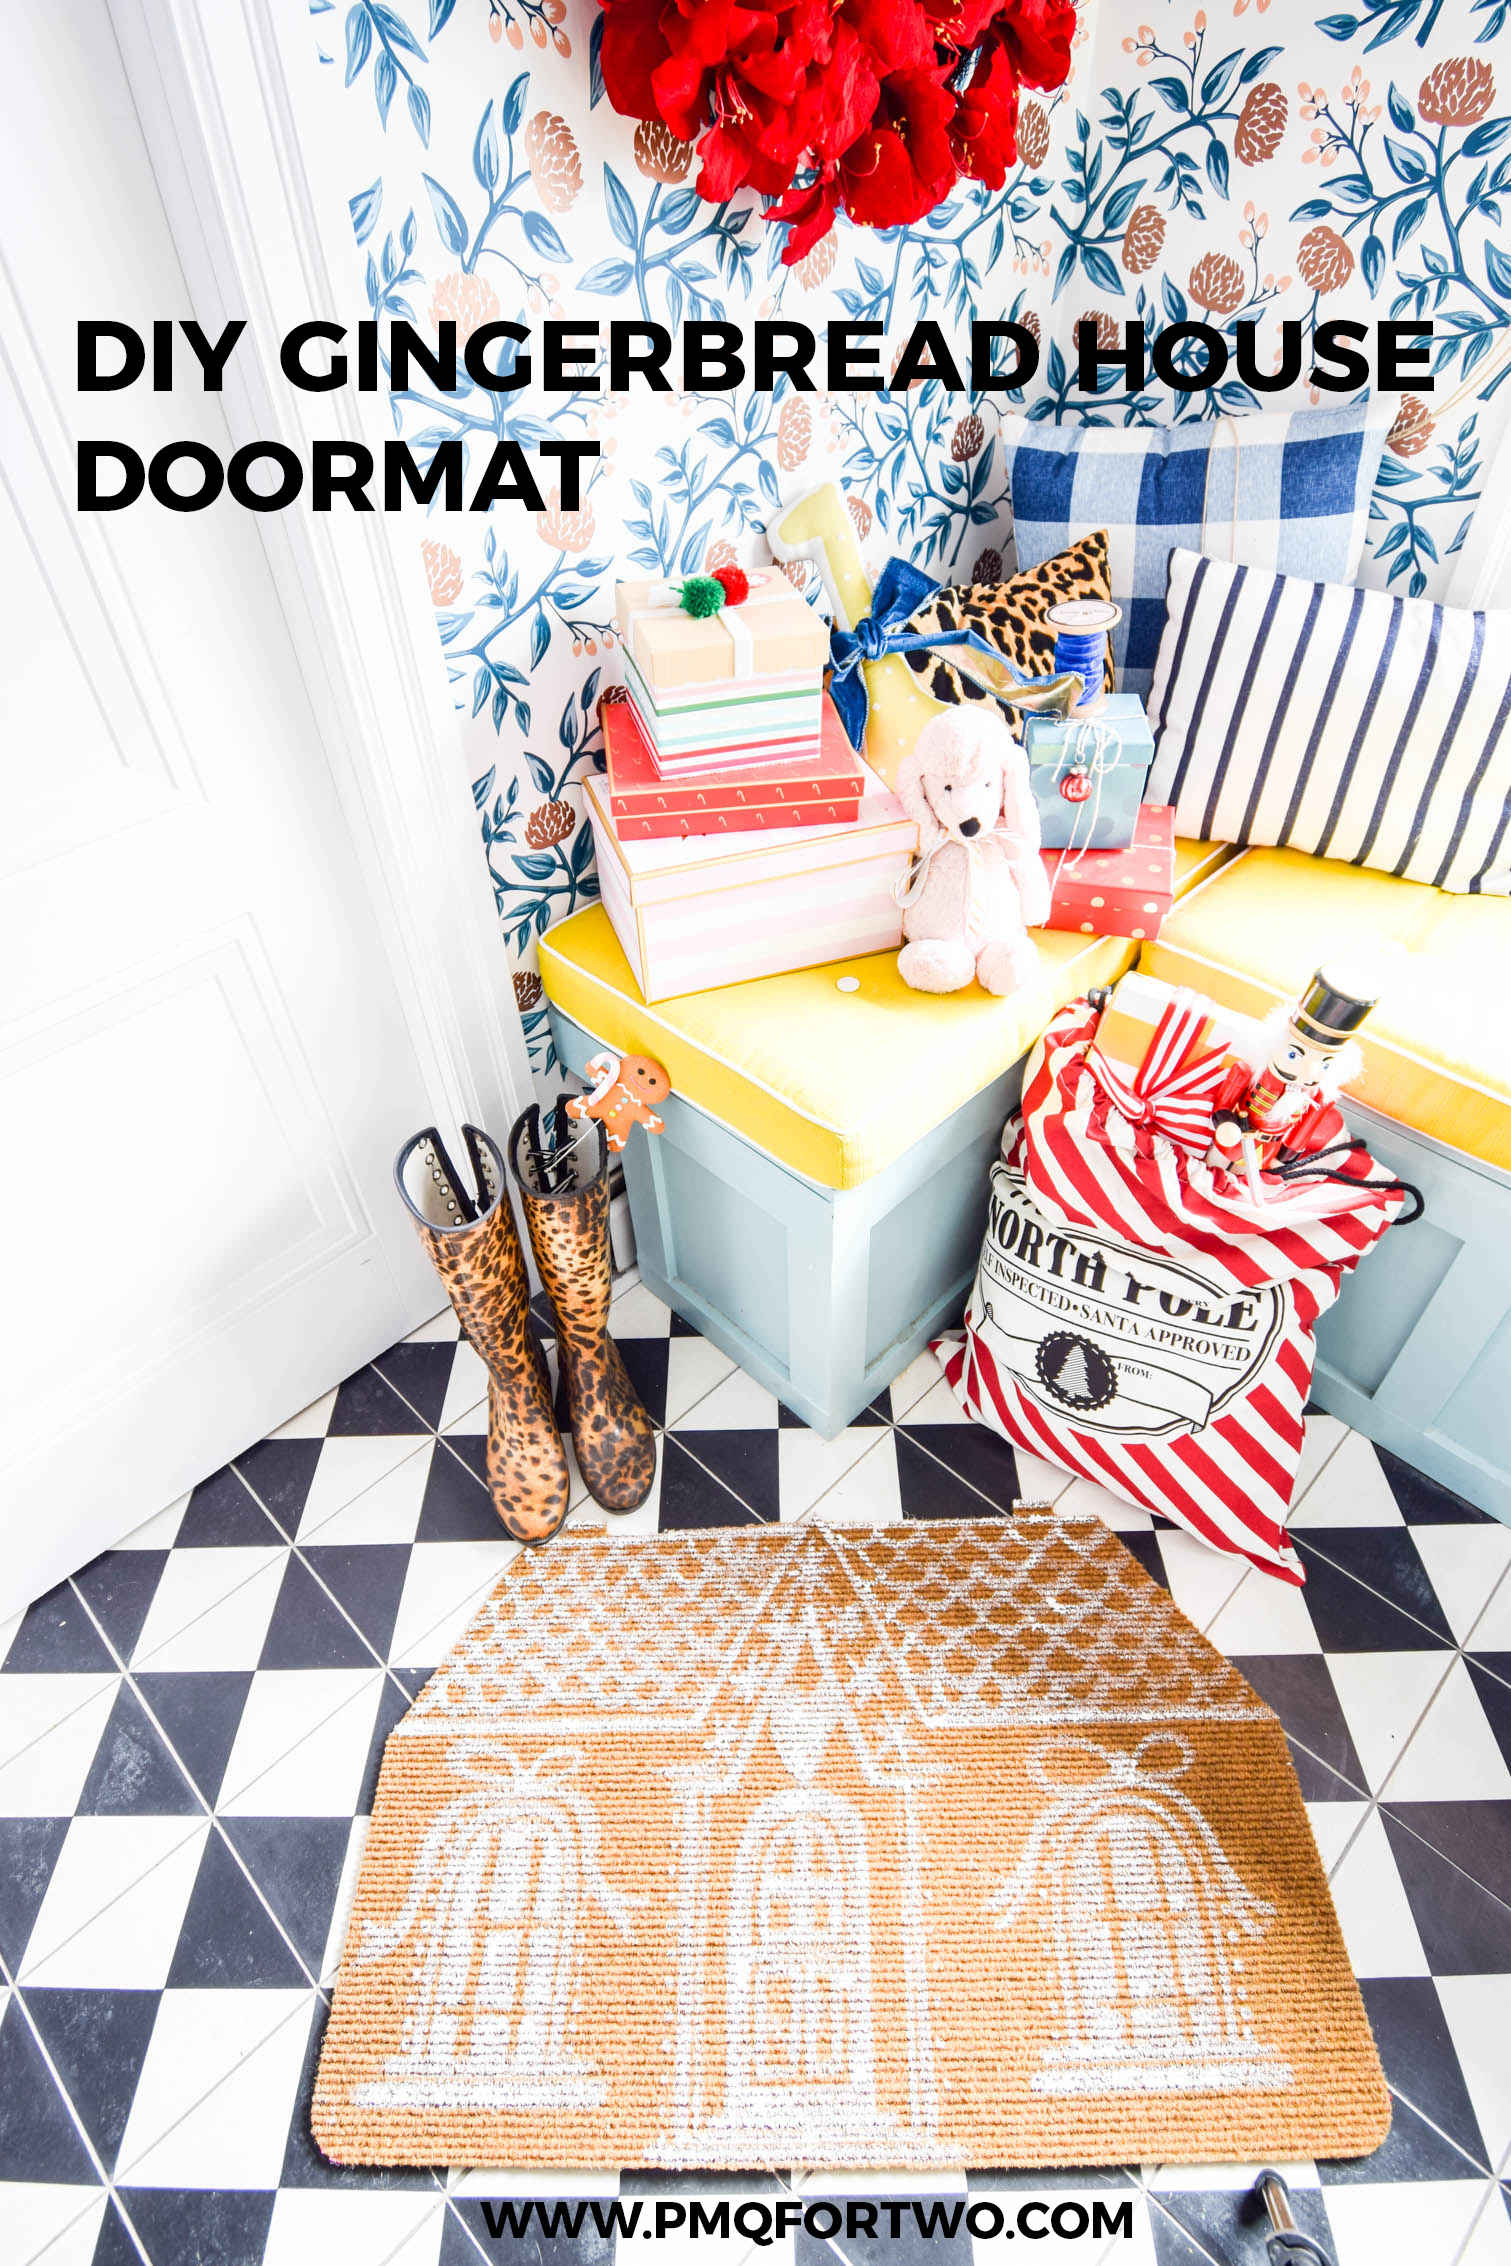
Have you seen the super cute Gingerbread house doormat popping up around Instagram and Pinterest? The Anthropologie version costs a pretty penny, but I’ve seen a few DIY versions and wanted to try my hand at one. My DIY gingerbread house doormat is made using 3 simple elements and cost me 5$
*Fiskars sponsored this post, but all thoughts are my own. Thank you for supporting the brands that make PMQ for two possible.

The Anthropologie doormat is a beautiful doormat, but I just don’t want to spend 38$ on a doormat. I’d rather let my creative juices flow, and have fun painting a large gingerbread house on a snowy afternoon.
What do you need to make a Gingerbread House doormat
Using my Fiskars Multipurpose Garden Snips, some outdoor craft paint, and a doormat from the local hardware store, I got the look for much less than the one in stores.
The Fiskars Multipurpose Garden Snips are a great choice for this project for one major reason: they’re meant to cut through tough materials that you’d normally find in your garden.
The Fiskars Multipurpose Garden Snips cut wire, netting, landscape fabric and more, which made them the perfect choice for this outdoor mat.
How to make a Gingerbread House Doormat
I found a doormat that has a grid system built into the rubber backing. This has been a rather crucial factor in the cleanliness of my design, because it gave me an easy to navigate grid to cut along.
Using the Anthropologie version as inspiration for the original roof line, I traced it and then cut it using the Fiskars Multipurpose Garden Snips. The rest of the details will be painted on, but you’ve got to get the initial shaping right.
The Fiskars Multipurpose Garden Snips provided such a clean cut – as seen above – that it made recreating in large part – but not in totality – the original mat design, easy.
Next, using a paint brush and some outdoor craft paint, create your icing design!
I recreated a large part of the design, but changed the designs subtly enough to suit my taste.
Let the finished product dry for a full 24hrs before laying it out by the door.
Don’t forget to check out my other Christmas craft ideas and projects.
Look how sharp those lines on the roof are! So slick! Couldn’t have done a better job, than if it was cut with a laser.
For more super precise cuts, check out my other Fiskars projects.
