For this month’s project I’m making a DIY Fall Floral Centrepiece for our Thanksgiving table, so you’ll have to tell me what you think! Back when I joined the 12 months of DIY series and saw the line-up of items, I was most excited for the floral challenge. I love a good flower arrangement; I love it so much that I can never really bring myself to buy the fake ones – no matter how beautiful – because I enjoy making my own.
*Aflora.com provided the product for review, but all thoughts are my own. Thank you for supporting the brands that make PMQ for two possible.

I guess it’s the same thing inside me that enjoys arranging art on the wall, knick knacks on a shelf, and picking paint colours. I “feel” the items into place and then fine-tune. There isn’t always a rationale as to why, but there’s always a feeling.
Before I launch into my beautiful arrangement I thought I’d take you all on a quick refresher about floral arrangements. In today’s world, Putnam & Putnam are the kinds of fresh and contemporary florals. If you’re Instagram, they’re an account you should be following.
Gone are the prim and proper arrangements of our mothers’ day, in are the kinda wild and very energetic arrangements of today.
You know how flowers usually sit in a vase contained to an orb-like crest? Well, nowadays a good arrangement reads like a classic masterpiece with axes of light, dark corners, the Fibonacci sequence and so much more. Pinterest is chock-a-bloc full of beautiful arrangements that seem to defy gravity and pull from the most heavenly and exotic gardens. Take me there!
I’m drawing on our contemporary masters for my arrangement. I’m bringing you high, low, left, right, and all around. If what I said doesn’t make sense now, wait until the end.

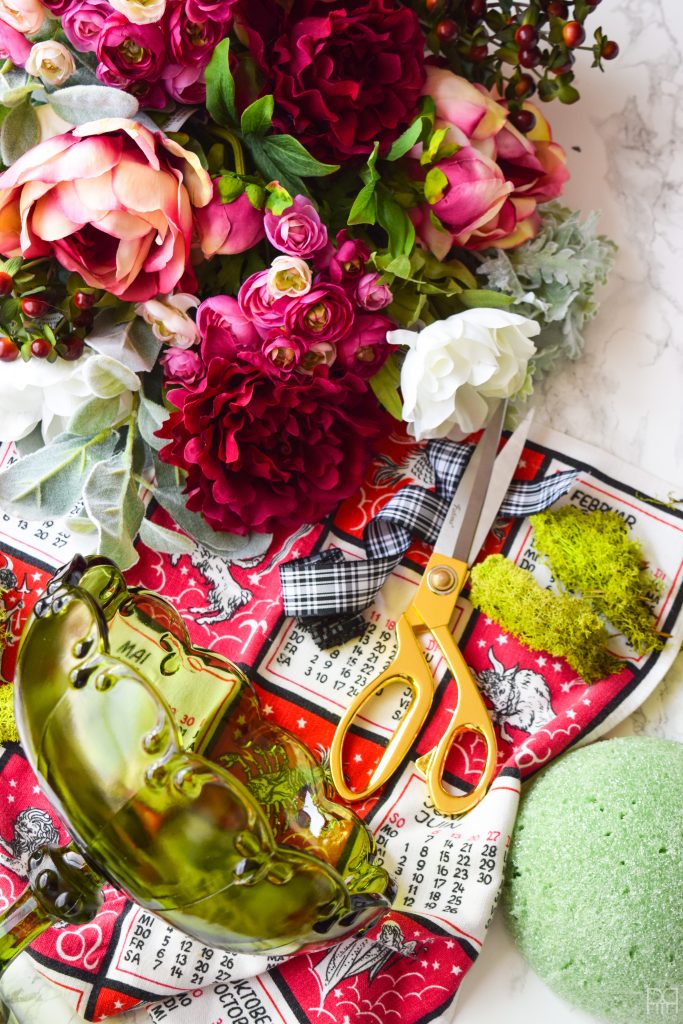
Materials
- Bowl, vase, coupe etc. Basically anything that is considered a receptacle that you want to place flowers in. Since there’s no water, it can be almost anything!
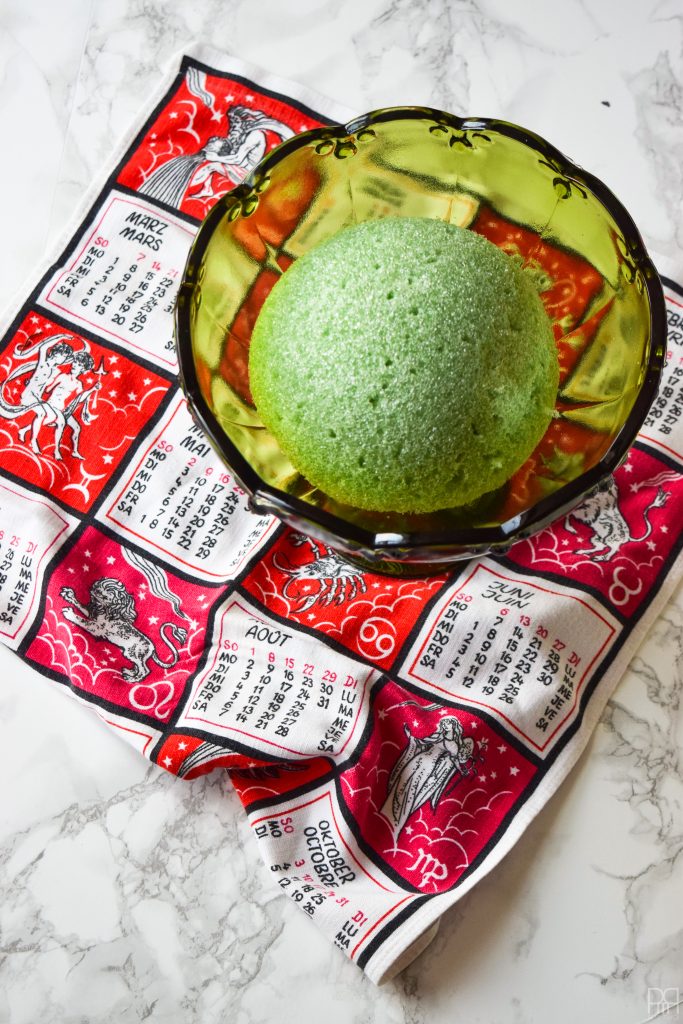
- Flower foam. I halved a foam ball.
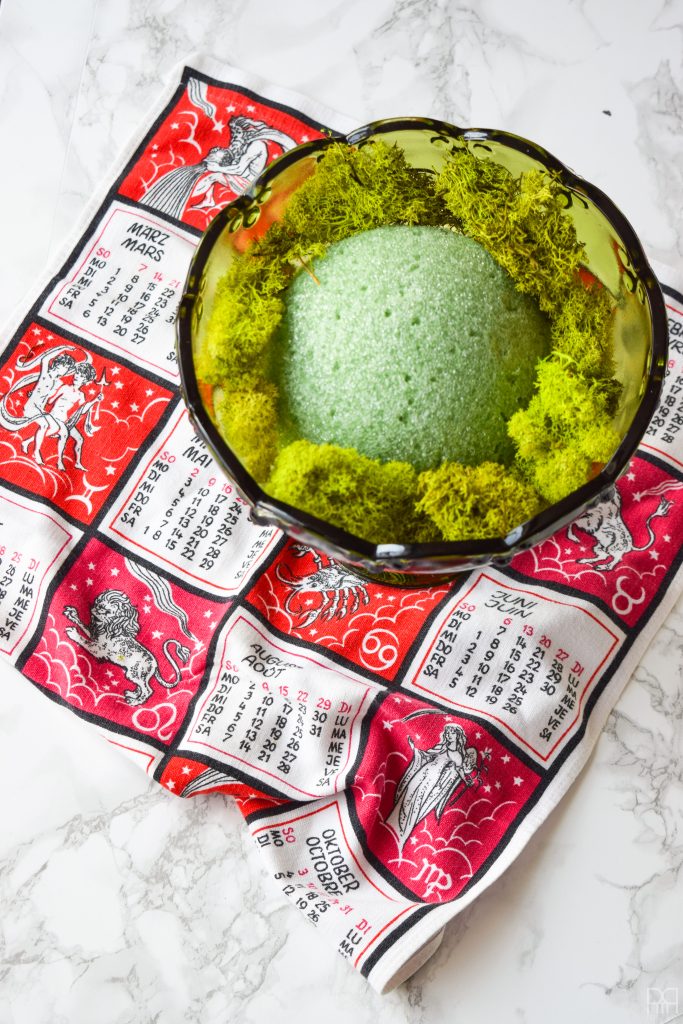
- Reindeer moss
- Tin snips – you’ll need them to trim the metal wire inside the stems without damaging your scissors.
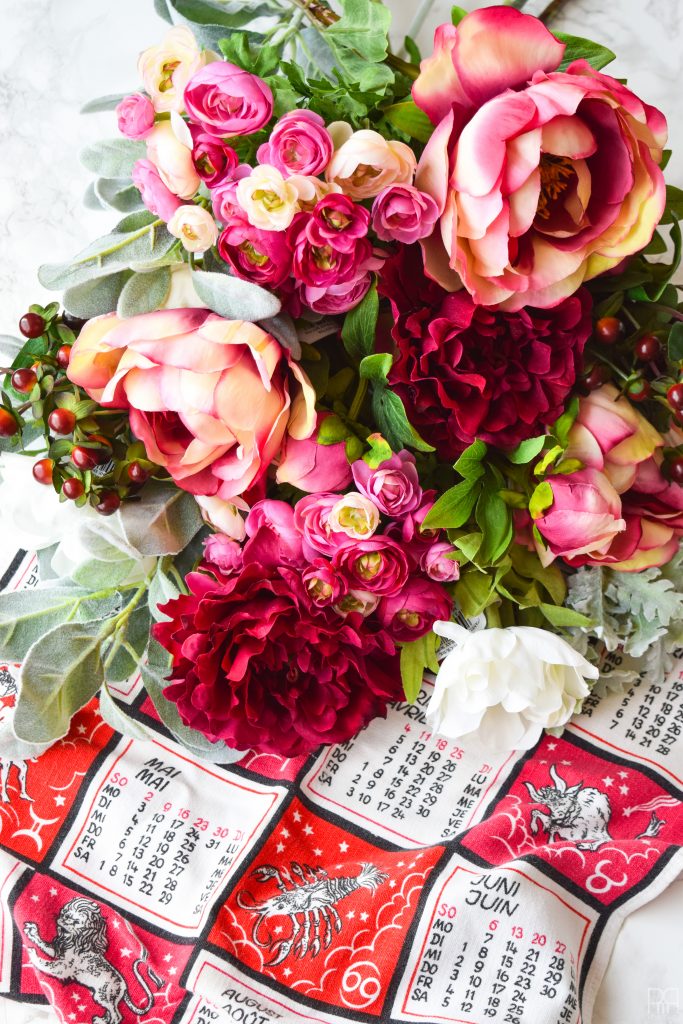
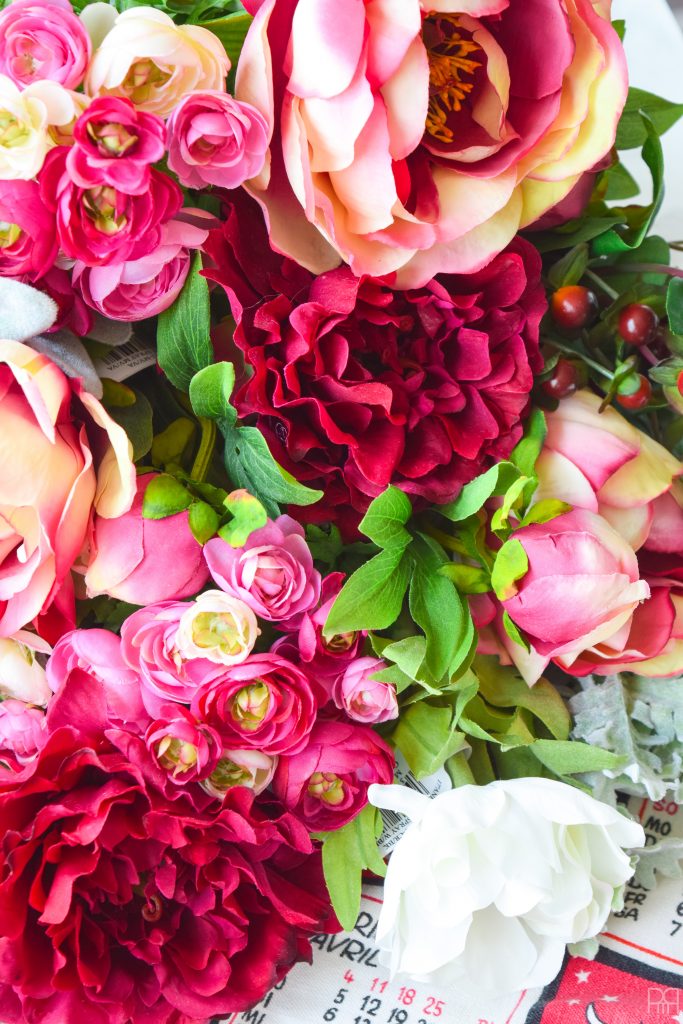
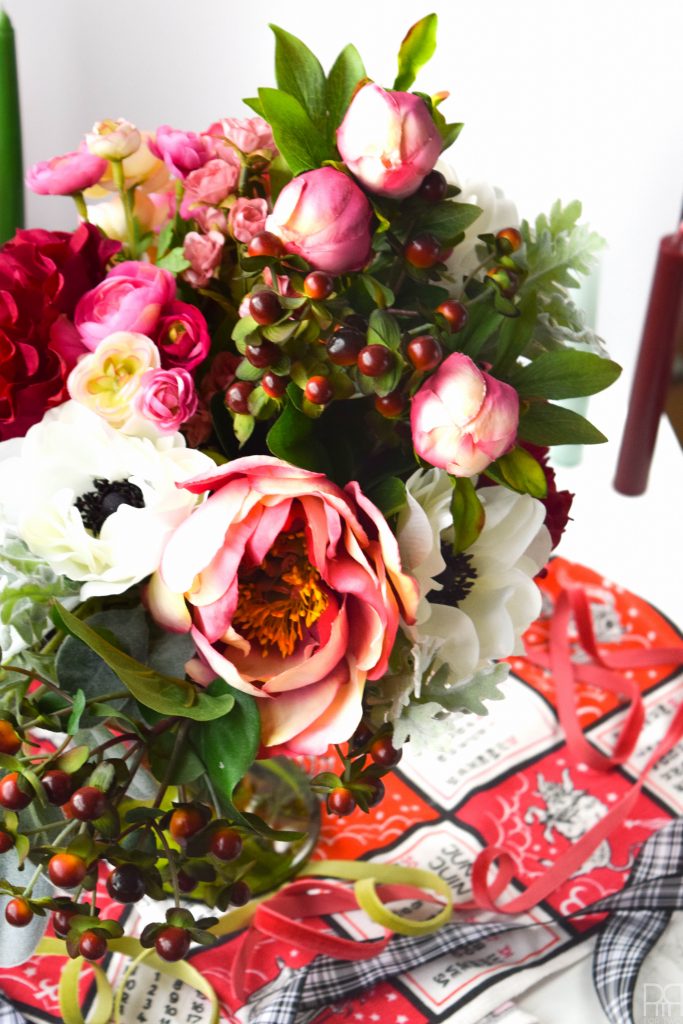
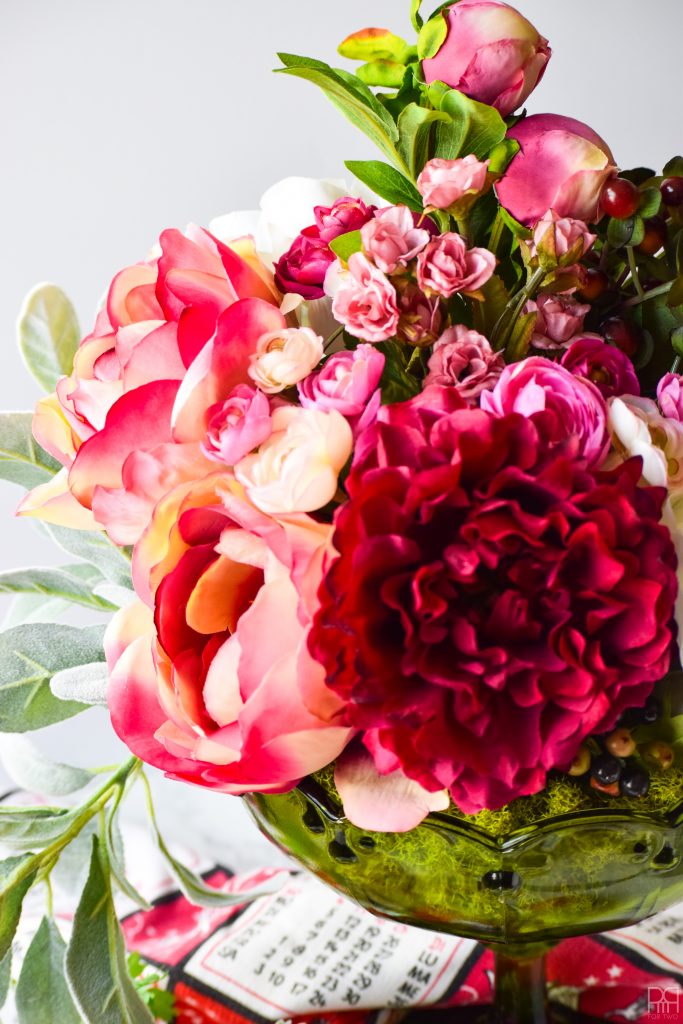
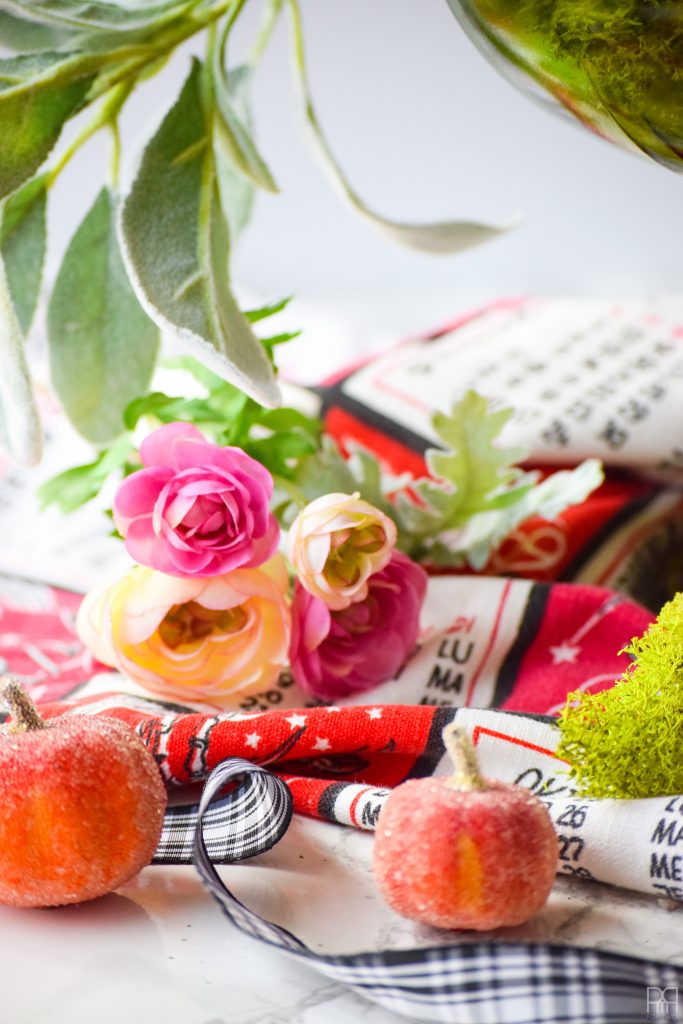
- For this particular arrangement you’ll need: Lambs ear spray 29″ x 2 ; Anemone in cream x 3 ; Hypericum Berry Spray in two tone x 2 ; Peony Spray in Marsala Wine 21″ x 2 ; Mini silk Ranunculus spray in pink ceris x 2 ; Silk peony spray in Mauve Pink Cream x 3 ; Dusty miller bush in green and gray 9″ x 1
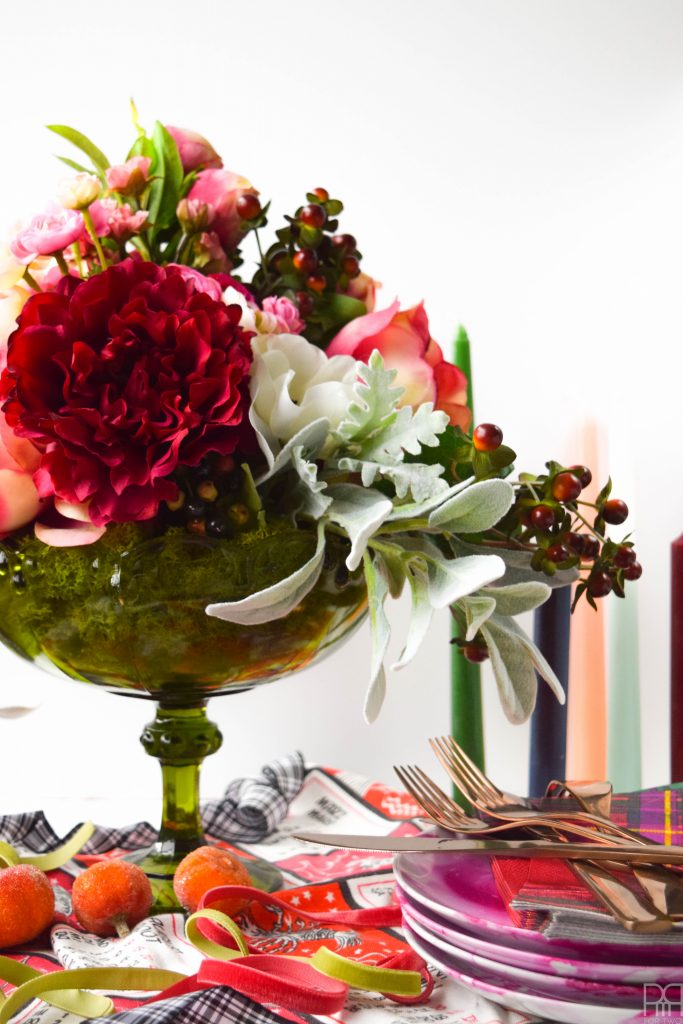
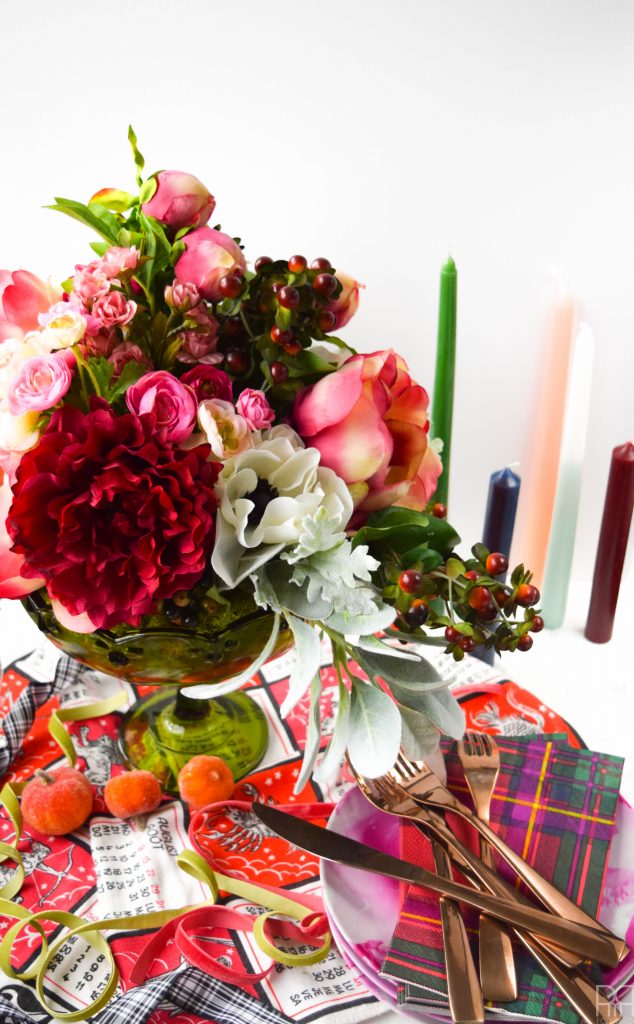
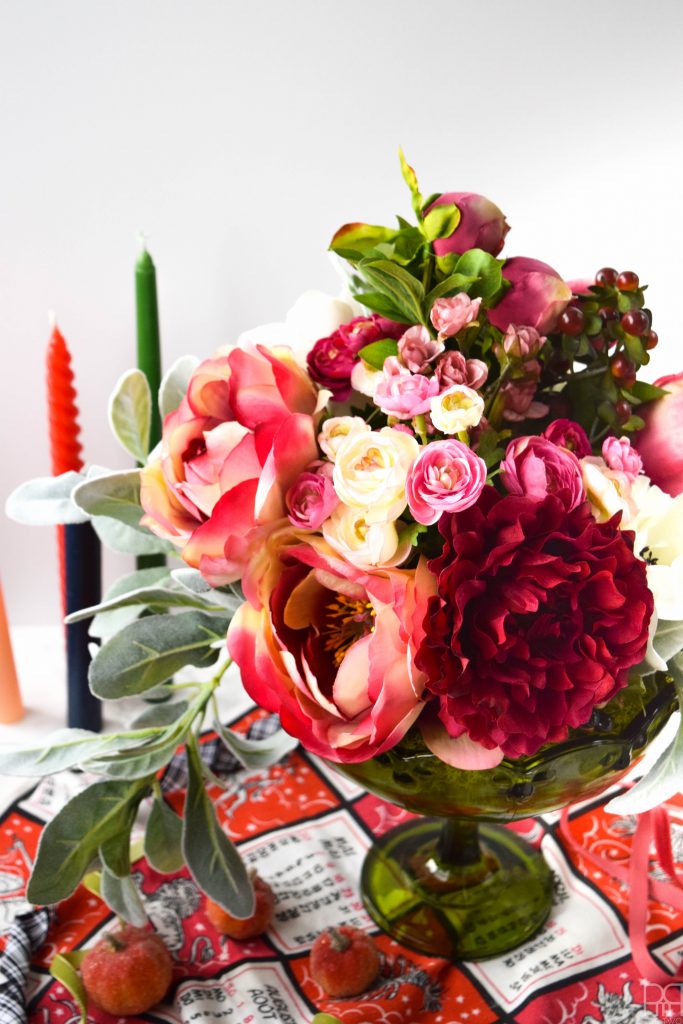
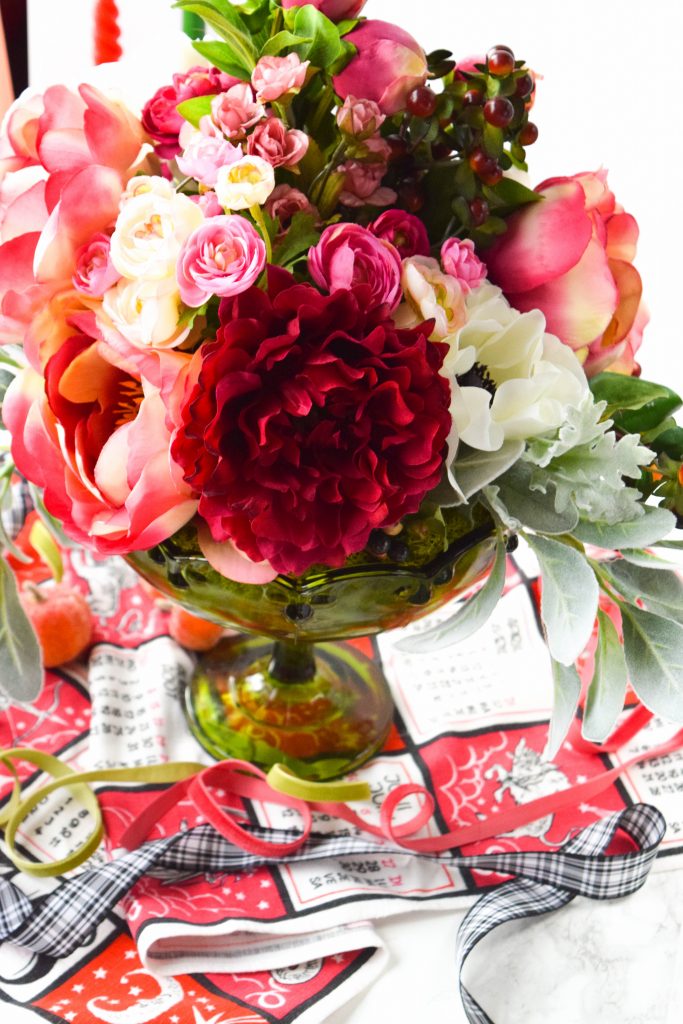
For this arrangement I went for the modern inverted designs. Instead of building towards a central point, we’re working off-kilter with height and width.
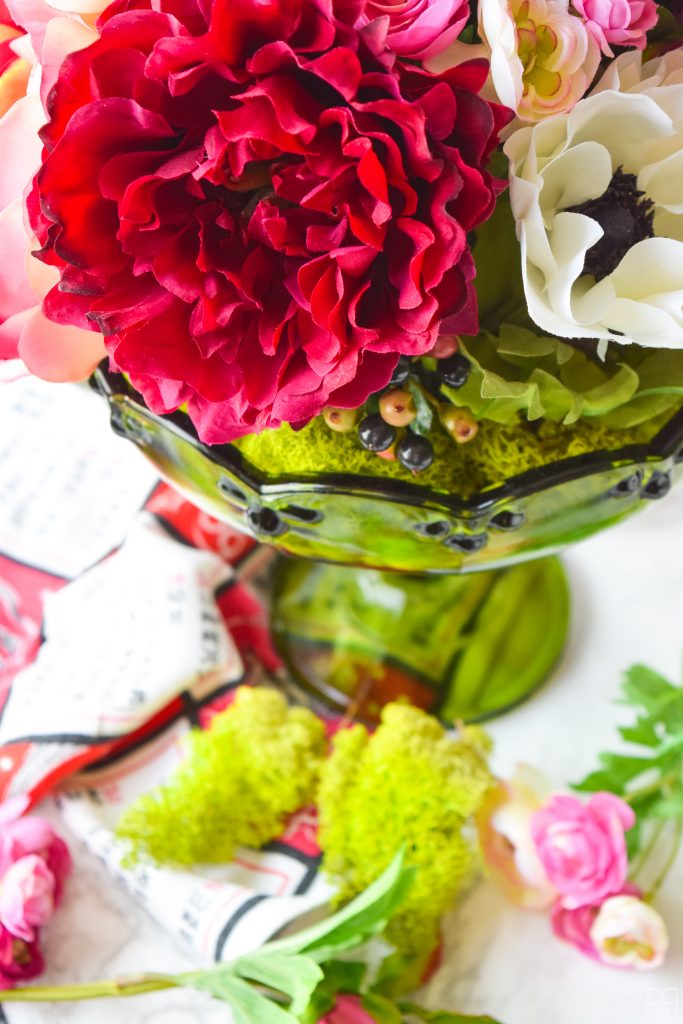
Step 1: Place your halved foam in the middle of your coupe.
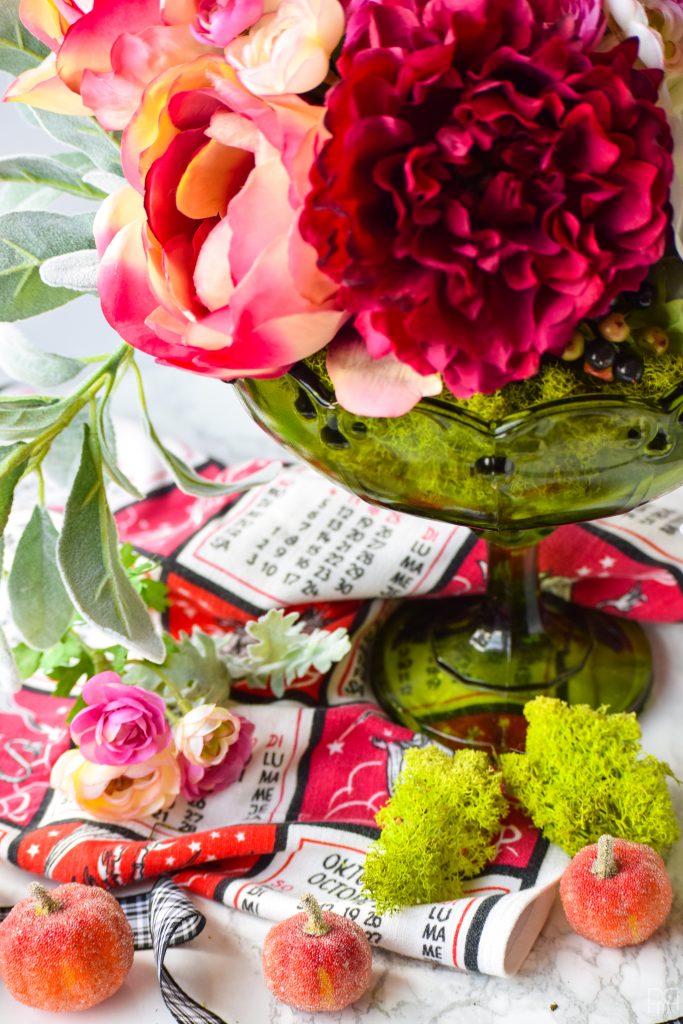
Step 2: Add reindeer moss around the edge so that you won’t see the foam through the glass, but also so that it hides all the stems.
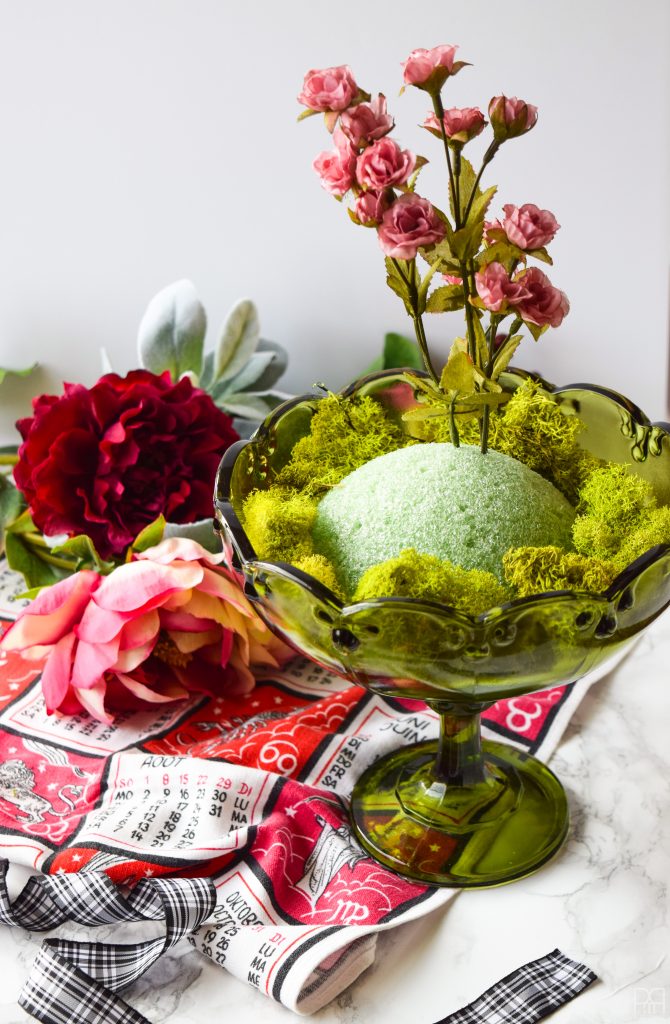
Step 3: Place your highest point. In my case it was some leftover rose buds from my fall wreath. I later added the berries to complete the profile.

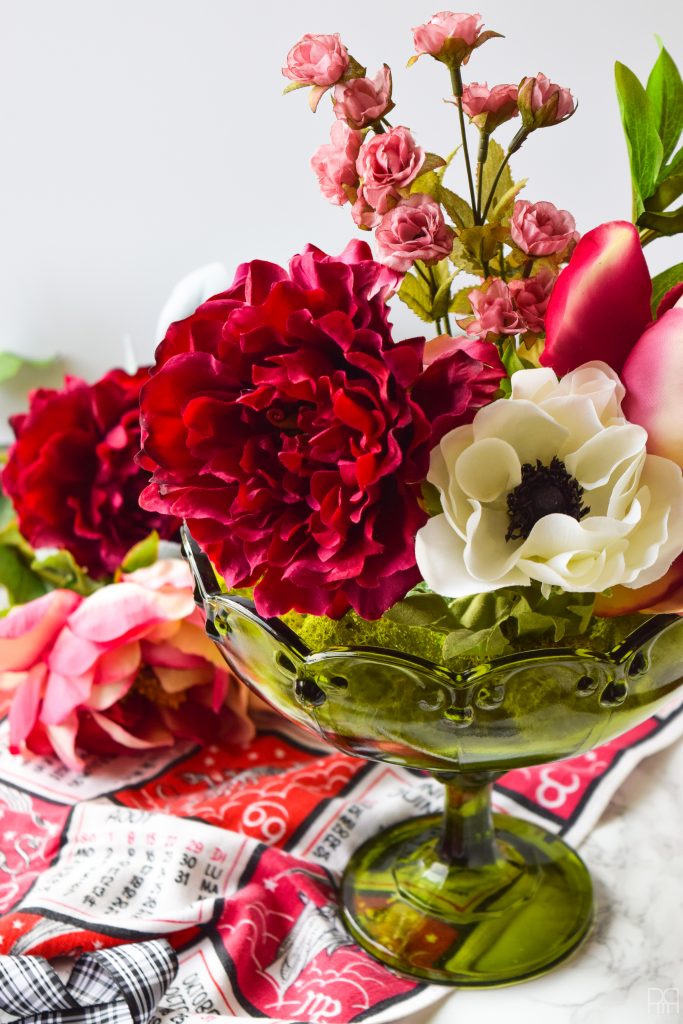
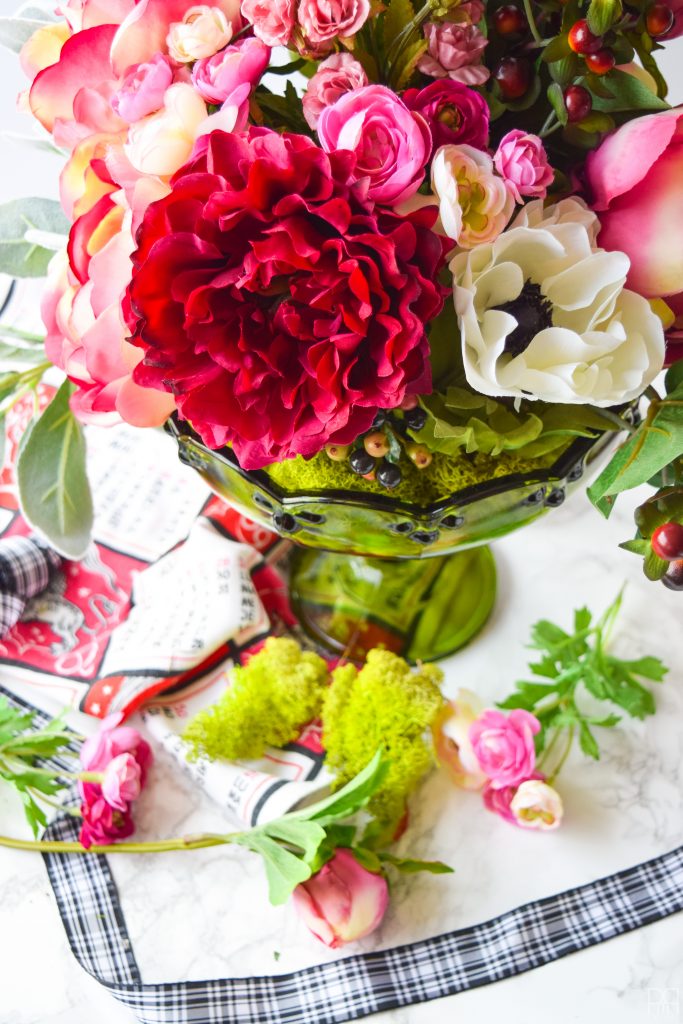
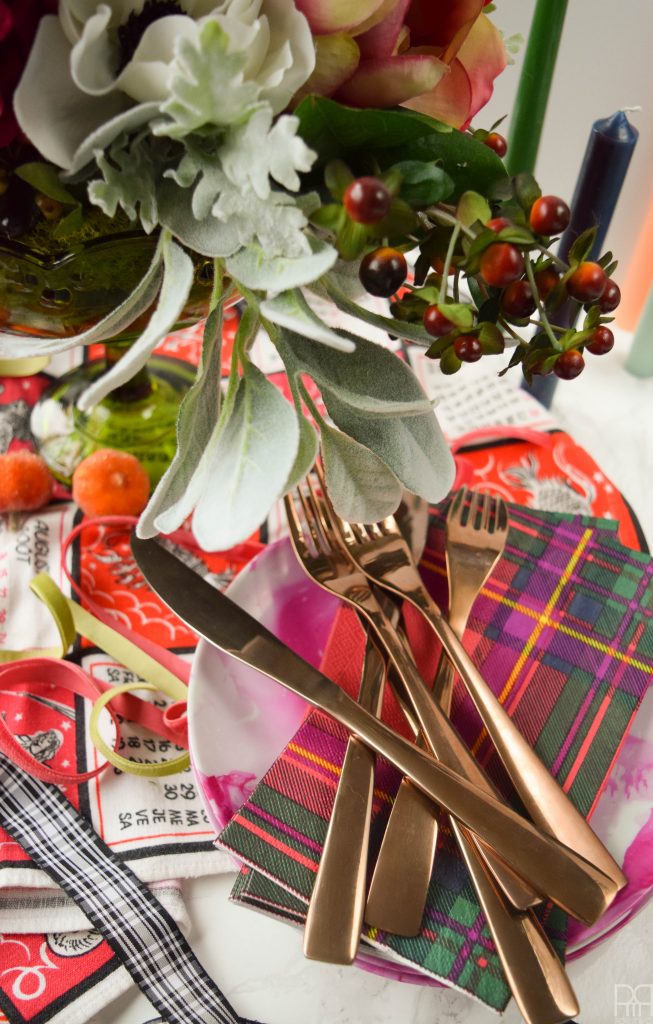
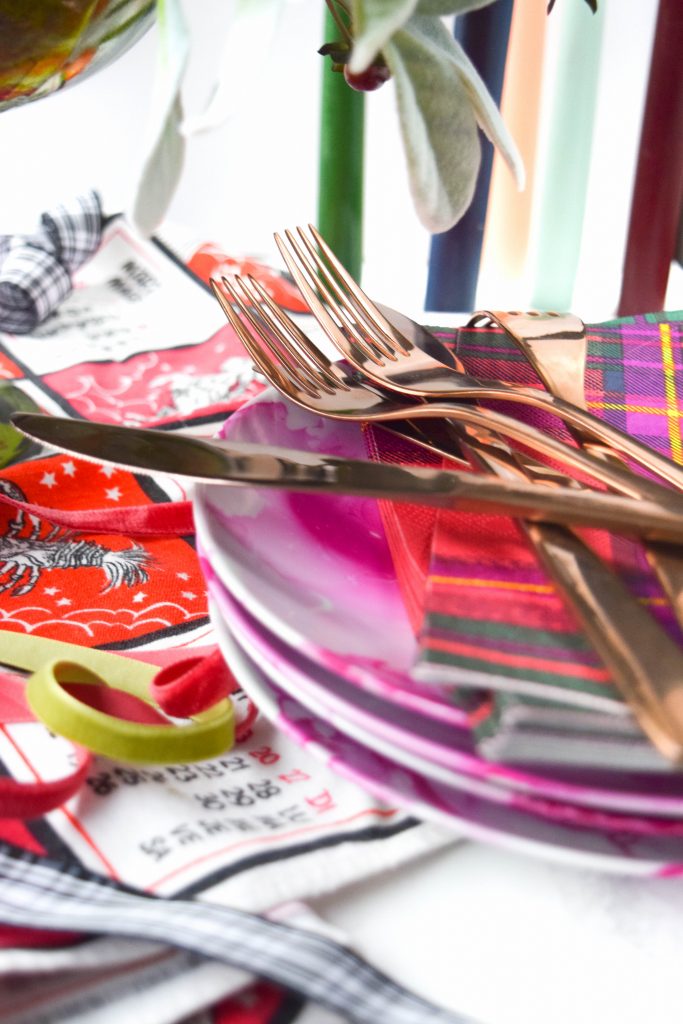
Step 4: Place your large blooms low, and around the coupe. You want people to see beautiful blooms from any angle.
Step 5: Add your lowest element. In this case I have three greenery stems hanging low and wide out of the coupe. They add a wilder element to the arrangement and contribute to a balanced profile.
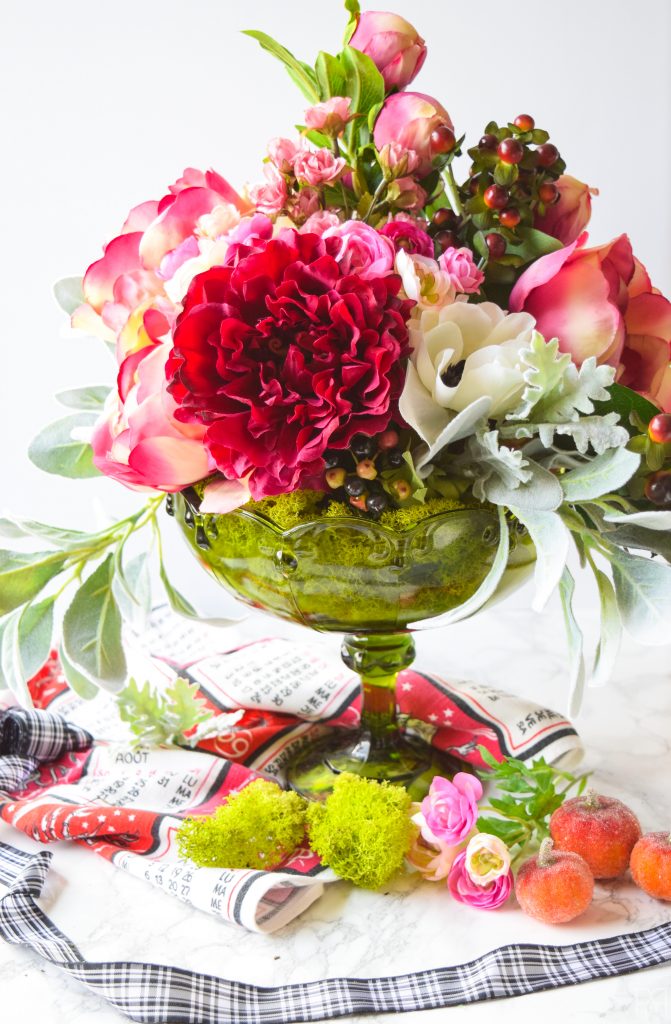

Step 6: Add your smaller flowers. I got the mini ranunculus to use for filler. They’re the extra detail that catches the eye when up close for inspection. Use them to fill almost all the remaining gaps.

Step 8: Add the remaining greenery to fill the last gaps, and to lift blooms into place, or feather around the base to hide any gaps. I purchased the dusty miller for this exact purpose, but a stray sprig of berries also did the job and provided the perfect treat for those whose gaze traverses the arrangement from start to finish.
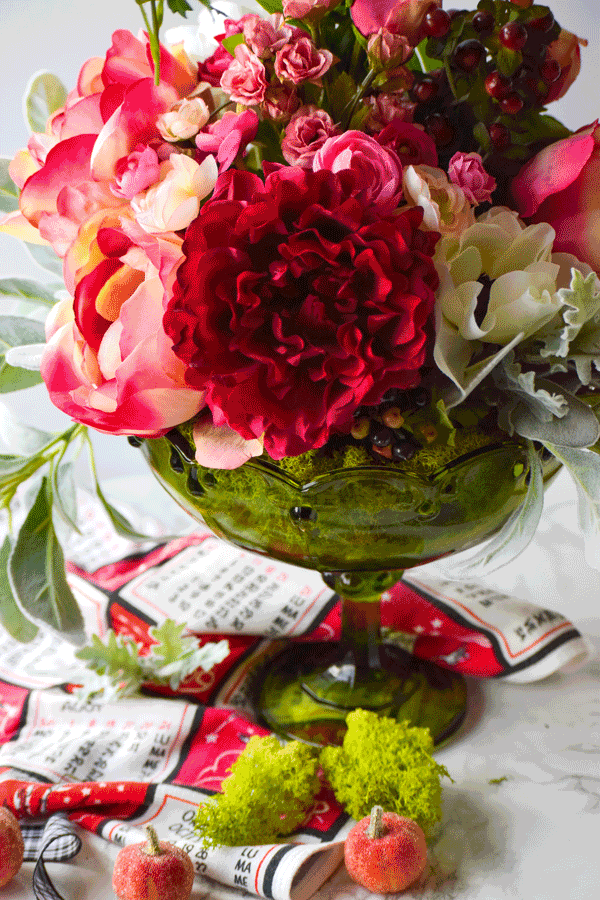
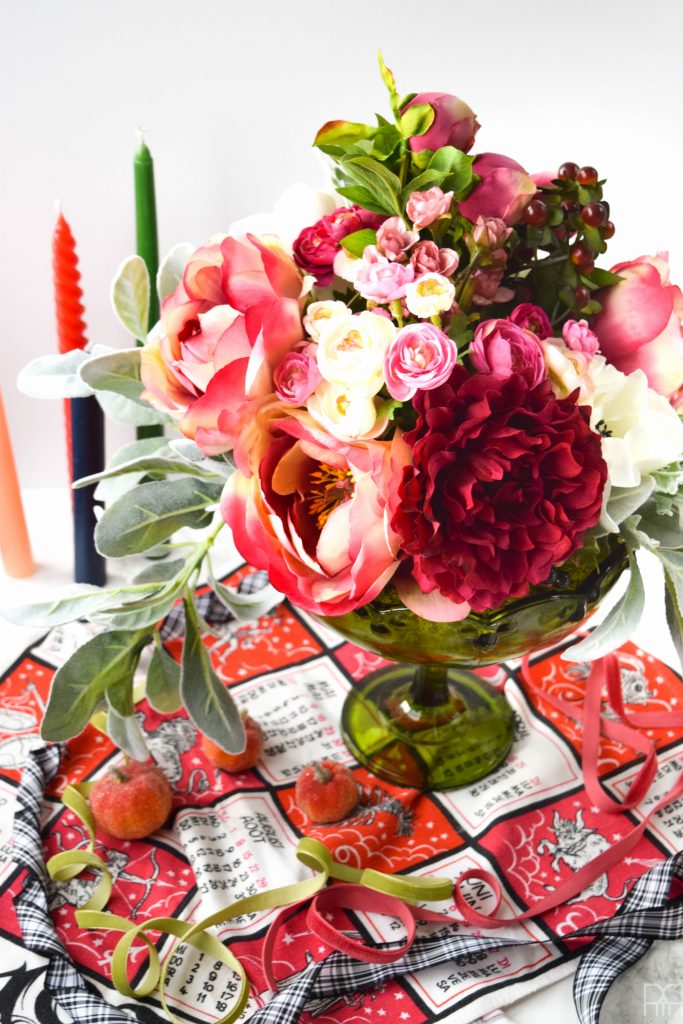
Step 9: Spin ‘er around! Make sure you got it right from all angles. I love the “front” of my arrangement, but the sides and back also have their own profiles that are equally enchanting.
This is the front

This is the back
This is a side

This beauty will be premiering on our Thanksgiving tablescape, which will be unveiled on October 3rd, so stand-by! In the meantime, make sure you checkout afloral.com as their selection is out of this world. When I say that the lamb’s ear is soft like a lamb’s ear, I’m not joking. Also have you seen the close-ups of the blooms? The details are insane!

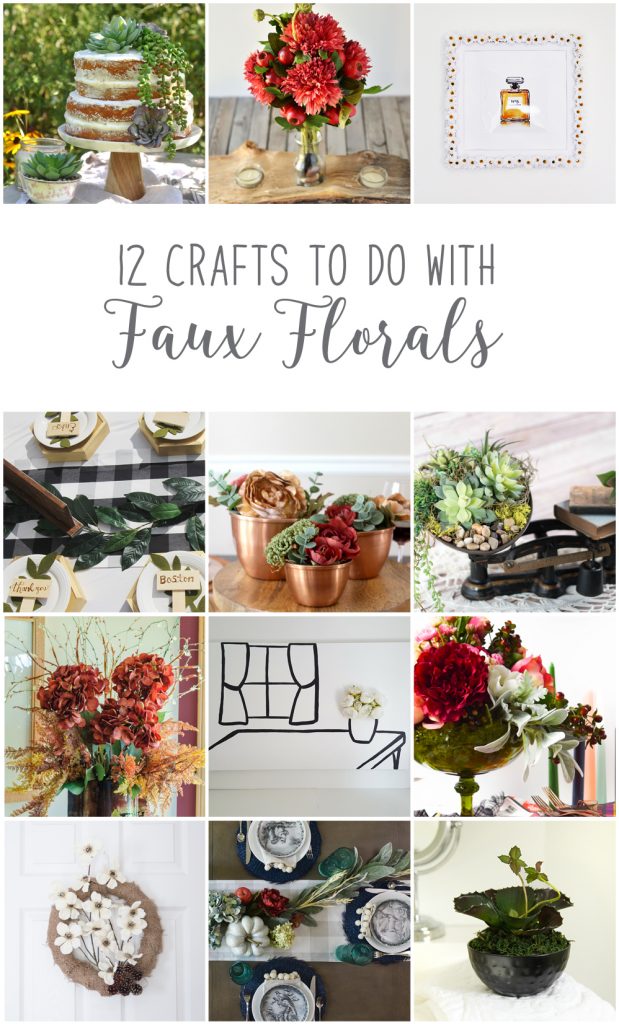
In the meantime, checkout these other floral crafts from the 12 months of DIY bloggers.
From the top left, they are:
Succulent Naked Cake from Life Is A Party
DIY Fall Floral Log Centerpiece With Tea Light Candles from Woman In Real Life
Daisy Frame Art With Free Printables from Lifeovereasy
Faux Floral Fall Decor from Brooklyn Berry Designs
A Fall Copper Centrepiece from Love Create Celebrate
DIY Vintage Succulent Centerpiece from Vin’yet Etc.
Silk Flower Lighted Branches Floral Arrangement Tutorial from Time With Thea
DIY Faux Floral Art from Heather in Heels
DIY Fall Floral Centrepiece from PMQ for Two
Easy DIY Burlap and Floral Fall Wreath from Sustain My Craft Habit
Faux Floral and Leaf Garland for a Fall Tablescape from The DIY Mommy
Plants for a Windowless Room from Fresh Crush