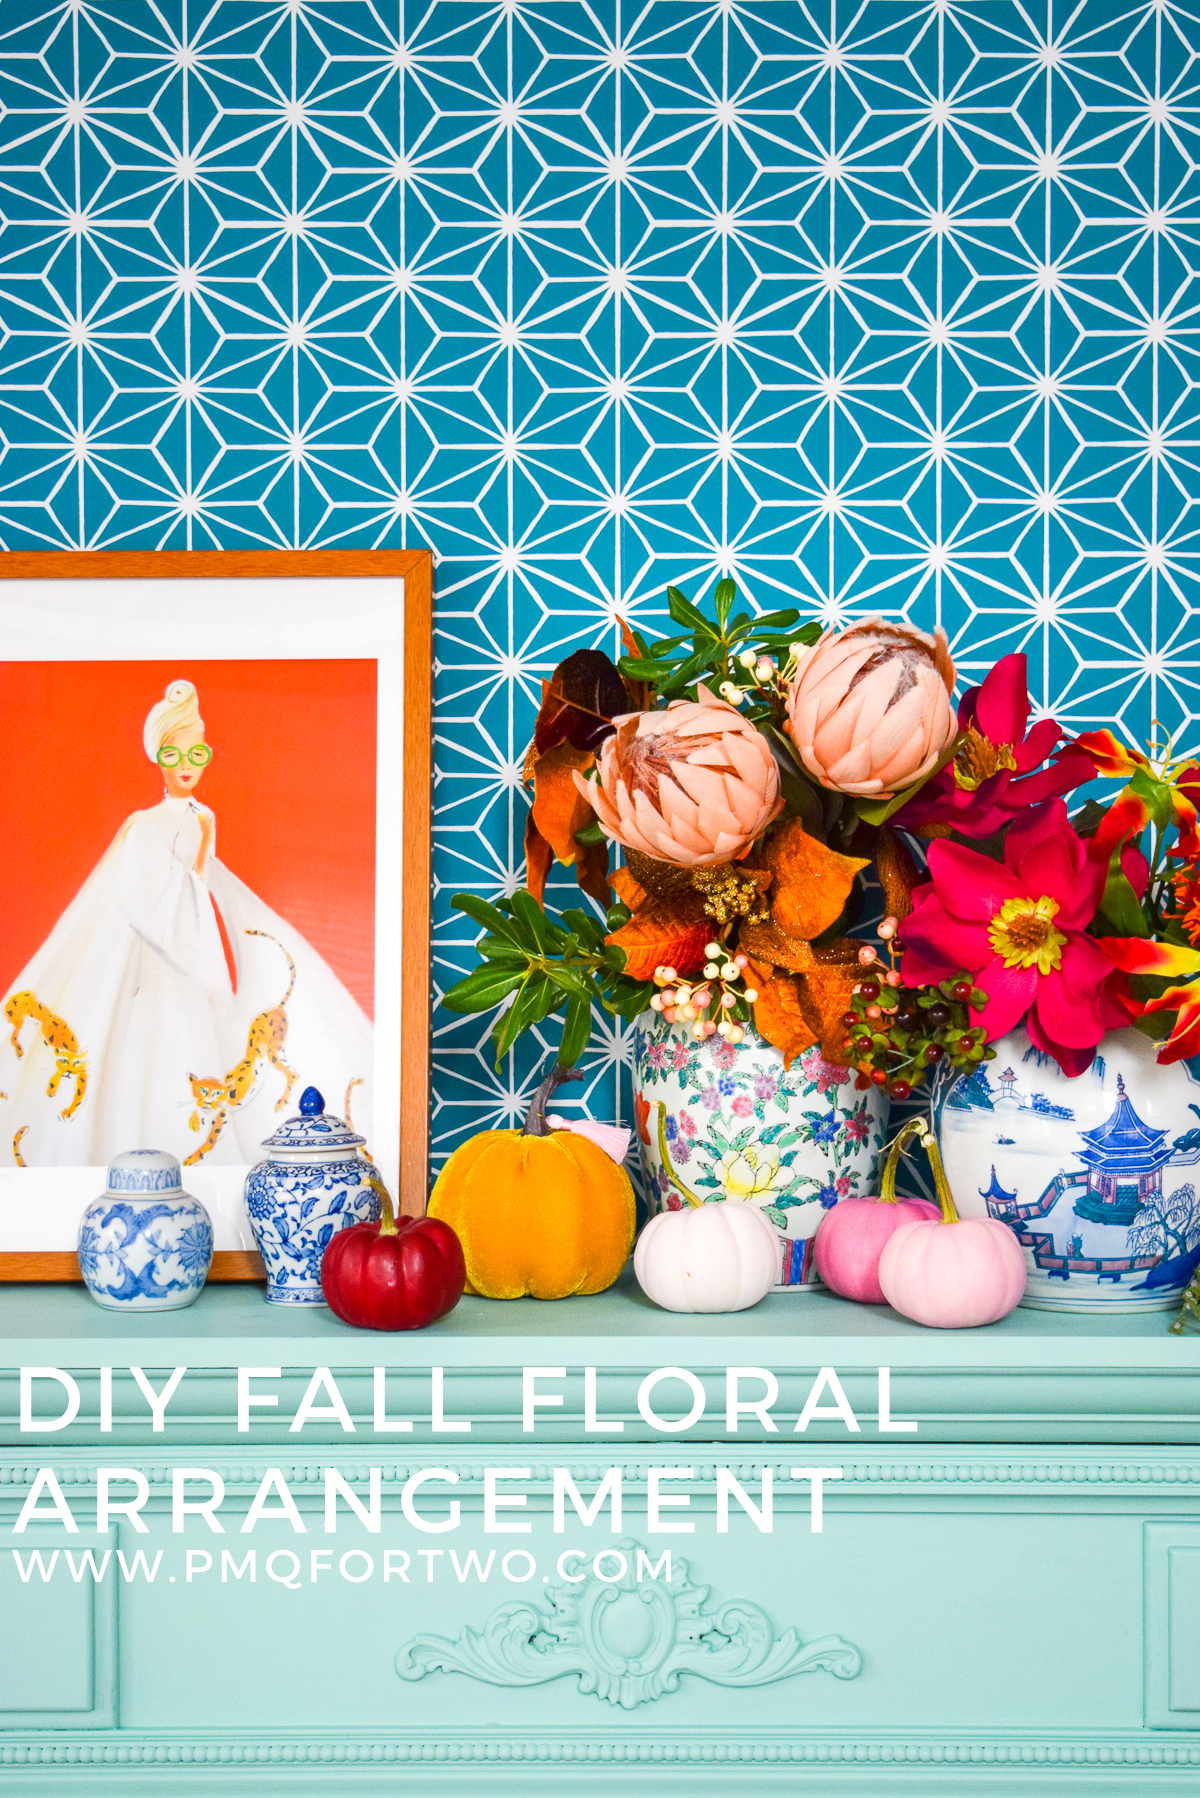
Although I am thoroughly enjoying all my Halloween crafting, I need to remember that fall runs until it’s time to start the Christmas. When Fiskars asked me if I wanted to work together, I immediately thought of all kinds of Halloween costumes I could make with their tools, but then they told me that they were launching a new DIY tool set, so I thought I’d put their power snips to the test with a DIY Fall Floral Arrangement. As they say “You supply the passion. We supply the tools” and boy do I have passion for floral arrangements!
And because I’m already getting questions from y’all about the wallpaper featured, you can grab it on Spoonflower here.
*Fiskars sponsored this post, but all thoughts are my own. Thank you for supporting the brands that make PMQ for two possible.

I’ve been playing for florals for as long as I’ve been playing with colours and patterns. They go hand in hand, and much like pets – they complete a space. My fall mantel in the studio was missing a little something, so I trotted out my big chinoiserie vases and got to work with the Fiskars Powercut Snips.
Choosing Florals for A Fall Arrangement
You guys know that I do not make obvious choices… for anything. I mean, where’s the fun in that?! So for fall florals I chose from what I already had, and bought what I was missing. I think traditional fall hues are oranges, reds, and greens, so I took those shades in either direction to find what I wanted.
Instead of red: purple/pink. Instead of oranges: golden browns. Instead of green: green! lol I kept the green. Along with colours, the shapes of the florals I chose are interesting, complex, and a bit sturdier than, say, pillowy summer blooms.
Either way, I think you’d be hard-pressed to find a more “me” fall floral arrangement than this one.
How to Assemble a DIY Fall Floral Arrangement
Besides an amazing assortment of faux florals, I needed the right snips to get the job done. If you’ve ever working with faux florals, you know there is a little bit of wire inside the stems. They always RUIN the scissors I use, but the Powercut Snips worked perfectly!
I didn’t need to cut all the way through, just through the plastic coating, and then the wire snapped on its own. That’s never happened in the 5 odd years I’ve been using them. The force I was able to apply to the stems with the Powercut Snips was enough to snap the wire. Hooray! No one likes a struggle.
Fun fact, I create most of my arrangements in situ. That allows me to position florals where they’ll have the biggest impact, and to use the dead space (i.e what no one will see) to hide or position flowers and filler accordingly. So before you start anything, get your vases in place. It will make creating them much easier.
Before you start cutting your stems, measure how long they need to be for your arrangement, and then get at ‘er! I usually eyeball it by sticking the stem in the vase, and then I can see how much extra there is. Easy peasy!
Like I said above, the Powercut Snips cut right through the stems, and even snapped the wire! I couldn’t believe it. What normally takes a minute to struggle with the wire, was over in seconds.
With the two vases, I put one colour group in each vase. That way they can stand on their own if need be.
I always place the biggest blooms first, since they take up the most space. And then I place smaller, more delicate pieces around them. Because this is fall, and we’re on the cups of winter/thanksgiving, I think some berries and poinsettias are appropriate for the arrangement.
Don’t forget to add some green! Oddly enough, I usually add real greenery. It caps off the arrangement, and makes everything look all the more real. PLUS, if you’ve got the good stuff it smells amazing, and you can’t recreate that.
Once everything is in the vase, I start to zhuszh. I open blooms, I adjust the leaves, and bend the floral stems to get the shape, direction and movement that I want.
Displaying your DIY Fall Floral Arrangement
Now, you can’t just have flowers on your mantel – or can you? I added my fave print of Catty Cathy, some thrifted ginger jars, and a few ombre pumpkins for effect. When it’s no longer pumpkin season I can subtract them, and add a few ornaments without having to change much.
And when the time comes to remove the greenery, I can use my Powercut Snips to add in some fresh stuff that might be more seasonal.
