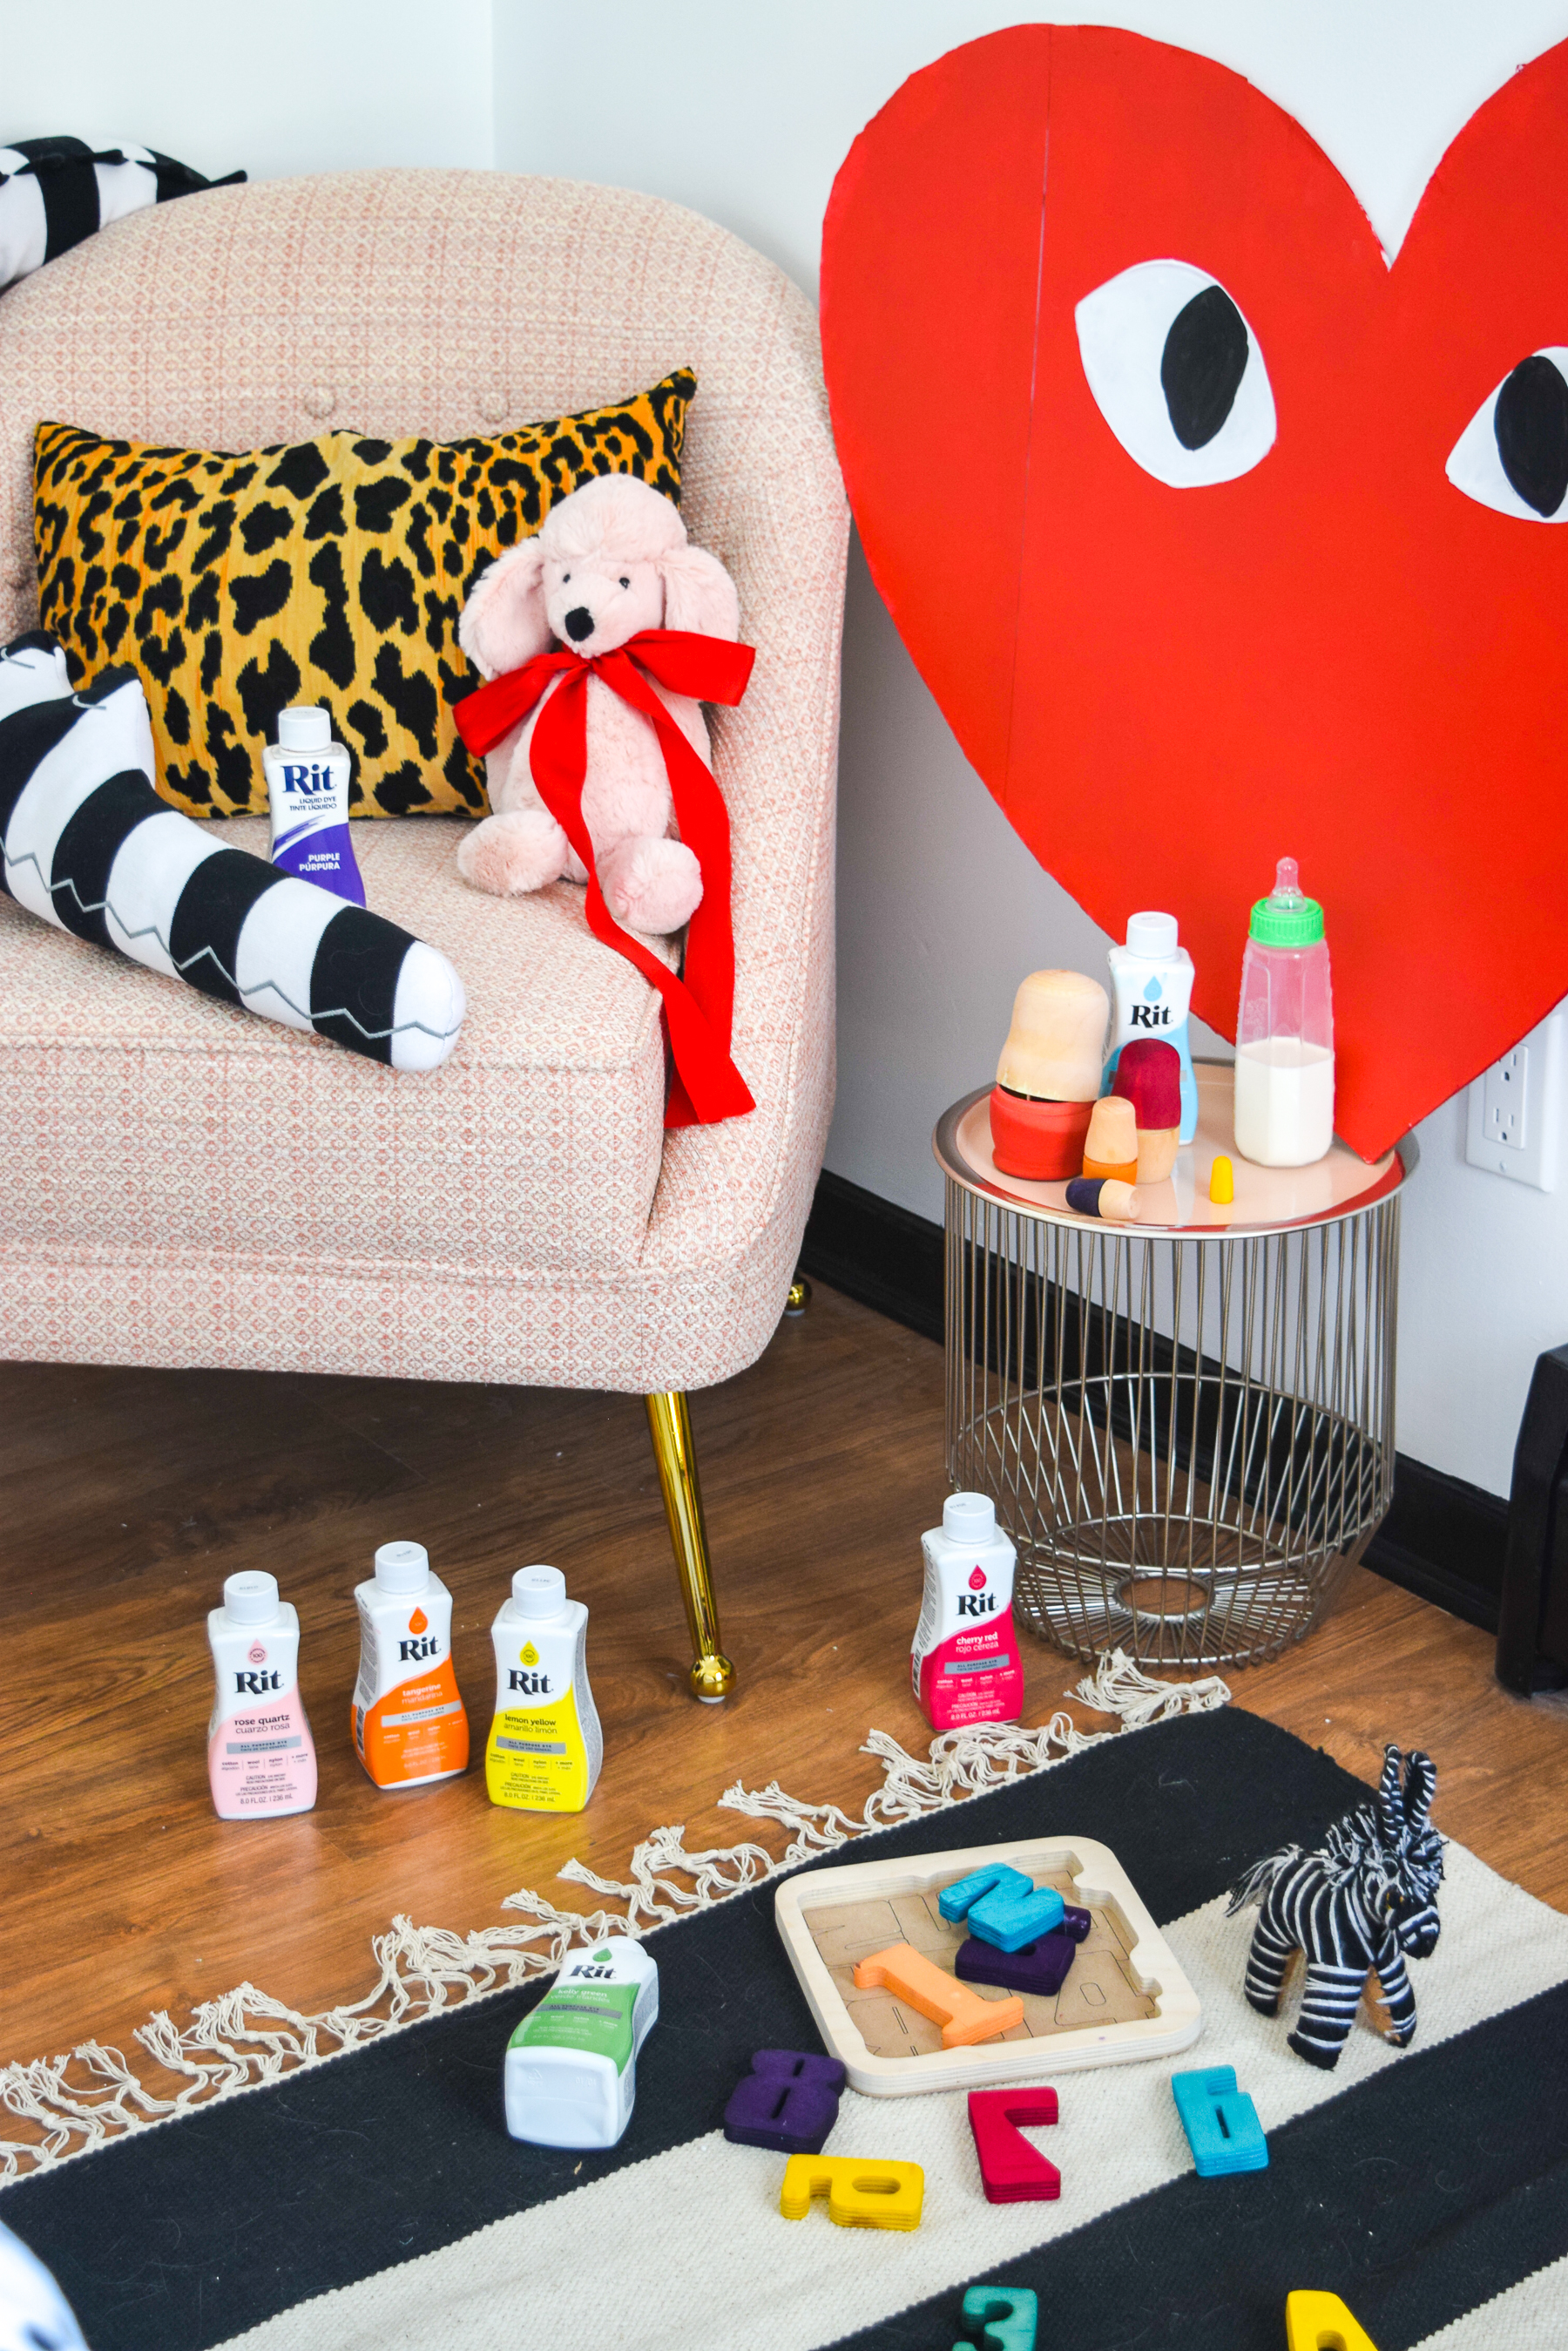
The FIRST baby centred post is here! and of course it’s a colourful one. My DIY Dyed Wood Baby Toys are super easy to make for yourself, all you need is liquid Rit Dye!
Catch up on or good news – our baby announcement!
*Rit Dye sponsored this post, but all thoughts are my own. Thank you for supporting the brands that make PMQ for two possible.

DIY Baby Toys
As Dan and I prepared to welcome our first child in late summer, we have started thinking about the kinds of toys we want. Not only in style and quality, but in quantity. We’d like to focus on a smaller number of toys that are wood based, and will have more longevity. Are we dreaming? Maybe, but hey, we’ve gotta try.
As a result, wood toys have been my main focus for the past few months. So when I started seeing some lovely ones that could definitely use a pop of colour, I thought “can I dye wood?”
You can DYE unsealed wood
All you need is Rit’s liquid dyes in the variety of colours you chose, as well as unsealed wood toys. I found a puzzle on IKEA’s site, and Russian nesting dolls at Michael’s.
I used Purple, Kelly Green, Aquamarine, Lemon Yellow, Tangerine, Rose Quartz & Cherry Red from Rit Dye’s collection of all purpose dyes.
DIY Dyed Wood Baby Toys
We did extensive tests on popsicles sticks to see how much dye we needed, and for how long. Check out Rit’s “how to dye” guide for tips and tricks! They’ve got a breakdown my material and goal.
The colours achieved here, were the result of 4 tsps of dye per 1/2 of boiling water, with about 15mins in the dye bath. You can experiment with timing and dye, but these measurements gave us a nice amount of control over the intensity. Want it darker? Great, leave it in for a few more minutes.
For the nesting dolls I went with a warm colour palette of reds, purples, pinks and yellows. Meanwhile, for the number puzzle I used a variety of shades to create a vibrant and very bold feast for this kid’s little eyes. There’s no way they’ll miss these!
I used little plastic tubs to hold the dye, as they were easy to wash-out afterwards. You can find little tubs like this at the dollar store.
Don’t forget to flip them! Once we took them out of the dye bath, I let them dry on a cookie drying rack above a cookie sheet (to catch any excess).
You can seal them once the colour is set, using an oil or a food-safe wax (like you would use on your cutting board).
Playing with dyed wood toys
I’ve got a little nursery corner set-up in the newly completed floral glam master bedroom, but it’s only gonna get better from here!
If you love my giant heart, check out my tutorial for a Comme Des Garcons Giant Valentine.
As you can see, the colours are quite lovely together. They’re bold, striking, and best of all – easy to make! I’ll be grabbing a few more items to dye as gifts for others, because who doesn’t want something thoughtfully made.
Bruce even came to check out the scene. I’m sure this won’t be the last time he’s investigating a child’s toy situation.
