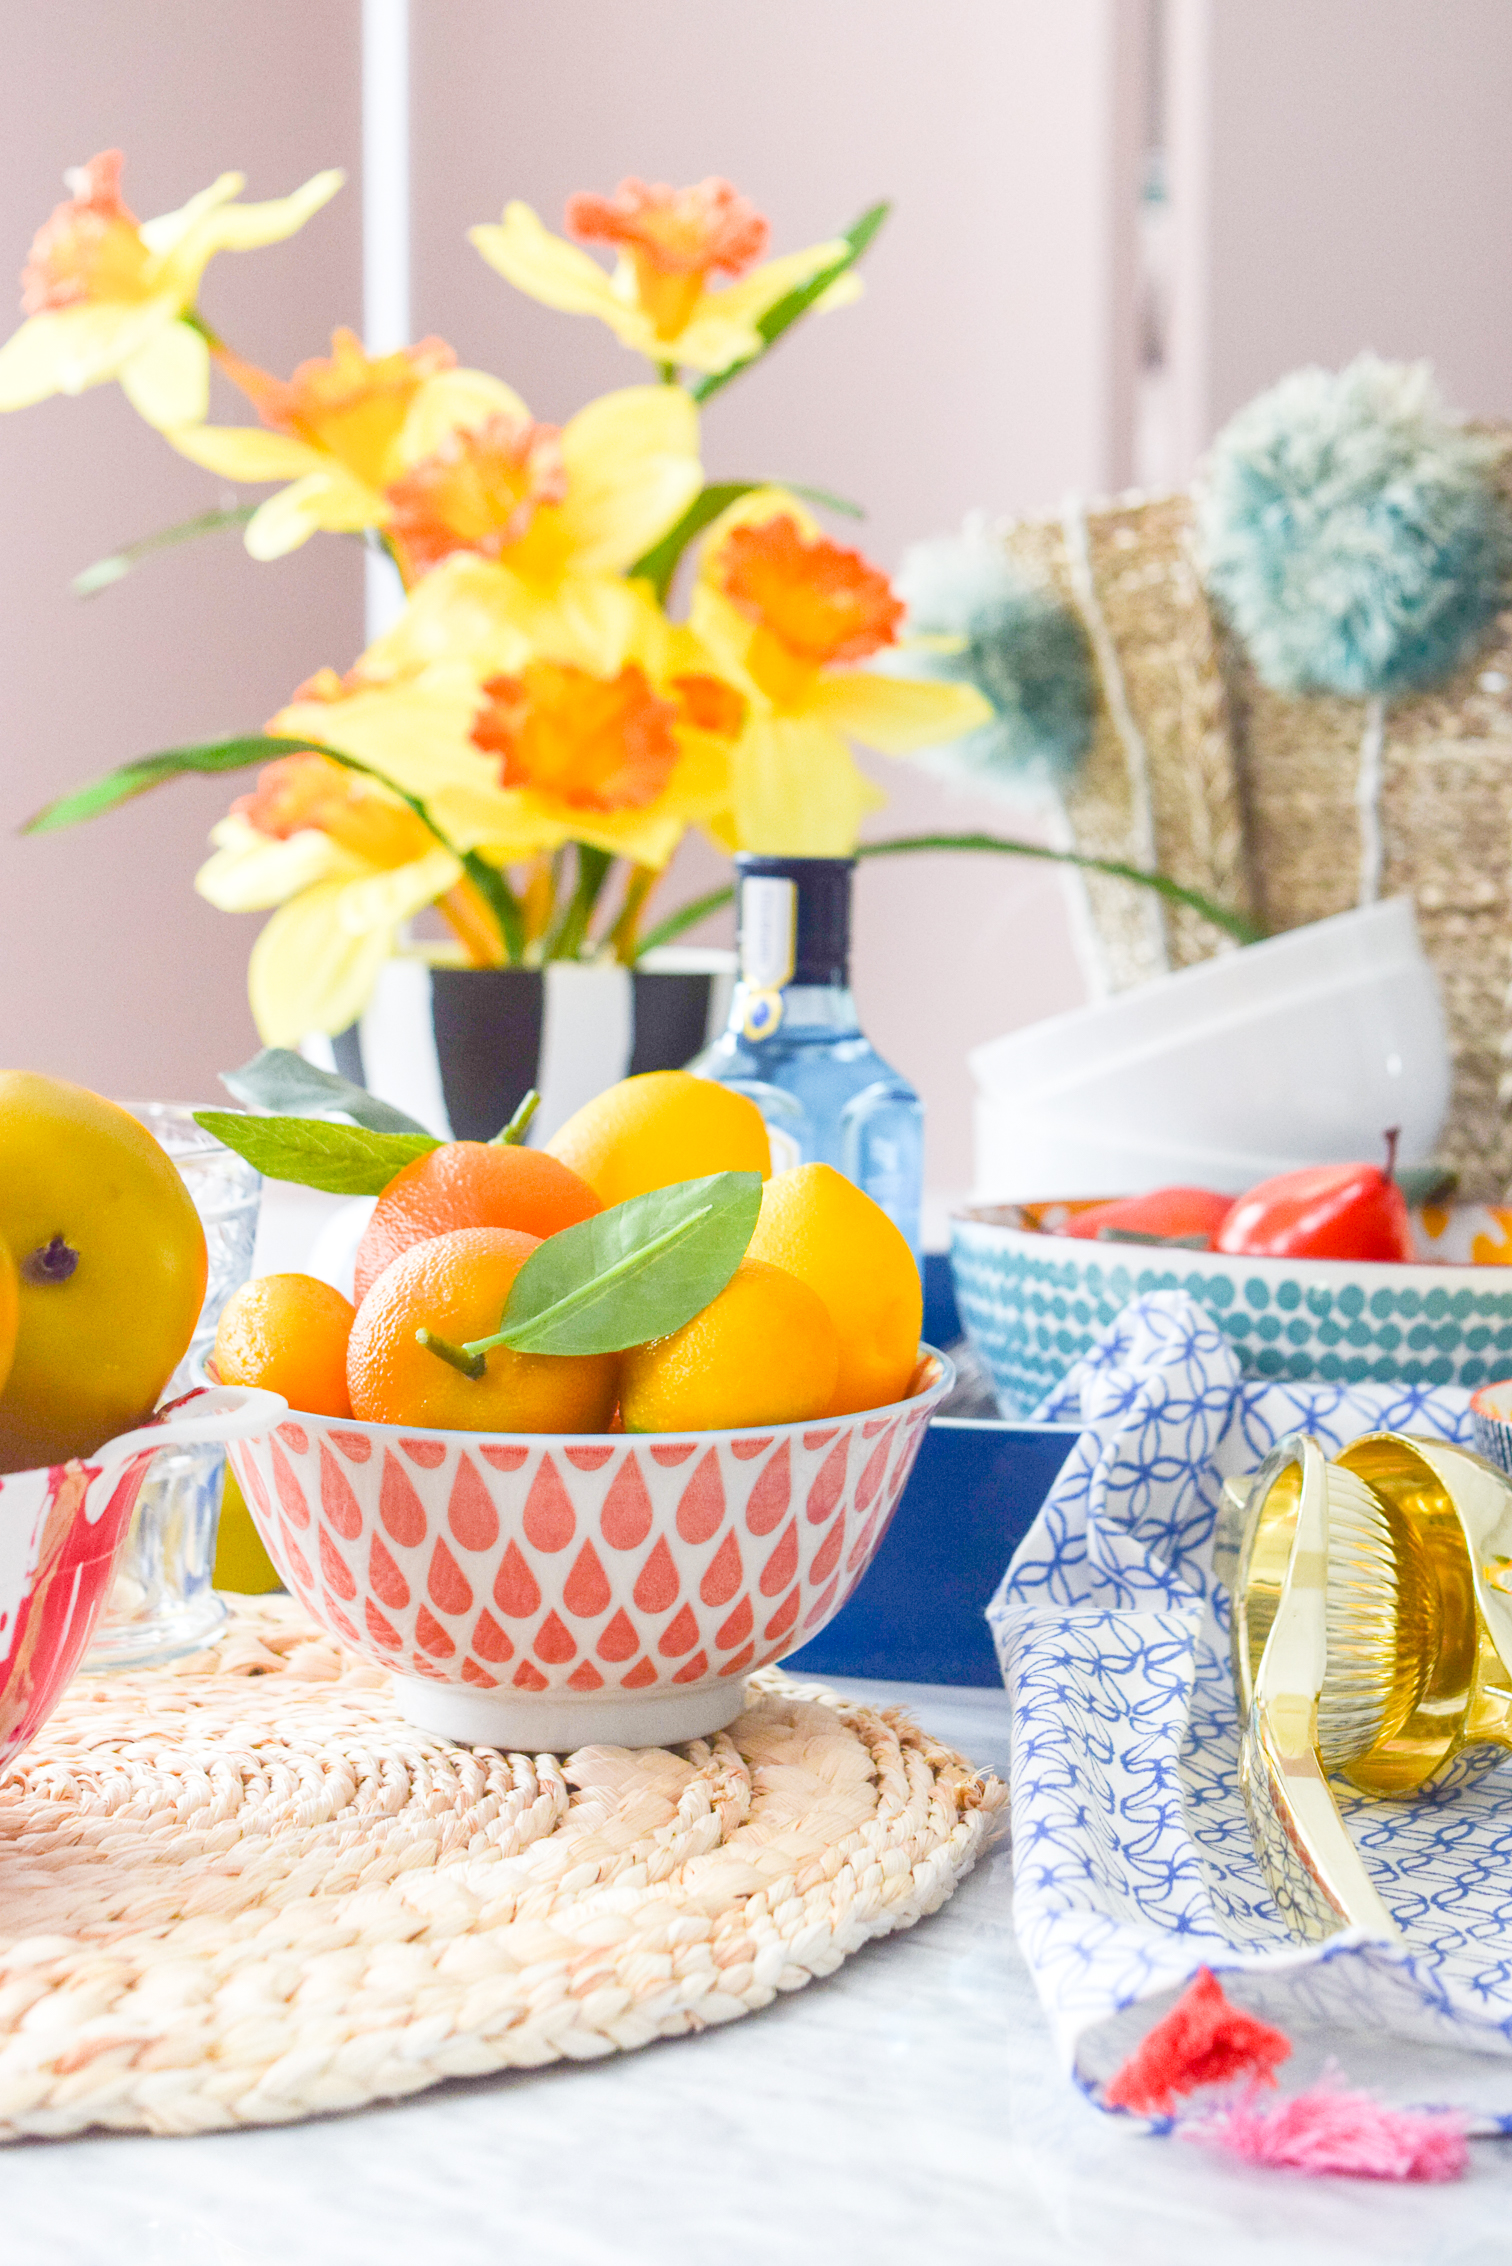
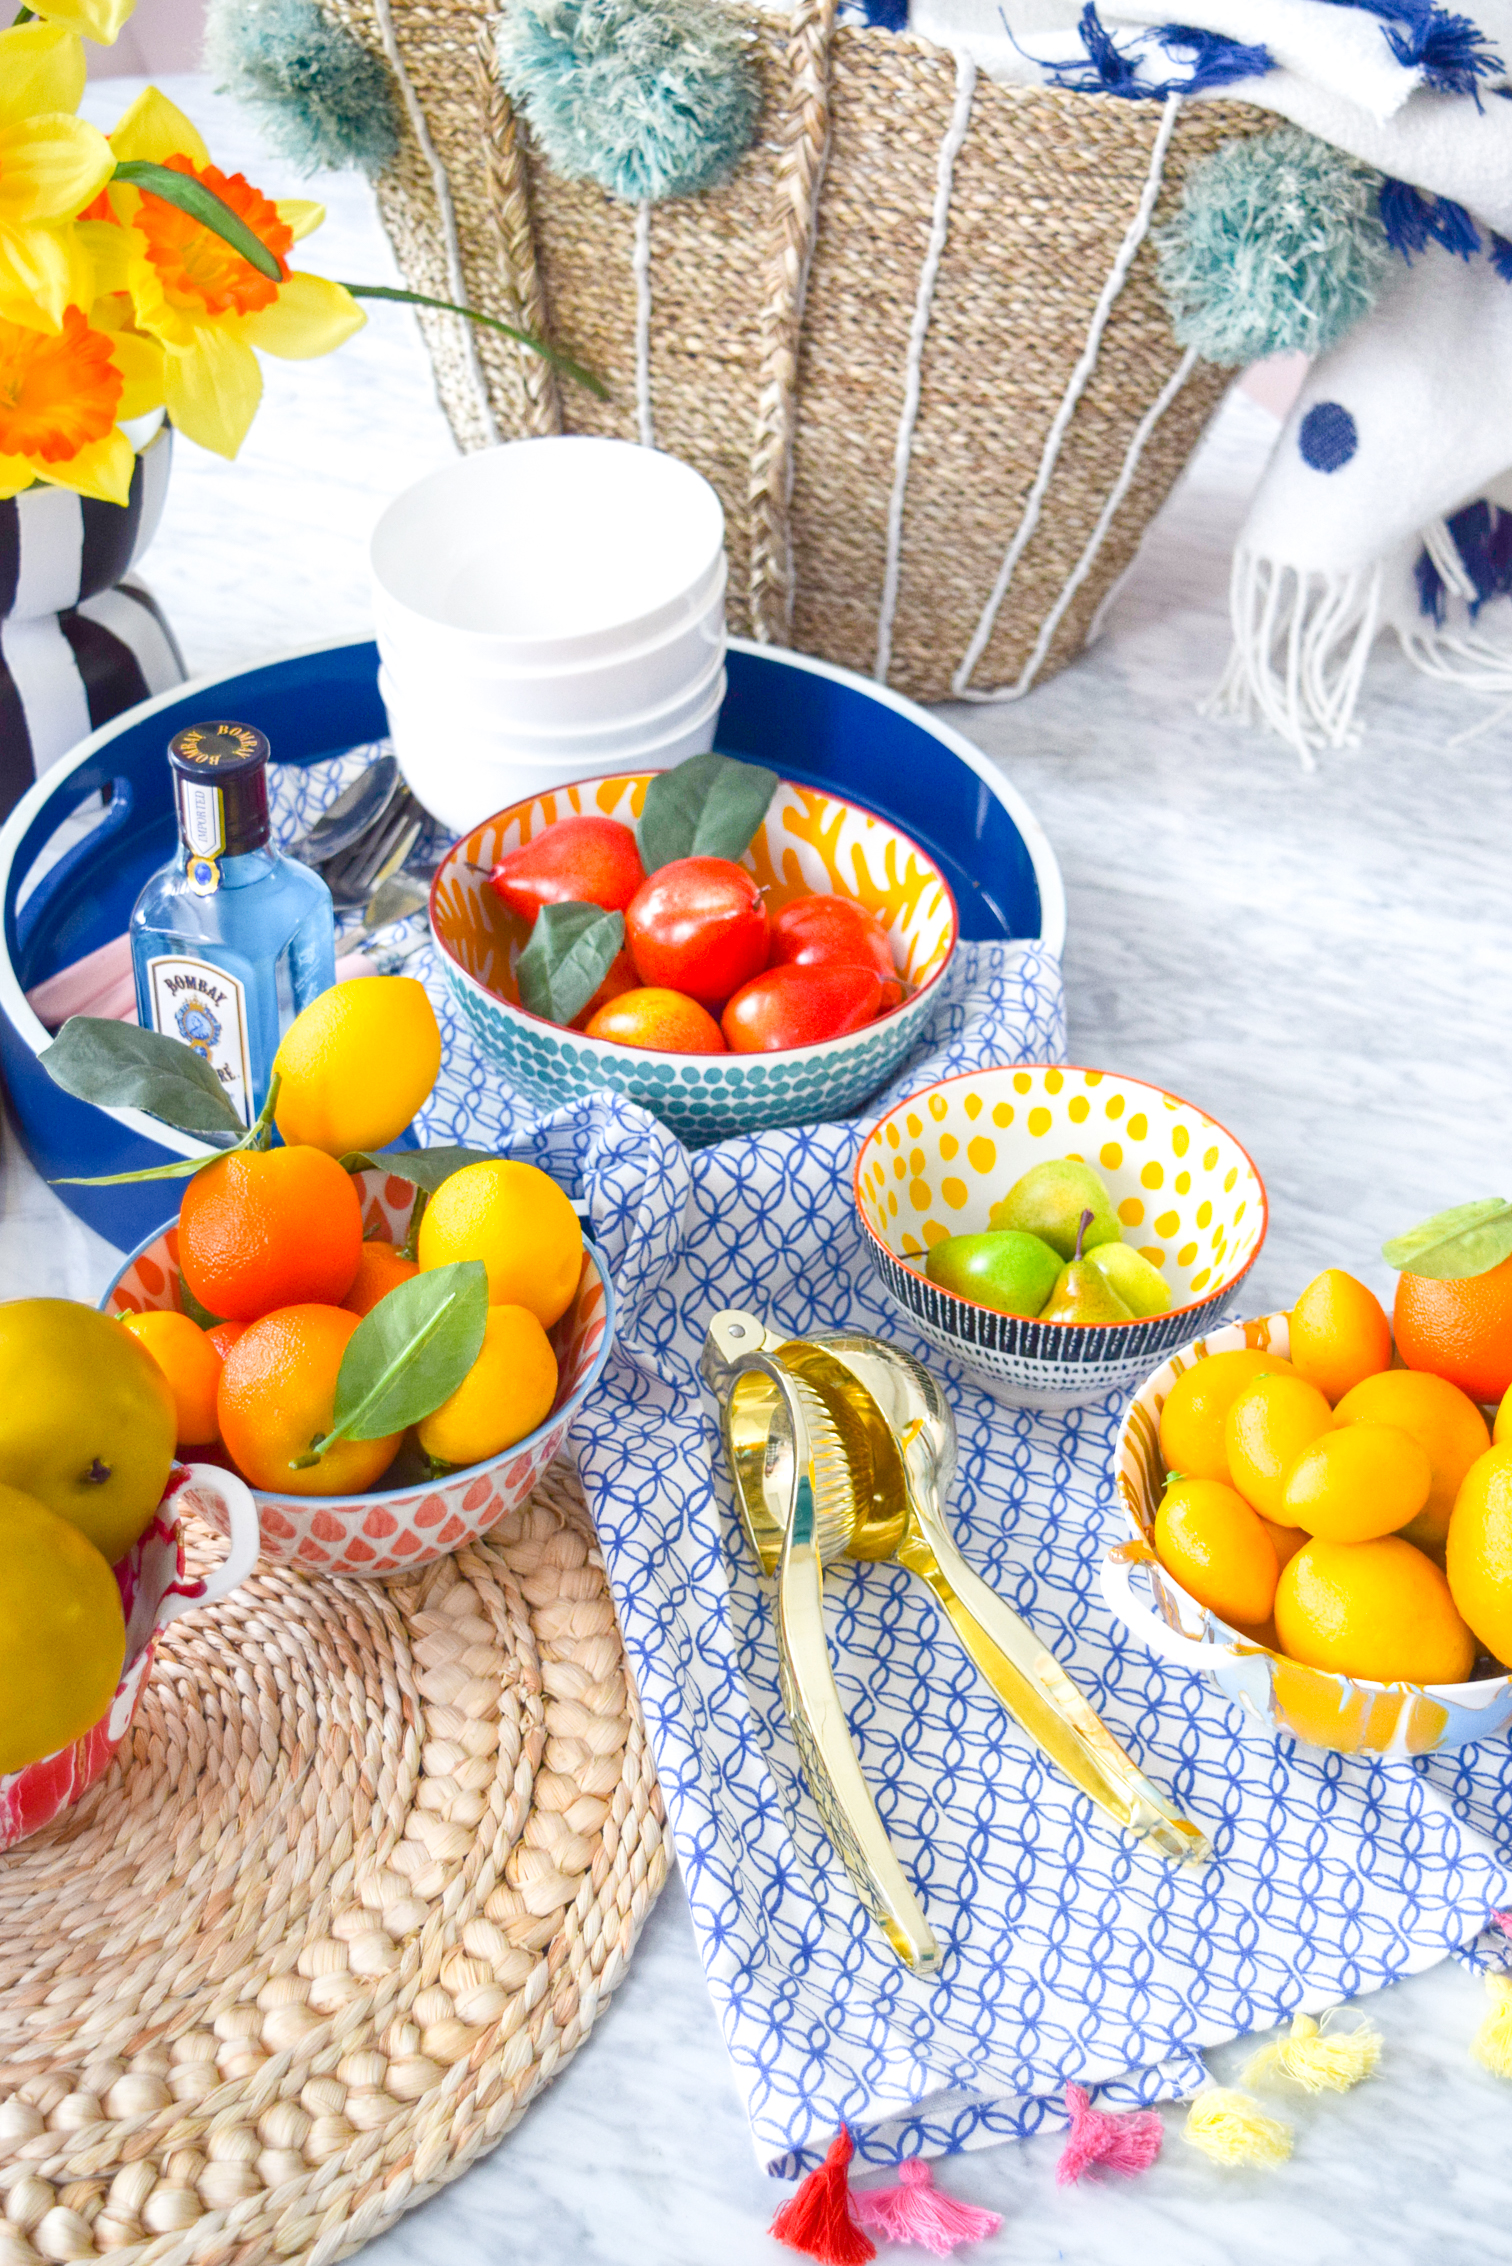
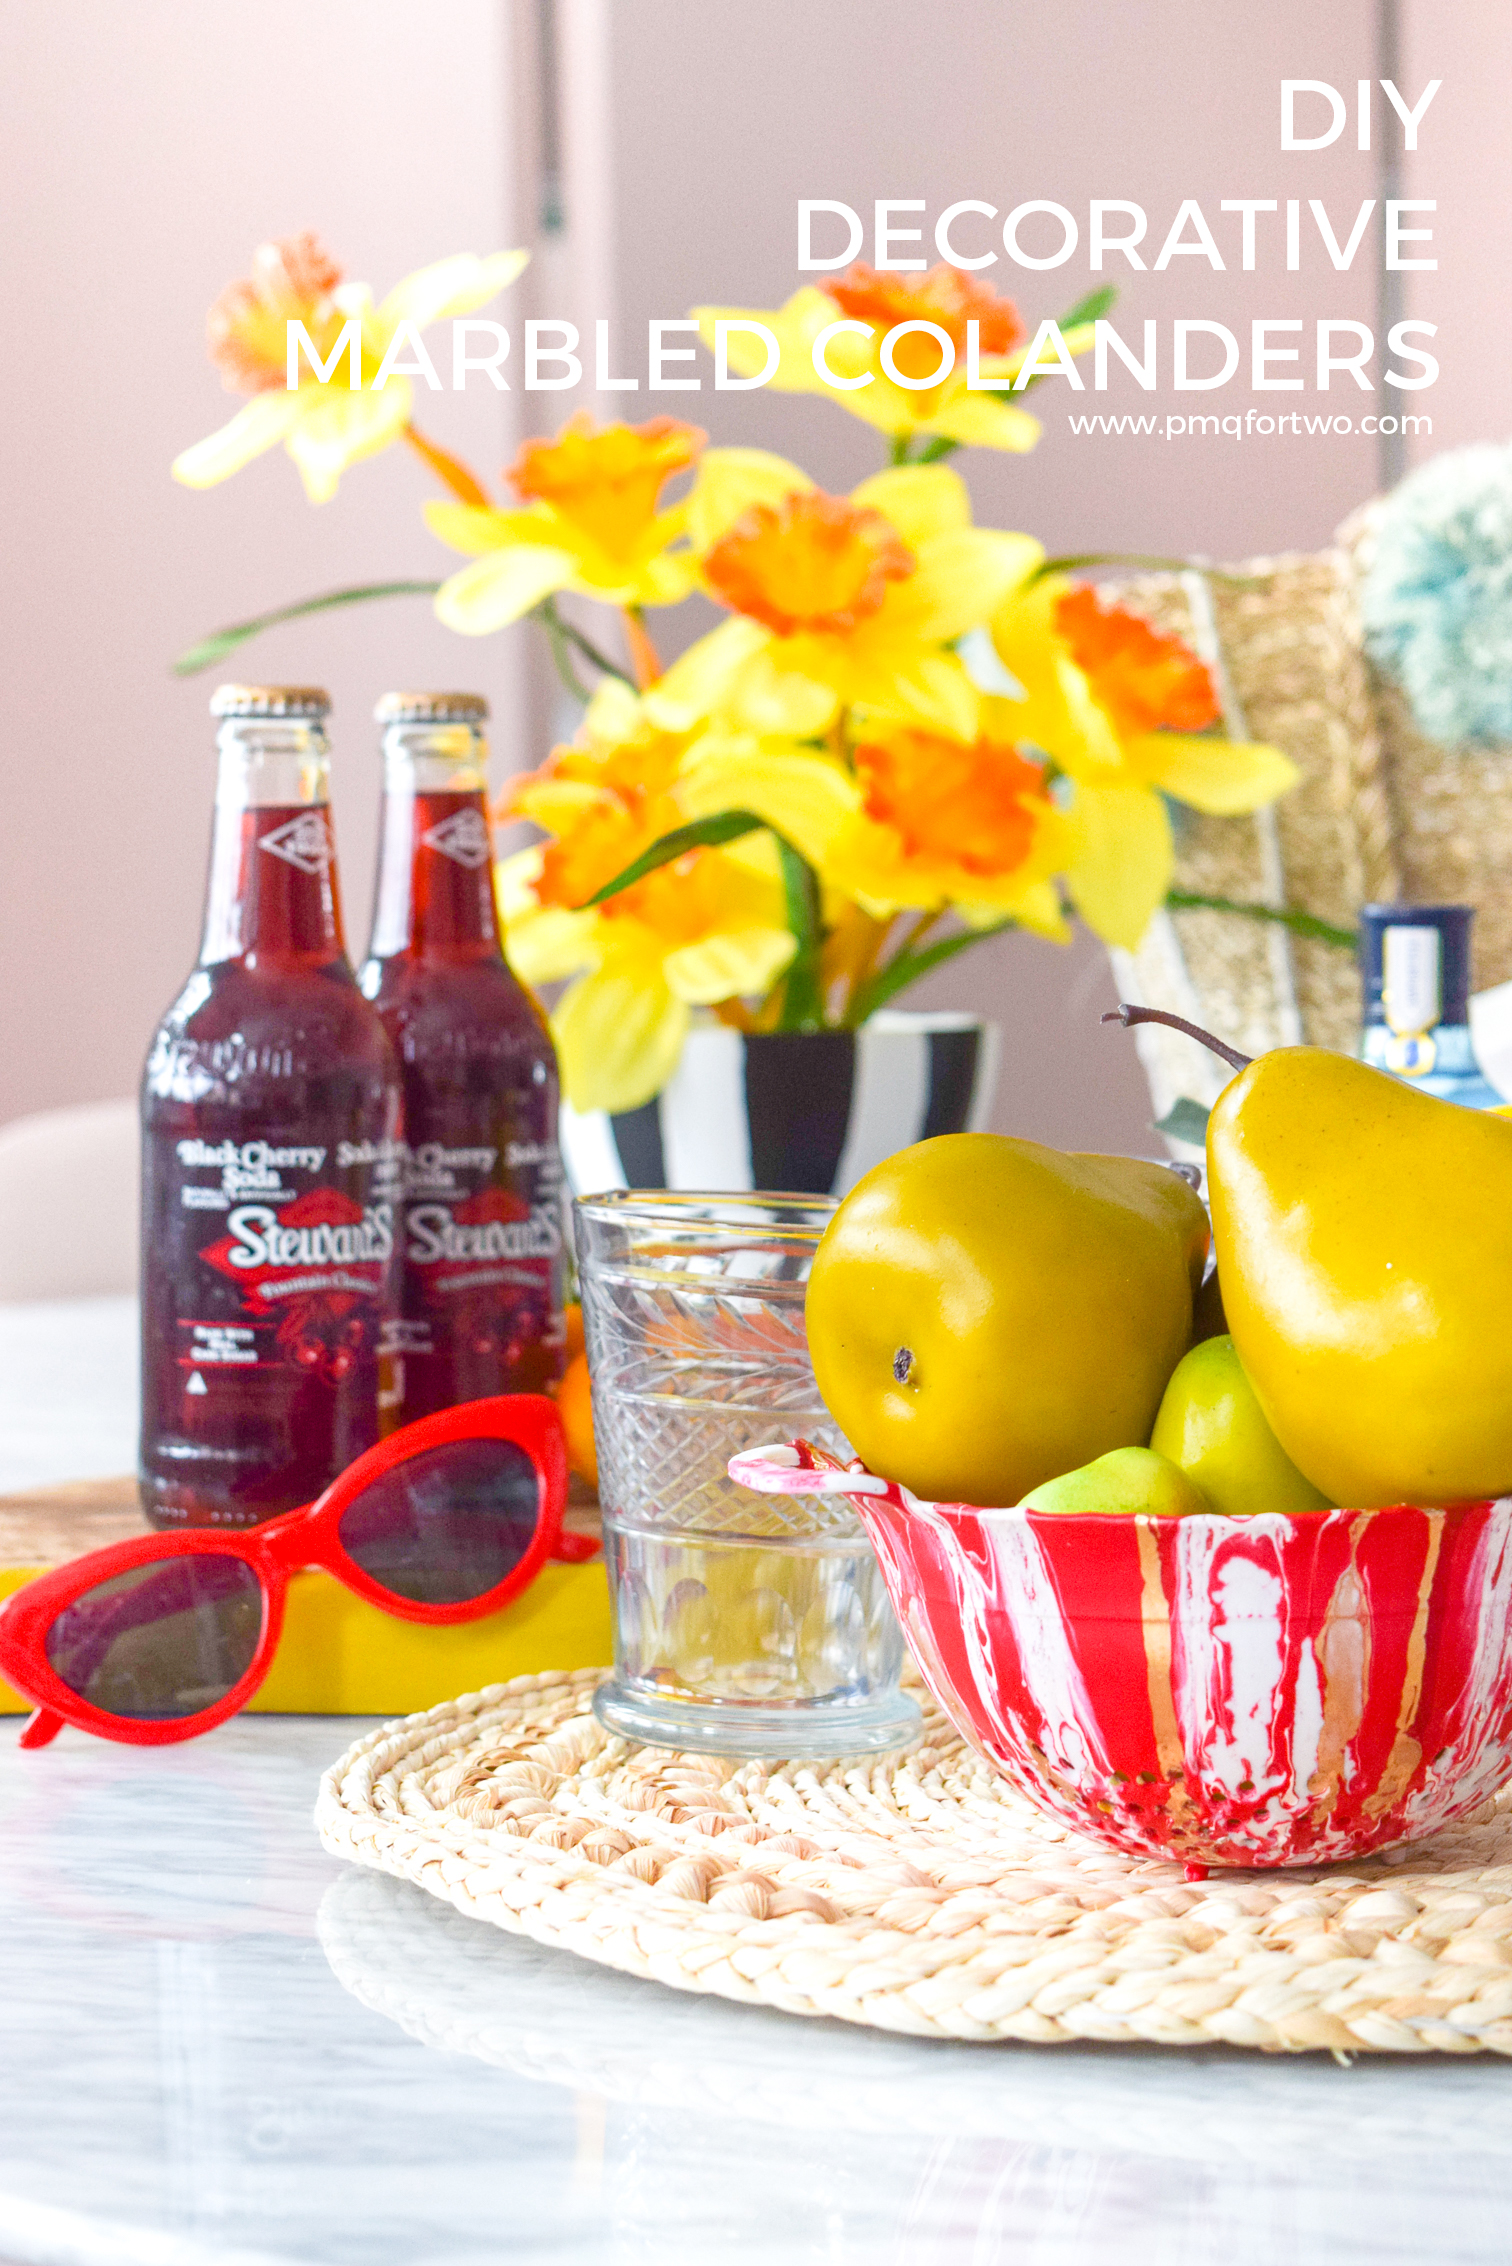
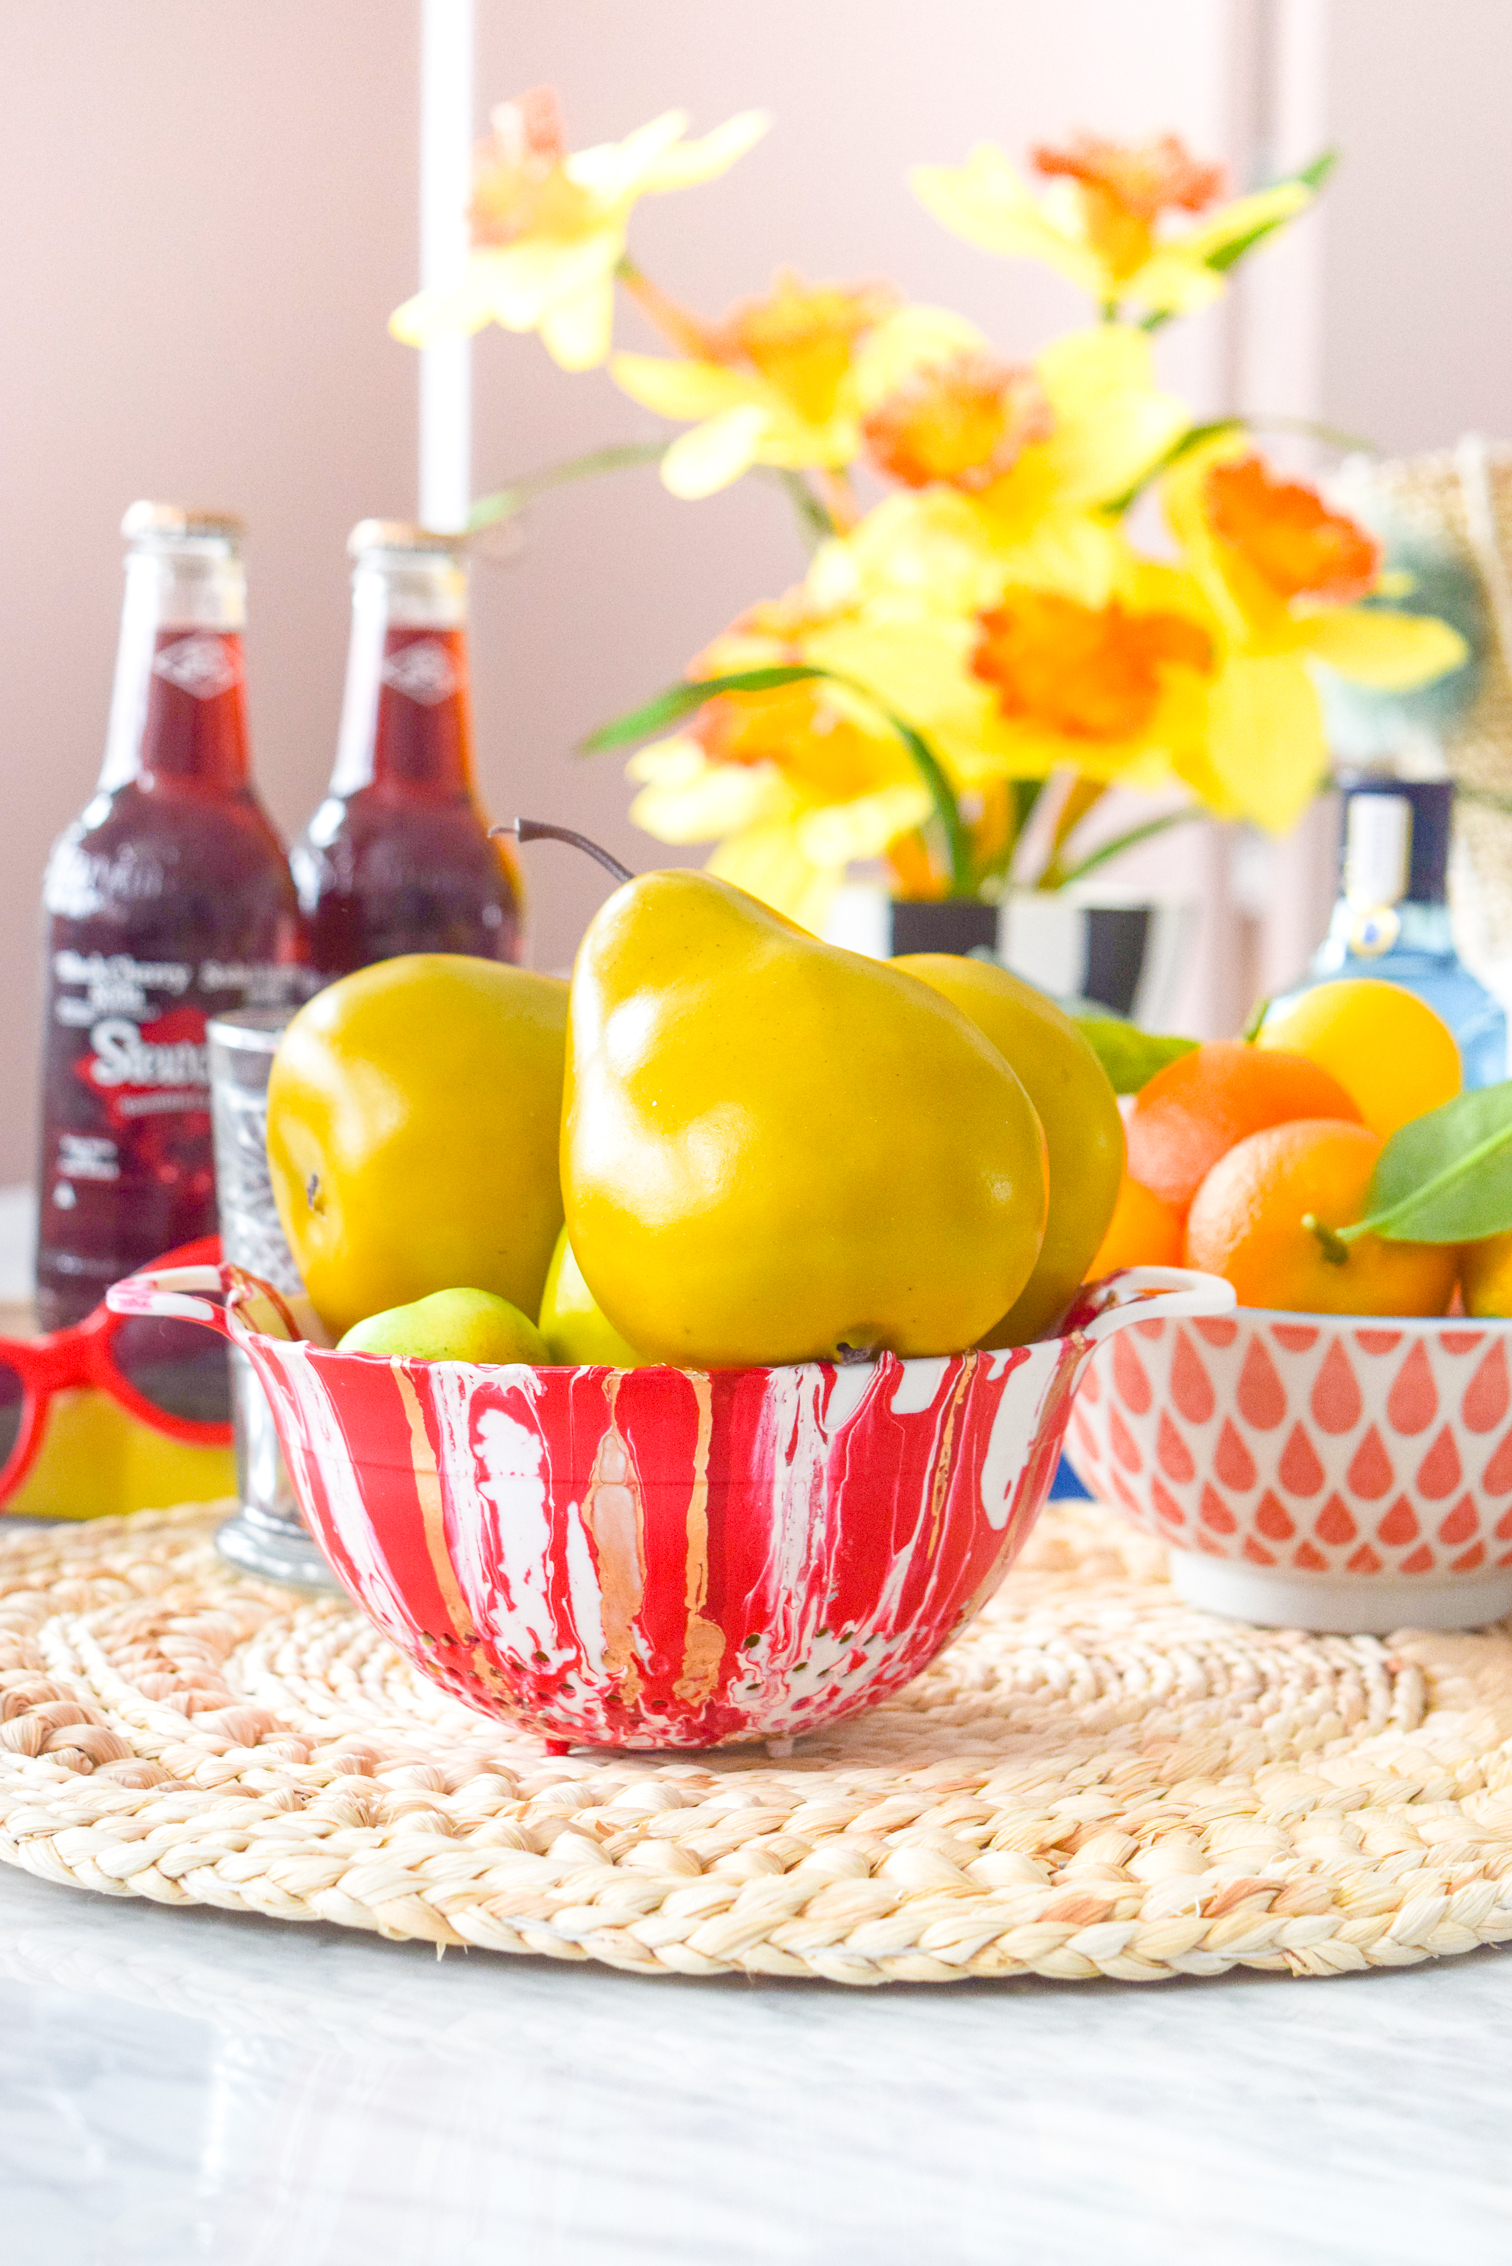
Paint pouring! What is it?! Why is everyone doing it, and what on earth should you do about it? The answer is very simple you see, create DIY Decorative Marbled Colanders. Duh?! Spring is here, which means we’re almost at the point of being able to relax on the patio and enjoy a lovely meal outside under the setting sun. Here in Canada that may be another month or two from now, but if you’re lucky enough to live somewhere warmer, this could be soon! To help you plan and prep for the perfect patio life, I’ve got this lovely DIY.
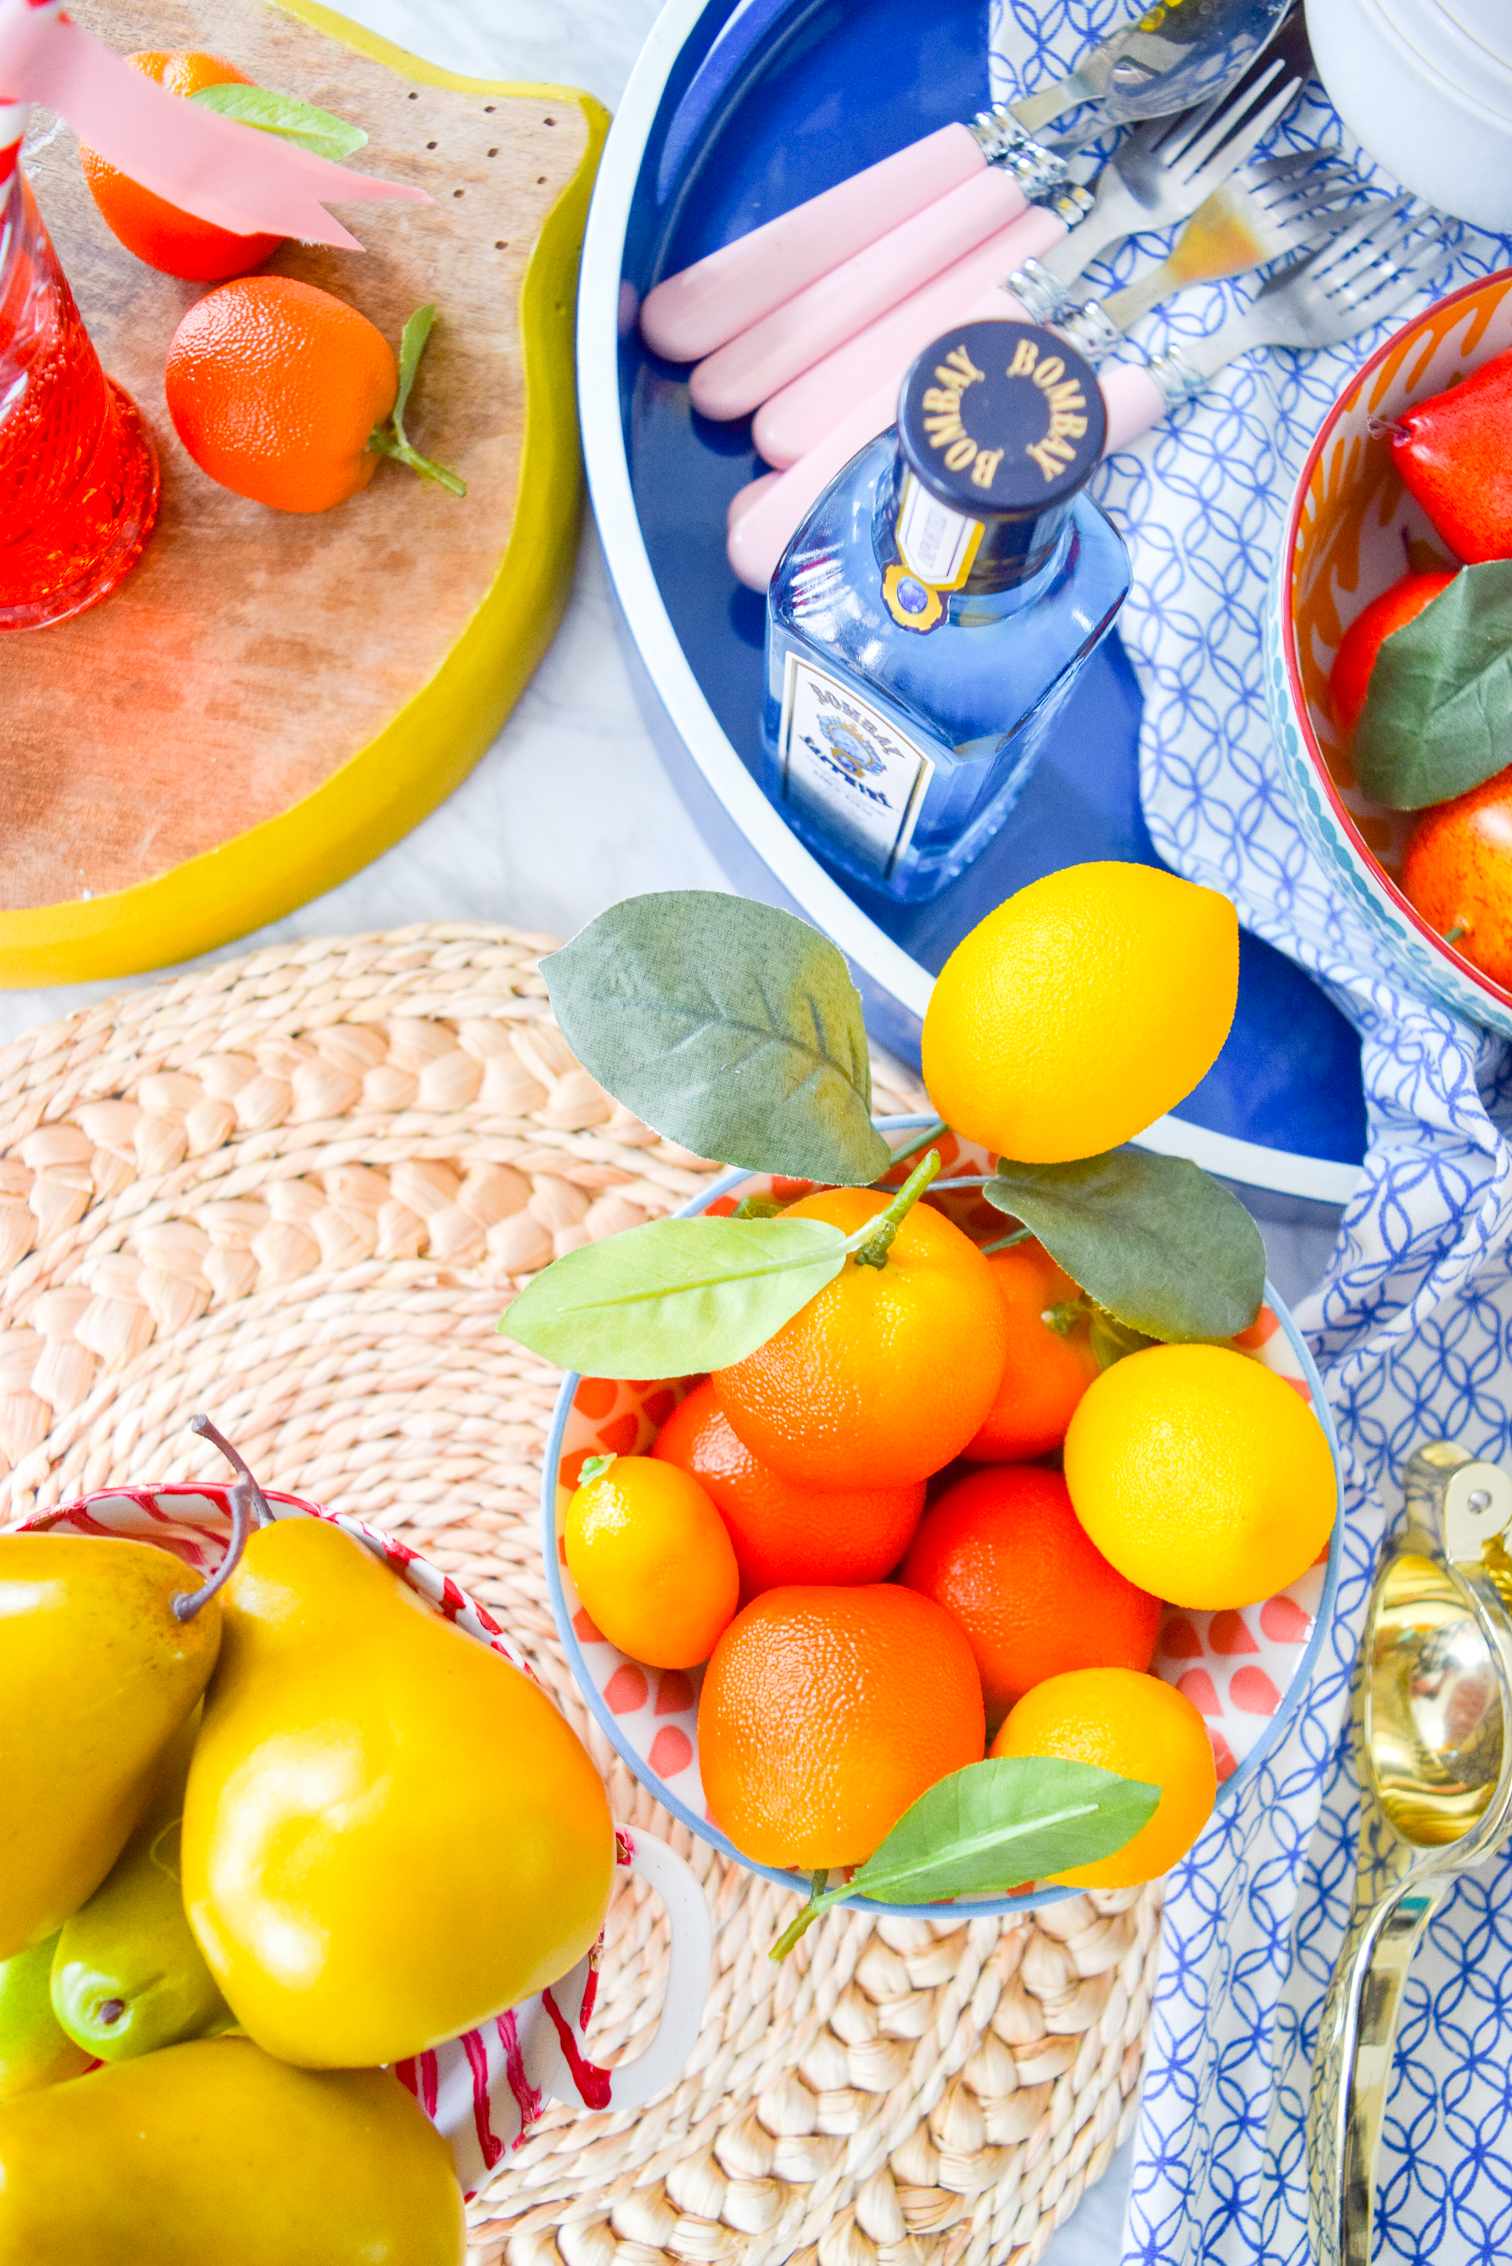
You can also check out my ORC Backyard Reveal // My Summer Cocktails // My Citrus & Floral Tablescape // and our // potting bench.//
I do not recommend using these for cooking or food preparation without properly sealing them using a food-safe sealant. These are decorative aka for serving only.
*DecoArt sponsored this post, but all thoughts are my own. Thank you for supporting the brands that make PMQ for two possible.

*The following product links contain affiliate links. Thank you for supporting the brands that make PMQ for two possible. For my full policies click // here //
Materials required for DIY Decorative Marbled Colanders
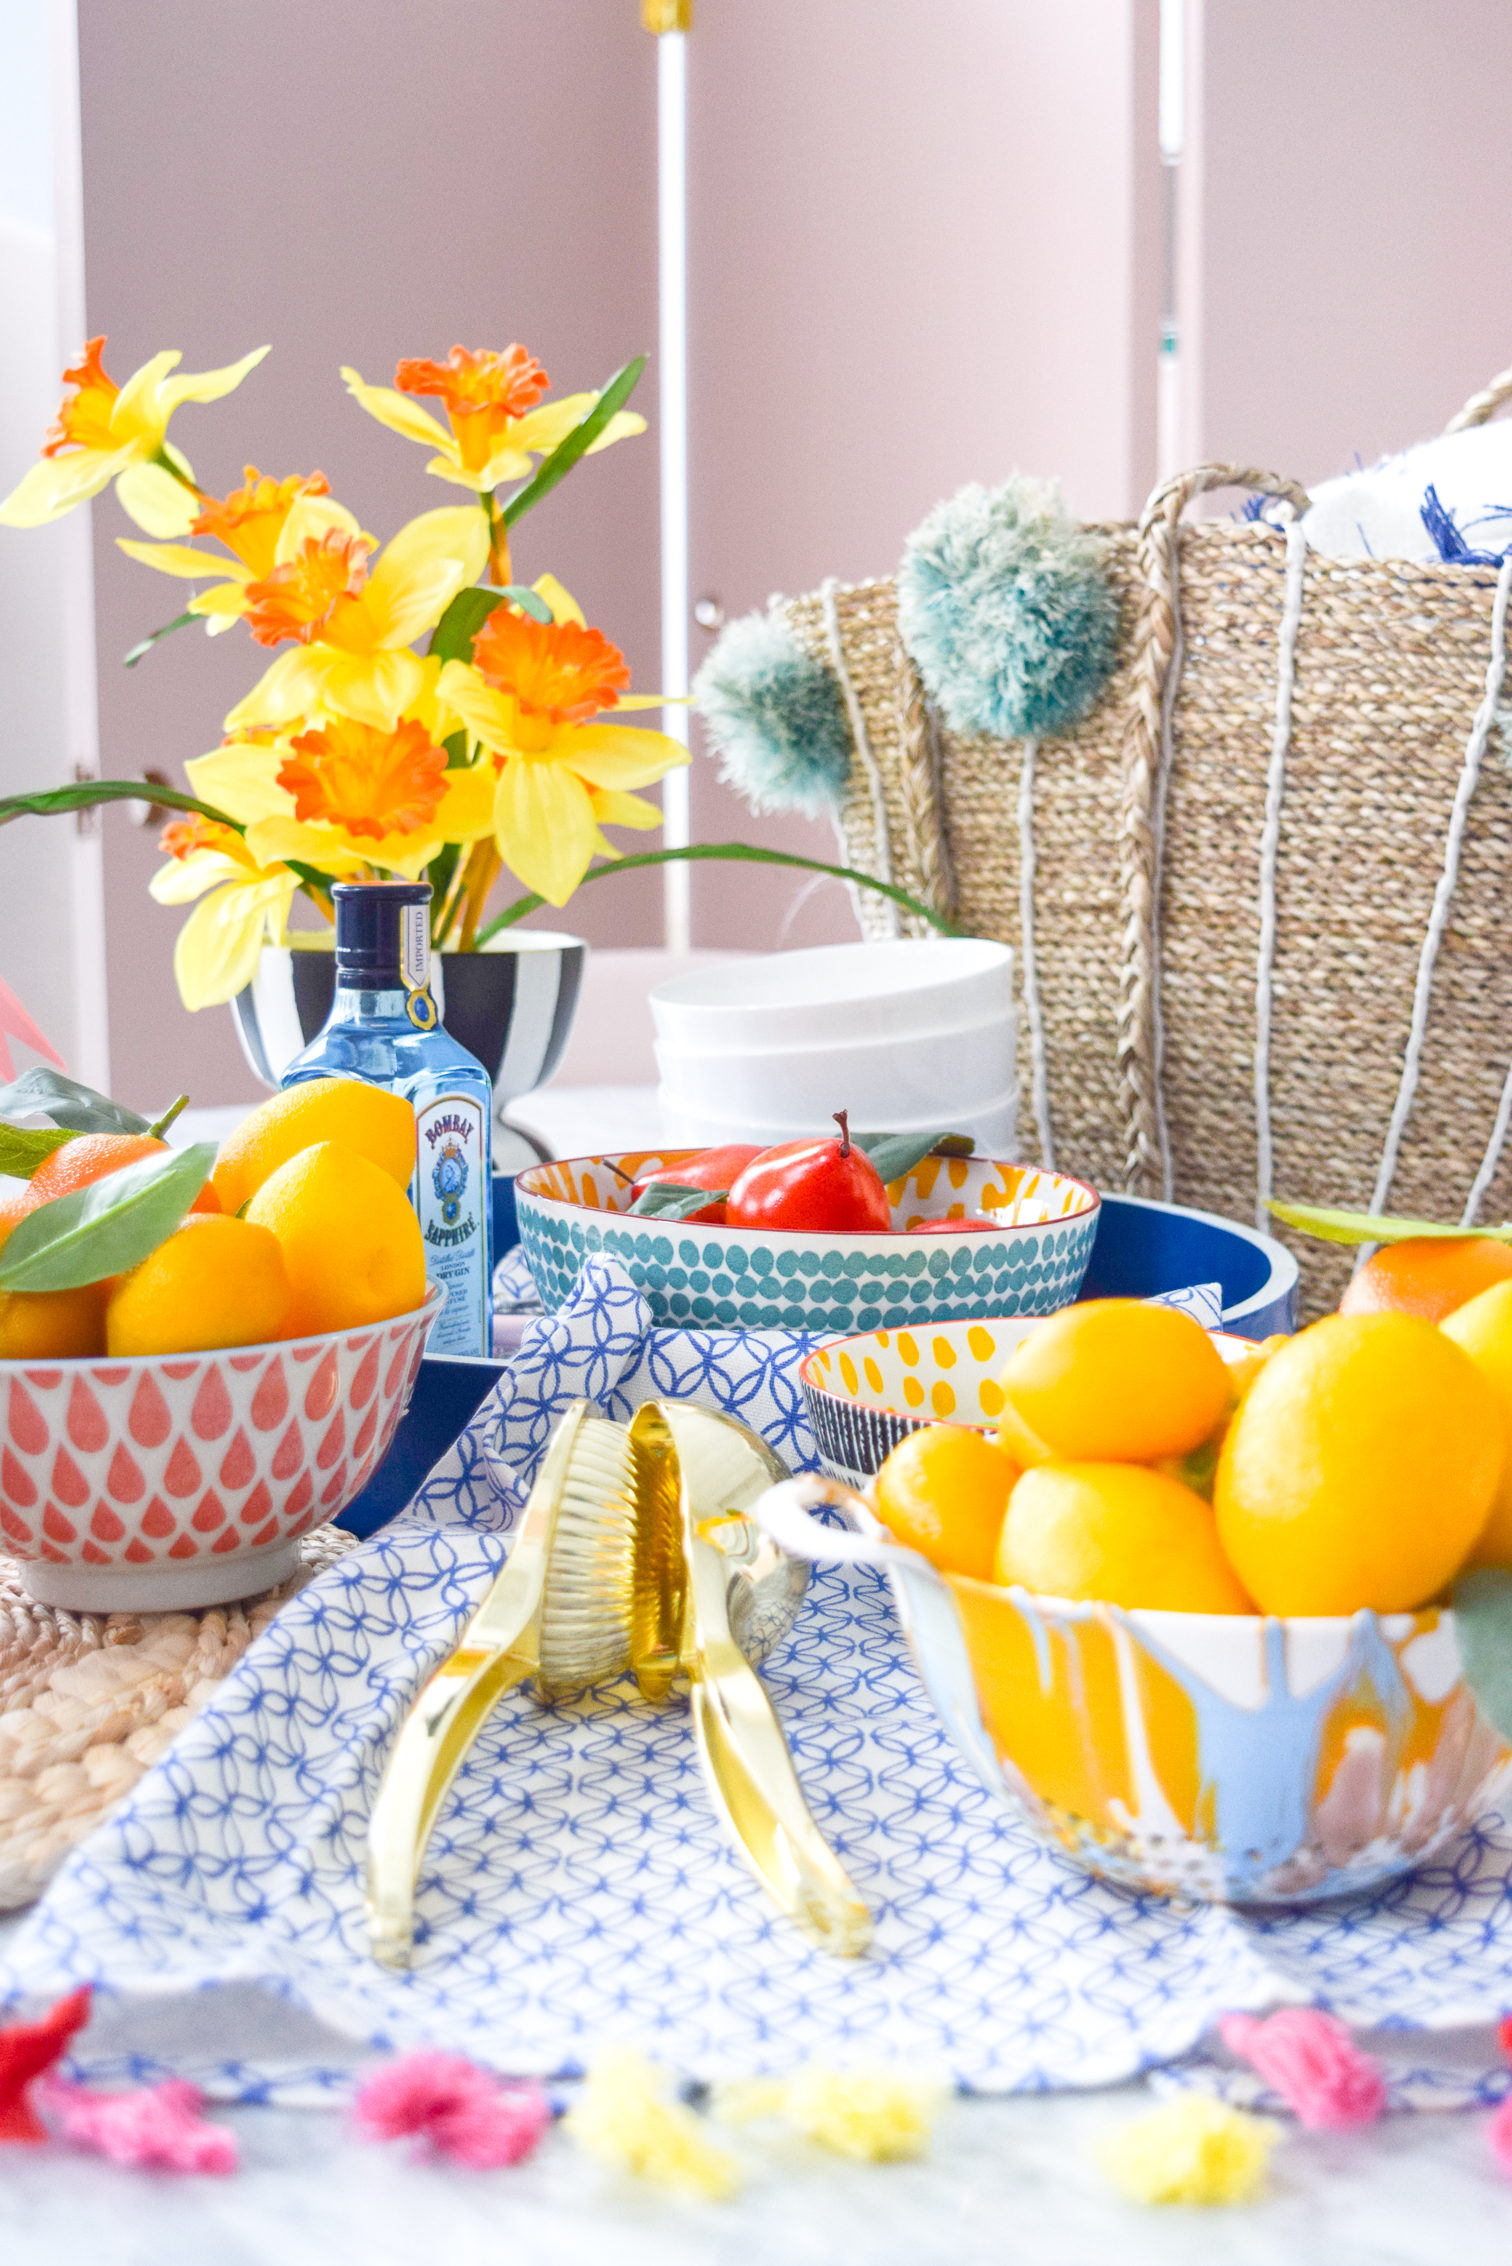
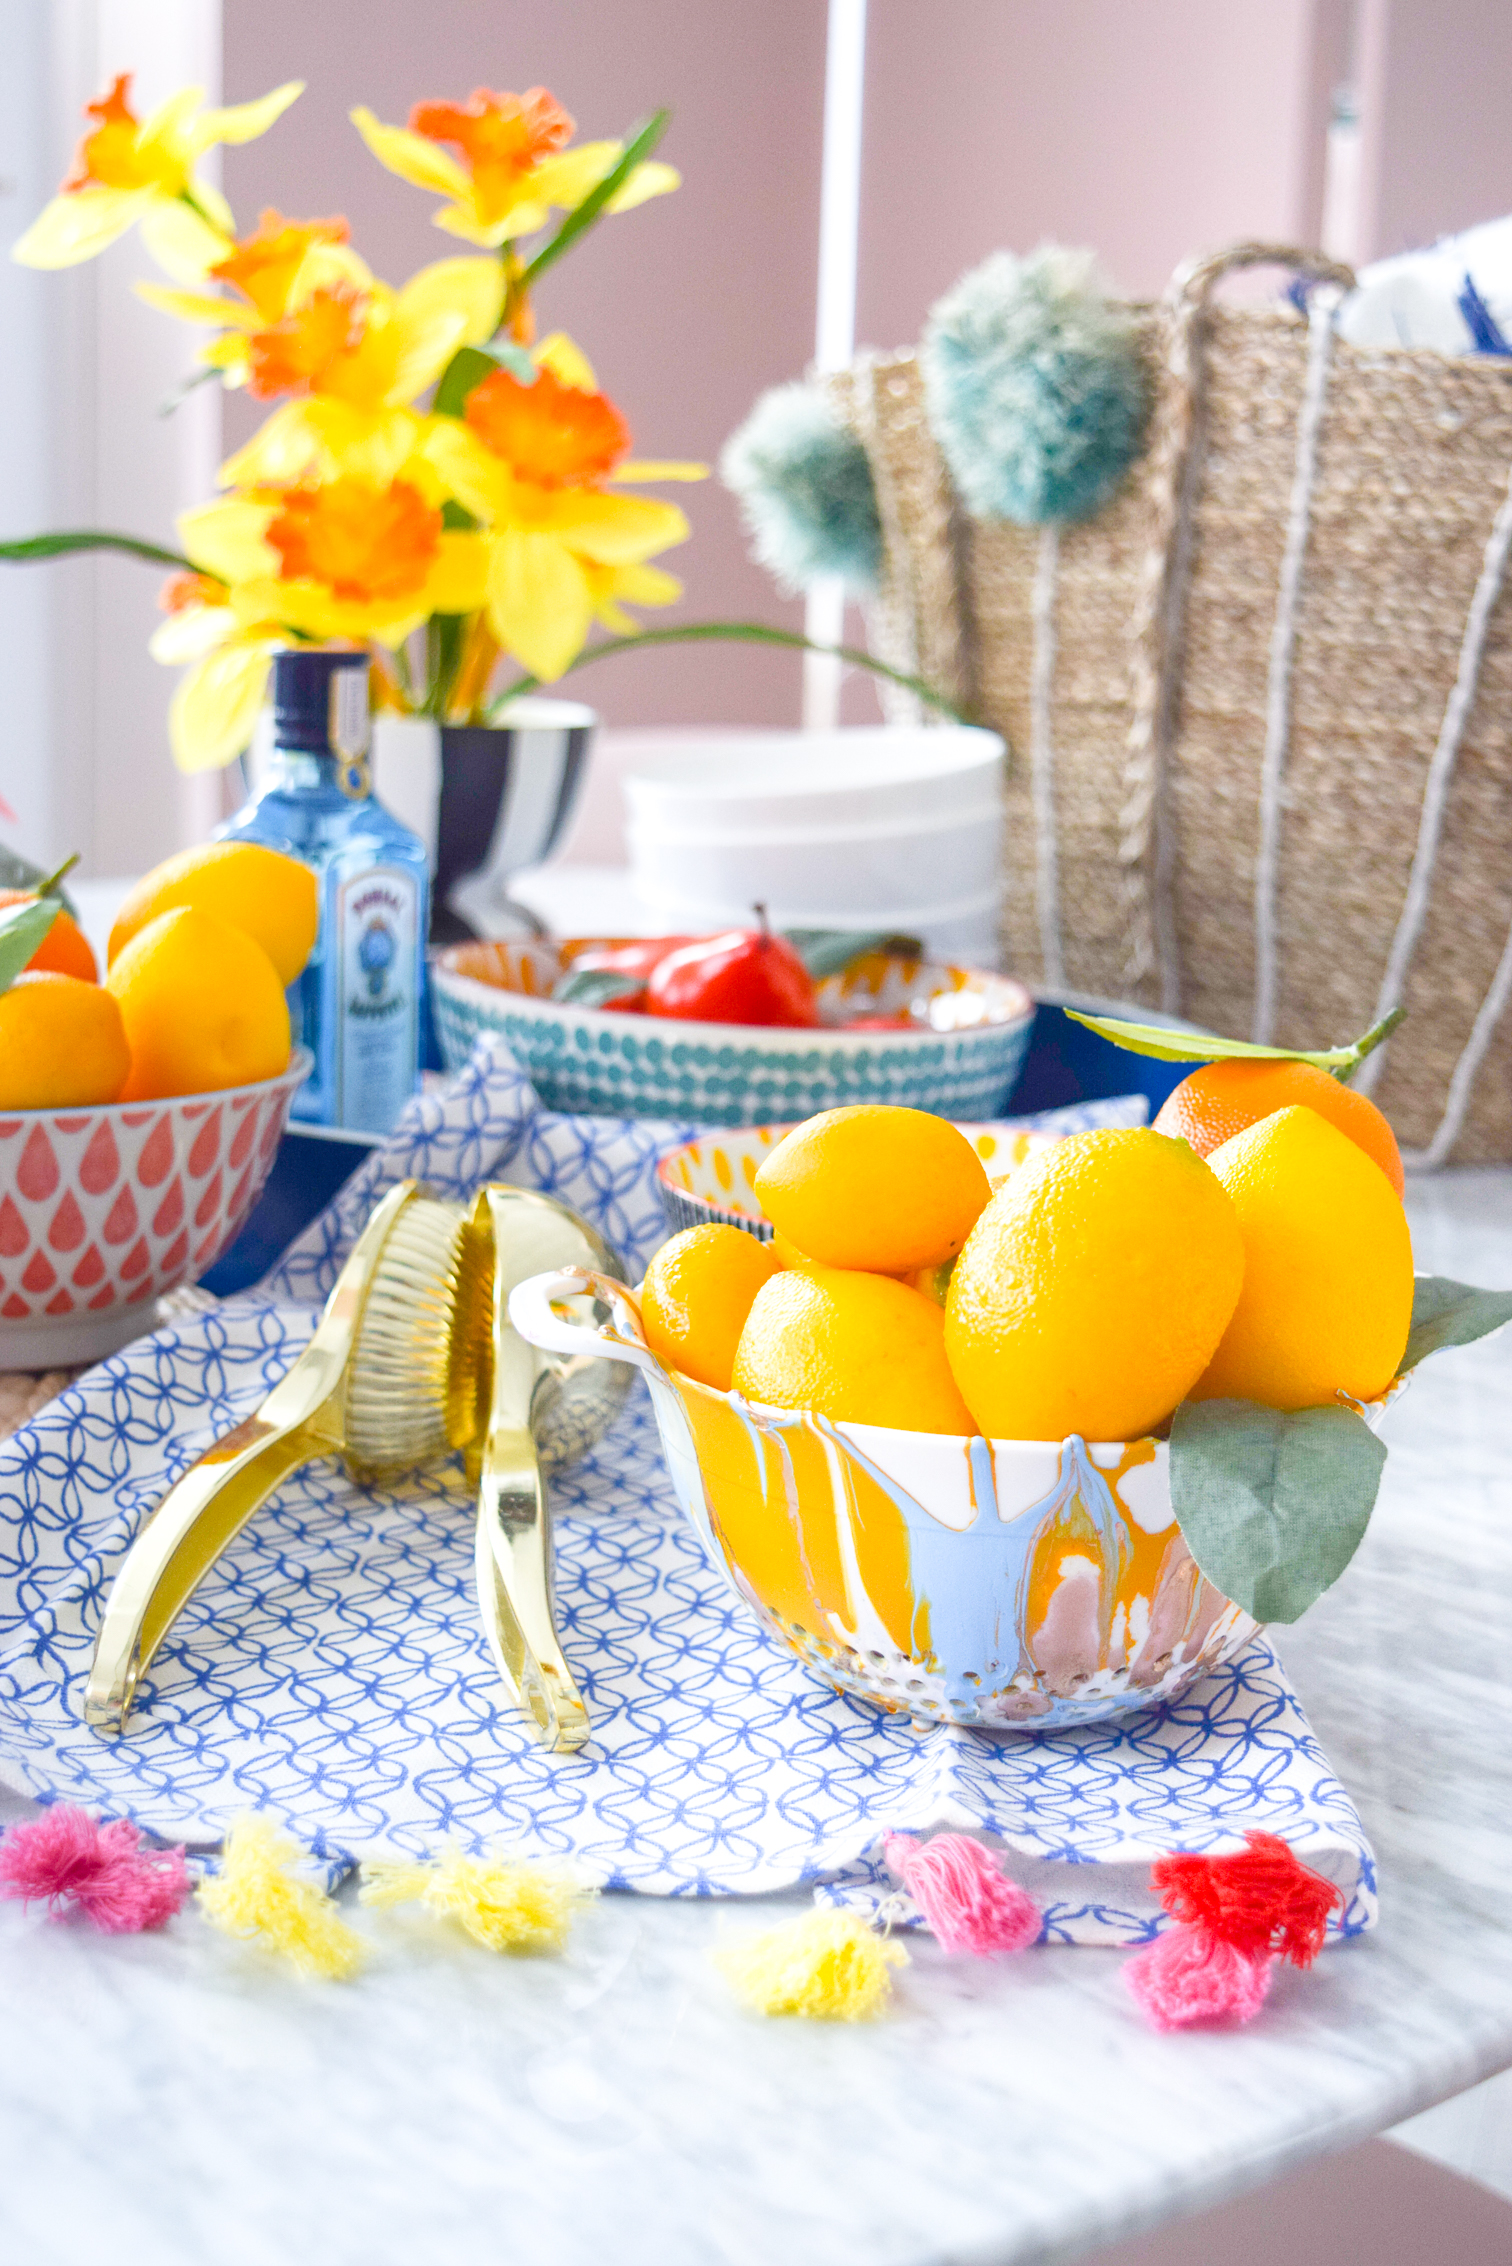
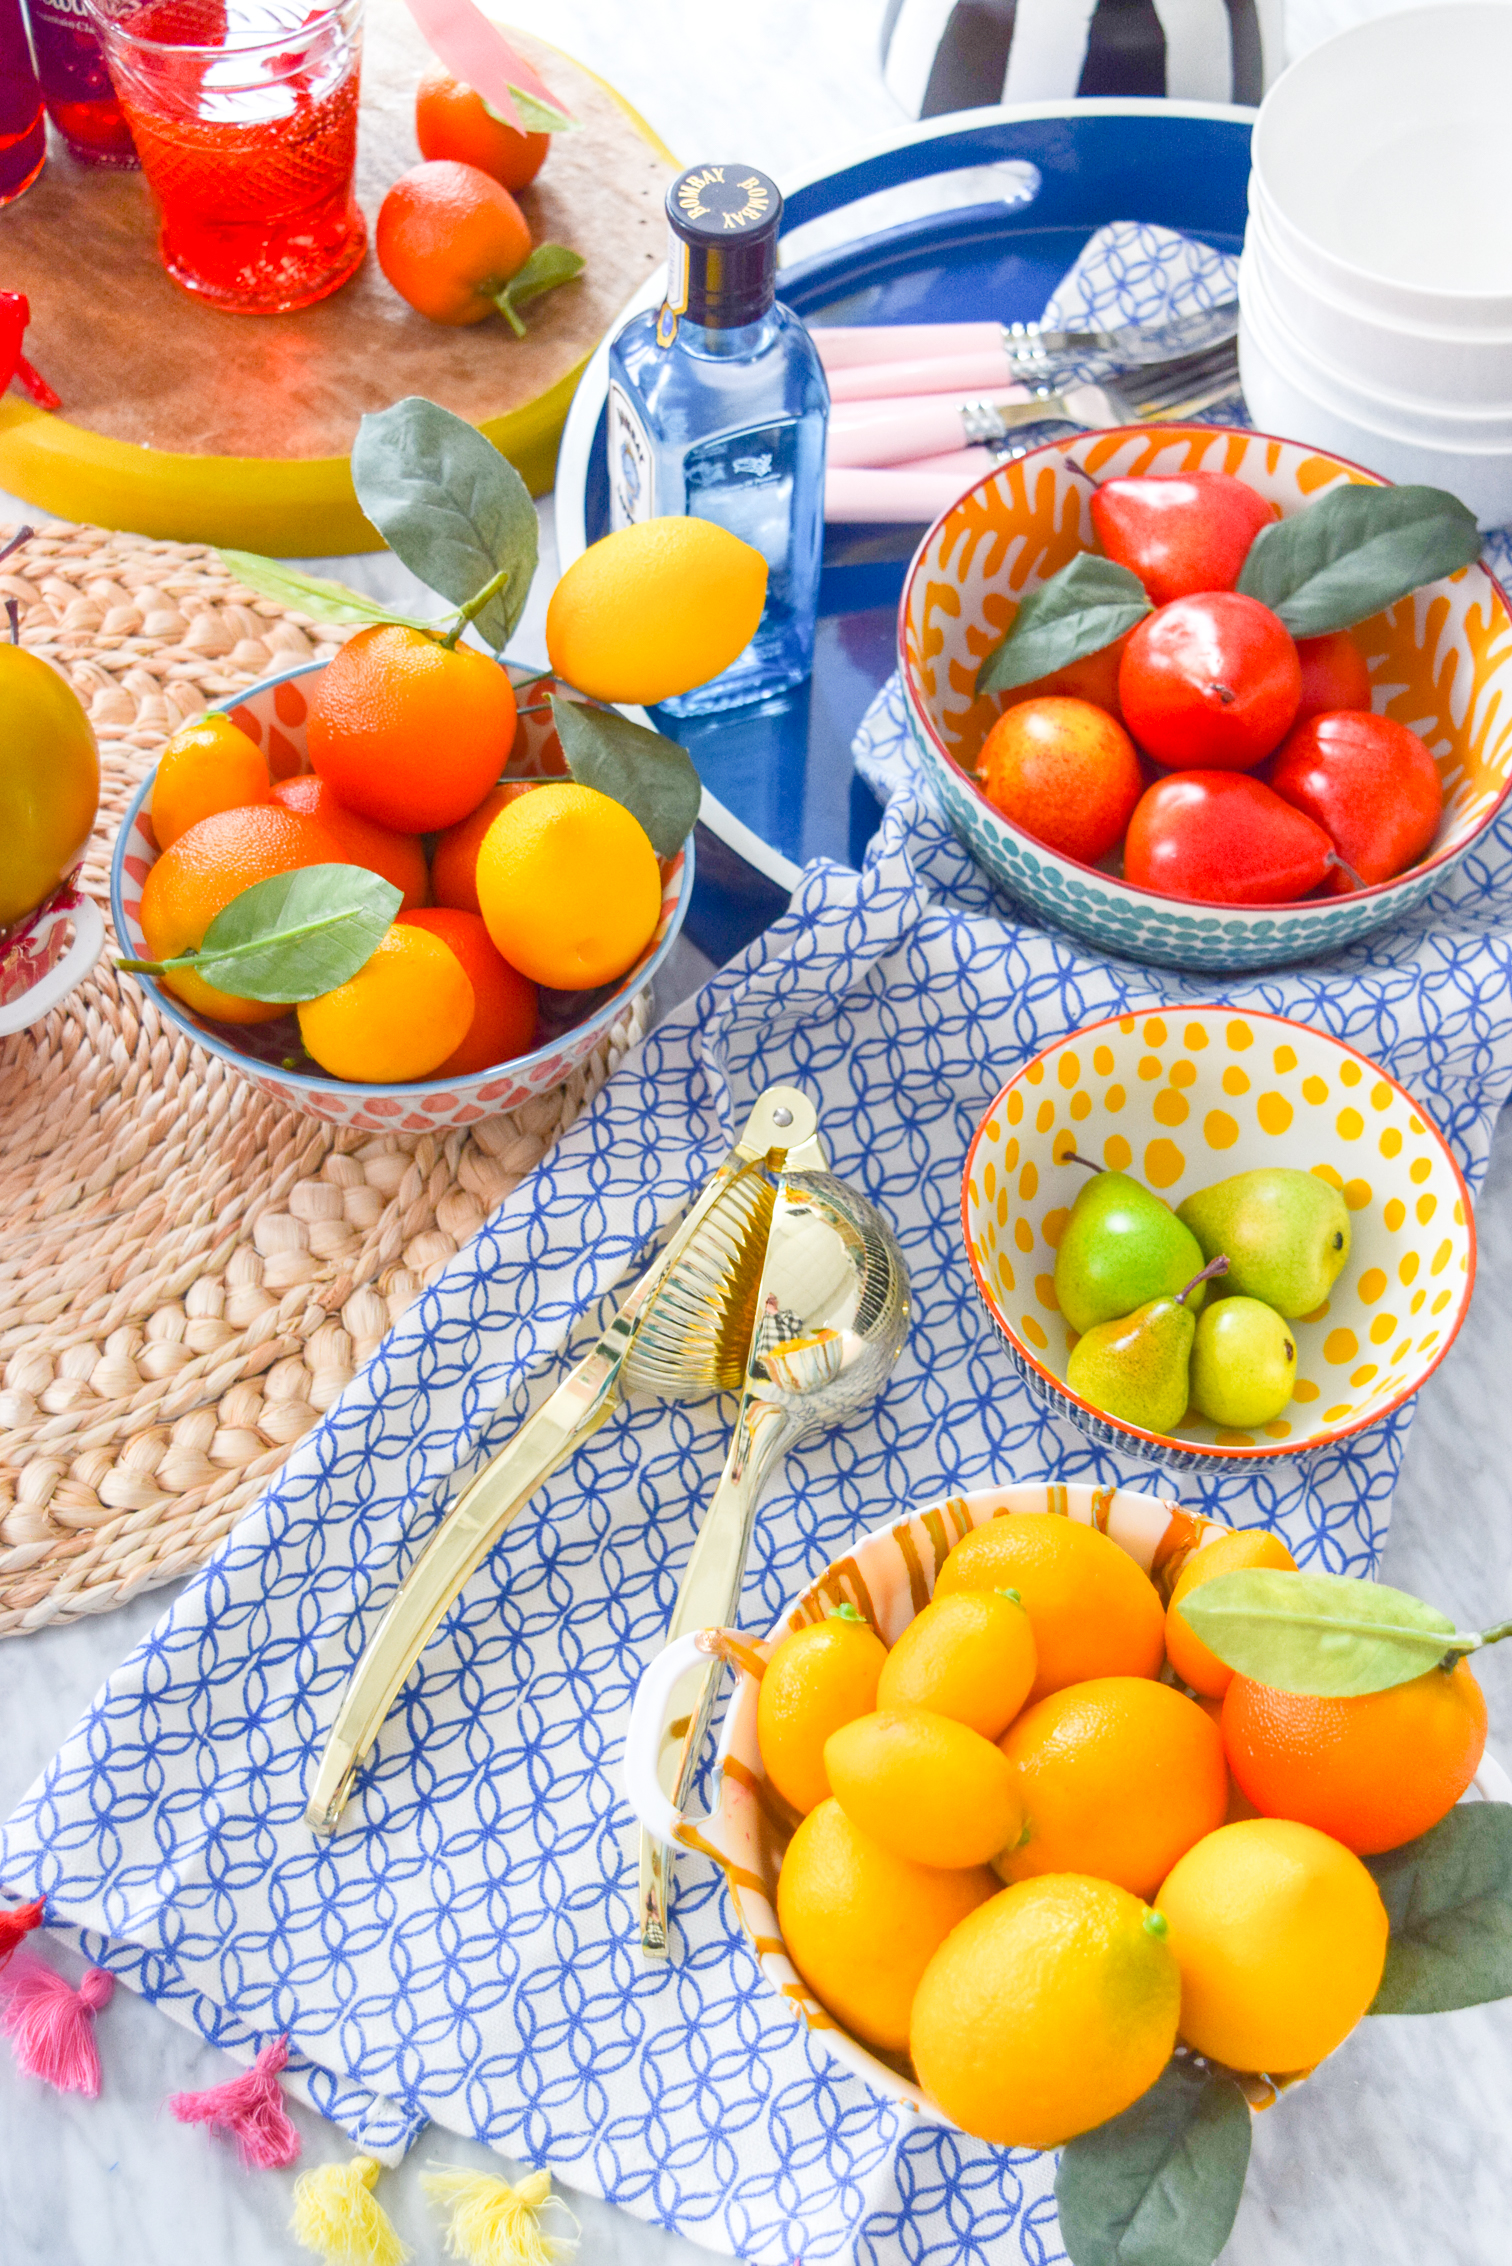
- DecoArt Acrylics in the colours of your choice. I used a variety of shades that I felt would look really good against citrus and other seasonal fresh ingredients. My specific choices were: True Ochre, Poodleskirt Pink, Cinnamon Drop, Burgundy Wine, Silver Sage Green, and Baby Blue.
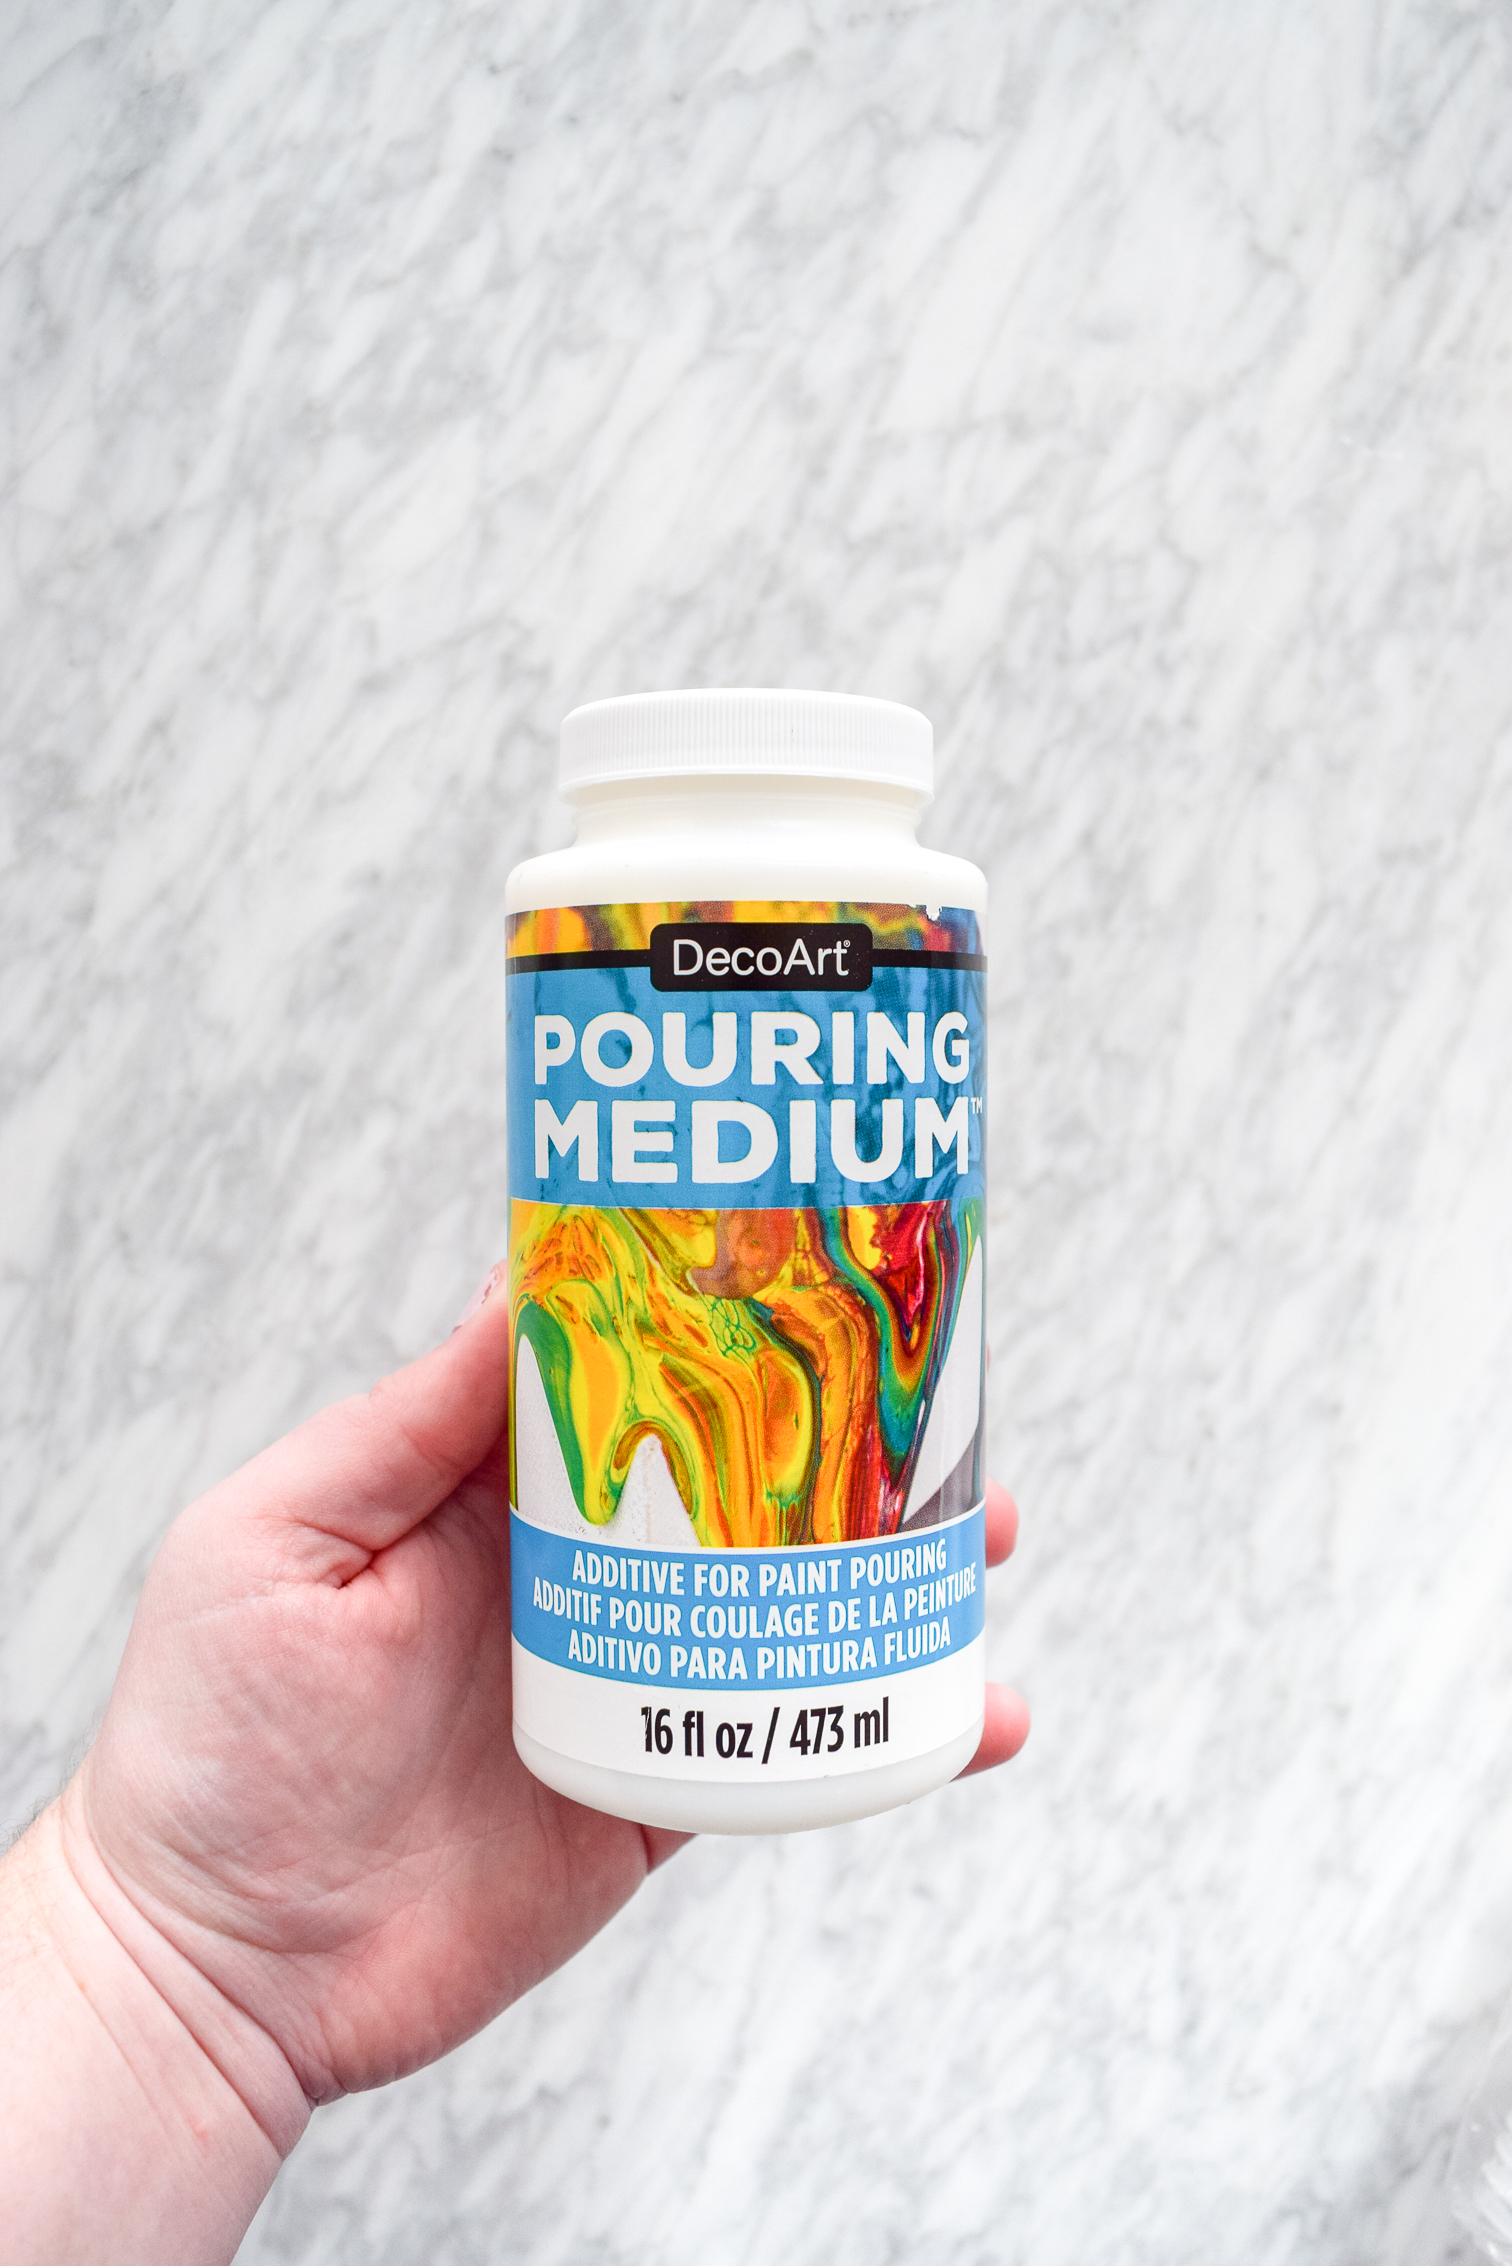
- DecoArt Paint Pouring Medium
- Plastic Colanders – I snagged mine at the dollar store
- Aluminium pan – to pour everything in
- Plastic Cups – but you could dig through your recycling bin to find what you need as well.
Grab the full tutorial over on the DecoArt blog
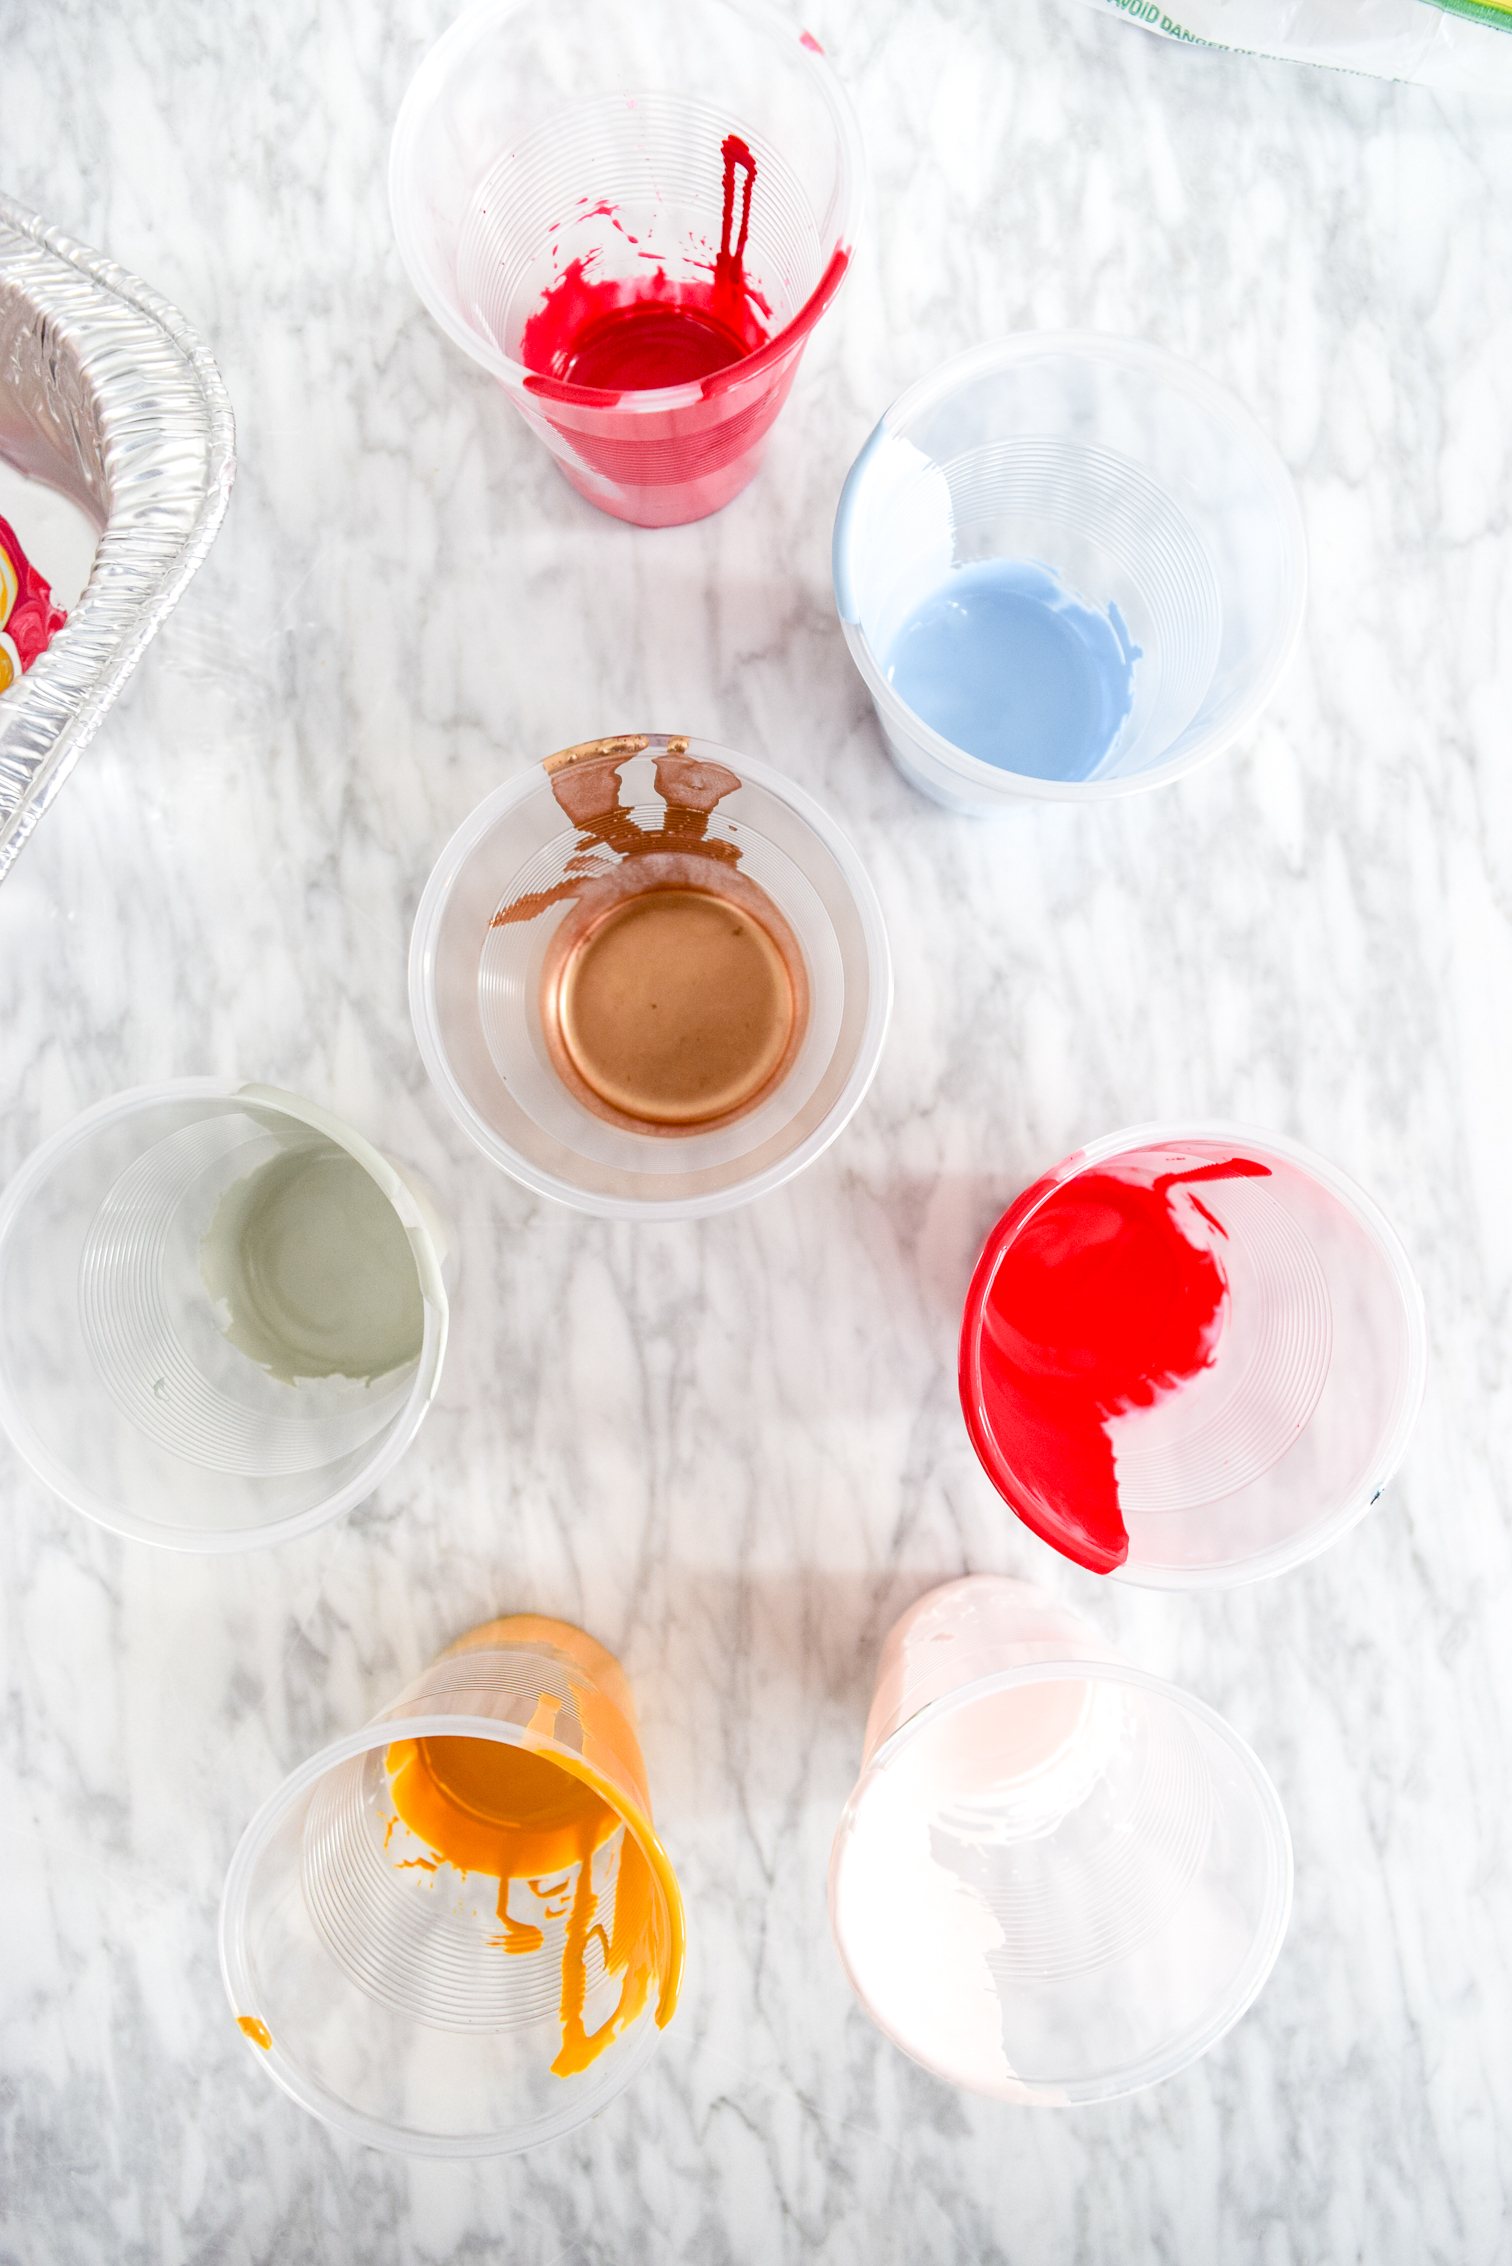
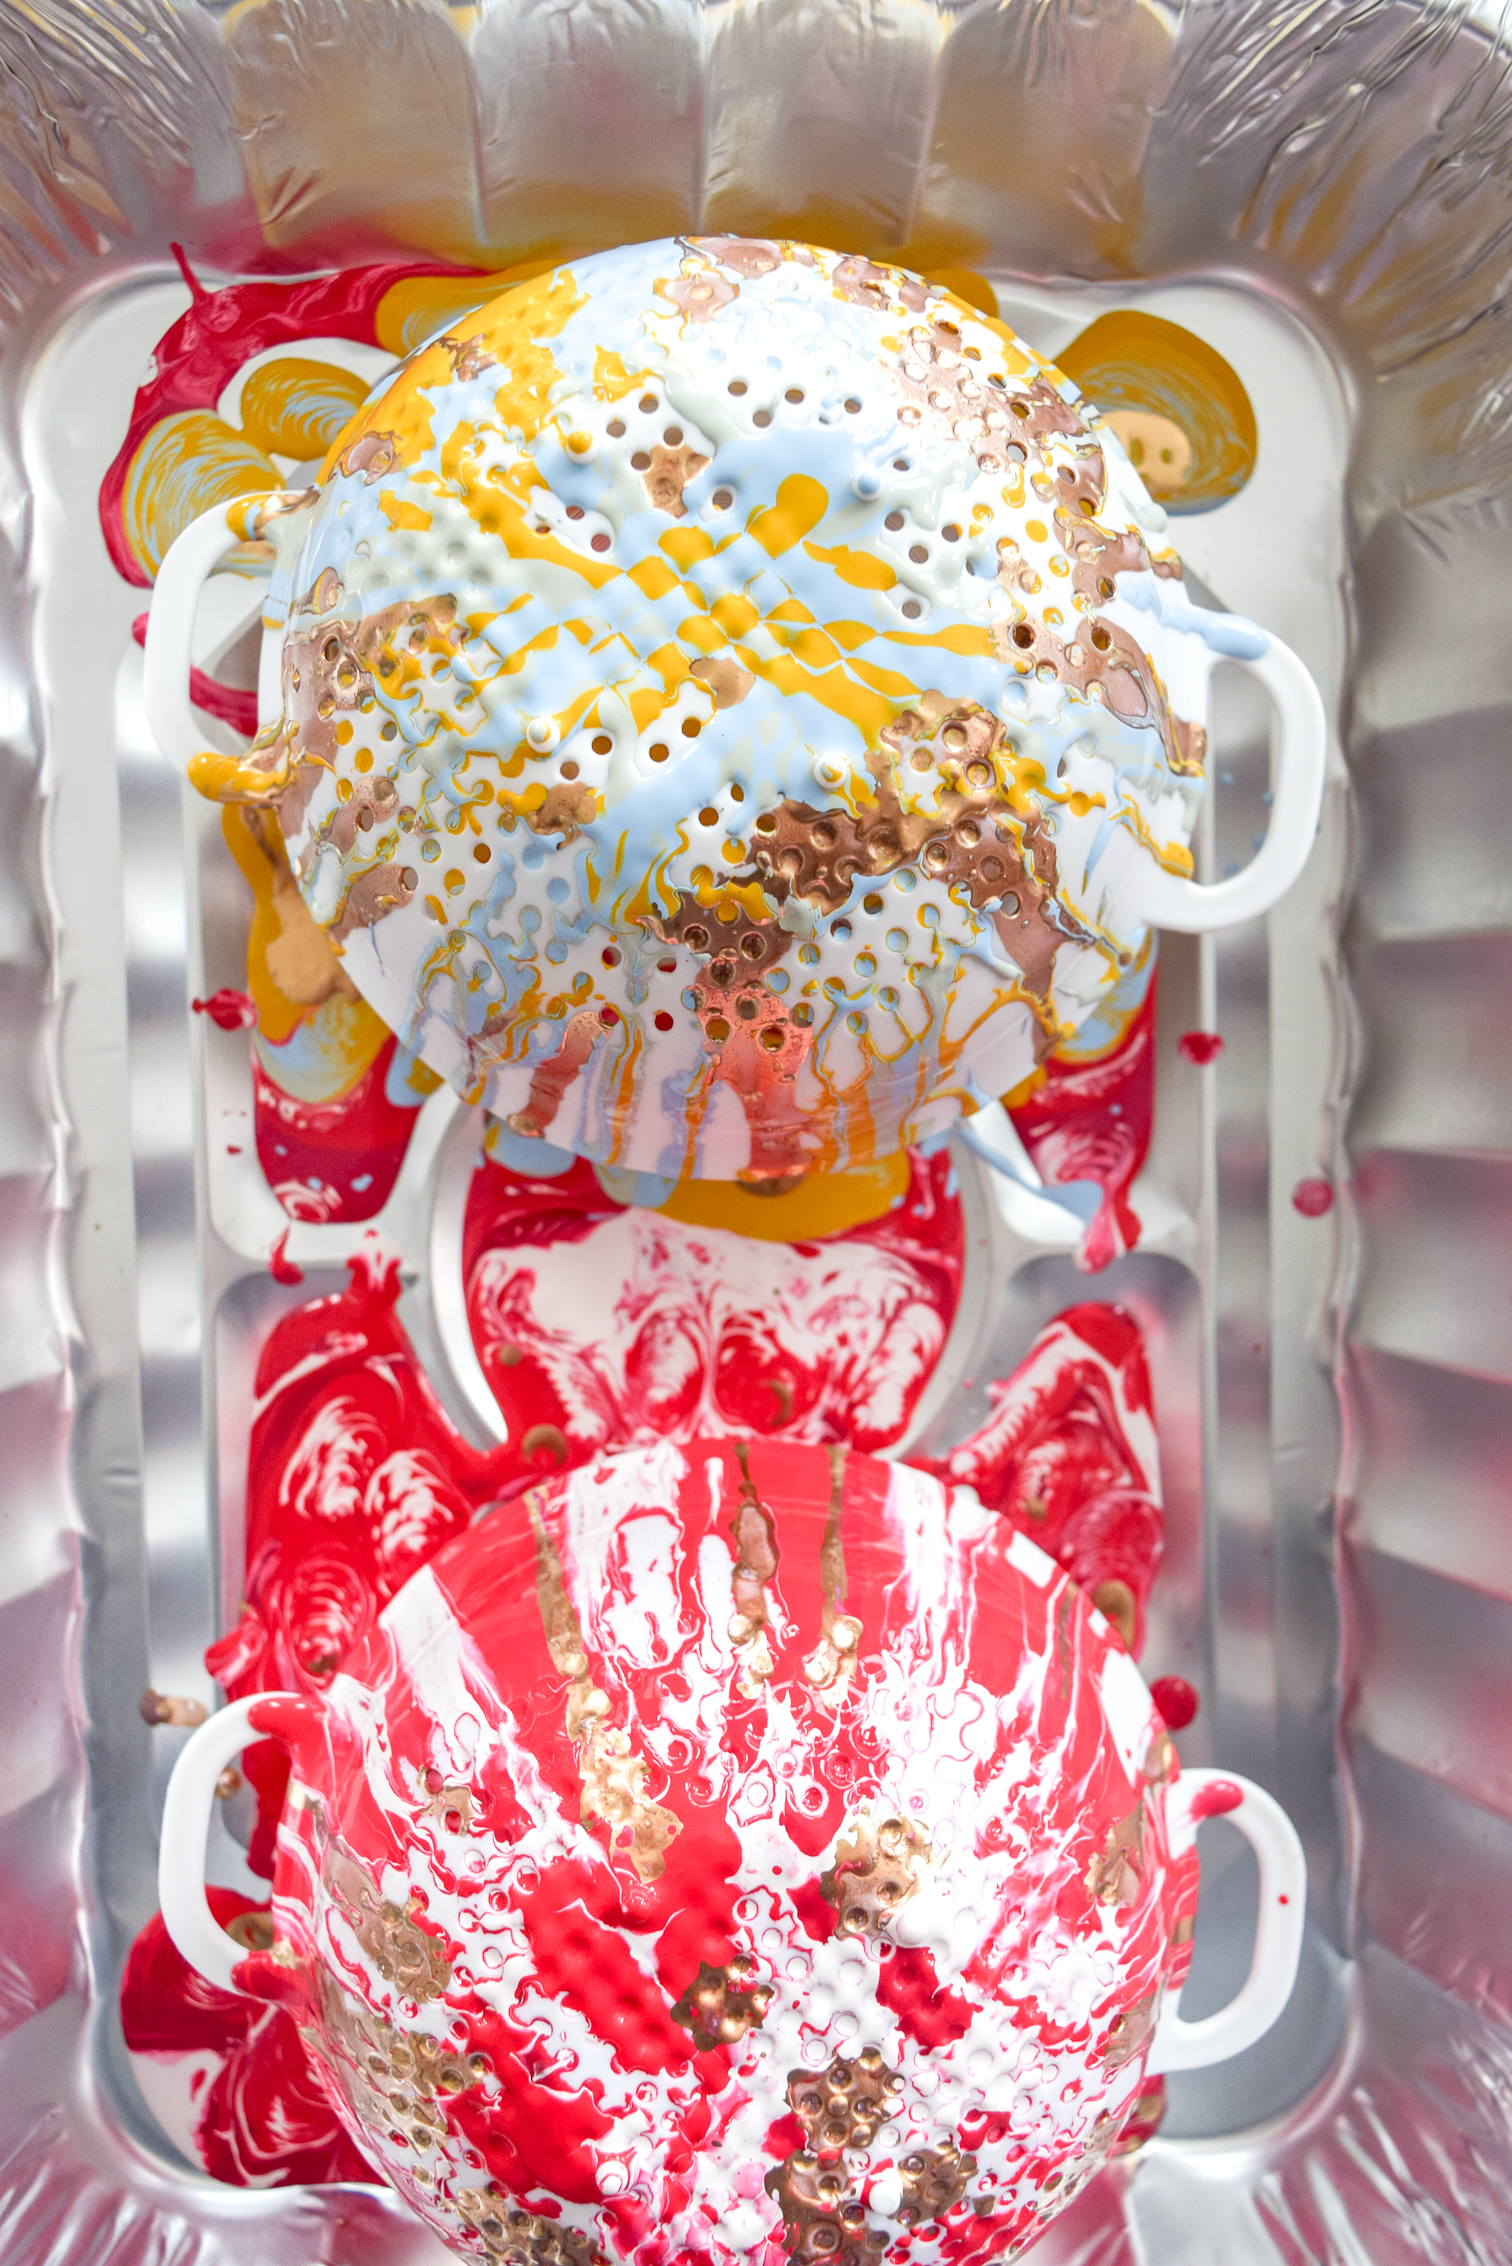
Step 1: Start by pouring each paint colour into a cup (one colour per cup). I didn’t pour much to begin with, but as I got into pouring it, I realized I needed way more than I thought. Don’t worry, you can always add more.

Step 2: You’ll then add equal parts paint pouring medium to the paint, and mix. I used a straw, which I kept cutting down, in order to mix another colour. It was economical for sure.
Step 3: While all this is happening, stand up a cup inside the aluminum pan. You’ll be resting whatever you’re pouring onto, on it. If you just let it sit in the pan the paint will eventually dry with your chosen canvas inside it.
Step 4: Start pouring! I know some people put everything into one big cup and then tip it over, but I enjoyed being able to layer the colours how I wanted, and do touch-ups as I went.
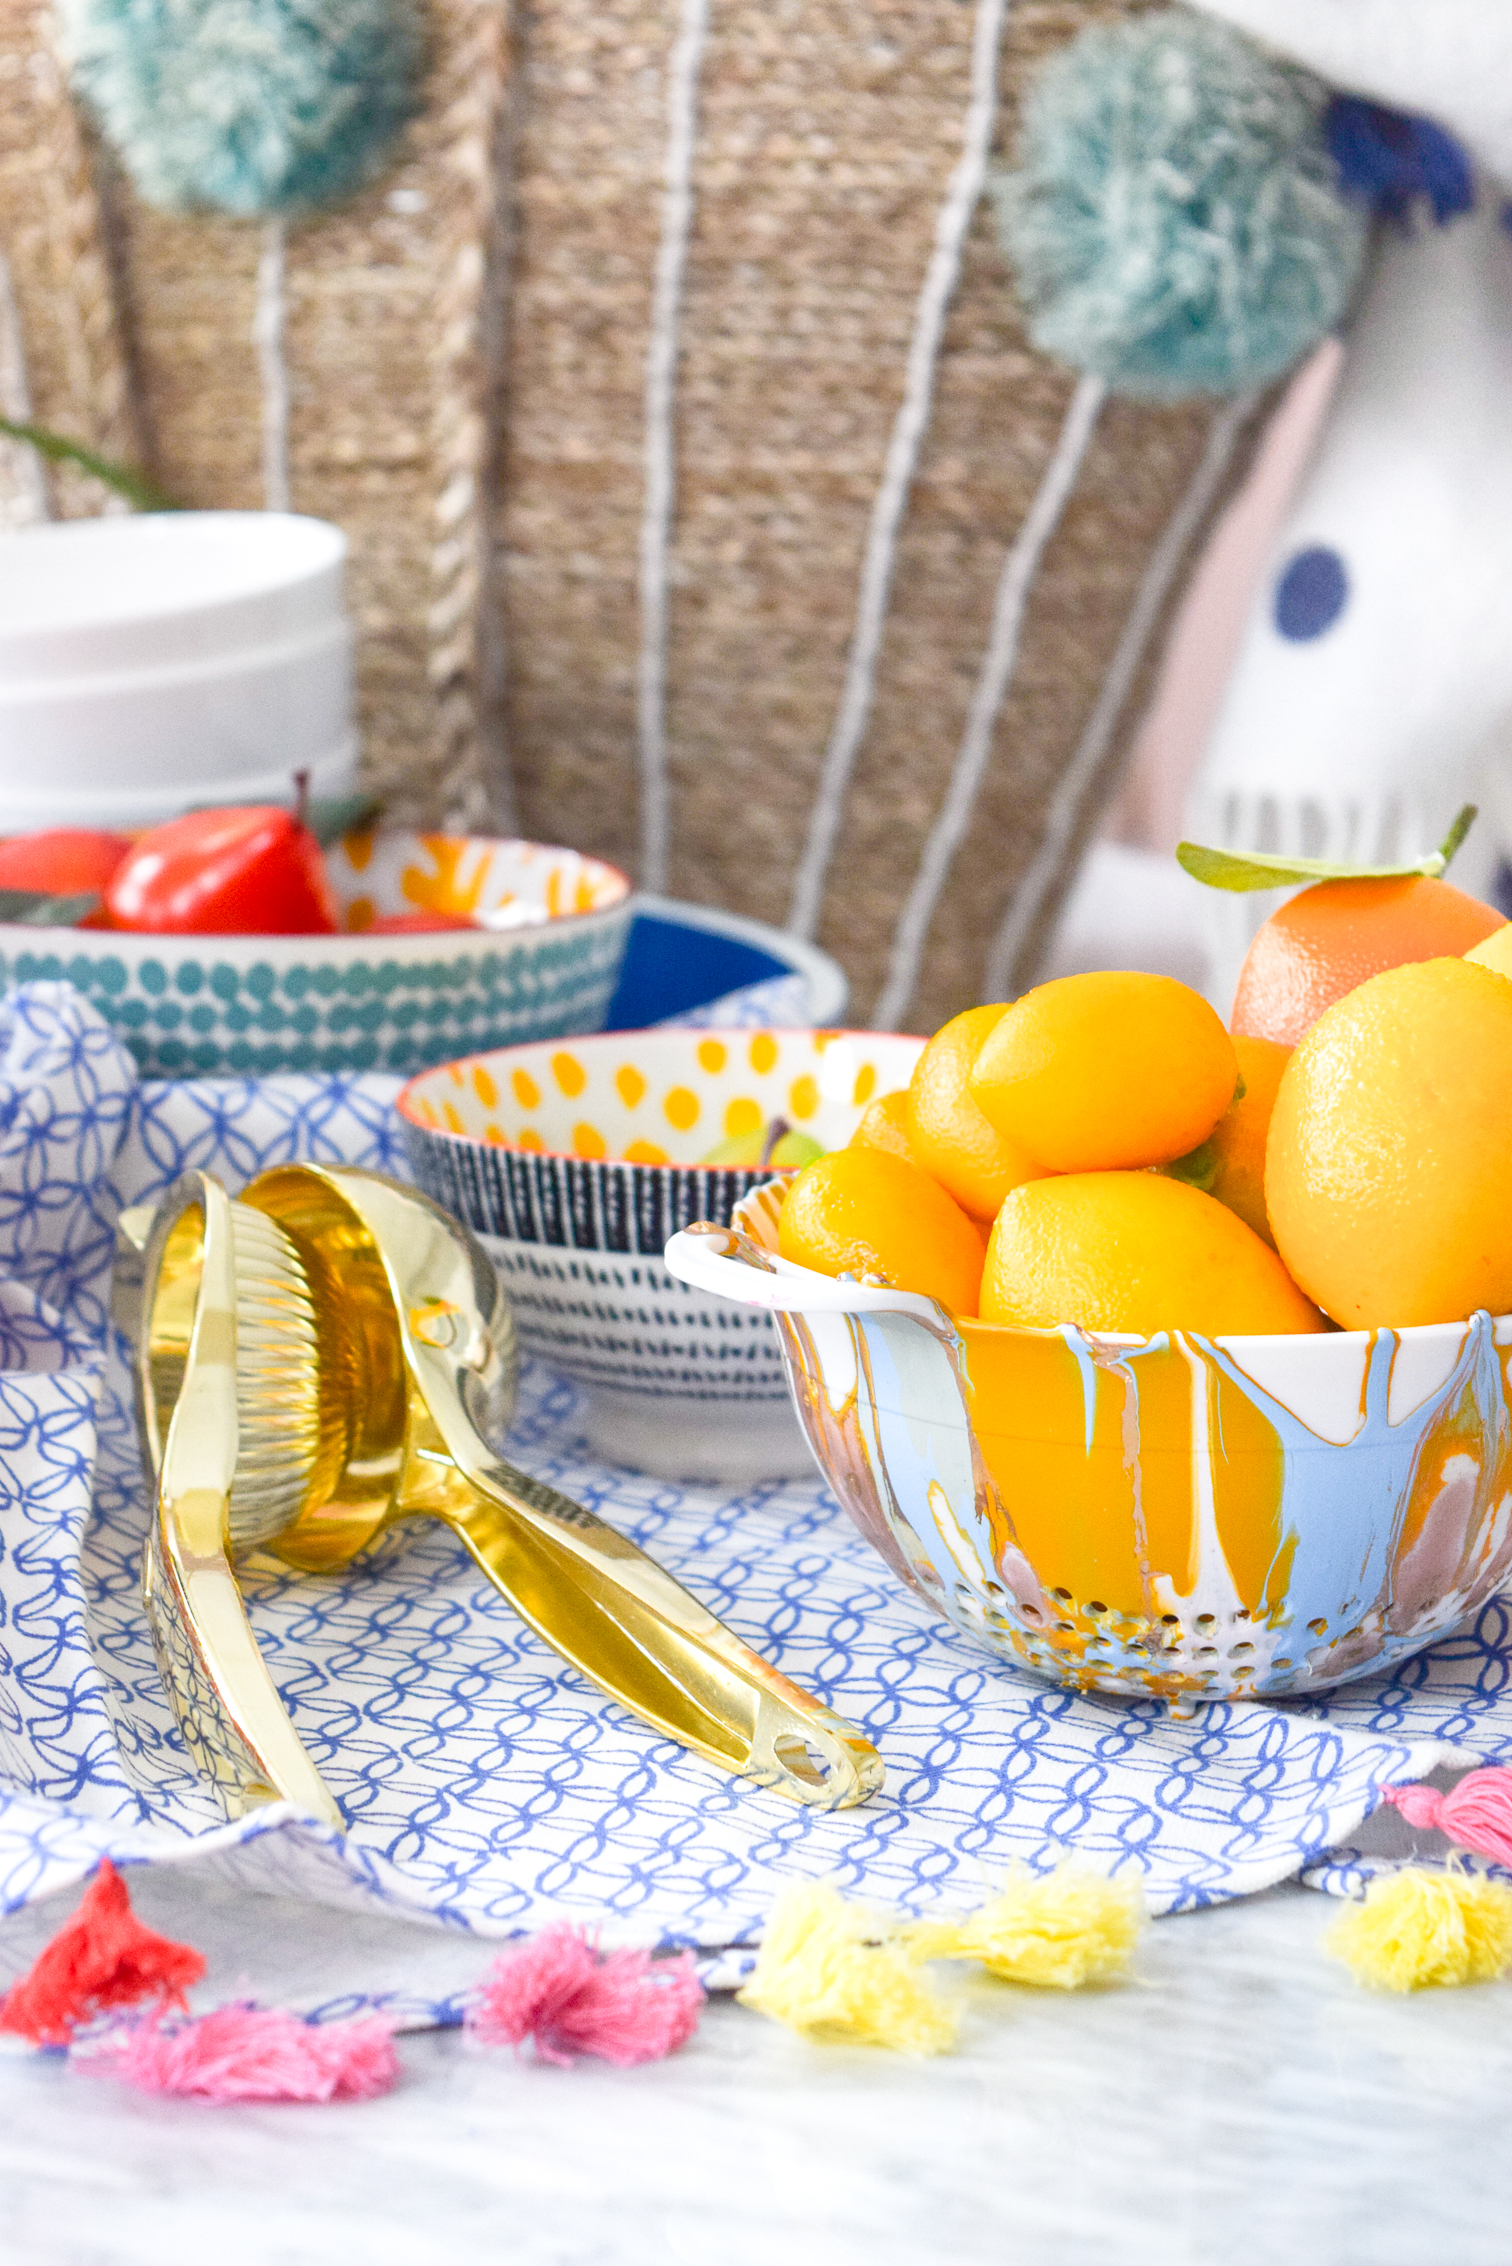
Step 5: Repeat with as many colours as you want to use. And then let dry. Because the colander has all these little holes, as it was drying I took a tooth-pick and poked holes to release the paint and free the holes.
Step 6: I let everything dry over night, and when I came into the studio the next day they were perfectly dry. I sealed them using a dishwasher and food-safe sealant


Check out my other Summer projects and post

Want to see some other paint related ideas and techniques?