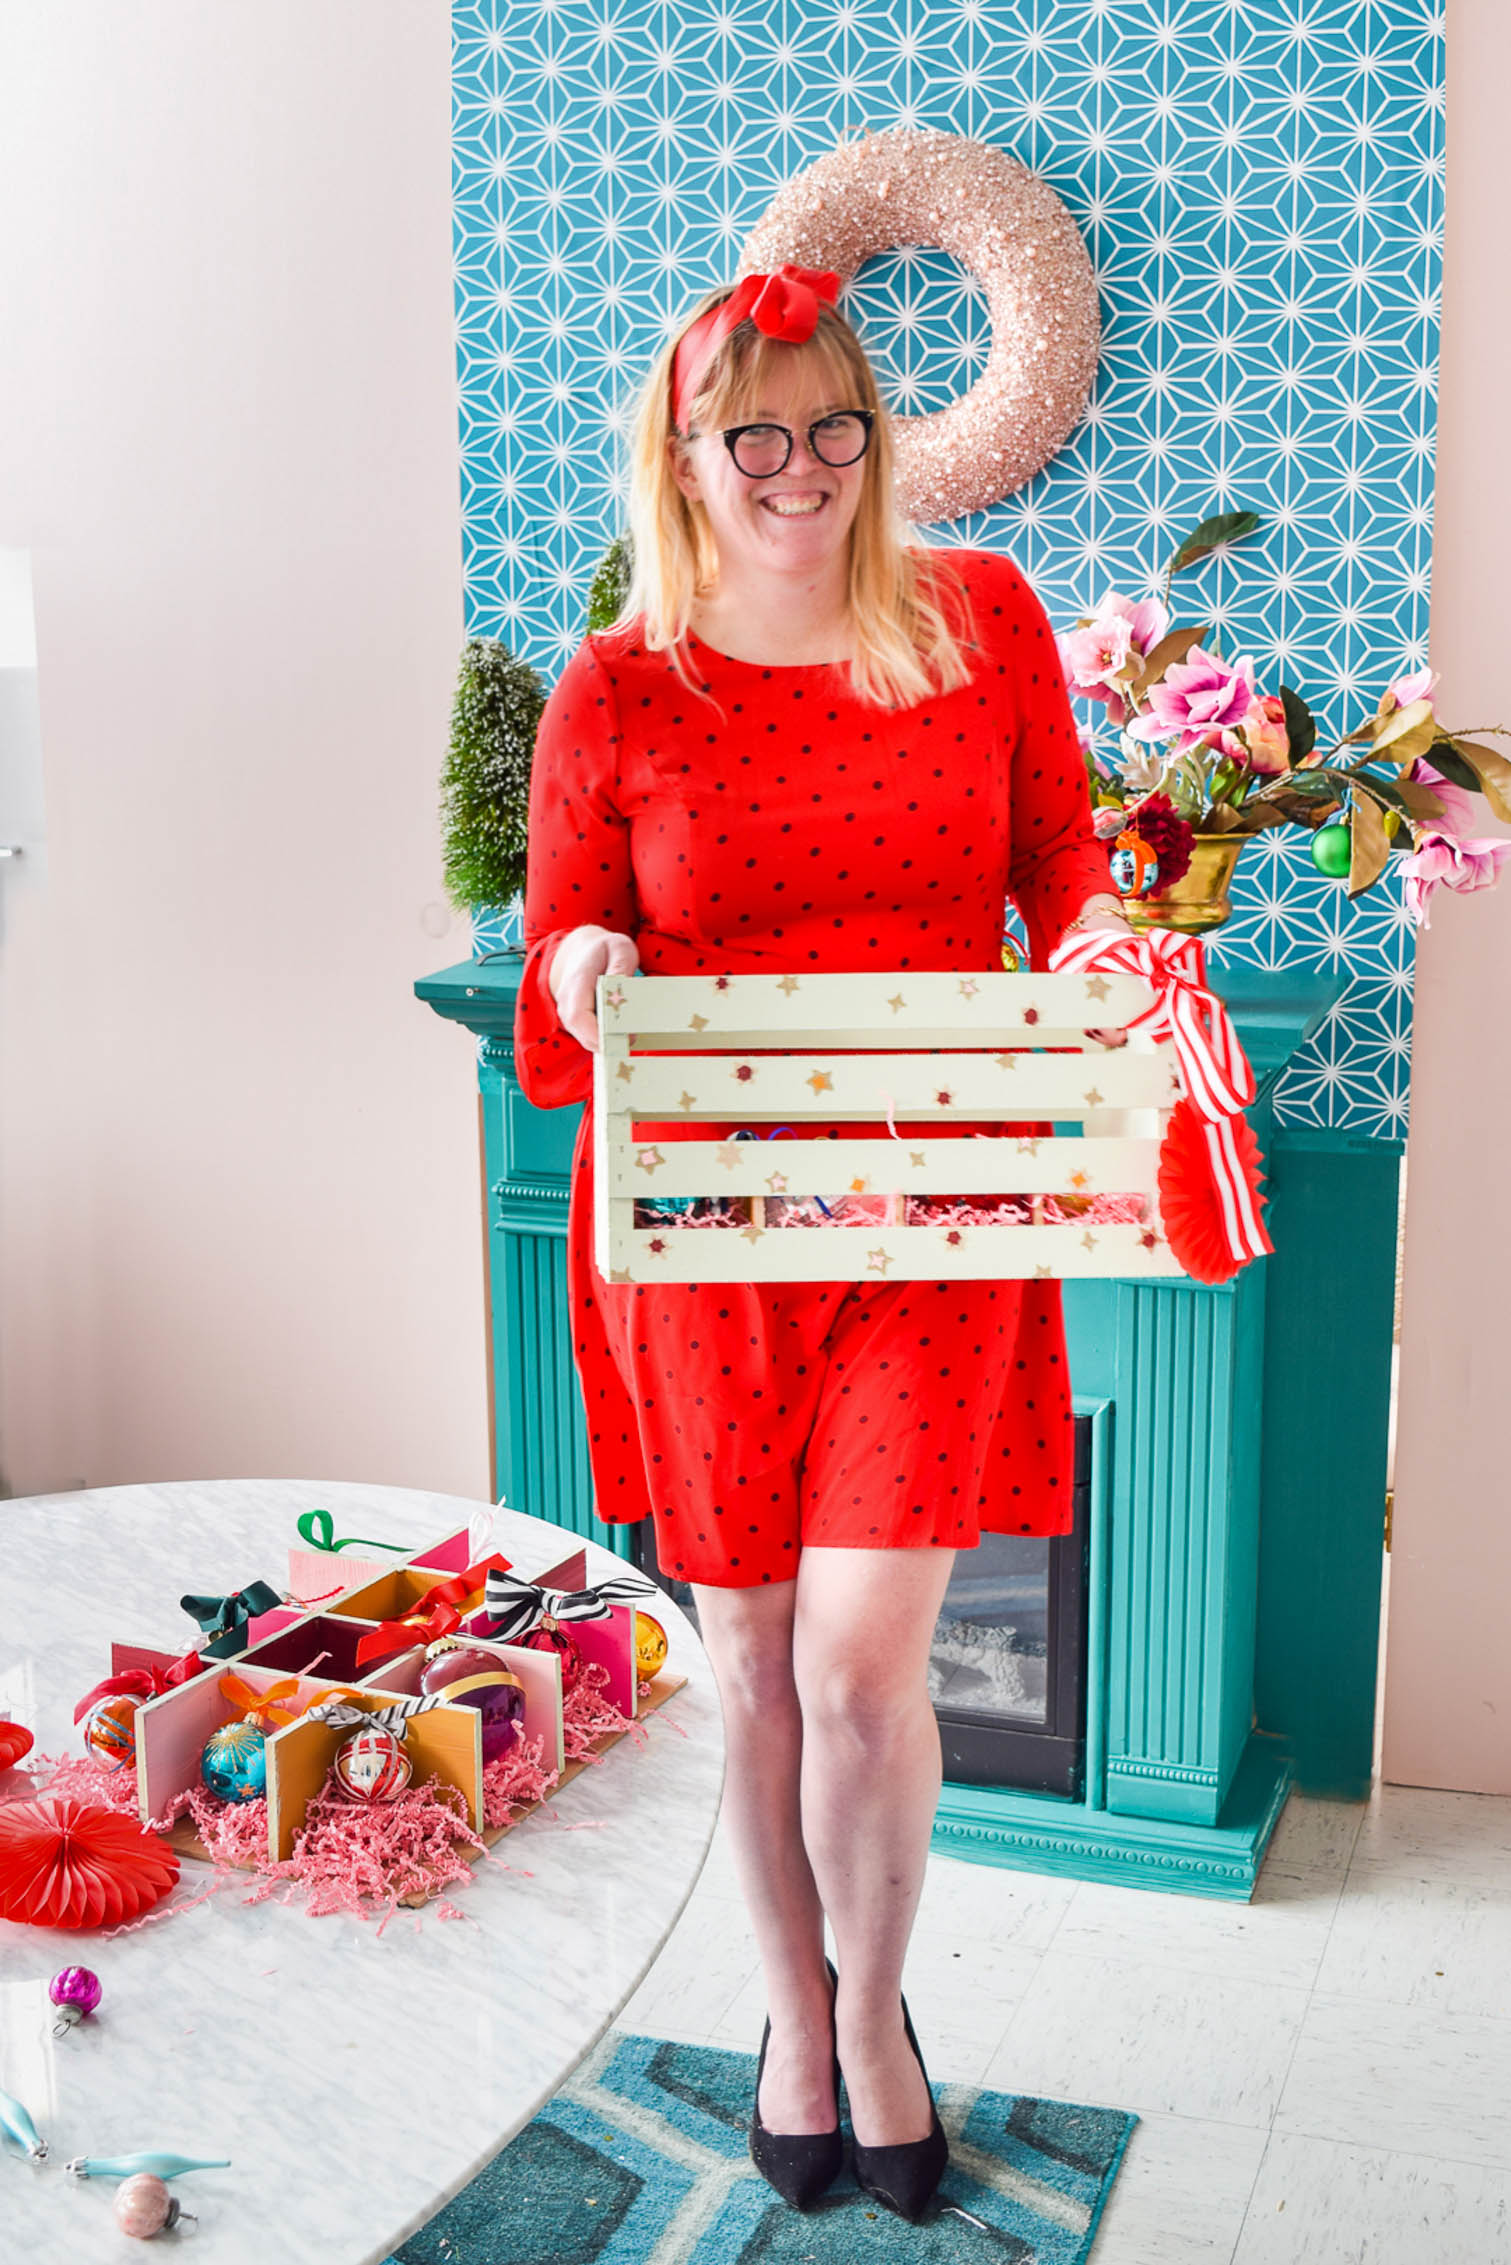
Ok so between the parties, the DIYs, and the cocktails I’ve got going on this holiday season, it’s about time I take a minute to sort out some ornament storage. My DIY Colourful Ornament Storage Crate is pretty enough to display my ornament collection, but also useful enough that I can store them in it once the season is over. Crates & Pallet to the rescue once again, with these DIY dividers and crates.
Check out my Upcycled Bar Cabinet, my Atomic Starburst Ornaments, and my DIY Christmas Party Awards.
*Crates & Pallet sponsored this post, but all thoughts are my own. Thank you for supporting the brands that make PMQ for two possible.
*originally published Dec 10th 2018

Crate Storage Inserts
Everyone sells some sort of contraption for storing ornaments and decor, but nothing short of some solo cups with cardboard layers, have kept collection of vintage glass pieces safe. In search for something a little more durable, I checked out Crates & Pallet’s online catalogue and found these 12 grid wood crate inserts.
Catch my Cinco de Mayo Party In A Box and my Summer Bike Basket
Given my expanding collection of wood crates (because they’re so useful!), it was a no brainer.
How To DIY Colourful Ornament Storage Crate
You could just order the inserts and crates and leave it at that. But that’s no fun, and definitely doesn’t sound like me, does it? Time to bust out the paint! But first, I recommend assembling them first. To do that, you’ll need some wood glue. You may also want some MDF pieces cut the size to use as a layer between them.
Each pack of 12 grid wood crate inserts will fit on top of a piece that is 16.375″ x 11.875, and inside a large crate. I suggest you grab two inserts for each large crate.
The MDF sheets are nice to have in between the inserts to prevent heavier ornaments from falling through. You can use ribbons wrapped around to lit the inserts out, or just leave the pieces loose (like I do) to allow for more versatility when storing.
Painting Your Crate Inserts
I was unsure if I wanted to paint or stain the crate & insert, but I figured that painting the inserts would add the pops of colours I wanted. I took inspiration from my ornaments, and used warm colours like reds, pinks, and mustard with a light green trim.
While you’re at it, paint the crate as well! I originally wanted to do a darker colour, but in the end I settled on the same light green that I used to paint the trims. I then used my star shaped paint sponge to add stars to the crate.
Using your Colourful Crates for Ornament Storage
You could just plop the ornaments inside the little cubbies, but I wanted to add a little padding so that they don’t roll around too much (these glass ones are fragile!)
I found some shredded papers to layer the bottom of the insert sheets with, and in the process it hides the MDF boards beneath.
I’ve now got the perfect little cubbies for all my vintage shiny brittes! (and my new ones too). And because they’re safely nestled in these wood crates, I’m not worried about something poking through and breaking one of them, while they’re being stored.
Also, mind my bad nail situation. I got a lovely manicure back at Halloween, and haven’t really had an free time since.
Displaying and using your colourful ornament storage crate
You could leave this lovely crate near your tree (with a few precious pieces inside), or put it away once its done doing its job. I plan to leave it around and see if a cat gets inside it (because cats are weird).
