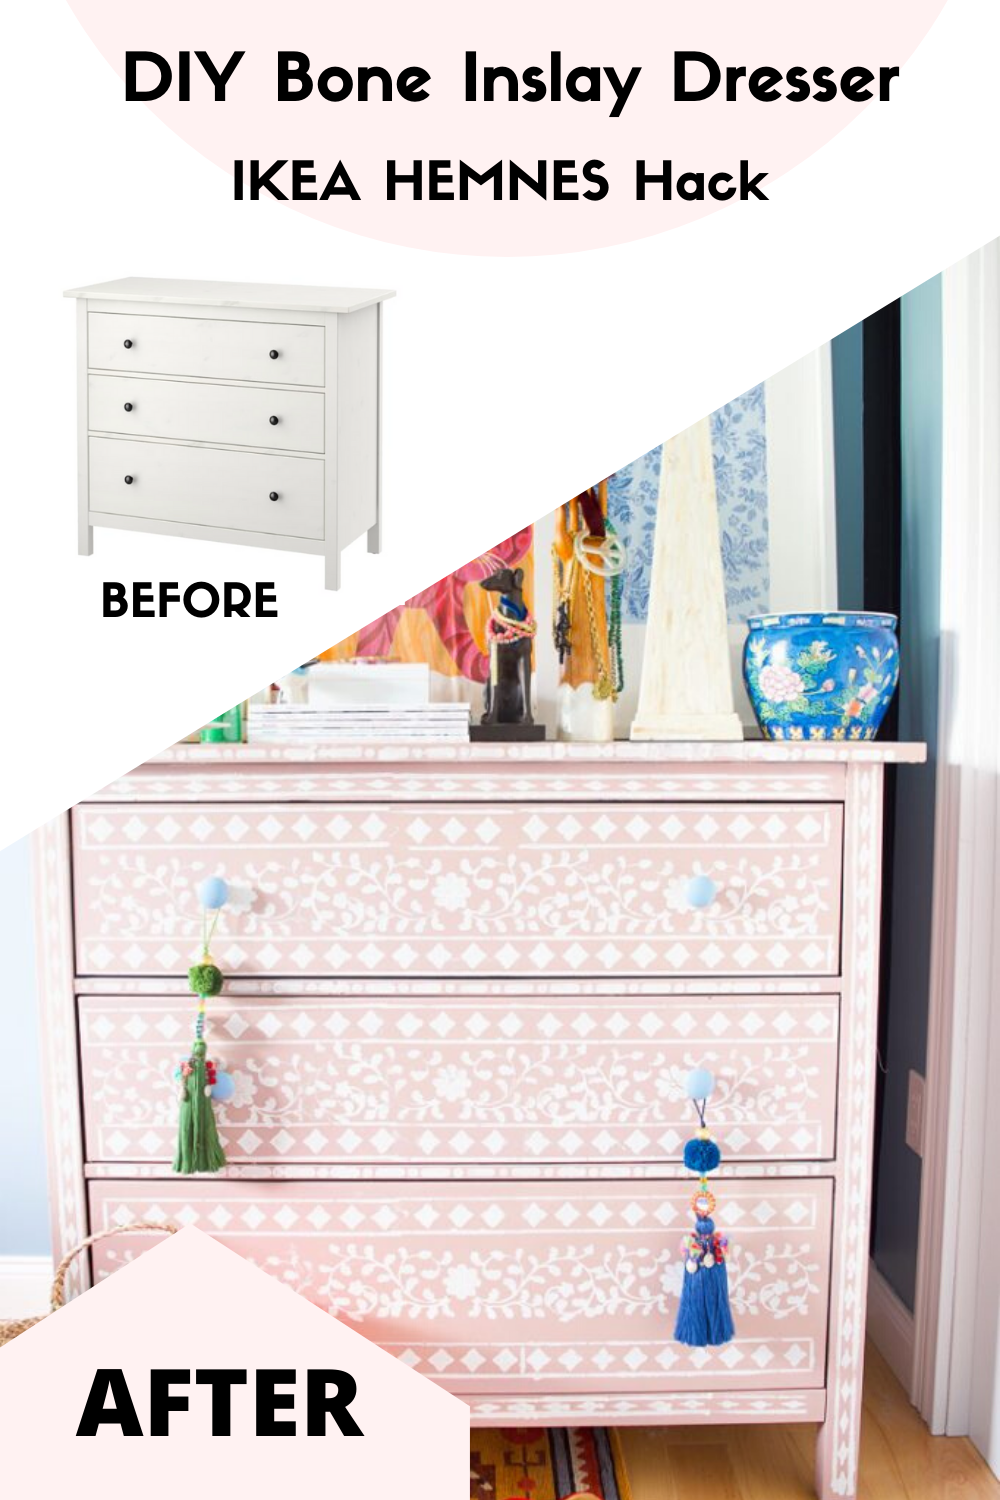
Okay okay, I did just re-did the bedroom in blue so I should have better timed this project to be included in it, but hey! That’s now how this turned-out.
As you saw, I re-did the shoe cabinet in the entryway using FAT Paint and am absolutely in love with the result. I had some extra paint left-over though, and my friend Emmy from Semigloss Design had the indian bone inlay stencil from a mirror DIY that I had been curious about so I asked her if I could borrow hers and she obliged.
Check out my DIY Bone Inlay Coffee Table
*FAT Paint sponsored this post, but all thoughts are my own. Thank you for supporting the brands that make PMQ for two possible.

Check out my DIY Bone Inlay IKEA Moppe

How to create a bone inlay look
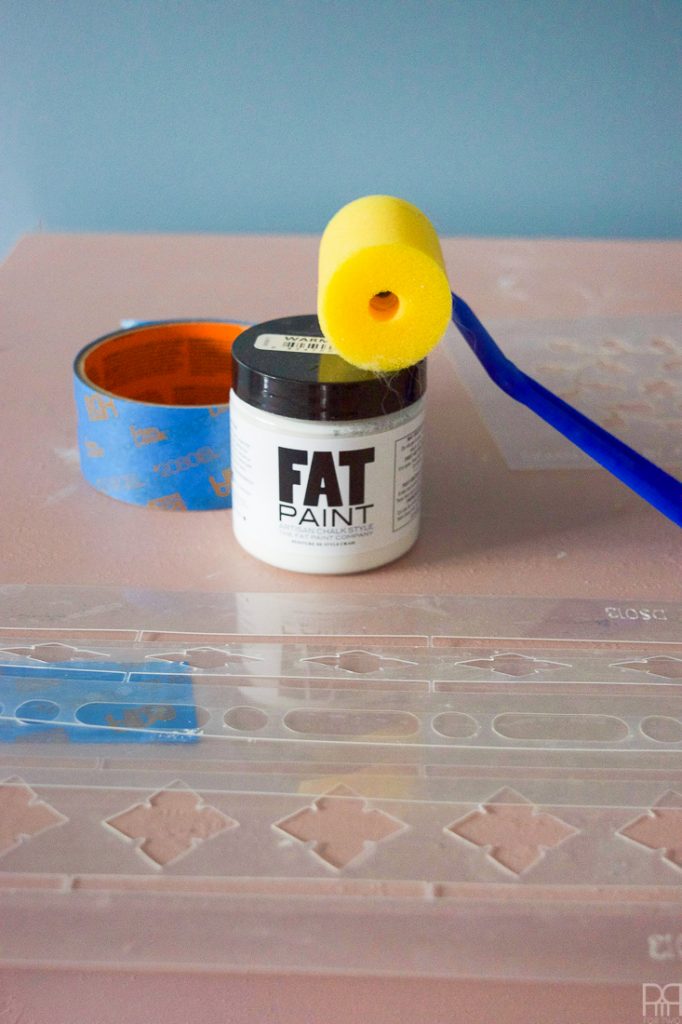
I don’t actually do much stencilling, but I should do more because the process is relatively simple and very impactful. The FAT Paint brand of chalk paint I used also lends itself very well to stencilling. The consistency is perfect and it dries relatively quickly too.
What do you need to stencil a bone inlay pattern onto an IKEA Hemnes Dresser?
*The following product links contain affiliate links. Thank you for supporting the brands that make PMQ for two possible. For my full policies click // here //
- Cutting Edge Bone Inlay Stencil
- Craft Size Paint roller
- Paint tray
- Painting tape (I like the 3M brand)
- FAT Paint in Warm White
How to Paint over IKEA Melamine
If your piece isn’t already prepped, follow my prep instructions from this post here, about painting an IKEA shoe cabinet.
How to Stencil a Dresser
Wash the surface you’re about to paint using a moist washcloth. Let is air dry completely.
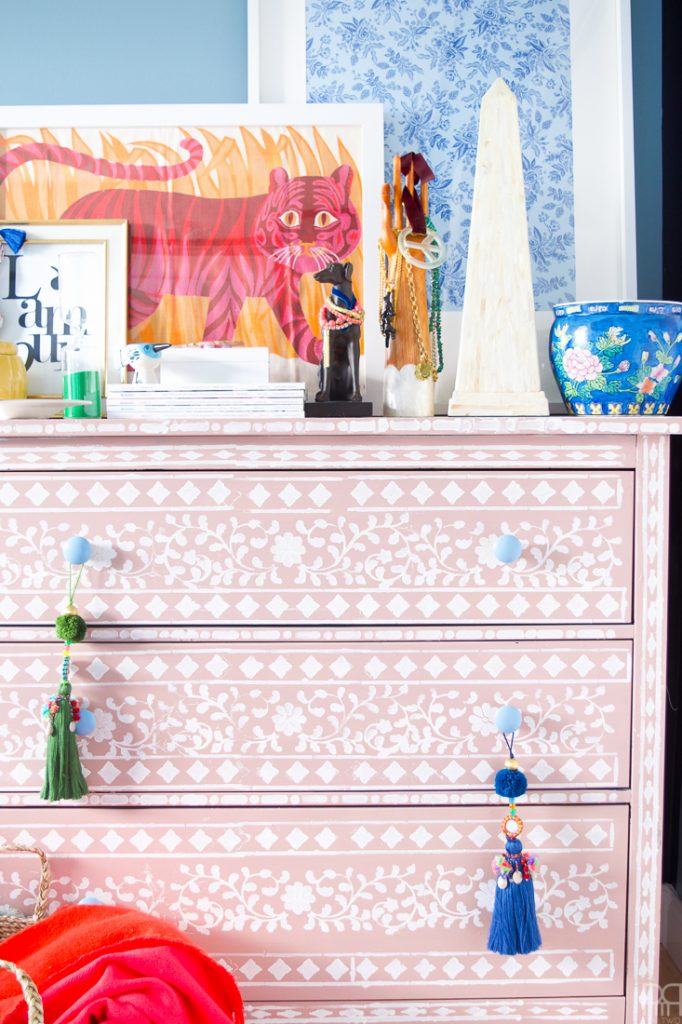
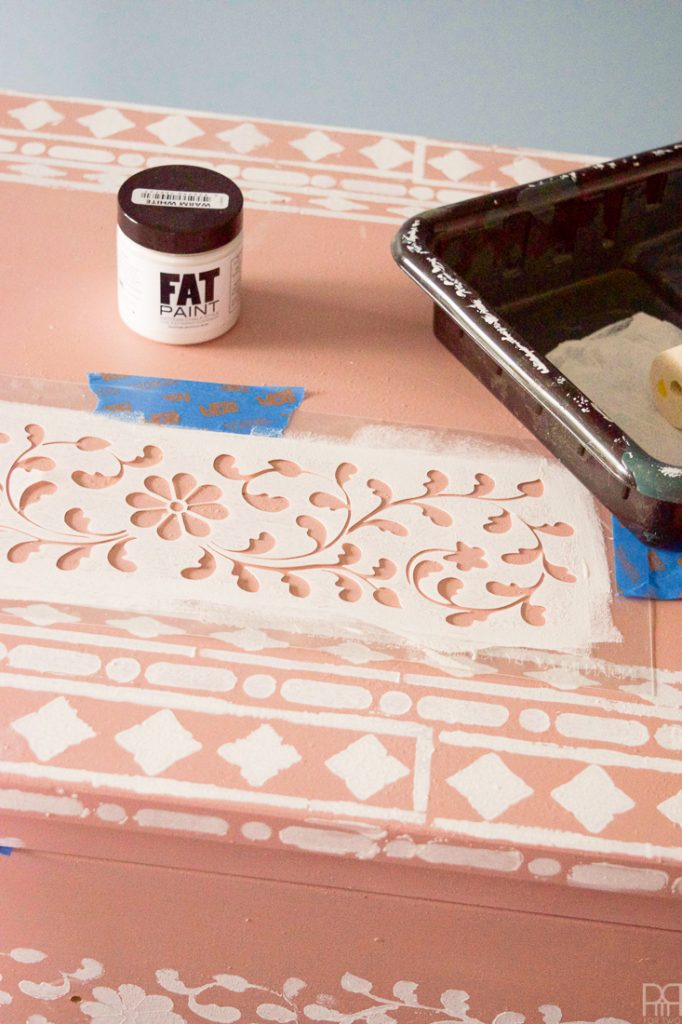
Decide how you’d like to arrange your stencils before you start painting. Taking the time to make sure they fit is key to a seamless execution. I chose to mirror the pattern that came on the stencil packaging (it’s gorgeous after-all) but the way the stencil is created I could have done any number of arrangements.
How to hold your stencil in place
Affix your first stencil using painting tape. It will help keep your hands clean as you paint, and it ensure that you can apply the right amount of taught pressure to the stencil.
Get to rolling! Stencilling requires either a roller or a special kind of brush that allows you to dab onto the surface. You could always brush over it with a regular paint brush, but you risk lifting-up parts of the stencil and getting paint everywhere. A craft roller costs about $0.50 and is well worth it.
Dry time between stencil applications
Because the stencils will overlap, give yourself drying time so that the stencil of one pattern isn’t smudging the drying paint from another elsewhere on your surface.
Repeat the process as many times as needed so as to create the design and pattern you wanted, and then et dry overnight. You can seal it afterwards if necessary.
Once it’s dry and ready to re-furnished, get to it! I was a little more sloppy doing mine than I would normally be, but I don’t notice the mistakes, and I think everything looks good.


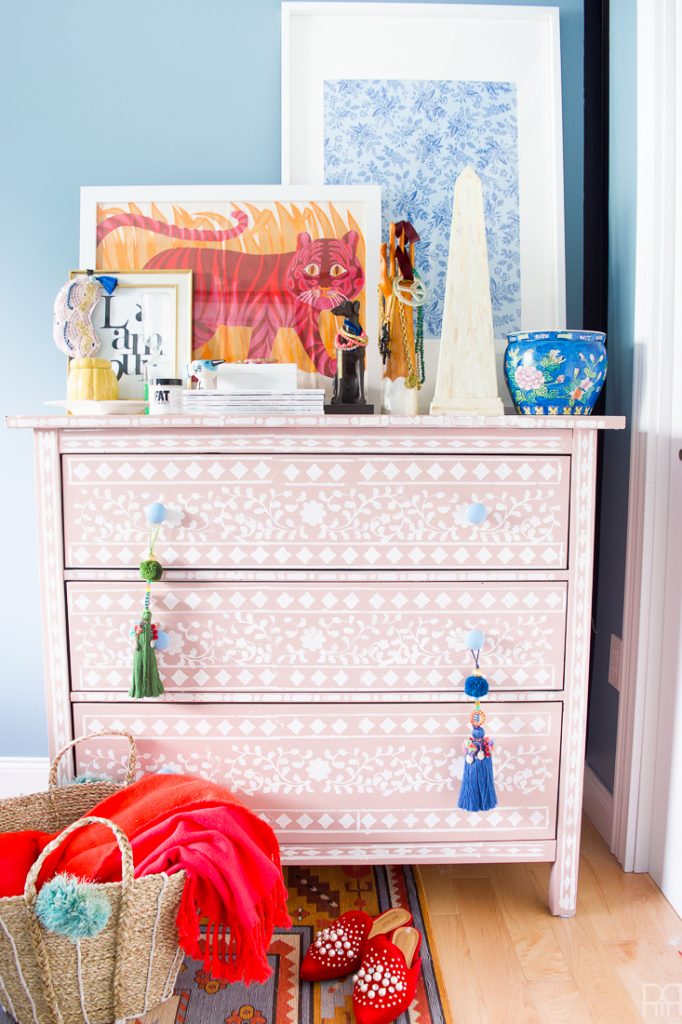
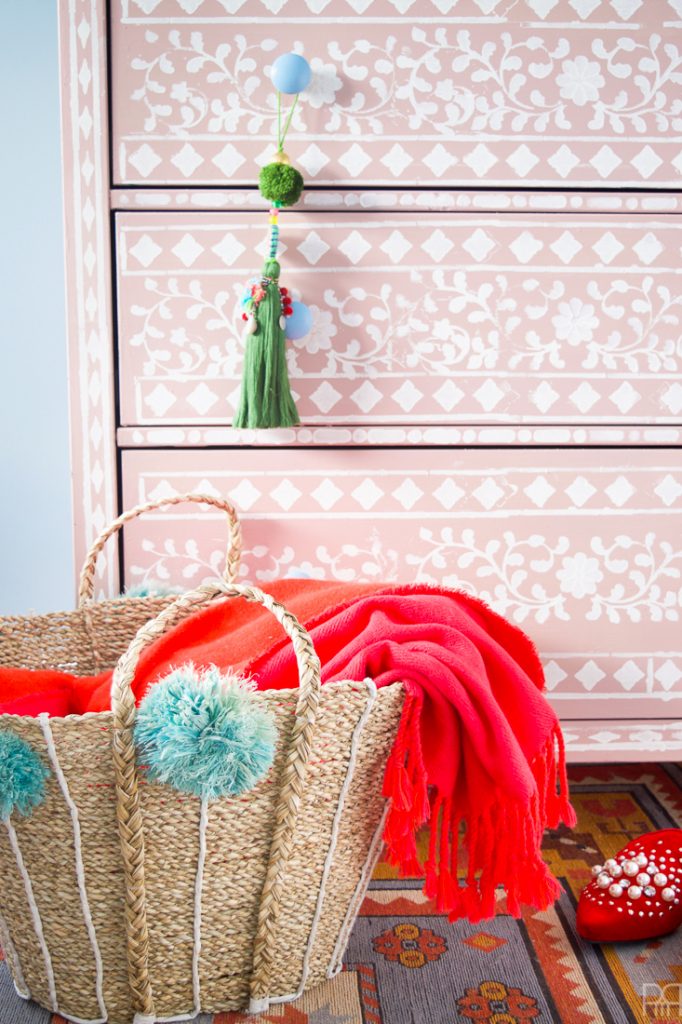
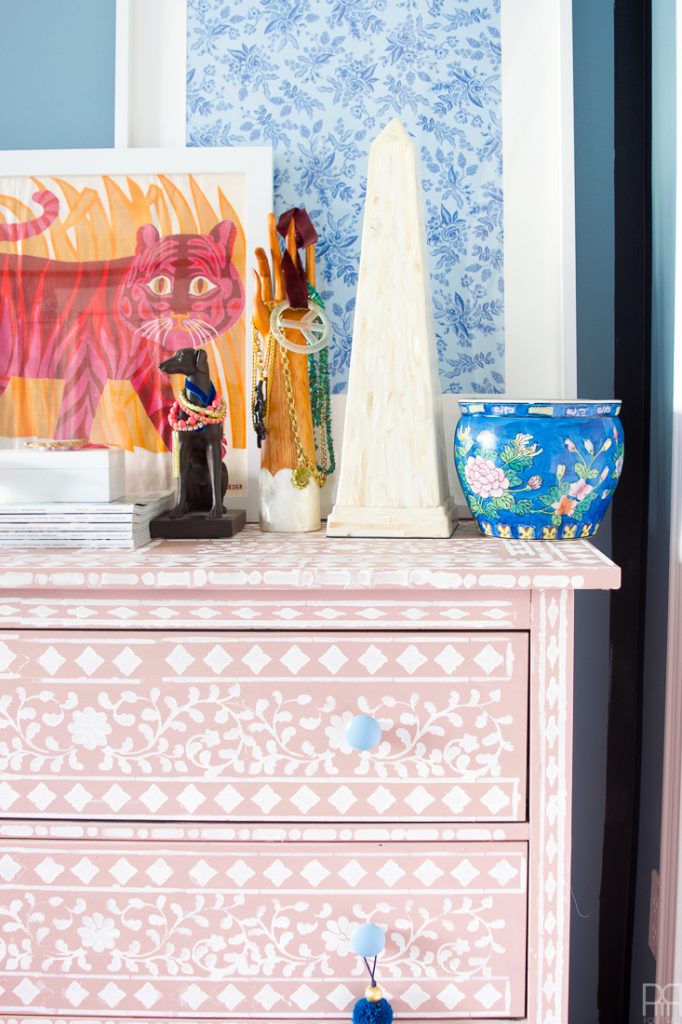
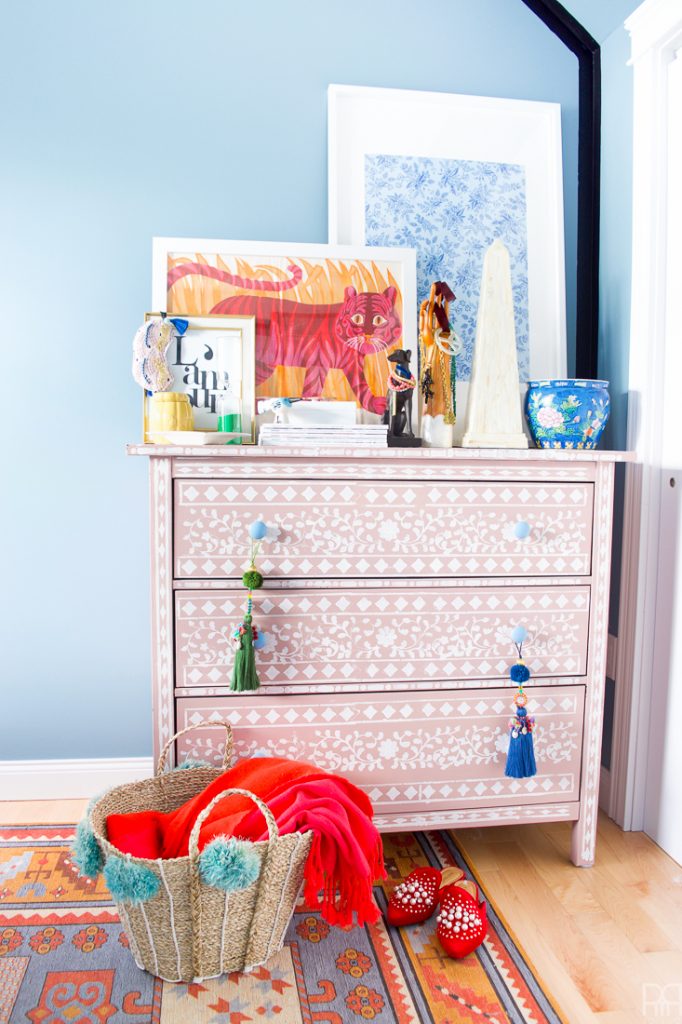
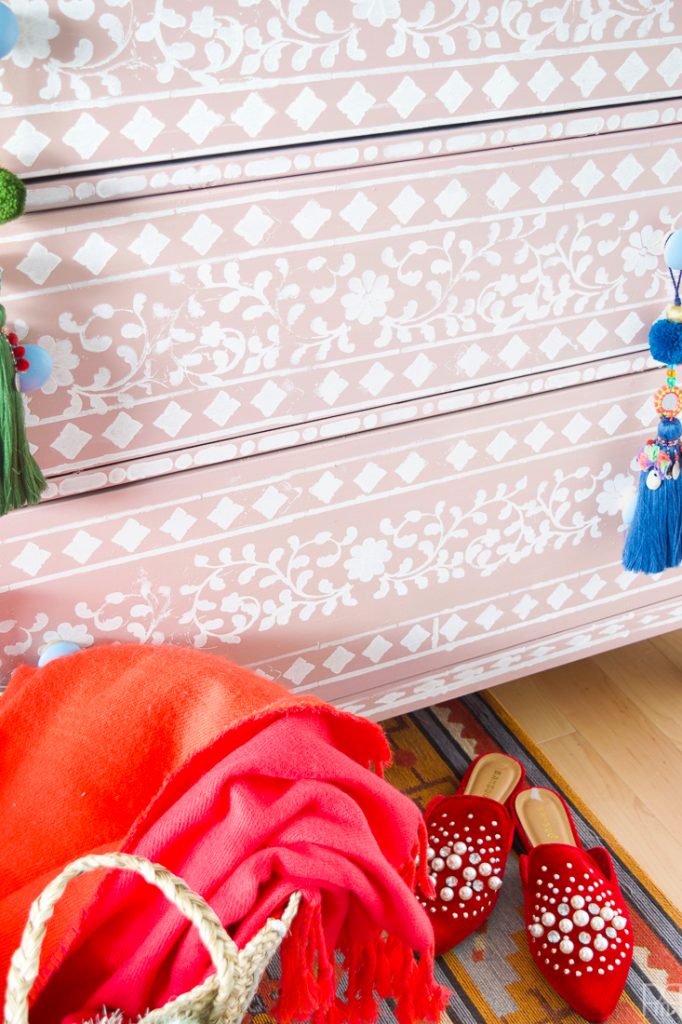
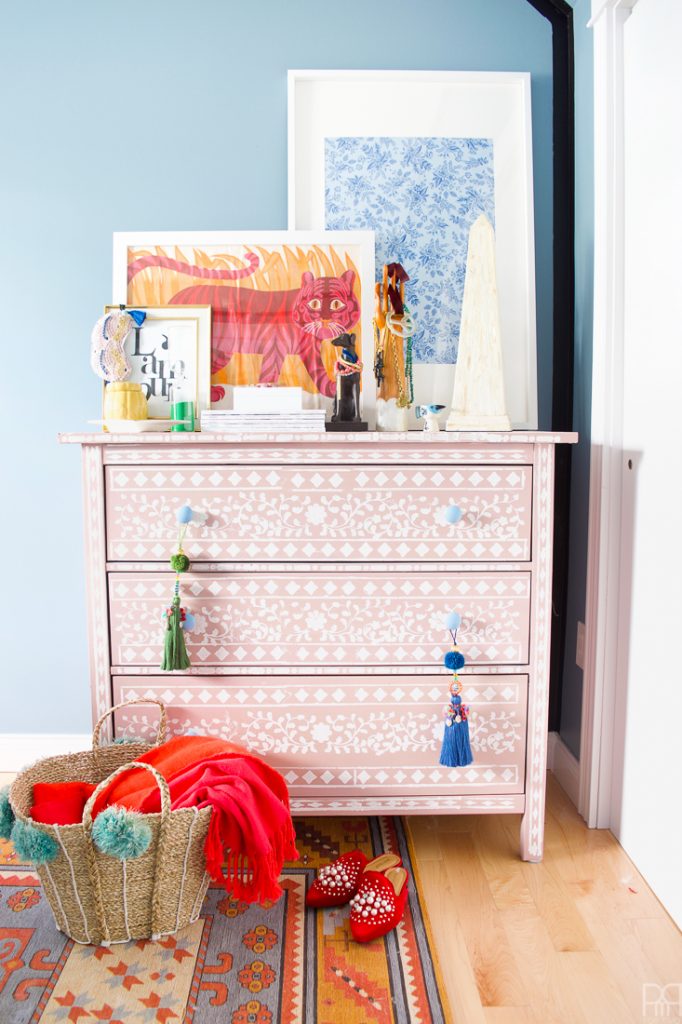
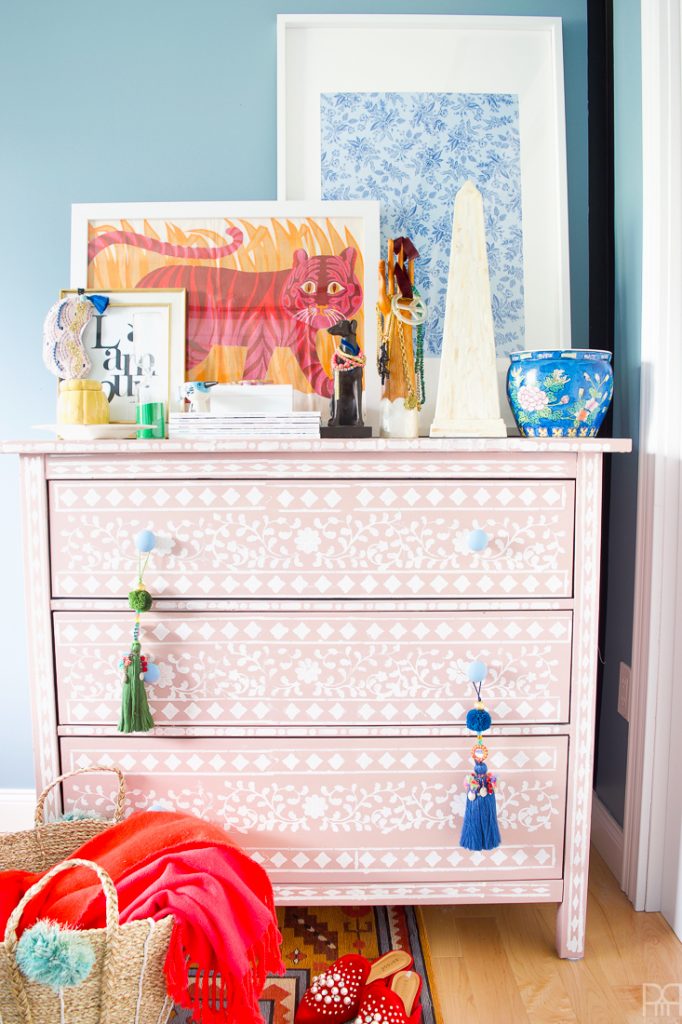
I am oh-so pleased with this! I took the occasion to swap-out the drawer knobs I had for these blue ones, and added fun new tassels from Woman Shops World. I’d say the dresser completes the space! Don’t you?