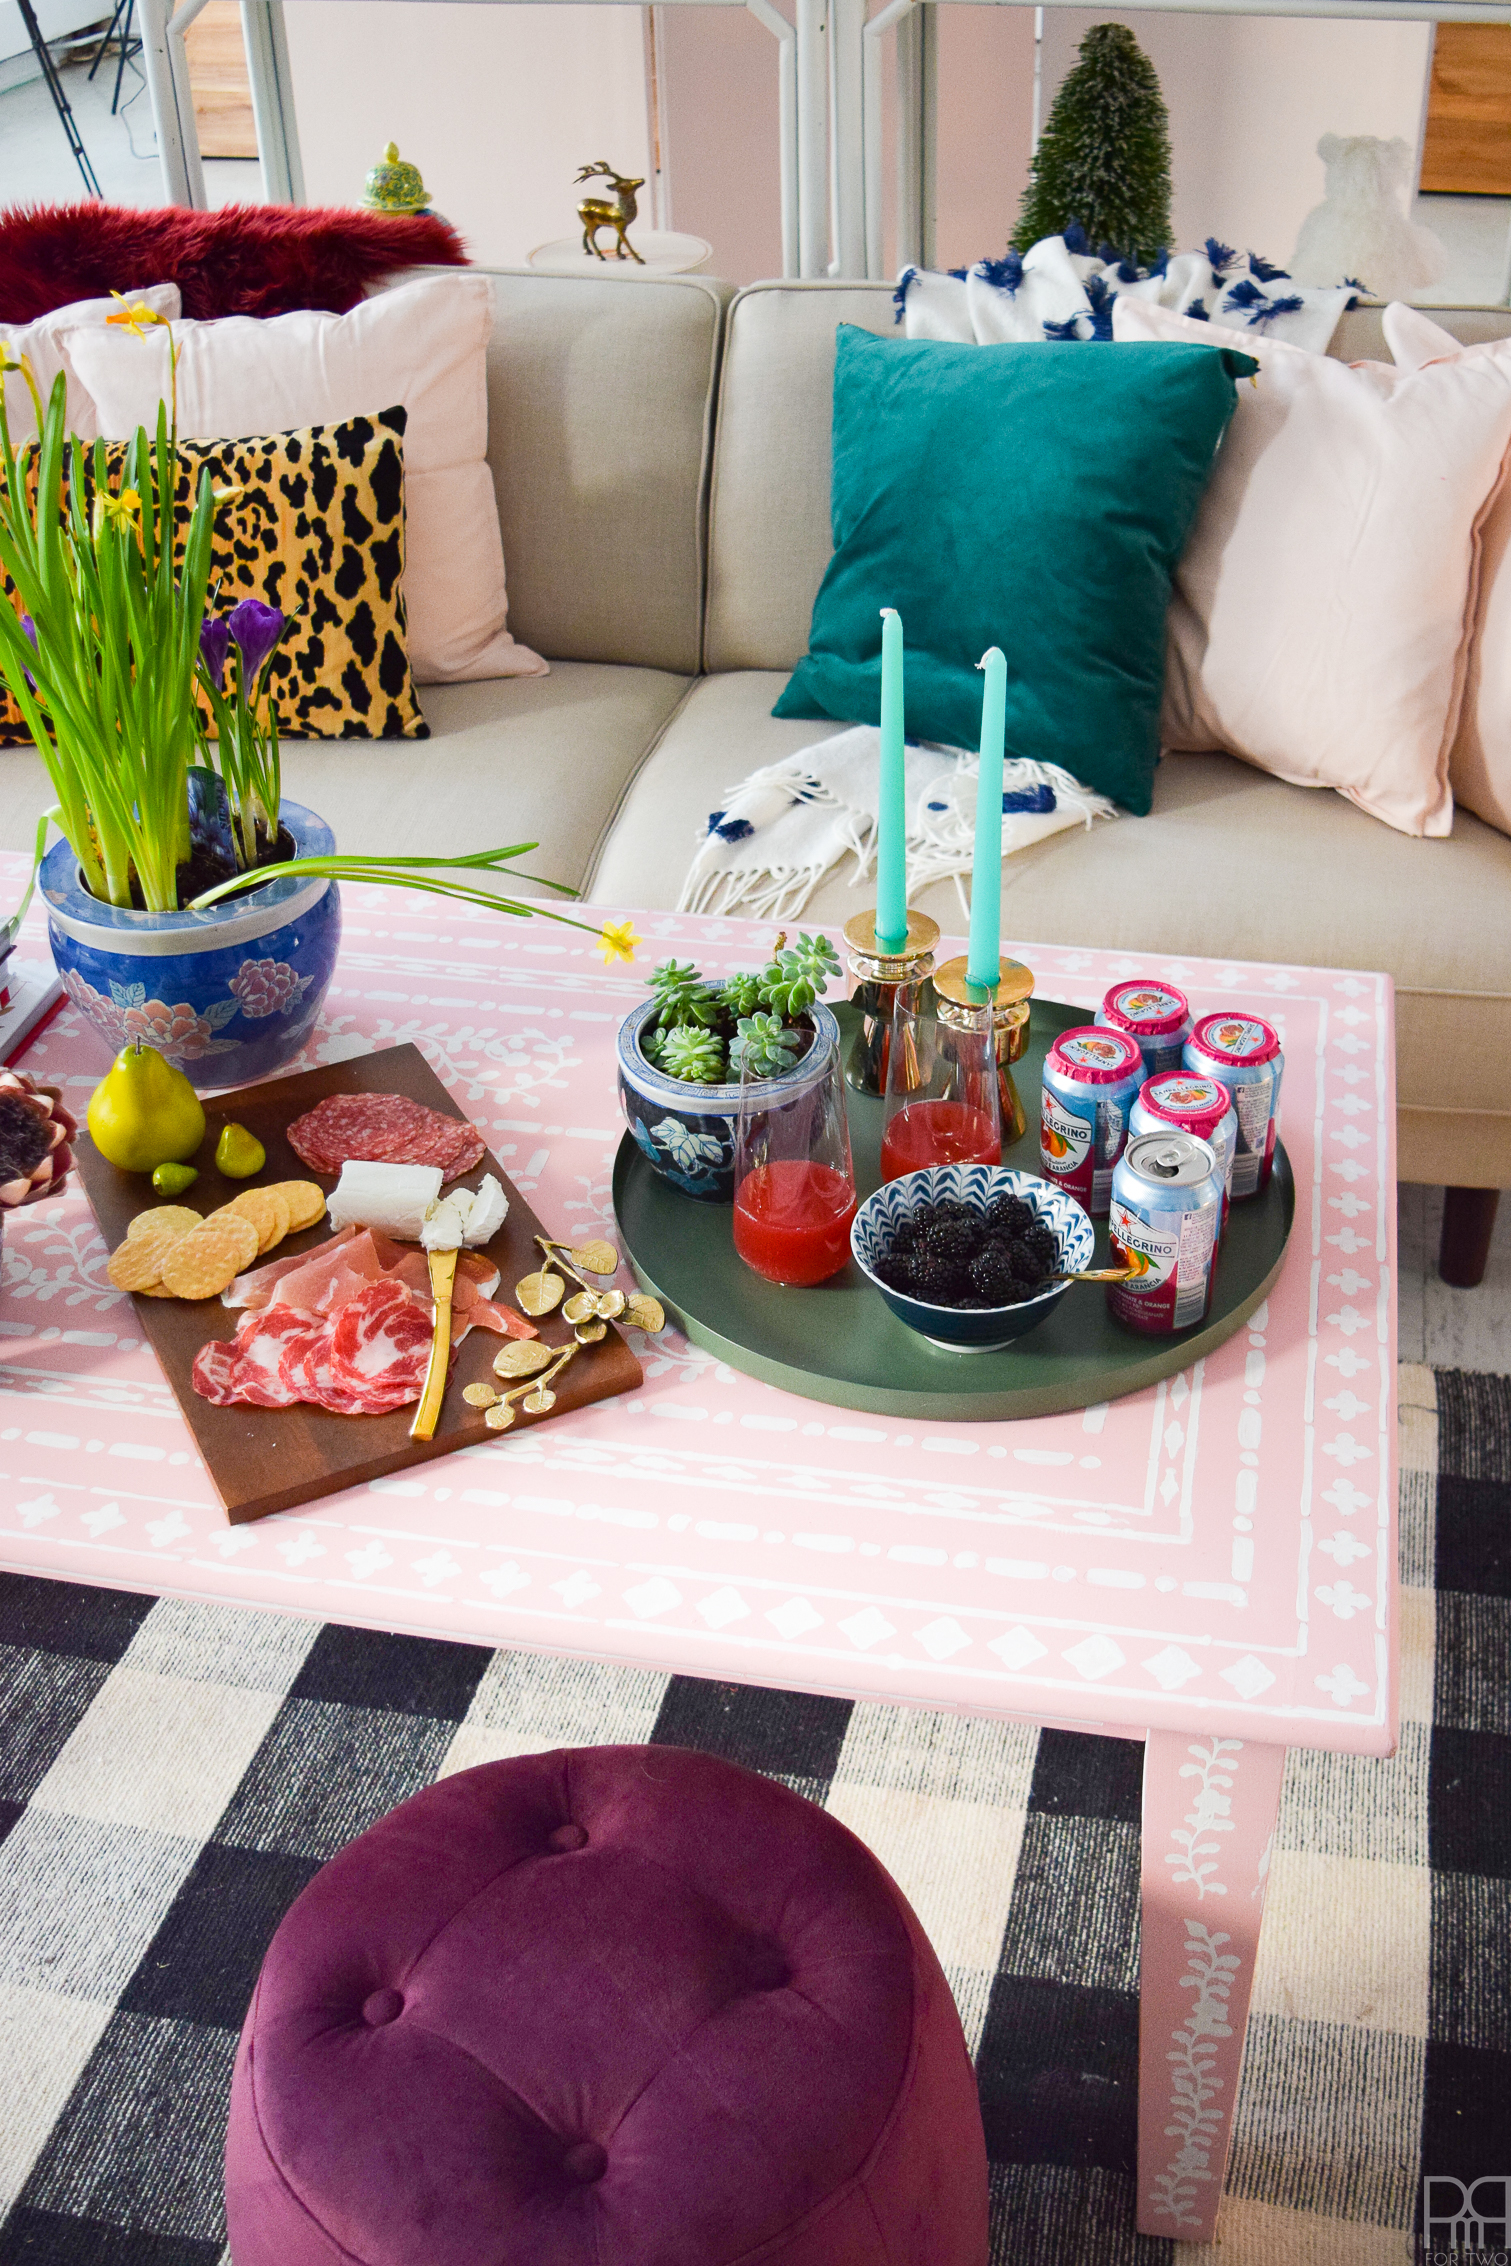
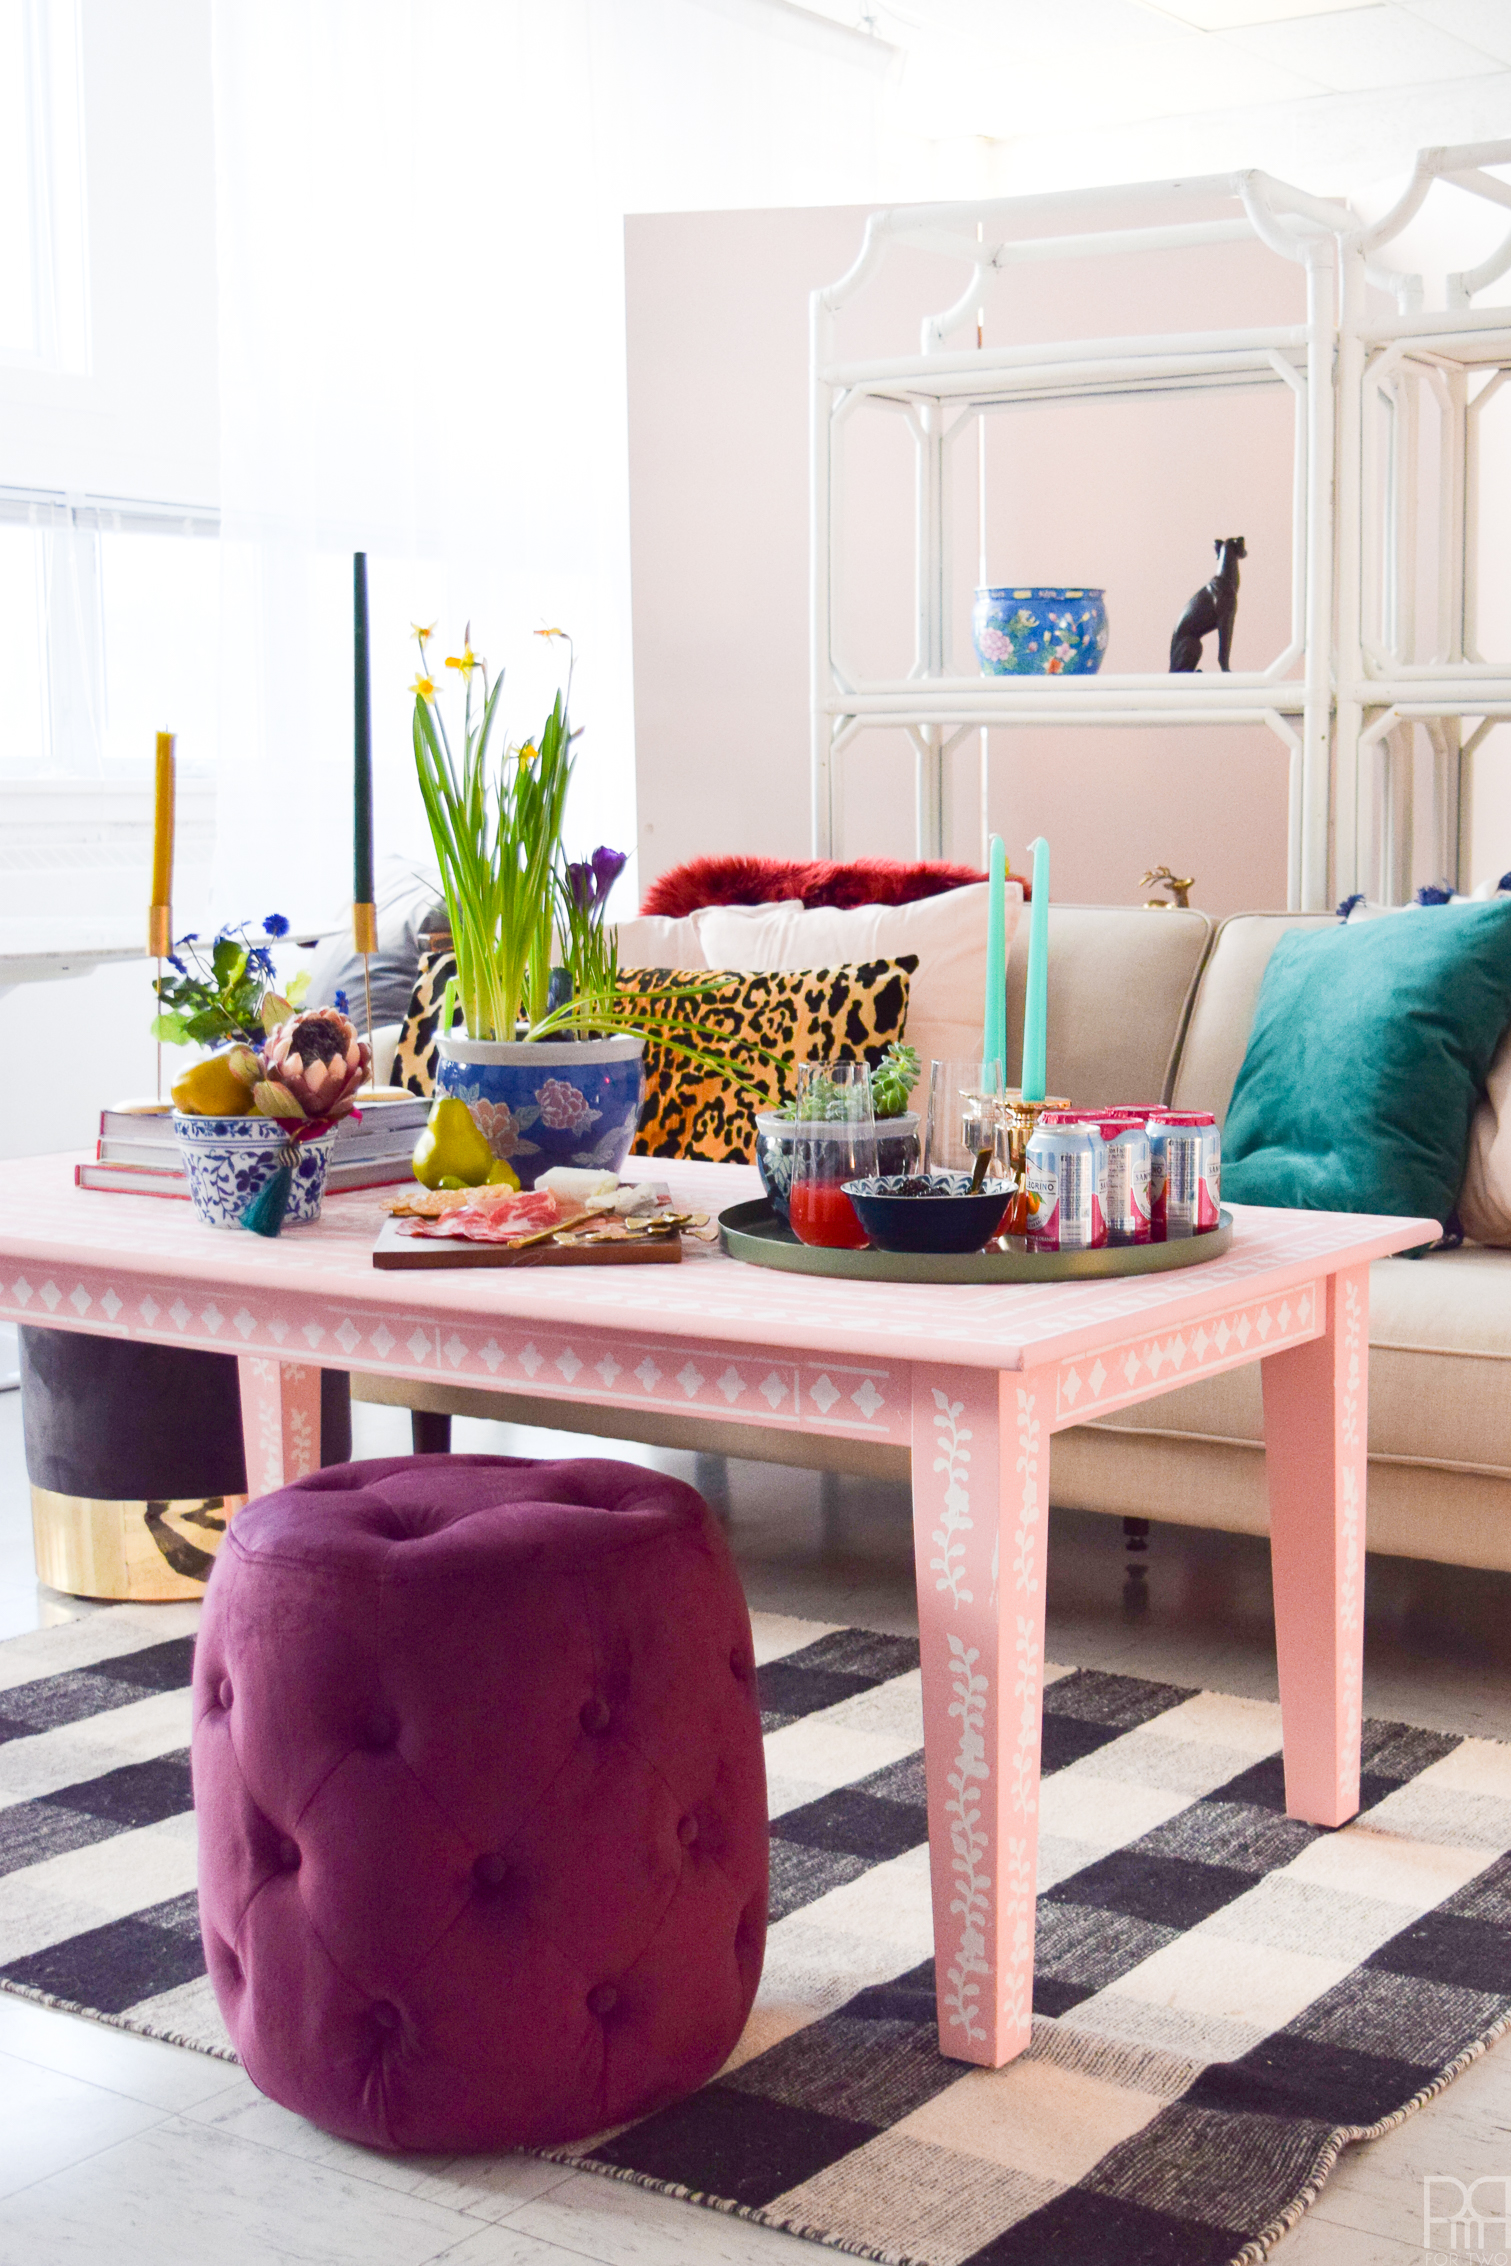
It should come as no surprise to you that I’ve got a hard-on for all things with bone inlay. It’s a great way to bring colour and bold pattern to your space, and I’ve done it twice before, so at this point I’m a pro. I use a stencil from Cutting Edge Stencils that my friend Emy from Semigloss Design let me have after she was done for it. Considering I’ve used it 3 times now I probably should have just bought my own, but hey! you live and ya learn. My DIY bone Inlay Coffee Table is one of the final missing pieces for the studio space, so as soon as it’s finished I can finally show it off to y’all.
Check out my previous FAT PAINT projects: Striped Entryway Console // Bone Inlay Dresser // Glossy Blue Sideboard // DIY Neon Light
* The FAT Paint Co. sponsored this post, but all thoughts are my own. Thank you for supporting the brands that make PMQ for two possible.

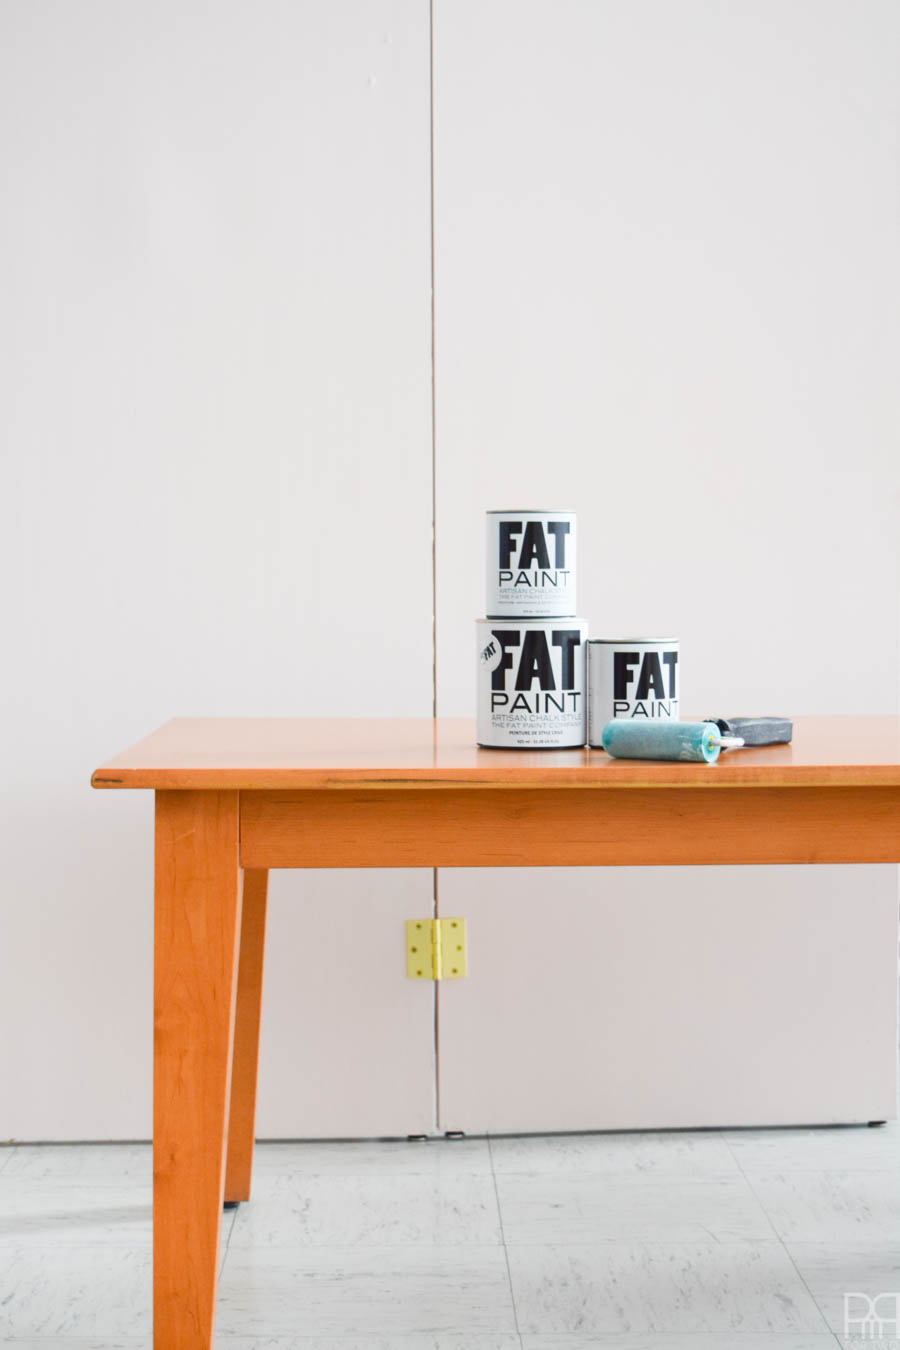
Like with any furtniture project, it all starts with the right piece. I’ve know about this project for ages, and have spent just as long looking for the right coffee table. I tried thrift stores, online classifieds, in stores and more. I lost out because a lot of them sold beforehand, or were too good to paint. This one fell into my lap for the right price of 20$, so I knew it was meant to be.
Matierials for DIY Bone Inlay Coffee Table
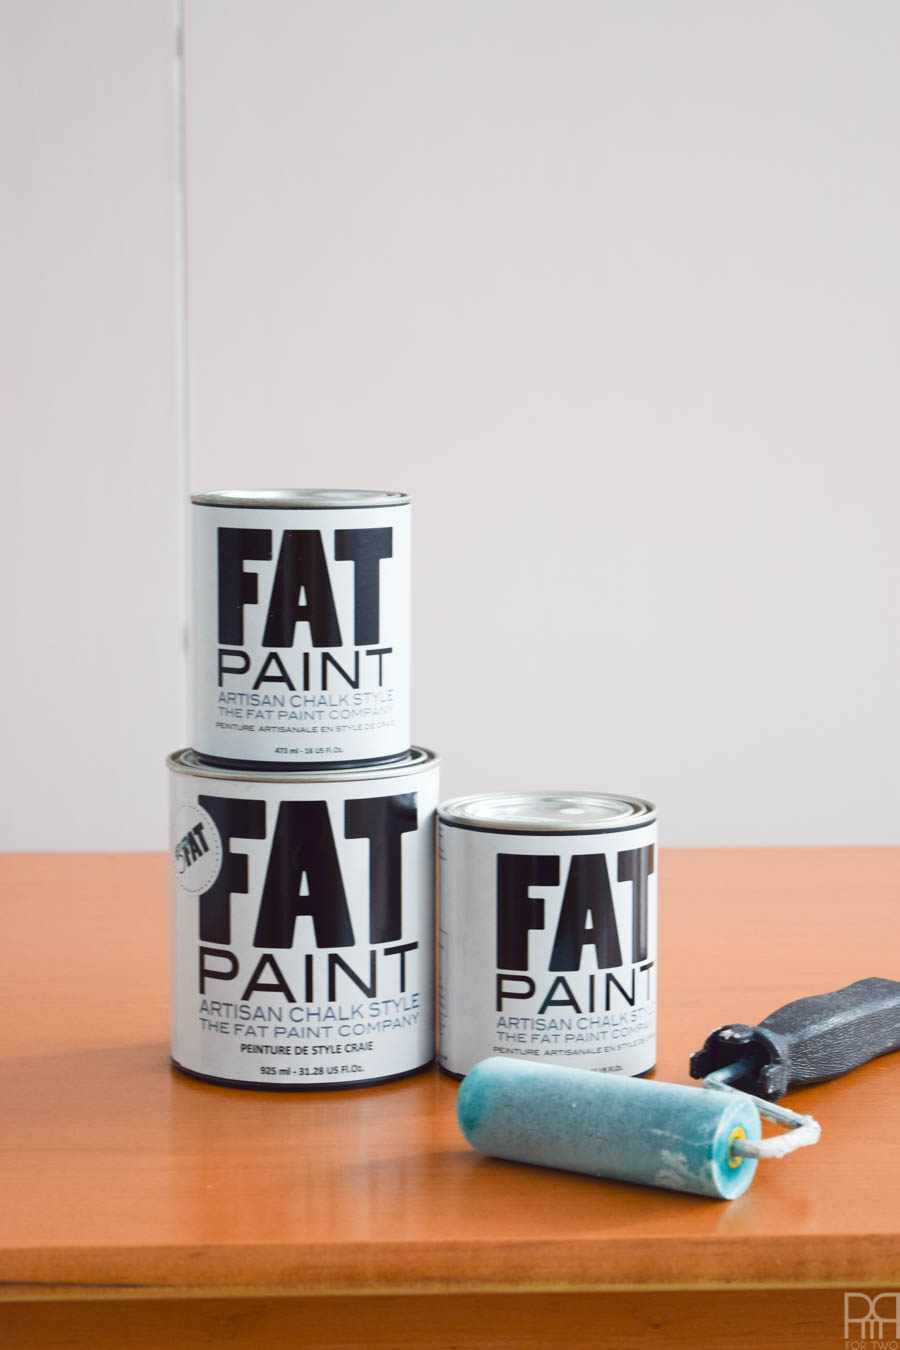
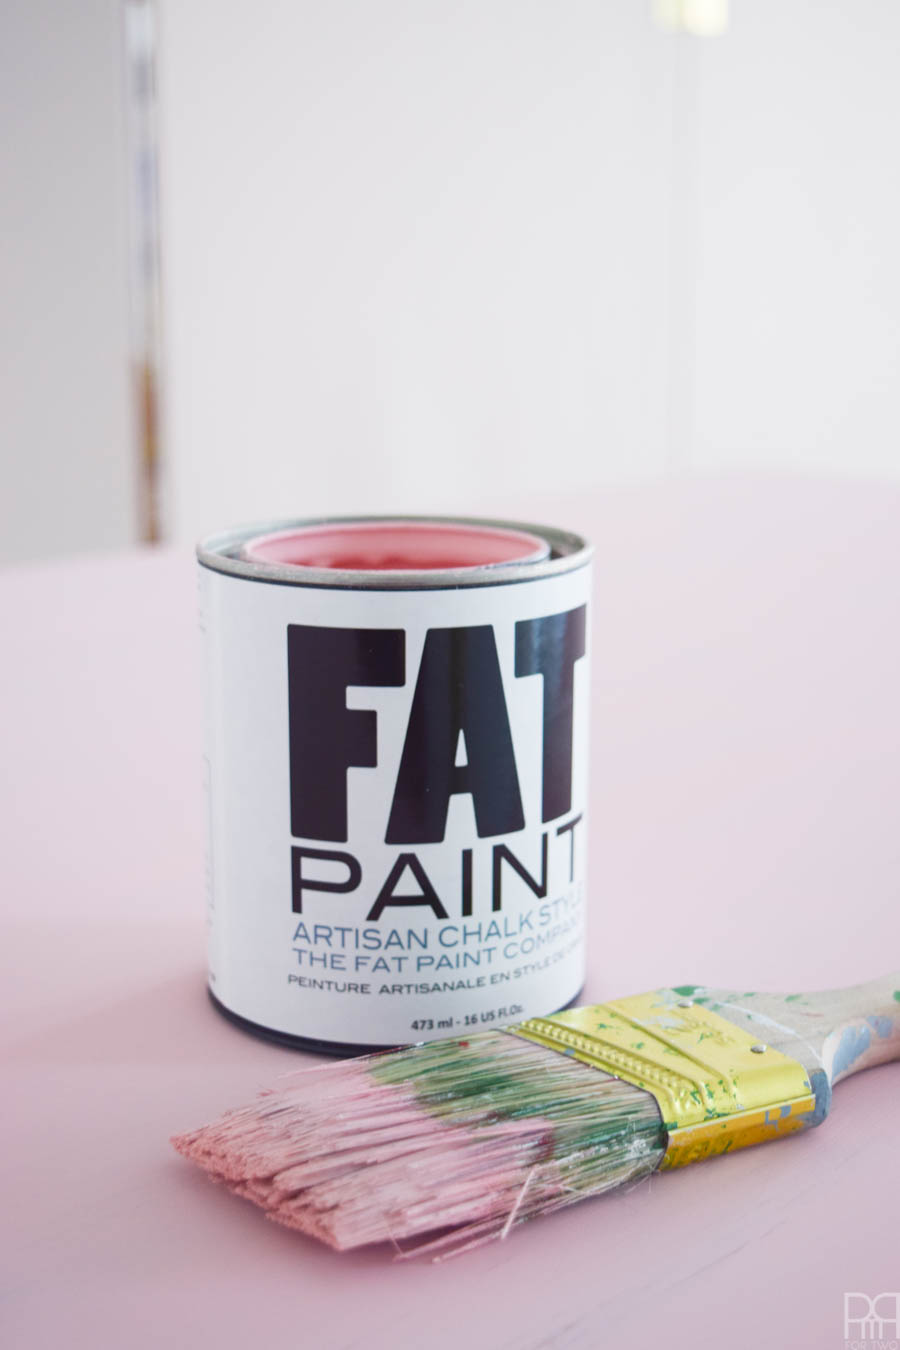
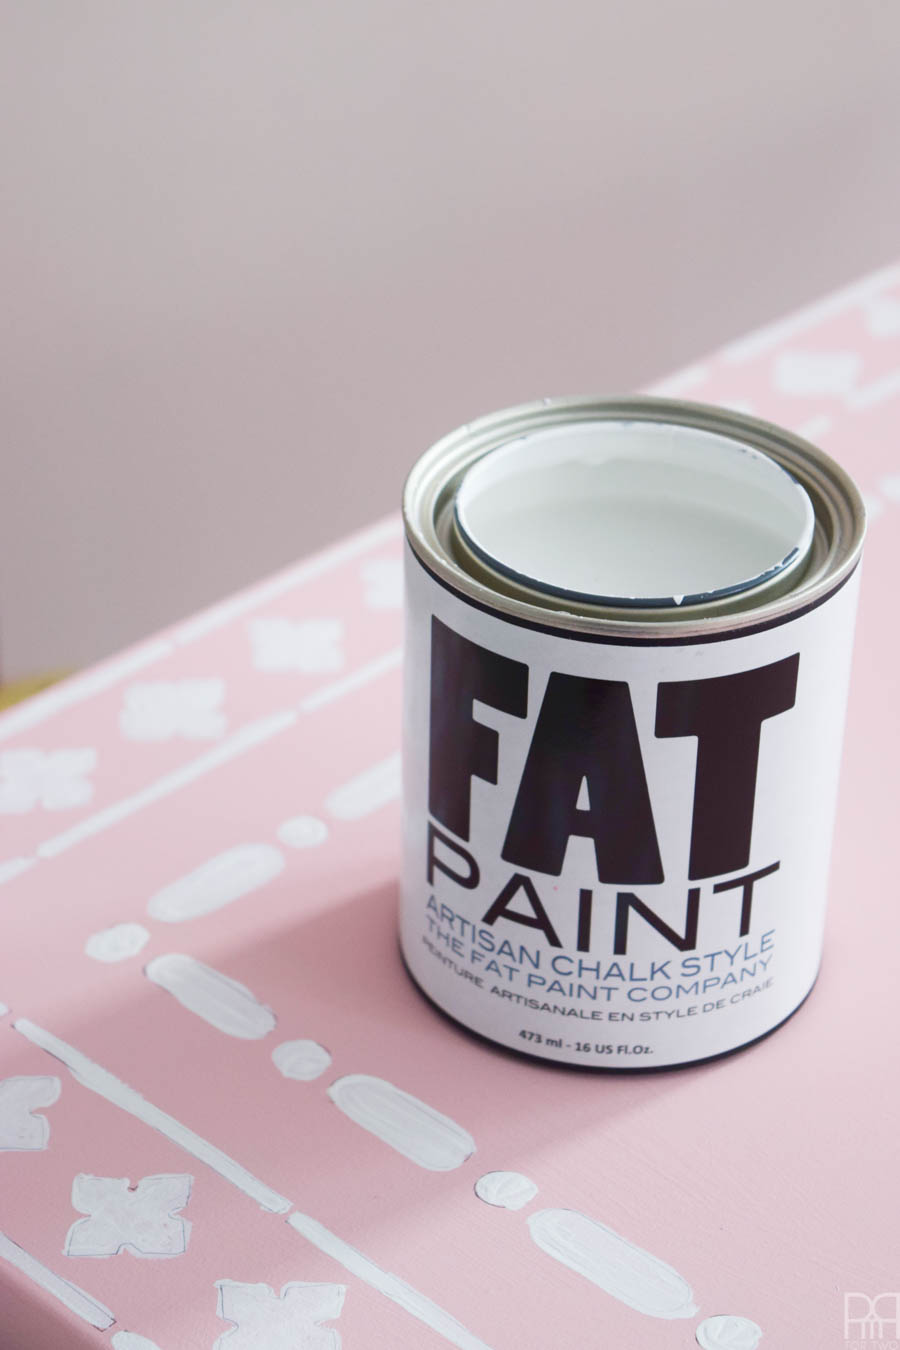
- FAT Paint in Juno and Chalky White – depending on how big the table is you may need more or less.
- Paint brush and roller + tray
- Cutting Edge Bone Inlay Stencil
- Time


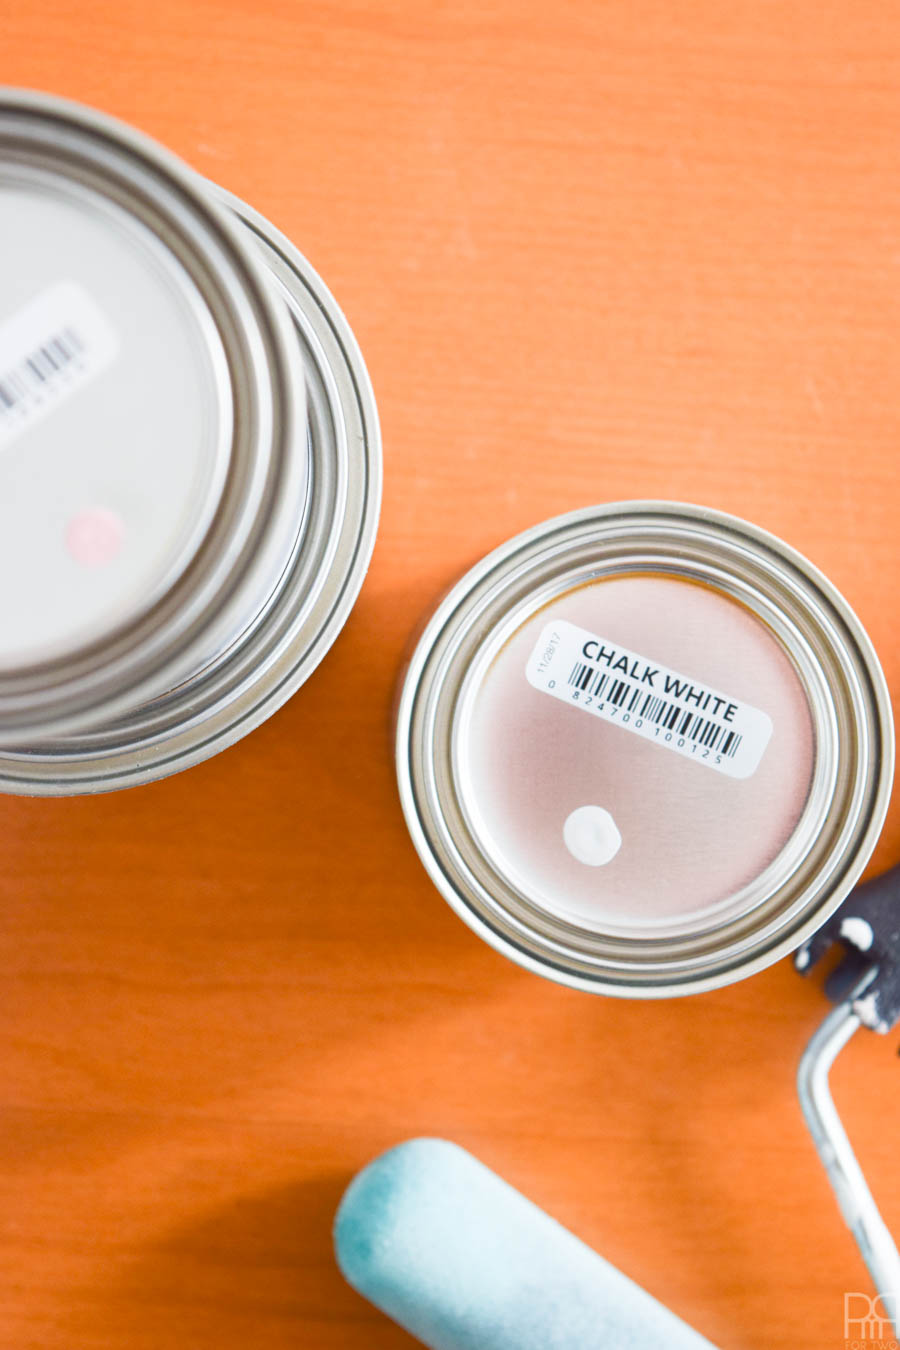
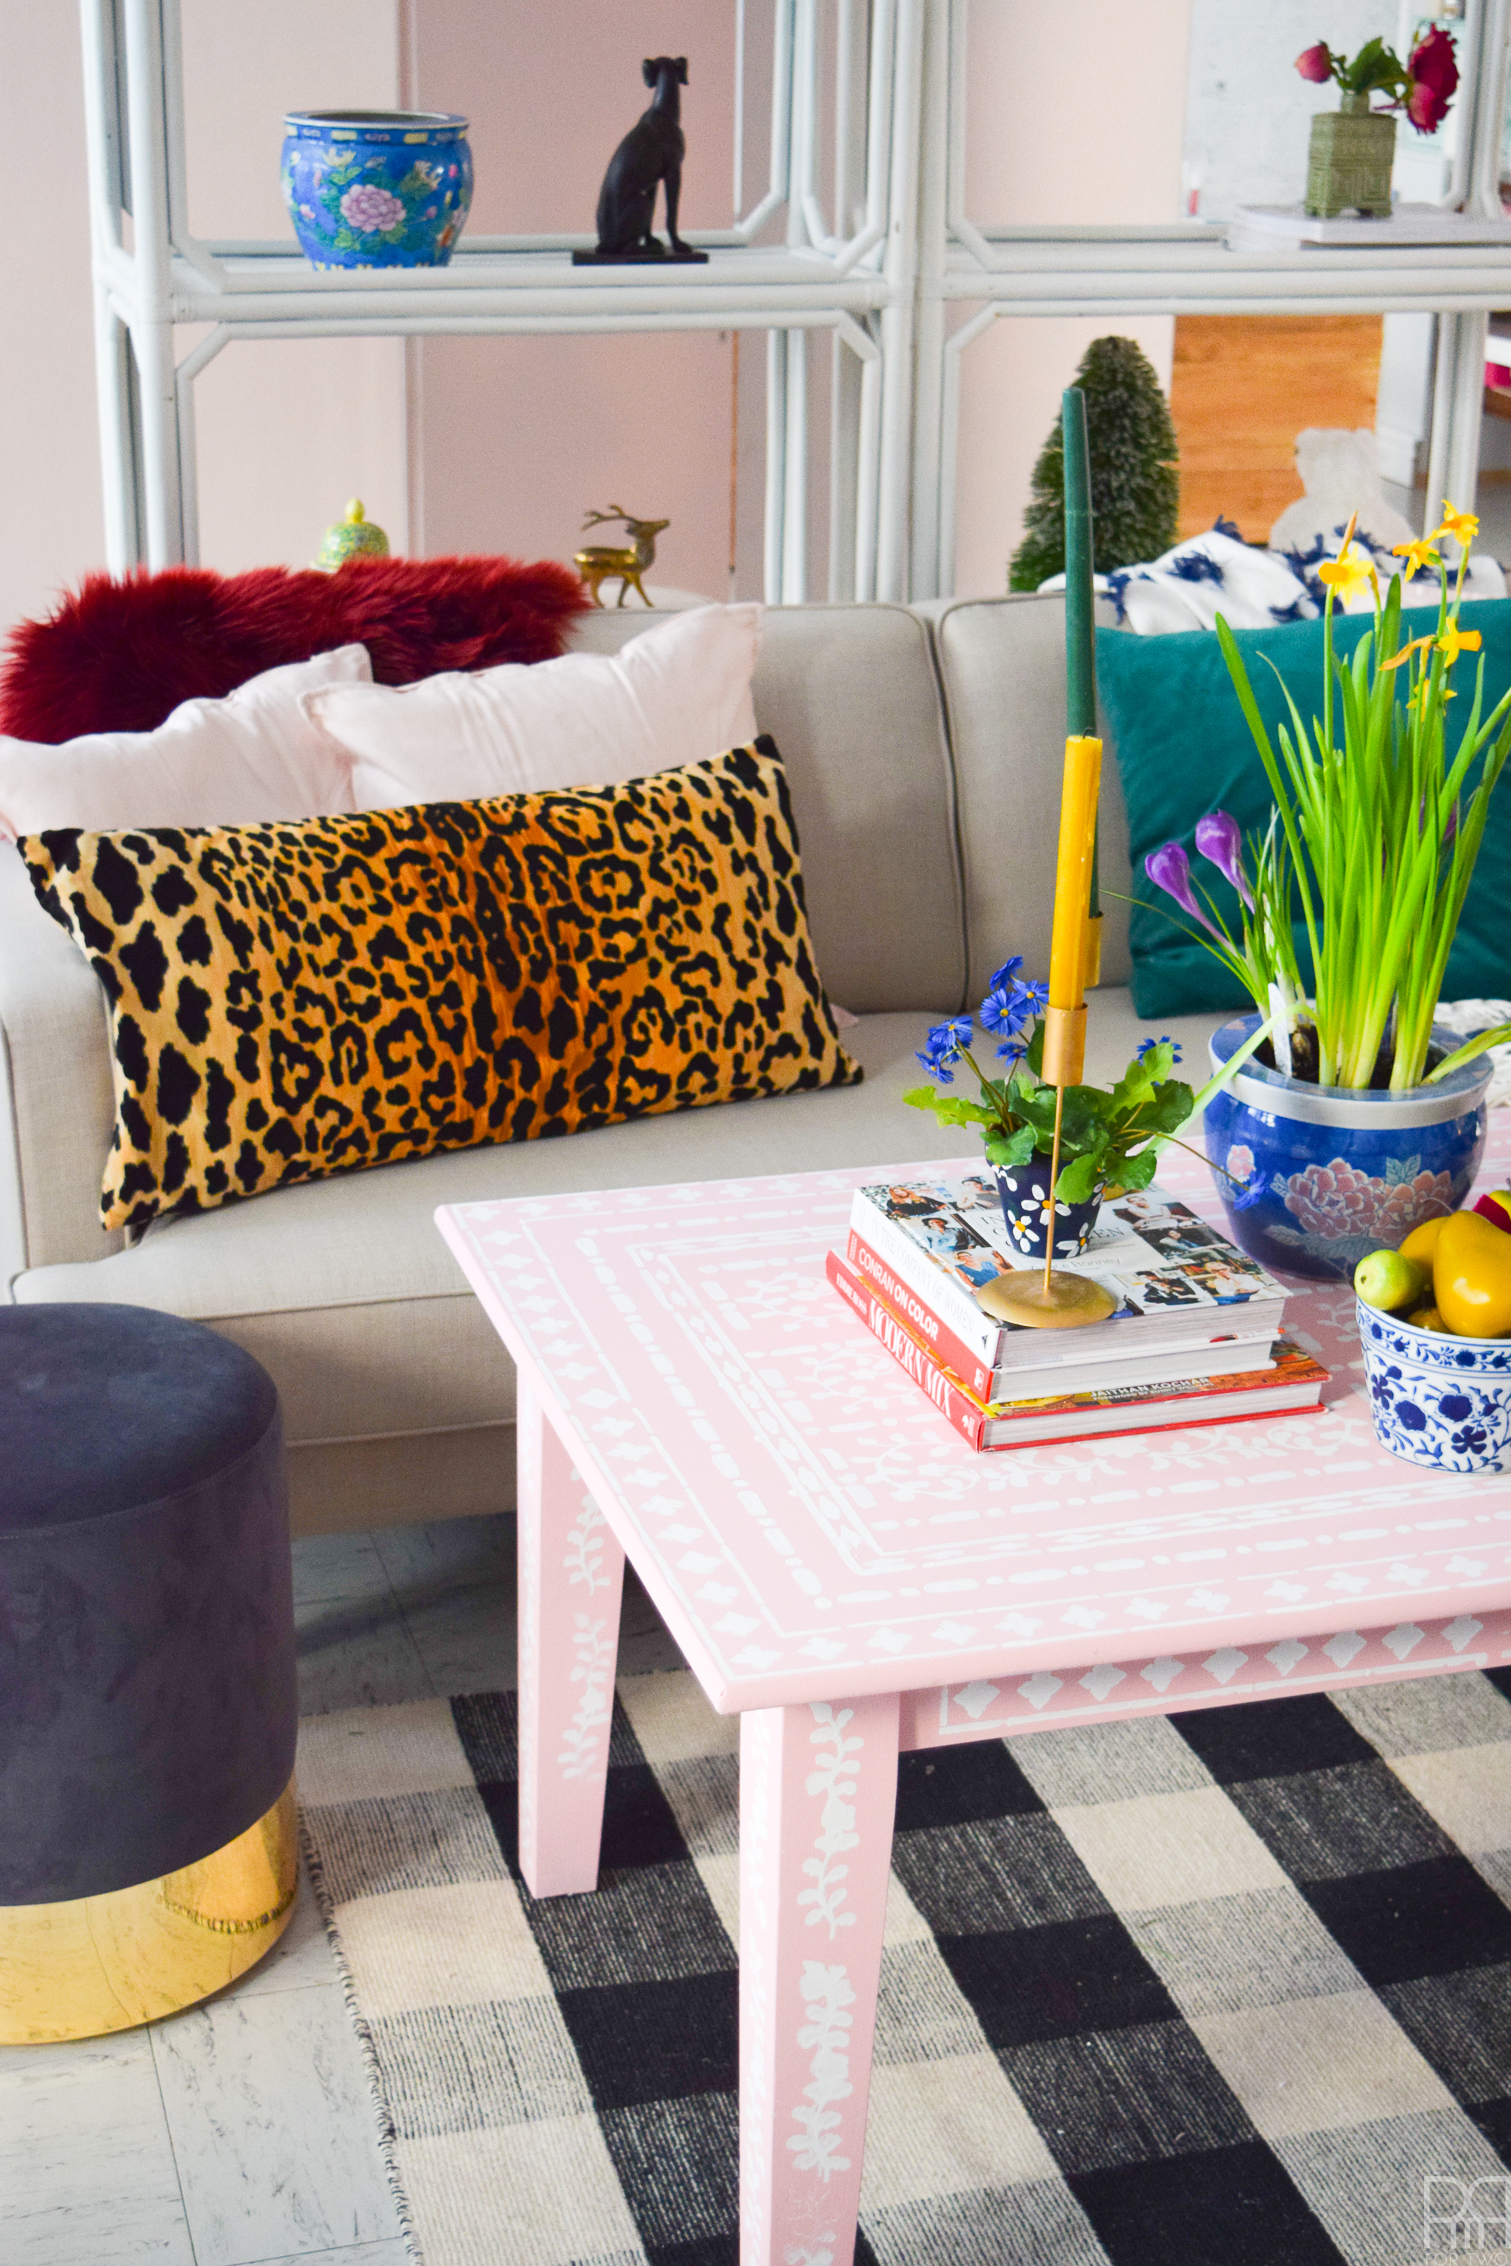
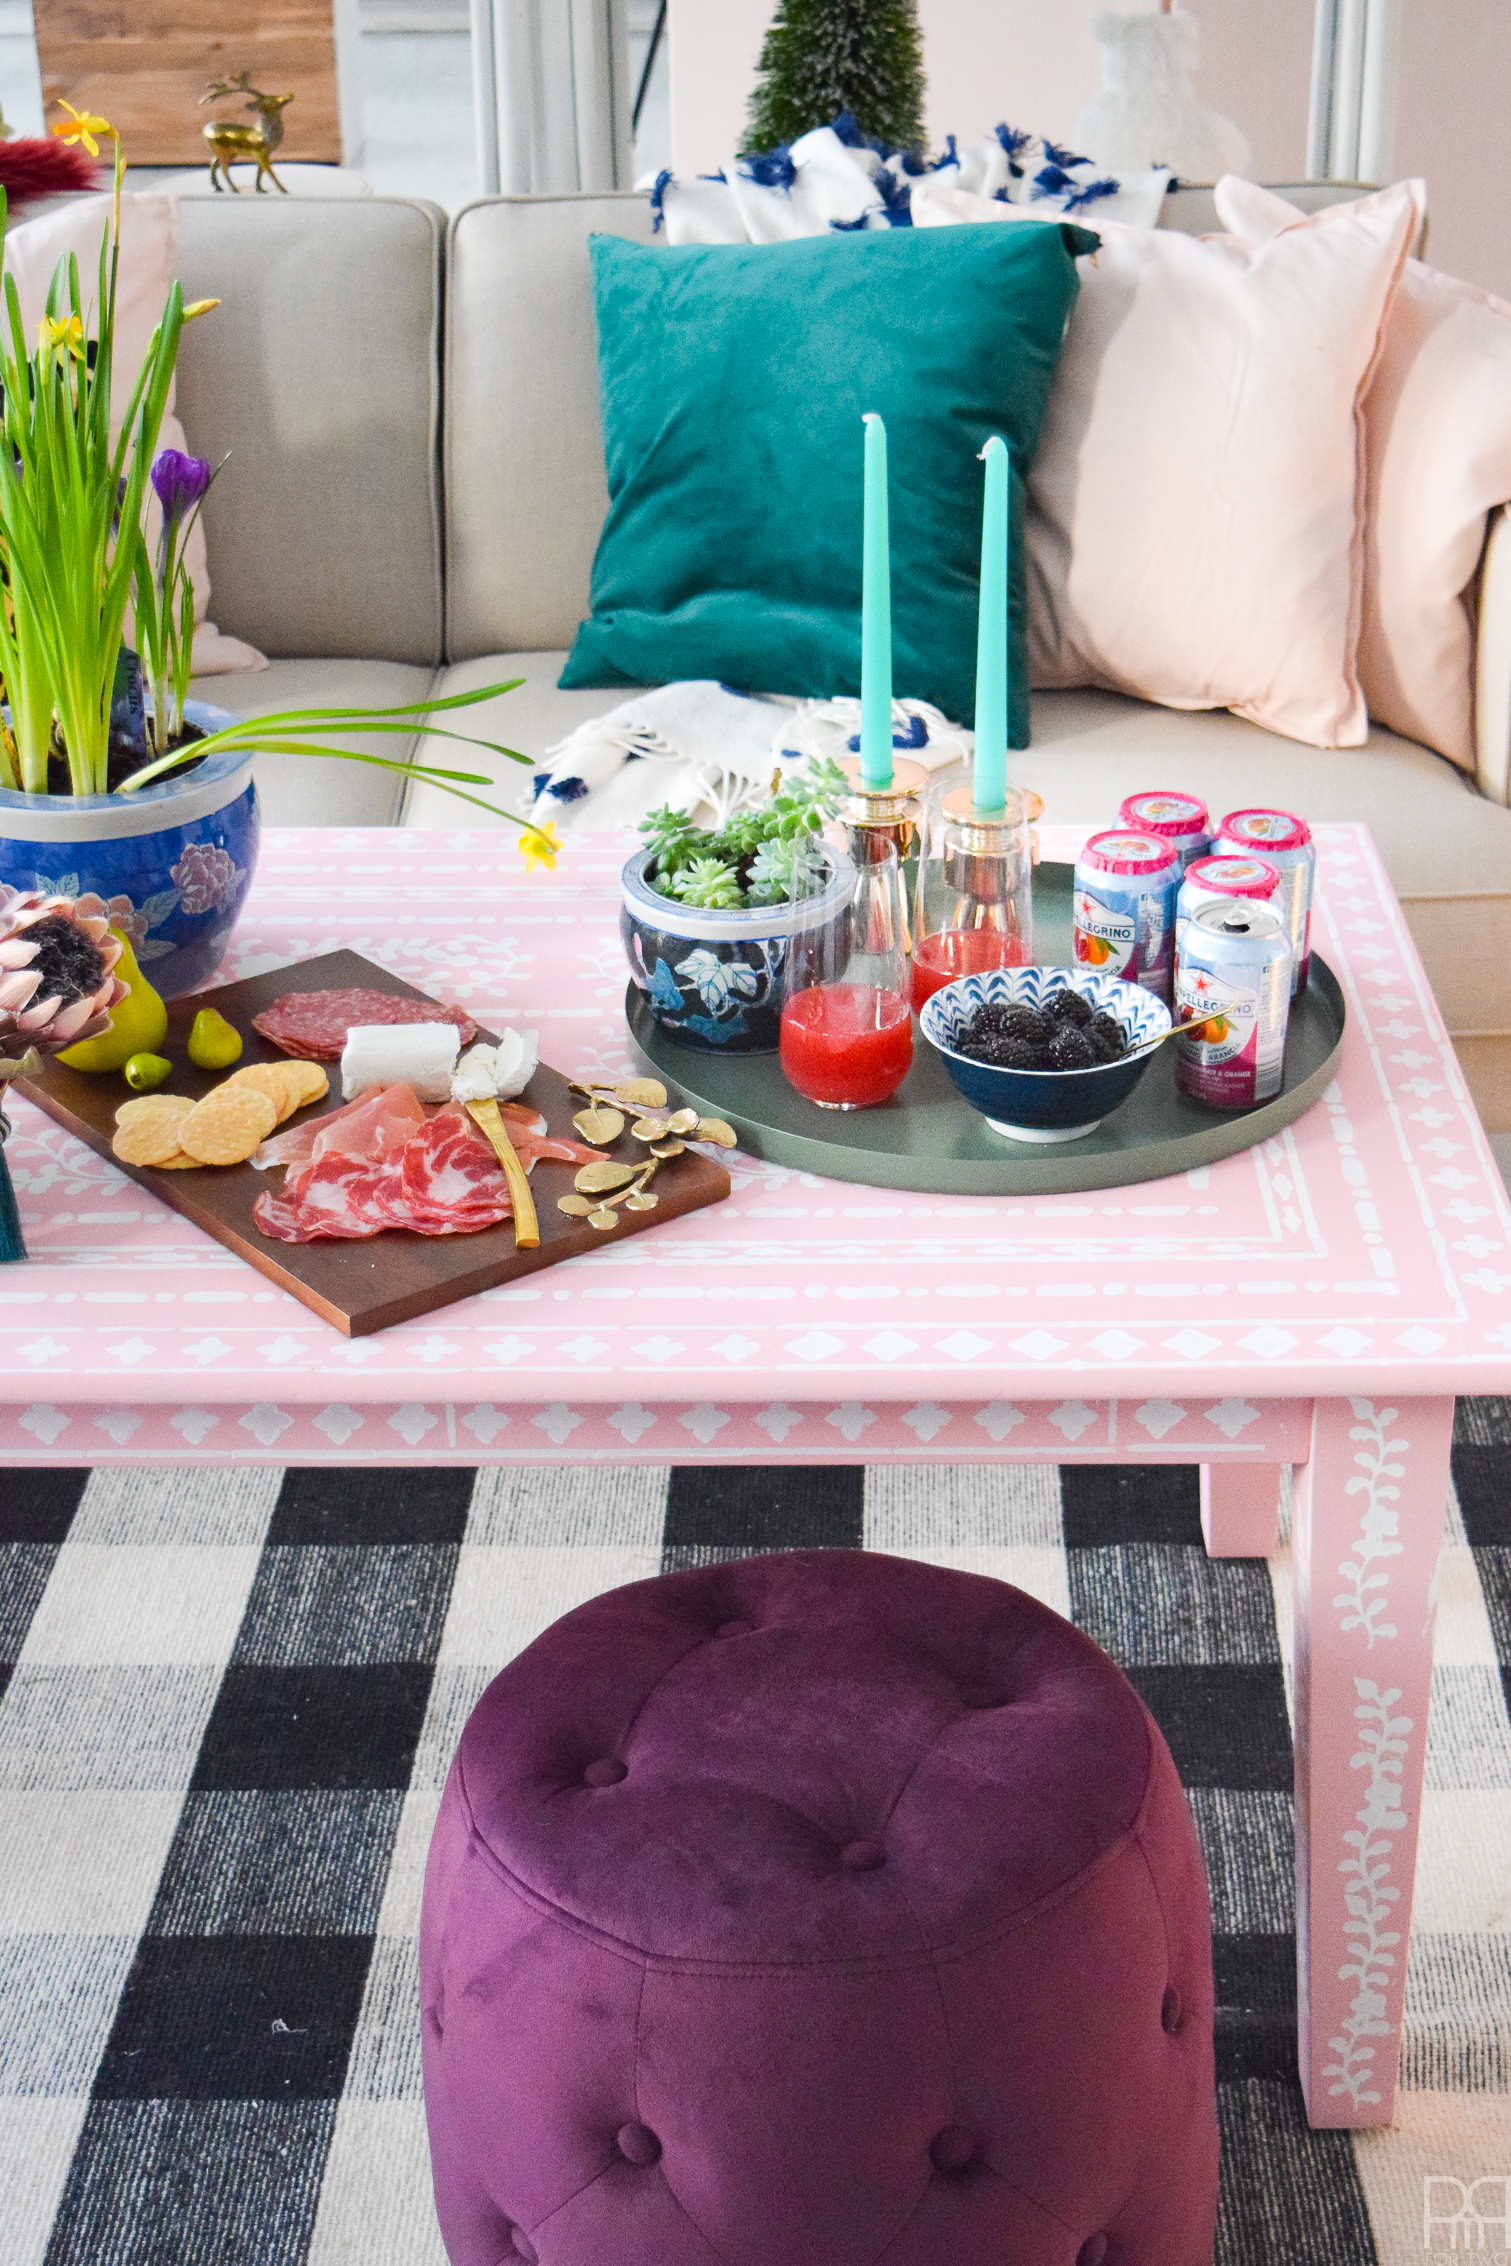
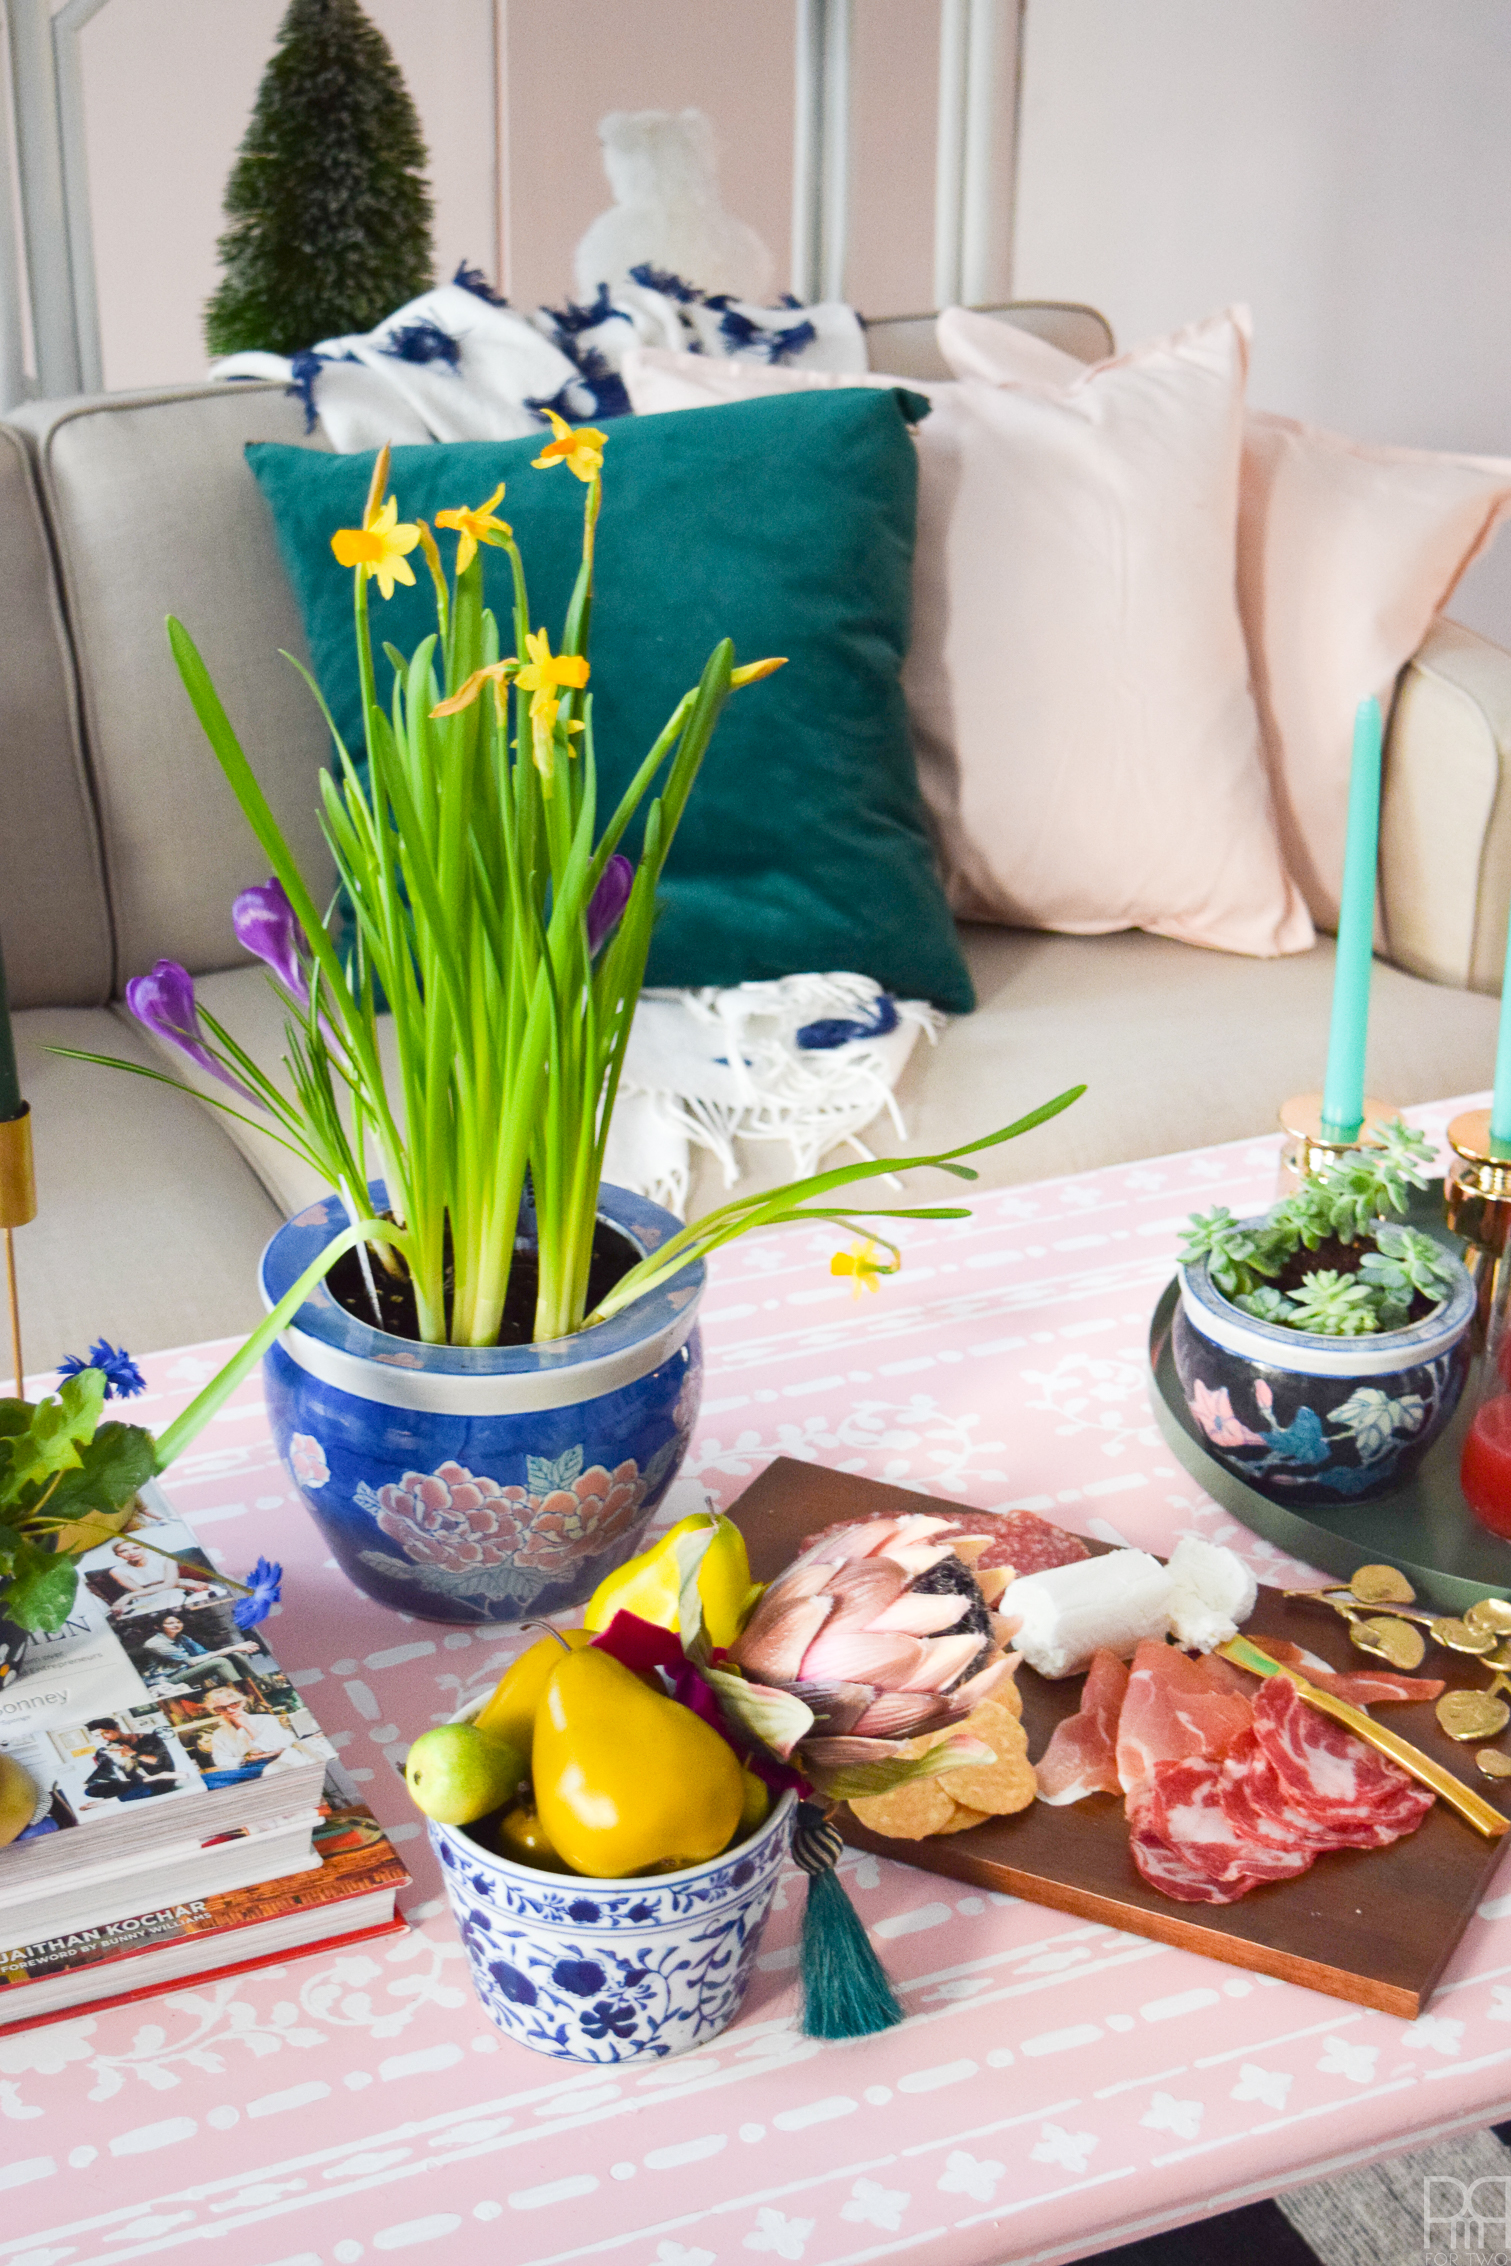
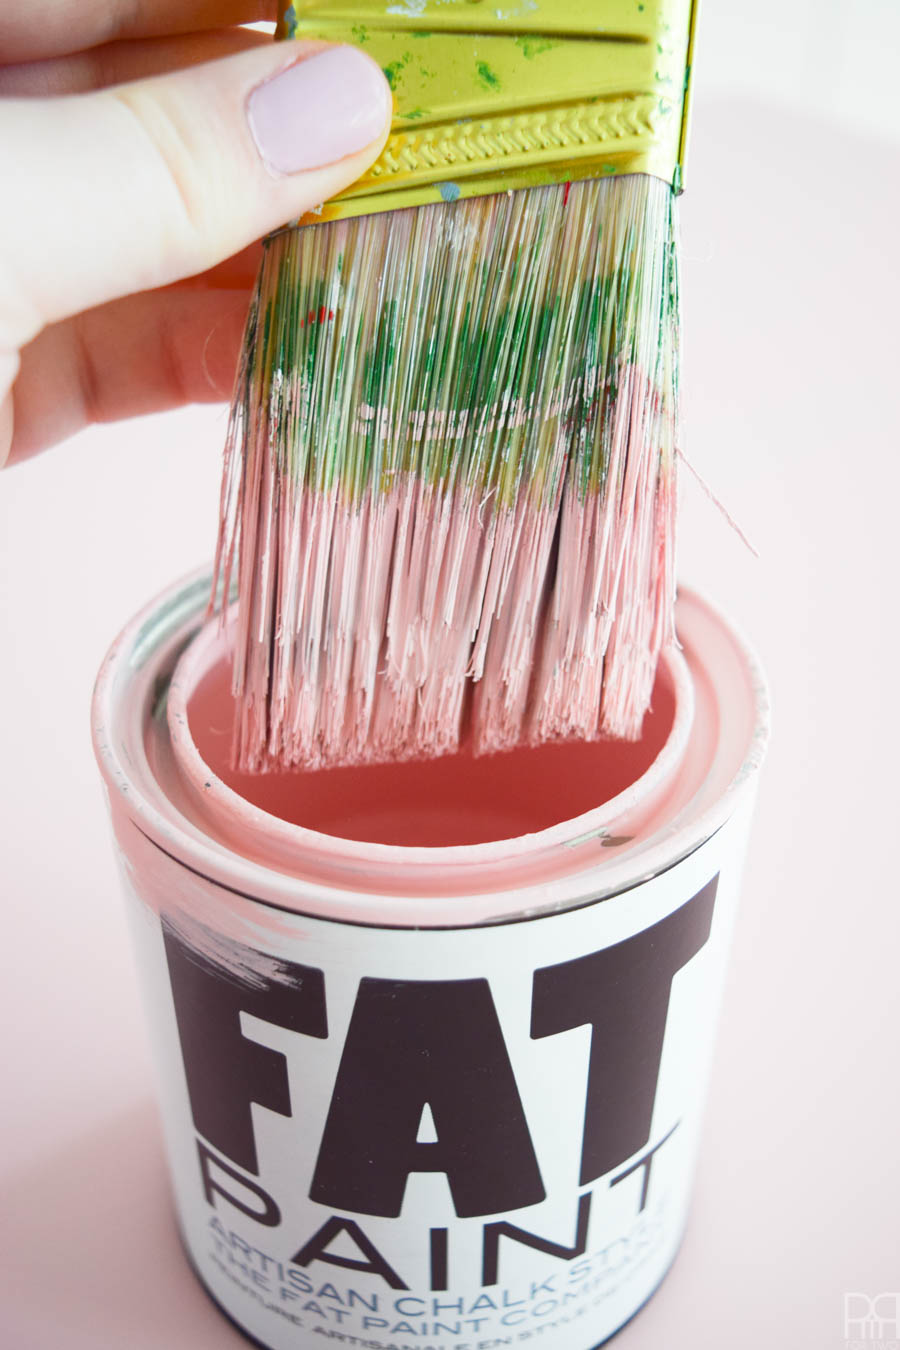
Step 1: Paint the table in your base coat. I chose Juno because I wanted pink, but I needed it to be strong enough that it would show nicely under the white stencil work. Because FAT paint is amazing, I didn’t even need to sand or prime before I started. Once that first coat is on, the rest glides on like butter.
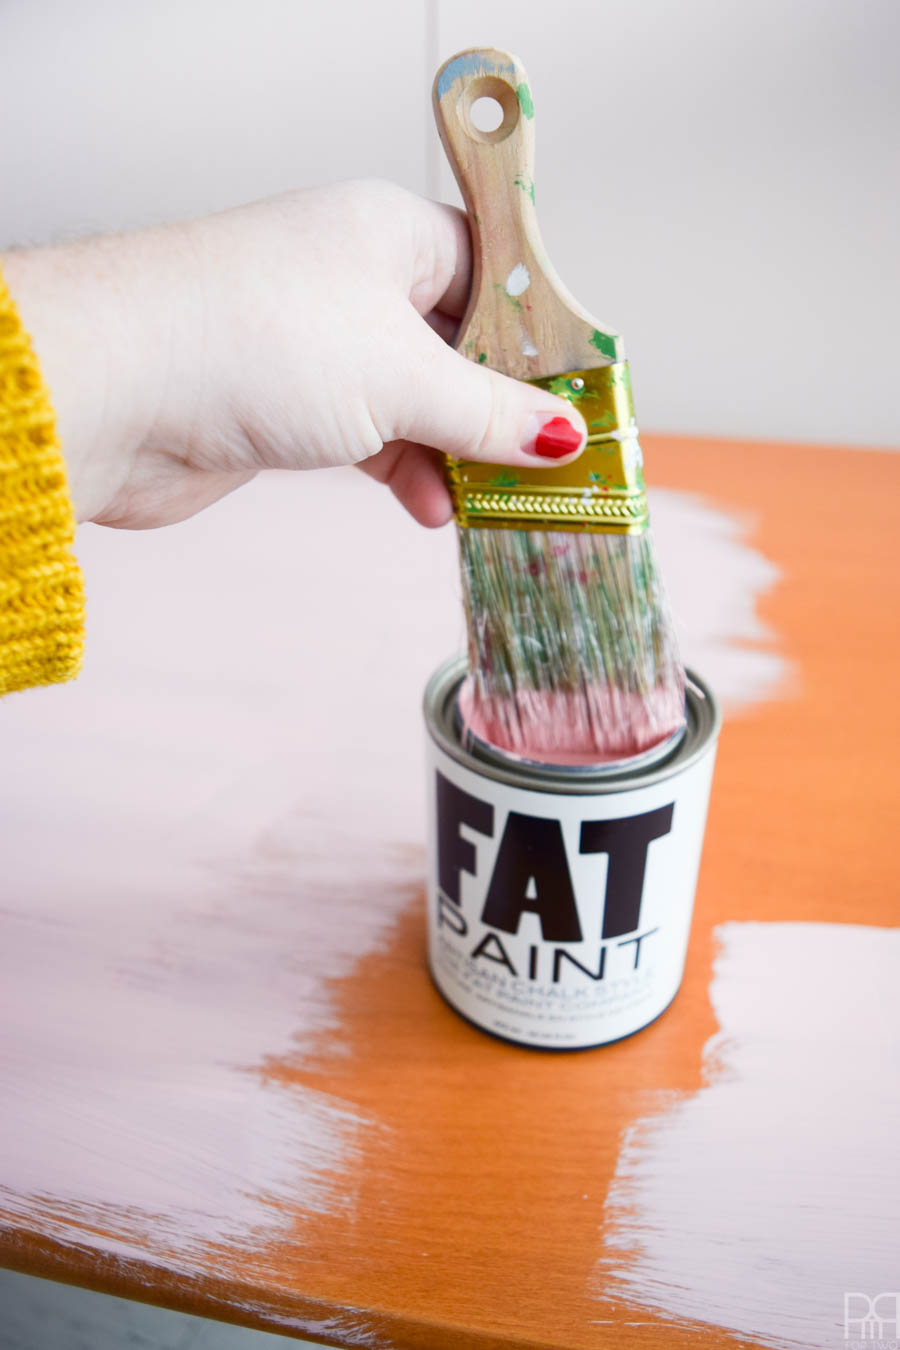
Don’t ya just love the state of my manicure? hahaha I definitely went home and gave myself a new colour after seeing how bad it looked in all the photos.
Step 2: Once you’ve got the bottom coat, use a roller and apply a second coat. It should glide on, so take the time to get all the little nooks and crannies for total coverage.
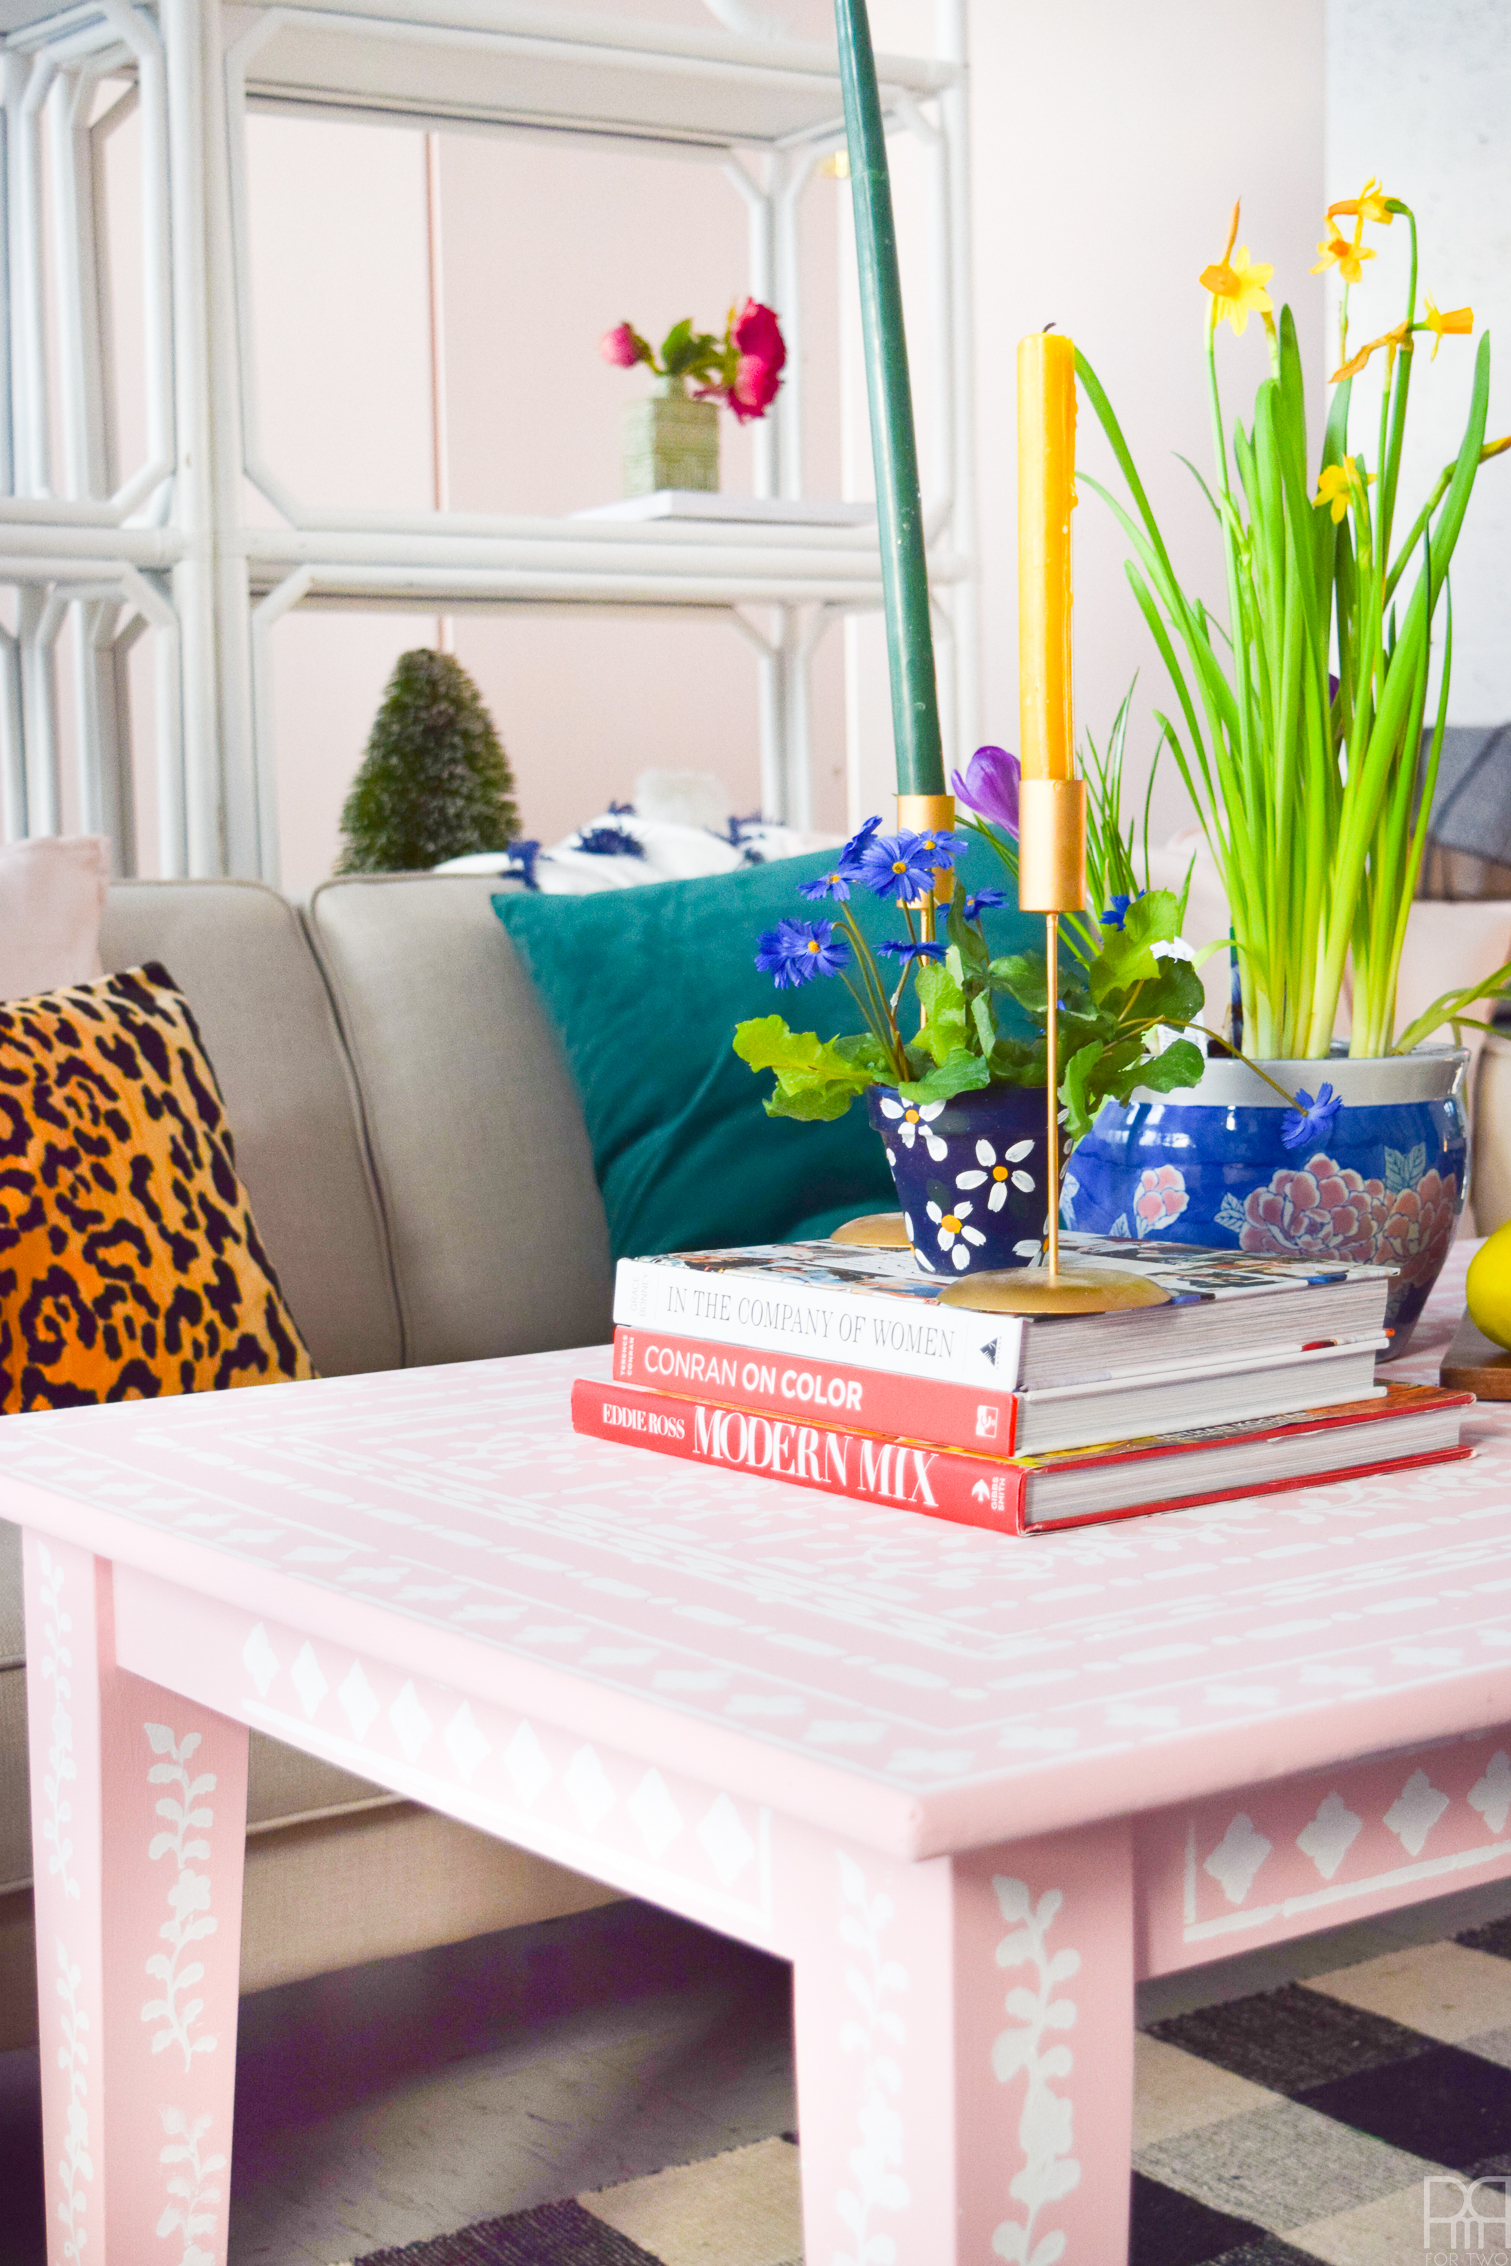
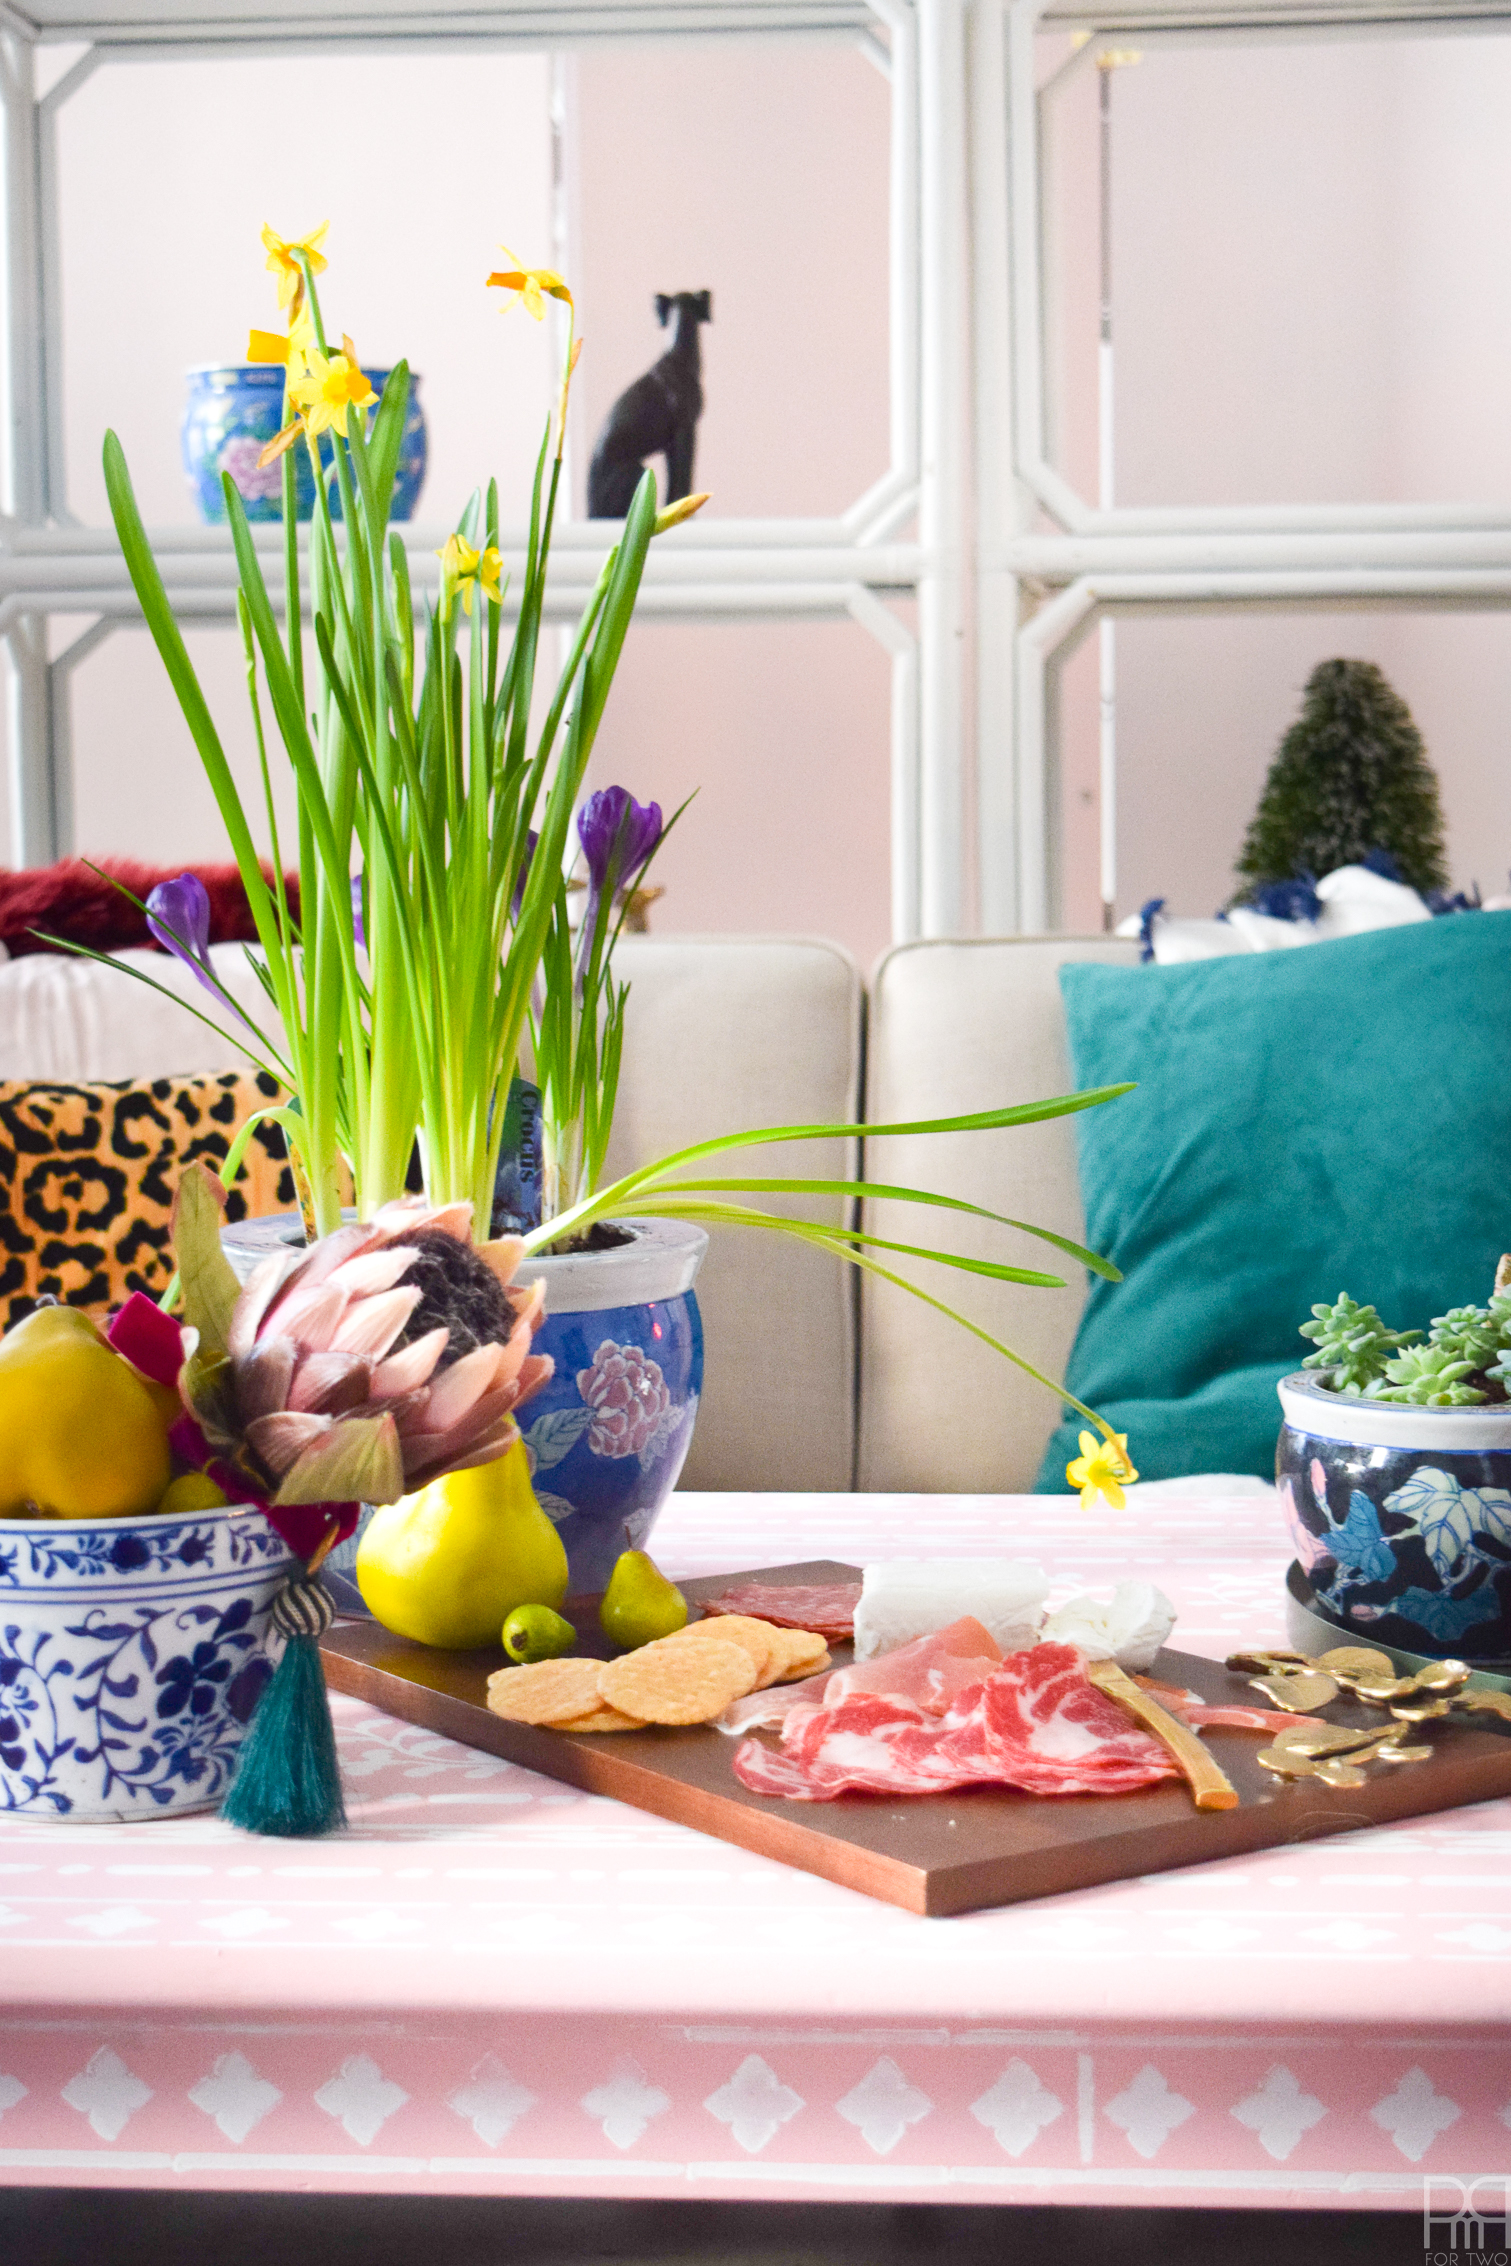
Step 3: Using your stencil start rolling on your design in chalk white. I find that the older the stencils, the harder it is to get a clean roll, so for a couple of the designs I actually traced and then painted by hand. It was time consuming, but I wanted a clean look.
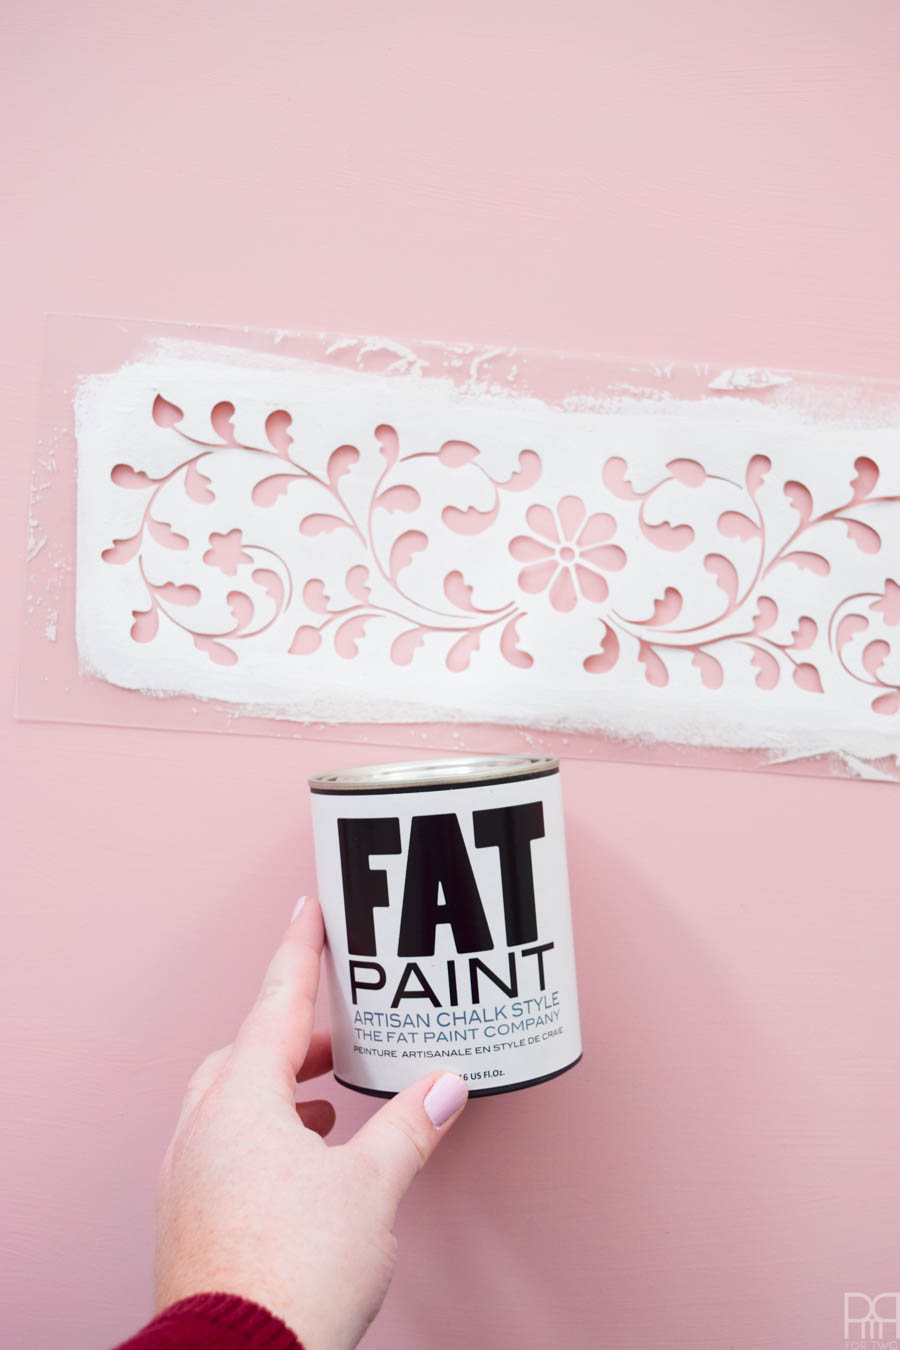
Each design is unique, and the fun comes when you get to create the look. I always opt for symmetry, in the design, so I usually place things to make sure it all works first. You can find tons of inspiration on Pinterest (and even in my own posts) so don’t be shy about doing some research.
You can see the outlines from the details I traced, but after the second coat they were gone, so it all worked!
Step 4: Let it all dry and seal with a top coat! FAT paint makes a clear top coat, but I had enough in an old can kicking around so I used that to seal it.