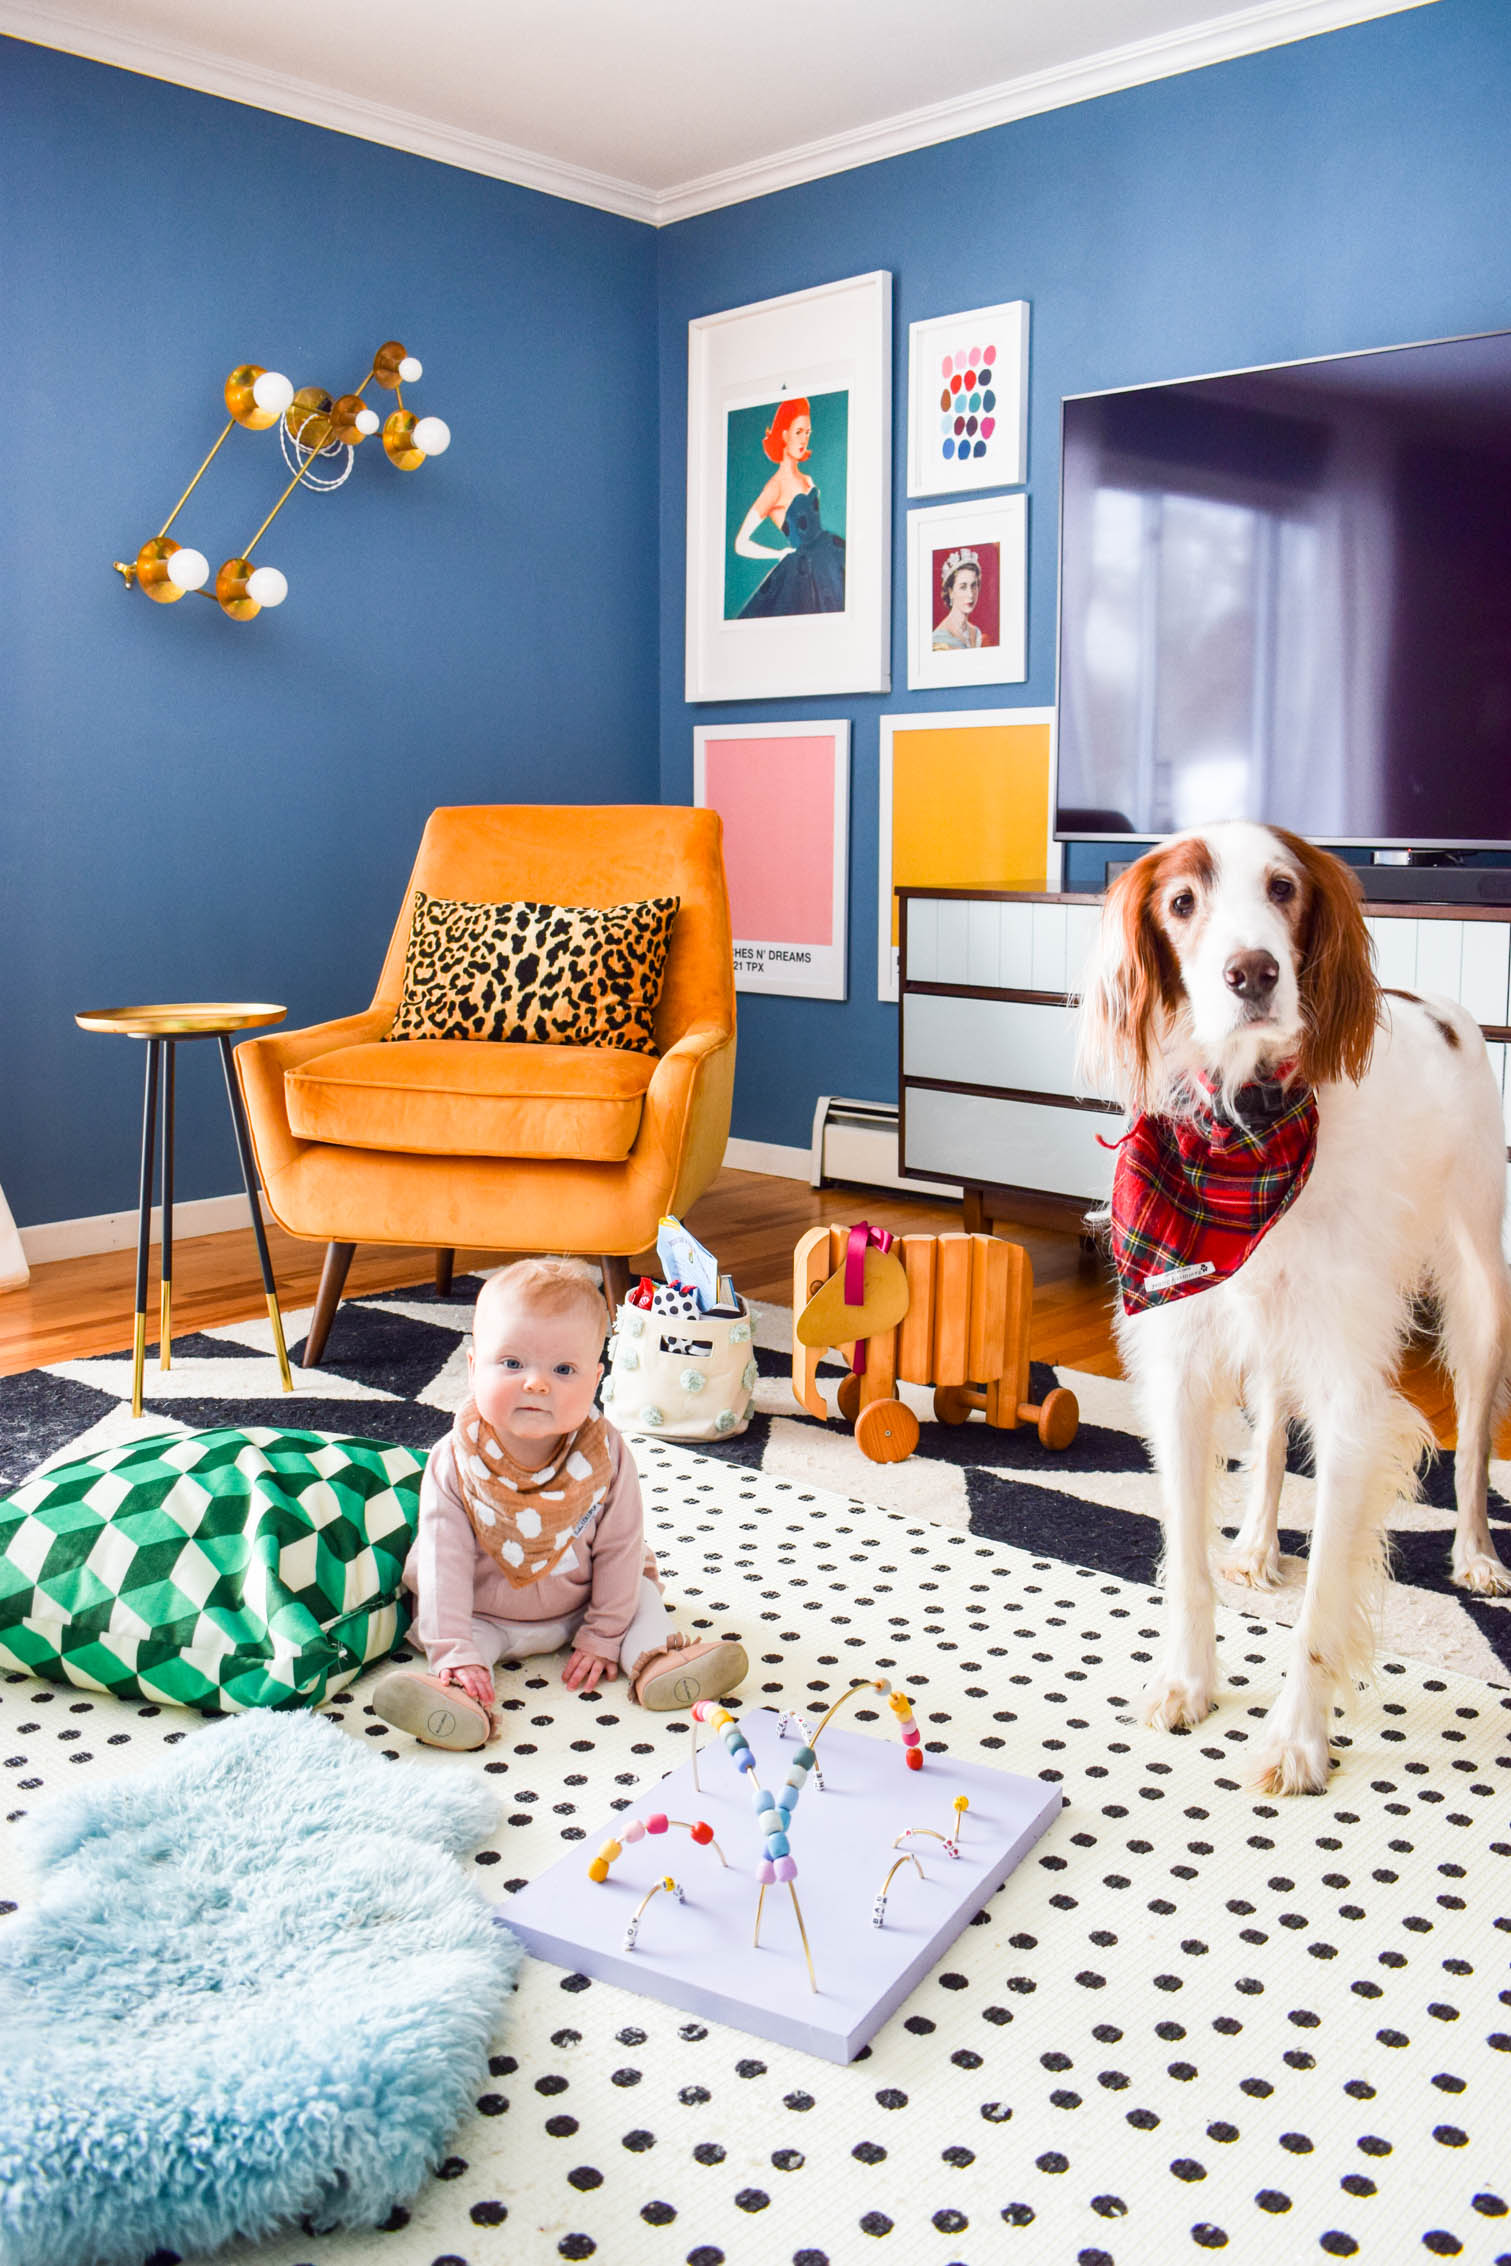
It’s the perfect time for a DIY Baby Activity Table because June is super into her independent play right now. So using a few items from the craft section, I made this table as a custom piece for June.
Check out my DIY Dyed Baby Wood Blocks
Right after Christmas I decided that I should start using items from my craft stash, instead of buying items. I had a set of brass rings, and a wood panel from the dollar store, that were floating around, so I decided to try my hand at another baby toy.

DIY Baby Activity Table
What do you need to make an activity table?
To make a simple one like this, you’ll need a wood board, brass craft rings (I found these in the knitting section) or crafting wire in brass, a variety of beads, a drill with drill bit (that corresponds to the width of the brass ring/ craft wire), craft paint and super glue.
*if you’re using the brass rings, you’ll need a Dremel with a metal attachment.
How do you make a baby activity table
This project comes together in a few steps: the board, the brass rings, and the beads.
Preparing the beads
Depending on the type of beads you want to use on the board, they may need some work. I found my wood beads as part of something else, and needed to paint them before I could thread them.
I threaded them onto some craft wire with a spacer bead, for easy painting. I wanted to create a rainbow, so I used these shades from Decoart: silver sage green, chalky finish refreshing, thicket, periwinkle, lilac meadow, baby blue, turquoise, cotton candy, mustard seed, moon yellow, boysenberry pink, Scarlet.
I also used smiley face beads, and letter beads that I found in the craft section. I made sure they all fit the brass rings/craft wire before proceeding.
If the beads don’t quite fit, use the same drill bit that you’re using for the board, to widen the holes in the beads. I recommend doing it on a crafting board so that you don’t damage the surface beneath.
Cutting the brass rings
Using our dremel tool with the metal cutting attachment, I cut the rings in half.
I clamped them to our work bench for that I wouldn’t have them flying around.
Don’t forget your eyewear!
Prepping the board
I started by giving the board a light sanding using a 200 grit sandpaper. A baby’s gonna be touching this, I didn’t want her to get splinters.
I then did a rough placement with the brass rings, and used the drill to place holes for them.
Don’t forget to sand before painting. I went with a similar purple to the one I’m using in her nursery, so it will fit right in.
Stringing the Beads
Once everything is prepped, it’s time to assemble the pieces.
Hot glue is not recommended for bonding metal to wood. Super glue is the recommended adhesive, but you don’t want it to be on the part that a baby would interact with, so how I’m securing the rings is based on that.
Thread beads onto your craft wire, or brass rings, and then insert each arch into its pre-determined spot.
Using two beads and super glue, you’ll secure the rings into place on the underside.
The bottom of that board isn’t pretty, and all those splinters will get secured by the bead and glue.
Add a dab of super glue into the centre of each bead, and then loop it onto the end of the ring that’s poking through the underside of the board.
Finishing touches
Once everything is in place, give it a few hours to make sure it’s rock solid before you introduce it to a baby.
If you want to add a baby friendly sealer to the beads, go for it! I don’t see JB putting this one in her mouth, otherwise I would have.
Playing with a Baby Activity Table
I set out the table on her play mat in the living room. She was super curious, as was Bruce.
all the pets were interested in her new toy as well.
