???????? I thought I’d take this space “above the fold” to tell you guys why my projects seem to have stopped appearing in my actual decor. Well, I’m in the process of finishing the spaces they’re going into, so rather than showing you a half-baked room with my creations, I’m waiting to reveal the rooms with them in it! So hang-in there! I do still decorate and create for my real life. I promise! ????????
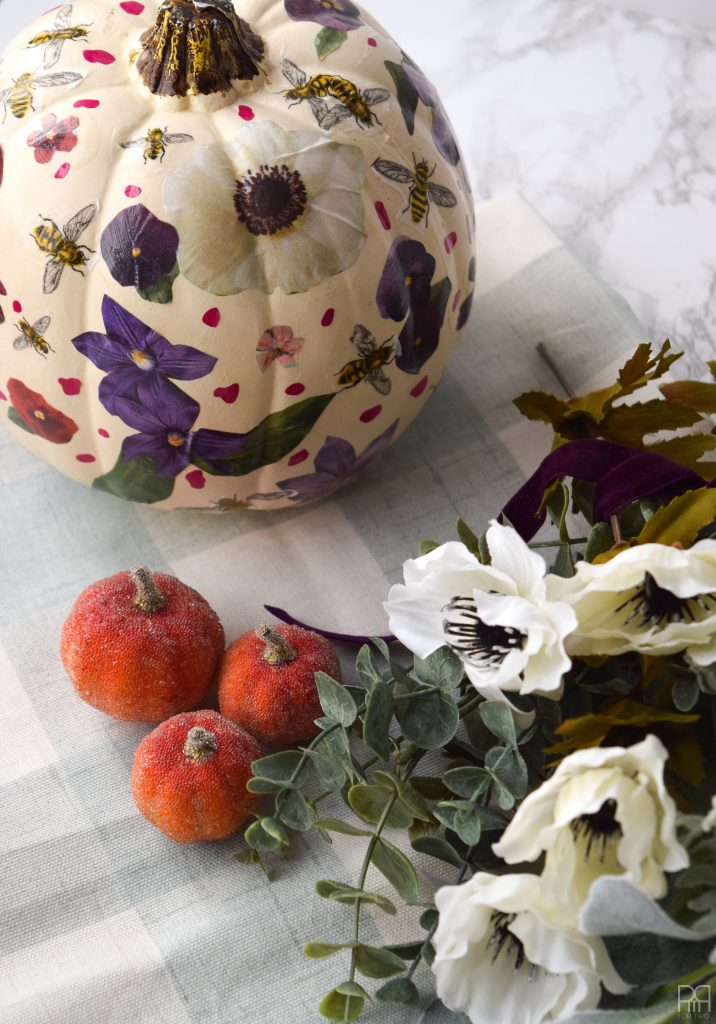
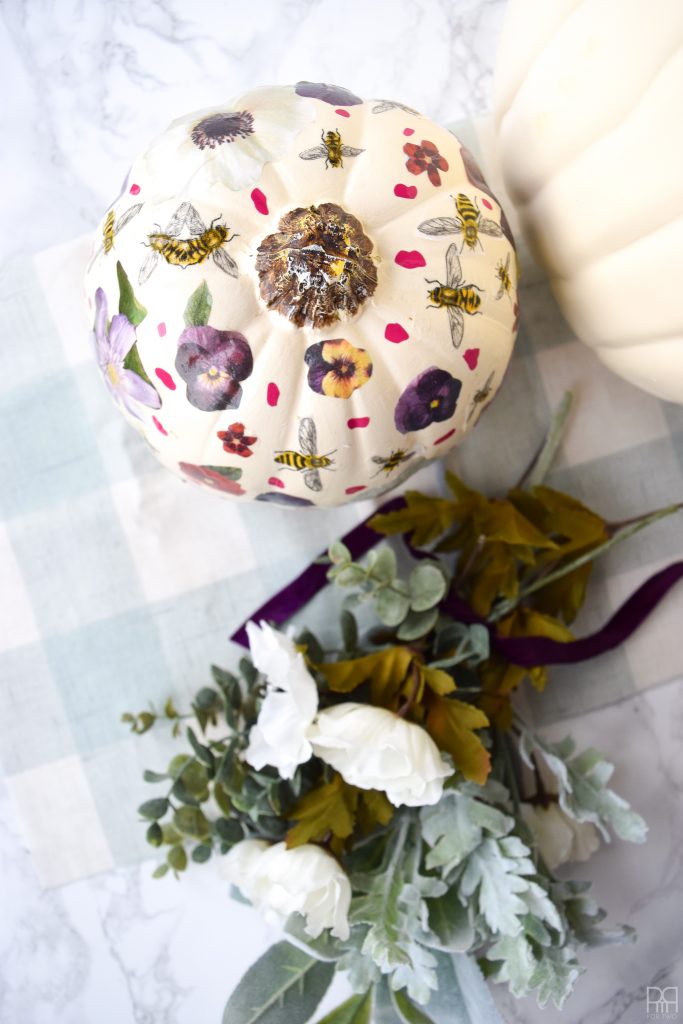
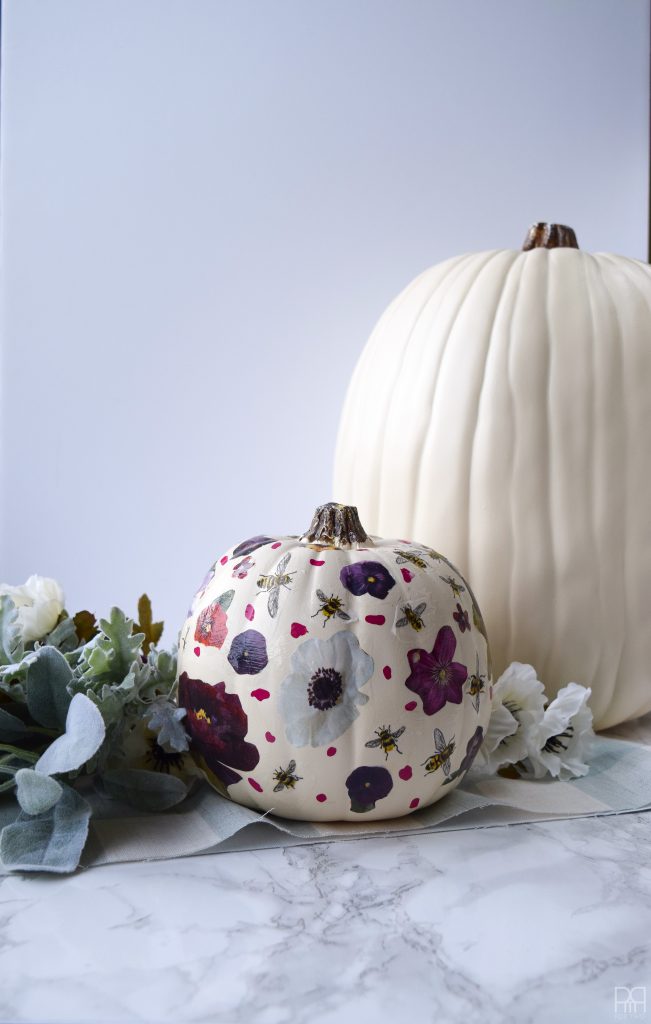
Speaking of which, my decoupage floral pumpkins are adorable as heck, and they’re currently sitting on my coffee table. BUT, I’m saving that reveal for a fall blogger house tour later in the month… the 28th to be precise.
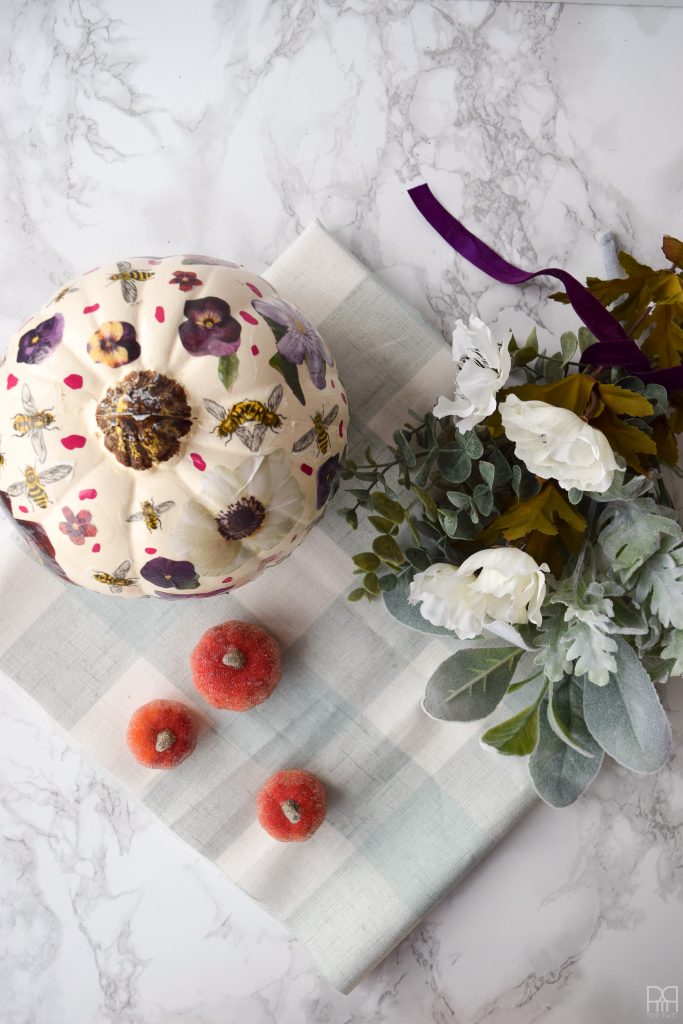

Decoupage is like the most basic of crafting projects, but I love a classic technique. It’s fool-proof and you know it’ll work. When you’re spending untold amounts on plastic pumpkins, you want to make sure your product won’t eat through the plastic. You’re safe with Mod Podge!
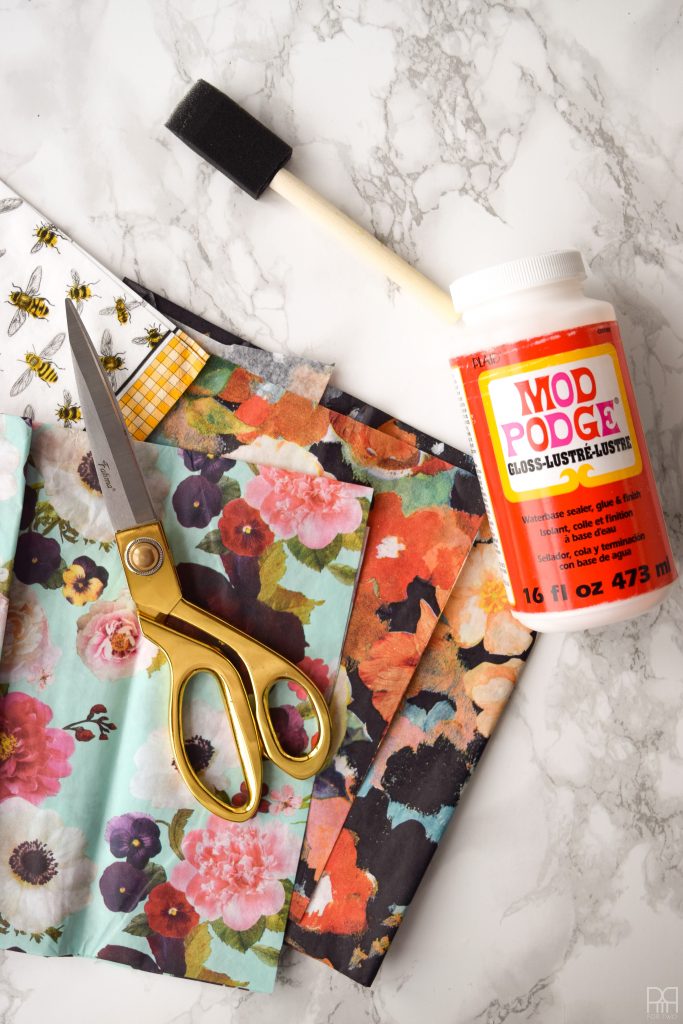
Materials
- Plastic Pumpkins
- Mod Podge – high gloass
- Sponge brush
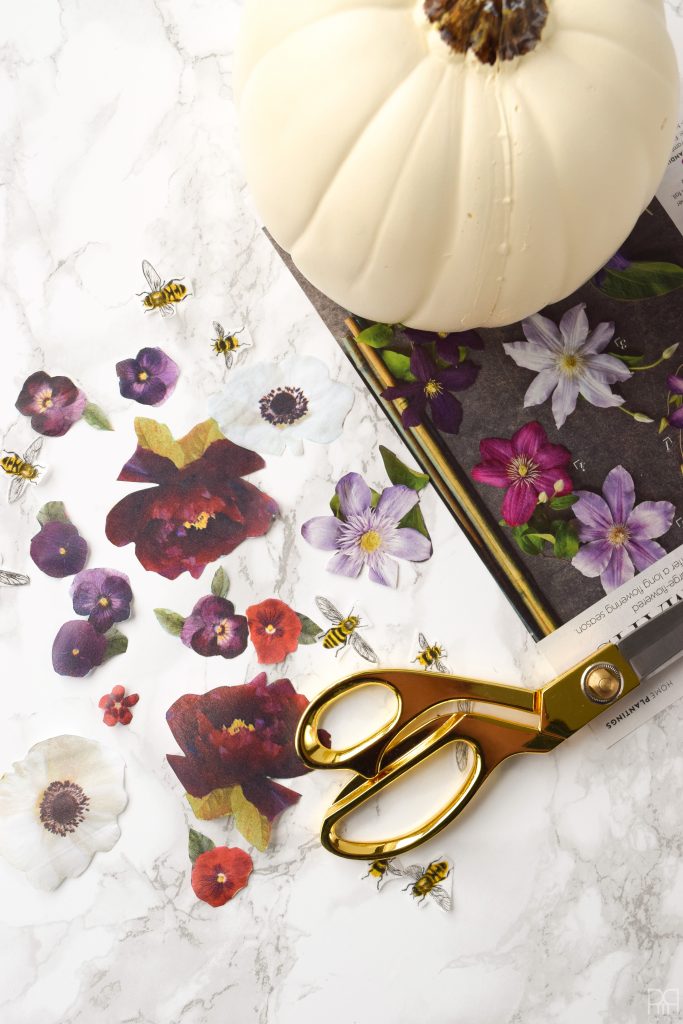
- Tissue paper, paper napkins, magazine images – anything that has a pattern you’d want to put on your pumpkin. I used tissue paper, paper napkins, and a page from a magazine for mine.
- Scissors
- Optional – Vinyl in a dalmatian pattern.
Step 1: Make sure your pumpkin/gourd is clean and dry. If you’ve just peeled-off a sticker, clean the gunk off, it will make your life easier.
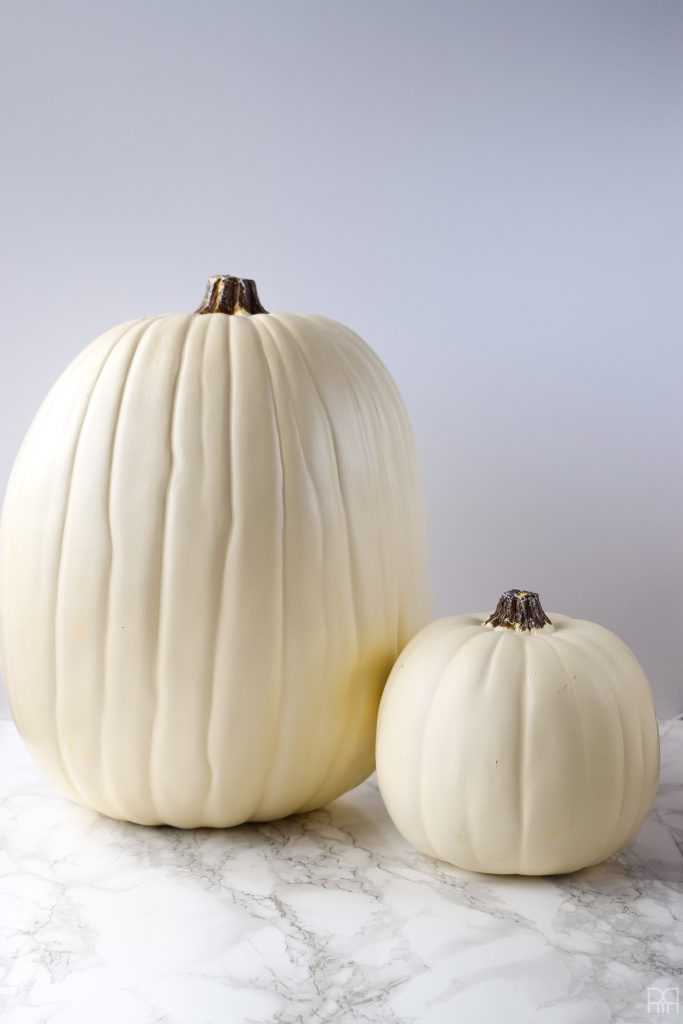
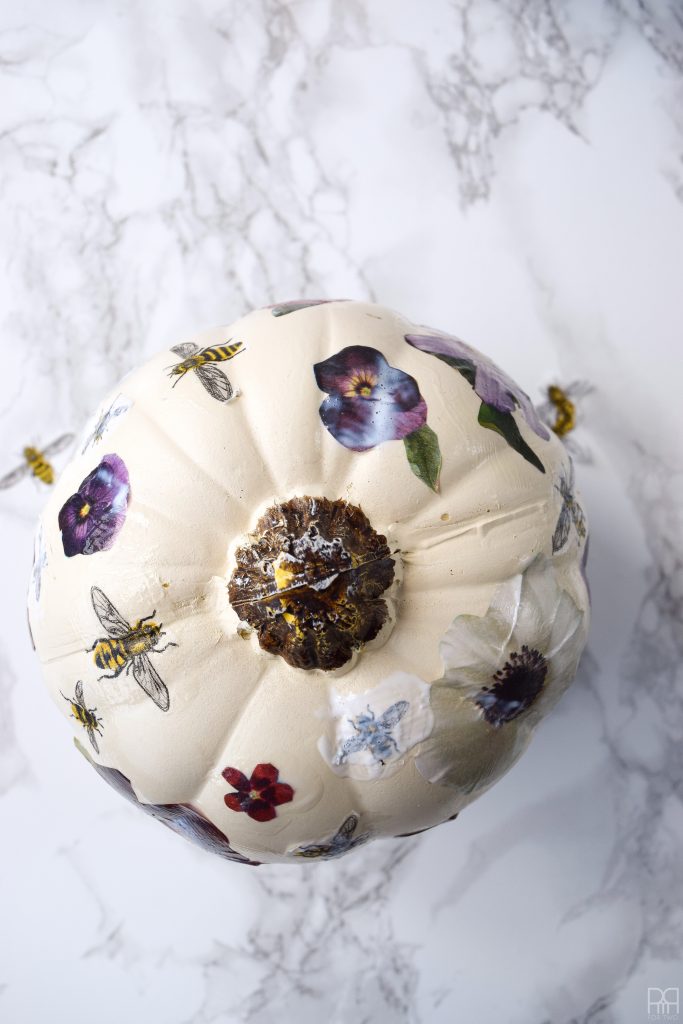
I thought about doing the big pumpkin too, but once I got going, I realized I only wanted to do the small one in purple with bees.
Step 2: Cut-out your flowers! This takes time, a relative amount of precision, and is usually best done while listening or watching something. I am knee-deep in the spooky podcasts right now. PM me for some recommendations!
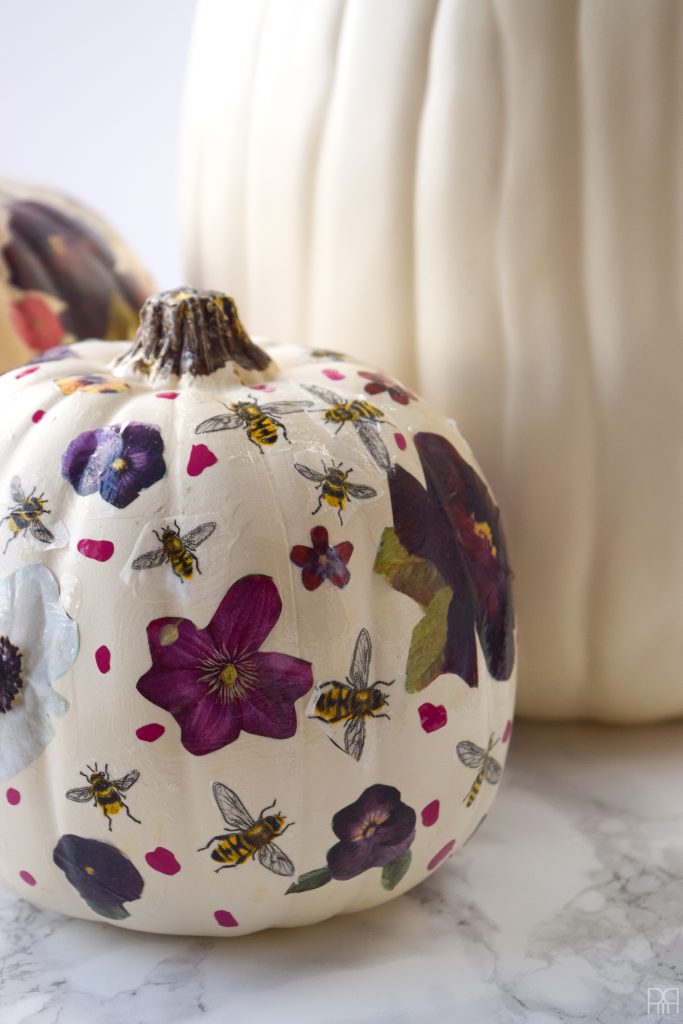
Since my florals are on a coloured background, I made sure to trim any excess colours so that when applied to the pumpkin, there wasn’t a blue ring around all my flower buds.
P.S. don’t forget to follow me on Instagram for the best in seasonal decor
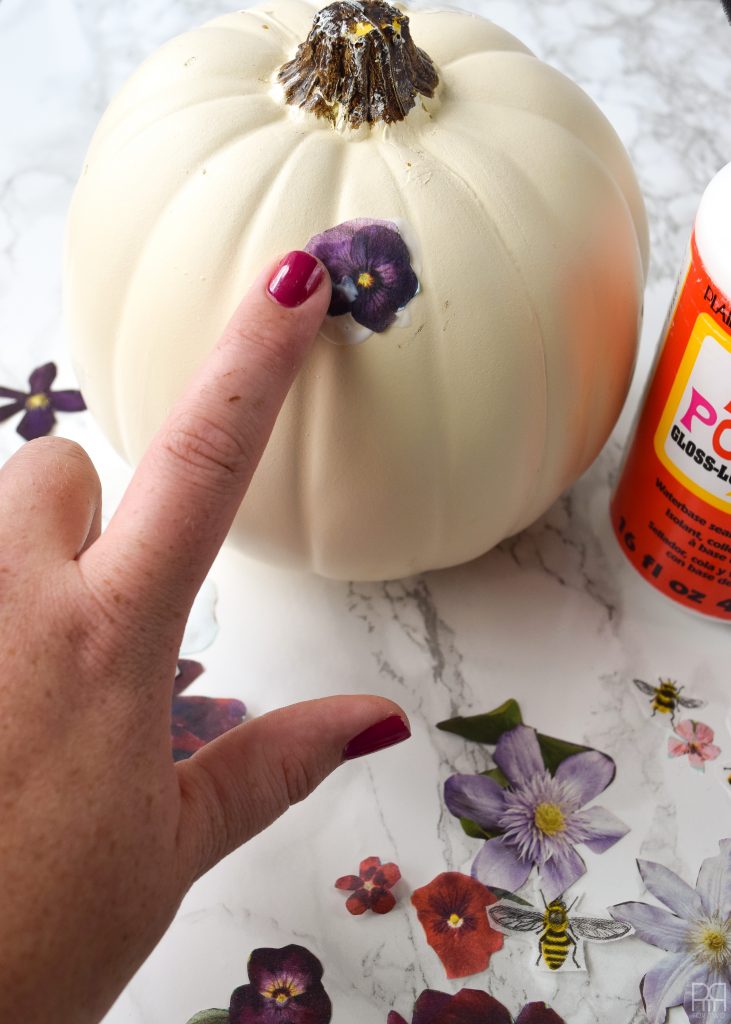
Step 3: Apply your florals! My application process is pretty simple and ensures they stick without too much wrinkling.
I apply Mod Podge to the surface first, then the image, and then I coat the image in Mod Podge again.
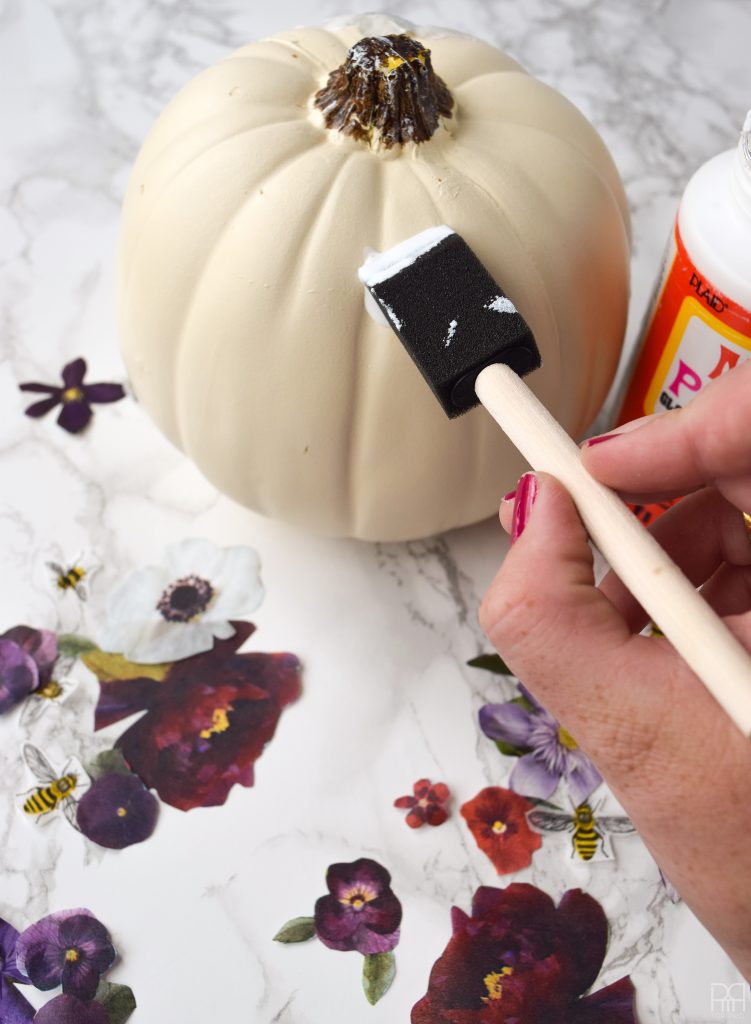


When going over large creases in the pumpkin, I apply a line of Mod Podge down the crease (my centrefold) and then spread it down from there. I find this gives me a more even application than if I started at one end.
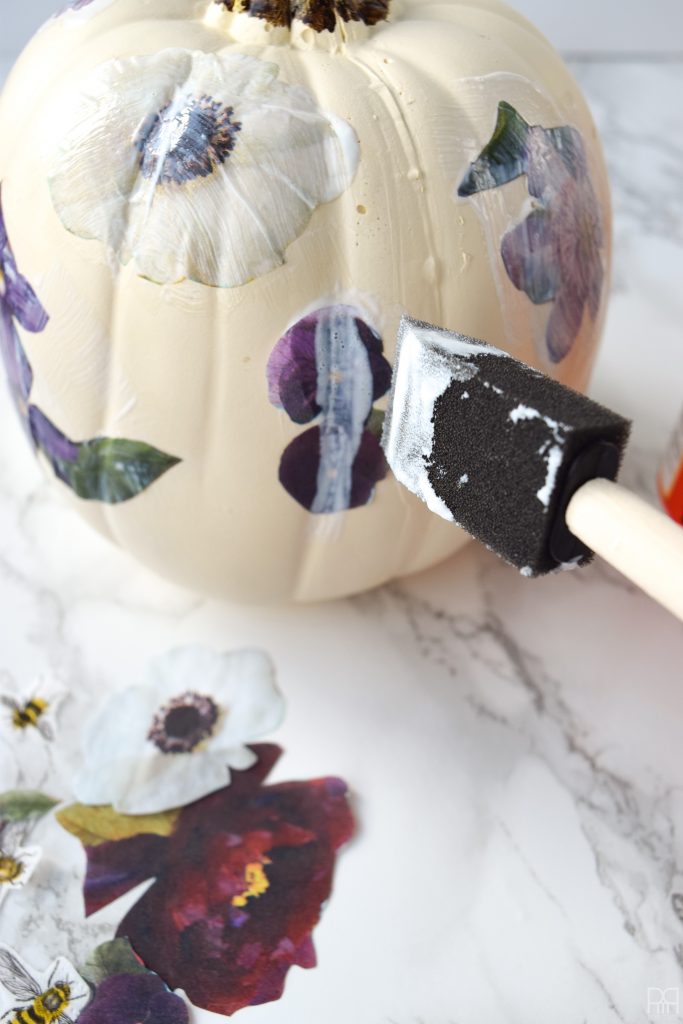
Step 4: Repeat until your pumpkin is sufficiently covered! This may take a while, and it may require you to cut more flowers, but hey, that’s the cost of doing business.

I place my pumpkin on a little pedestal (the cap of the Mod Podge actually) to keep it from sticking to the table while I craft. I like to run images all the way down the pumpkin to create a fuller pattern, so there’s usually some wet Mod Podge at the base of the pumpkin.
The nice thing about using tissue paper and paper napkins, is that any white paper dries clear!
Step 5: Let it dry! Mod Podge doesn’t take forever to dry, so you’re in luck. If you applied it in great big heaving gobs, you might have to wait a while though.
Step 6: (OPTIONAL) I felt like mine was still missing something, so I quickly cut-out a small dalmatian pattern using my Cricut in a shiny pink vinyl. Using my weeding tool I then applied the spots “in the gaps,” while the Mod Podge dried.
Step 7: Enjoy! You’ve just created seasonal decor that isn’t orange! Hooray!
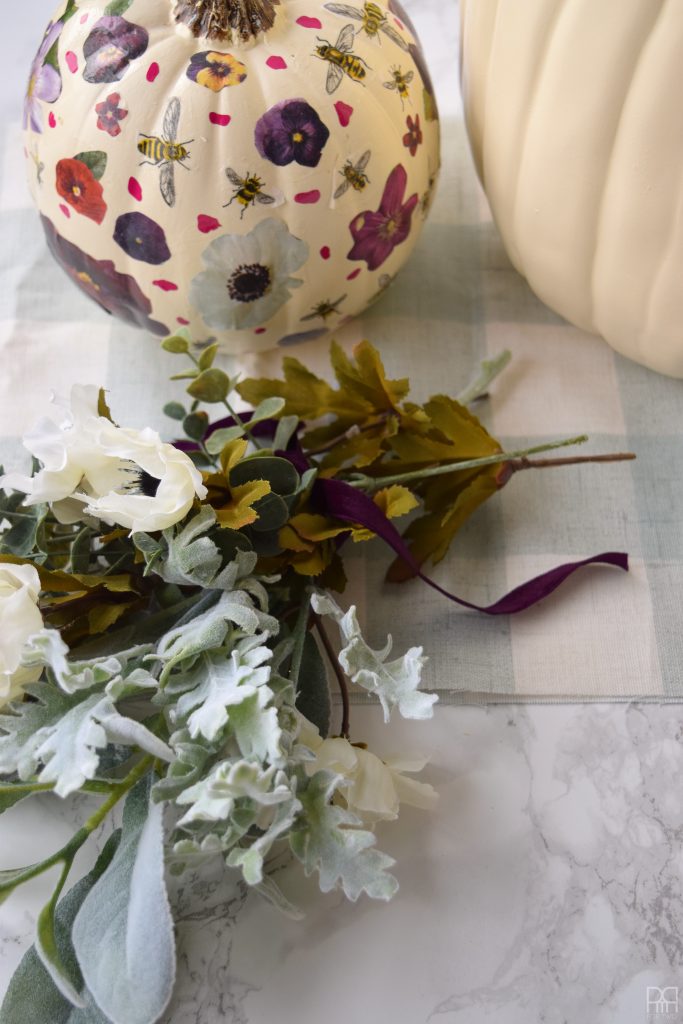


Like I said at the top, I’ll be featuring the pumpkins in all their seasonal glory in our living room on September 28th! So tune-in then ????