It’s that time of the year again! Christmas card season! I hope those words don’t give you anxiety and cold sweats. If you’re like me, half your address book moves every year so not only are you scrambling to get correct addresses in time, but you’re also looking for your grandmother and cousin’s addresses. No word of a lie, I have my mom send me those last two at least once a year and no matter where I put them for safe keeping, they’re always missing when card season rolls around. To help me get my but in gear this year, I partnered with Minted to sort-out my Christmas card situation. So, I’m sharing 10 tips for putting together a Martha Stewart Worthy Christmas Card Mailer.
You can catch last year’s post about card selection // here // and the DIY Tutorial for that awesome gift wrap // here //
*Minted provided Christmas Cards for this post, but all thoughts are my own. Thank you for supporting the brands that make PMQ for two possible.
*originally publised Nov 17th 2016

- Pick a photographer that’s right for you
This year we had the opportunity to plan ahead a little and book a photographer to take some photos for our card. Last year we were arguing with each other over whether to take a selfie or use the tripod, and which lighting was best, and whether or not to wear Santa Hats #neveragain. We may take our own again one day, but this year was not that year.
Having hired and worked with a photographer on several occasions, you should be looking at their editing style (can they do what you want?), the quality of their photos (are they grainy? blurry?), as well as their turn-around time (most have a 2 week turn-around during this time of the year.) A lot of photographers will also do “mini” sessions where they have a set-up and you show-up and get 30 minutes of time and 5 photos. Totally worth it if you just want one photo for the card.
We booked a lovely local photographer – Madison Massey Photography – because she checked-off all our boxes and was free on the date we suggested. Knowing that I needed a quick turn-around on the photos I mentioned this to Madison up front and we agreed to a timeline from the get go.
2. Pick an idyllic location
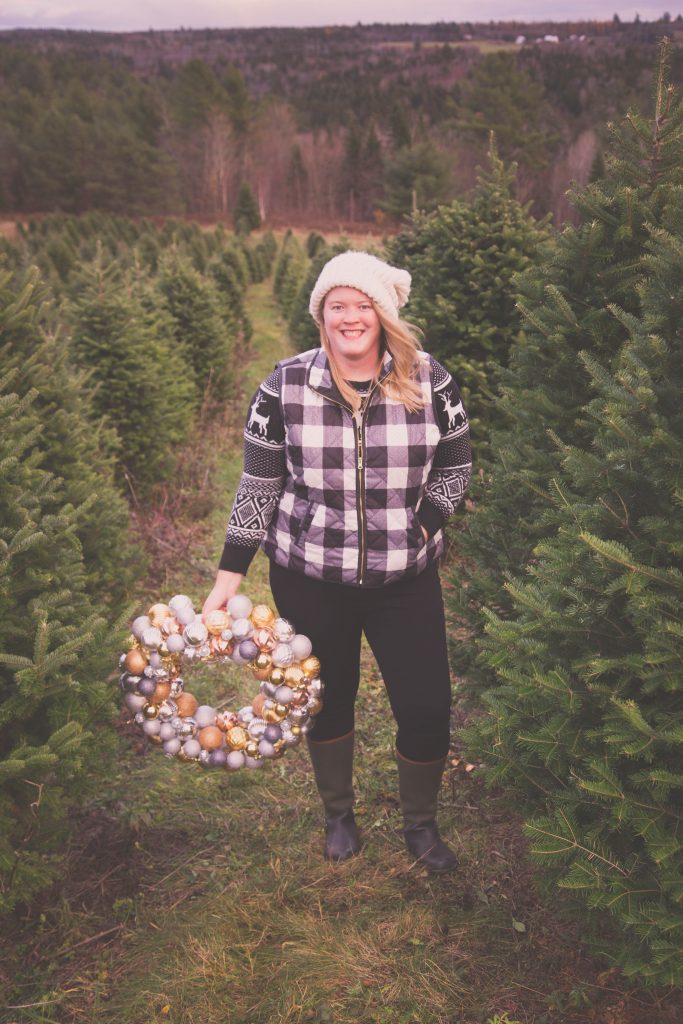
Living in New Brunswick there are an abundance of Christmas Tree farms. They are quite literally everywhere you drive, and I bet if you closed your eyes and threw a dart at a map you’d hit one. We looked around online for a bit and stumbled upon the Lo-Hi Christmas Tree Farm in Hoyt, NB. The owners are a lovely young family with tons of acreage and they were more than willing to let us use their rolling property for photos. If you’re local and looking for a tree, I suggest you look them up on Facebook!
3. Dress the part
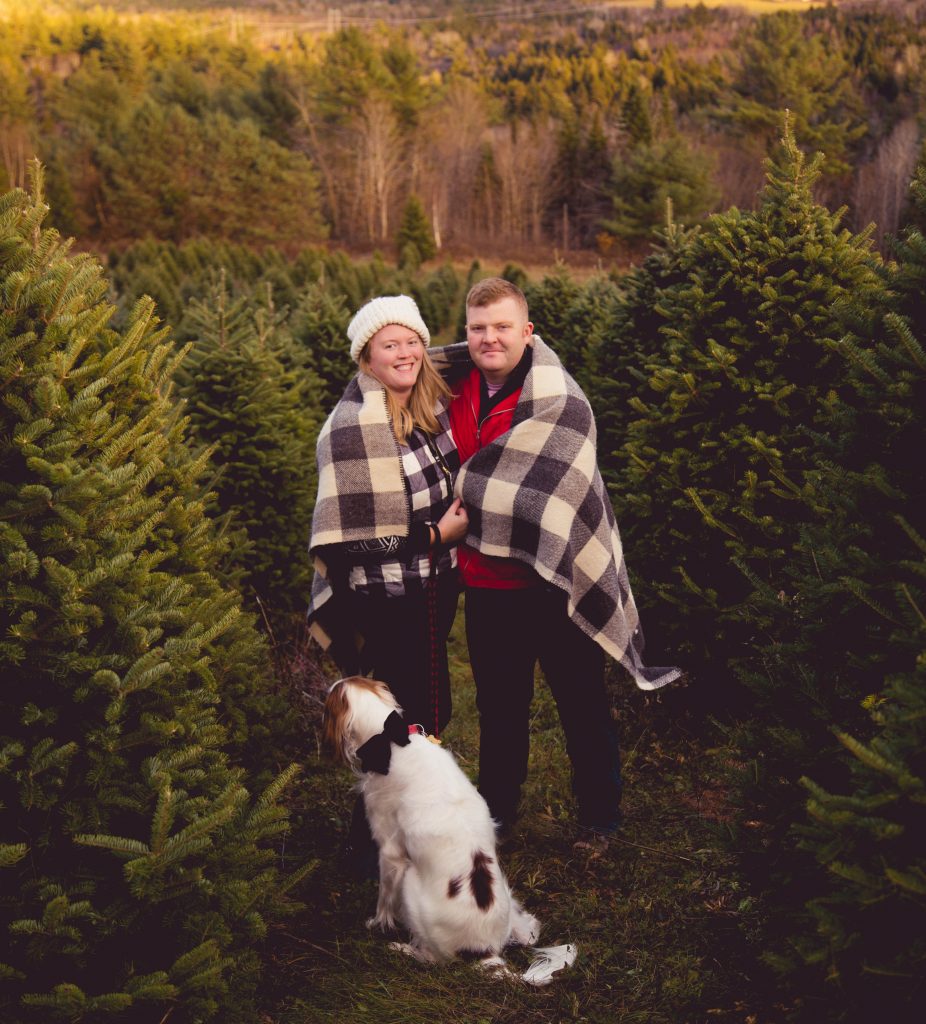
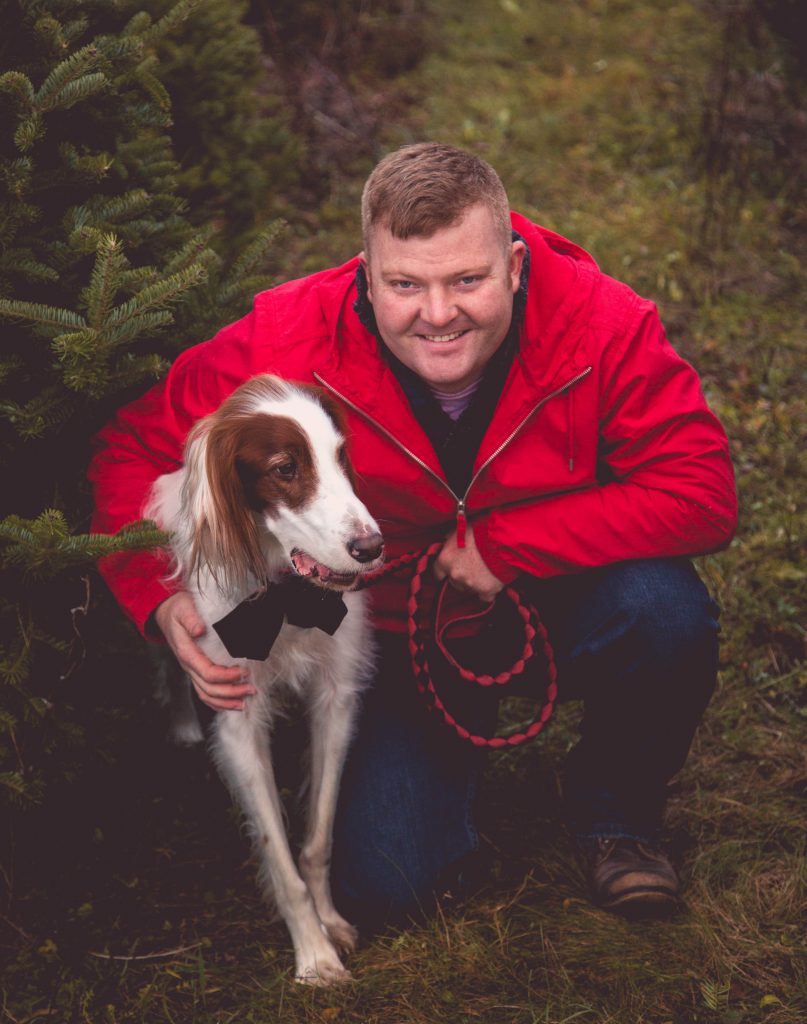
Maybe not matching elf suits, but definitely not just ugly Christmas sweaters. We went with a black and white theme which DH promptly ruined by wearing his red parka. We both own black and white buffalo check plaid, so this would have been the perfect occasion to match. Oh well! We still look cute as heck.
4. Bring props and pets
We brought a blanket (in black and white buffalo check plaid of course), my wreath from two years ago // here // and Bruce! You want items that won’t be heavy if you have to cart them around a bit, and that will also be stylish in the given location. I would not have brought a mailbox or an overly complex seating arrangement complete with dancing bears.
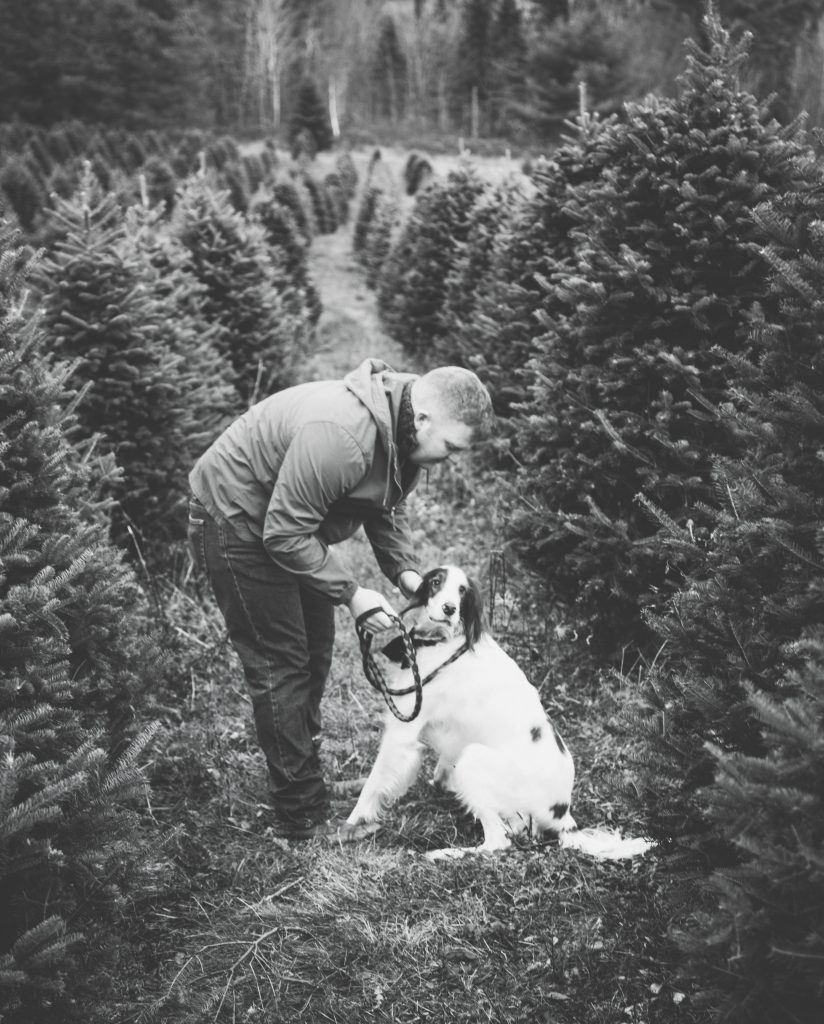

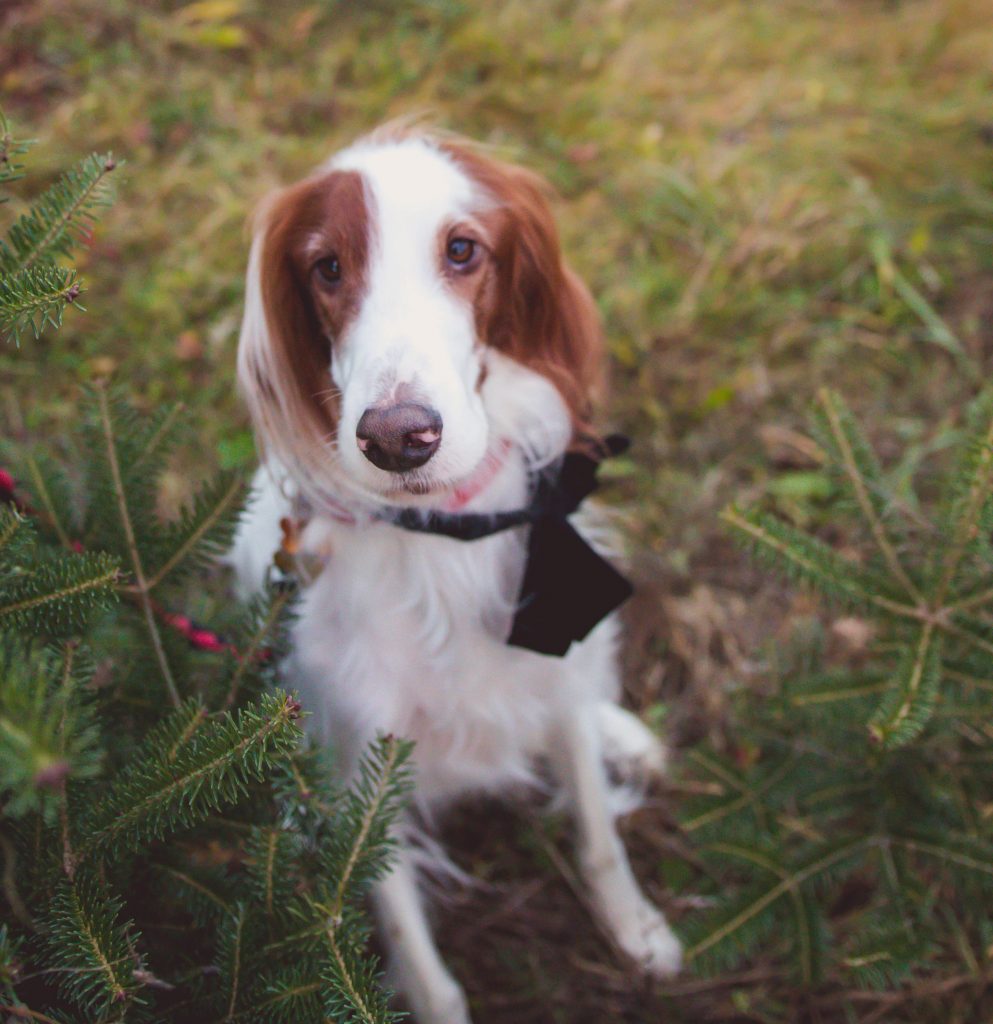

Pets are tricky because they never cooperate for posed photos. Bruce is promptly looking away in ours, but we went with that photo because it’s true to him. By our side, but still aloof.
5. Research some poses beforehand!
Don’t just show-up and expect the photographer to direct you. They may, but ultimately you’ll get more out of the session if you know the look you want. I looked at quite a few on Pinterest and settled on some really nice ones taken in Christmas Tree Farms.

Look at these two handsome gentlemen!

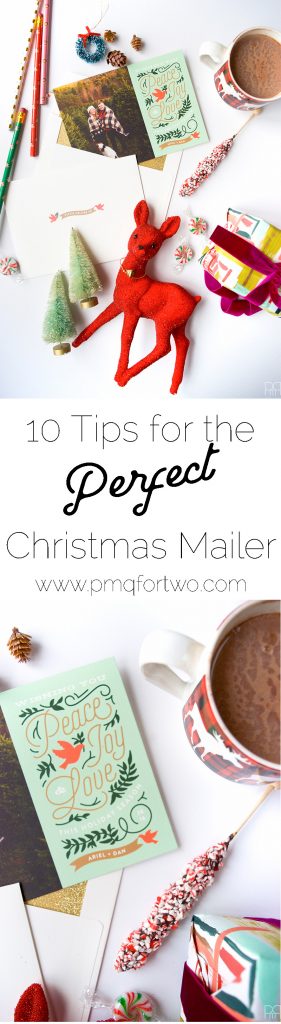
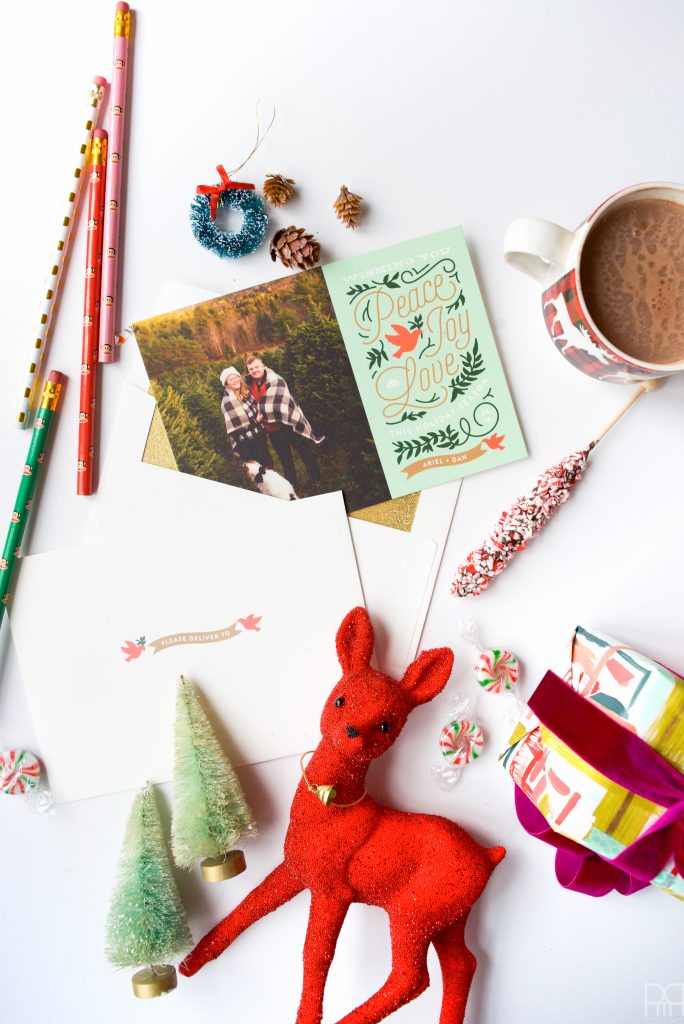
6. Pick a the right card
This is where all your hard work pays off and then makes the task of picking a card almost impossible! If you’re looking through the selection Minted has to offer you’ll be hard-pressed to find ones you don’t like.
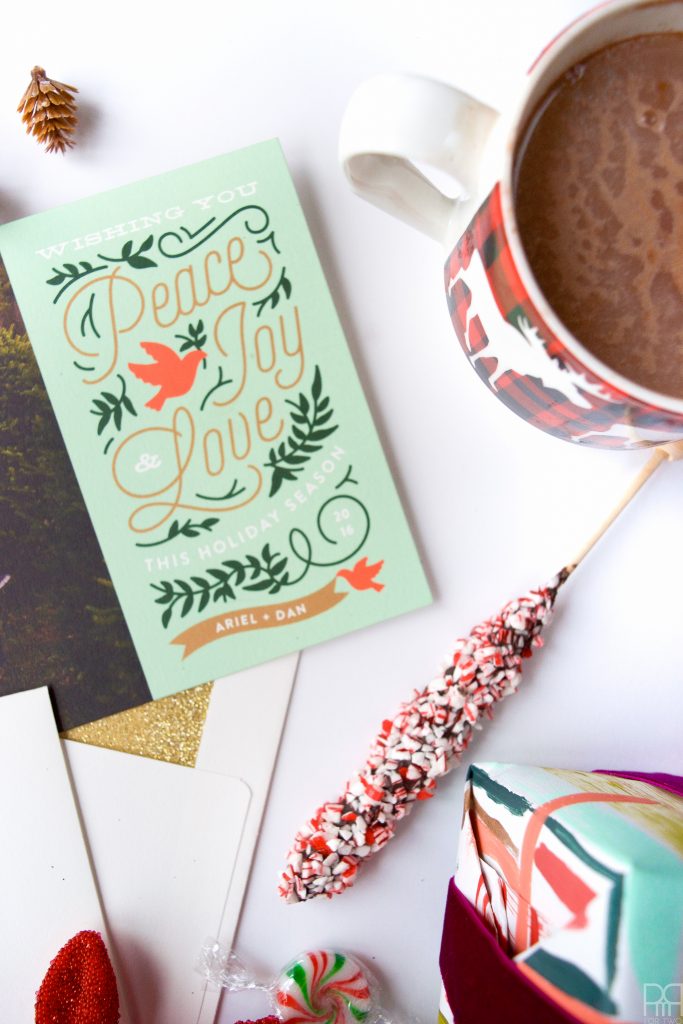
While choosing ours it came down to these options: Simple Snowfall, Happy Little Lines, Rainbow Holidays, Merry and Bright, Wintry White Botanicals, Golden Boughs, and the Doves Christmas.
Ultimately we went with the Doves Christmas because of the colours, wording and design. It was a close call though!
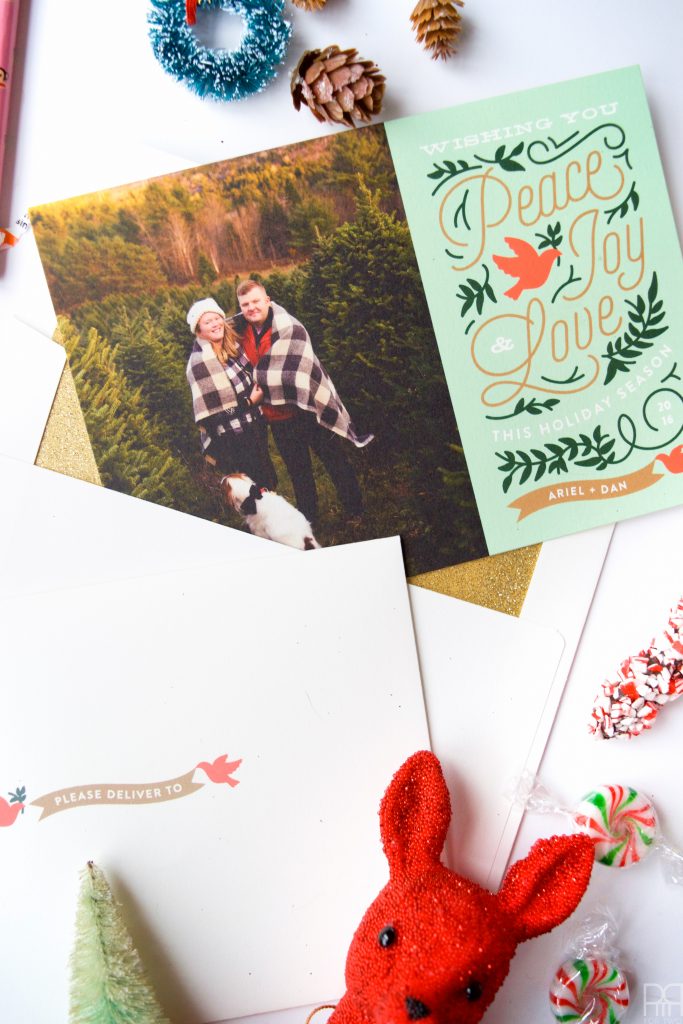

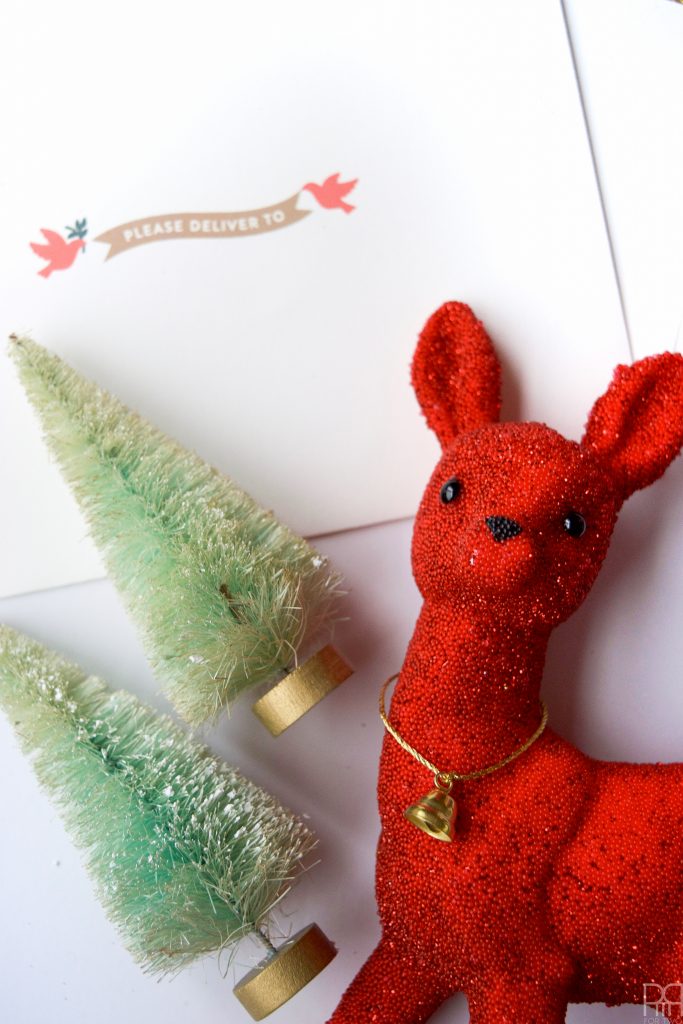
7. Don’t mess up the envelopes!
Did you know you can have your recipients’ address printed on the envelopes? as well as yours for the return to sender? Talk about making life easier! At least this way if you’re scrambling to get all that info beforehand, once the cards arrive it’s as easy as assembling and mailing!
8. Pick the right postage
I know here in Canada you can pick from a variety of seasonal stamps and buy them in bulk. That’s what I’ve done this year, and we came out on top!
9. Make it even more personal
Depending on who you’re sending a card to and why, don’t forget to scribble a little hand-written note on the back or inside of the card. We like the postcard ones because they display better, but also because it’s easier to write a little note on the back.
10. Get an extra card framed!
We’ve been doing this for a while, usually with our photo for the year. It’s a nice piece of decor that I bring-out in time for the holidays with all of our other decor. Because we don’t have kids yet, we don’t have photos of them sitting on Santa’s knee or what have you, instead we have photos of us throughout our relationship! I’m sure our kids will thank us for them one day.
At check-out Minted gives you the option of having your card framed for an extra fee. That way it arrives at the same time as your cards. It also makes for a kick-ass gift to that one family member who only wants photos.