

Aren’t you guys lucky! A double header of Valentine’s day crafts and DIYs! And all this from a couple who don’t celebrate Valentine’s day, rather a month of love. Because we have so many occasions to celebrate in February I need a few cards to help me express all that love for my hunk. I teamed up with 9 other amazing DIY bloggers to bring you 10 fun and original Valentine’s day cards, so make sure you check them out! (head to the bottom of the post for the links)
*Cricut sponsored this post, but all thoughts are my own. Thank you for supporting the brands that make PMQ for two possible.

I happen to love conversation hearts more than anyone else in the world, so it was only natural that I should make cards that look like them! Bonus points because the design was the first one that jumped-out at me when I was causing through the Cricut Design Space. I snagged the cut for 0.99$ and was able to put my growing collection of card stock to good use. I’ve been slowly accumulating fun colours, patterns and textures at our local Michaels, so it was high time I actually use them. I bought a box to hold them specifically, so things may have been getting out of hand 😉
The following product links contain affiliate links. Thank you for supporting the brands that make PMQ for two possible. For my full policies click // here //
Materials
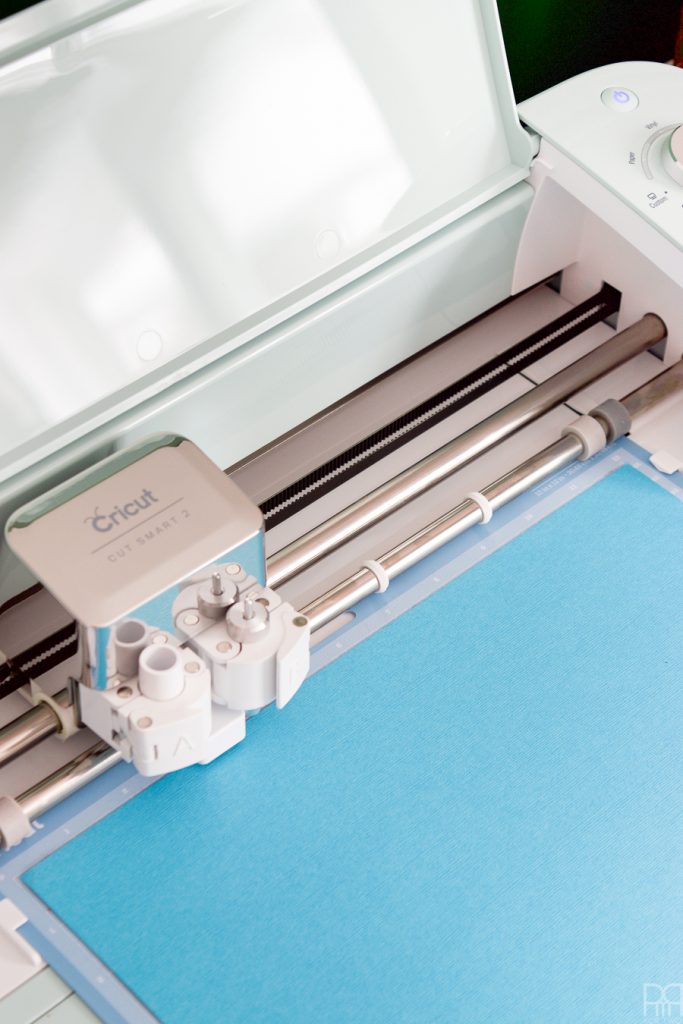
- Cricut Explore Air

- Cricut Tools Basic Set
- Cricut Cutting Mat Variety pack
- Cricut deep cut blade (if you plan on using glitter card stock)
- Glue
- Scrapbook cardstock


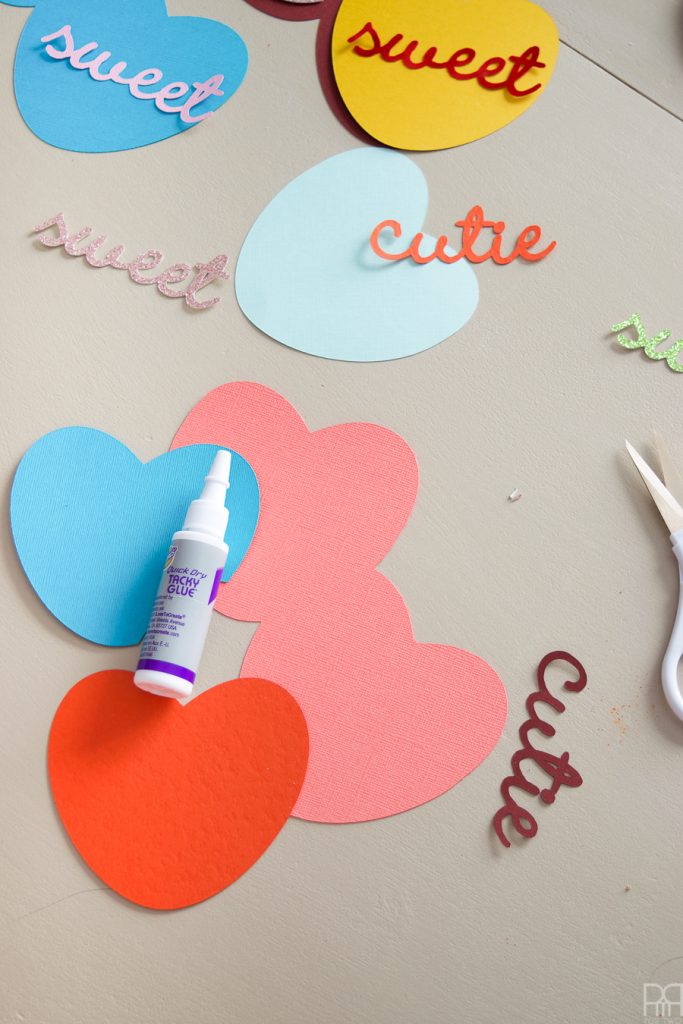
Step 1: Load the Candy Hearts (#M30CA0) cuts into your design space. There are 5 cuts to make, and I played around with the colours in order to get some fun contrasts. I also found that there was an extra heart being cut, and I couldn’t figure out where it went when I was assembling it! If that happens to you as well, don’t worry!
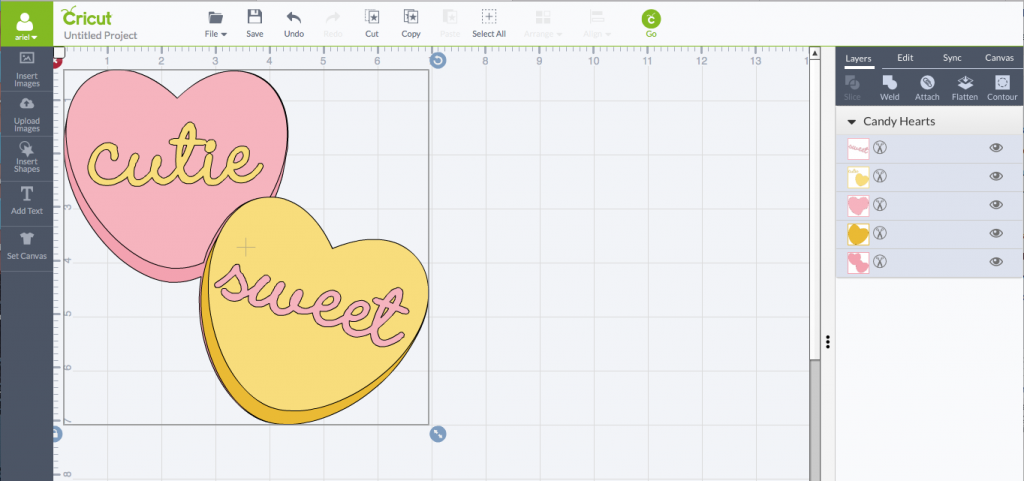

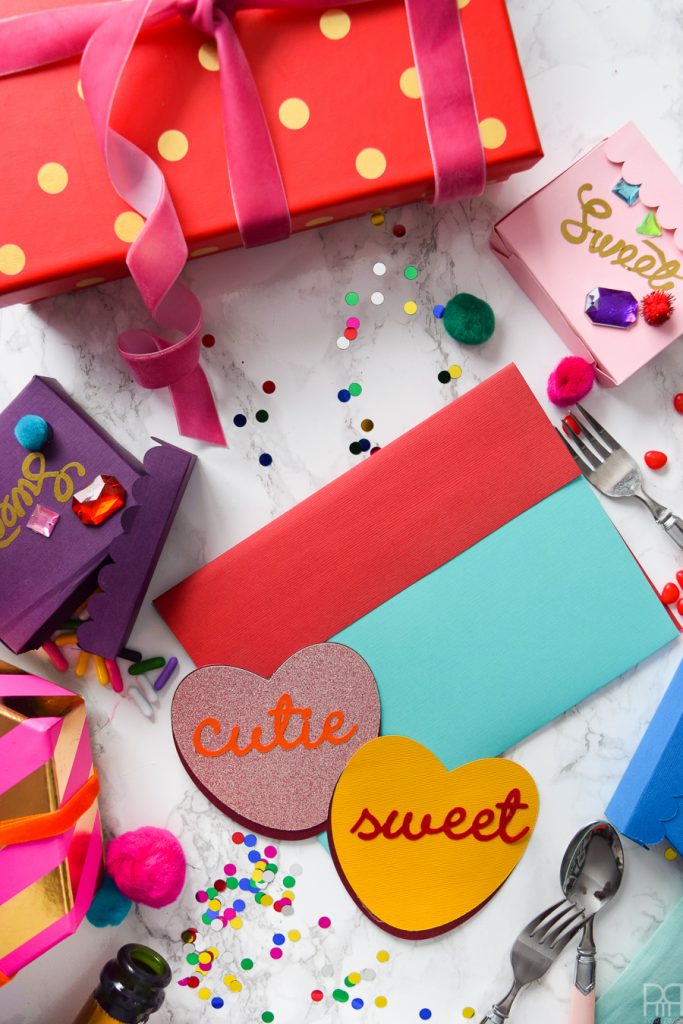
Step 2: As you cycle through the cuts, don’t forget to play around with colours and textures. It’ll add a fun dimension to them, and keep them looking fresh and bold. When in doubt, go for contrast!
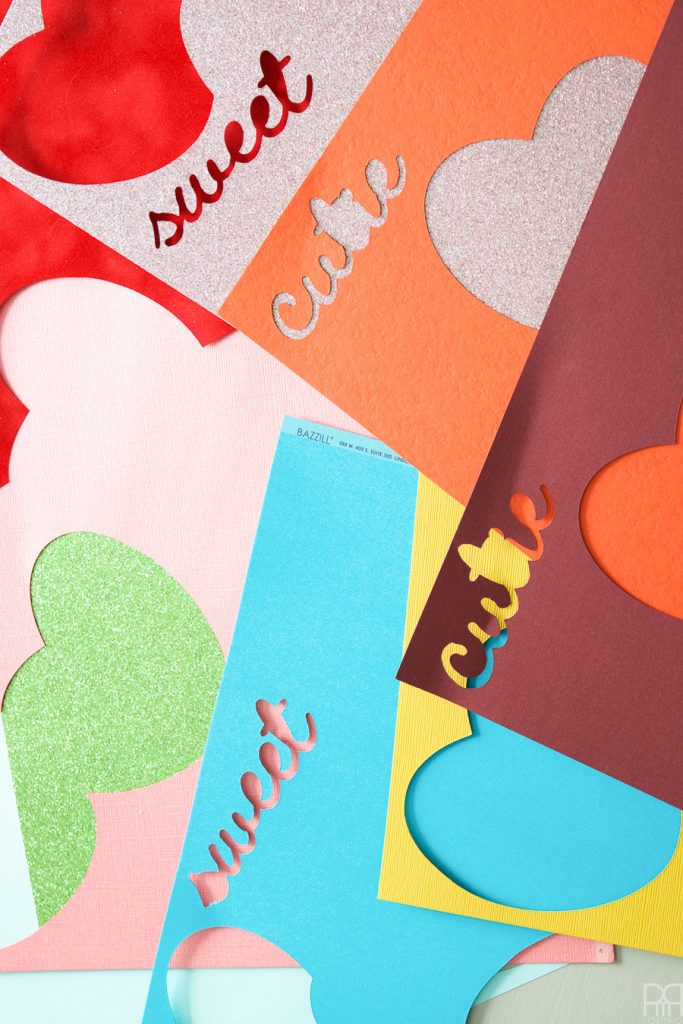
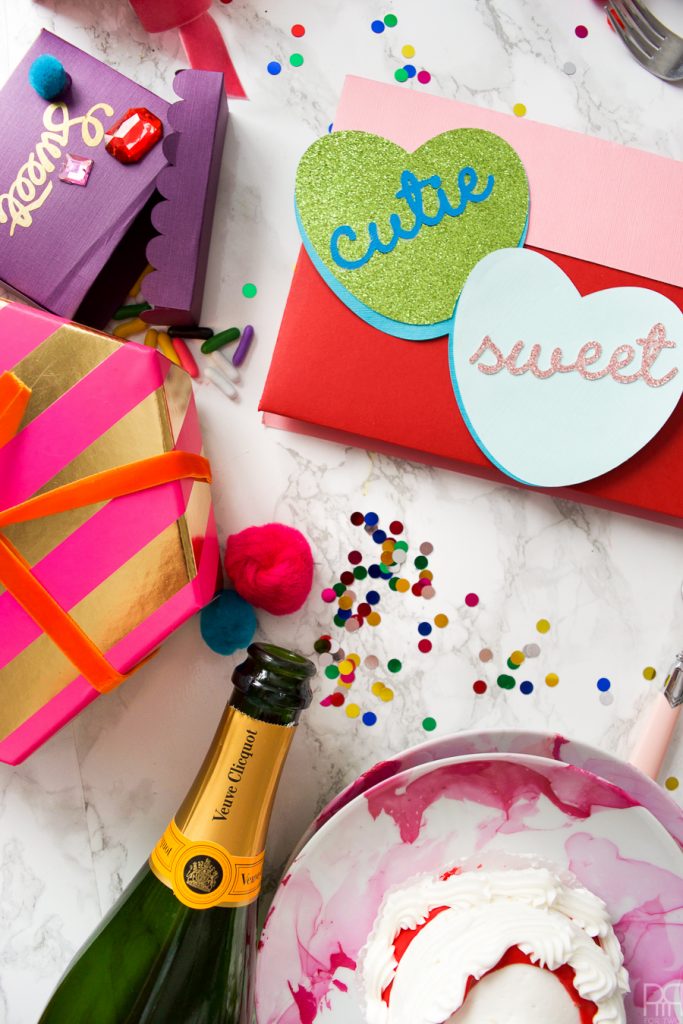
Step 3: When it comes to assembling them, you’re using one central colour, and then accenting it with a different coloured drop shadow, and a different coloured face. The wording on each heart will then be a different colour, so remember to glue from the bottom up.
For gluing you’ll want to use a light-weight white school glue. It can’t be too heavy of create an irregular surface as it’ll show under all the layers. You want a glue that will self-level
I placed mine under a heavy stack of books to help flatten them as they dried!
Step 4: Because I sized mine a little bigger than the standard envelope, I made myself some fun complimentary ones using a few simple folds and some glue.
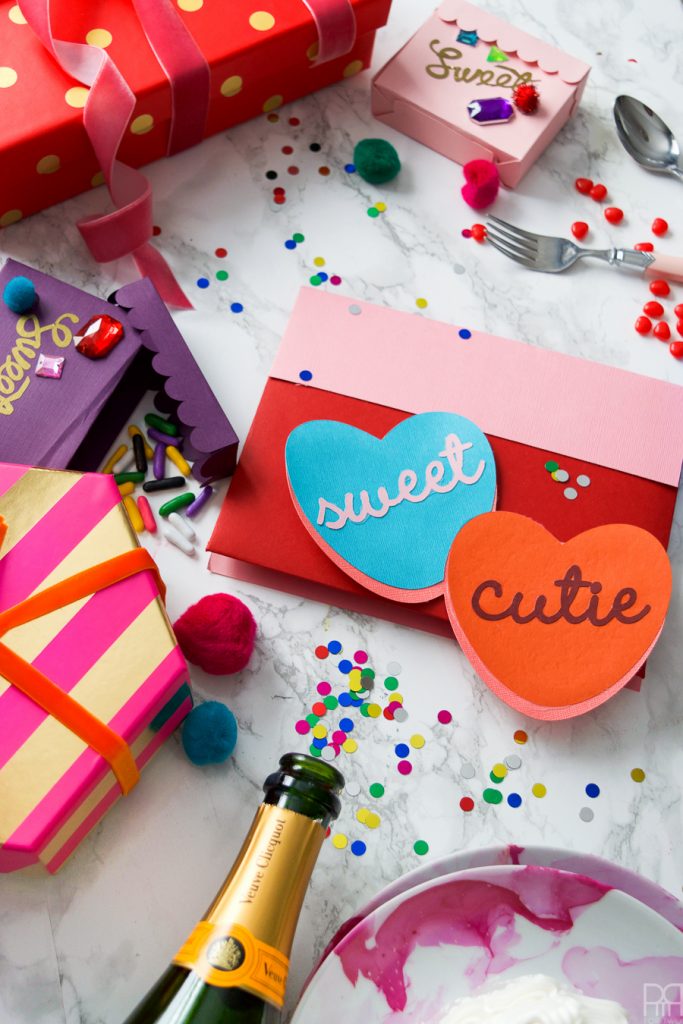
Step 5: After the hearts are assembled and they’re ready to go! Write on the back or on the front, and away they go. You can also pack yours with some confetti and glitter for an extra kick.
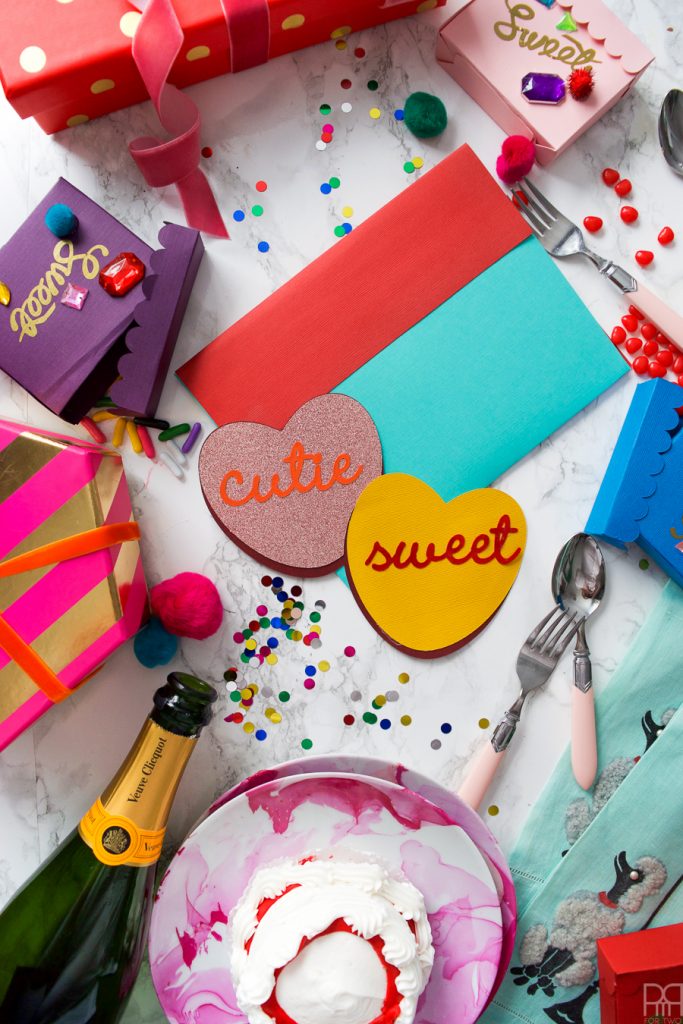
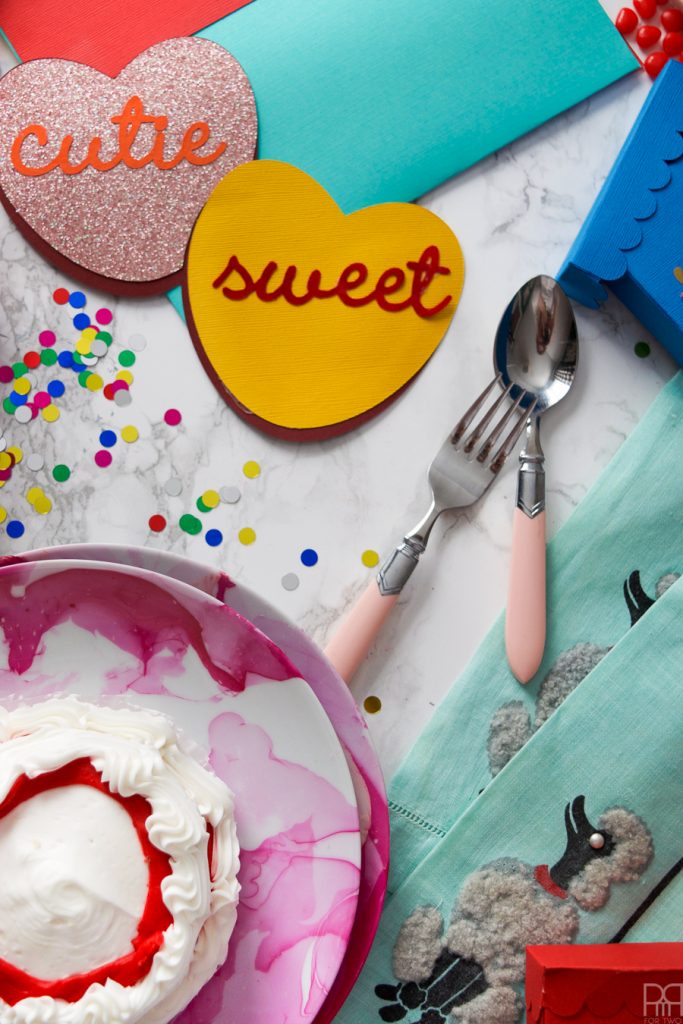
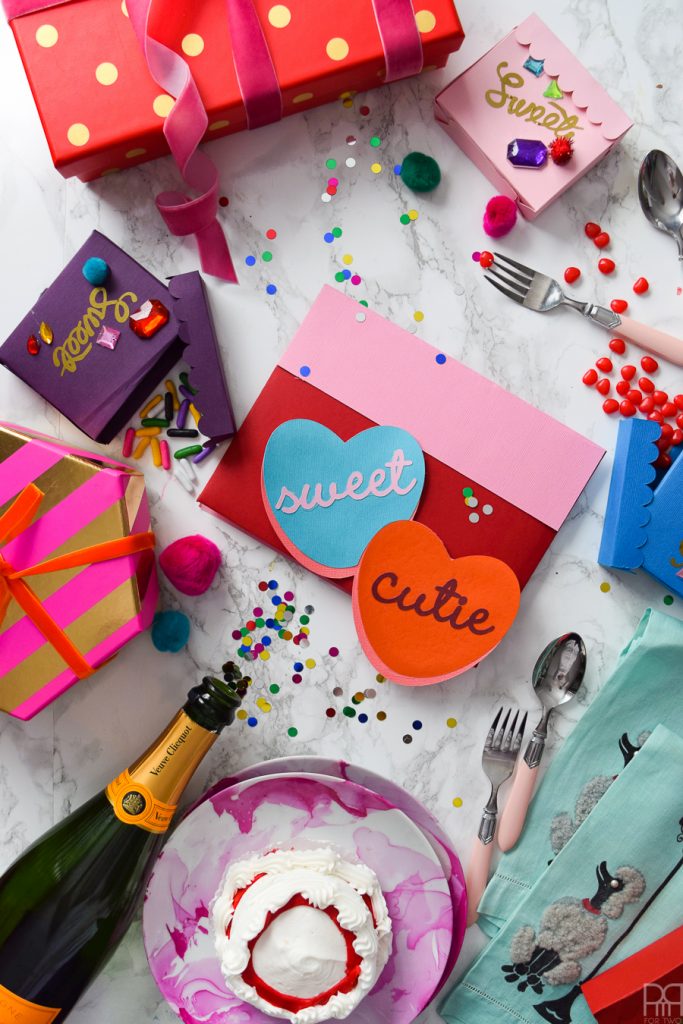
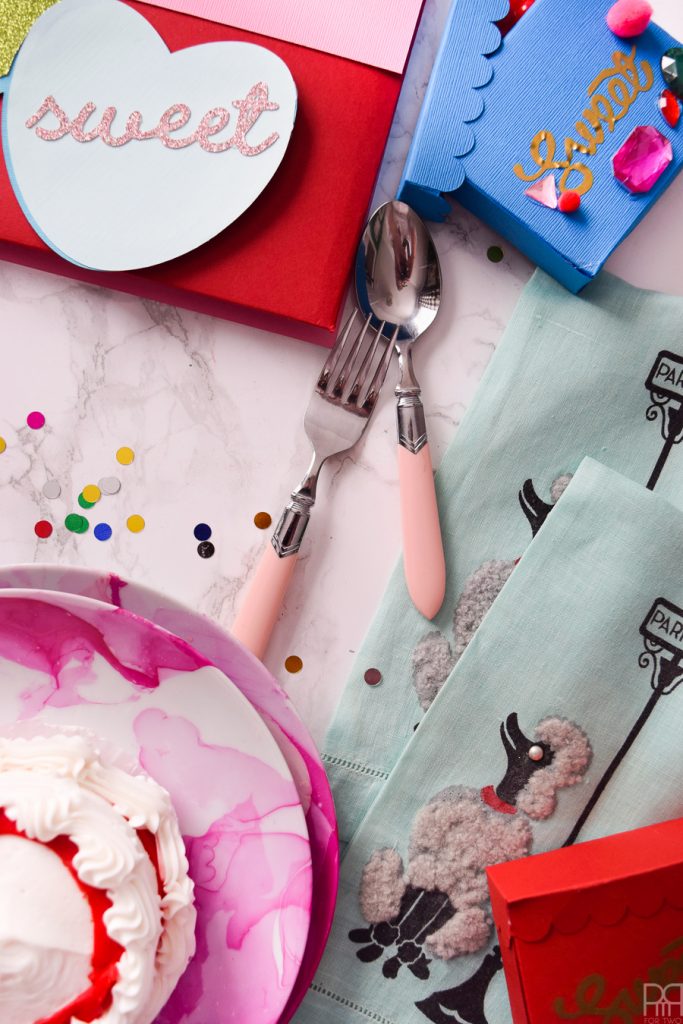
I’m showing you how they’d ideally look come February 14th – or whatever other moment for displays of love you have planned – champagne, cake, and some candy!


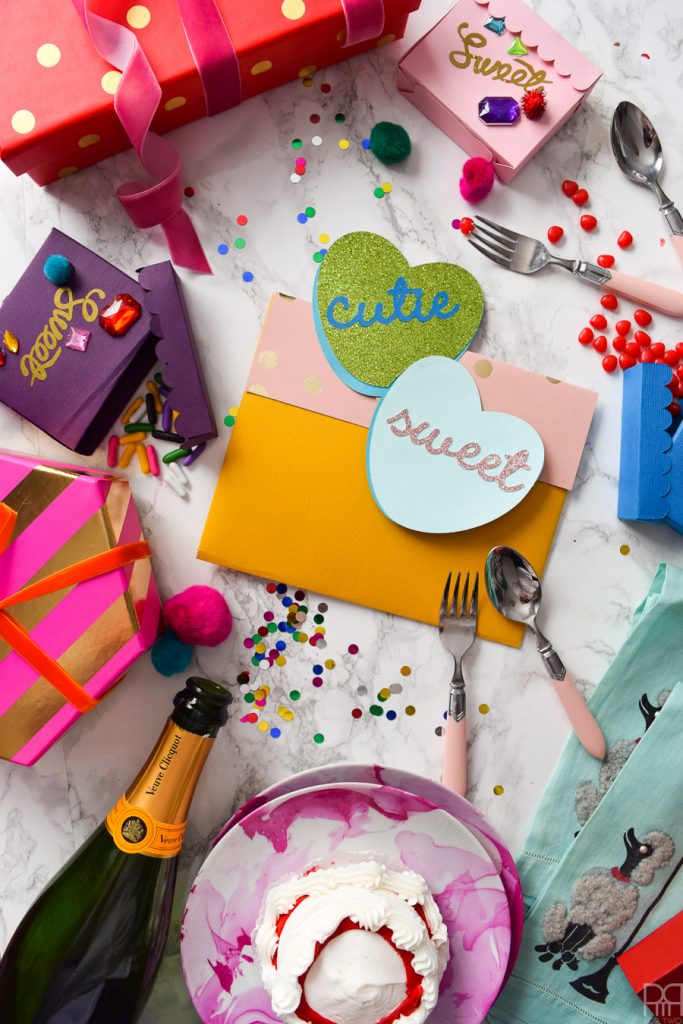
Are you digging those marbleized plates? The DIY for those is // here // and you can find the DIY for those sweet candy boxes // here //
I told you I loved candy hearts! And with these candy heart cards I am pretty sure I’m hitting the sweet spot for my seasonal cravings. If it’s not candy heart cards, what will you be making this year?
Alright, time for 9 other amazing, unique and cute Valentine’s day cards from my fellow bloggers:
Ariel from PMQ for two’s post // here //
Laura from Me And My Inklings’s post // here //
Julia from Bunny Baubles’s post // here //
Katie from A Sweet Berry Designs’s post // here //
Alexis from Persialou’s post // here //
Mila from Jest Cafe’s post // here //
Lisa & Rachel from Haute Girls Official // here //
Dena from Dena Designs’s post // here //
Mara from Wishes and Merriment’s post // here //
Amy from The Glitter In My Tea’s post // here //
This is a sponsored conversation written by me on behalf of Cricut. The opinions and text are all mine.

