We don’t celebrate Valentine’s day here. Instead, we celebrate a month of leurrrve <3 See, DH and I met in February, had our first date in February, and got married (the legal portion) in February, so Valentine’s day ain’t got nothing on the month as a whole. That being said, we don’t actually do anything special on the 14th, it’s never struck our fancy. I DO however make a point of giving my husband a few small gifts and a card or two throughout the month to commemorate those important days. When we the legal ceremony we actually exchanged ring pops instead of rings, so I usually give him one of those and vice versa. Since I know he also likes a few other types of sweets I thought I’d put my Cricut to good use and make a couple of little candy boxes to put those treats in.

Up until now I have never made any of the more structural pieces with my Cricut, so I thought these little candy boxes would be a great way to test the waters. I chose a simple scalloped box (#M4D28F) from Box It Up for 0.99$. The cuts looked simple, and I didn’t bother with the scoring pen (although I should have – hence the ugly creases on all my boxes), so other than figuring-out how to assemble them, the project was fairly simple.
The following product links contain affiliate links. Thank you for supporting the brands that make PMQ for two possible. For my full policies click // here //
Materials
- 1 sheet of light-weight card stock per box you plan on making
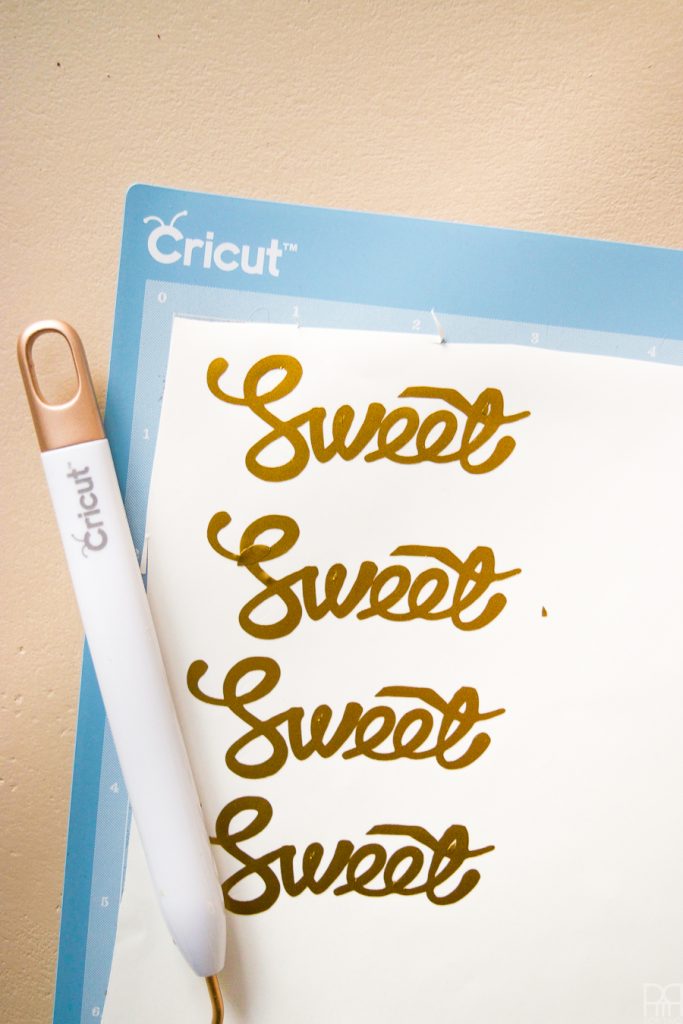
- A sheet of vinyl for the lettering
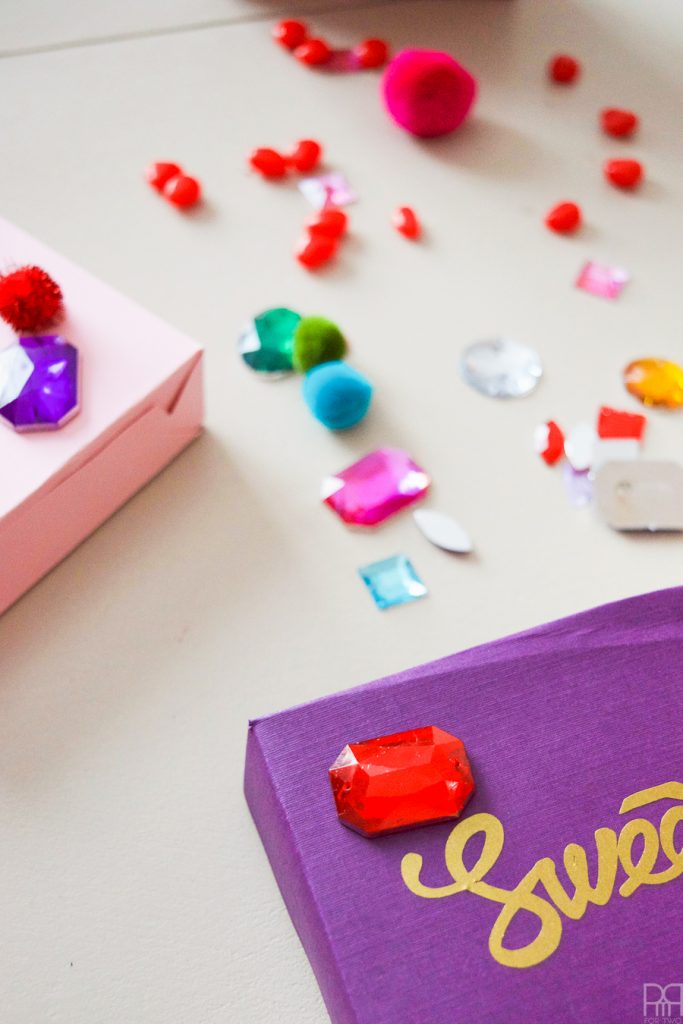
- Plastic gemstones and pom poms
- Hot glue gun
- Cricut Explore Air 2
- Cricut Tools Basic Set
- Cricut Cutting Mat Variety pack
- Transfer Tape
- Design Space account (free)
Step 1: Load the box cuts into design space and pick the size you want. I went for smaller boxes, so the two panels and the lid fit onto one 12 x 12 mat.
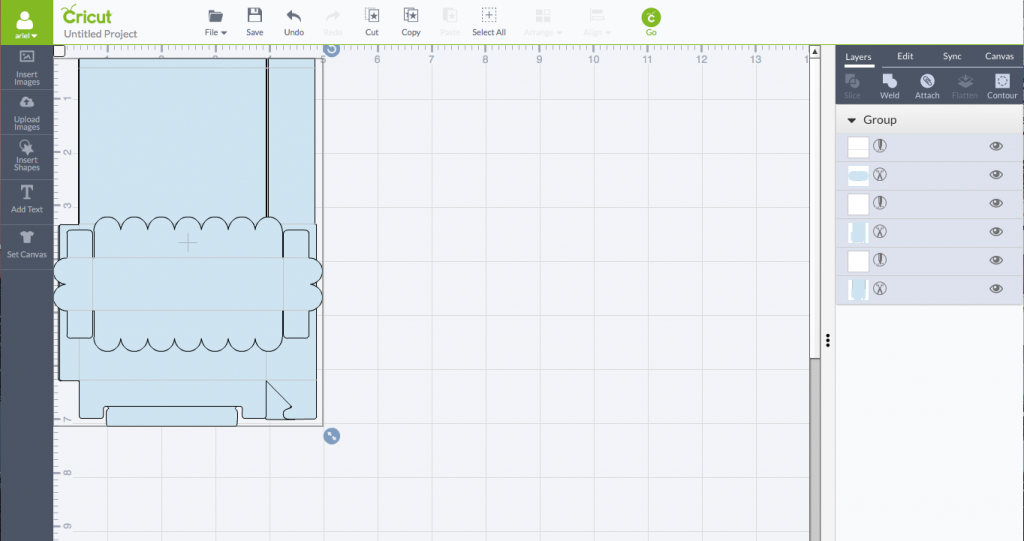
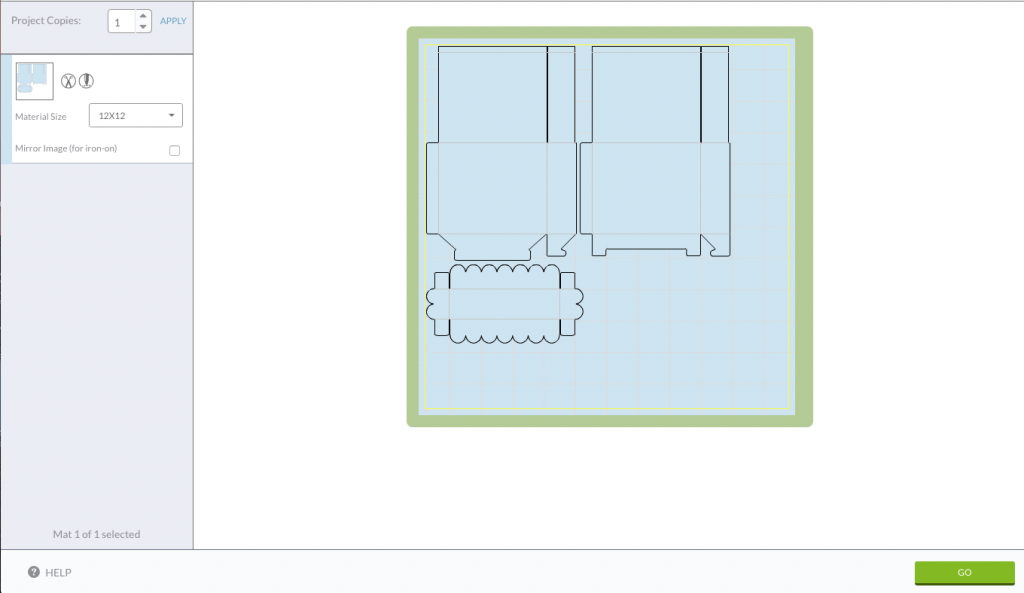


Step 2: Cut as many candy boxes as you’d like!
Step 3: Assemble! This is tricky, because Cricut Design Space does not currently come with assemble instructions for the various designs you may cut. This isn’t a problem for me 99% of the time, but in this case it took some finagling to get everything the way I wanted.
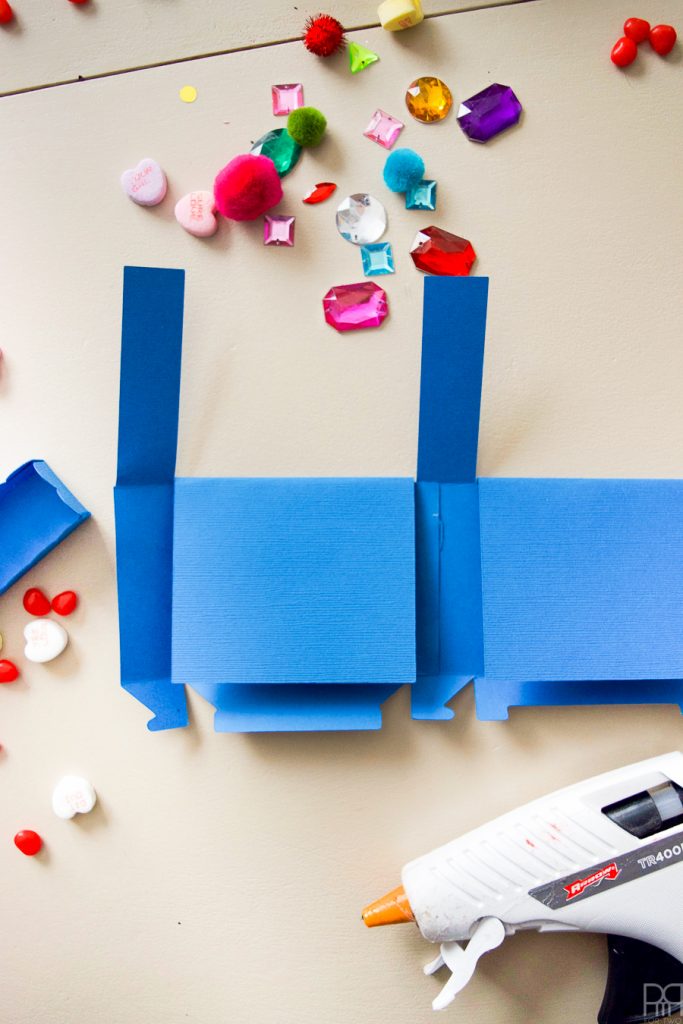
I will say this, use the scoring pen like it tells you to! I chose not to because I didn’t understand, but in actuality it would have done a lovely job of prepping the card stock for folding and would have saved me from all those ugly creases. If in doubt, fold along the lighter coloured lines you see in that second image above.
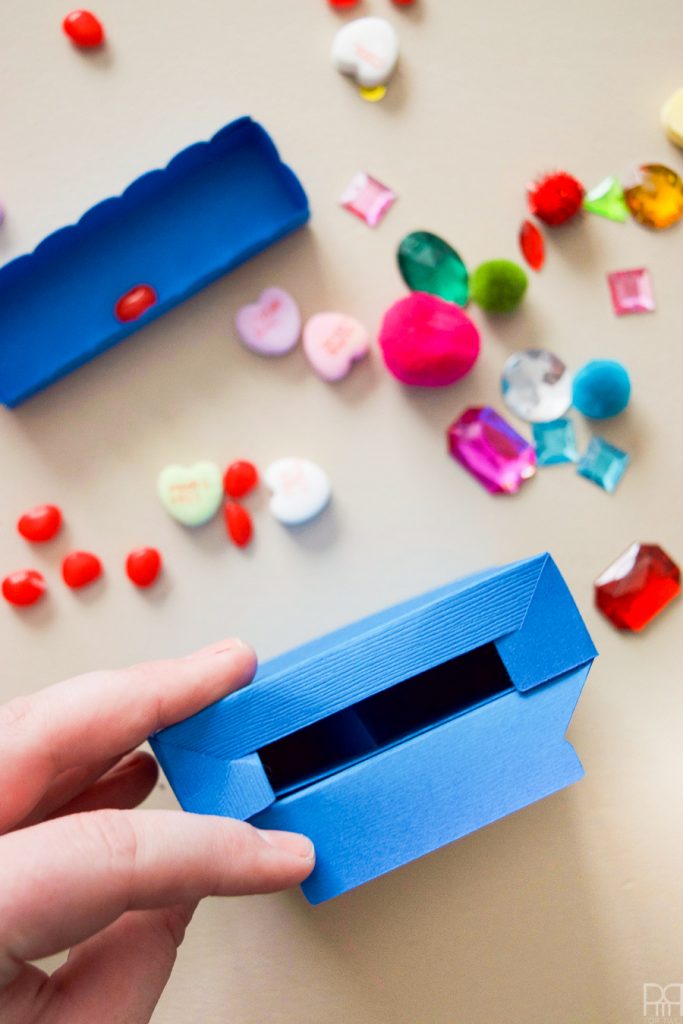
I used hot glue to hold the pieces together because I wanted something that dried quickly (like white school glue), and that I wouldn’t accidentally glue myself to the paper with (like super glue)
If you use my picture below as the starting point for assembly you’ll get far! The weird little bits at the bottom look like the bottom of a cereal box, so they tipped me off as to how to assemble them. The extra strips & flaps are to be folded into the box for extra structural support.
You start by gluing one thing vertical strip to the inside of one of the wider strips on the other piece (as pictured). Connect the other two strips as such, and you have a box! Fold the flaps and strips inside, and the close the bottom.
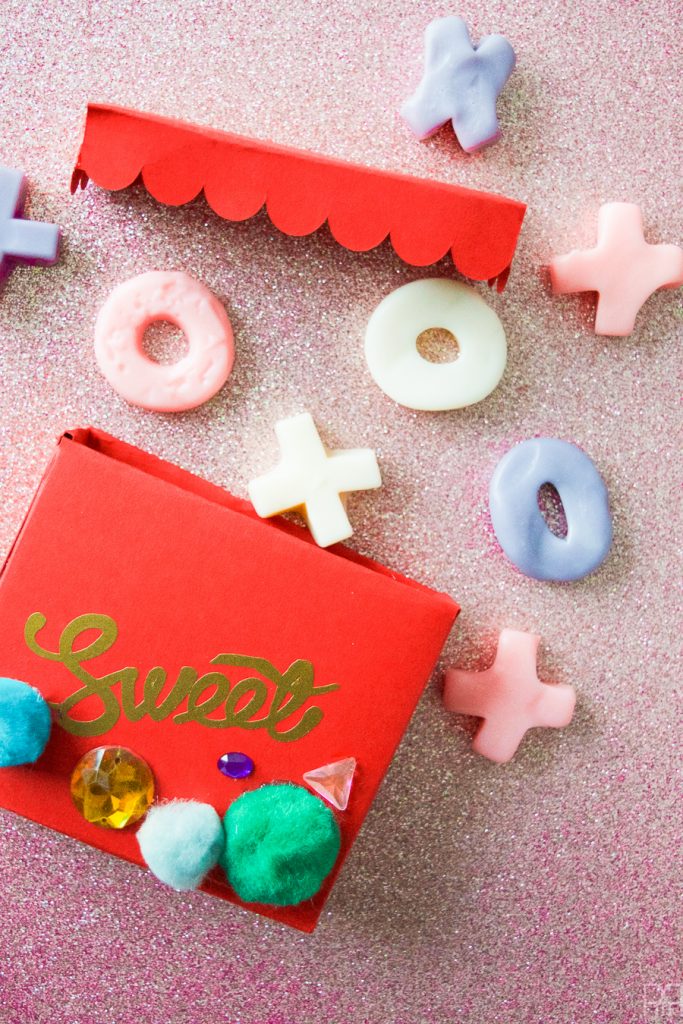
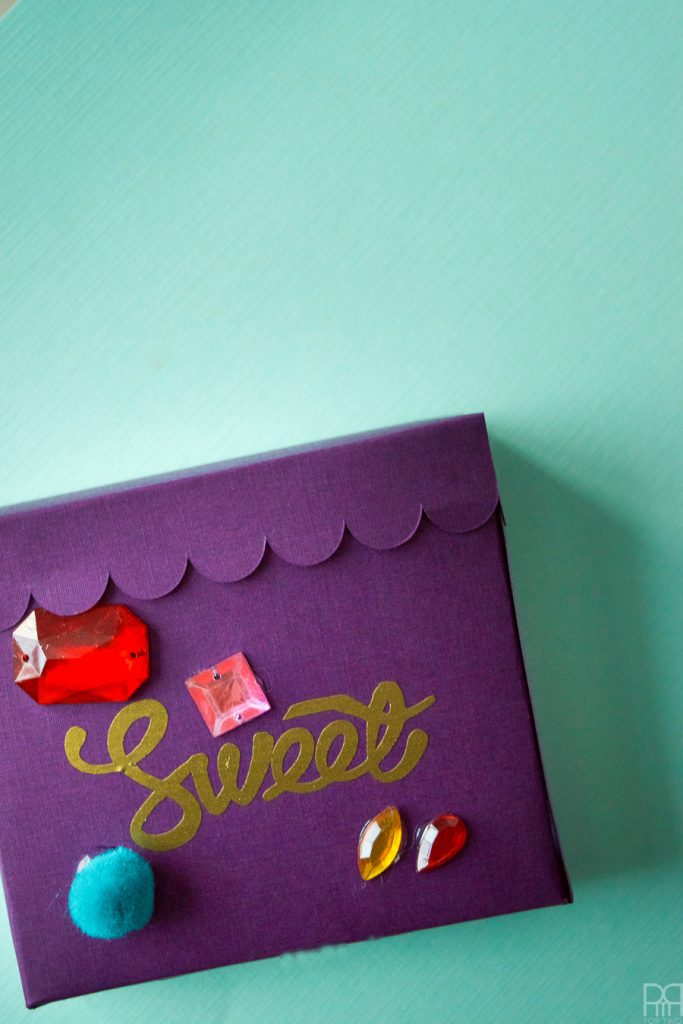
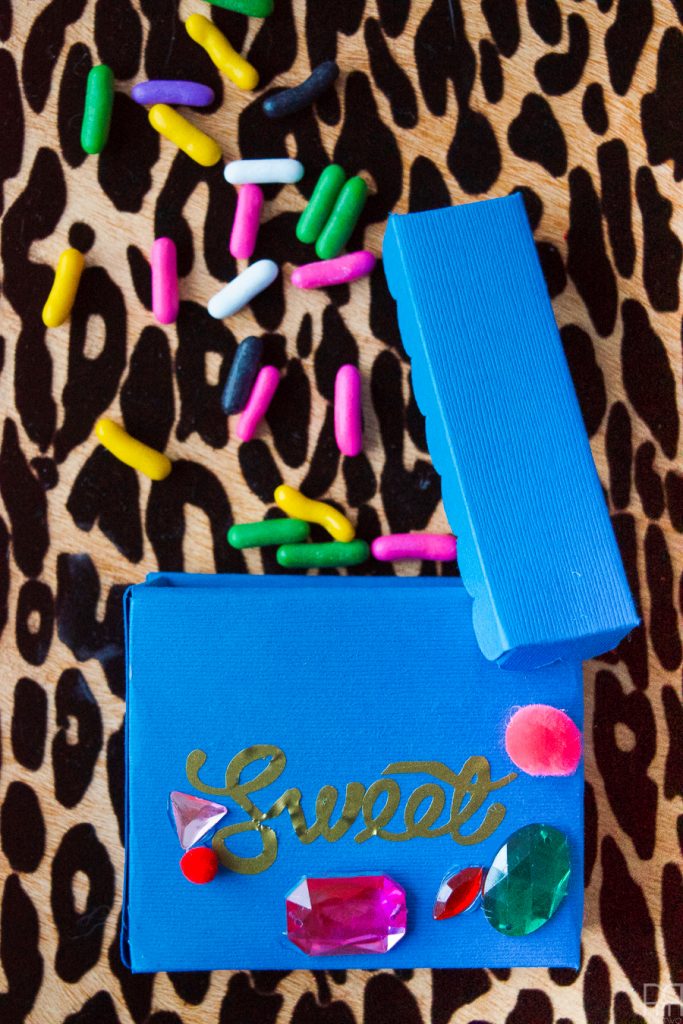
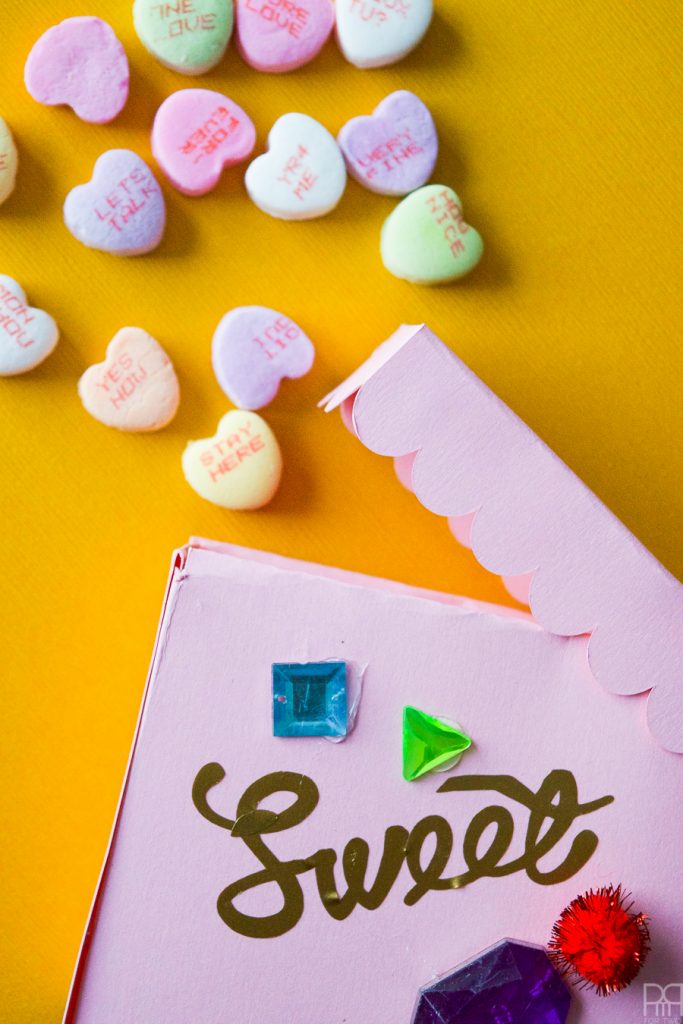
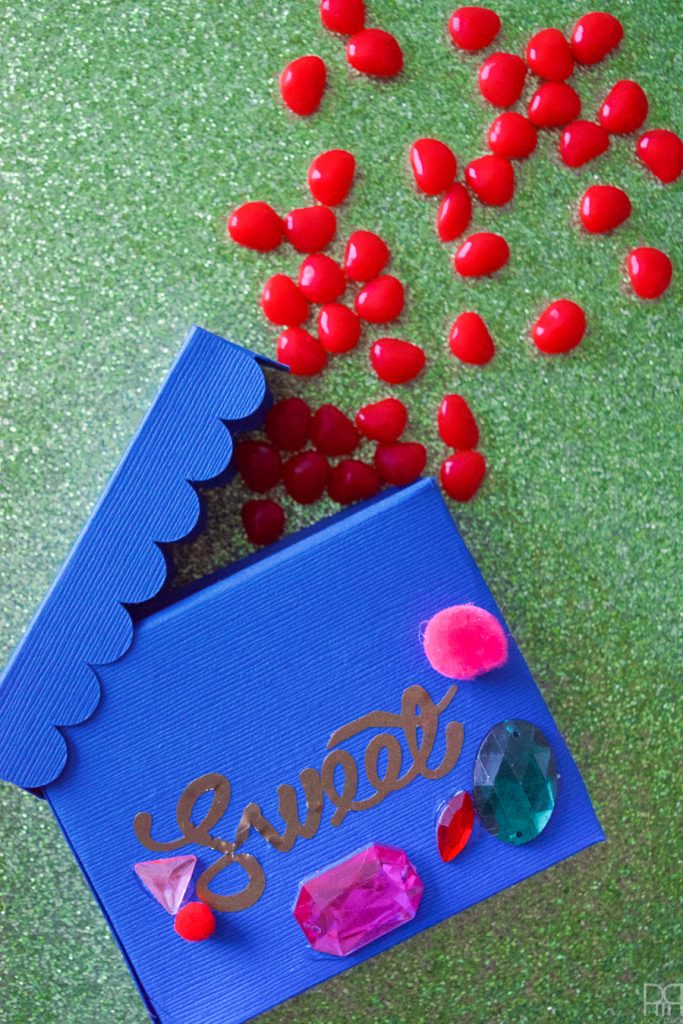
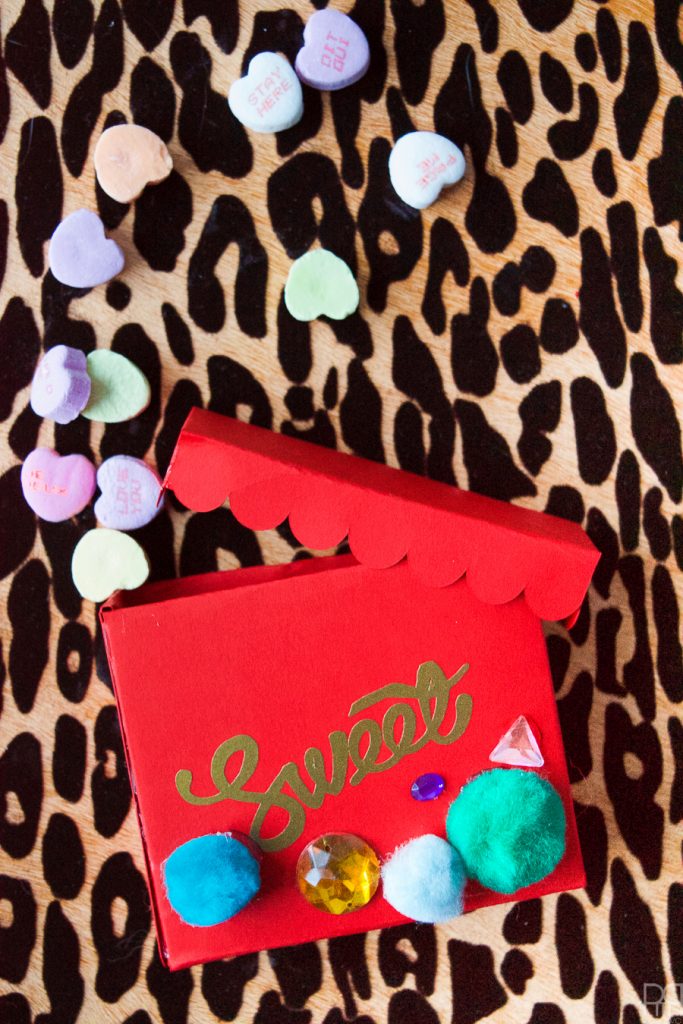
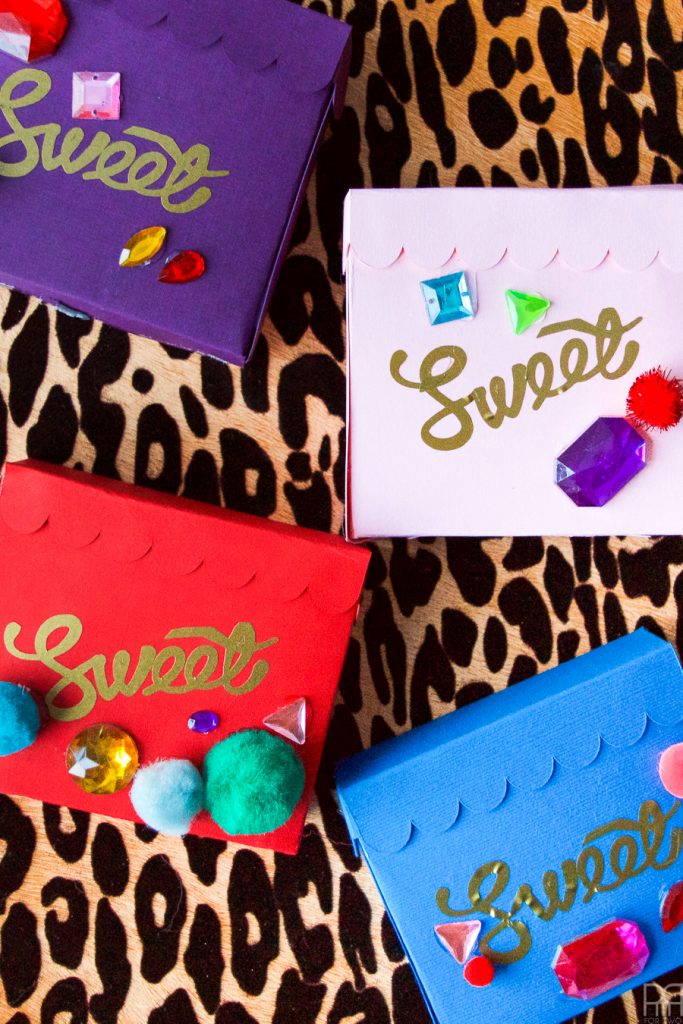
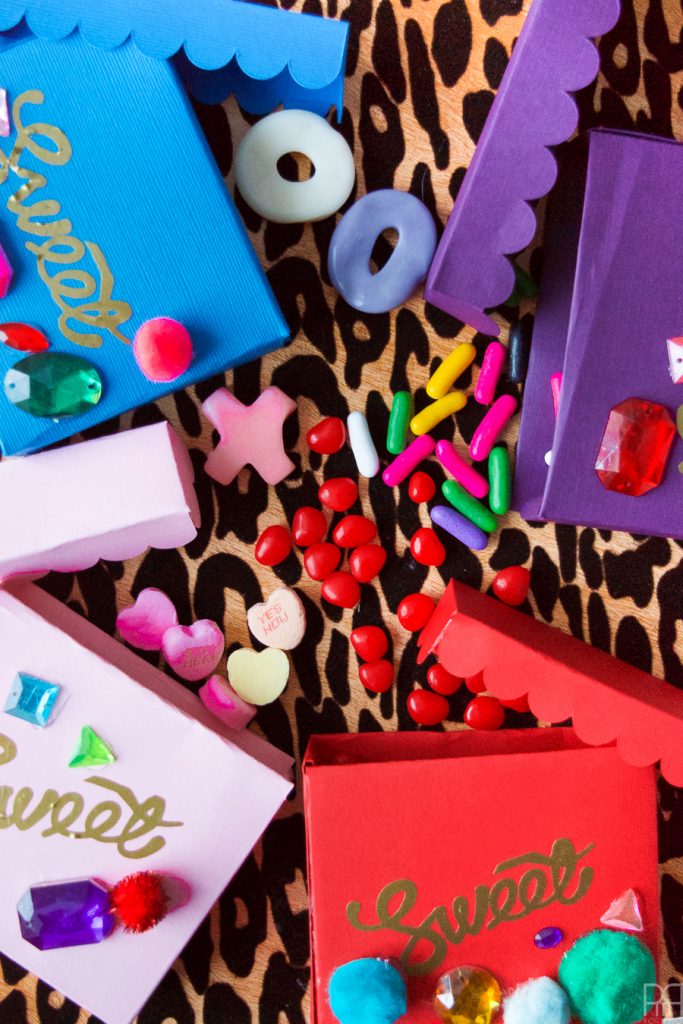
Step 4: Using your design space & Cricut cut the number of words or phrases you’d like for the front of the boxes. You could label them “cinnamon hearts,” “gummies” and so on and so forth, but I decided that “sweet” was good enough for me. I then used my transfer tape to transfer them to the front of the boxes.
Step 5: Because no PMQ for two project is complete without gemstones and pom poms, or at the very least lots of colour, I then glued a bunch of them to the front of the boxes for extra pizzaz.
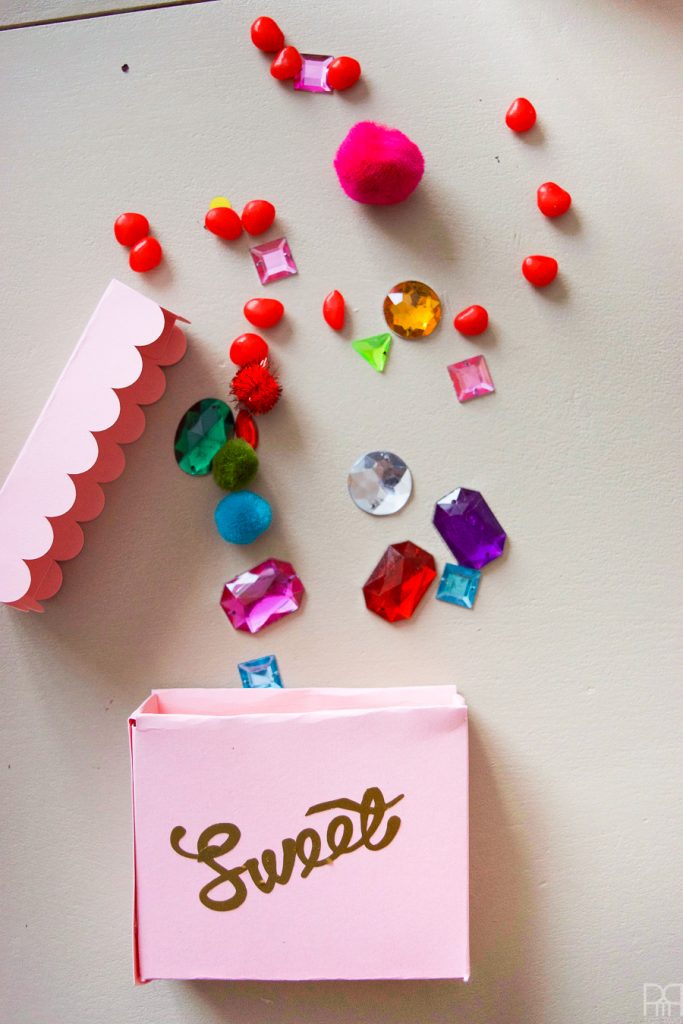
Step 6: Fill with candy and distribute! Or in my case, hide in my husband’s briefcase and lunch box over the next month. <3