


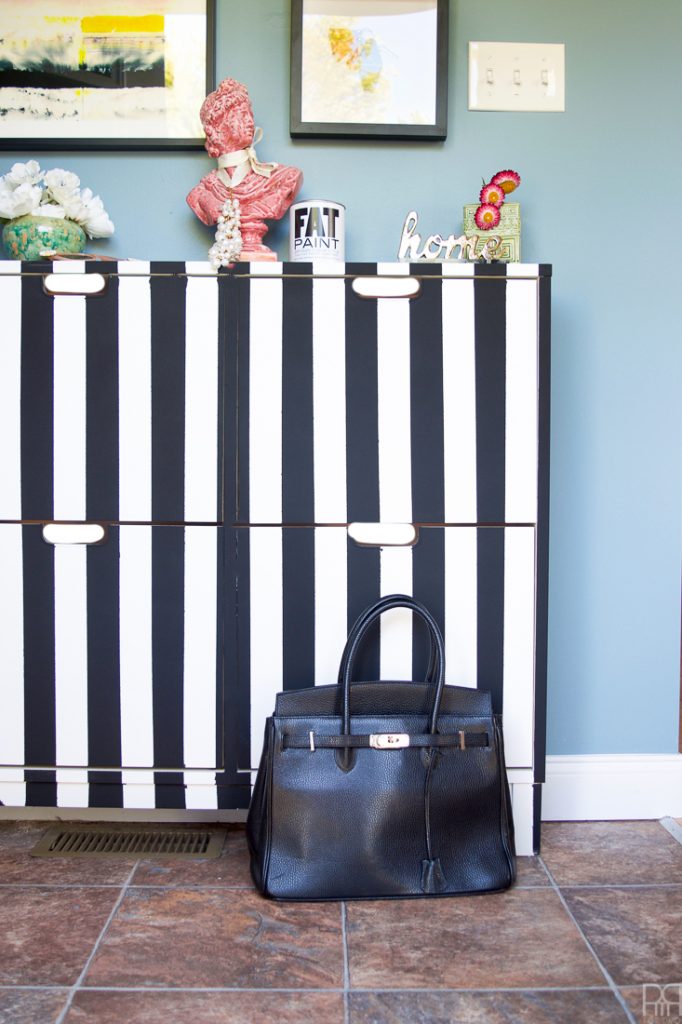
The entryway in our tiny rental has been the bain of my existence since the day we walked-in (the kitchen comes a close second). It’s small, awkward, and exists purely to provide a wall to attached the cupboards in the kitchen. When you look at it that way, it’s clear that no thought was put into it as far as people actually living there and using it. I’ve been fighting the space for just over a year now and it even ended-up on my list of problems that I need to address or I’ll be photoshopping them forever // here //. The Black and White Stripe IKEA Shoe Cabinet Hack is the answer to the small entryway in any rental. For the record, yes, you can paint IKEA furniture.
*FAT Paint sponsored this post, but all thoughts are my own. Thank you for supporting the brands that make PMQ for two possible.
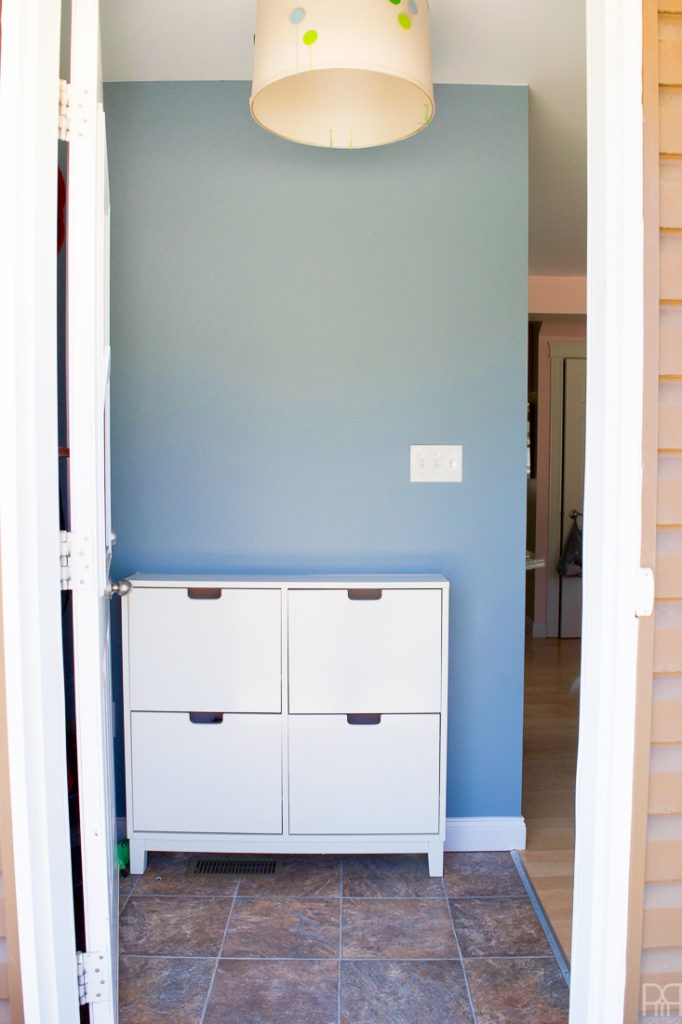
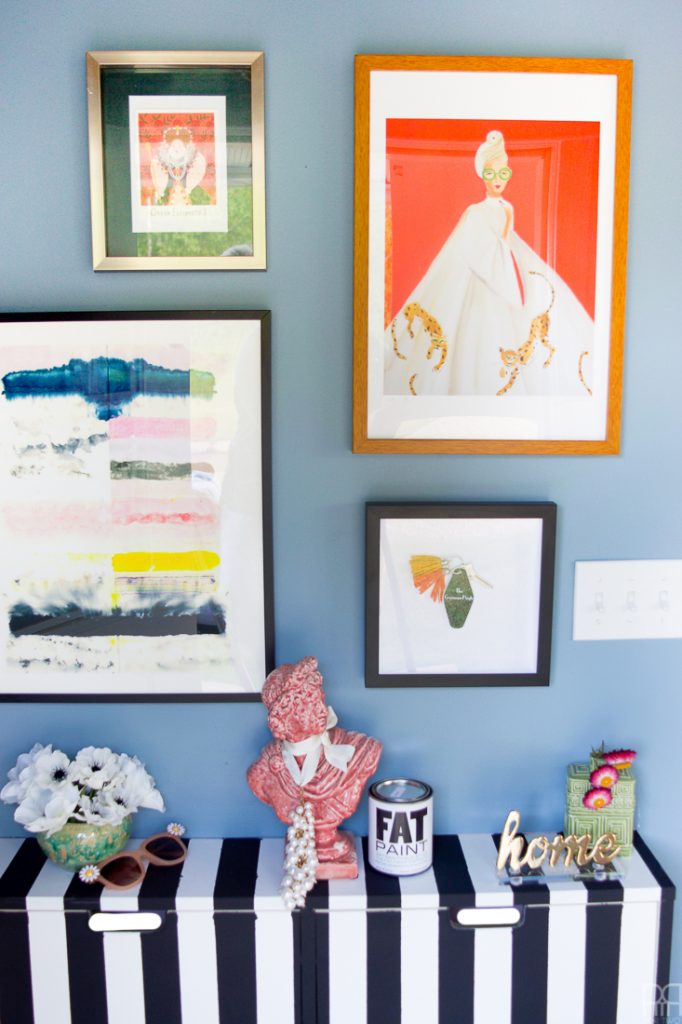
The entryway started-out in one direction (as you can see in my Fall Home Tour from last year // here //) and then when our coat rack came crashing down this winter under the weight of too many coats, we began the process of rethinking our small entryway. The biggest issue we had to address was shoe storage. The cabinet in the corner is small and awkward and hard to access. To make up for that we’ve just forgotten it exists and added another coat rack and the ikea shoe cabinet // here //. With the shoe cabinet we finally had a little ledge to drop our keys on and store our shoes.
The only problem is that it’s ugly as sin, and the white was showing dirt way too fast. I had considered doing a bone inlay stencil, but once I got down to it, the pattern didn’t make sense on the piece. Instead, I did that project elsewhere and you can see that next week.
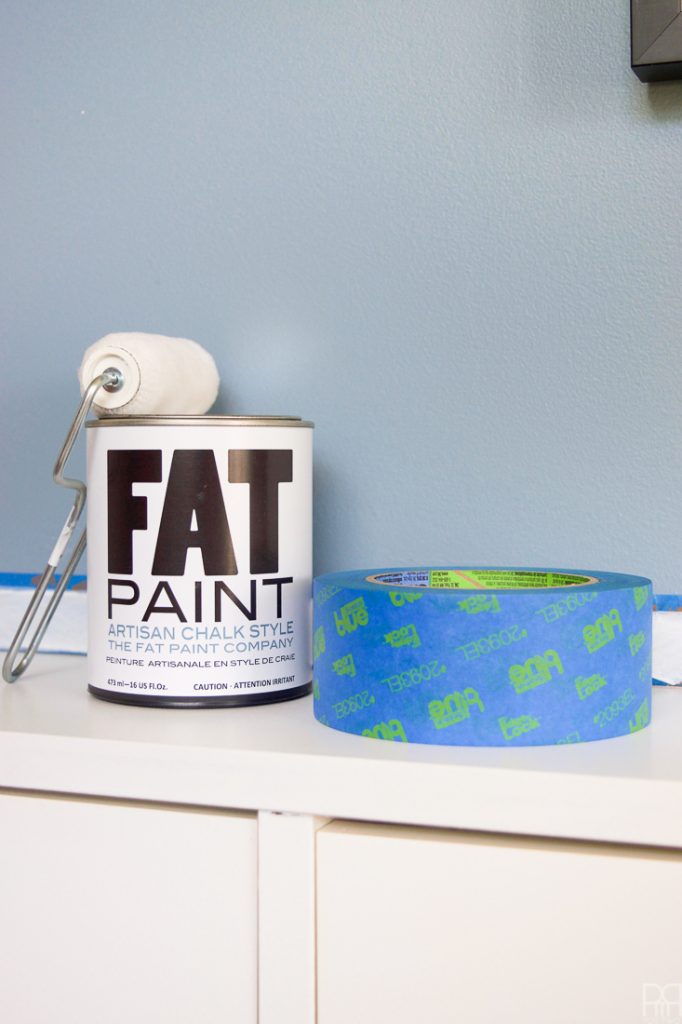
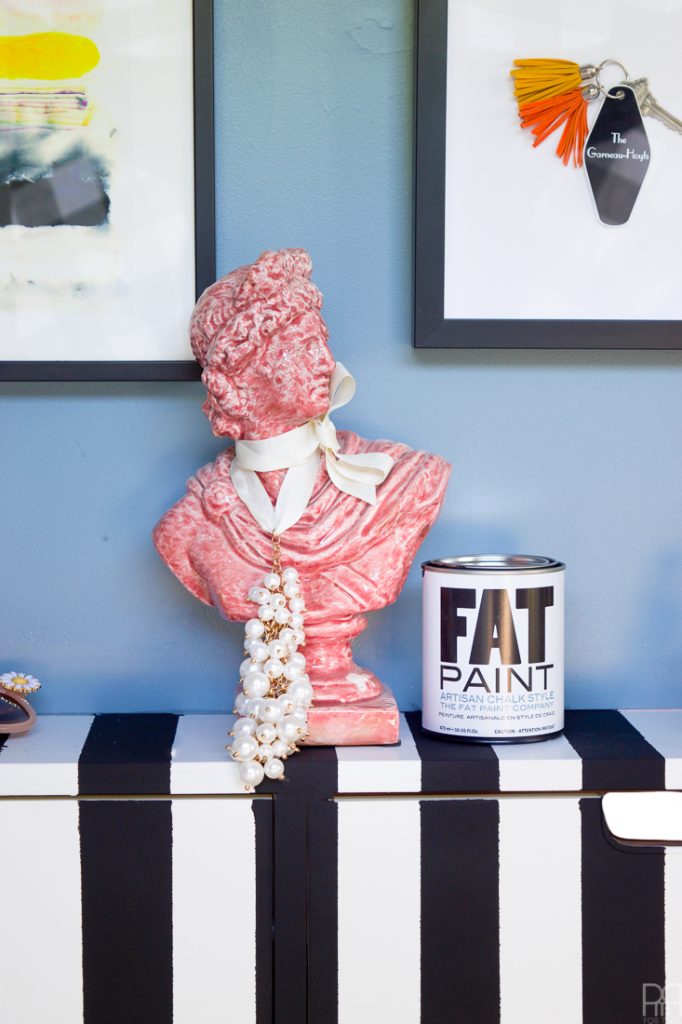
For the cabinet I opted for a reliable furniture paint, one with excellent coverage. I used FAT Paint on the Miles Redd inspired sideboard makeover // here // and absolutely loved it. The paint is thick but spreads evenly and dries quickly. You can’t ask for more when working with furniture paint!
*The following product links contain affiliate links. Thank you for supporting the brands that make PMQ for two possible. For my full policies click // here //
Materials
- 3M painters tape –> the best out there (after lots of trial and error)
- FAT Paint in Raven and Chalk White
- Zinser 1-2-3 primer
- Ryobi Palm Sander
- Paint brush for details
- Paint roller
Step 1: You’ll start by sanding the cabinet. A relatively fine grit should do the trick, and a few passes later you’ll notice it no longer has a gloss to it.
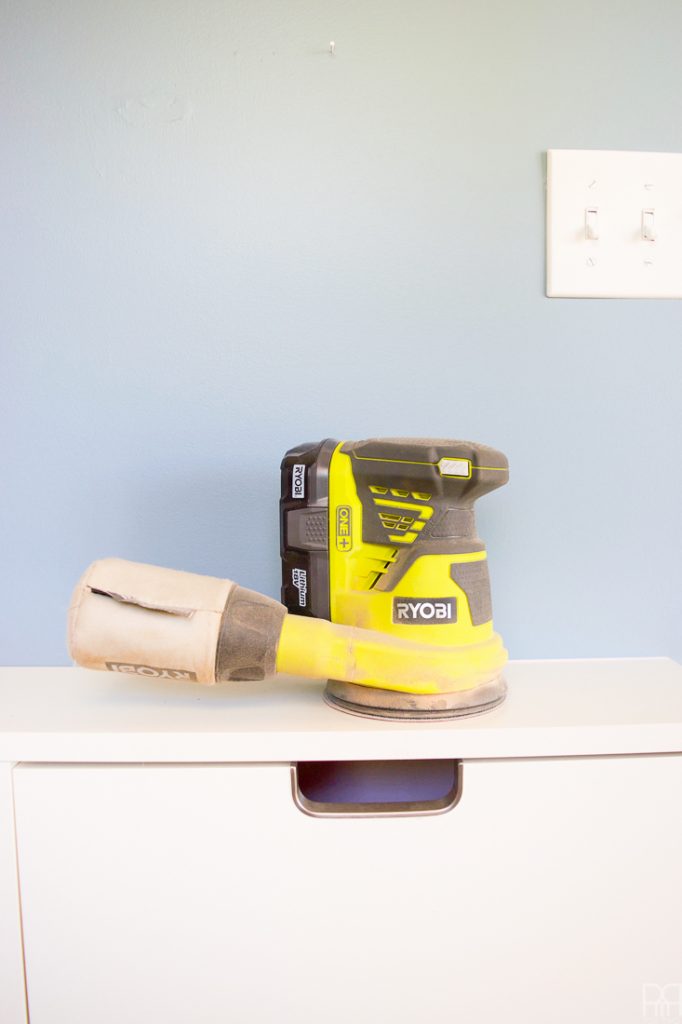
Step 2: Wipe the whole thing down with a damp cloth to remove any dust from the sander.
Step 3: Using the Zinser primer (the only acceptable primer for IKEA furniture) give your shoe cabinet a solid 3 coats to ensure it sticks. You’ll be applying it in light coats so that it dries, but by the 3 coat you can lay it on and it will stick.
Step 4: Using your tape in the desired thickness, start tapping your lines. I went for vertical to help create the illusion of height.
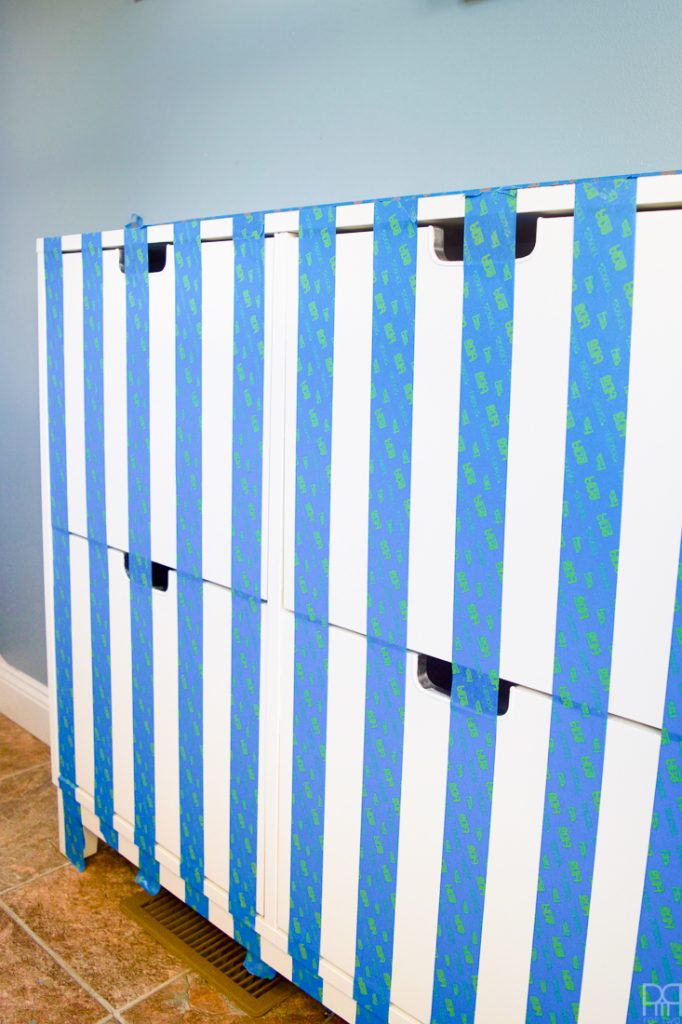
Step 5: Start rolling! It took me 3 coats with proper dry time to get the coverage I wanted. The FAT paint has beautiful coverage as is, and the 3rd coat was just for fun / to use up the extra paint in my tray.
Step 6: Let dry overnight before removing the tape. Do any touch-ups if needed and wait another day.
Step 7: Seal the cabinet in a poly to give it longevity and protect it from dirt and scratches. Lord knows that a shoe cabinet in the front hallway will get put through the ringer once winter comes.


A source list for the space is at the bottom of the post
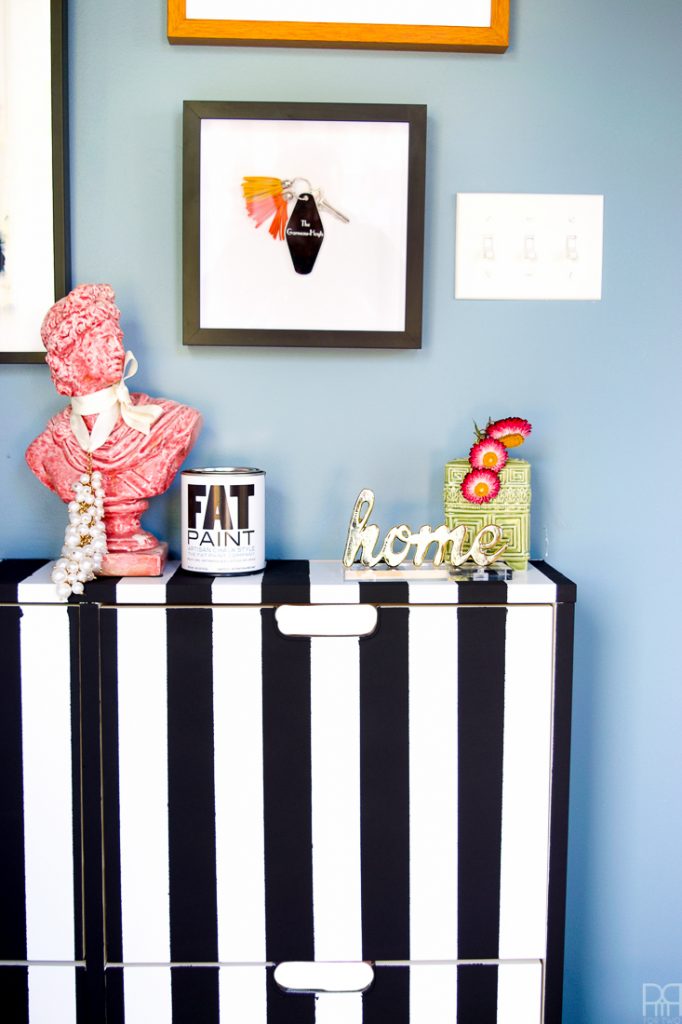
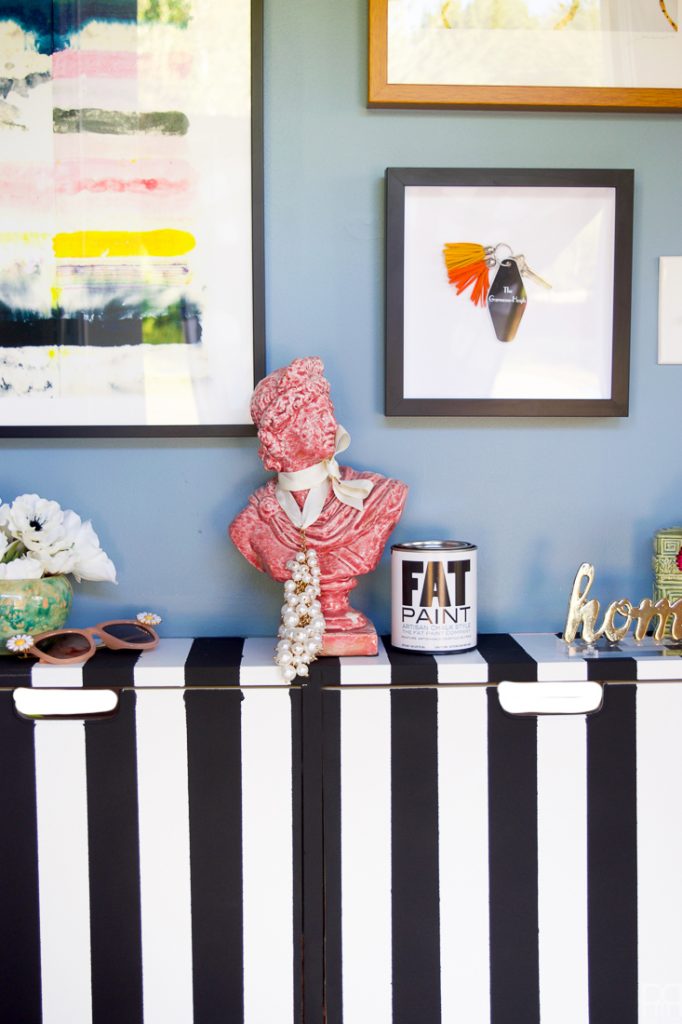
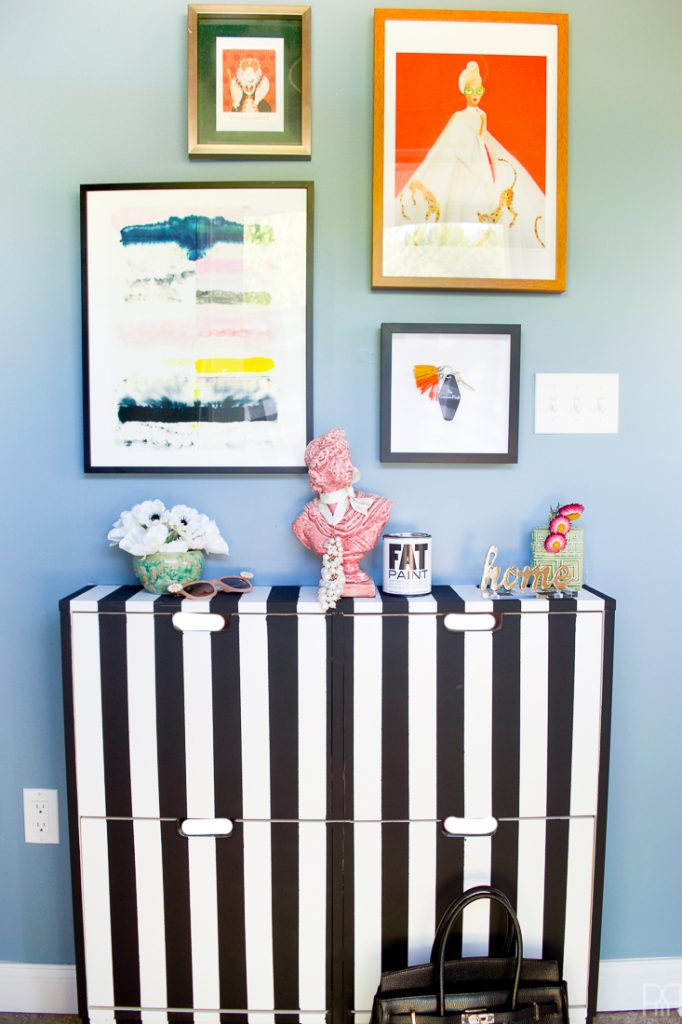
Now that our entryway has a bold, punchy centrepiece it feels like it belongs in our home. The graphic nature of the paint job means that it stands on its own while finding its way into harmony with the rest of the house. I’ve now got black and white stripes in almost every room of the house and it feels oh so good.

*The following product links contain affiliate links. Thank you for supporting the brands that make PMQ for two possible. For my full policies click // here //
Sources for items in the space
- Janet Hill Studio Catty Cathy Print
- Custom Framebridge job with the house key
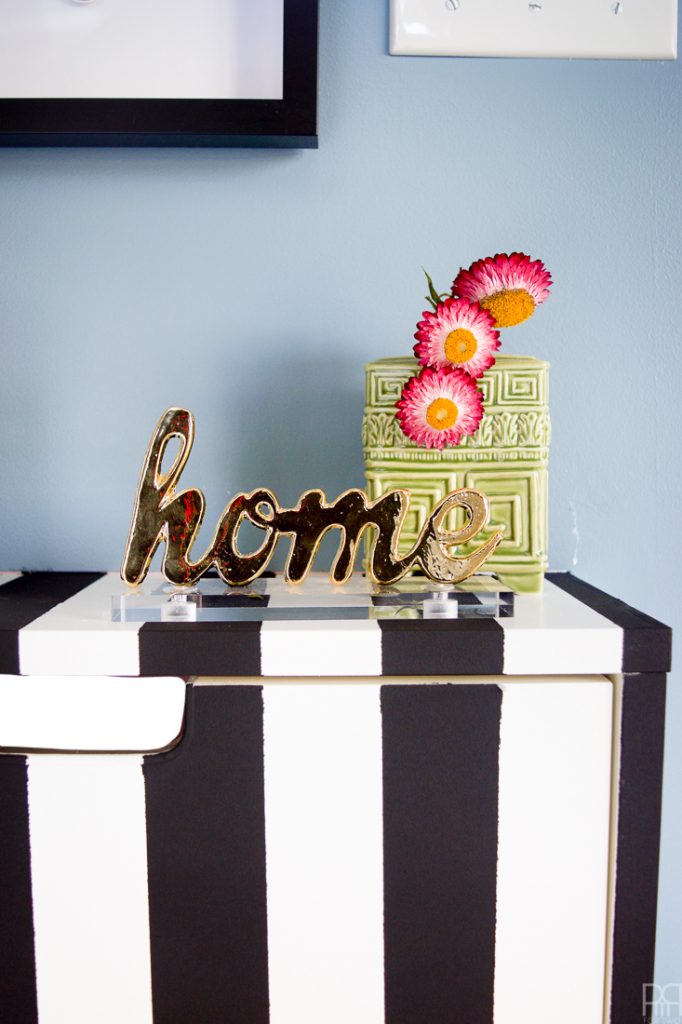
- Bust & “home” from HomeSense
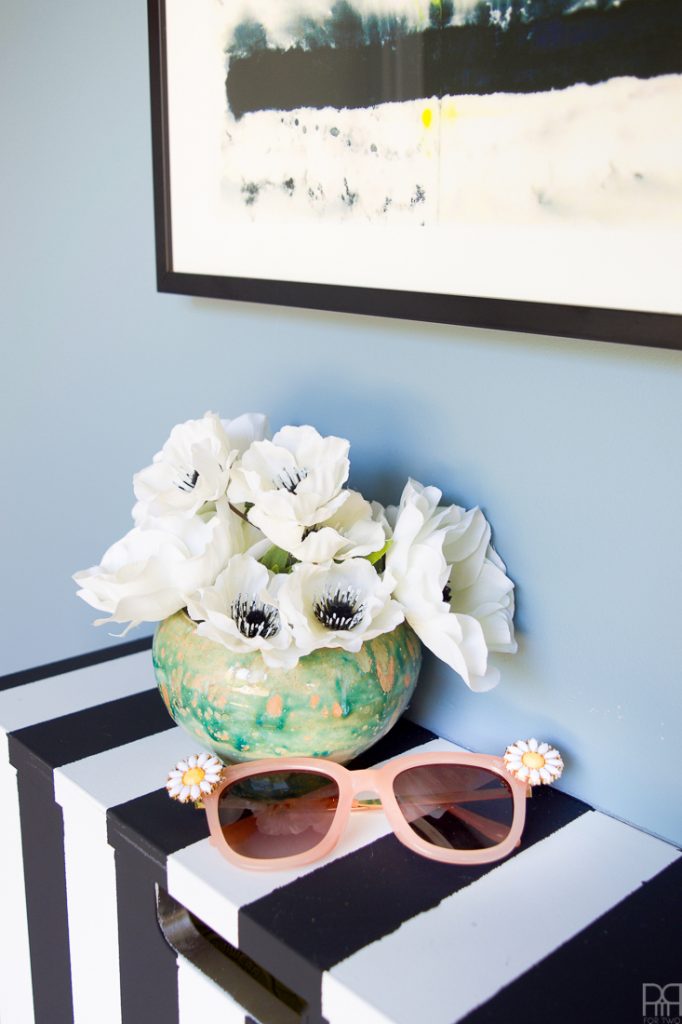
- Vases from Value Village
- Paint Rainy Season MQ5-27m by BEHR Paint
- IKEA Shoe Cabinet
- Rifle Paper Co. Elizabeth Card
- Beauty Inside Print from Minted

