

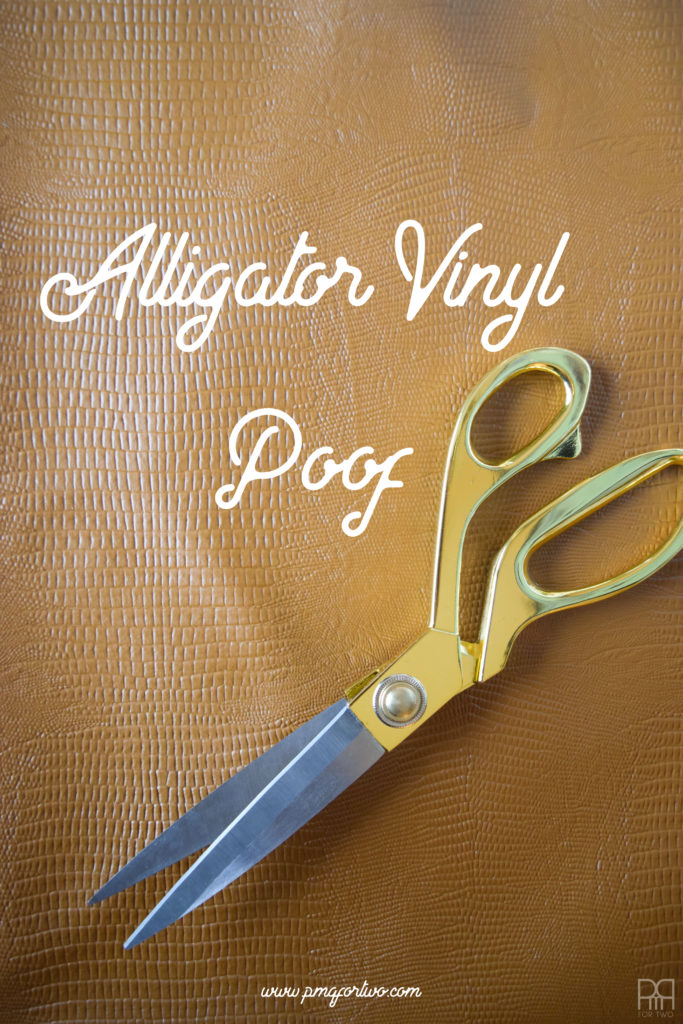
Okay guys, I’ve been dying to do this DIY and then talk about it since the day I ordered my vinyl from Online Fabric Store.net. I love the rich creamy colour of the vinyl, and I’ve been wanting to add some texture to my decor, so what better way than with an alligator vinyl poof DIY?

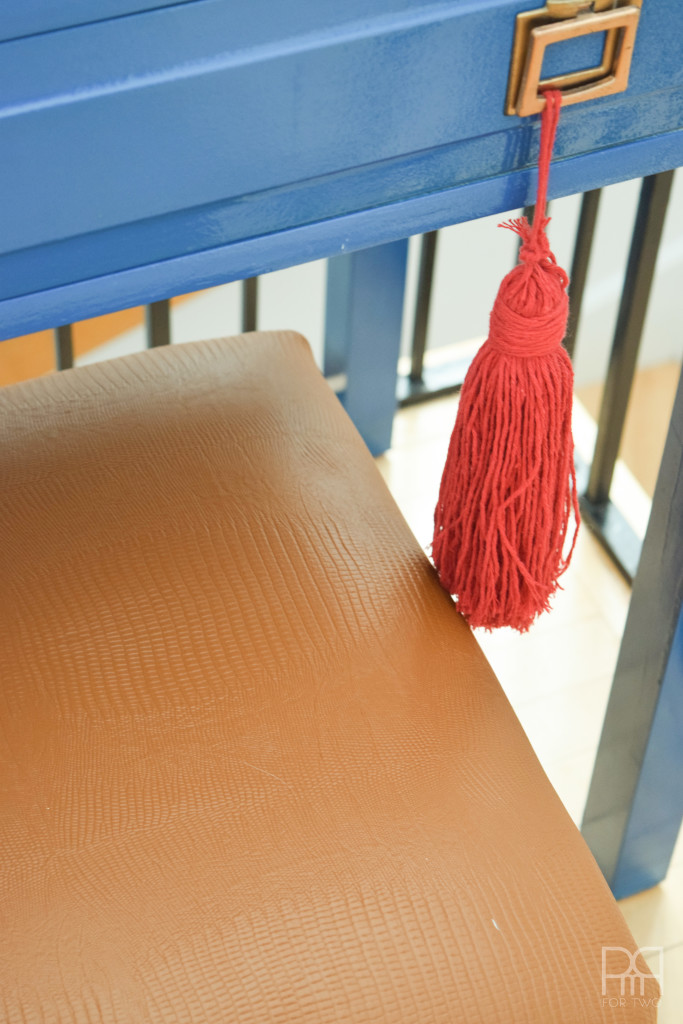
The poof in question is one that I purchase at Target about three years ago, and have recovered at least once since. You may have last seen it in my Jewelry Table revamp from this summer. The cat – Boots – has taken to using it as a scratching post and the blue fabric wasn’t holding up. It also looked a touch too matchy-matchy with the blue table, so I figured the rich brown alligator vinyl would complete the vignette.
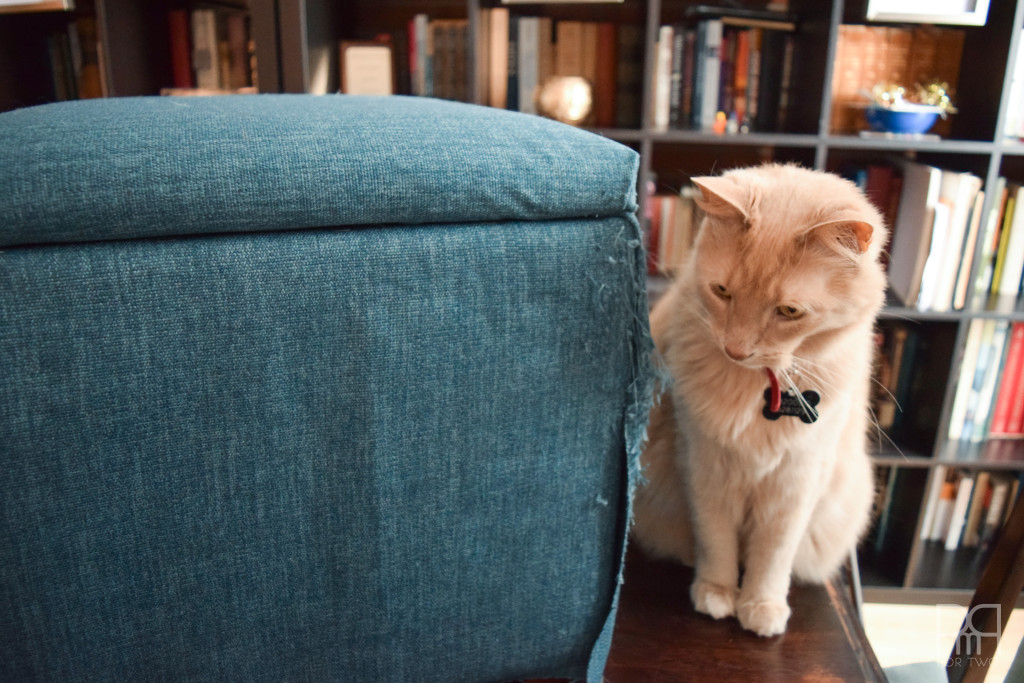

As you can see, Boots was very interested in the poof until the very end.
Materials required to reupholster a poof
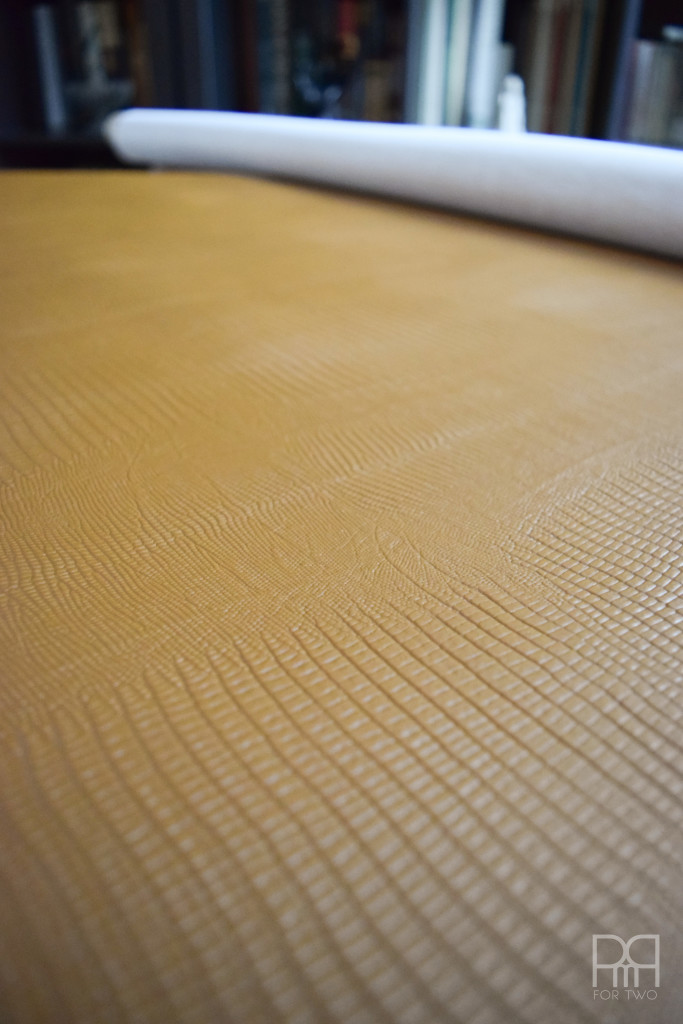
Alligator Vinyl, or any fabric from Online Fabric Store.net.
Staple Gun + extra staples
Scissors
Measuring tape
Instructions
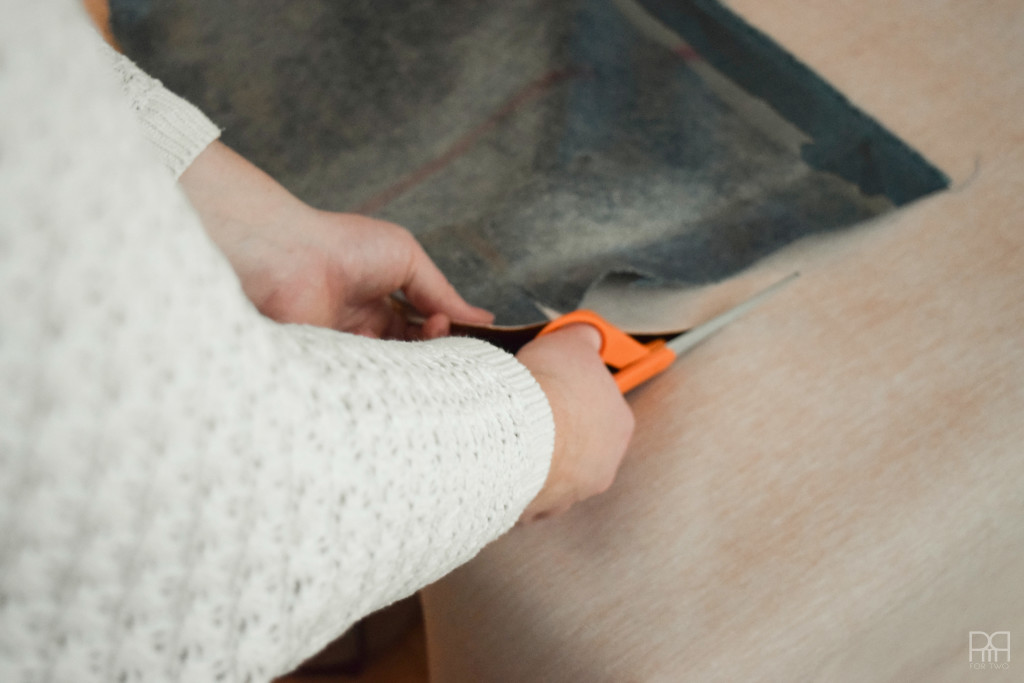
Step 1: Because I started with a poof that had already been reupholstered by yours truly, all I had to was peel off the panels I used the first time around.
If you’re upholstering something for the first time though, take measurements and plan out the panels needed for upholstering. I found it easier to break the project down into panels that would be easier to staple on and assemble.

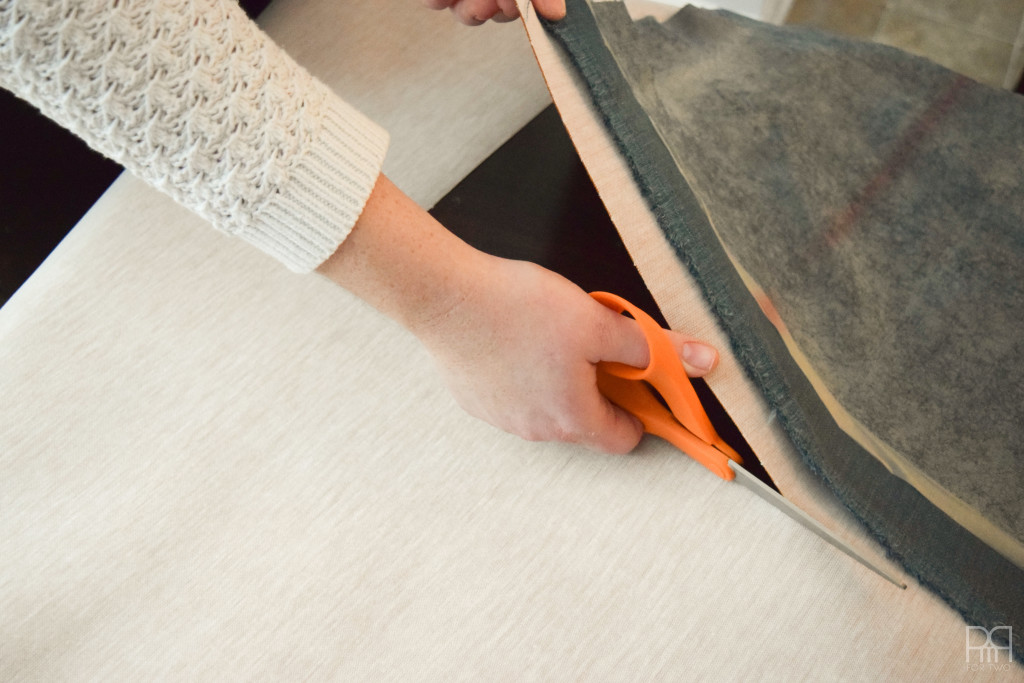
Step 2: Start cutting! Take your time, measure twice and then measure again.

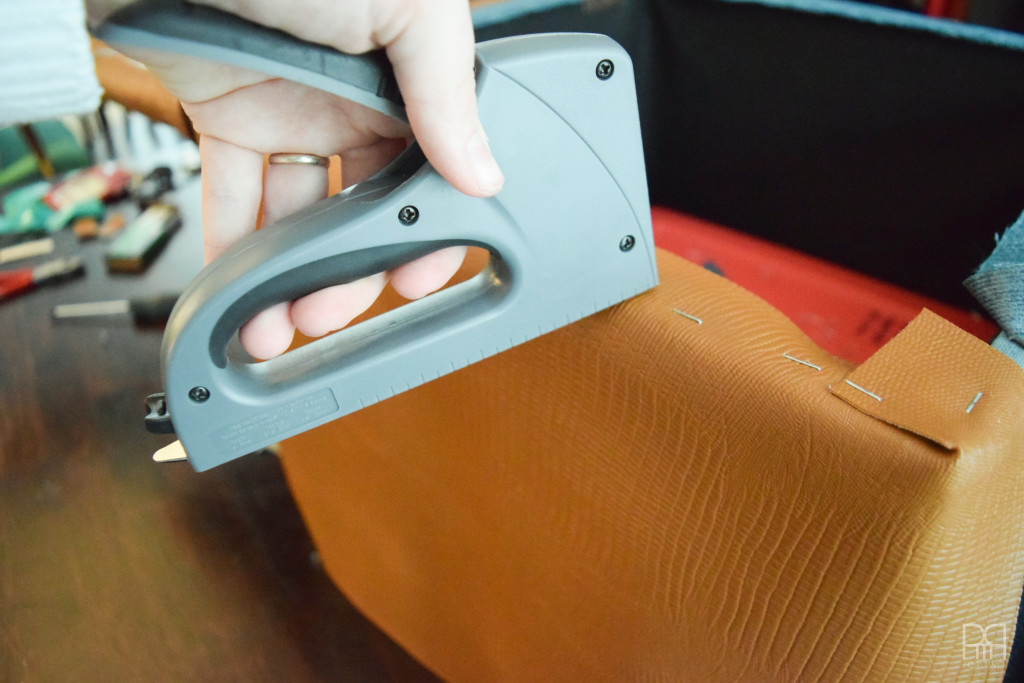
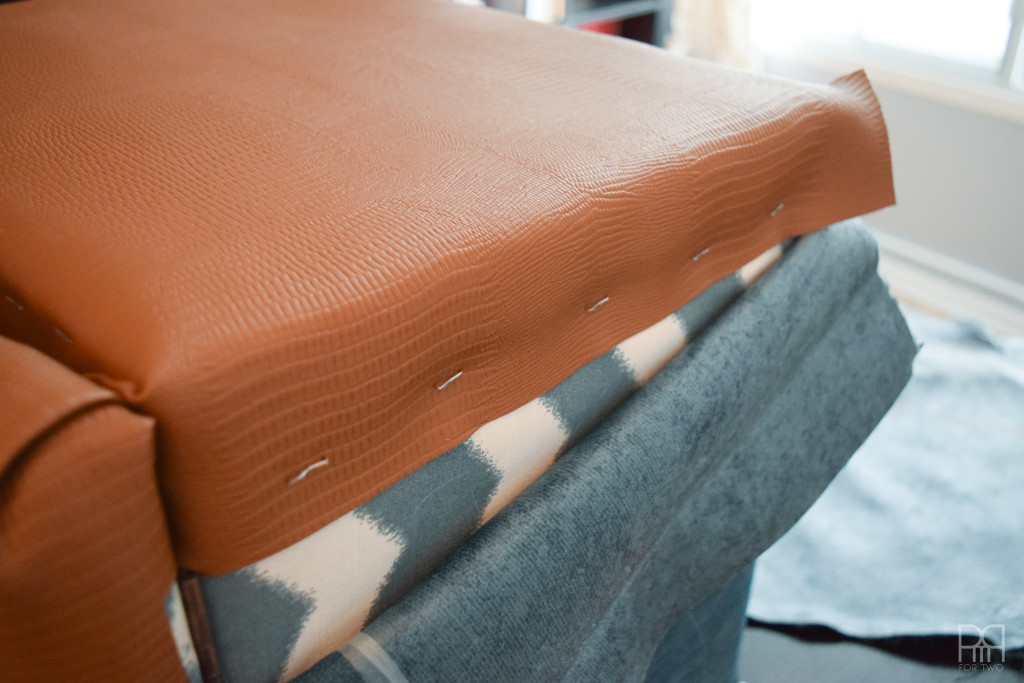
Step 3: As with all projects involved a staple gun and fabric, keep the tension consistent when stapling, will keep the fabric smooth. I start by stapling one side rather loosely, and then completing once I’ve done the tricky parts.
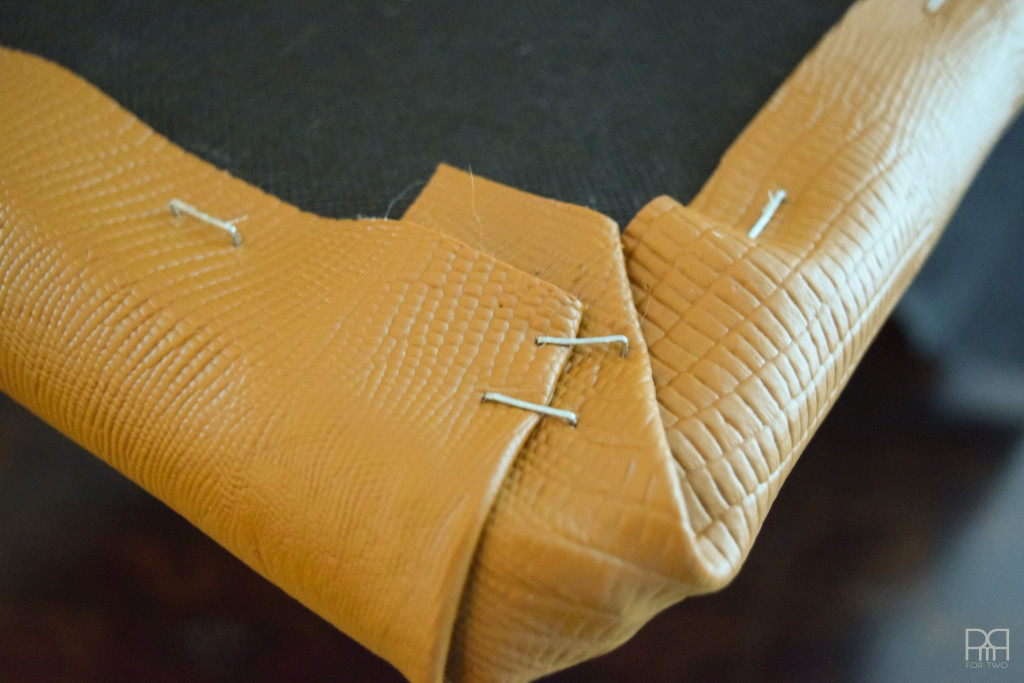
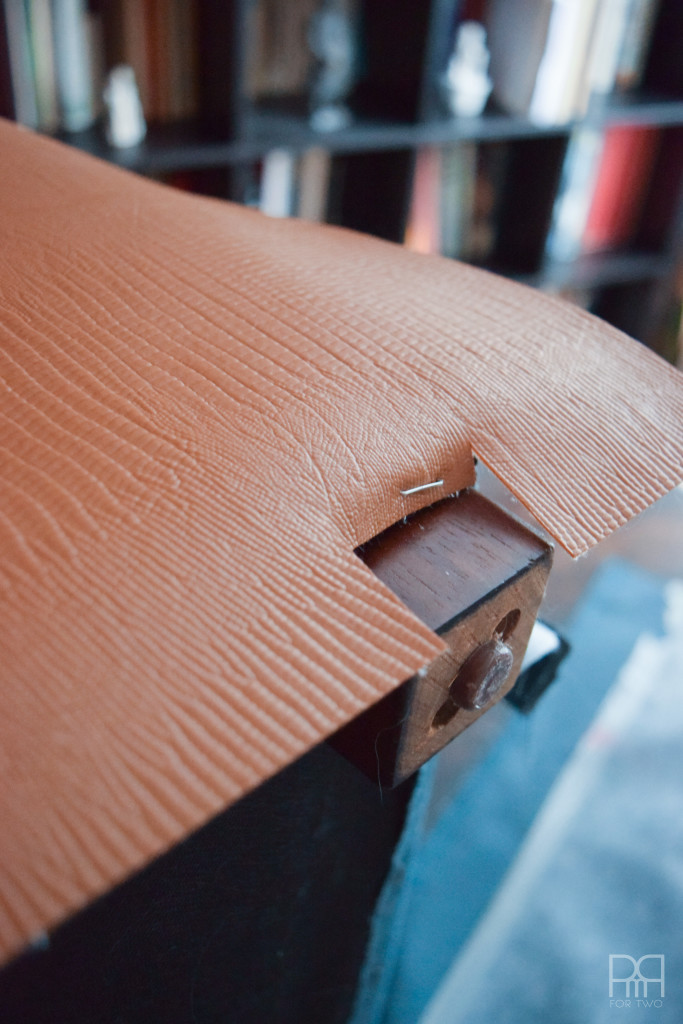
Step 4: When doing corners, the nature of the fold isn’t as important as making sure you consistently fold them the same way. I have two different corners on this poof; the ones on the basket, and the ones on the lid.
Step 5: Stapling around the feet is the next trickiest part. I was lucky enough to be working with a pattern, so I had already done the leg work in figuring out where to cut, but if not, take the time to lay the fabric over and mark it.
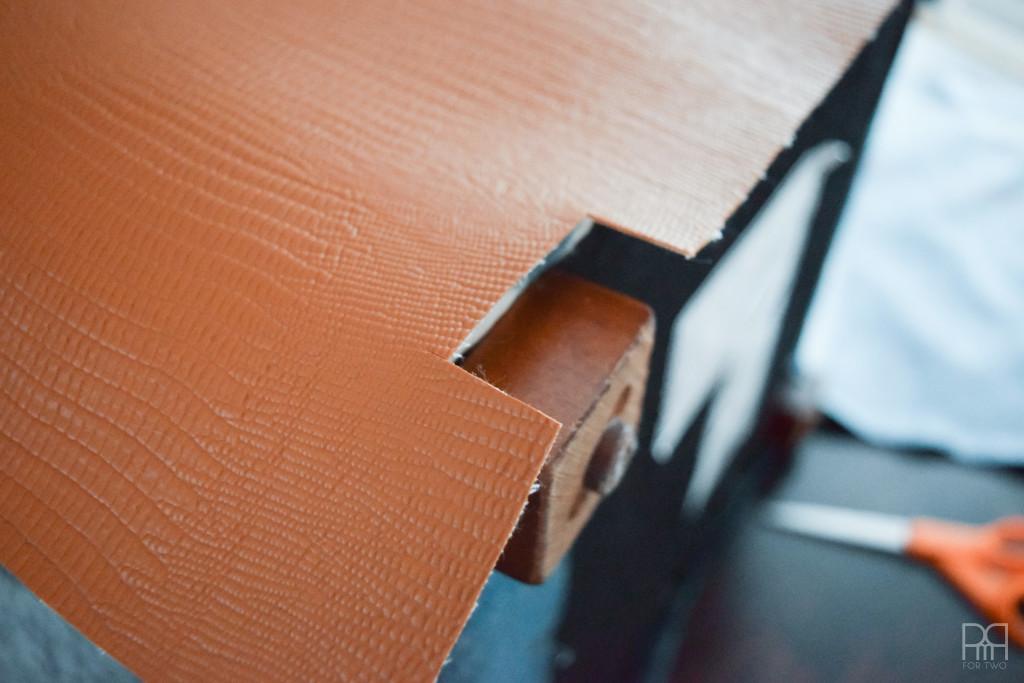
Cutting for feet, hardware etc. before you staple the fabric to the furniture is key to ensuring smooth cuts and straight lines.
Step 6: I started laying the panels with the “grain” of the vinyl going horizontally, so whichever orientation you chose, make sure you’re consistent all around the piece.
On the whole it took me about 3hrs to properly upholster the alligator vinyl poof. I’m glad I took the time to do it properly, because there’s no way the cat is getting to this one! I doubt vinyl scratches very easily.
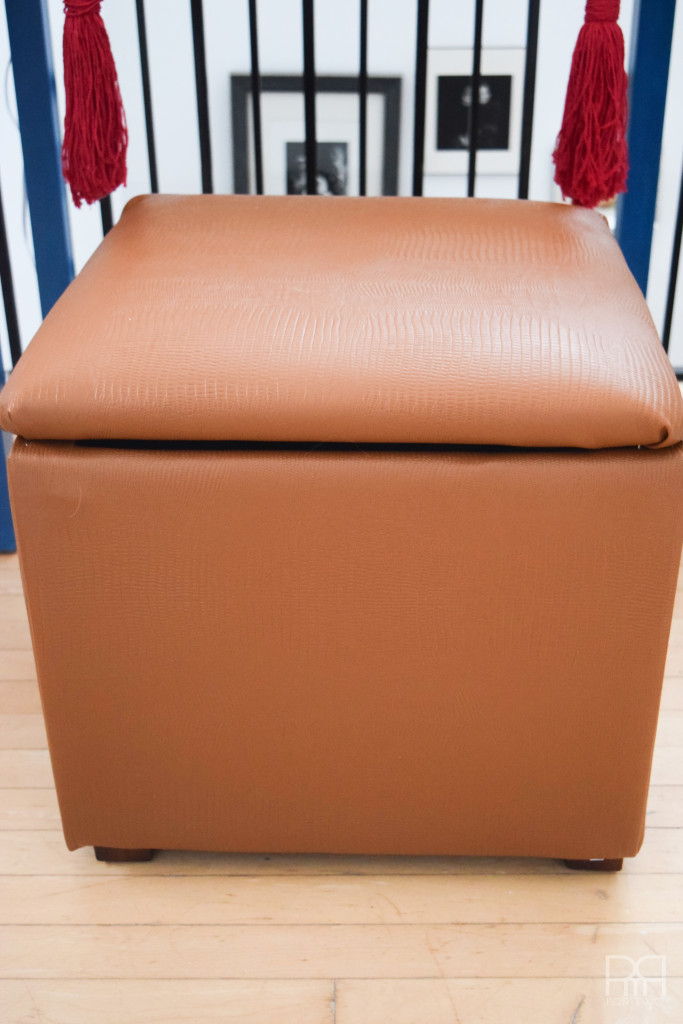
In its completed form, the poof is magnanimous and just what the second floor landing needed.
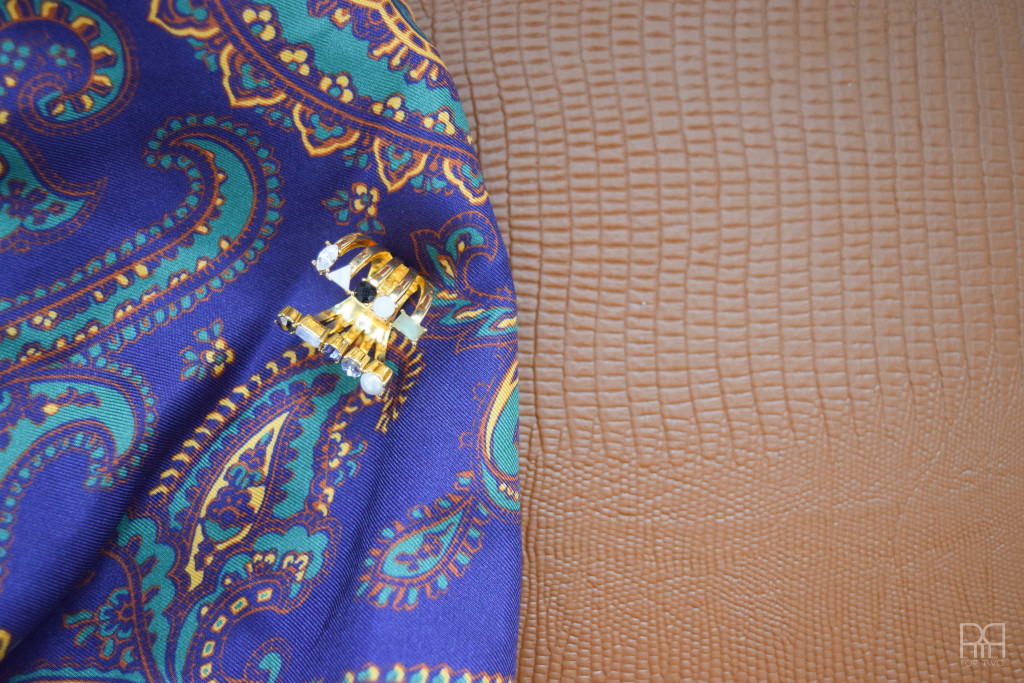

It also colour coordinates with my accessories perfectly. How many people can say that?


What colour would you have chosen? Do you like the alligator vinyl poof?

*Online Fabric Store.net provided the product for review, but all thoughts are my own. Thank you for supporting the brands that make PMQ for two possible.
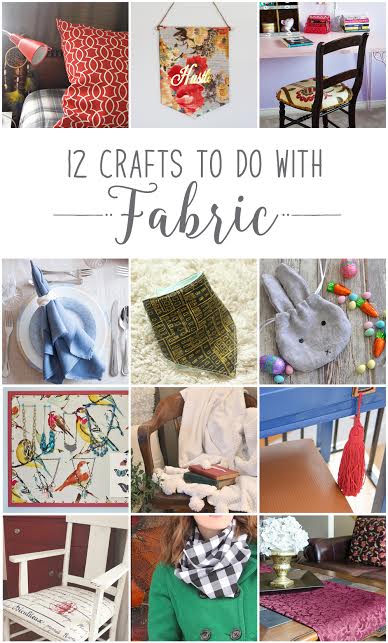

So I’ve just shown you what I did with a yard of fabric from Online Fabric Store.net, now it’s time to see the rest of the DIY fabric project ideas from my Canadian blogging friends.
From the top left, they are:
Fabric Pillow from Bette Creek
Fabric Banner from Brooklyn Berry Designs
Reupholstered Bedroom Chair from Woman in Real Life
DIY Linen Napkins and Nautical Napkin Rings from Sustain My Craft Habit
DIY Baby Bandana Bib from Mommyzoid
Bunny Treat Bag from Life Is A Party
Fabric Covered Bulletin Board from The DIY Mommy
DIY Chenille Blanket with Pom-Poms from Vin’yet Etc.
Alligator Vinyl Pouf from PMQ For Two
Upcycled Commode Chair from New House New Home
DIY Infinity Scarf from Fresh Crush
Coffee Table Runner Easy Sewing Tutorial from Time with Thea