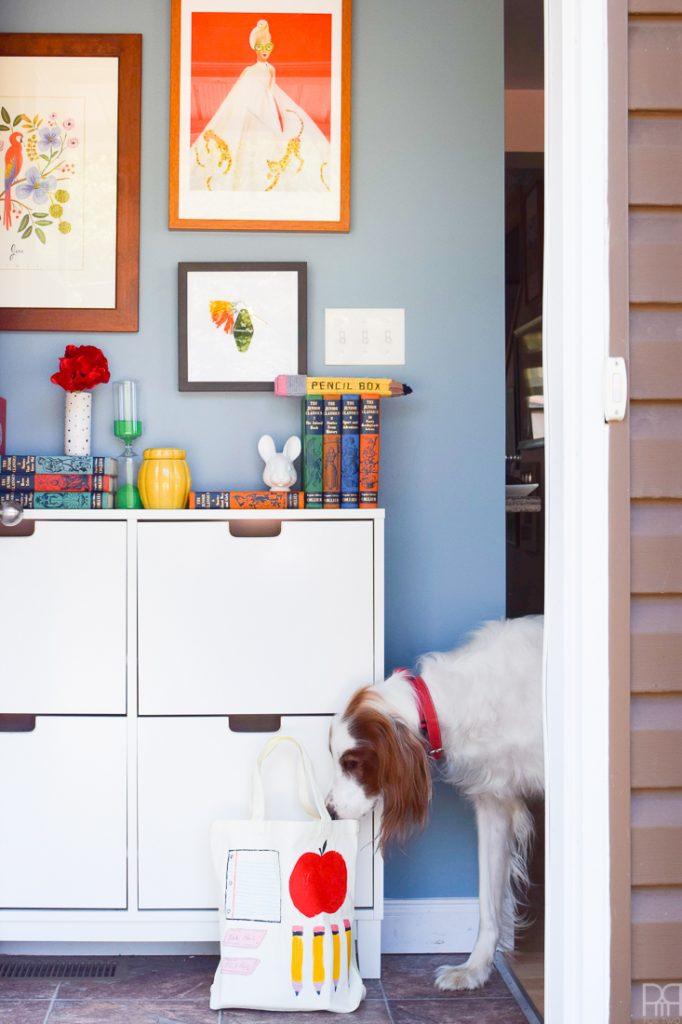
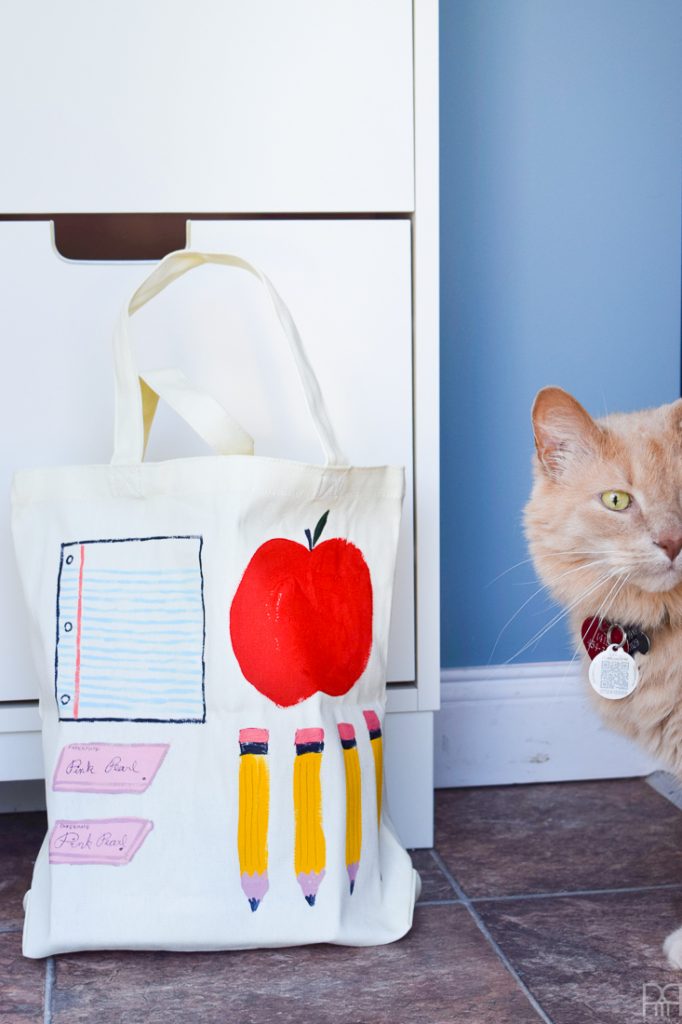
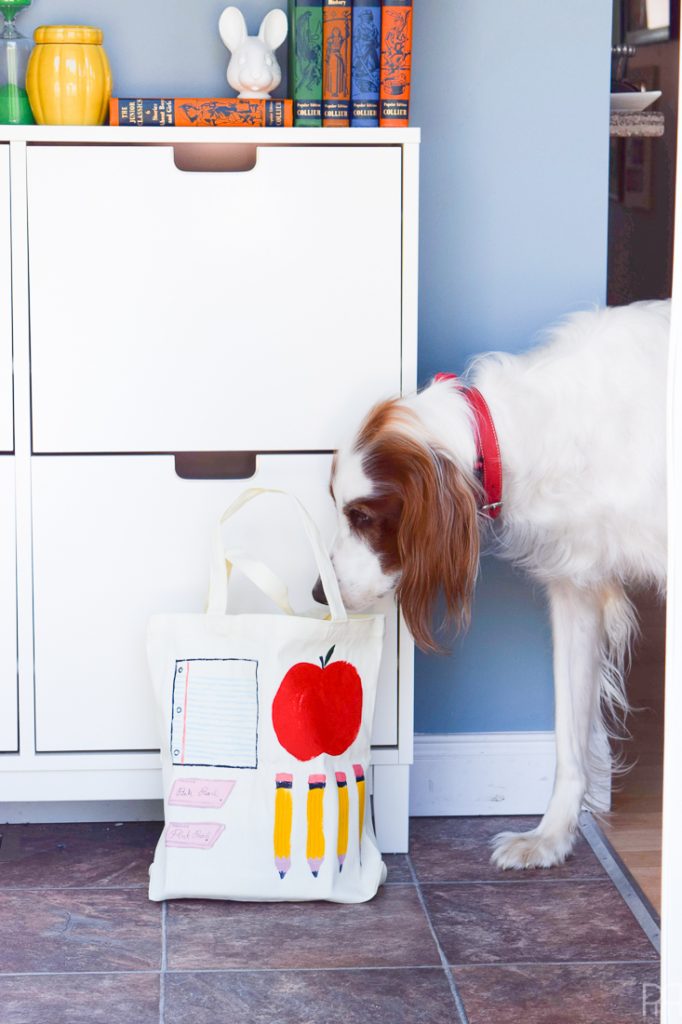
Back to school is just around the corner! While the kids get new things to start the year off, no one ever talks about what back to school means for parents or those of us without kids. While it means very little in terms of my actual day to day, the back to school period always feels like a fresh start and the beginning of a new year (even though that’s technically in January. To mark the occasion I made a DIY Painted back to school tote!
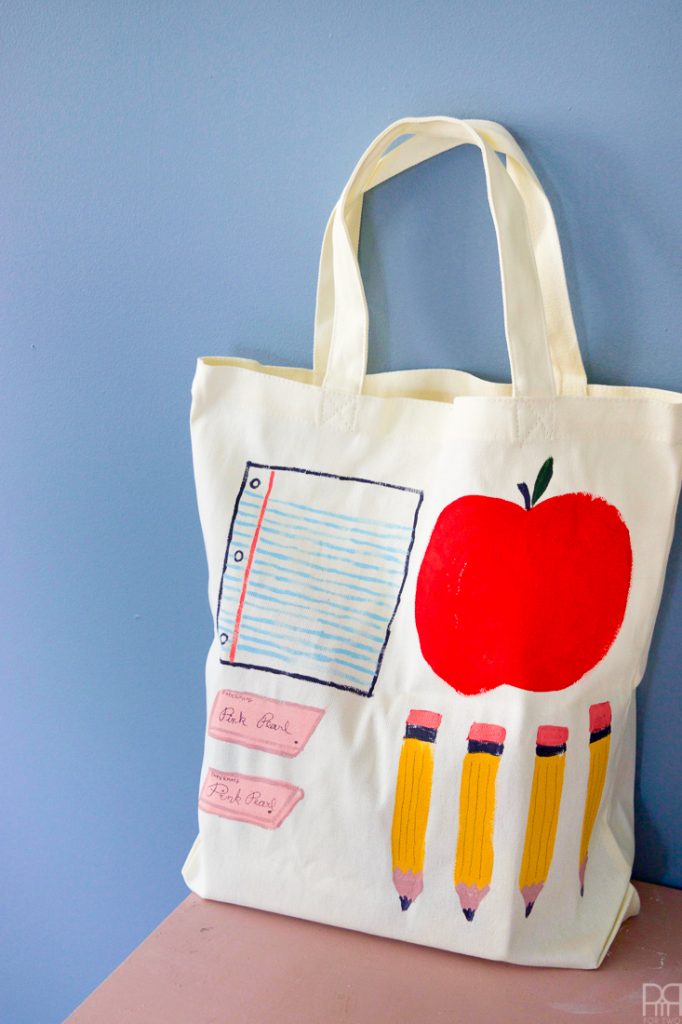
Whether you’re standing with kids waiting for the bus, riding the subway, waiting for pick-up, or a student yourself, this super cute painted tote is just what you need.
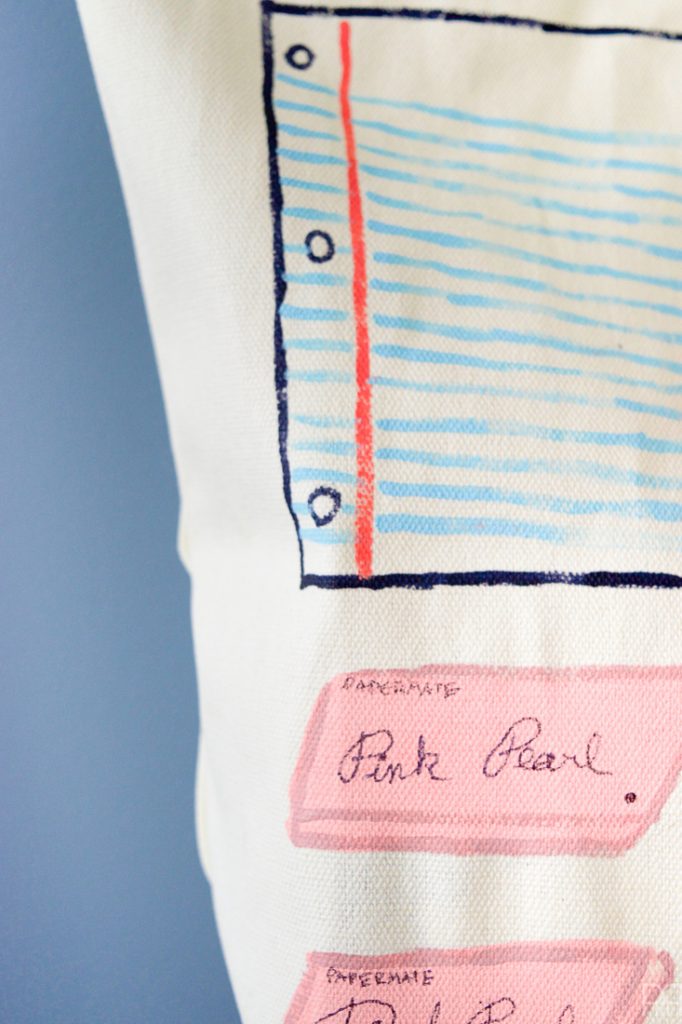
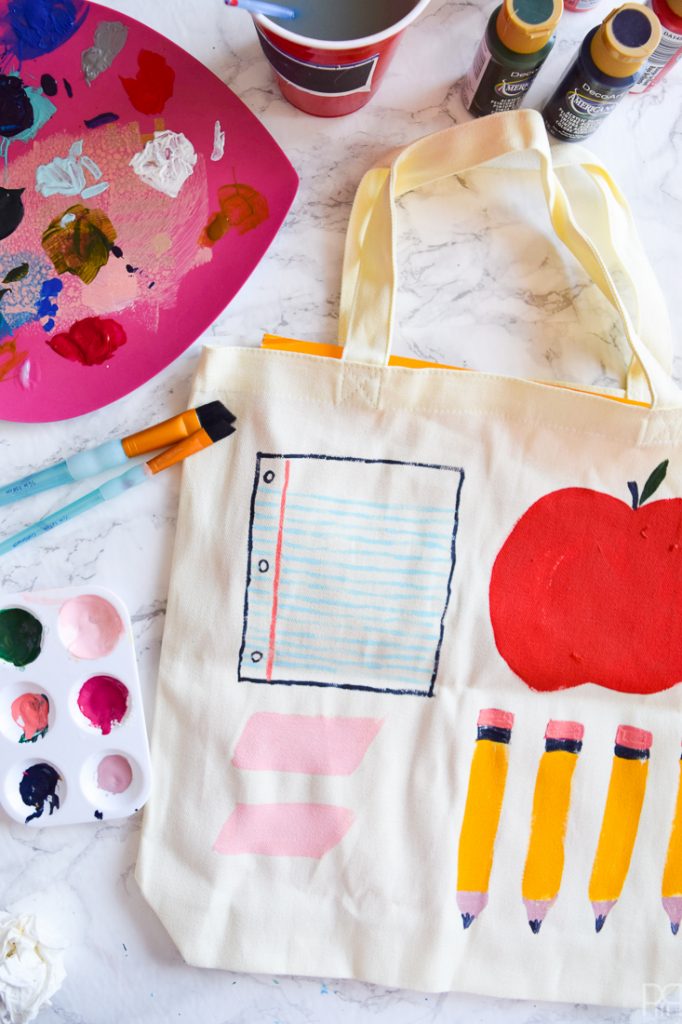
I made mine using DecoArt’s Americana Acrylics and the Fabric Medium so that my tote can be washed when it gets dirty. I was inspired by the giant fruit pieces that I’ve seen all over Pinterest, and one of my favourite lines in a classic fall movie (at least for me – You’ve got Mail) “bouquets of sharpened pencils.”
*DecoArt sponsored this post, but all thoughts are my own. Thank you for supporting the brands that make PMQ for two possible.

Other DecoArt projects I’ve created:
Painted Pumpkins // DIY Painted Floral Christmas Ornaments // Boozy Bottles Art Prints // Pineapple Wine Glass Charms // DIY Chinoiserie Lamp // DIY Wrapping Paper // Painted Pinecone Wreath //Kate Spade Inspired Floral Planters
This graphic and colourful tote is sure to please, and all your friends will be asking you where you got it or if Kate Spade has a new bag collection. You can create your own in an afternoon or paint similar visuals on a lunch bag or back-pack for your kids. I’m partial to the tote though, because I always remember my mother carrying home things we handed her once we got off the school bus, so a tote would have been handy.
*The following product links contain affiliate links. Thank you for supporting the brands that make PMQ for two possible. For my full policies click // here //
Materials
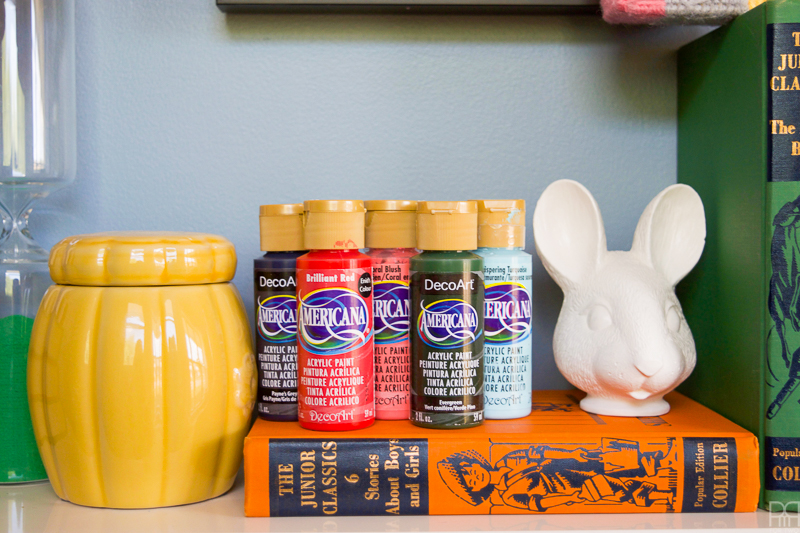
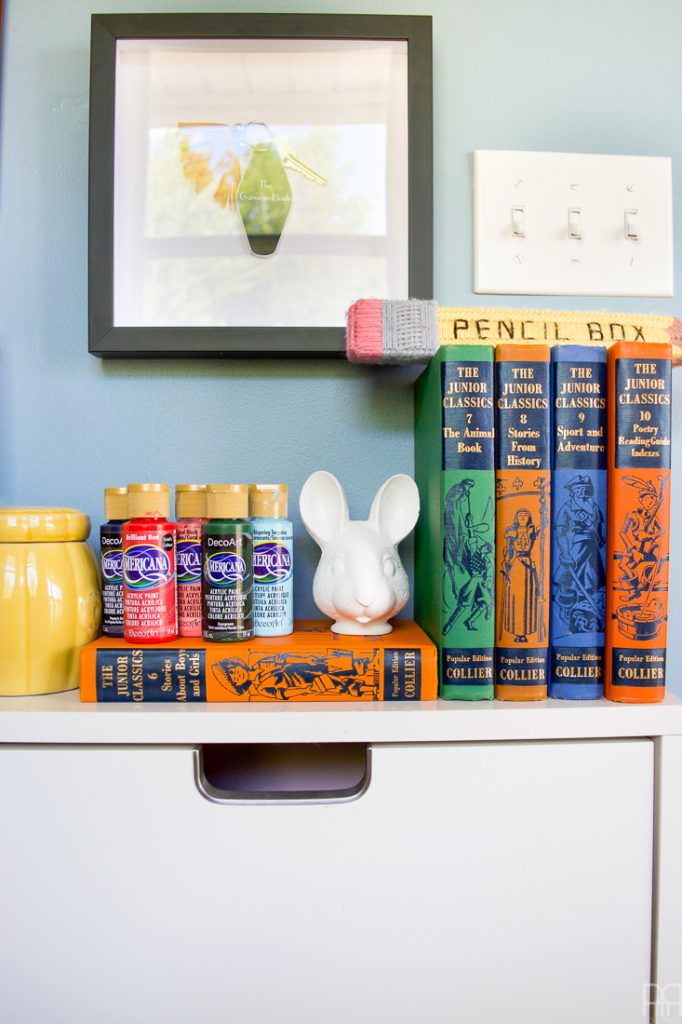
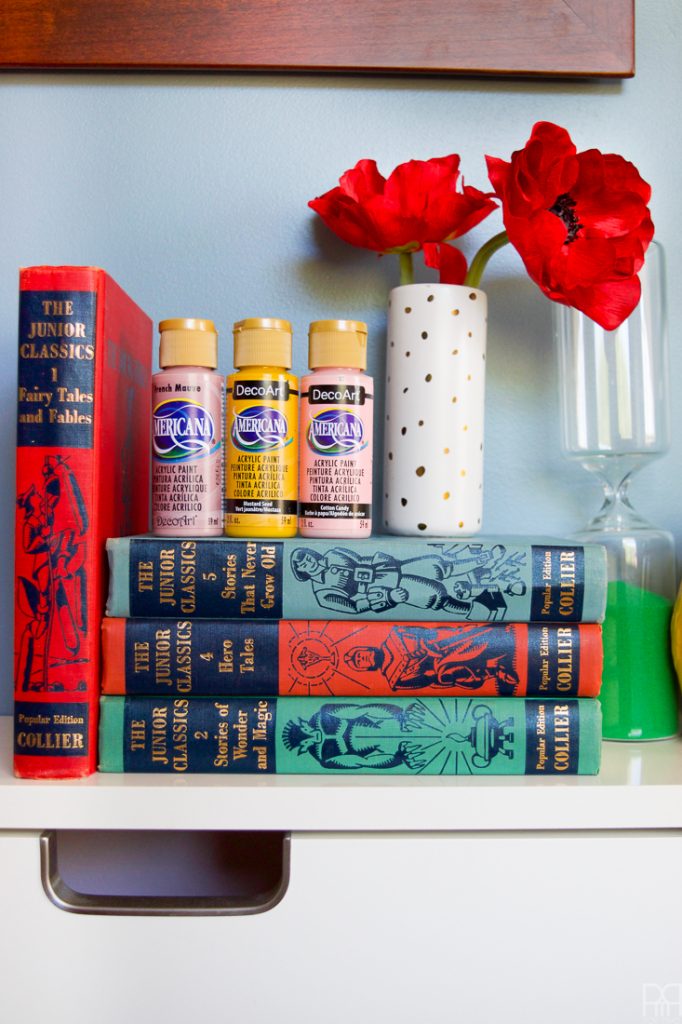
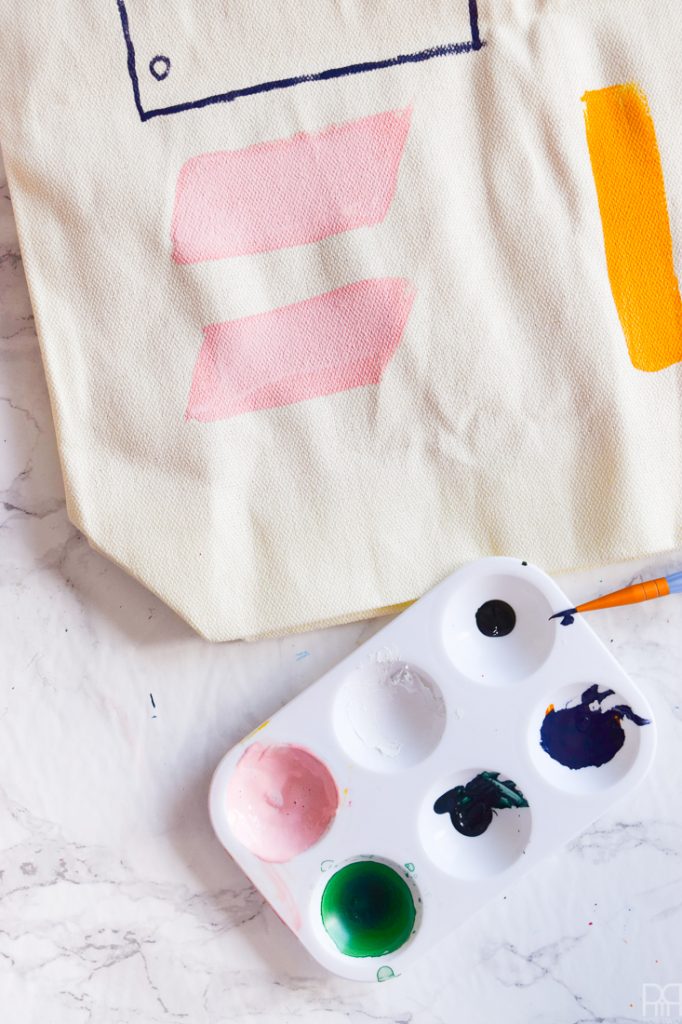
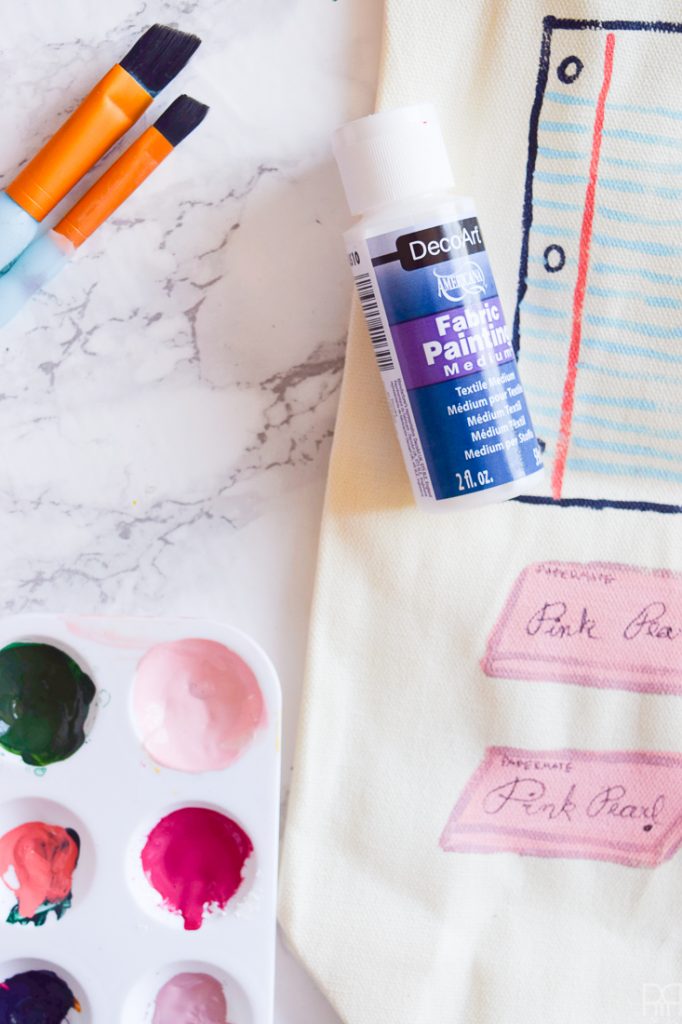
- DecoArt Americana Acrylics: Brilliant Red, Mustard Seed, Cotton Candy, Coral Bush, Razzle Berry, French Mauve, Whispering Turquoise, Evergreen, and Payne’s Grey.
- DecoArt’s Fabric Medium
- Acrylic Paint Brushes
- Canvas tote (available at many craft and hobby stores)
- Piece of cardboard to stick inside the bag when painting
** A note on using the Fabric medium: mix it with the regular acrylics using a 2:1 ratio. I won’t bother showing you the mixing process, but a little tray helps keep all the colours prepped.
To view the full DIY and step by step tutorial visit the DecoArt blog // here //.